How to

How to paint a room: Planning and prep

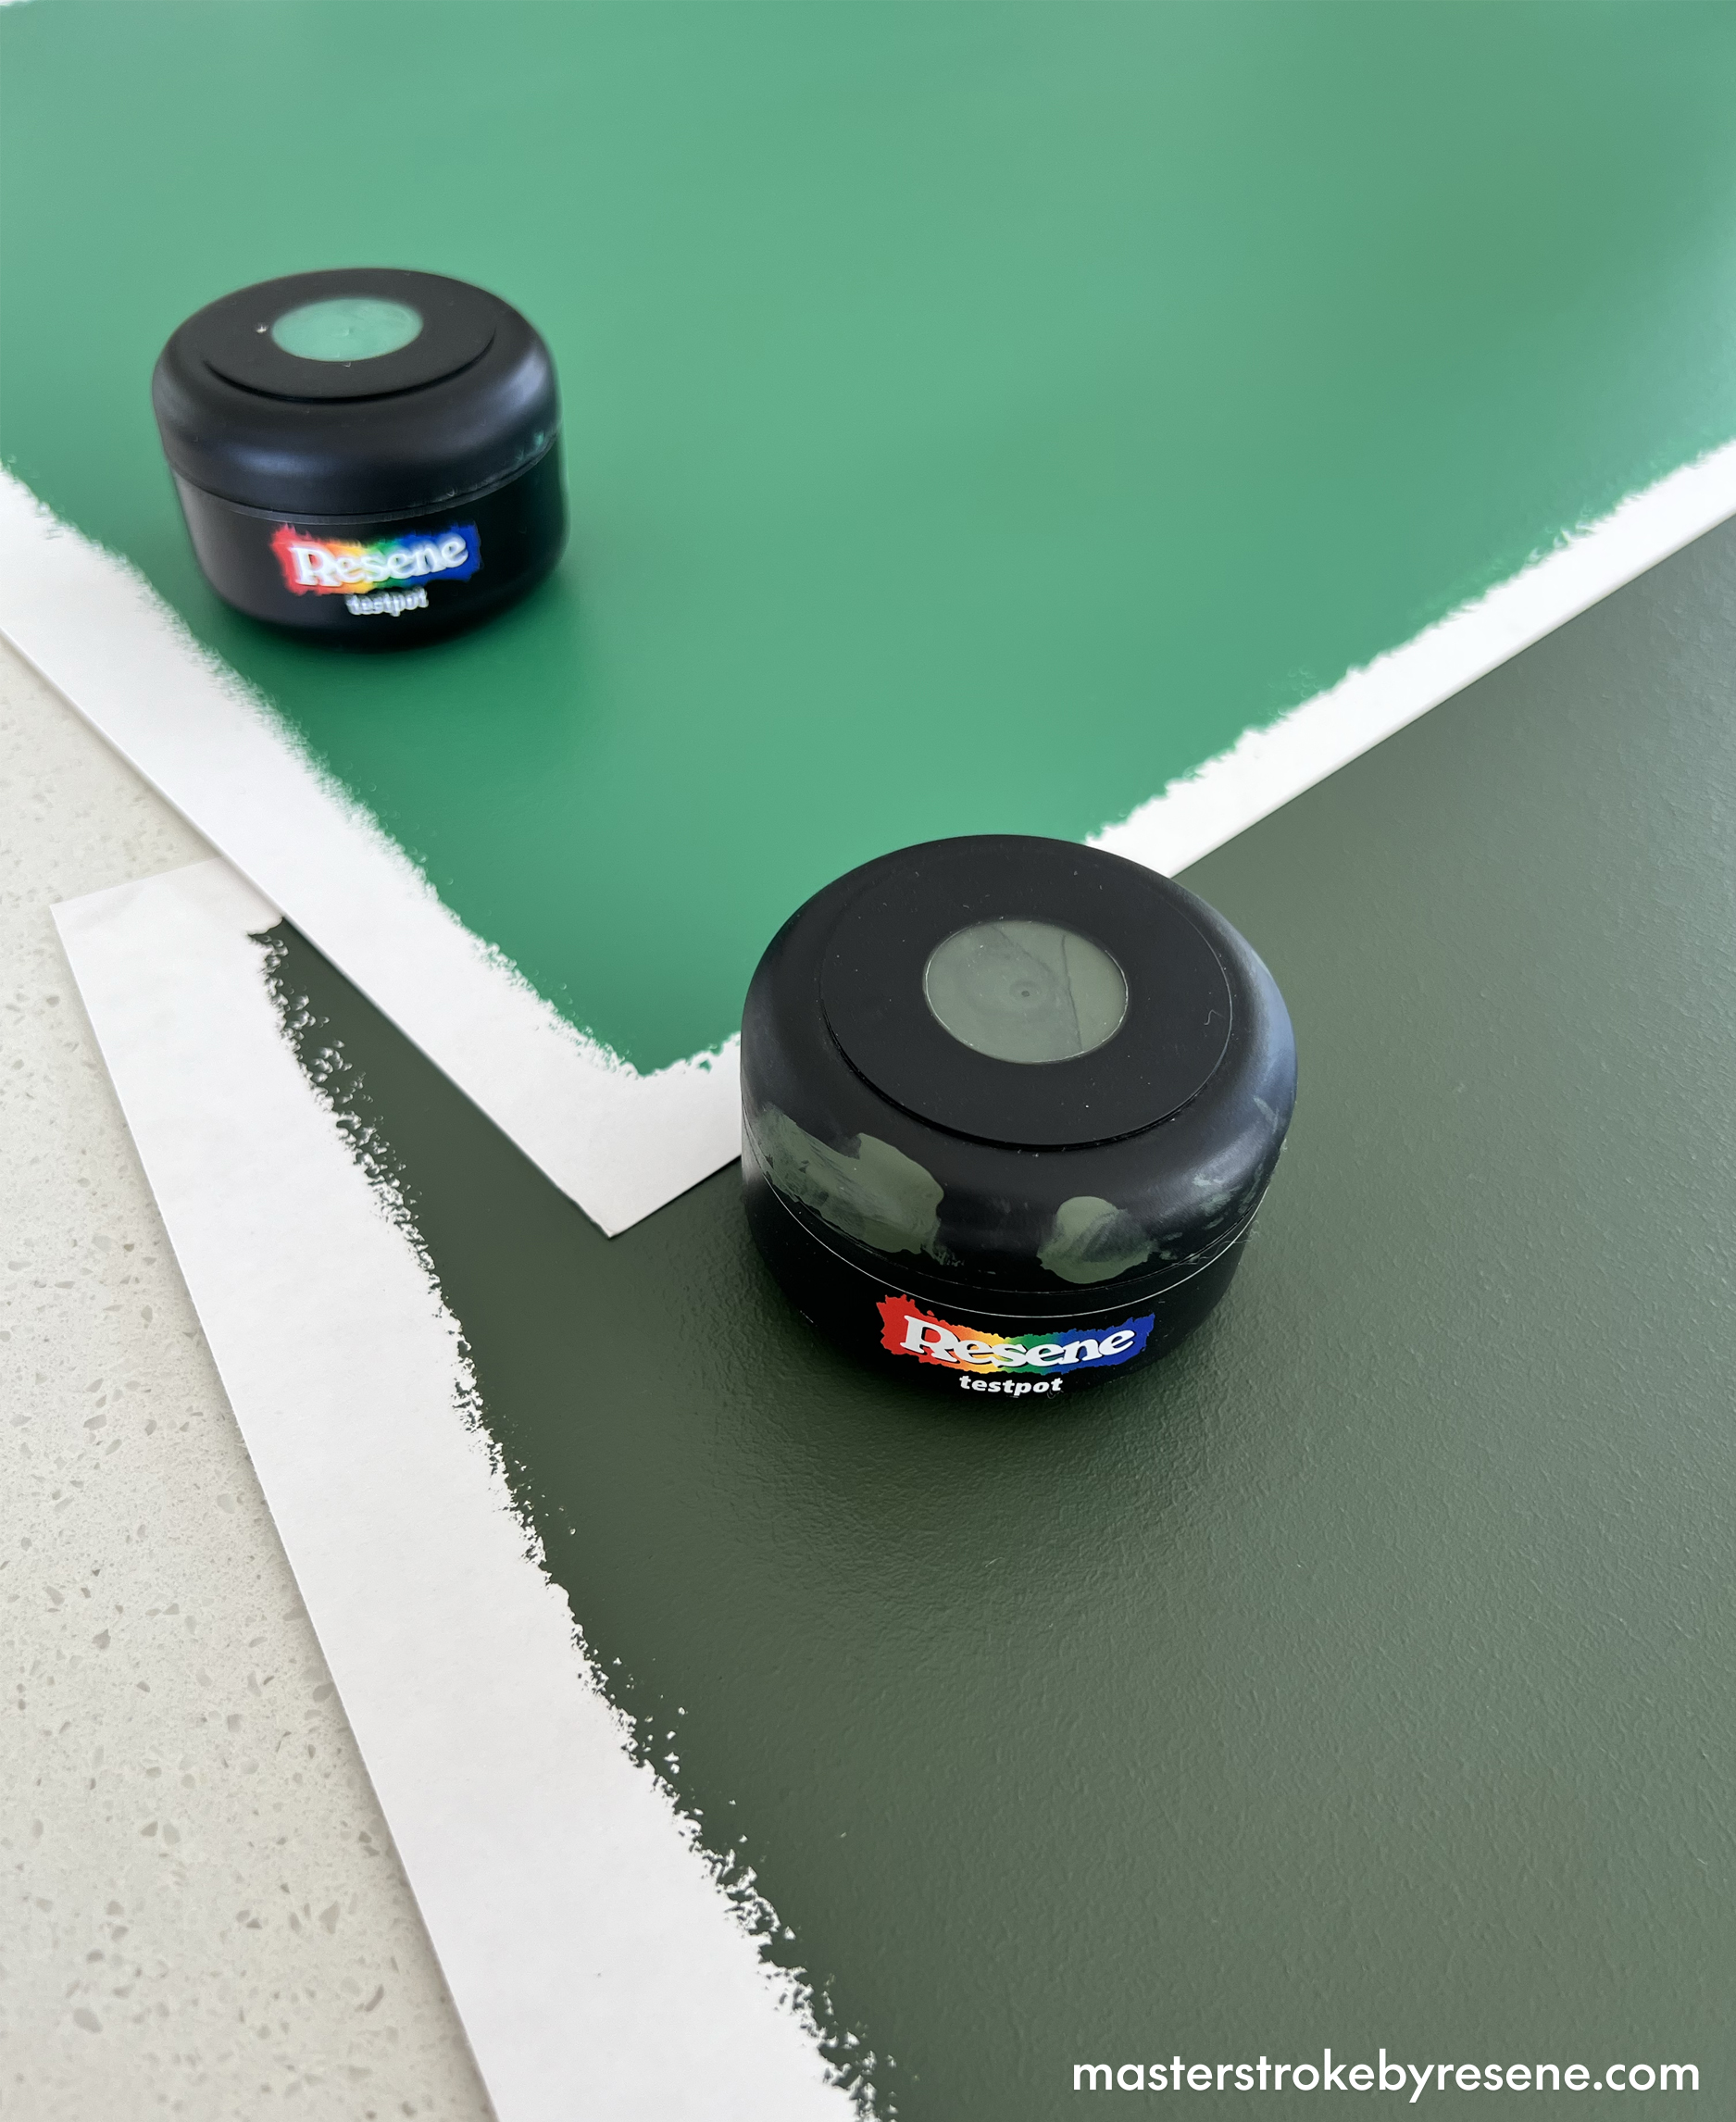
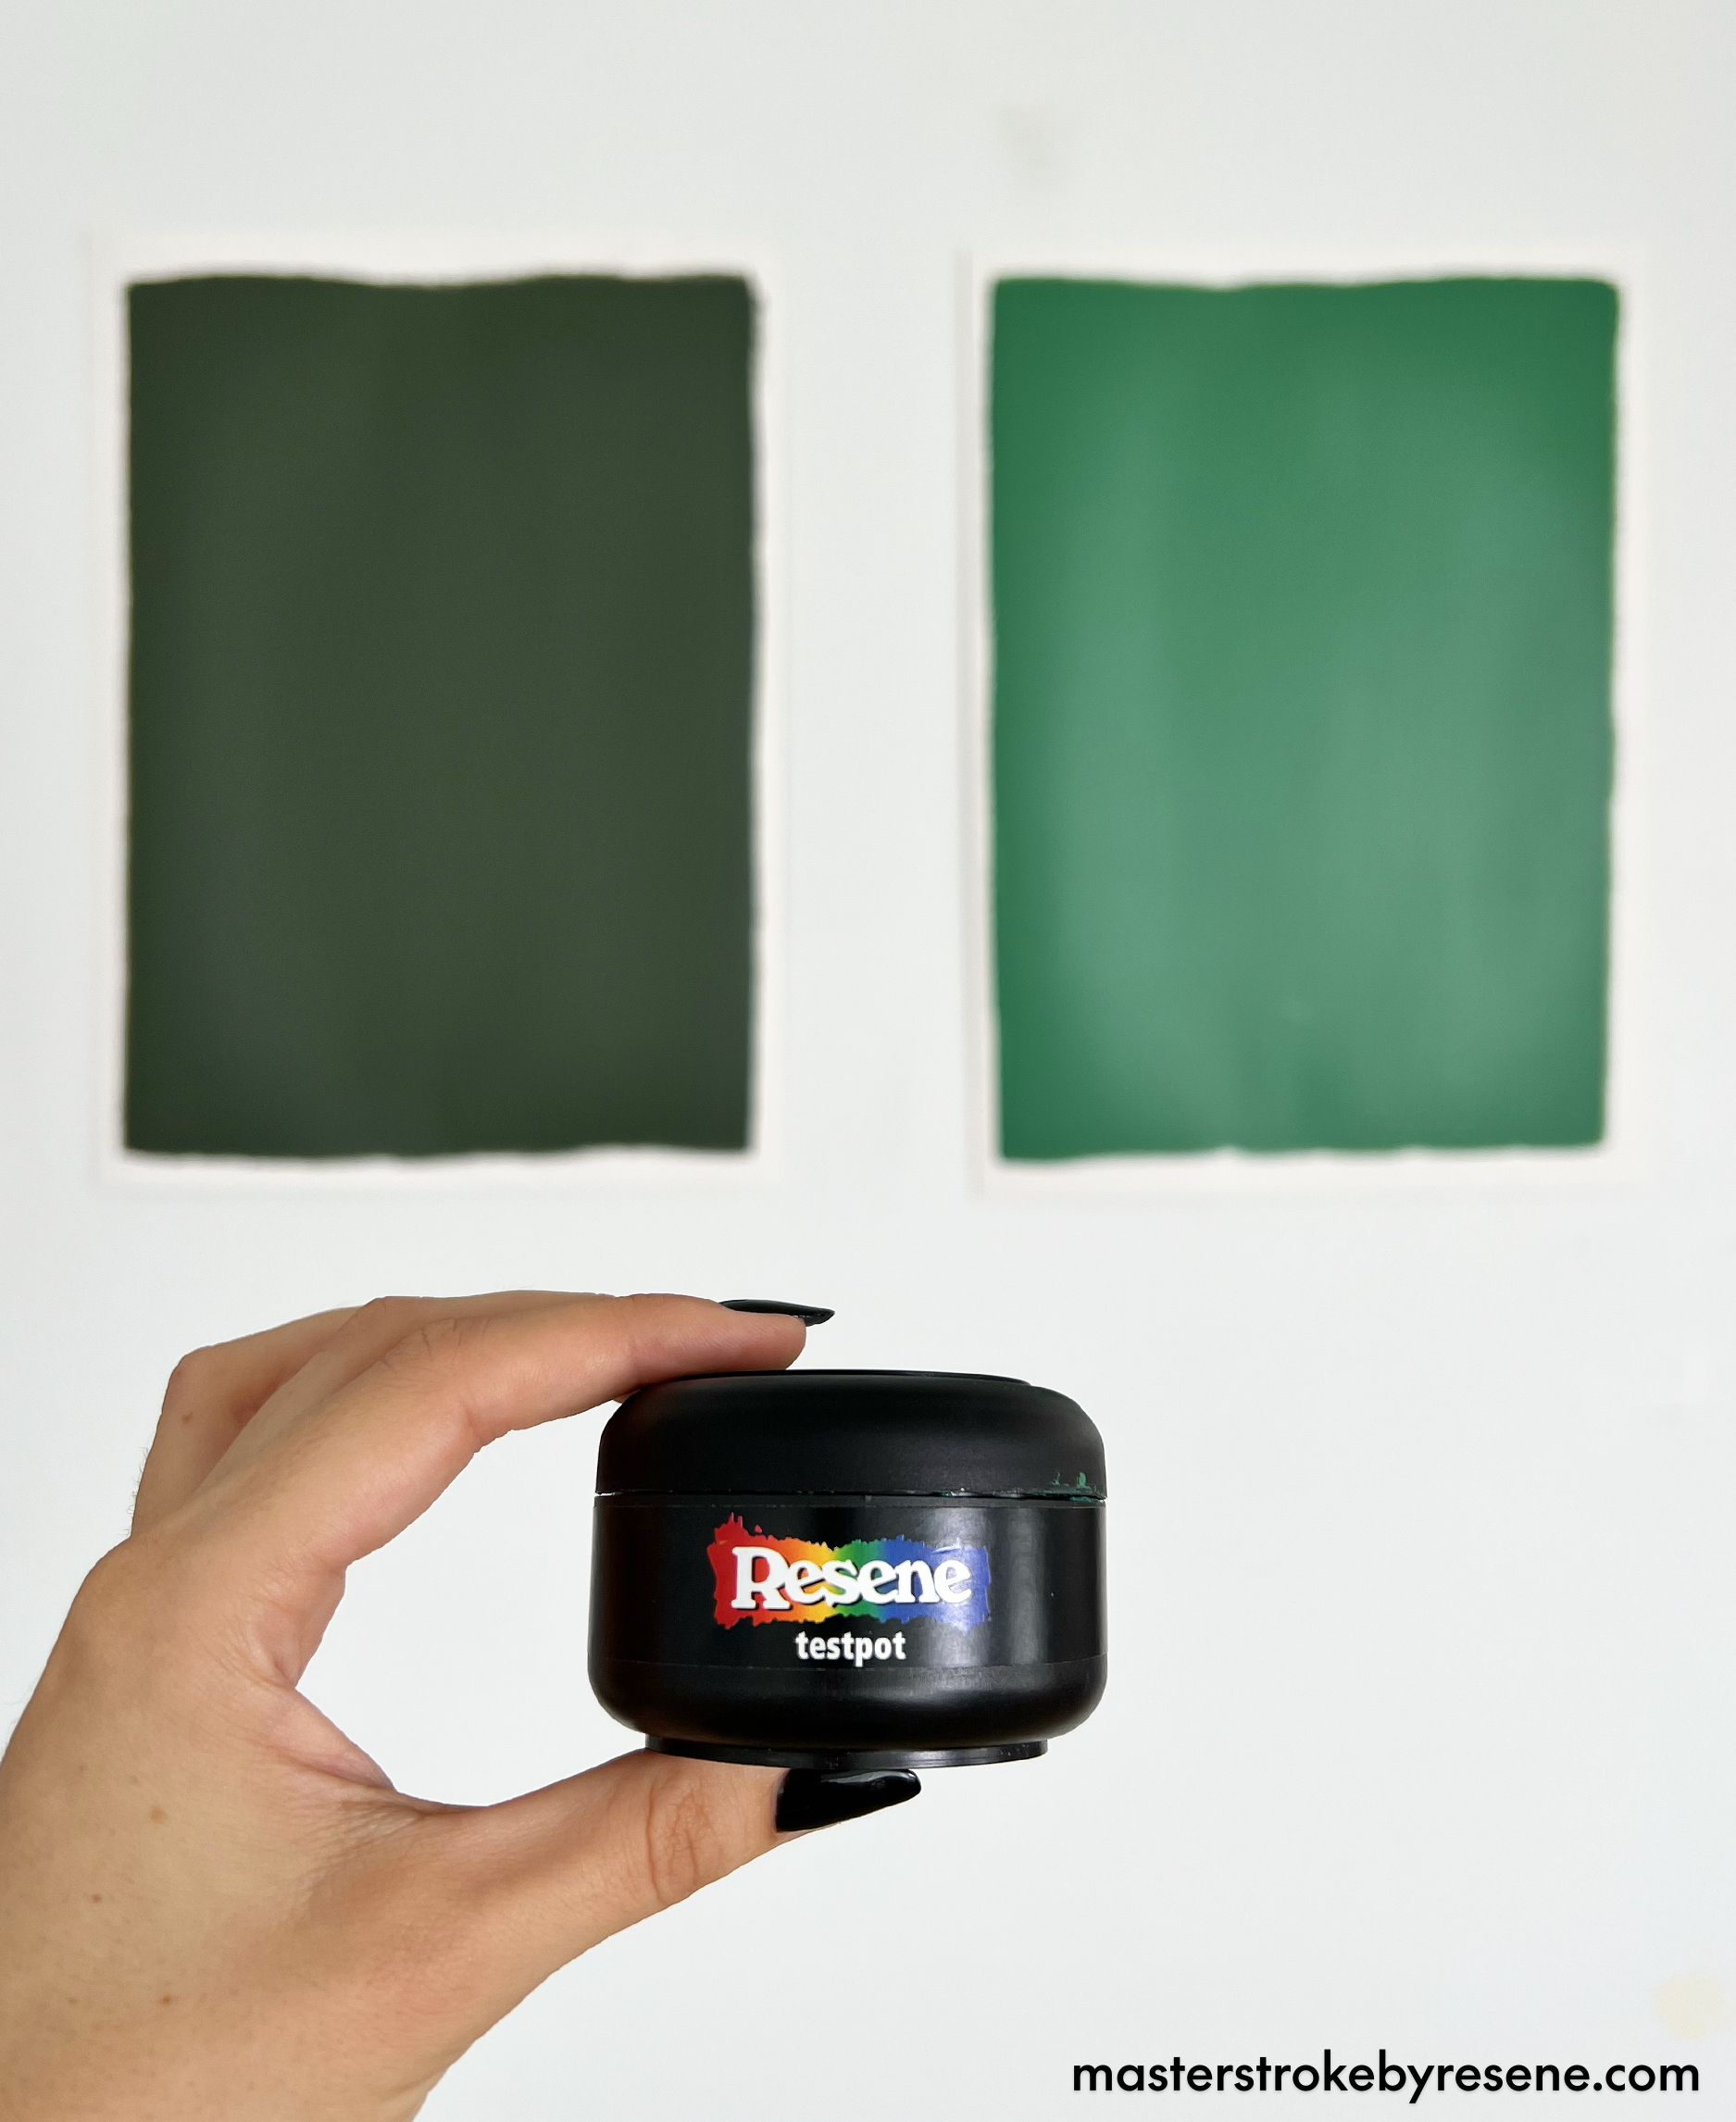
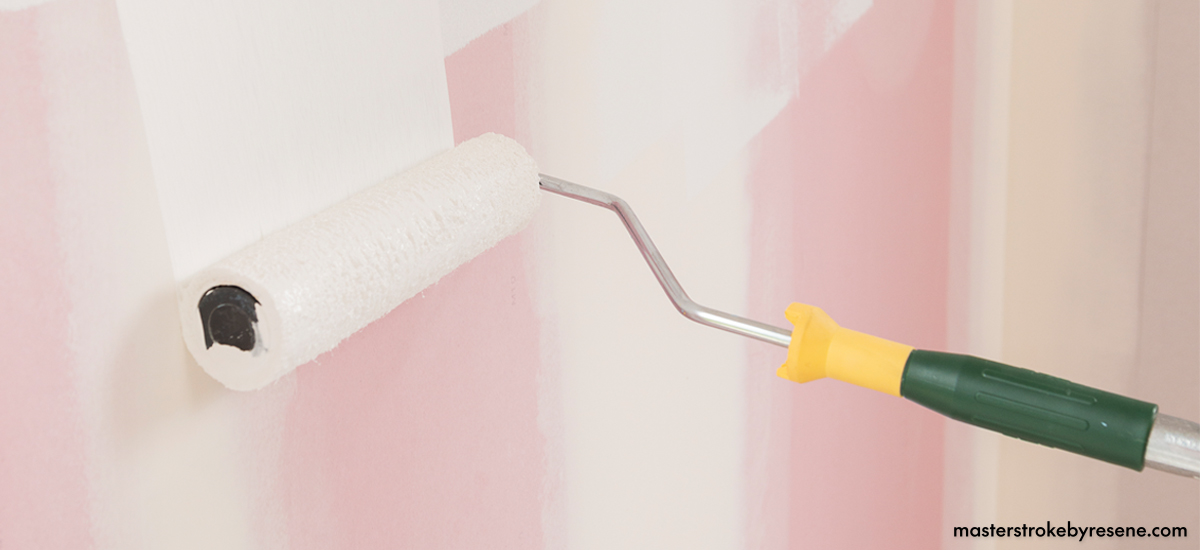
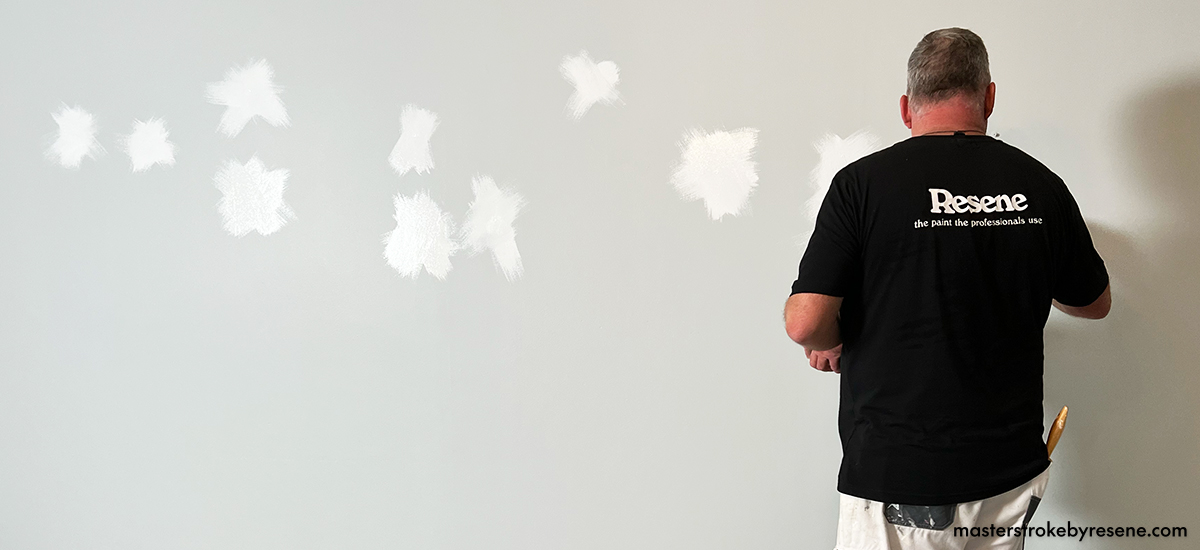
A good decorating result comes down to good quality paint – and not cutting corners when doing the prep work. Luckily, Resene has you sorted in both respects. But if you don’t know where to start, follow these pro tips for choosing the right products and prepping a room for painting perfection.

Think about it

Resene Paint Expert Murdo Shaw says using your brain and doing the work before you lift the paint roller is key to a good result.

Before you crack the lid on your Resene paint, think long and hard about how you currently use the room and how it will be used in the future.

“I’m a big fan of having a cup of tea and a biscuit – Tim Tam Double Chocolate is my favourite –  and having a good think about the project,” says Murdo. “Consider what sort of use the room is going to get –  there’s a big difference between a spare bedroom at Nana’s house and a living room in the house of a young family. Consider if the room is a high-traffic area, is it likely to get messy, do you have pets and how much wear and tear is it going to get?”

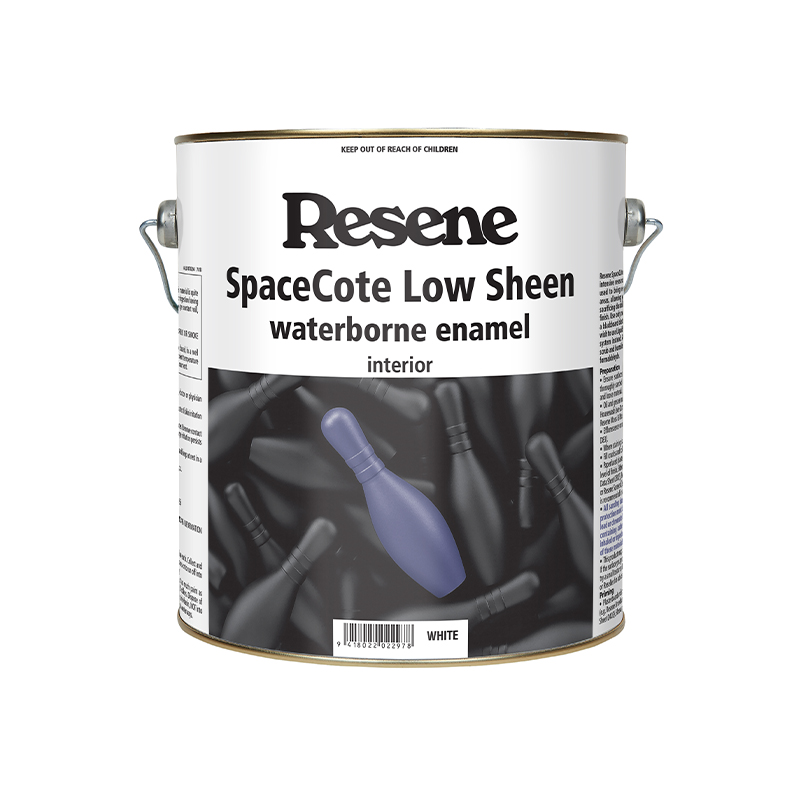
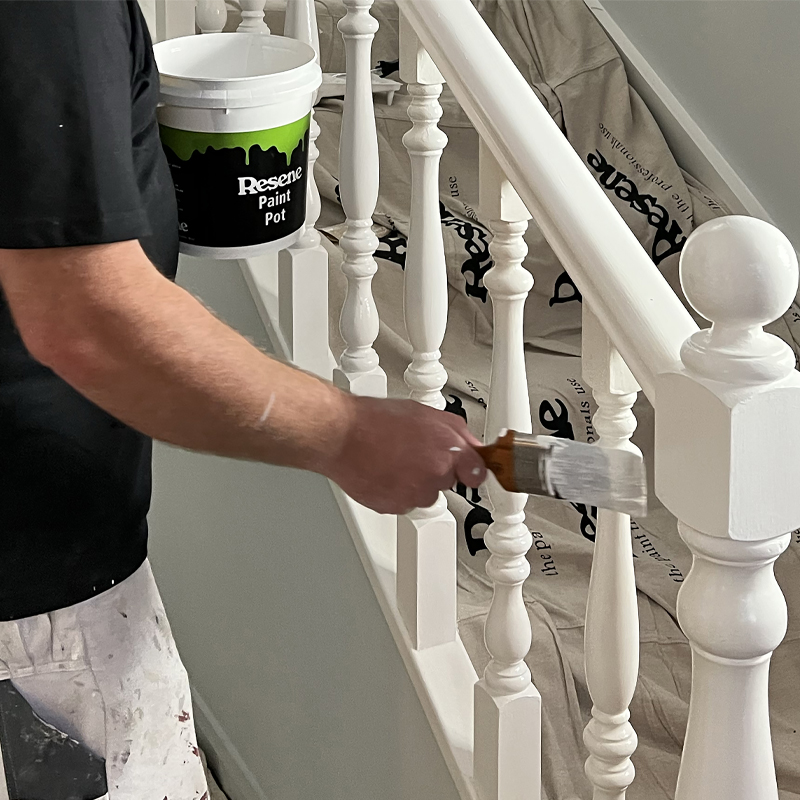
For high-traffic areas like living rooms, Murdo recommends Resene SpaceCote Low Sheen. 

“I like to put durable paint on the wall, so I try to use Resene SpaceCote Low Sheen where I can because it has a nicelooking finish, it’s super hard-wearing and it’s easy to clean.”

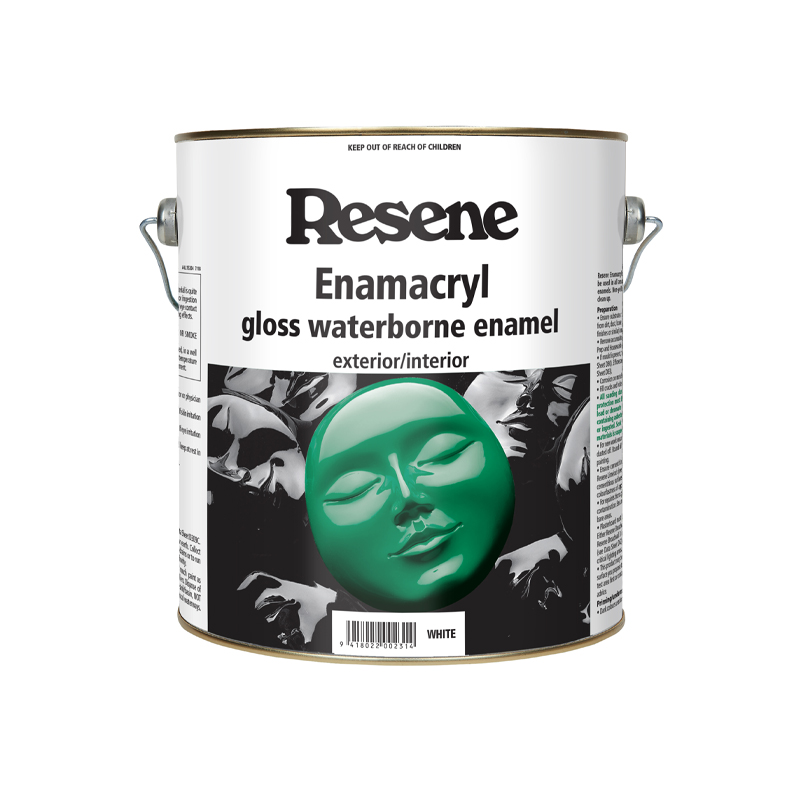
If the room has panelling or wainscoting or is going to be subjected to lots of kicks, scuffs or finger marks from kids, then consider using Resene Lustacryl semi-gloss waterborne enamel below the dado, which will be even easier to wipe clean.

“Lots of designers and homeowners love a flat finish, but the trade-off is durability. For extra protection, consider a semi-gloss waterborne enamel like Resene Lustacryl. Essentially the higher the gloss, the higher the protection.”

Murdo recommends that before you do anything, you sit down with a cuppa and a biscuit and have a very careful and thorough think about your paint project and what kind of room you’re tackling.

Test, test, test!

Once you’ve chosen the type of paint, the next thing to consider is what colour you want to use in the space. Resene testpots are your best friend here. Paint a piece of A2 card in two coats using your Resene testpot and leave an unpainted border around the edge.  Once it’s dry, move it to different parts of the room to see the colour at different times of the day and in different light. Observe how the colour changes to determine if it’s the right colour for you.

Choose your ceiling and trim colours to coordinate with the wall colour. Trims and ceilings don’t have to be white, but if you’re opting for a white or neutral ceiling colour and neutral walls, the general rule is to choose a hue that is at least one or two strengths lighter than what is on your walls. This is because there is less natural light at the top of the room, making the colour appear darker. For example, if your wall is painted in Resene Double Merino, then for your ceiling you might like to try Resene Half Merino or Resene Quarter Merino. The same rule applies for trims such as skirting boards, architraves and scotias. Use a semi-gloss waterborne enamel such as Resene Lustacryl or a gloss enamel such as Resene Enamacryl.

When choosing a paint colour, paint your various Resene testpot colours onto a piece of A2 card and leave an unpainted border. Colours in this image are Resene Forest Green and Resene Green Pea.
Move the A2 card to different parts of the room to see the colour at different times of day and in different light. Colours in this image are Resene Forest Green and Resene Green Pea.

Calculate the amount of paint 

To work out how much paint you’ll need for your room, find out these three things:

  1. The area in square metres of the surface(s) to be painted (excluding areas where there are windows, doors etc)
  2. The spreading rate of the paint being used (usually on the paint can or online data sheet)
  3. The number of coats needed

Then follow this calculation: Surface area divided by spreading rate multiplied by number of coats

A quick and easy way to find out how much paint you’ll need is to use the handy Resene paint calculator below:

If you change data entered into the fields below, ensure you press the calculate button again to re-run the equations and get the new answers.
Calculated result: 0 Litres in total
To find the spreading rate of your Resene product, click here.
NB: Porous surfaces and shapes (ie corrugated iron) will require more paint.

On a roll

Whether you’re renovating your whole house or a single room, Murdo says if there’s one thing you don’t want to scrimp on it’s good quality paint and tools.

“A decent roller pole and proper roller sleeve are the most essential things you can buy after paint. But if you buy a good roller pole at the beginning of your project it should last a long time and it might even become an heirloom. It might be tempting to get a cheap pole, but cheap roller poles bend in the middle like a fishing rod and won’t last. A cheap pole may also affect the quality of your paint finish as you’ll have less control.”

Other essentials you might need (depending on the job at hand)

  • Cutting-in brush
  • A good quality paintbrush if there are fiddly areas not suitable for a roller.
  • Roller tray
  • Sandpaper 
  • Resene Interior Paintwork Cleaner 
  • Resene EzyFill Quick
  • Resene Quick Dry waterborne primer undercoat 
  • Gap filler
  • Drop sheets
  • Painter’s masking tape
  • A bucket for cleaning rollers and brushes
  • Ladder
  • A packet of biscuits and a cup of tea (or a thermos if you’re on a work site with no power)

Investing in quality tools is crucial for achieving the best finish possible and Murdo says a decent roller pole and proper roller sleeve are the most essential things you can buy after quality paint.

Do the prep

“Prep work is like a present to your future self,” says Murdo. The amount of prep required will depend on the job at hand. If there’s mould present, you will need to treat it with Resene Moss & Mould Killer before cleaning. If you are simply painting over smooth and undamaged walls, all you may need to do is clean the walls with Resene Interior Paintwork Cleaner. If the walls are damaged you may need to fill holes and dents with Resene EzyFill Quick, sand and then spot prime over the repairs using Resene Quick Dry. 

If you need to paint a brandnew room with new plasterboard, seal with Resene Broadwall Waterborne Wallboard Sealer.

“If you’re painting a new room yourself, you probably want to seal it with it within six weeks or the plasterboard can get sunburnt and go from a grey colour to a nasty brown,” says Murdo.

“The other thing you can do is if you have a light critical wall that is maybe going to be a feature wall then bring it up to a level 5 finish the highest level of plaster finish by using Resene Broadwall Surface Prep & Seal. It’s a really good product. It’s really thick, like the consistency of sour cream and works almost like a thin coat of plaster. This means you can end up with a much smoother finish on light critical walls.”

Spread out the prep

A critical mistake many DIYers make is not leaving enough time for walls to dry after cleaning or for filler to harden. If you’re planning on painting on the weekend, Murdo suggests doing the prep during the weeknights leading up to painting day.

“Do the wall washing on a Monday, sanding on a Tuesday, filling on a Wednesday, sanding and priming on a Thursday,” suggests Murdo.  That way the prep will only take a little time each night and you’ll be ready to paint on the weekend.

Ready to start painting your room? Read part two here.

As Murdo puts it, prep work is like a present to your future self. If the walls are damaged, you may need to fill holes and dents with Resene EzyFill Quick, sand and then spot prime over the repairs using Resene Quick Dry.

About MasterStroke by Resene
MasterStroke by Resene is here to help you master your paint and decorating DIY projects. Brush up on your skills with advice, tips and ideas from our trusted experts.

Check out the latest how-to videos on our YouTube channel.