How to

Expert advice to paint a room to perfection

Refreshing a room with paint can have a huge effect on the way you feel about a space. However, if you’re new to DIY and don’t know where to start, follow these pro tips to paint your room to perfection. Resene Paint Expert Murdo Shaw is used to big painting projects like multi-unit residential buildings, but for beginners or DIYers who only have time to tackle one room at a time, he says a good result comes to doing the right prep, choosing the right paint, and planning your approach.

Haven’t planned or prepped your room for painting? Read part 1 here.
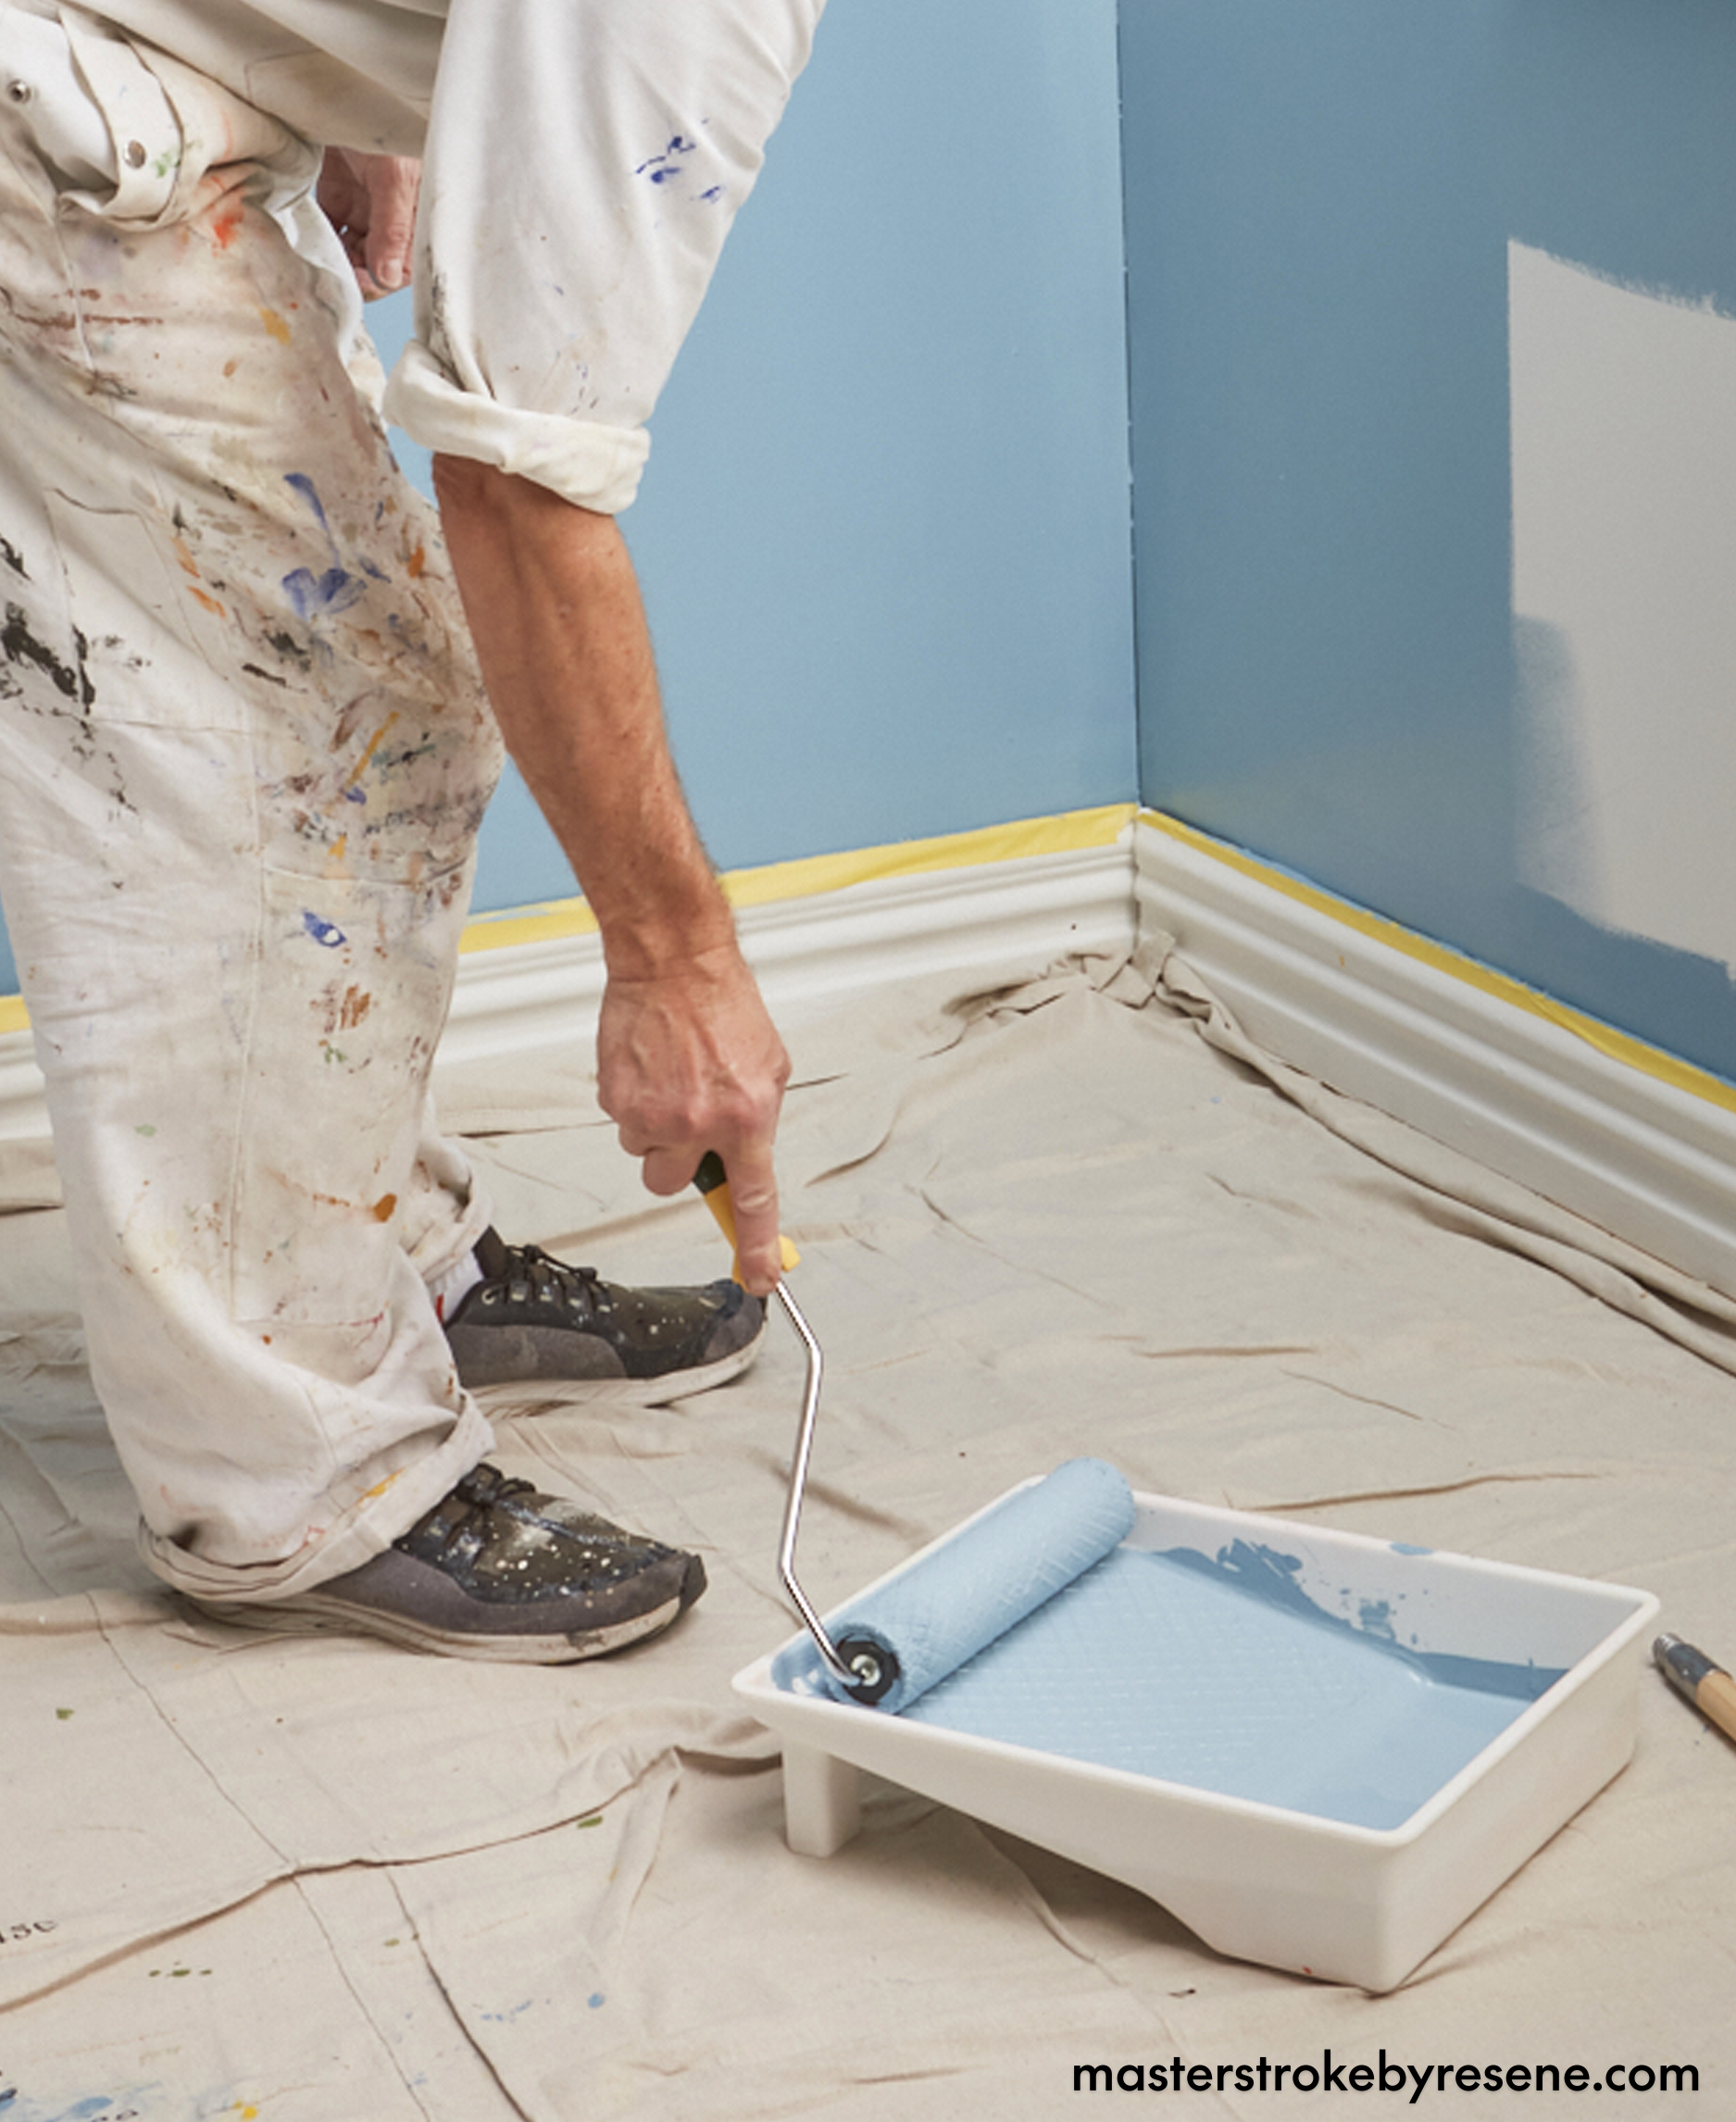
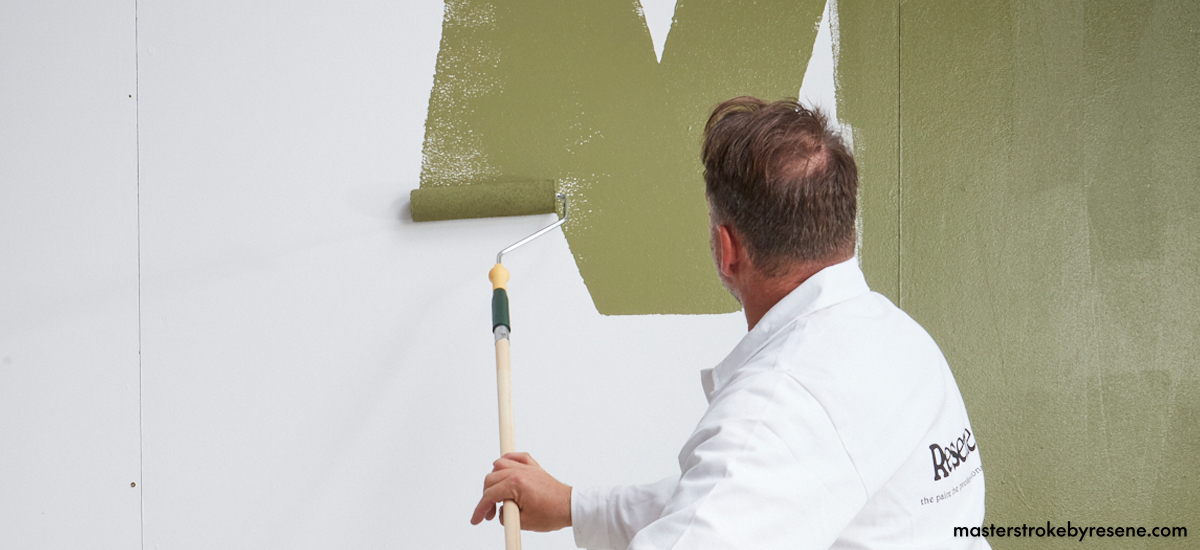
Order, order

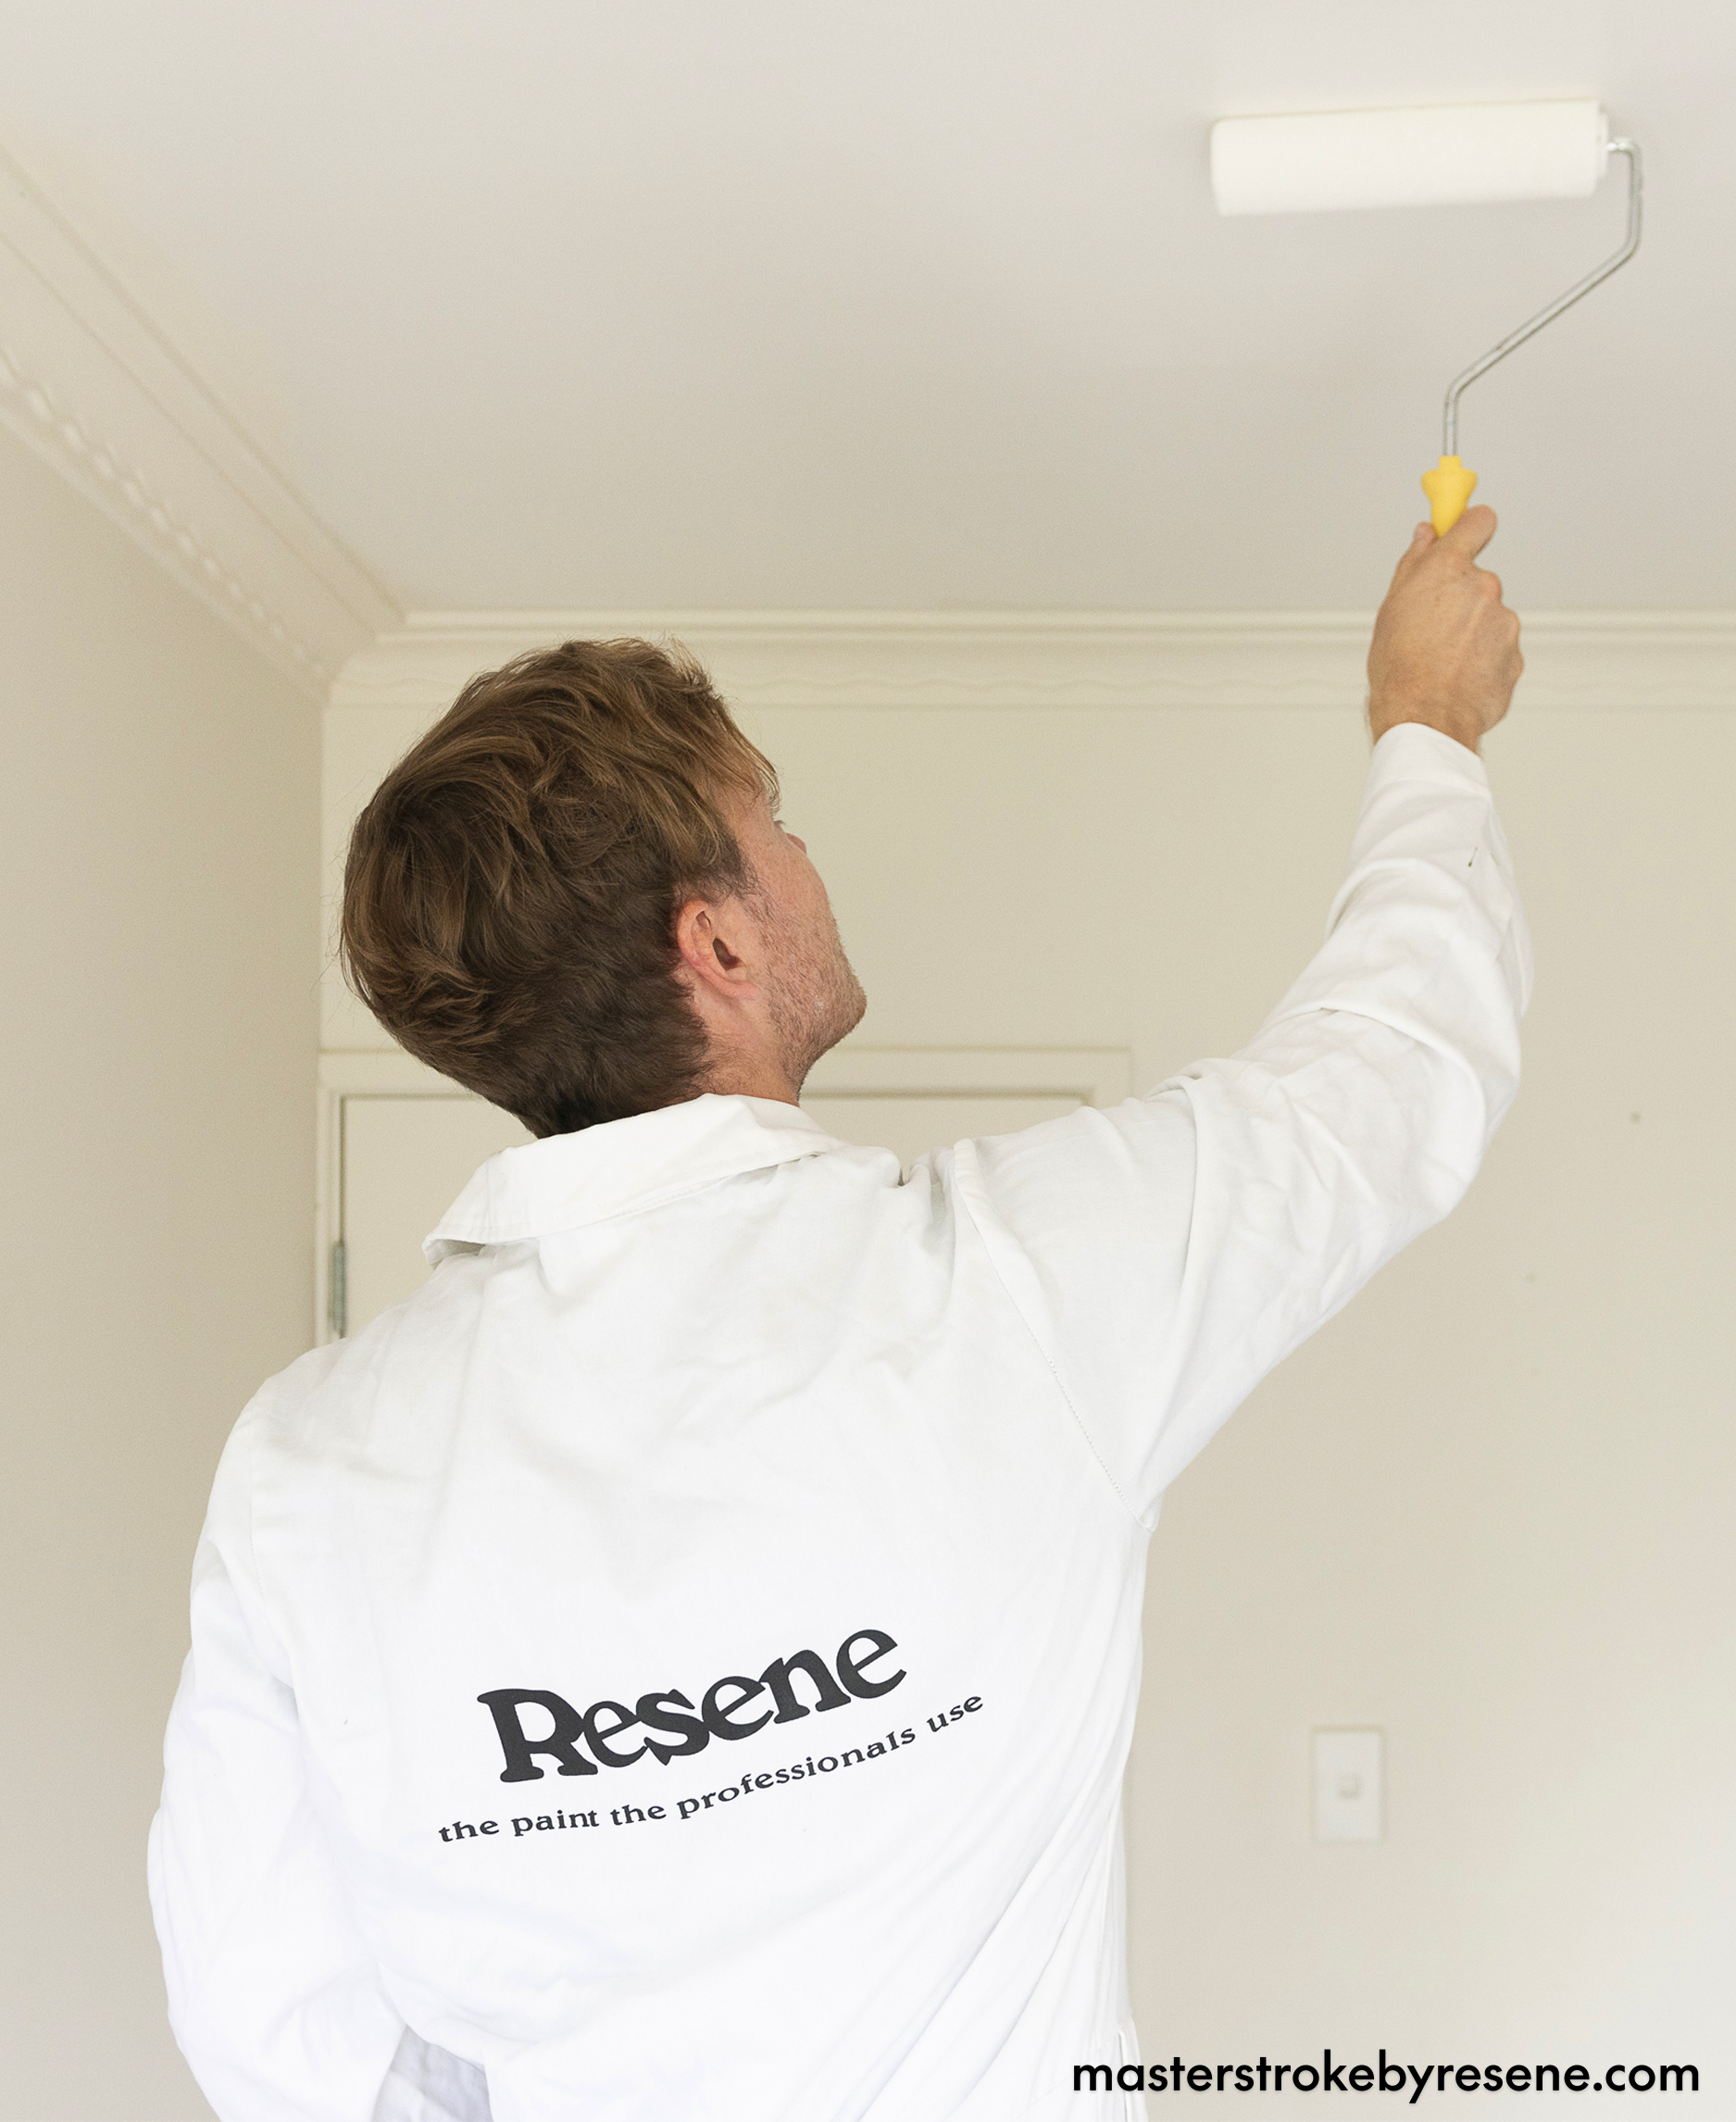
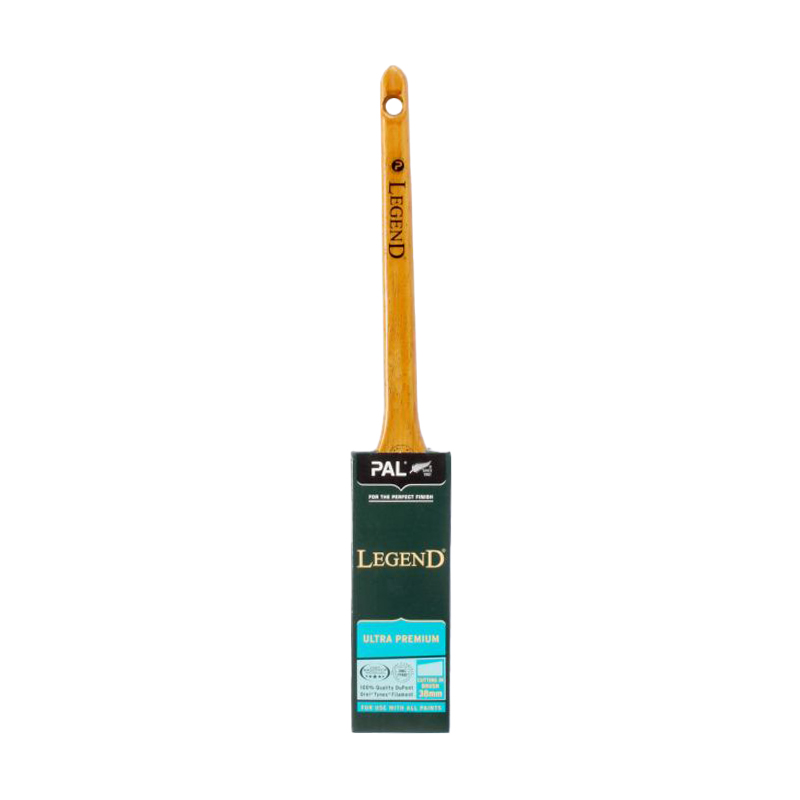
Once you’ve chosen your colours and paint products and done all the prep work, it’s time to get painting. “The standard painting order is to start at the top of the room, working your way down,” says Murdo. The usual order is ceiling, walls, trims then floors. “This is because if you paint the walls before the ceiling, then you’d get drops and splatters from the ceiling on your freshly painted walls.”

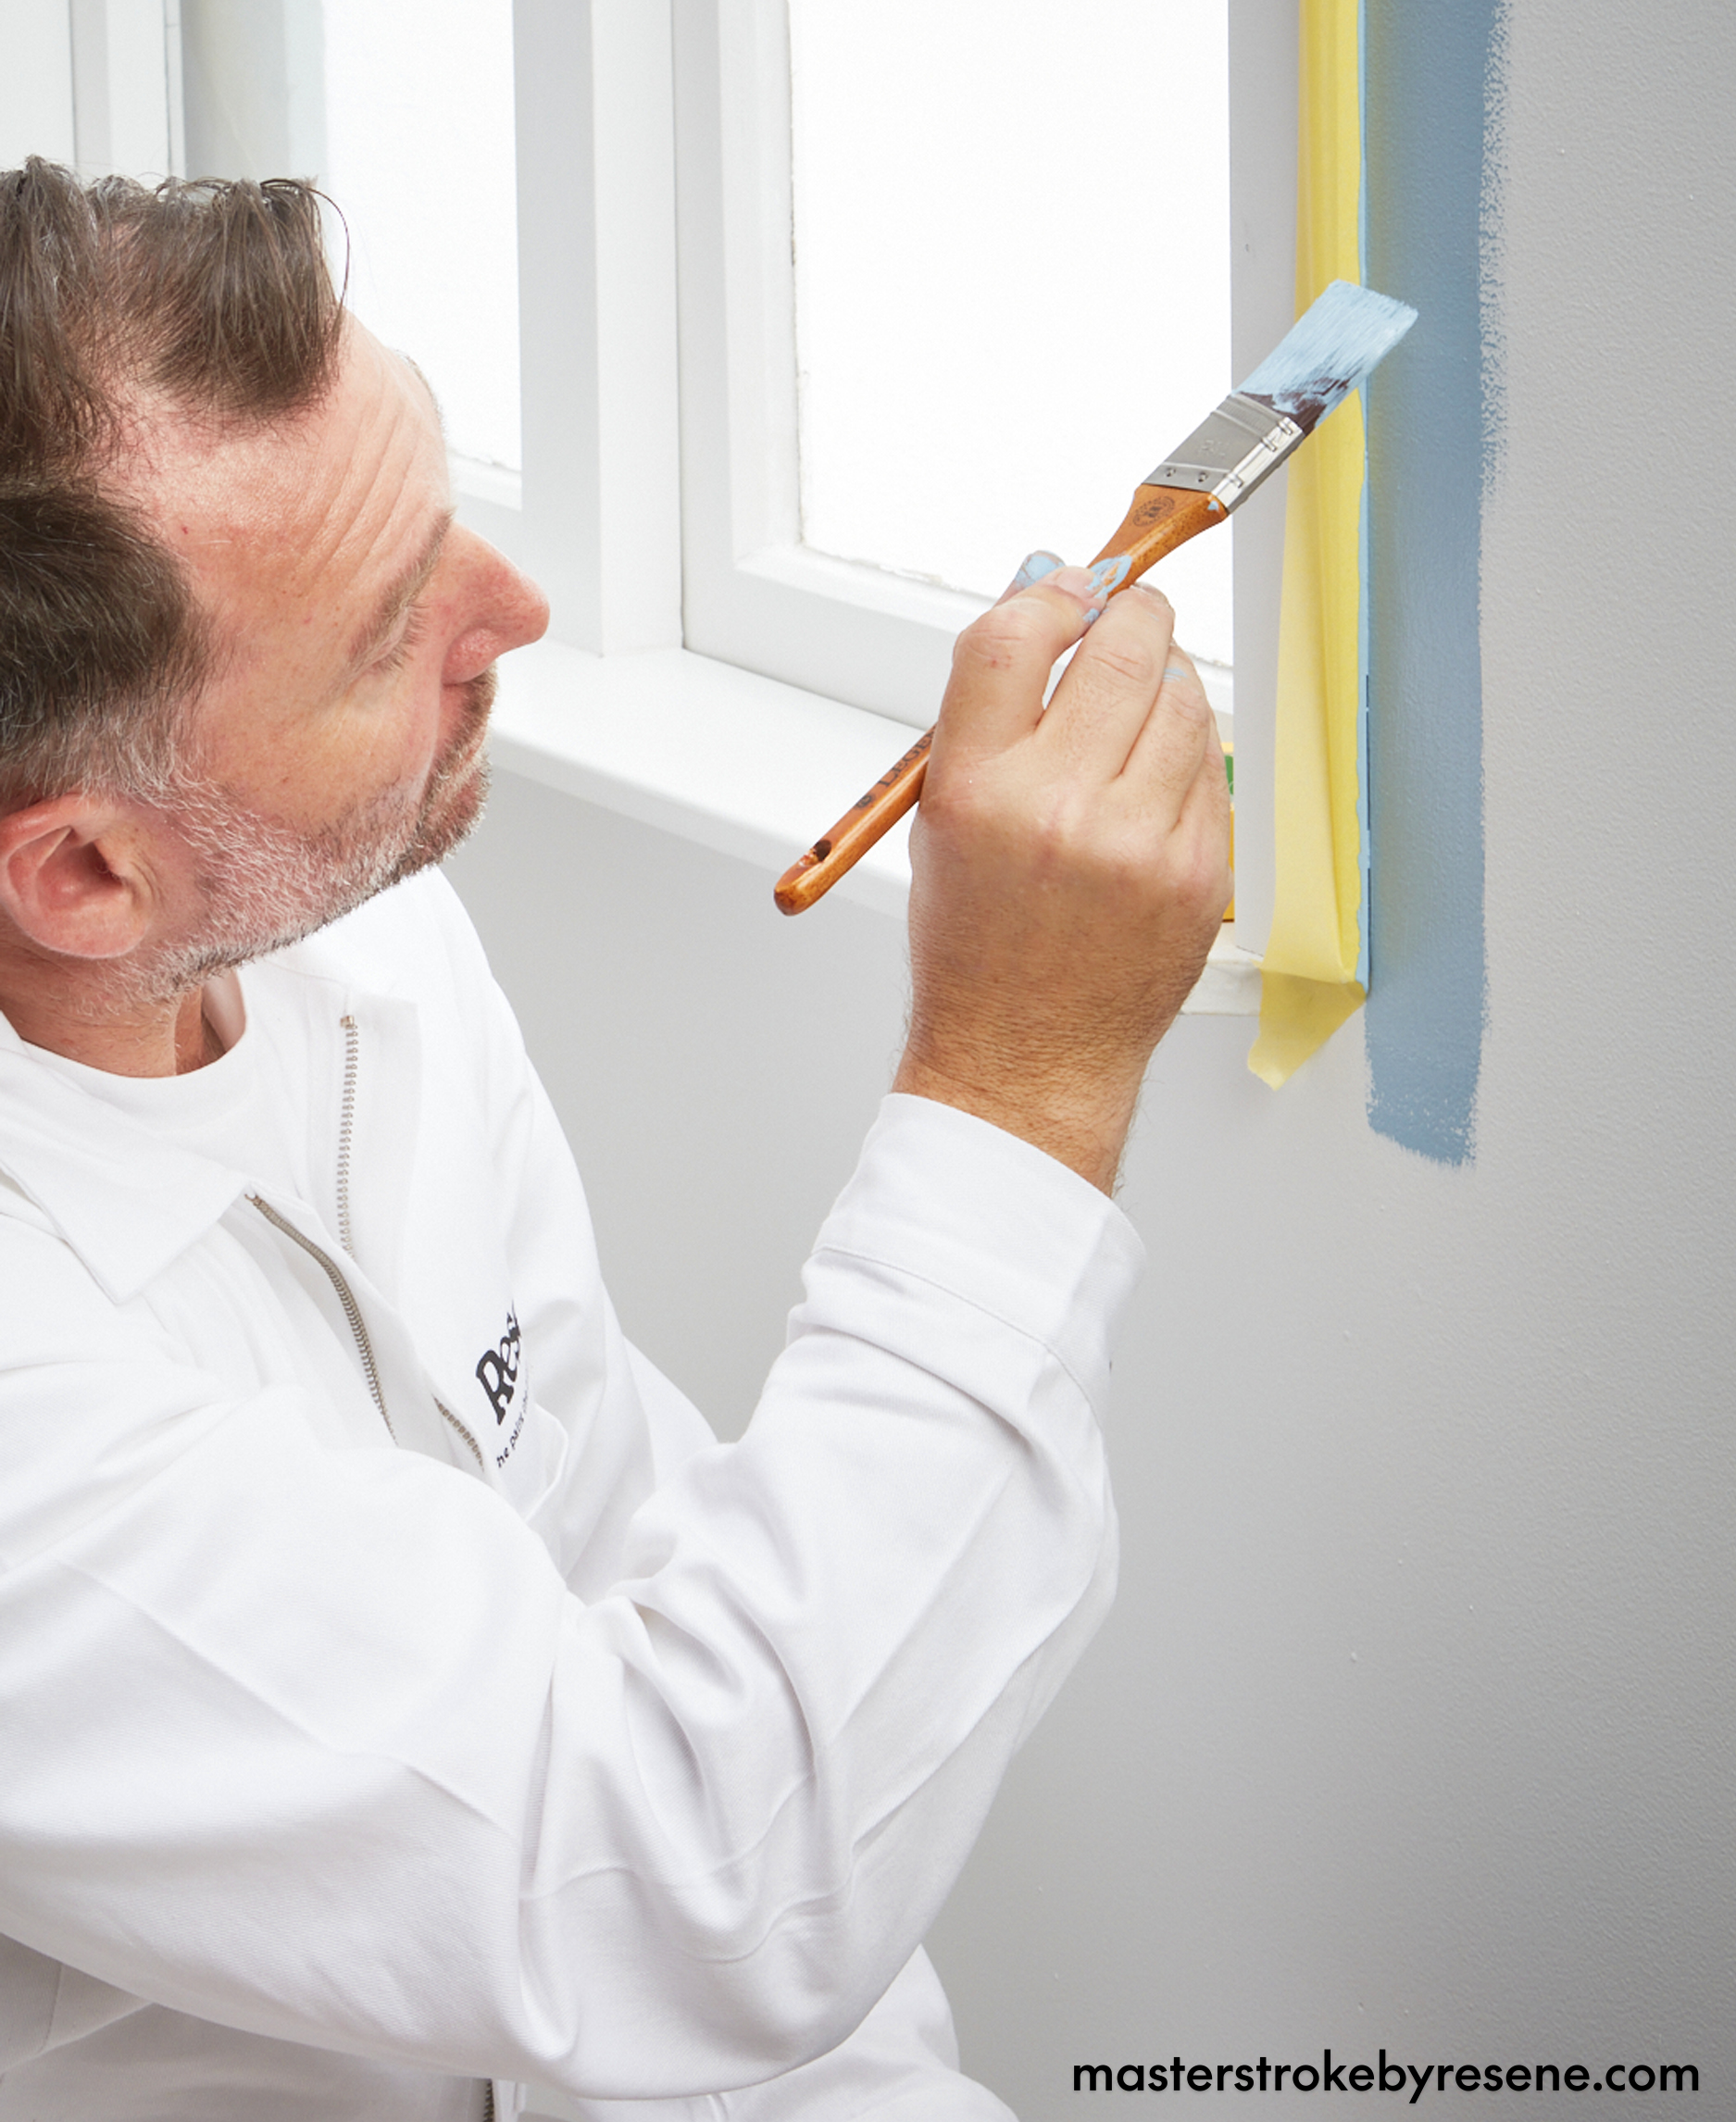
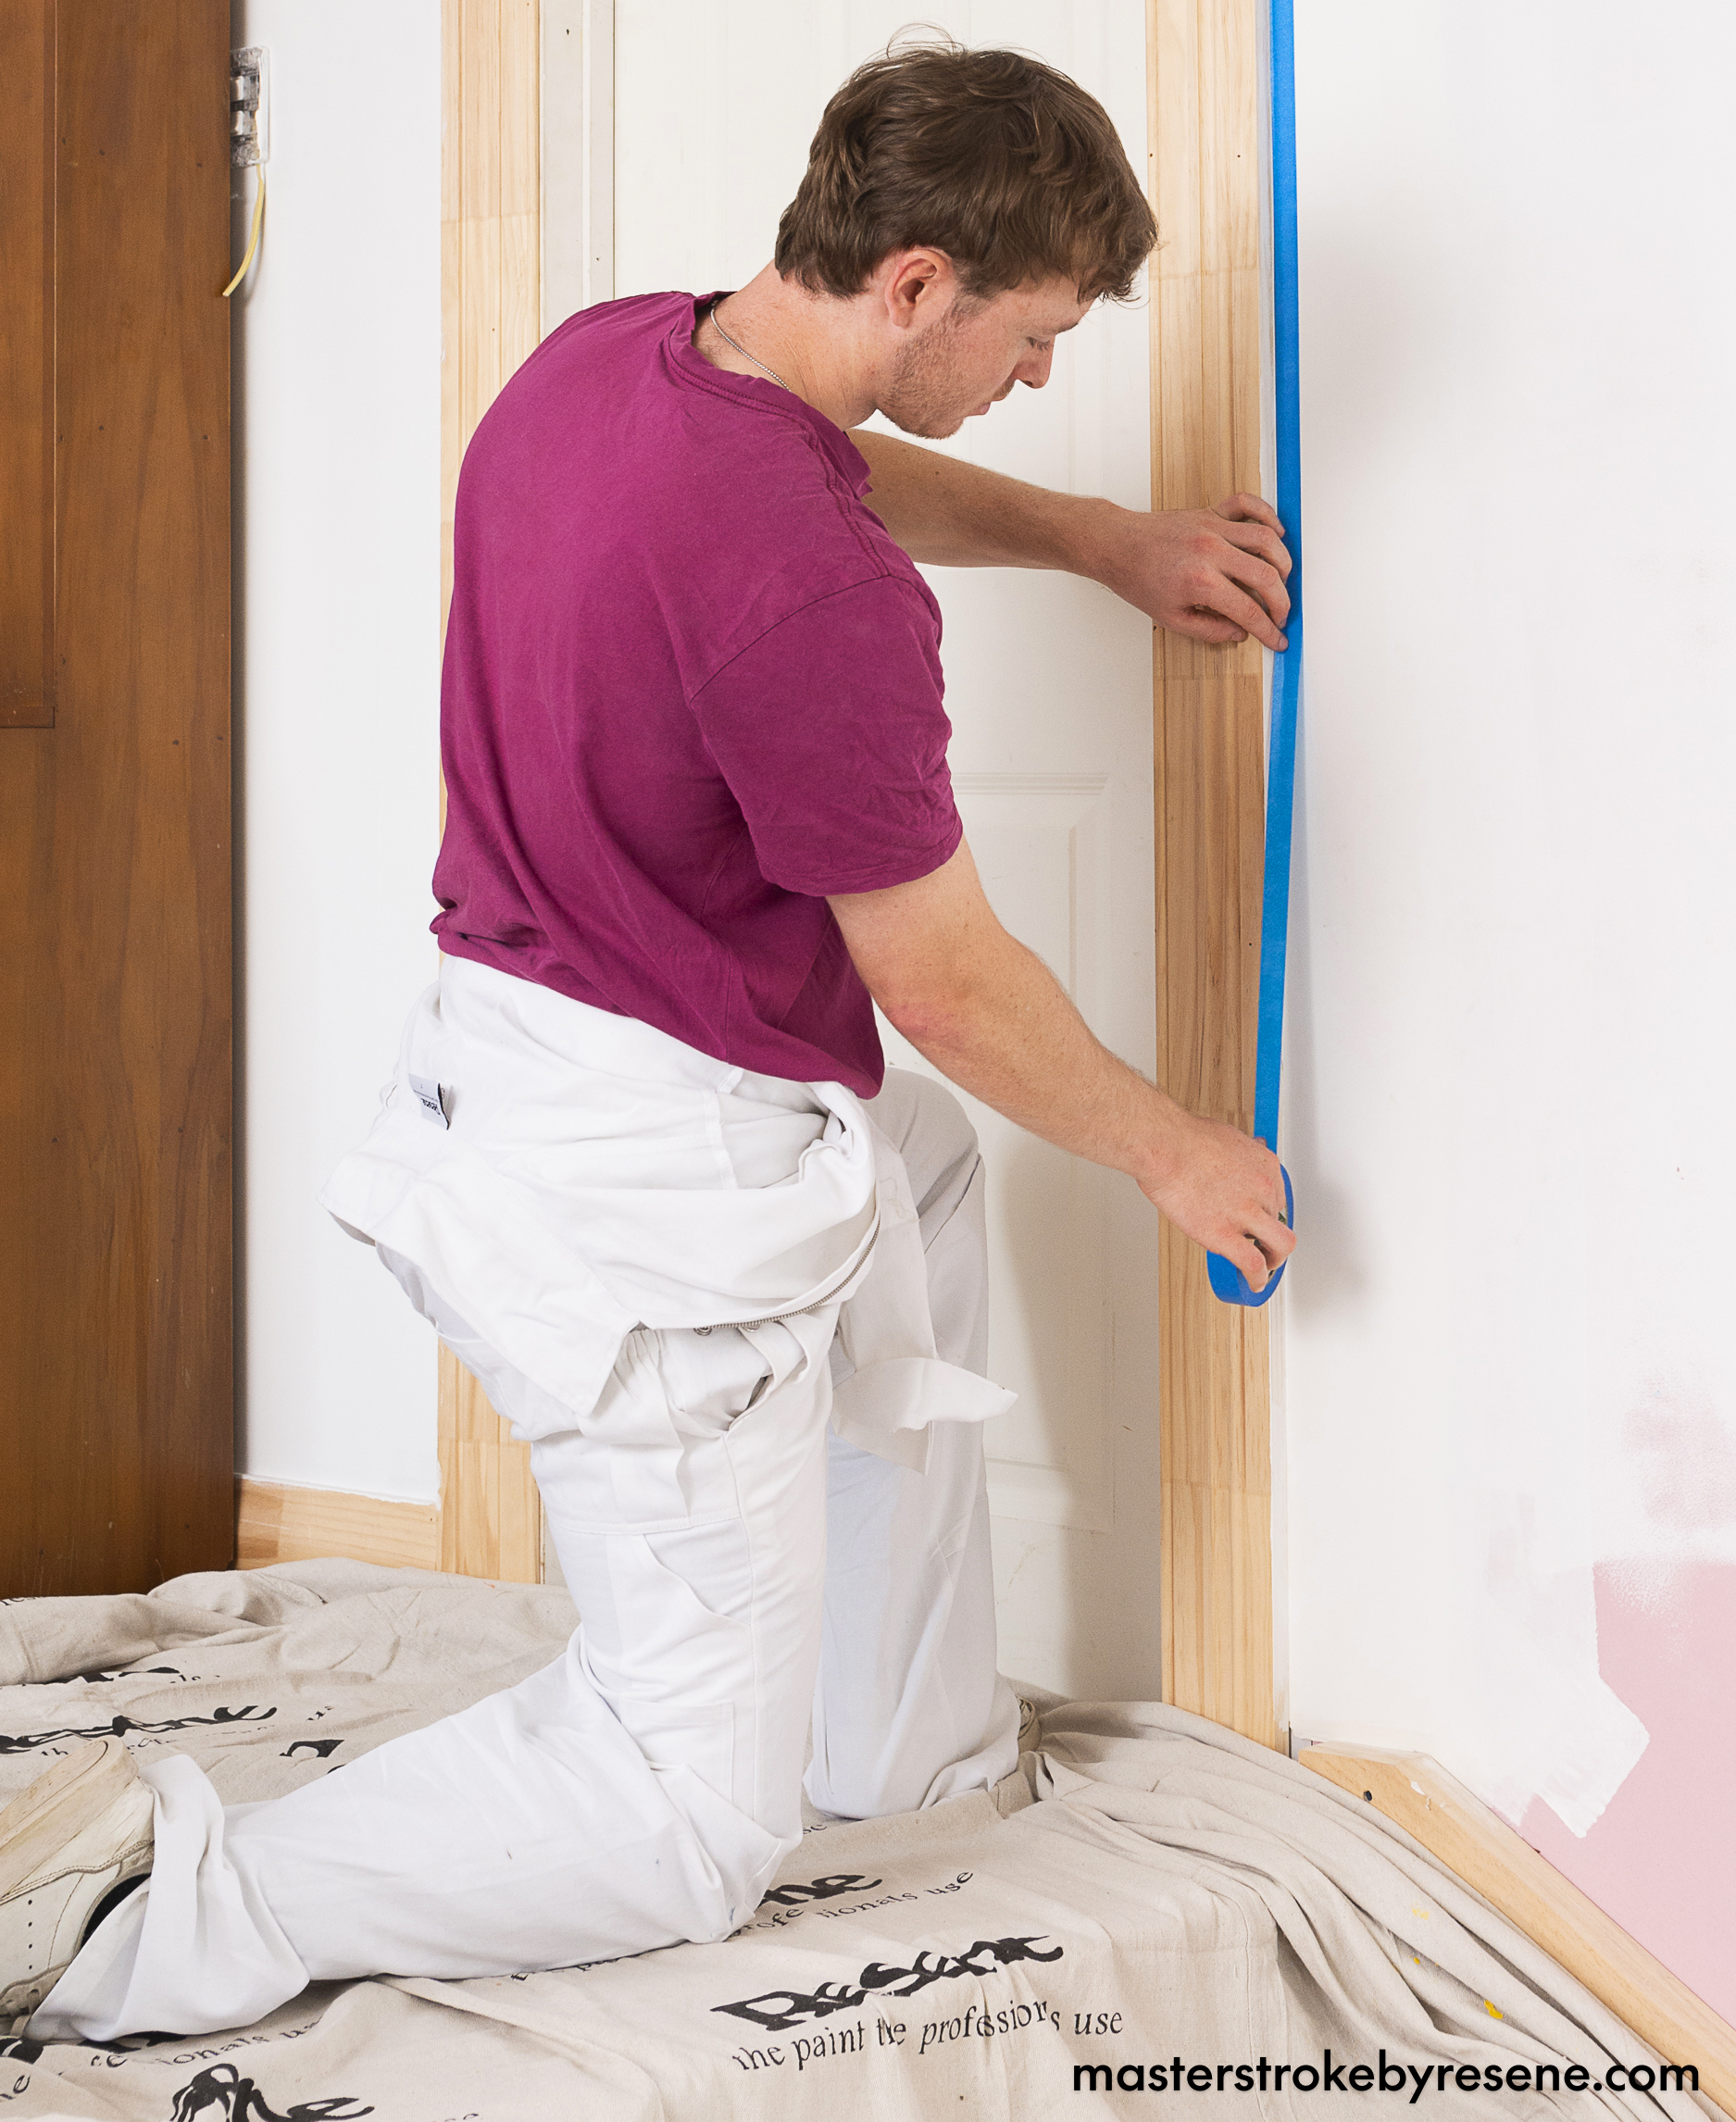
However, depending on your personal preference, painting skills and the amount of detailing in the room you might want to consider doing the trims before the walls.

“Personally, I like to paint the ceiling, then the trims, then the walls. This is because I find it much easier to cut into the edge of a wall, than cutting into something like an architrave – but that’s just my preference.”
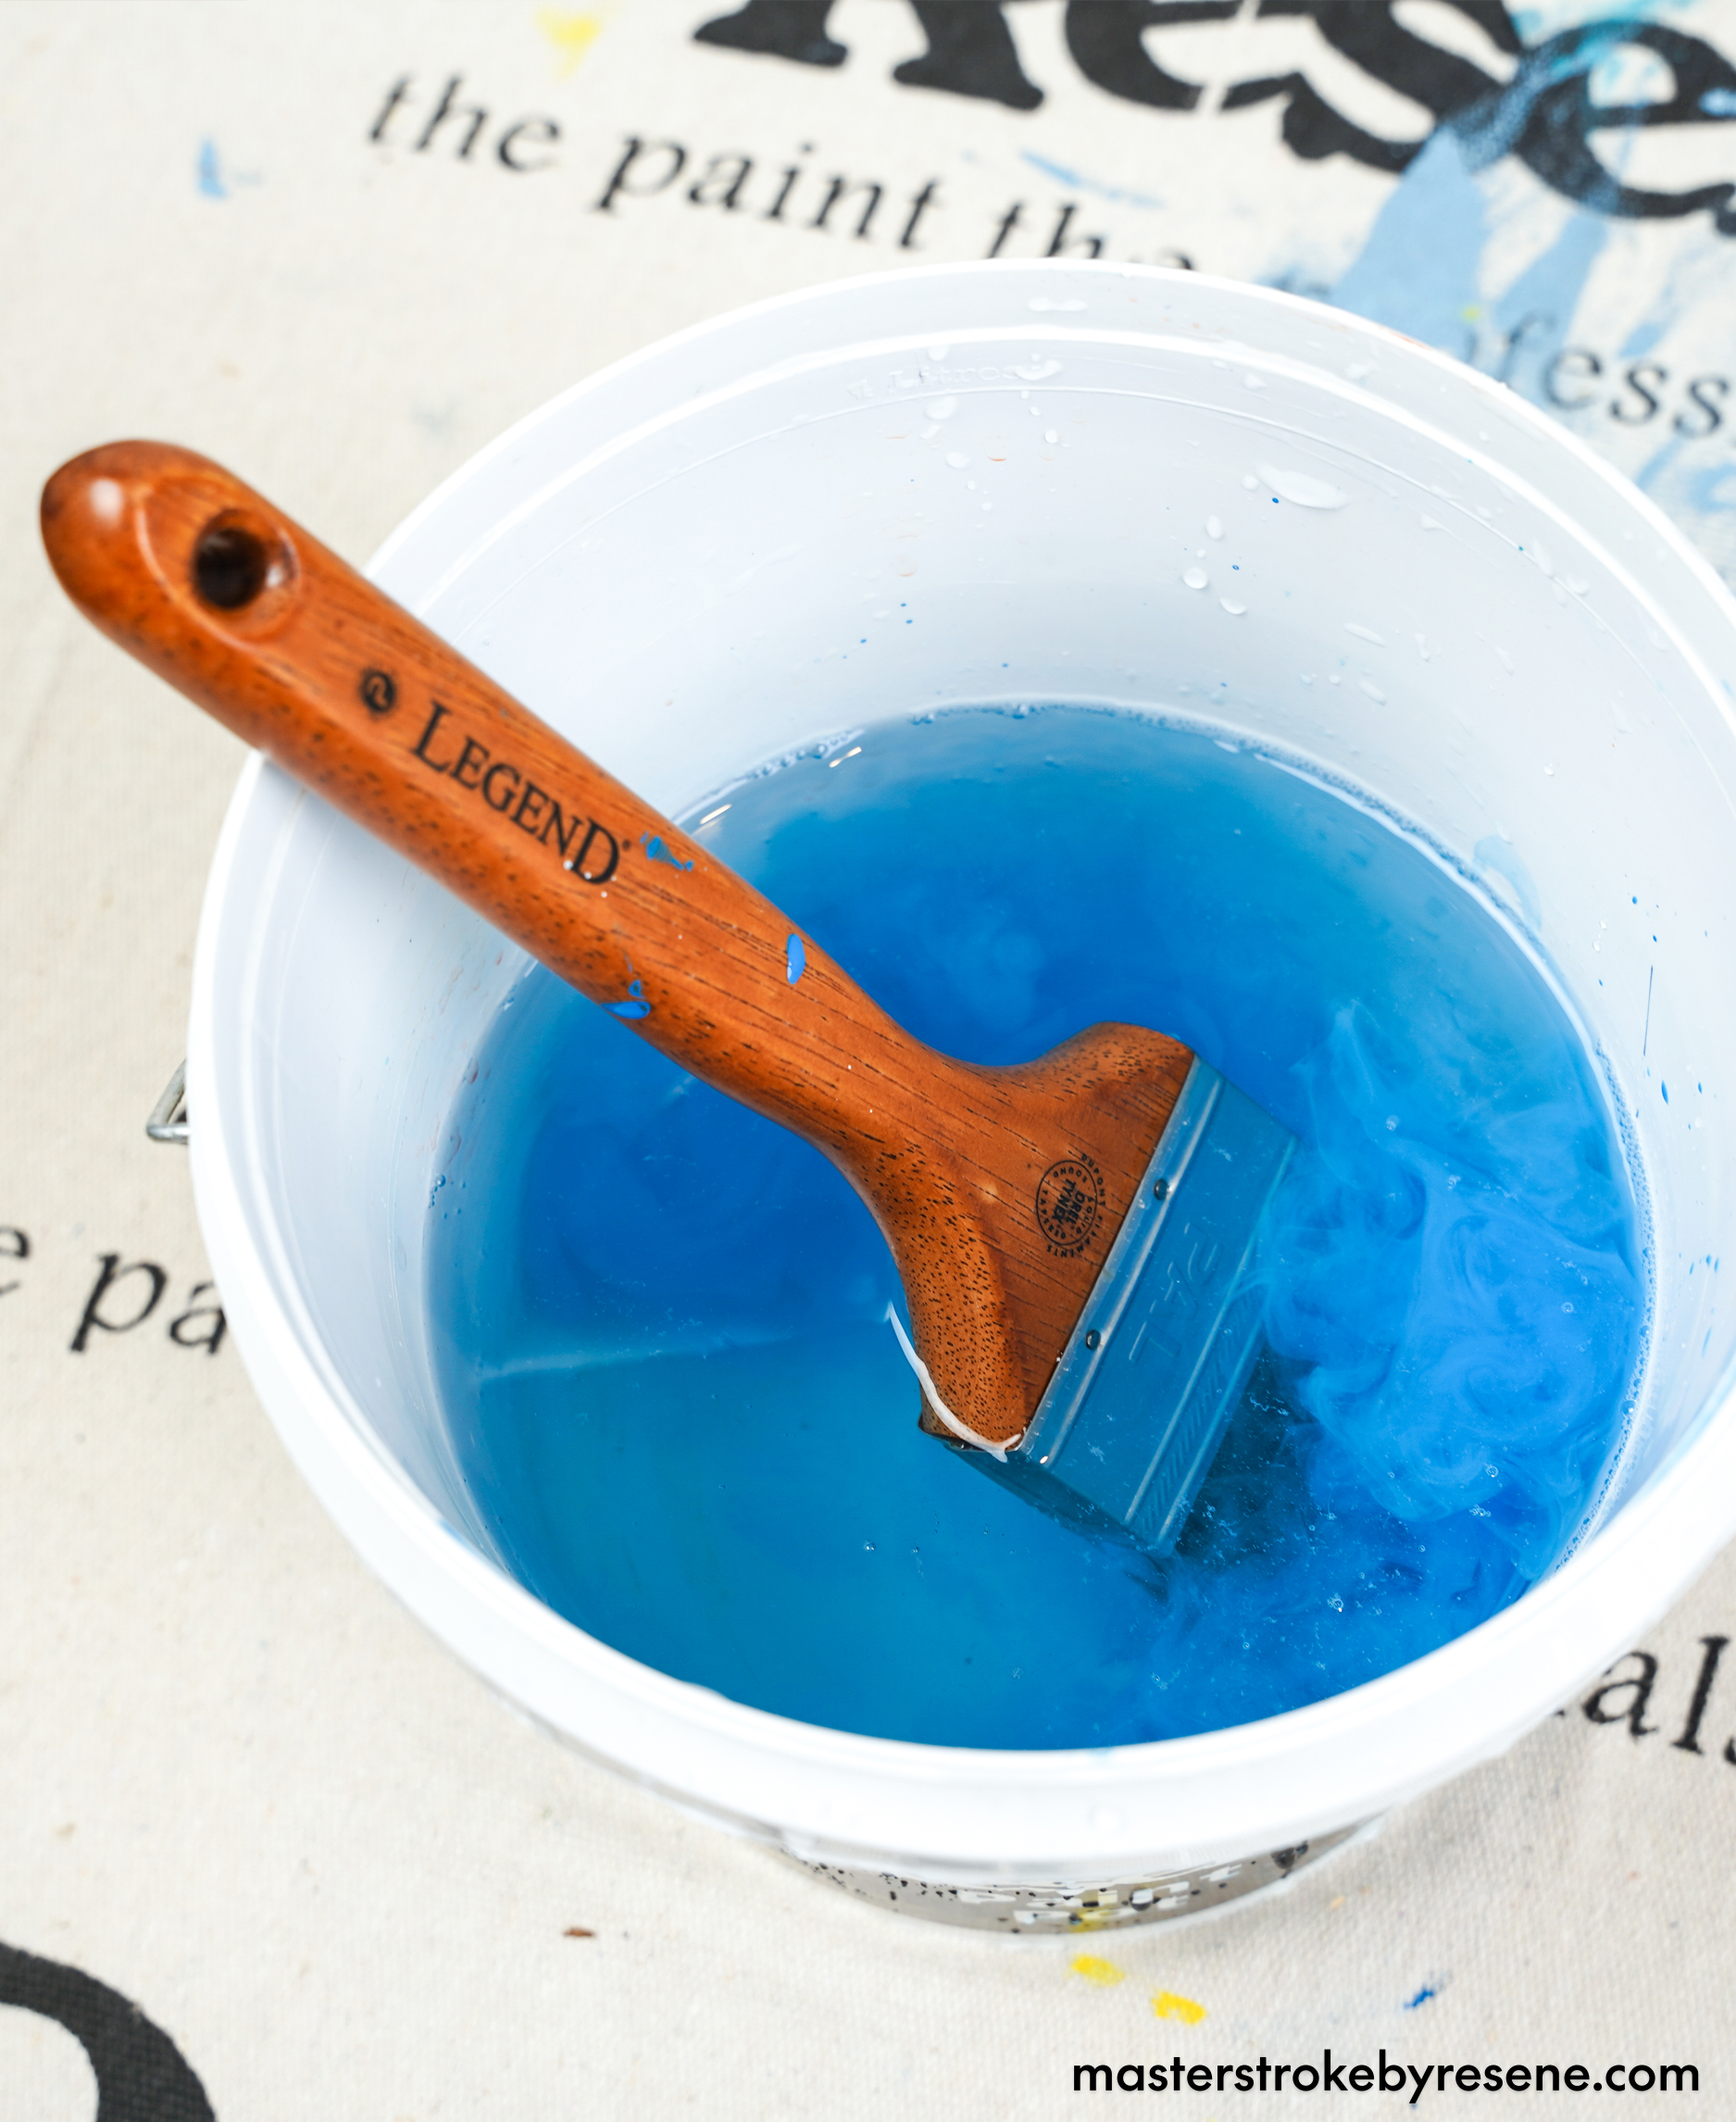
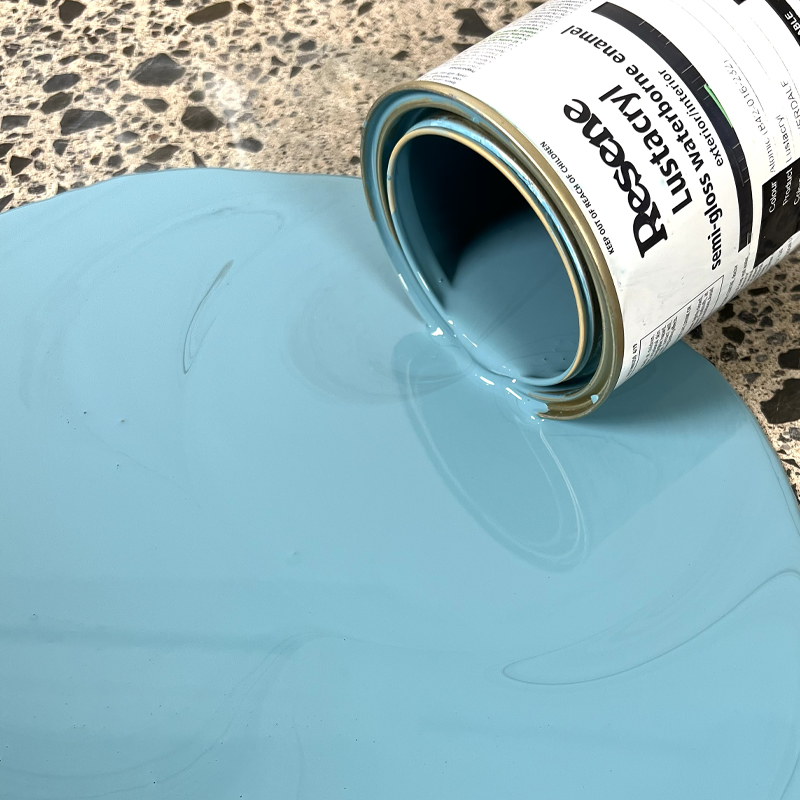
Stir things up

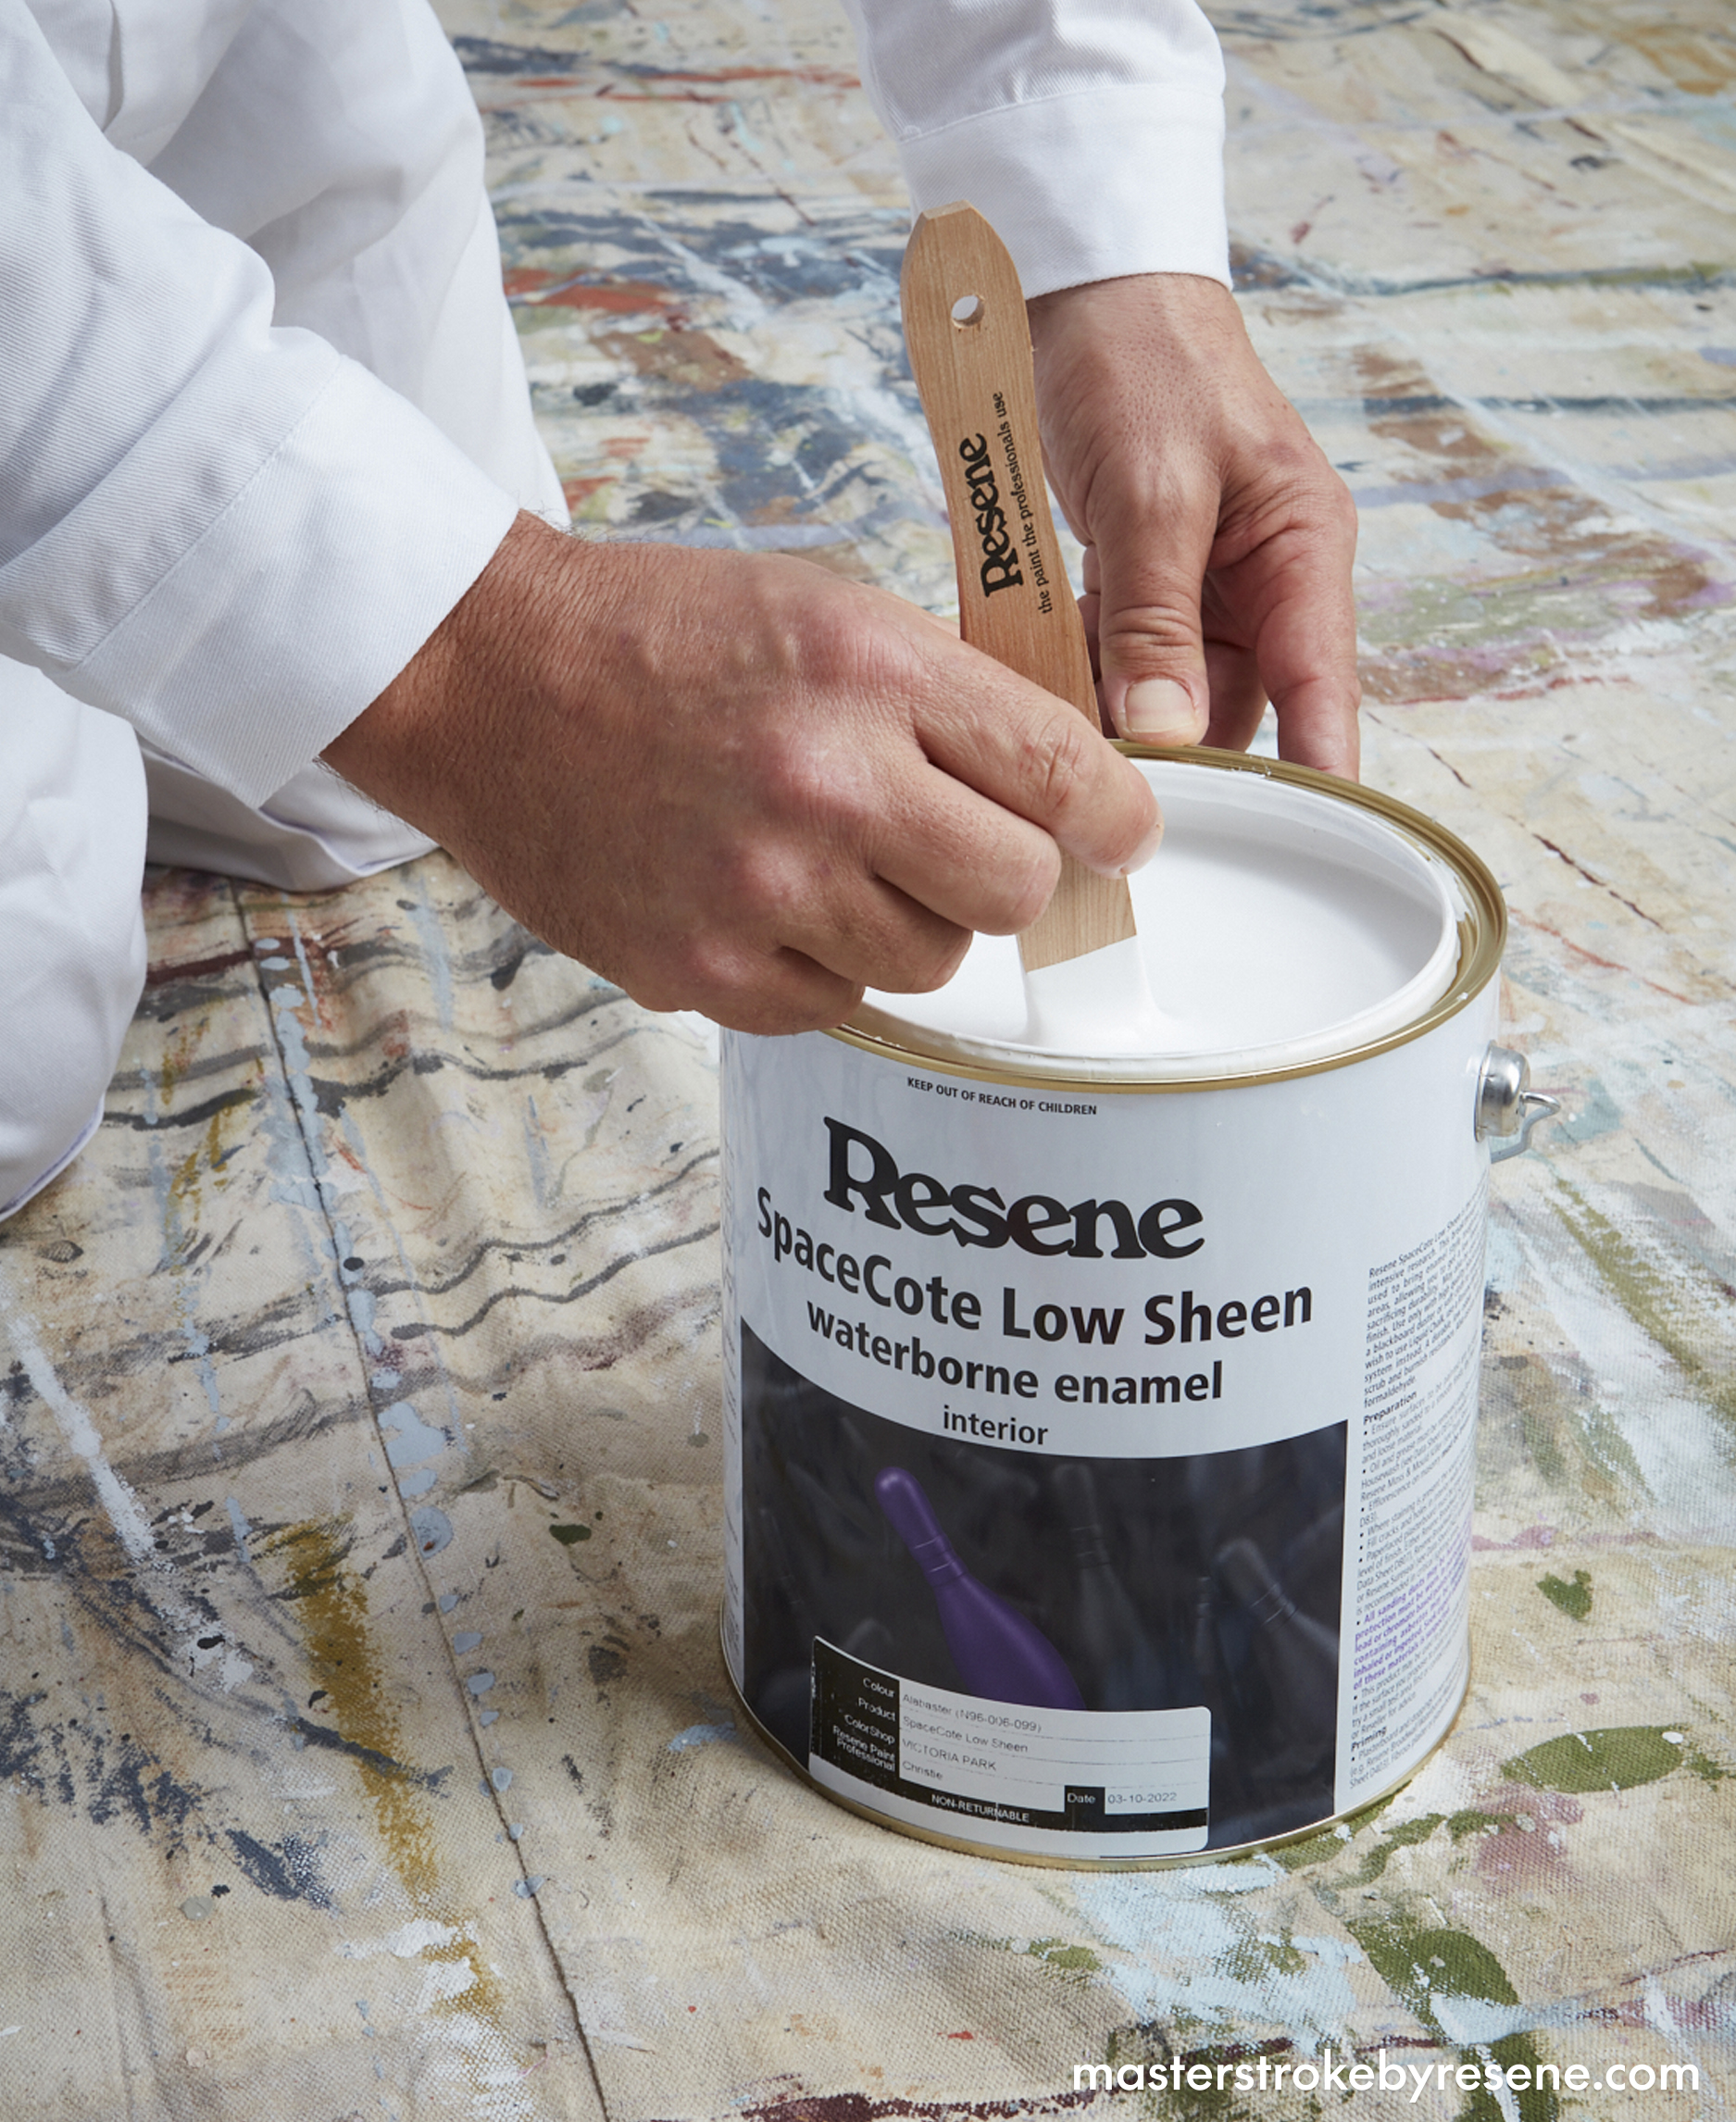
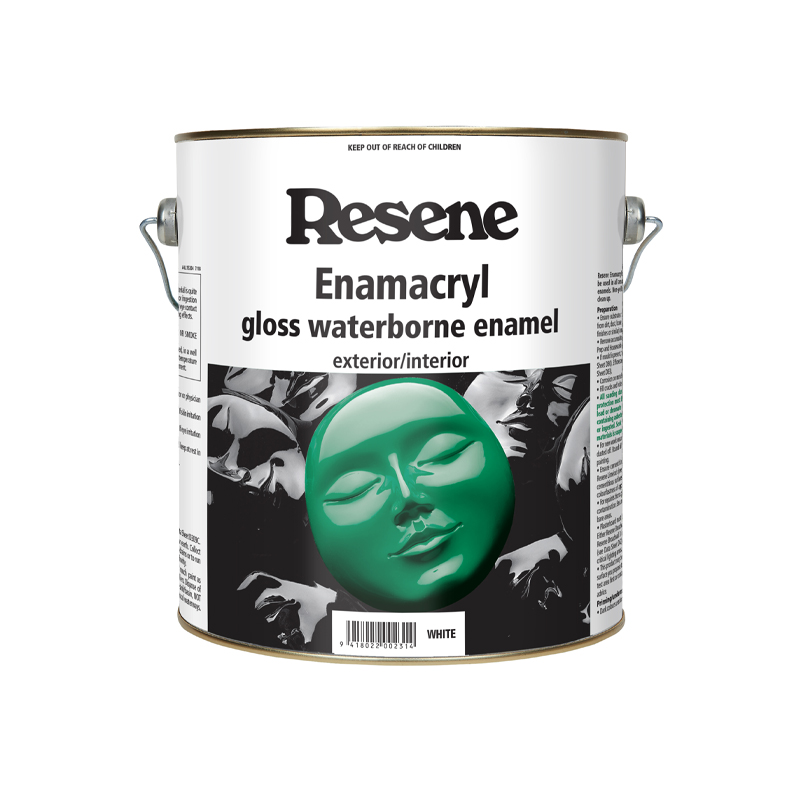
Before you start painting, make sure you give the paint a good stir. Resene has paint stirrers especially designed for small paint cans as well as ones for 10L paint cans. If you want to power up your paint stirring, use a paint mixing attachment on a power drill.

When painting a room, work from the top down - ceiling, walls then trims and lastly the floor. If you paint the walls before the ceiling, then you risk getting drops and splatters from the ceiling on your freshly painted walls. The Resene paint colour being applied in this image is Resene Alabaster.
Always give paint a good stir before you begin. Pigment may settle at the bottom of the can over time, which is perfectly normal, so giving it a good mix will reincorporate them to provide the best finish. The Resene paint colour featured within this image is Resene Alabaster.

Top class

Painting ceilings can be tiring, especially if they’ve got exposed beams or detailing. To achieve a top-notch result, take your time and work on the ceiling in sections. Two products that are suitable for painting ceilings are Resene Ceiling Paint, which has a special low-drip formula, and Resene SpaceCote Flat. If flies are an issue in your home, you might consider adding Resene Fly Deterrent, which discourages flies from sitting on the ceiling – the less they sit, the smaller and fewer the fly spots.

Cutting edge

Cutting in is an important part of painting a room, as it helps create clean edges between the wall and the trim, and around objects like light switches or heat pumps. To cut in, use a good quality paintbrush and use the edge of the brush to achieve a long, smooth line. If you’re painting your walls, cut in first with a brush before tackling the main section of the wall with a roller.

The hot dog rule

Murdo says a common mistake for rookie painters is not loading enough paint onto their roller. 

“Beginners nearly always don’t put enough paint on the roller,” says Murdo. “The roller needs to have enough paint on it, so it looks like a hot dog dipped in batter. Roll the paint into the roller then leave it for 10 minutes so the paint can warm up and then roll more paint into the roller – it has to look saturated.” 

Check out more of Murdo’s tips on how to use a paint roller here.

Resene SpaceCote Flat washable wall and ceiling is the perfect interior paint. It's durable, easy to clean and hides imperfections well, due to its low sheen finish.
Use a good quality paintbrush for cutting in and if you’re painting your walls, cut in first with a brush before tackling the main section of the wall with a roller. Create a clean edge by masking the wall using good quality painter’s tape. The Resene paint colour being applied in this image is Resene Blue Moon.
Ensure you have enough paint on your roller before you begin. Don’t be afraid to fully load it up - think a hot dog dipped in batter. The Resene paint colour being applied in this image is Resene Blue Moon.

Wonder walls

To create an even coating of paint on the walls, roll the walls in a W pattern, making sure to redistribute spots of excess paint across the wall (called laying off).

To create an even coating of paint on the walls, firstly roll out the paint in a W pattern, making sure to spread the paint evenly across the section of the wall before laying off from top to bottom. I always make sure the heel of the roller (the side edge) is leading in the direction I’m painting and always lay off in the same pattern.  Roller sleeves might look uniform but the fabric pile) can be different depending on which way you roll it –  think of it like the way you pat the hair on a dog, if you pat the dog in the other direction the hair will stick up, the same thing will happen with a roller sleeve and it will give a different stipple pattern and affect the end result.”

Resene SpaceCote is an Eco-Choice approved paint with enamel-style toughness, ideal for many walls. Another option is Resene Zylone Sheen Zero, a Sensitive Choice-approved, low-odour formula suitable for people with sensitivities and asthma.

More expert tips:

  • Never allow all the paint on your roller to be used up – keep it well loaded as you go.
  • When painting a wall, it pays to start about 400mm in from the corner. “If you start in the corner, you’ll end up with a big dollop of paint there,” says Murdo. “By starting out from the corner, you can distribute the paint around the wall easier.”
  • When rolling the wall, don’t grip the roller handle or pole too tightly – this leads to uneven pressure on the roller and lines in your paintwork. Use a gentle pressure to help guide the roller on the wall.

Roll the walls in a W pattern, making sure to redistribute spots of excess paint across the wall (called laying off). This will help create an even coating of paint. The Resene paint colour being applied in this image is Resene Dingley.

Mask it up

If painting trims such as skirting boards, scotias, window frames and door architraves, you’ll need to use an angled cutting in brush and either Resene Lustacryl semi-gloss or Resene Enamacryl gloss. If you’re worried about creating a clean edge, mask the wall using good quality painter’s tape.

“Don’t put so much paint on your brush that it leaks beneath the tape and wait until the paint is almost but not completely dry before removing the tape,” says Murdo.

The clean up

Once you’ve finished painting, it’s time to clean your roller and paintbrushes. Use a paint scraper to remove any unused from the roller or brush into a paint tray. Soak rollers and brushes in a bucket of water for a few hours and then rinse them thoroughly under water. Tap out any excess water into a piece of newspaper or an old rag, before allowing the roller or paintbrush to dry.

If you have a tricky part of your project to paint or have more questions, talk to the staff at your local Resene ColorShop or ask a Resene Paint Expert free online.

Masking the areas you don't want to paint not only protects them, but will ensure clean, crisp lines every time.
Once your paint project is complete and the room is finished, soak rollers and brushes in a bucket of water for a few hours and then rinse them thoroughly under water. The Resene paint colour featured within this image is Resene Captain Cook.

About MasterStroke by Resene
MasterStroke by Resene is here to help you master your paint and decorating DIY projects. Brush up on your skills with advice, tips and ideas from our trusted experts.

Check out the latest how-to videos on our YouTube channel.