How to

How to prep a wall for painting

There’s nothing quite like a couple of coats of Resene paint to transform a room from drab to fab. But for a smooth, top-quality end result, it pays to do the right prep work before you start painting.  

“Prepping is a present for your future self,” says Resene paint expert Murdo Shaw. “If done well, you will always end up with the best possible result.”

The amount of prep required depends on the condition of the walls in your home. To prepare a previously painted wall for a repaint, follow these steps.

1

Clean the surface

Wash your walls with Resene Interior Paintwork Cleaner. Available in both a concentrate and ready-to-use formula, this product is your secret weapon for cleaning interior paintwork as it does not produce a film or residue and no rinsing is required. 

If using the concentrate formula, follow the instructions on the label to mix the correct dilution for your cleaning needs.

To clean the walls, wet (but do not saturate) a lint-free cloth in the bucket of cleaning solution and use gentle strokes to wipe the surface. Rotate the cloth to avoid spreading dirt around the wall and wring the cloth out into a bucket before wetting it again in the cleaning solution. 

If using the ready-to-use product, dilution is not required and this formula can be sprayed directly to the wall and wiped with a clean cloth.

2

Dry

Wipe the wall using a clean, dry cloth and wait for the surface to dry completely before continuing to the next step.

3

Fill holes and cracks

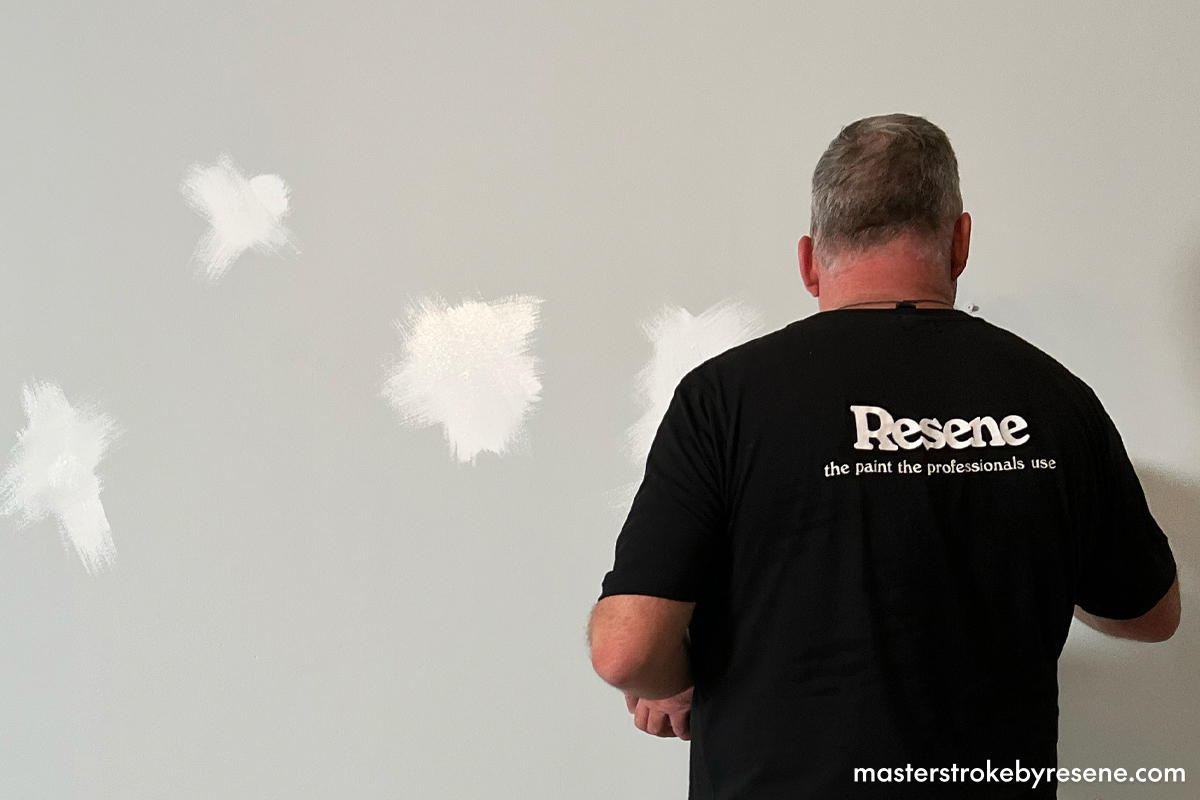
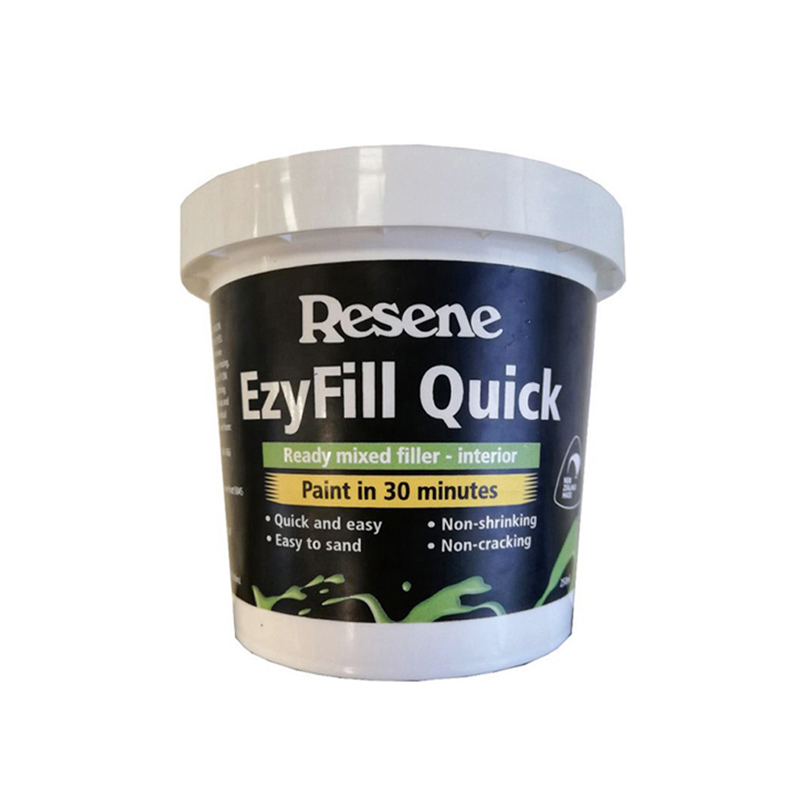
Use Resene EzyFill Quick to fix any holes, bumps or imperfections in the wall with. This lightweight filler is ideal for repairing small imperfections such as hook holes, and the quick-drying formula is ready to paint over in 30 minutes. 

If you’ve removed hooks, the holes they leave might require Murdo’s pencil trick to fill the holes. Lightly push a pencil into the hole, until the rough outer edges flatten and sink into the wall.

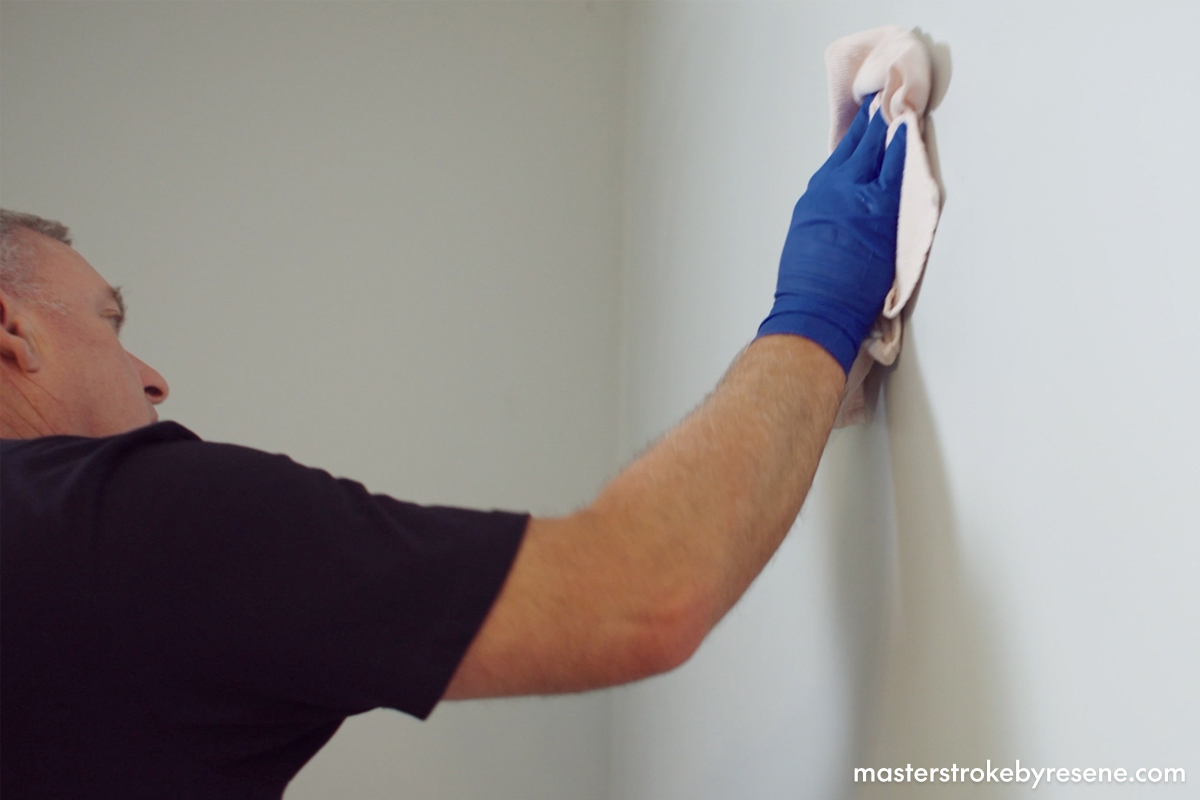
Don’t worry if the holes appear larger once you’ve pushed the pencil through the wall, as this now ensures that you have a smooth surface to fill with Resene EzyFill Quick. Once dry, sand using 220 grit sandpaper and wipe away sanding dust.

For large holes, another DIY trick is to use a piece of chicken wire larger than the size of the hole. Tie a piece of string to the centre of the wire and feed it through the hole in the wall, so the chicken wire is flat behind the hole. Tie a pencil to the end of the piece of string and hold the wire taught to the wall while you cover the wire with filler.

When the first layer of filler is dry, remove the string and pencil and apply a second coat of filler to cover the remaining parts of the hole. Once dry, sand using 220 grit sandpaper and wipe away sanding dust.

4

Sand

Sand the entire wall to create a smooth surface. An easy way to do this is to use a sanding head on a pole. Dust down the wall afterwards with either a dust brush or a broom.

If your wall is already painted and in good condition, often all you need is to clean it down, allow it to dry and then apply your topcoats, no sanding needed.

5

Prime

Finally, use Resene Quick Dry to spot prime over the areas you’ve filled with Resene EzyFill Quick. When applying the primer, use light brushstrokes in a star-shaped cross-hatch motion – this will ensure that no harsh lines will appear when you apply your top coat. 

Now you’re ready to apply two coats of your chosen Resene paint.

Preps tips and tricks

  • If prepping a brand-new unpainted wall in a dry area such as a lounge or bedroom, apply Resene Broadwall Waterborne Wallboard Sealer. This Eco Choice-approved product is designed to minimise porosity and textural differences on surfaces like plasterboard. Sand using 220 grit sandpaper and wipe away dust before painting.  In wet areas, use Resene Waterborne Sureseal instead.
  • If mould is present in a room, then treat the area using Resene Moss & Mould Killer before cleaning. This concentrated formula kills the fungus spores and is ideal for areas with excess moisture that are prone to mould growth. Open windows for ventilation before applying the product, allowing it to penetrate the walls for 48 hours before cleaning. If left untreated, moss and mould can damage and discolour the paint finish as well as the surface underneath.
  • Special prep is required if painting over water stains. Treat with Resene Moss & Mould Killer to kill any fungus spores often present around wet stains, then seal the stain using Resene Sureseal pigmented sealer. Allow the sealer to cure before sanding with 80 grit sandpaper. Wipe away sanding dust before painting.
  • For persistent stains such as soot marks on a ceiling, clean the stain as best as possible and use Resene StainLock waterborne stain sealer to prevent the stain bleeding through the paint. Alternatively, you could also use Resene Sureseal.
  • If prepping a wall for wallpaper, regardless of whether the wall is painted or unpainted, you will need to seal the surface with Resene Sureseal. Once the sealer has cured, give the surface a light sand with 80 grit sandpaper and wipe away sanding dust.
  • Take your time to do the prep well and you’ll find you can finish the painting in next to no time.

About MasterStroke by Resene
MasterStroke by Resene is here to help you master your paint and decorating DIY projects. Brush up on your skills with advice, tips and ideas from our trusted experts.

Check out the latest how-to videos on our YouTube channel.