DIY projects

Make a custom timber mantelpiece

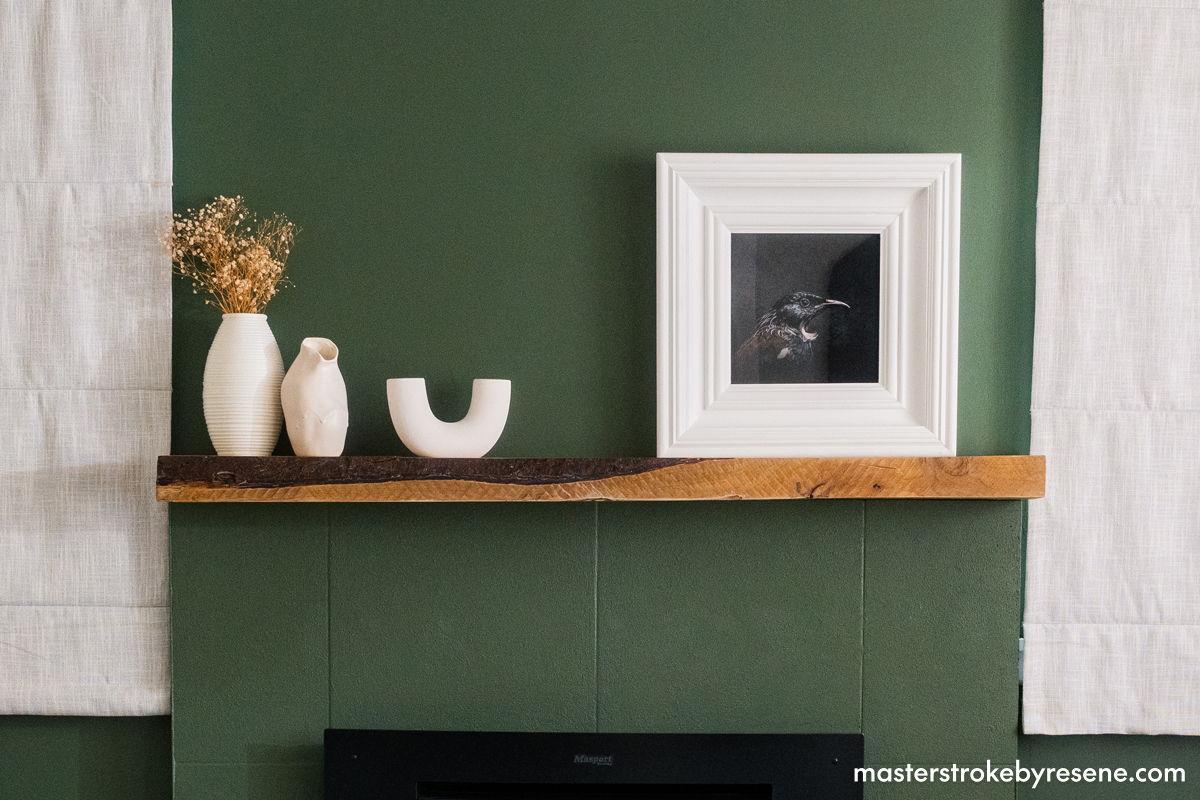
Elevate your space by creating a custom mantelpiece from a piece of reclaimed timber or you can create something with new timber cut to size to best suit your space and aesthetic. 

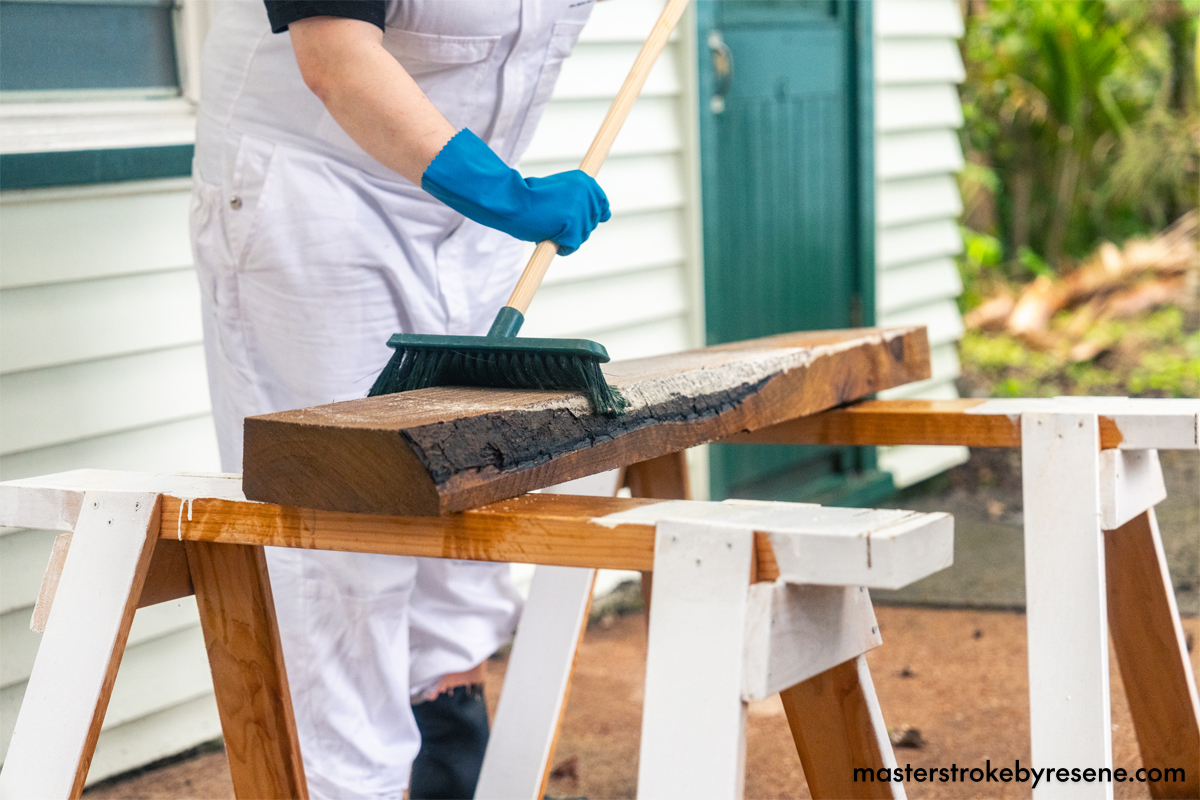
This is a simple weekend project that involves preparing the wood properly before it is stained, then simply hanging with construction adhesive (or brackets) in your desired space. 

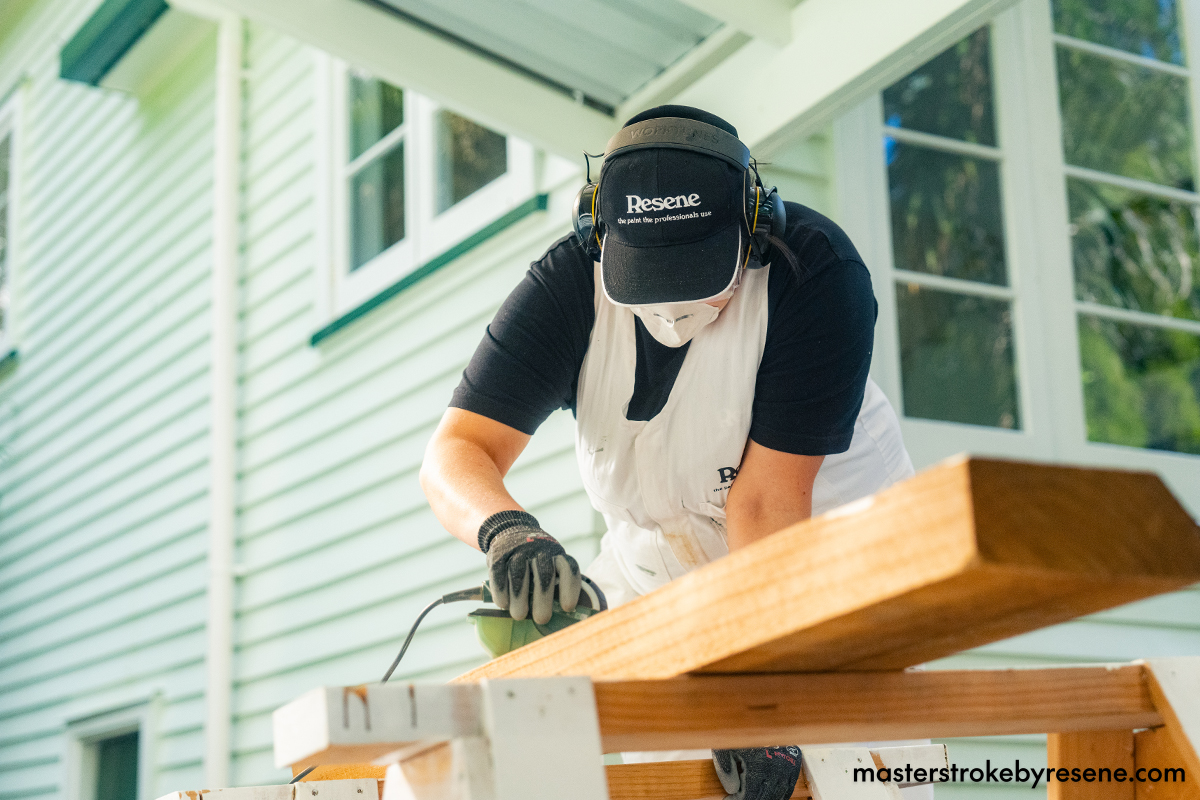
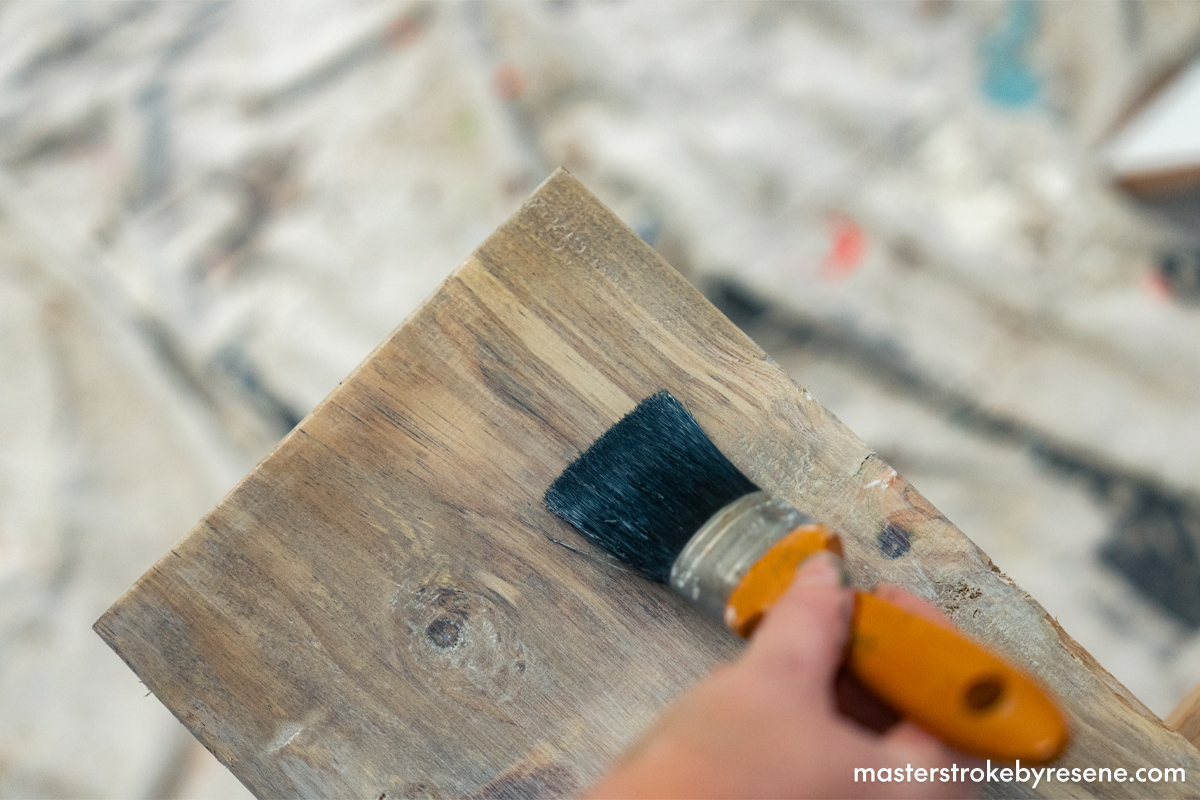
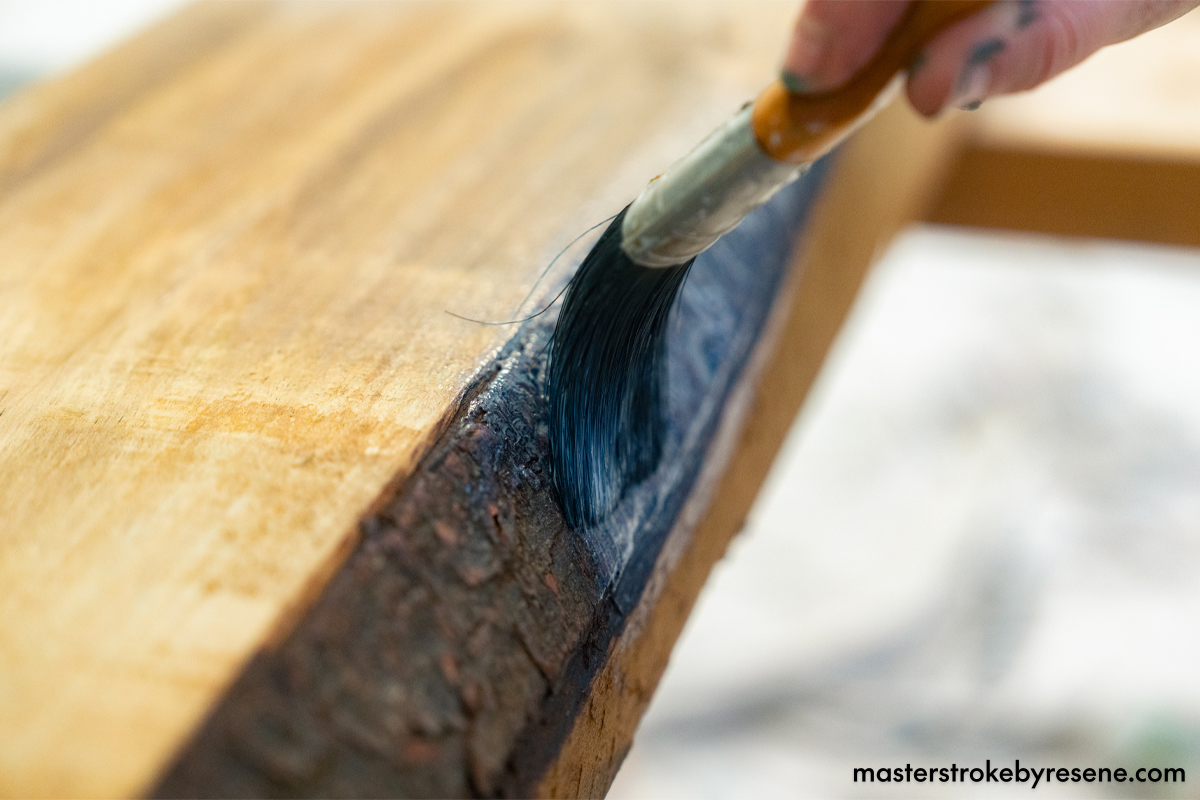
Sanding the timber before applying Resene Colorwood Whitewash and Resene Aquaclear will not only produce a professional looking finish, but also allows the natural beauty of the timber and its grain to shine through.

Follow the step-by-step instructions below to make your own.

  • Stiff scrubbing brush
  • Safety gear
  • Electric wood planer
  • Dusting brush
  • F-bar clamps
  • Electric hand sander
  • Sanding pads (60-240 grit)
  • Sandpaper

1

Prepare the timber

Wash and scrub the pine sleeper with Resene Timber and Deck Wash, using a stiff brush to thoroughly work it in. Rinse with clean running water. Allow the timber to fully dry, which should take around 48 hours.

2

Plane the timber

Once dry, plane the timber surface to the desired texture, removing any noticeably rough peaks in the timber grain. Secure it with F-bar clamps for safety. Brush away any sanding or planing dust that may be left behind.

3

Sand it smooth

Sand the timber surface with an electric hand sander or sandpaper starting with a rough 60 grit and working your way up to 240 grit. Hand sand any live edges using 80 grit sandpaper, removing any noticeable weathering or areas of potential rot. If there are signs of mould, treat with Resene Moss & Mould Killer. Wipe away all sanding dust.

4

Whitewash

Apply a coat of Resene Colorwood Whitewash using a brush and leave to dry.

5

Clear coat

Once the Resene Colorwood Whitewash has completely dried, apply at least three coats of Resene Aquaclear – this product will protect the timber and make it easy to clean. Leave to dry between coats.

Resene Aquaclear comes in three gloss levels – gloss, semi-gloss, satin – and Resene Natural, a matte finish. We used the matte finish.

6

Hang it up

Secure the timber sleeper above the fireplace to create the mantelpiece using construction adhesive and allow it to dry thoroughly before you place anything on it. If your fireplace surround doesn’t have a ledge to support the mantelpiece like ours, you can attach your timber using wall brackets.

7

Style and enjoy

Once the construction adhesive has dried completely, adorn your new mantelpiece with your favourite decor items and admire your hard work.

Click here to see how we transformed the fireplace tiles.

Wall, tiles and hearth painted in Resene Cabbage Pont, vases in Resene Quarter Parchment, Resene Biscotti and Resene Alabaster and picture frame in Resene Half Black White

DIY decor

Your new mantelpiece is the perfect place to display a handmade timber picture frame, like the ones Auckland-based photographer and artist Jae Frew creates for the pieces in his exhibition Manu Kōingo – Birds of Yearning. “I use repurposed native timber, much of which comes from house renovations and demolitions,” Jae explains. “It involves preparing, cutting, joining and sanding multiple pieces of timber. I finish the frame with Resene Waterborne Woodsman penetrating oil stain and polish with soft wax to give an antique look.” Jae shows the step-by-step process of how you can create frames using pre-cut moulds and advises those trying at home to always “measure twice and cut once”. 

Customise vases by sourcing them cheaply and painting them in complementary Resene colours. Remember to use a coat of Resene Waterborne Sureseal on surfaces like glass first, then choose your favourite testpots to add your hue. 

Keep your firewood organised in style! Buy, thrift or repurpose a decent-sized basket, then paint the lip and handles with a suitable Resene colour. This simple project is another fantastic one for Resene testpots.

About MasterStroke by Resene
MasterStroke by Resene is here to help you master your paint and decorating DIY projects. Brush up on your skills with advice, tips and ideas from our trusted experts.

Check out the latest how-to videos on our YouTube channel.