DIY projects

Update your fireplace tiles with textured paint

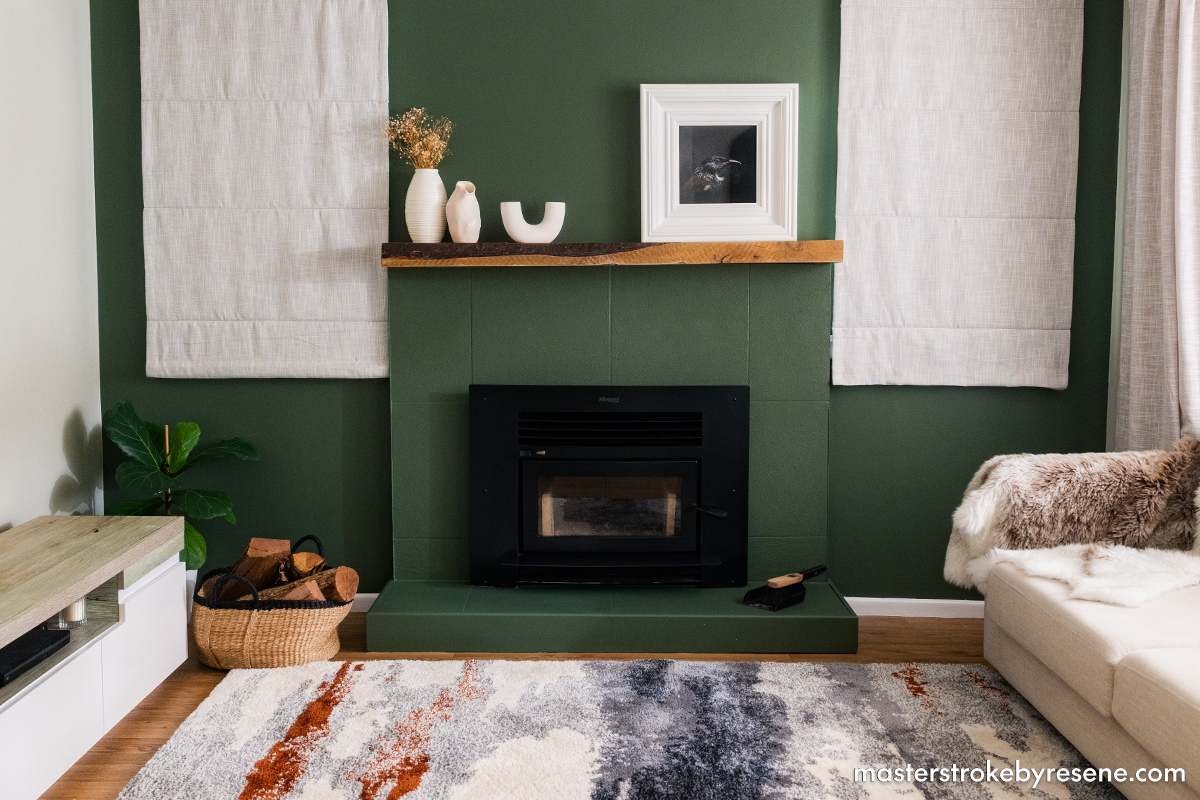
Revitalise your dated fireplace tiles with a splash of paint in an on-trend hue. This is an ideal winter weekend project – it’s a quick and cost-effective transformation that will instantly update and brighten your home. 

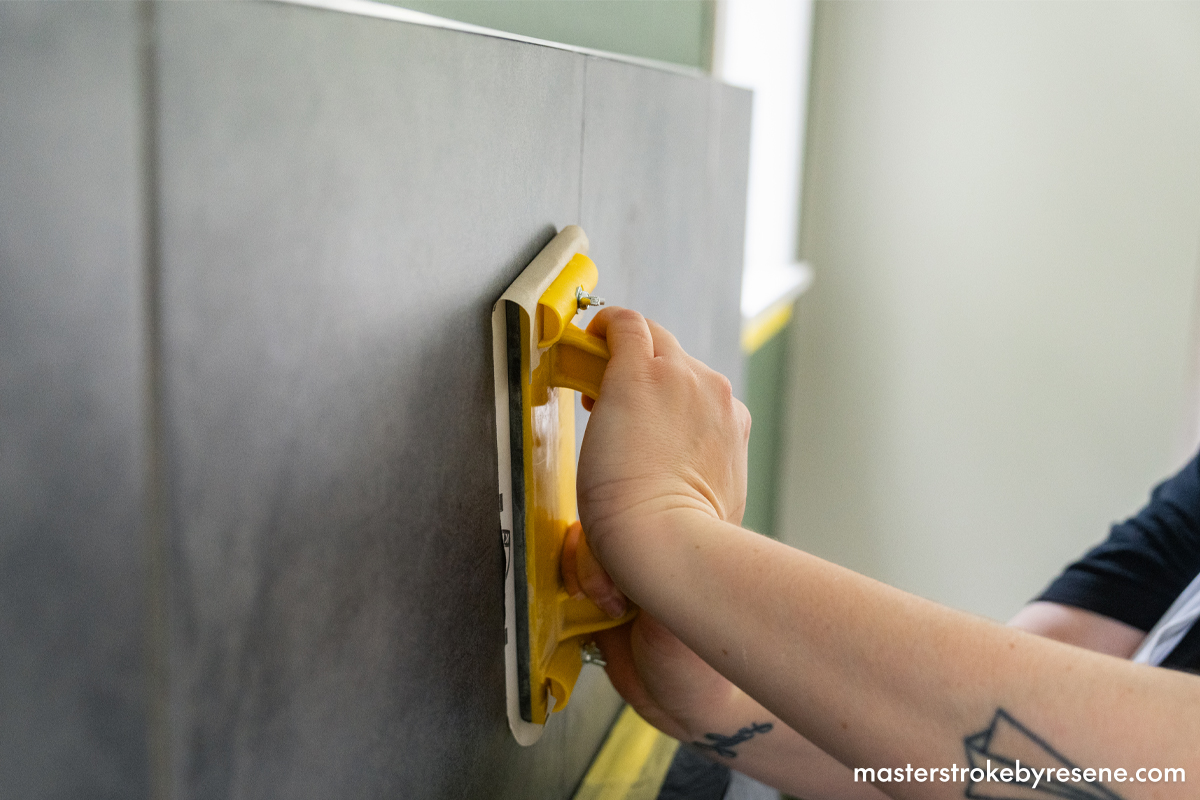
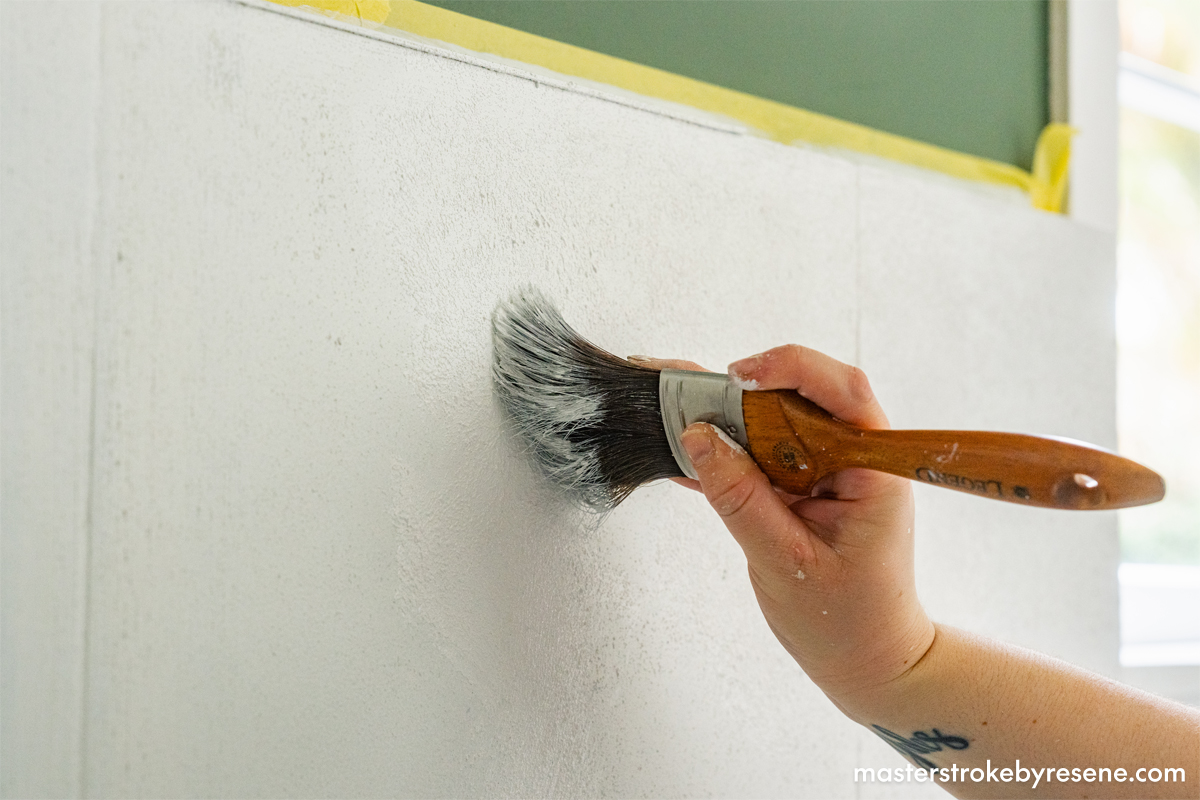
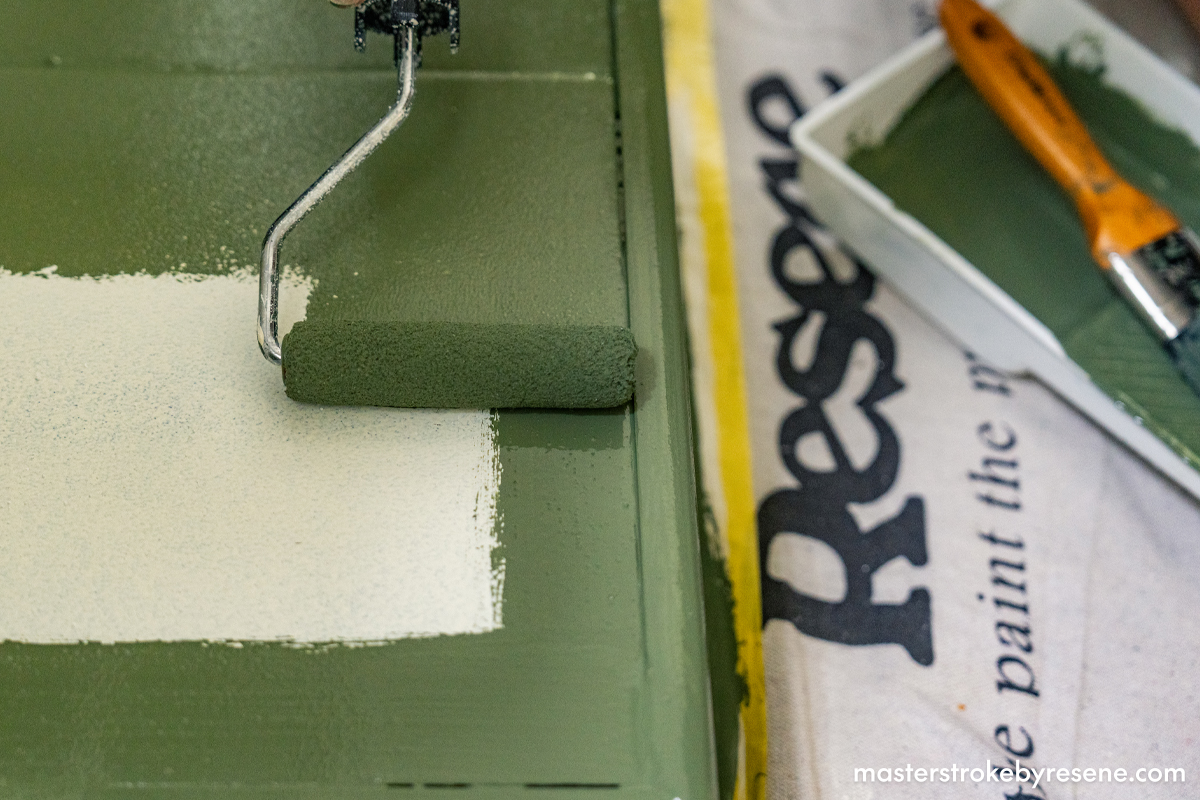
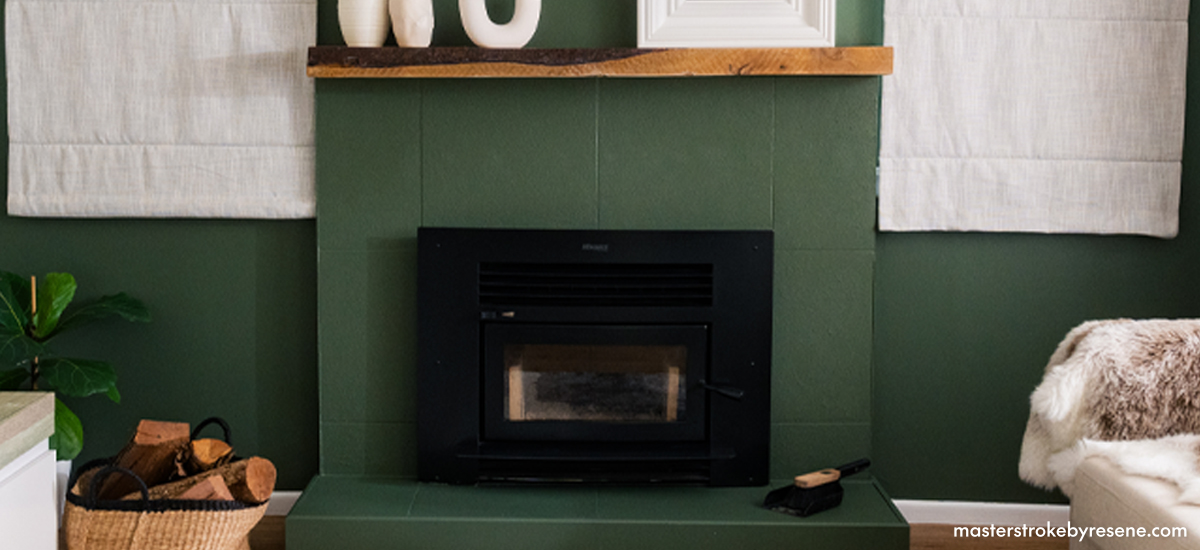
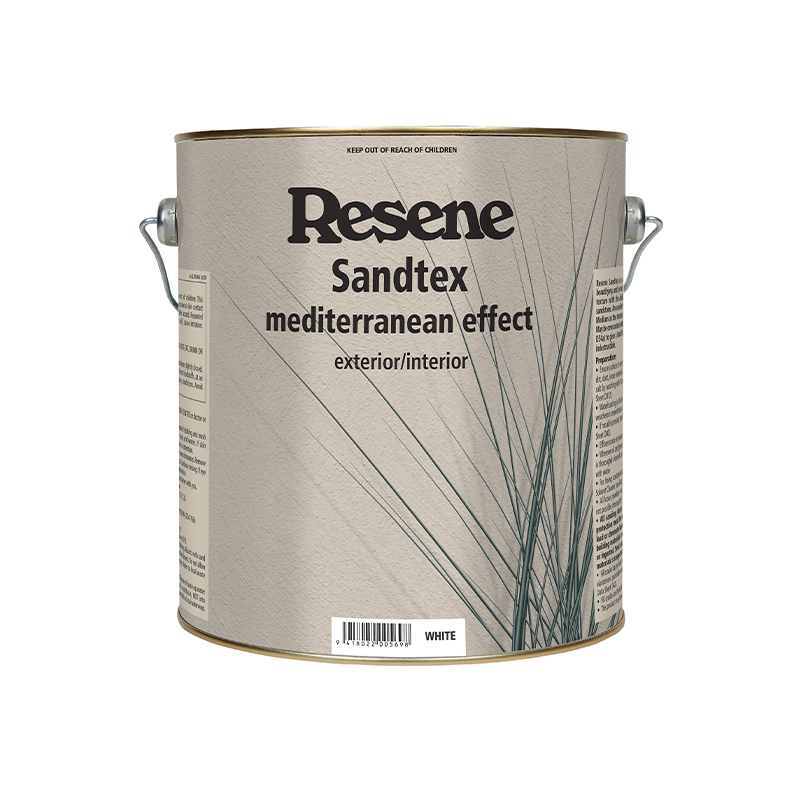
Using Resene Sandtex Mediterranean effect on your tiles results in an authentic, textured finish, bringing out the depth of your chosen colour and turning your fireplace into a true statement piece. This product provides a tough textured acrylic finish that beautifies and protects your surface. It has the ability to recreate the texture of natural sandstone.

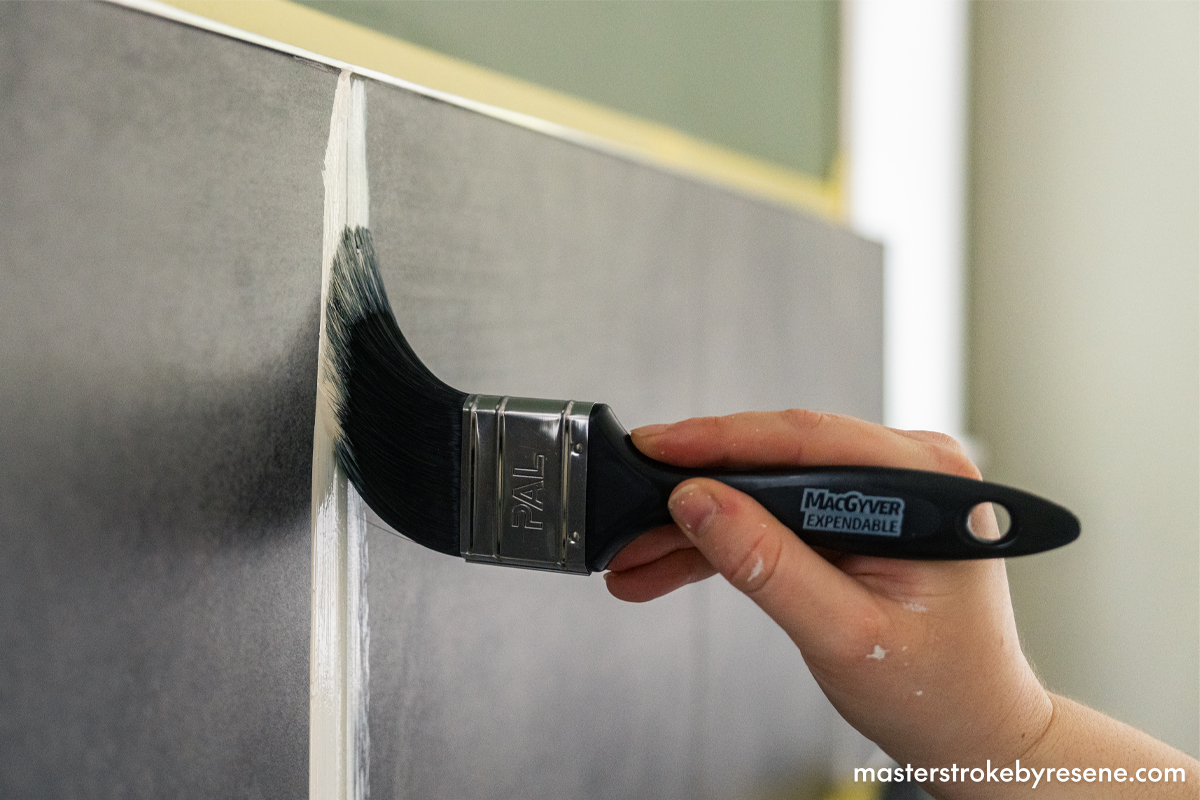
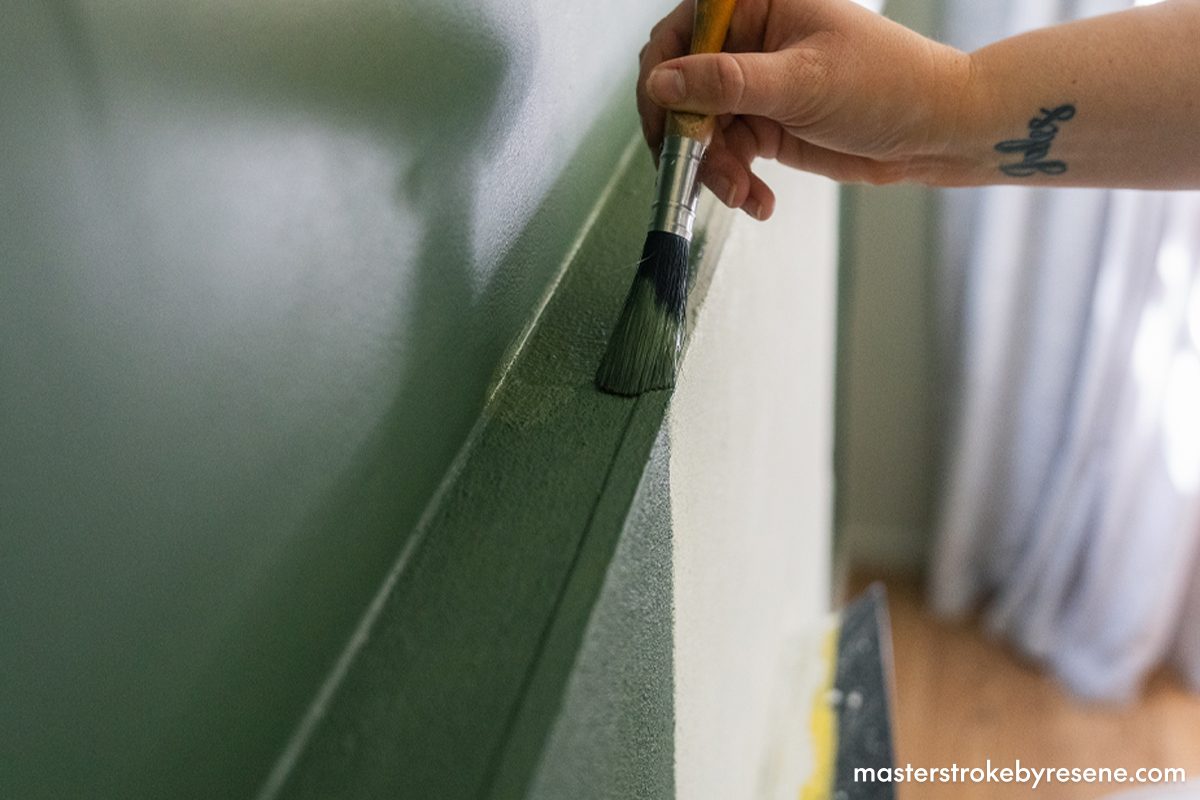
For this project, we chose the colour Resene Cabbage Pont – it’s a muted, shadowy green, that works beautifully in both character and contemporary homes. It’s also a refreshing and bold step up from the ‘safe’ whites that many people tend to use in their homes. 

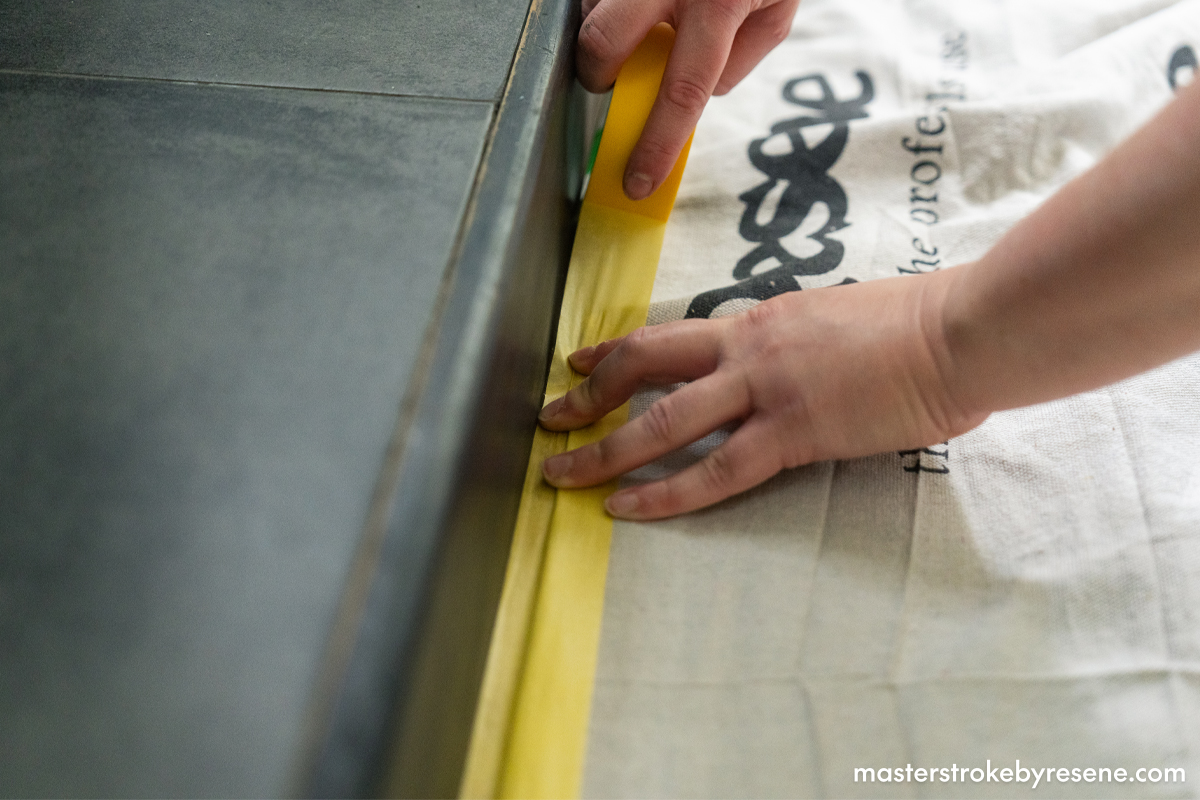
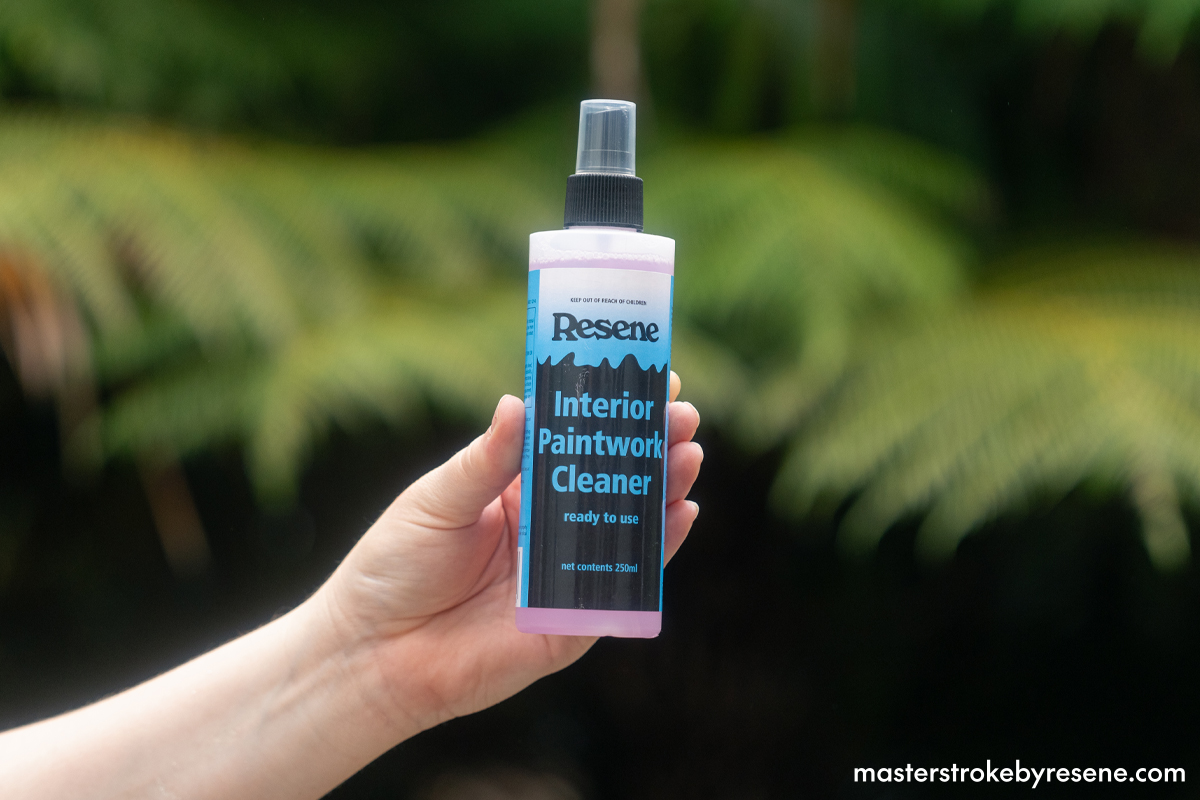
Tiles need special treatment before painting, but Resene has you covered with the essential prep. When you’re painting around a fireplace or on something like a heater, make sure it doesn’t get too hot first. There’s an easy way to check – if you can keep your hand on the fire surround while the fire is lit, you can paint the surround. If it’s too hot, you can’t. 

Top tip: If you’re choosing a tone-on-tone colour palette, consider painting your fireplace surround in Resene Lustacryl semi-gloss waterborne enamel. The higher sheen level is easy to wipe clean and will give you a subtle visual contrast to walls painted in lower sheen Resene SpaceCote Low Sheen.

Follow our step-by-step guide to update your fireplace tiles with texture and a fresh new colour.

1

Protect

To protect the fireplace from any sanding debris and paint, cover it with plastic masking film secured with painter’s tape 

Then place a Resene drop cloth down and secure with painter’s tape.

2

Clean

Spray the wall tiles and hearth with Resene Interior Paintwork Cleaner and wipe down with a microfibre cloth.

3

Sand (optional)

Lightly sand the surfaces with 180 grit sandpaper – don’t forget your safety gear – then wipe away all sanding dust.

If the surface is very glossy, a light sand helps the paint stick better as it gives it more surface area to grip onto. If the surface is already textured or lower sheen and less slippery, you can skip the sanding step.

4

Seal

Apply one coat of Resene Waterborne Sureseal pigmented sealer to the tiles on the fire surround and hearth. Cut in with a brush first, then use a brush or roller to cover the rest of the surface. Allow to dry completely.

5

Add texture

Apply a coat of Resene Sandtex Mediterranean effect areas you want to add texture to – we applied it to the wall tiles, but not the hearth. Allow it to dry for at least two hours before applying a second coat.

Add extra texture by using a paintbrush and applying the product with a criss-cross action or stippling.

This step can be repeated as many times as you want until you achieve your desired texture – the more coats you apply, the more rustic and textured the result will be.

Top tip: If you’re planning to apply multiple coats of Resene Sandtex, you can have this tinted to your chosen Resene colour and skip the topcoats of Resene SpaceCote Low Sheen. If your colour doesn’t come in Resene Sandtex, you can apply your coloured topcoat once you have your desired texture.

6

Colour time

Once you’re happy with the texture and the Resene Sandtex has fully dried, it’s time to add some colour. If you have already tinted Resene Sandtex to your chosen colour, you can skip this step.

Apply the first coat of Resene SpaceCote Low Sheen using a brush to cut in and a roller to cover the larger areas. We used the gorgeous green colour Resene Cabbage Pont. 

Once the first coat has dried, apply a second coat and allow to dry.

Top tip: If the day you’ve chosen to paint is a particularly chilly one, use Resene Wintergrade Additive in your waterborne Resene paint to help it cure more easily. 

Or if it is a very hot day, use Resene Hot Weather Additive to slow down the dry time to give you more time to paint.

7

Don't forget the hearth

Apply two coats of Resene SpaceCote Low Sheen to the hearth area, allowing dry time between coats. We used Resene Cabbage Pont on this surface as well, but you could choose a contrasting colour if you like.

8

Enjoy!

When all the paint is dry, remove the drop cloth and masking film

Add a custom mantelpiece and some cosy accessories and you’re done!

About MasterStroke by Resene
MasterStroke by Resene is here to help you master your paint and decorating DIY projects. Brush up on your skills with advice, tips and ideas from our trusted experts.

Check out the latest how-to videos on our YouTube channel.