DIY projects

How to make a bespoke picture frame

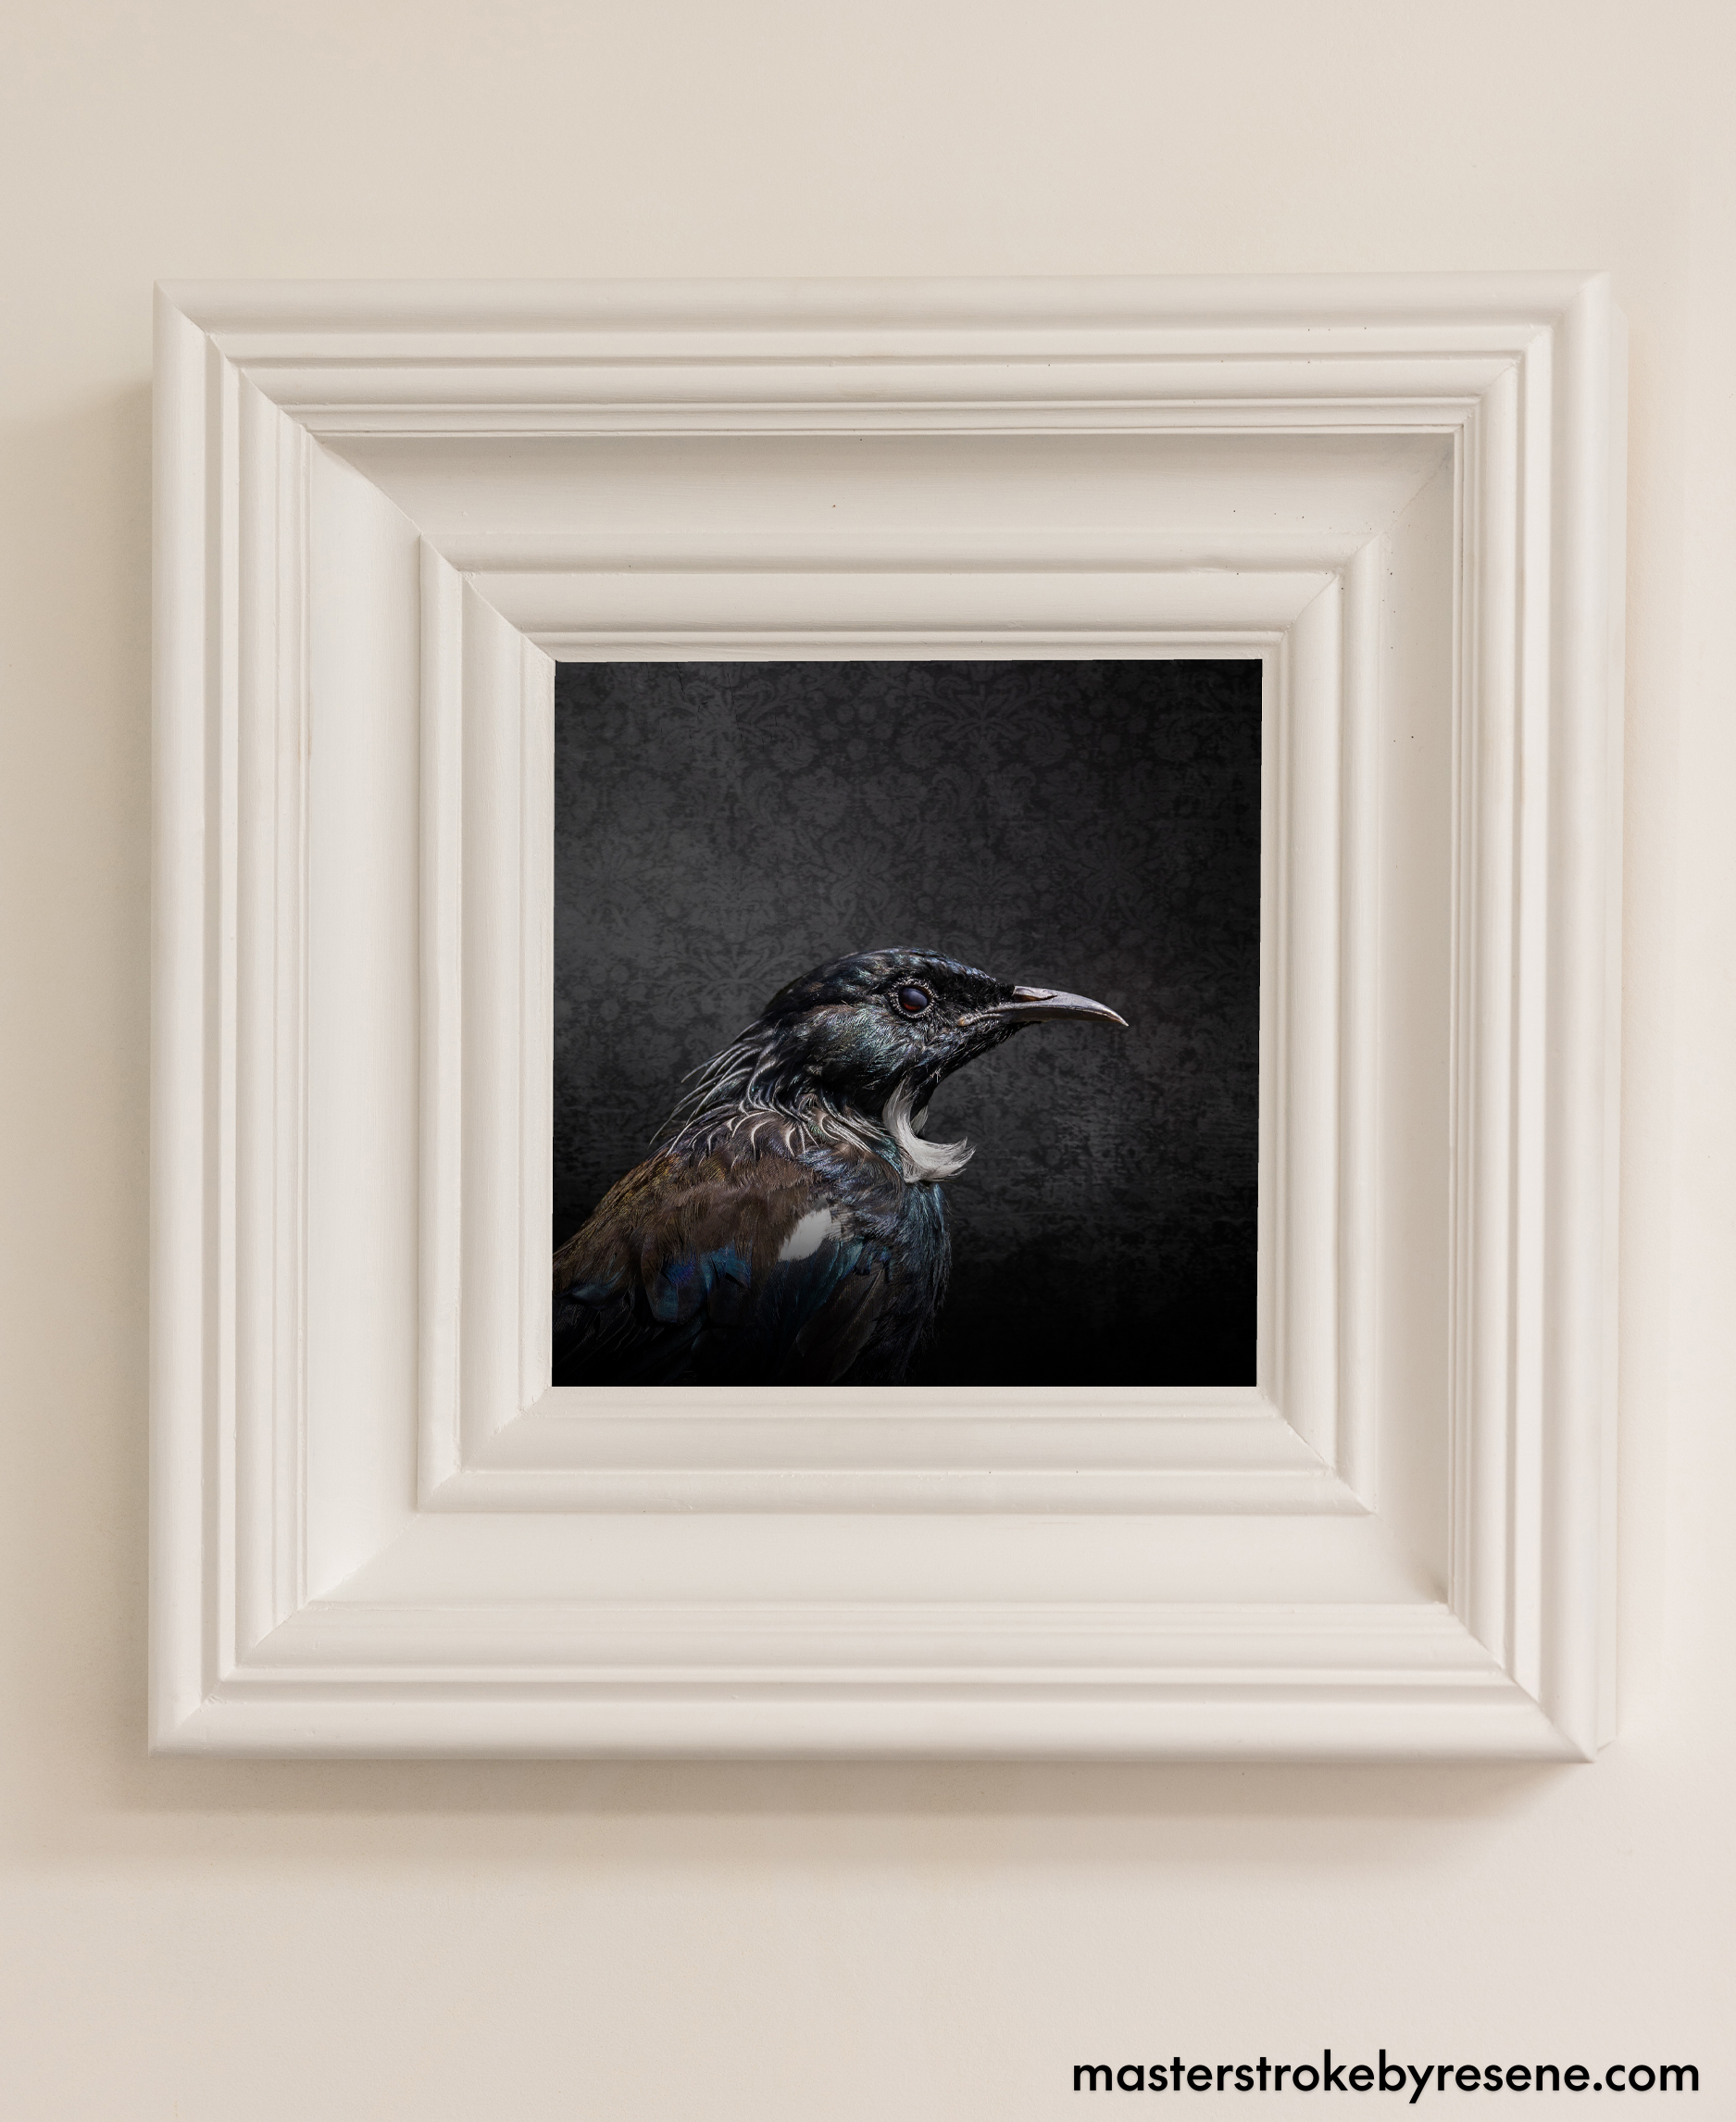
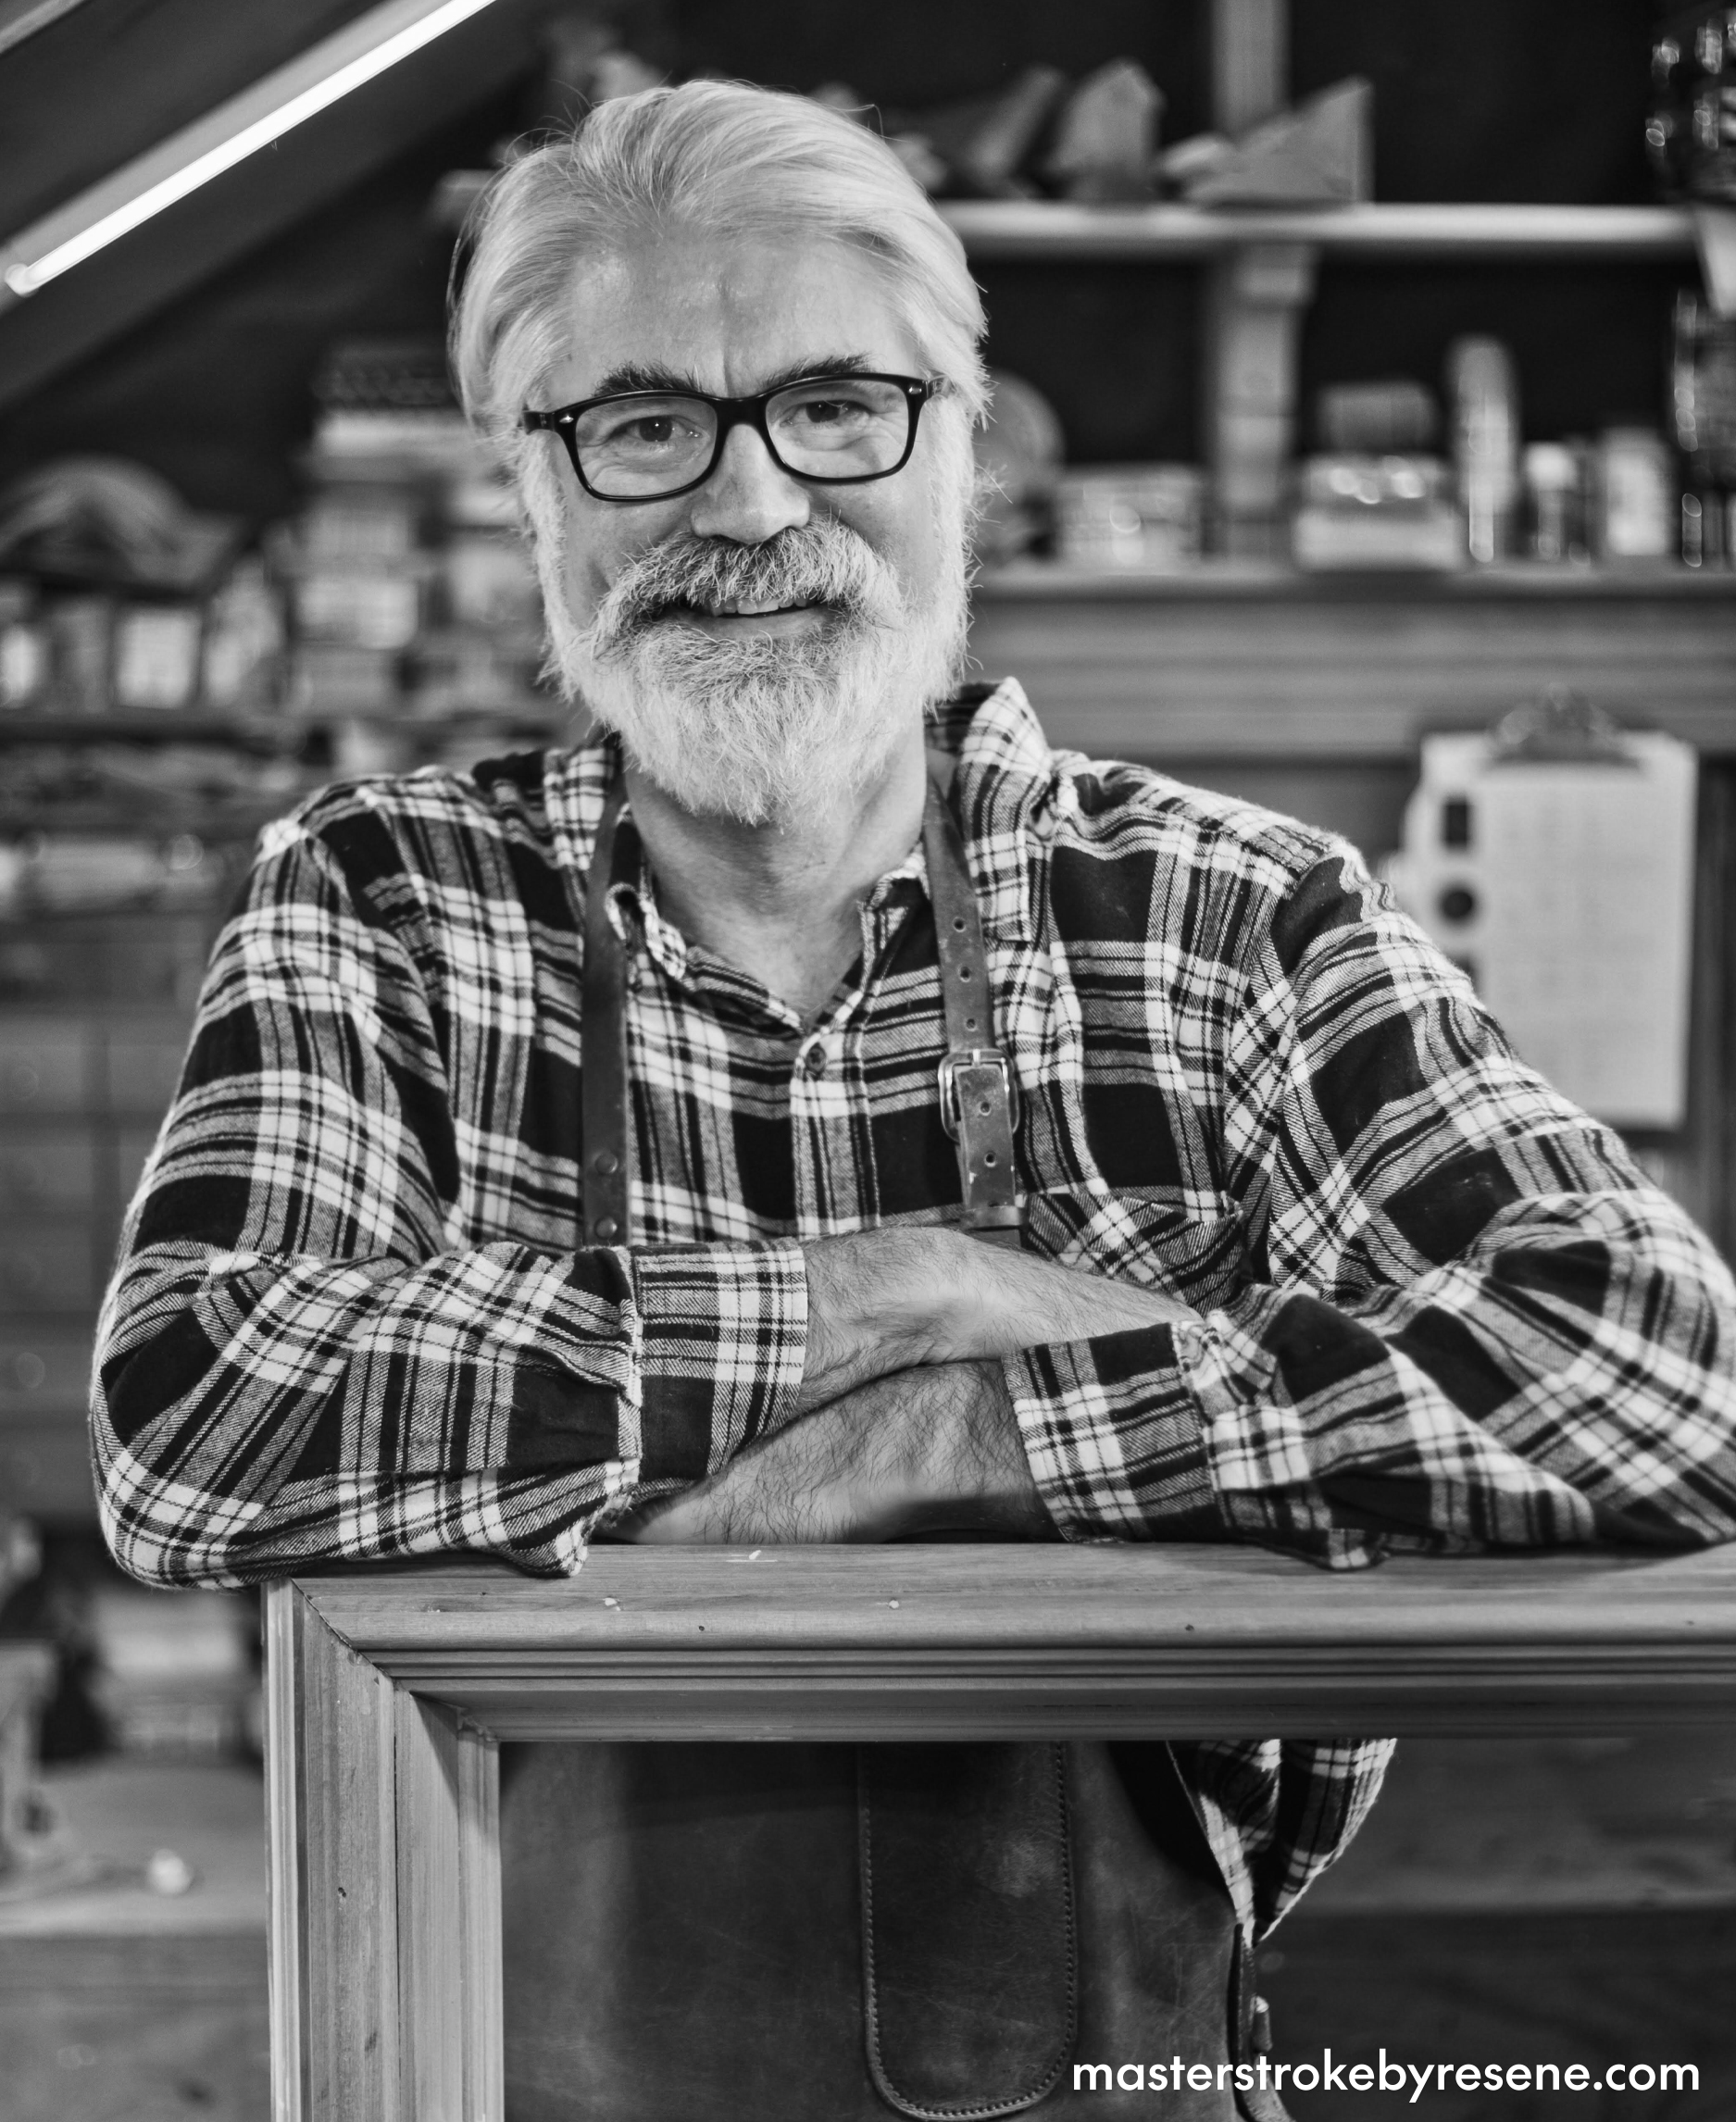
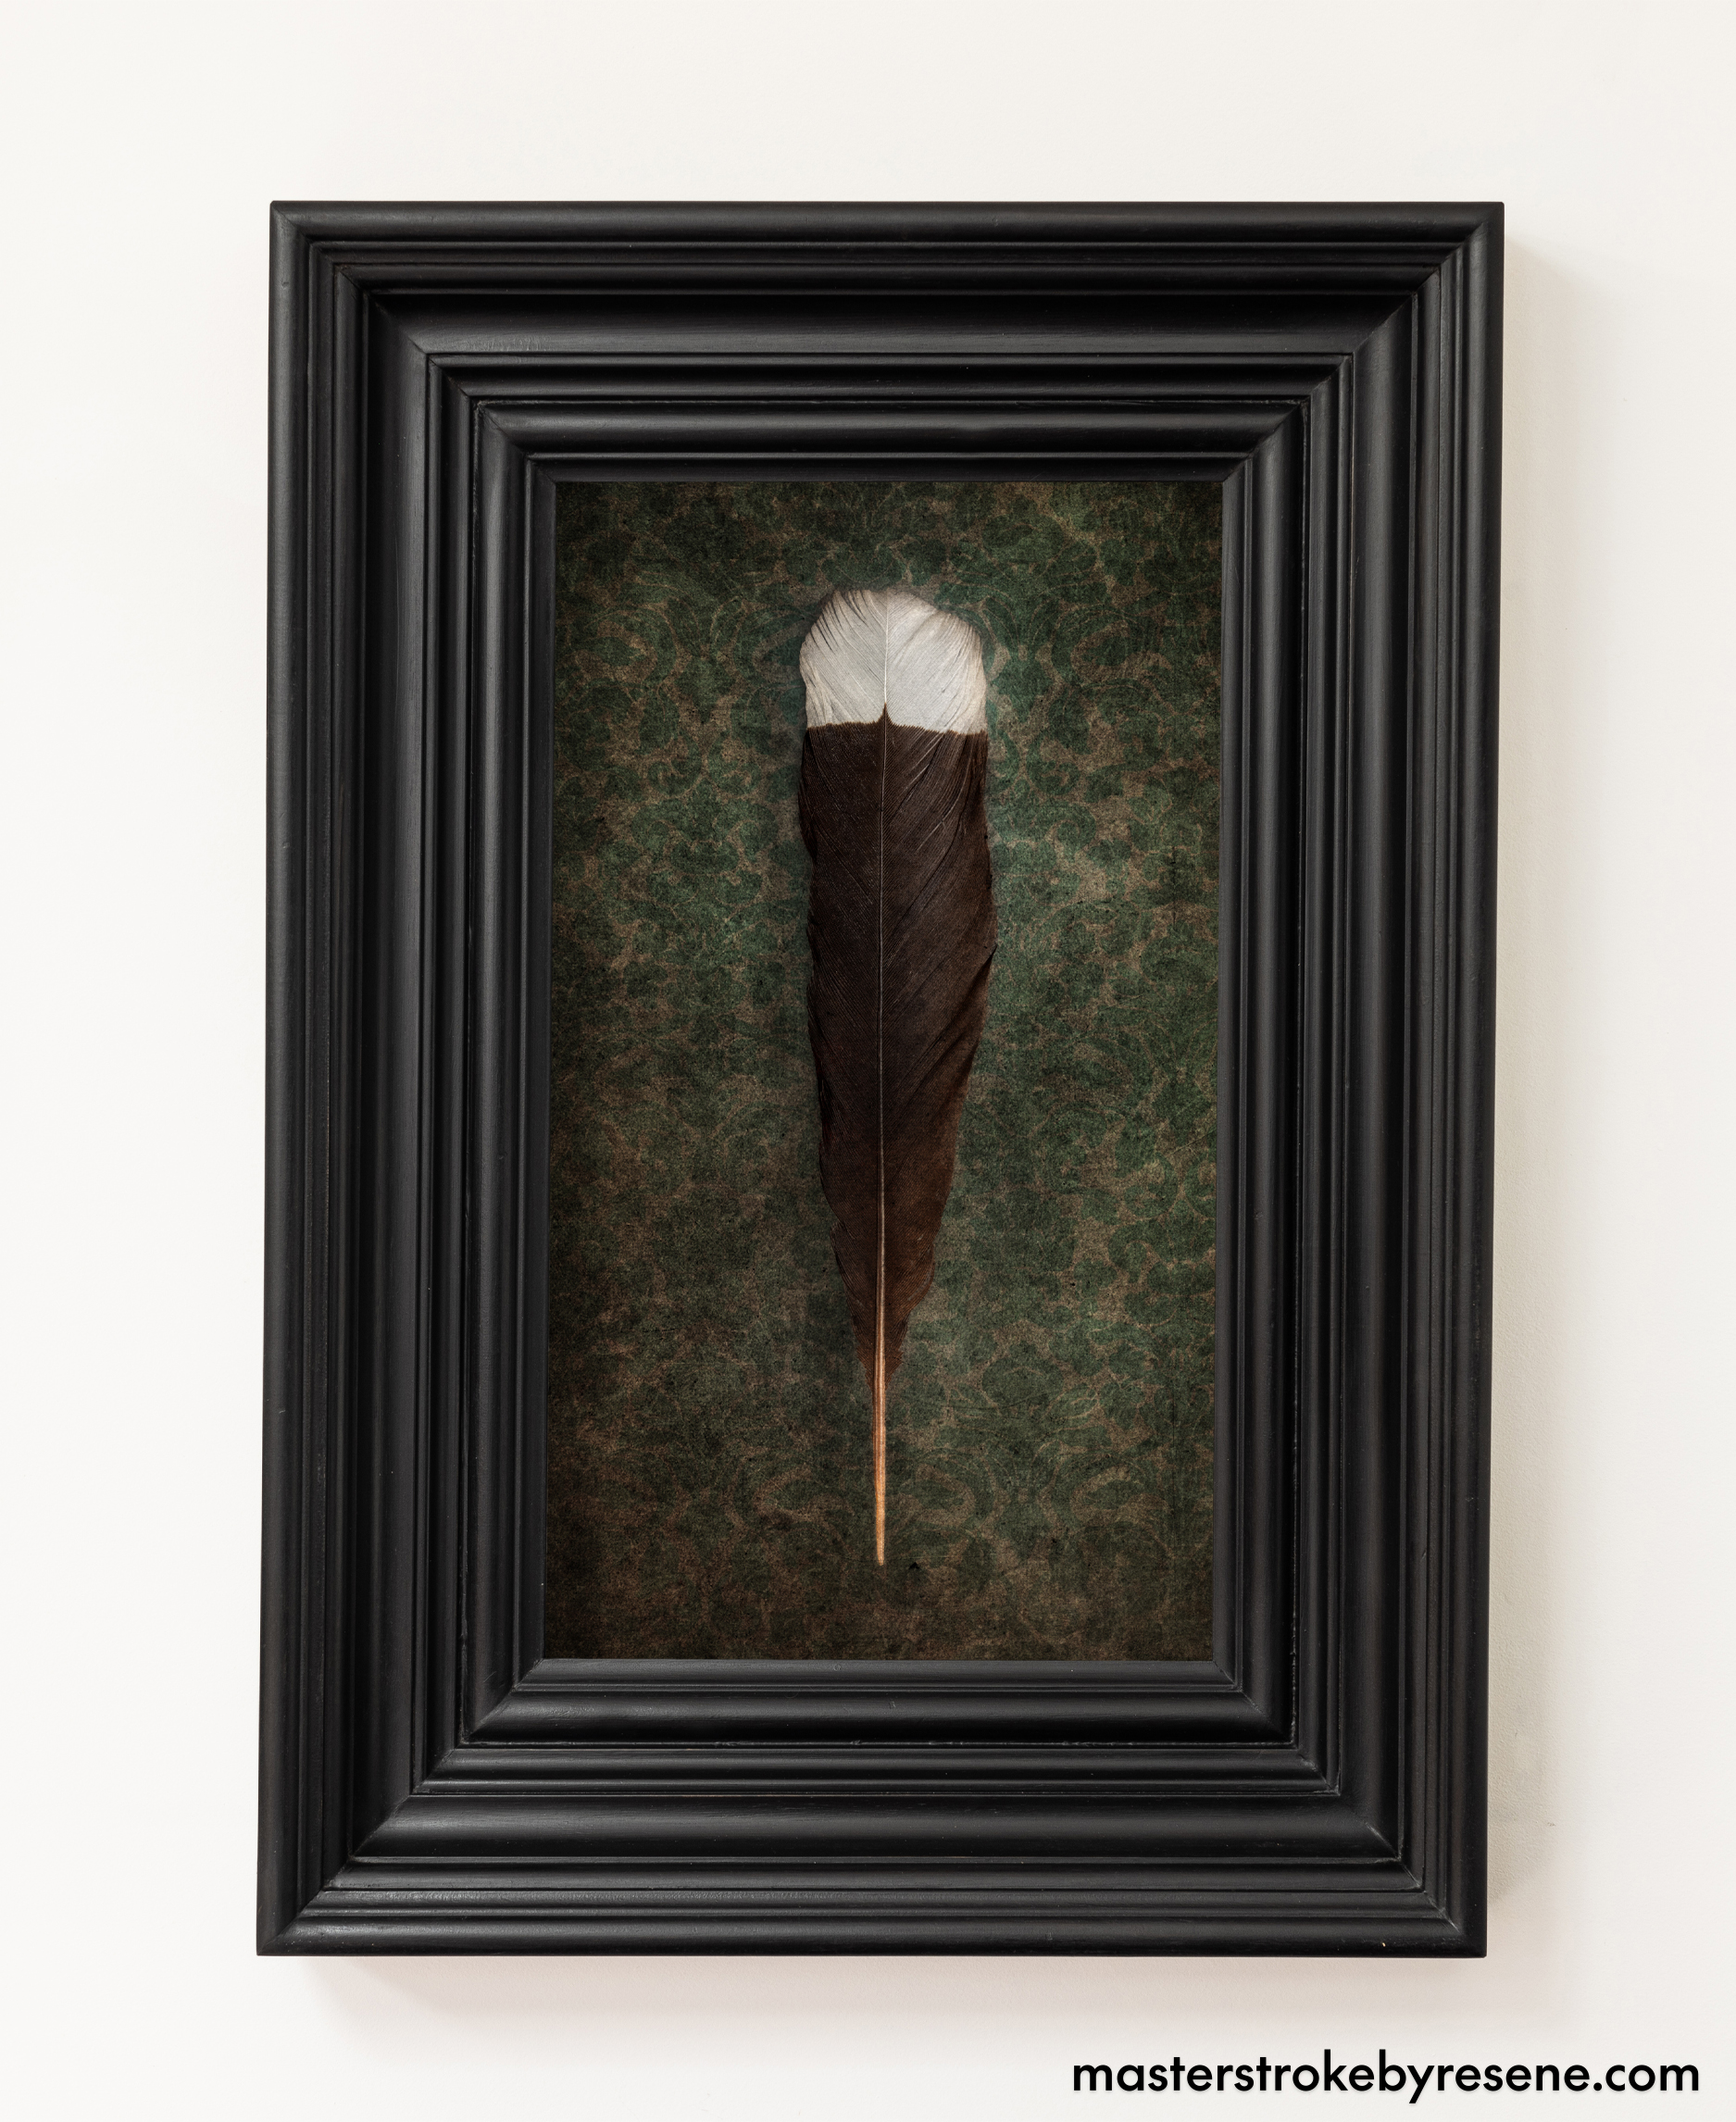
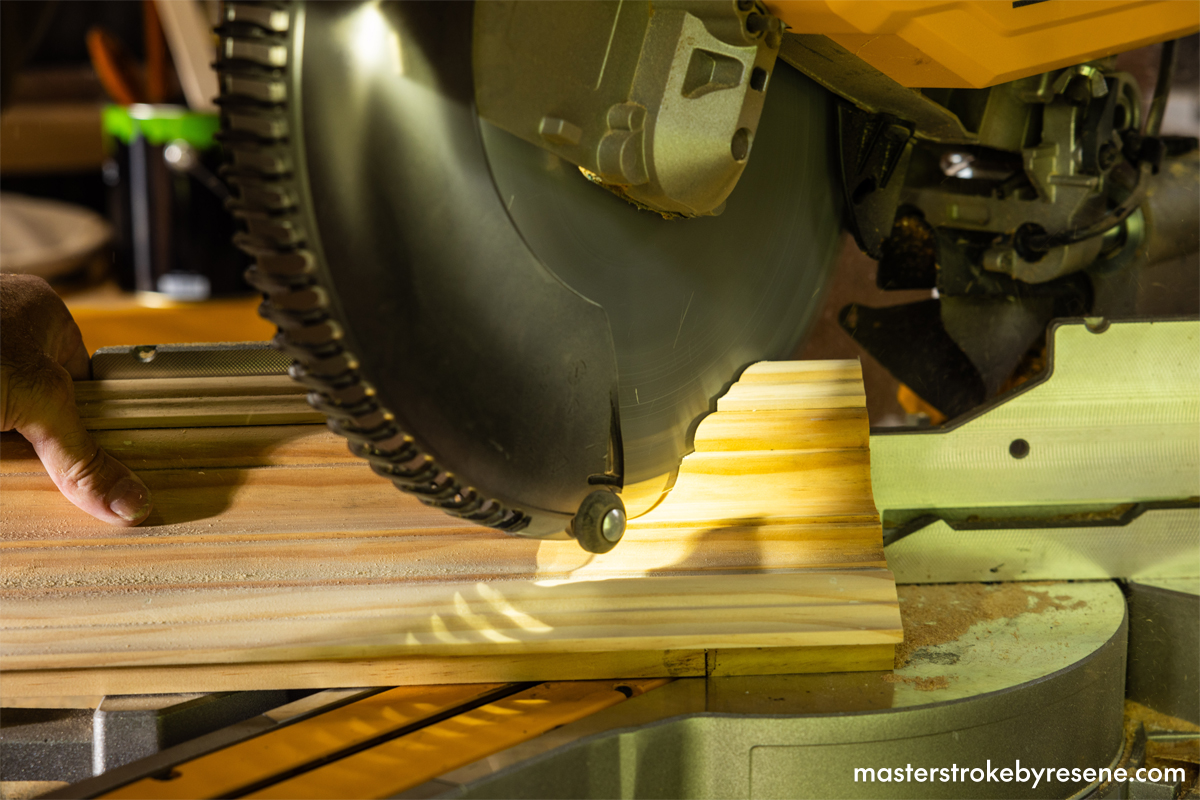
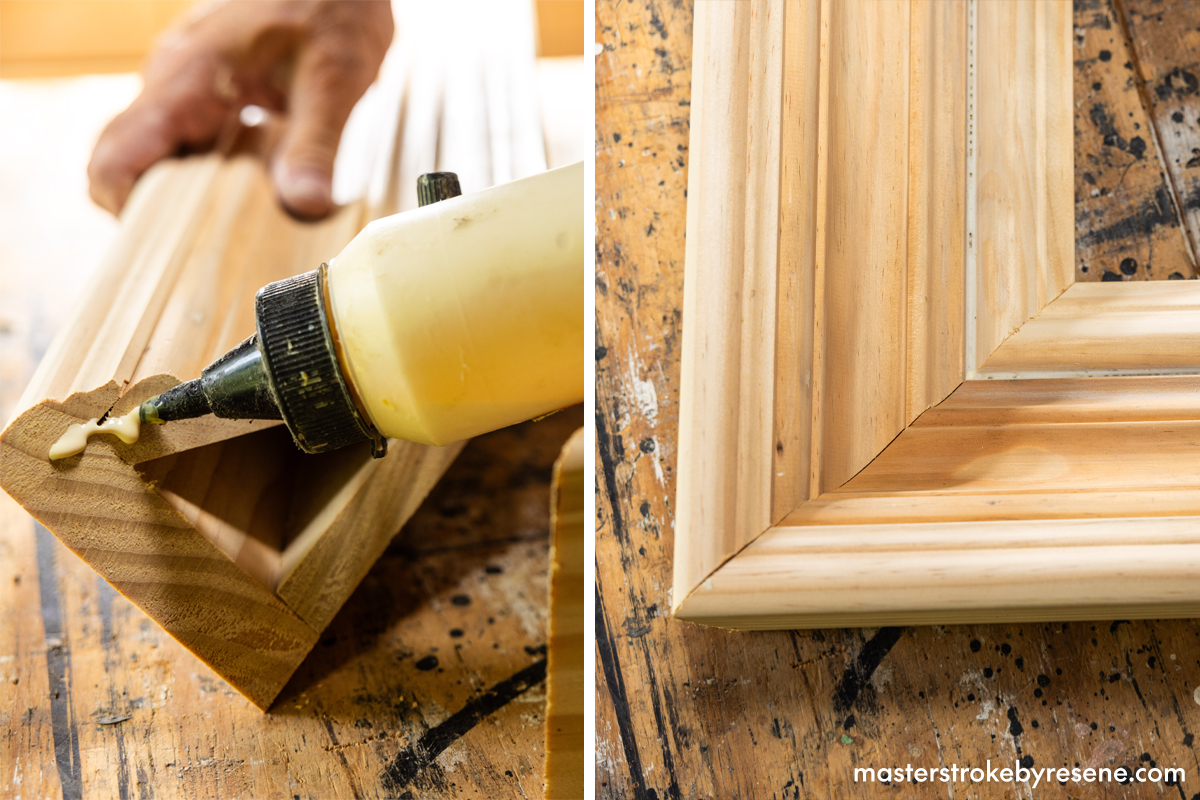
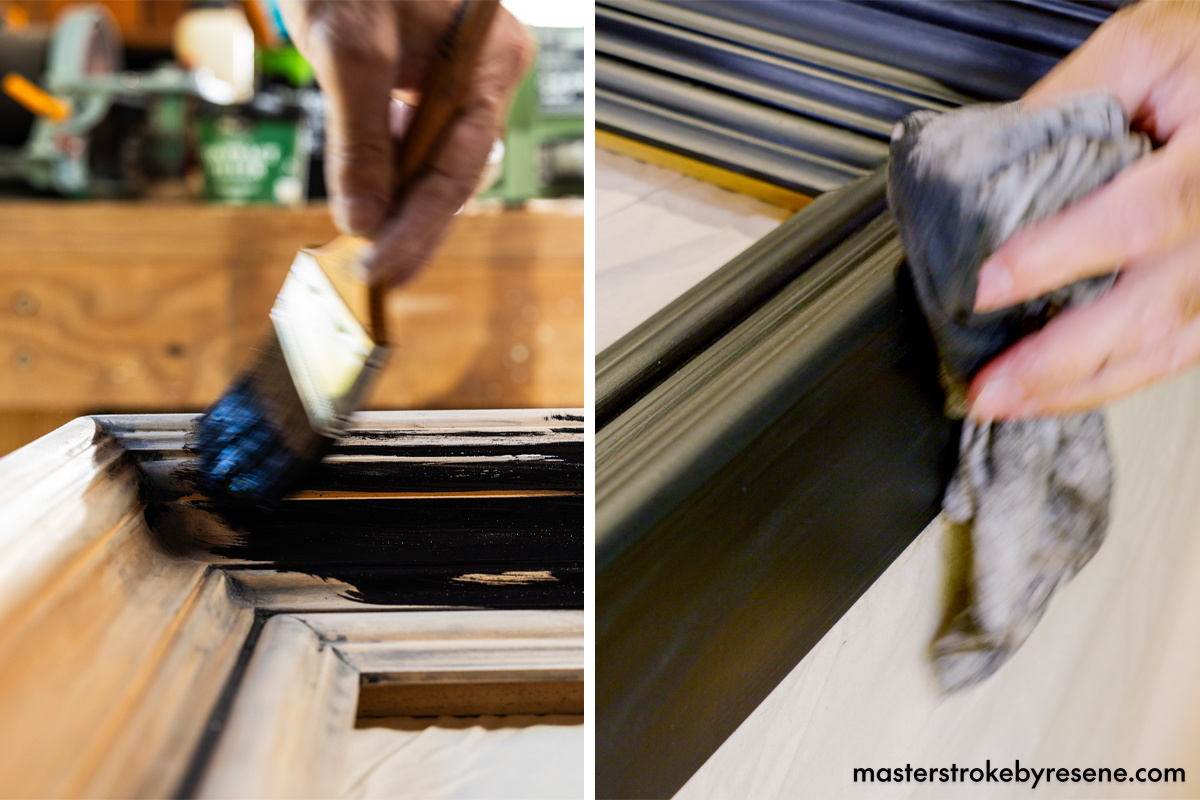
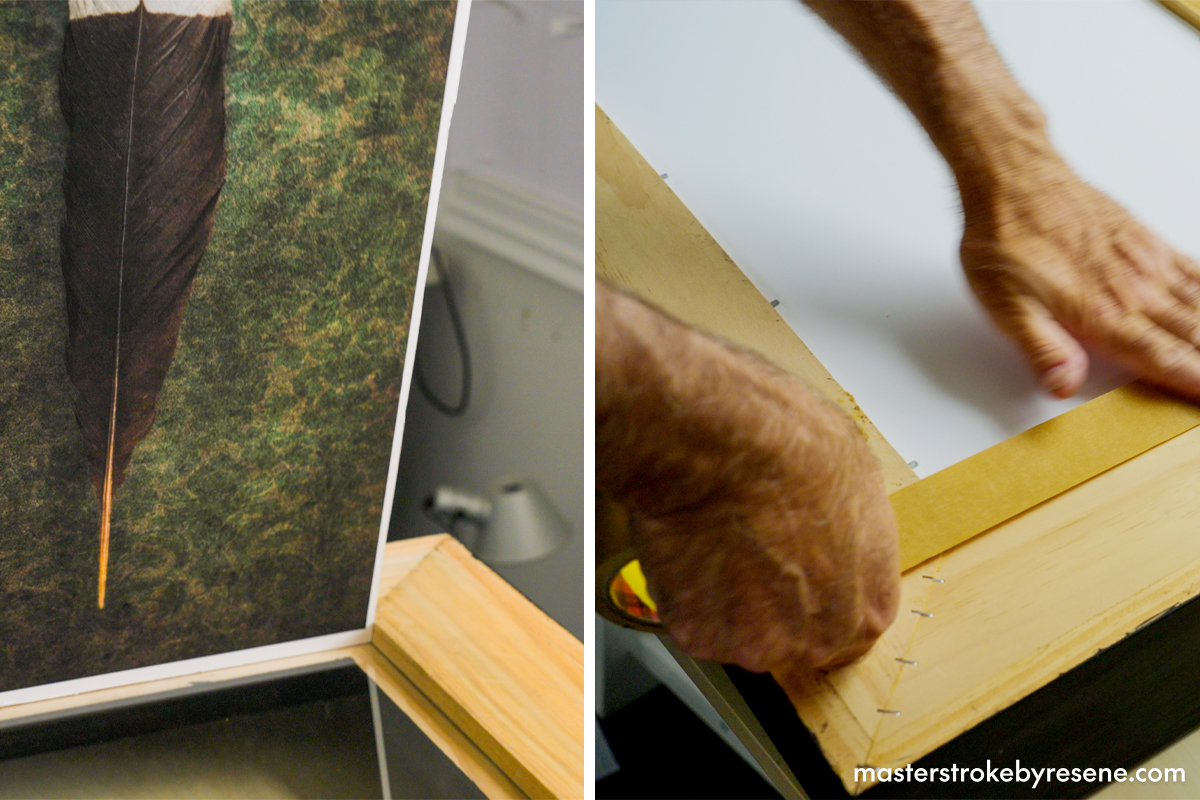
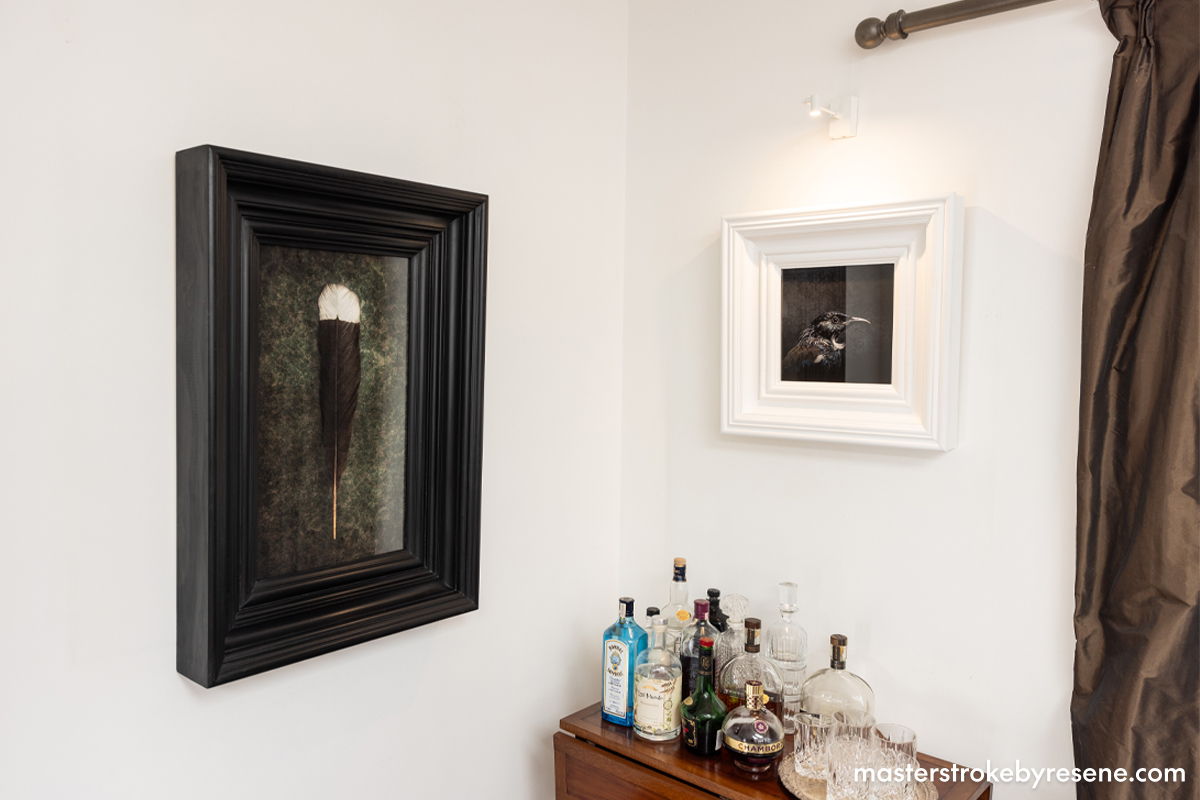
An inherent interest in DIY and a passion for native birdlife compelled acclaimed Jae Frew, an Auckland-based commercial photographer and artist, to launch his collection Manu Kōingo – Birds of Yearning. It is a series of portraits of rare and extinct native birds, each mounted in a bespoke frame that he handcrafted from native timber. 

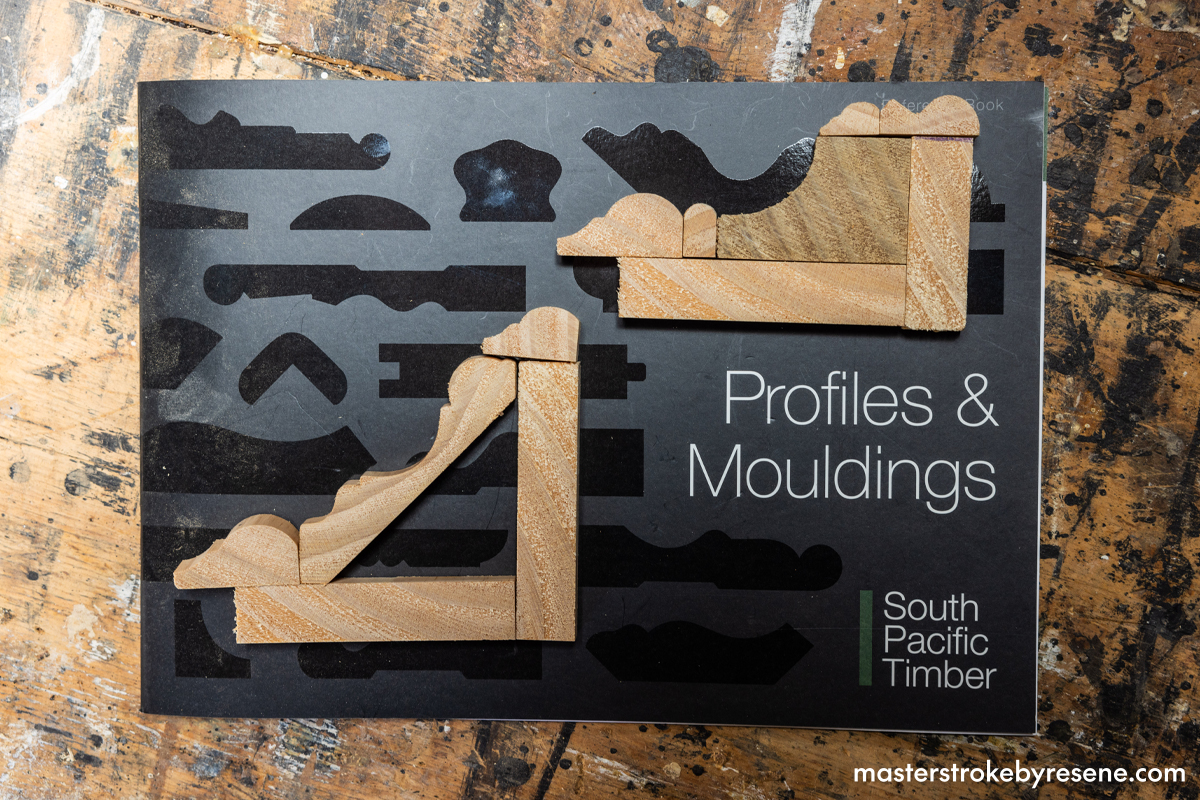
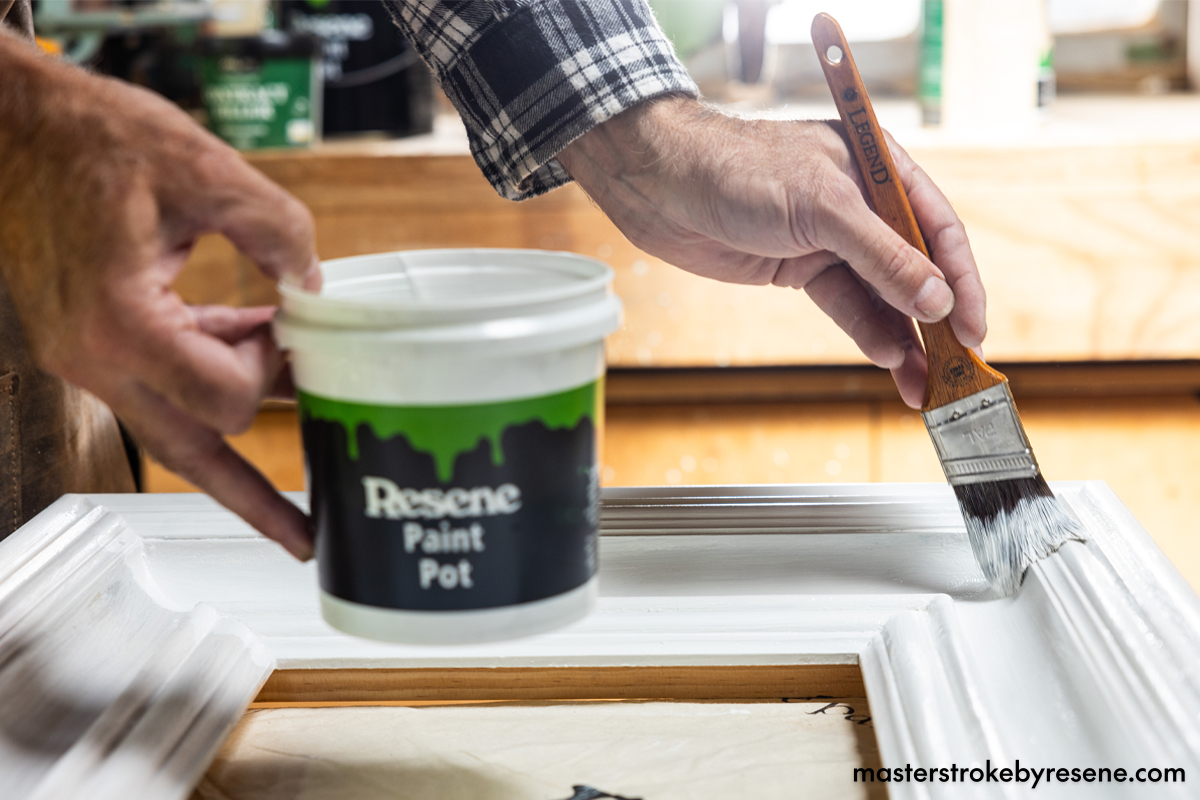
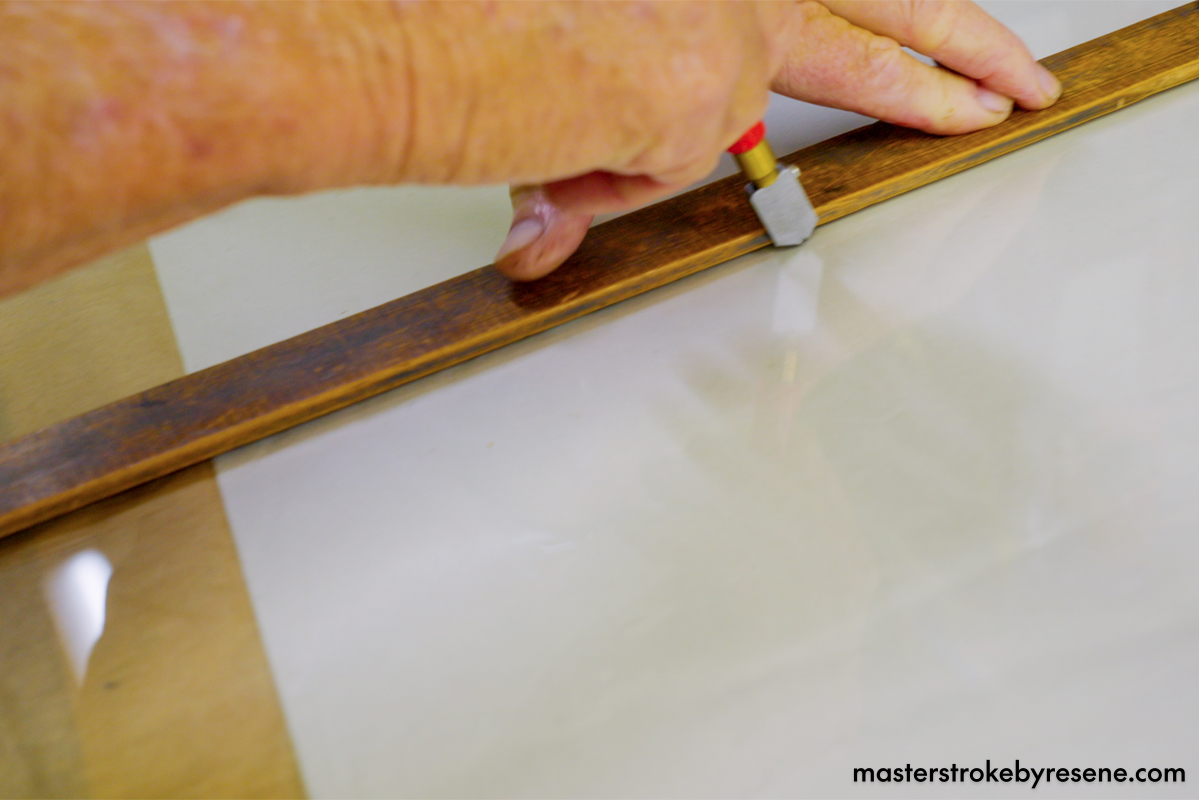
“This is a concept that had been on my mind for many years, and with time and space to pursue my own photographic projects during the 2020 and 2021 lockdowns, I began exploring and shaping the idea into reality,” shares Jae. “This project unites my photography and woodworking skills and connects with the interests of my youth, while raising awareness of our fragile and diminishing forest life.”  

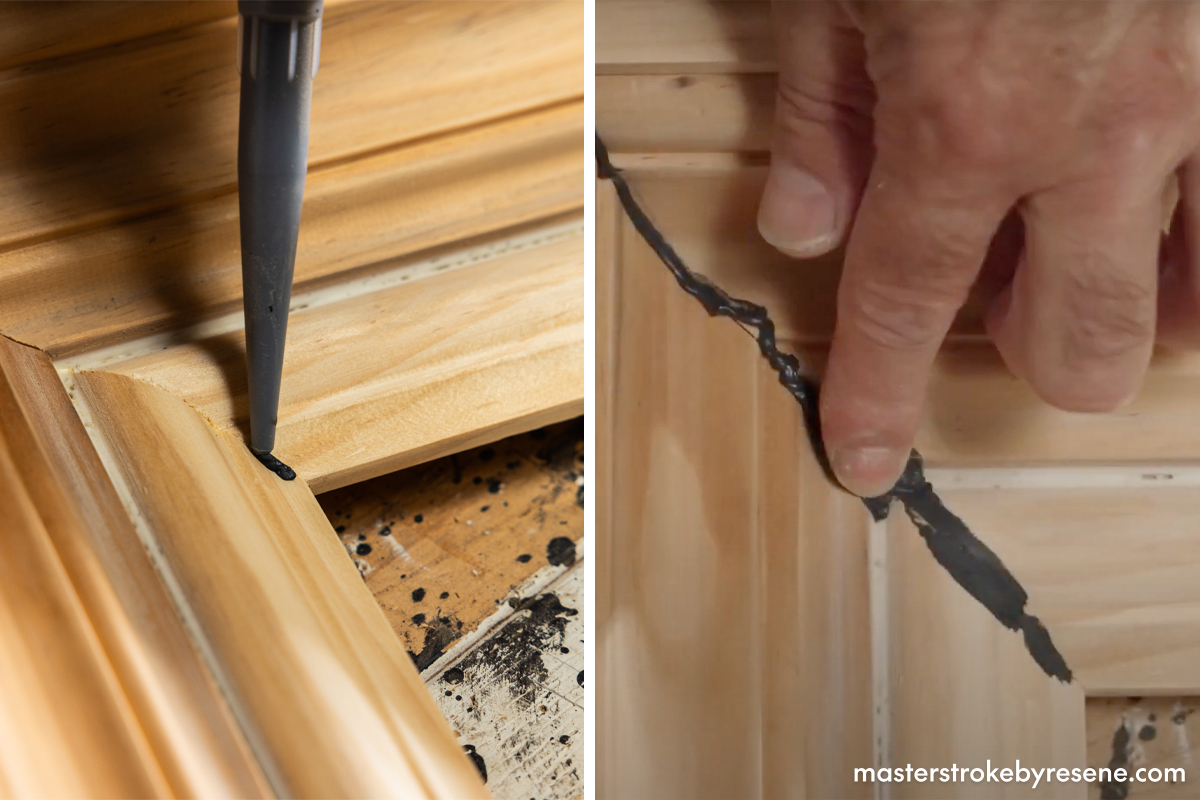
As a boy, Jae kept a large aviary in his parents’ backyard in Matua, Tauranga. “The more time I spent caring for and observing the birds, the more their characteristics, distinctive movements and beauty were revealed,” he recalls. “I also spent a lot of time with my father learning how to work with wood – countless hours spent in his workshop learning the art under his tutelage and guidance.” 

Jae’s interest in DIY came from his father, who was a cabinetmaker. “He let me work alongside him in his workshop, quietly teaching me countless skills and tricks of the trade. I’ve put this knowledge to good use over the past 30-odd years renovating and repairing my Mt Eden house and creating furniture.”

Elevating his art

Throughout his career, Jae has photographed many of the world’s most famous and important faces, and counts a day spent with Sir Edmund Hillary as a career highlight. “I’ve enjoyed capturing prime ministers, heads of state, corporate CEOs, as well as TV, film, music and sports personalities through the lens,” he says. “I’ve met and photographed some wonderful New Zealanders, from politicians and artists to people who have overcome enormous challenges. Those experiences have been humbling and memorable.”

'Tūī No.2' by Jae Frew.
Acclaimed photographer and artist Jae Frew's next exhibition, Manu Kōingo - Birds of Yearning 2, runs from 4-21 April at Auckland's Parnell Gallery.
'Huia No.2' by Jae Frew.

As an artist, however, he says that his first solo exhibition was a major highlight. Creating one of these stunning pieces begins with the photography. “I take a series of photos of each bird from collections of taxidermied birds held in museums across the country. When I’ve selected the best photograph, I work on the image digitally, working up multiple layers of background, which incorporates vintage wallpaper and various textures that I’ve photographed separately.”

Next comes the frame. “I use repurposed native timbers, much of which comes from house renovations and demolitions,” Jae explains. “It involves preparing, cutting, joining and sanding multiple pieces of timber. I finish the frame with Resene Waterborne Woodsman penetrating oil stain and polish with soft wax to give an antique look. Finally, I add the finishing touch of a copper or brass nameplate, which I shape by hand and have engraved with the name of the work.”  

When undertaking projects around the home as well as for his art, he loves the reliability and ease of use of Resene products. “There’s a terrific range of products and colours, and the paint covers well and leaves a lovely finish. The staff are very knowledgeable and always helpful. I always use Resene – almost every surface of our house is covered in a Resene product of some sort.”  

In this Odd Jobs video, Jae shows the step-by-step process of how you can create frames using pre-cut moulds and advises those trying at home to “measure twice and cut once”. 

“Buy the best tools you can afford and practice first on materials you don’t mind wasting while you learn how to mitre your corners correctly,” he says. “Be patient and don’t hurry.”

  • Tape measure 
  • Pencil 
  • Drop saw 
  • Nail gun
  • Hammer
  • Nail punch 
  • Putty knife 
  • Caulking gun 
  • Square 
  • Staple gun 
  • Ruler 
  • Glass cutter 
  • Safety gear 

1

Choose your mouldings

To make life easier, choose a ready-made moulding from a supplier – Jae gets his from South Pacific Timber and he uses various shapes and sizes to create bespoke profiles.

2

Measure and cut

Measure mouldings to your desired length and remember to leave a little extra margin.

Cut all your pieces to size using a drop saw.

3

Create your desired profile

Use a generous amount of glue to stick each piece together, then secure with nails. You can use a nail gun or regular nails and a hammer.

4

Fill the gaps

Use Contract Filler to fill the nail holes, and then fill any gaps with gap filler. Wipe smooth with a damp cloth.

5

Sand

When the filler is completely dry, sand and wipe away sanding dust.

6

Angle the ends

Cut both ends of each length at a 45-degree angle to create the corners of the picture frame.

7

Construct the frame

Apply glue to the corners one by one, then stick them together carefully to form the frame. Secure with nails and staple the back.

8

Smooth the joins

Fill the gaps with joint sealant, smooth it down and give it a good wipe. Once dry, sand and wipe away the sanding dust.

9

For a stained frame

If you’re staining your frame, decant Resene Waterborne Woodsman penetrating oil stain into a paint pot and give it a good stir (Jae used the colour Resene Pitch Black). Apply at least two coats, leaving it to dry and finely sanding between coats.

Polish with soft wax to give an elegant, dramatic finish.

10

For a painted frame

If you’d prefer a painted finish, start by applying a coat of Resene Quick Dry waterborne primer undercoat. Once dry, lightly sand and wipe away the sanding dust. 

Decant Resene SpaceCote Low Sheen waterborne enamel into a paint pot (Jae used the colour Resene Half Black White). Apply at least two coats, allowing dry time between coats.

11

Glass

Measure the picture framing glass to fit your frame and cut to size using a glass cutter. Place the glass into the frame.

12

Insert the artwork

Lower your chosen artwork into the frame, securing it with picture framing tape.

13

Ready to display

Hang your frames, stand back and admire your fantastic handiwork!

About MasterStroke by Resene
MasterStroke by Resene is here to help you master your paint and decorating DIY projects. Brush up on your skills with advice, tips and ideas from our trusted experts.

Check out the latest how-to videos on our YouTube channel.