How to

How to prep and paint weatherboards

There are many character homes in our part of the world, which have been crafted from timber weatherboards. This hardy and very durable building material stands the test of time, especially when it’s looked after properly and repainted every seven to 10 years. 

Within that time though, you may notice that the paint can become damaged in some areas. Our southern hemisphere climate, with the scorching sun, clear skies and salt laden air, has a huge impact on all coating systems, even though Resene paint is specially designed in New Zealand to withstand these conditions.

Sun, moisture and temperature differences can all directly affect the longevity of the painted surface. Direct and reflected UV light degrades the binder and pigments of paint, resulting in chalking, erosion and colour loss. Eventually, all grades of paint suffer these effects to some degree, but lower quality paints will fail much sooner.

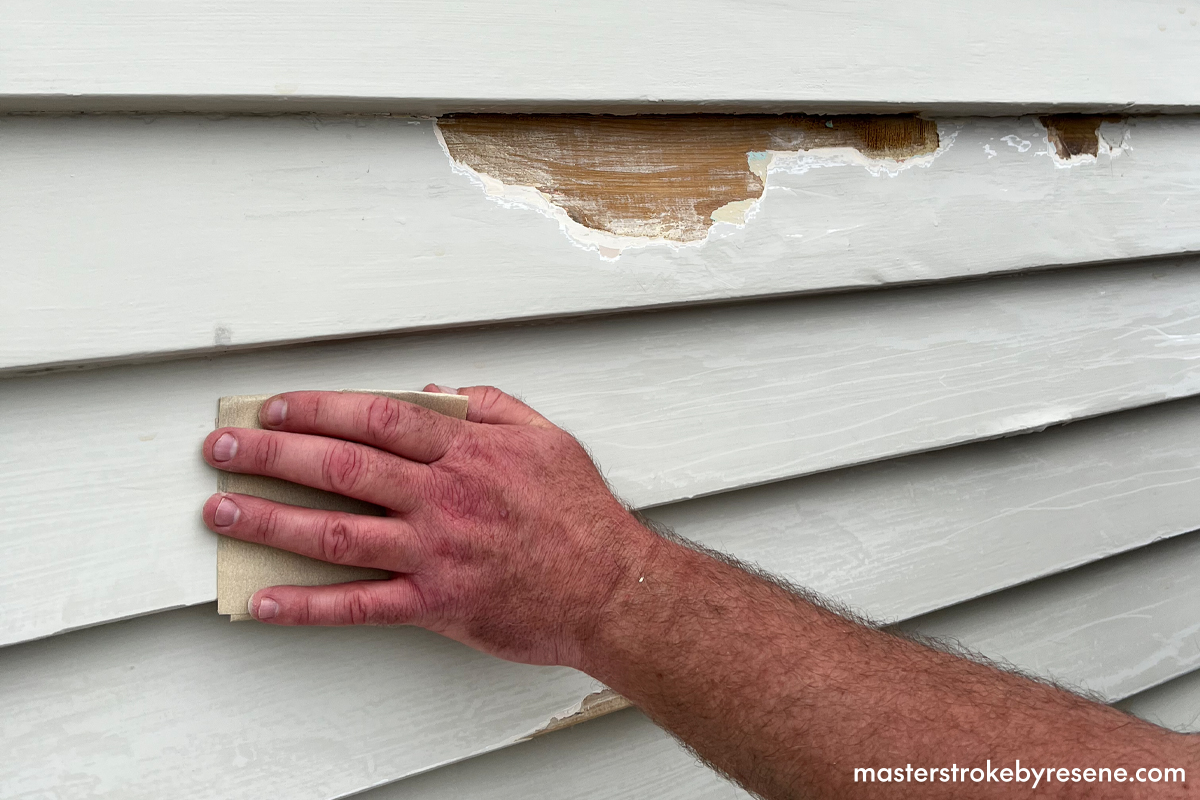
Moisture in the form of rain, snow, dew, condensation or sprinklers present a number of challenges to a painted surface. As well as surface effects, most coating systems allow some liquid or water vapour through. Where timber has been used, this can lead to swelling and shrinking over time, which can force the paint to fail due to movement in the substrate.

Temperature can also expand metal surfaces and have an impact on wood as it drives off moisture content. To reduce the impact of temperature on a substrate, use light colours or Resene CoolColour formulas which incorporate special pigments that reduce the absorption of heat.

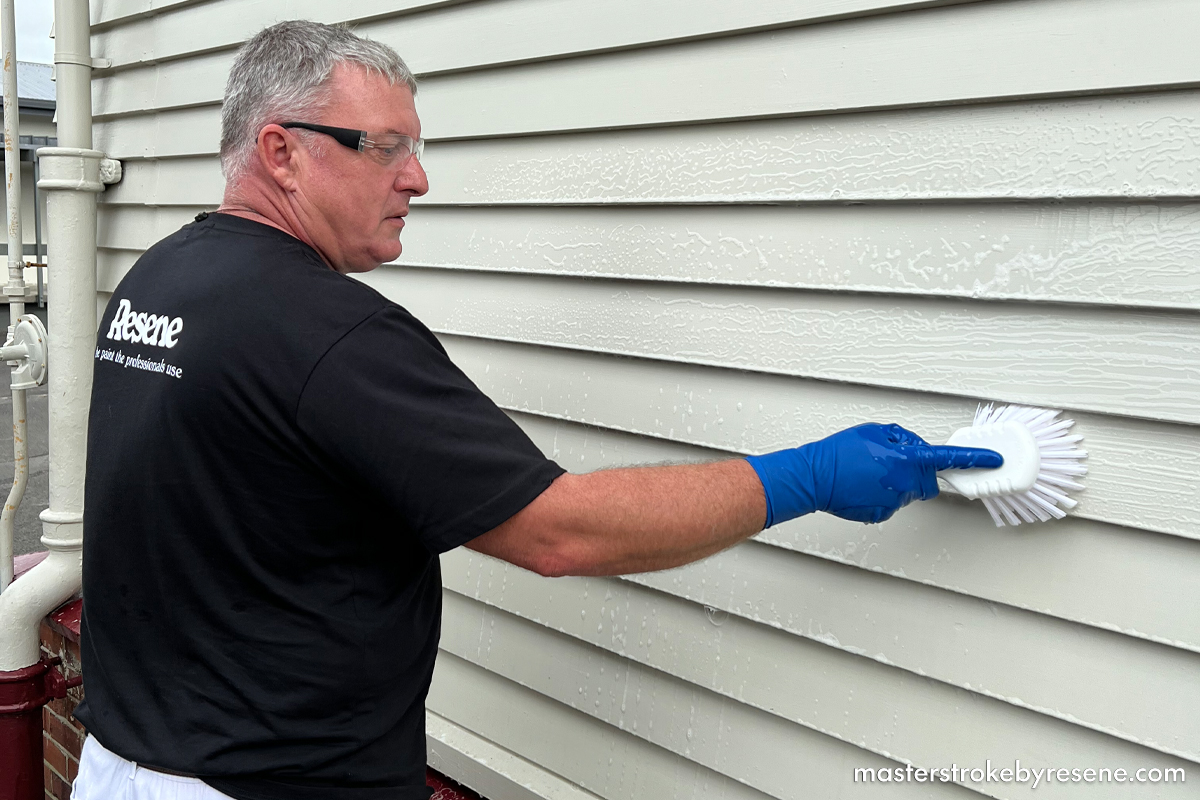
To ensure the longevity of a paint system that is exposed to extreme elements, make sure you inspect your home’s exterior each year and do any repairs needed to areas that are damaged or under stress. Walls exposed to the coast tend to wear much faster, while walls on the shady side of the house will tend to harbour moss and mould.

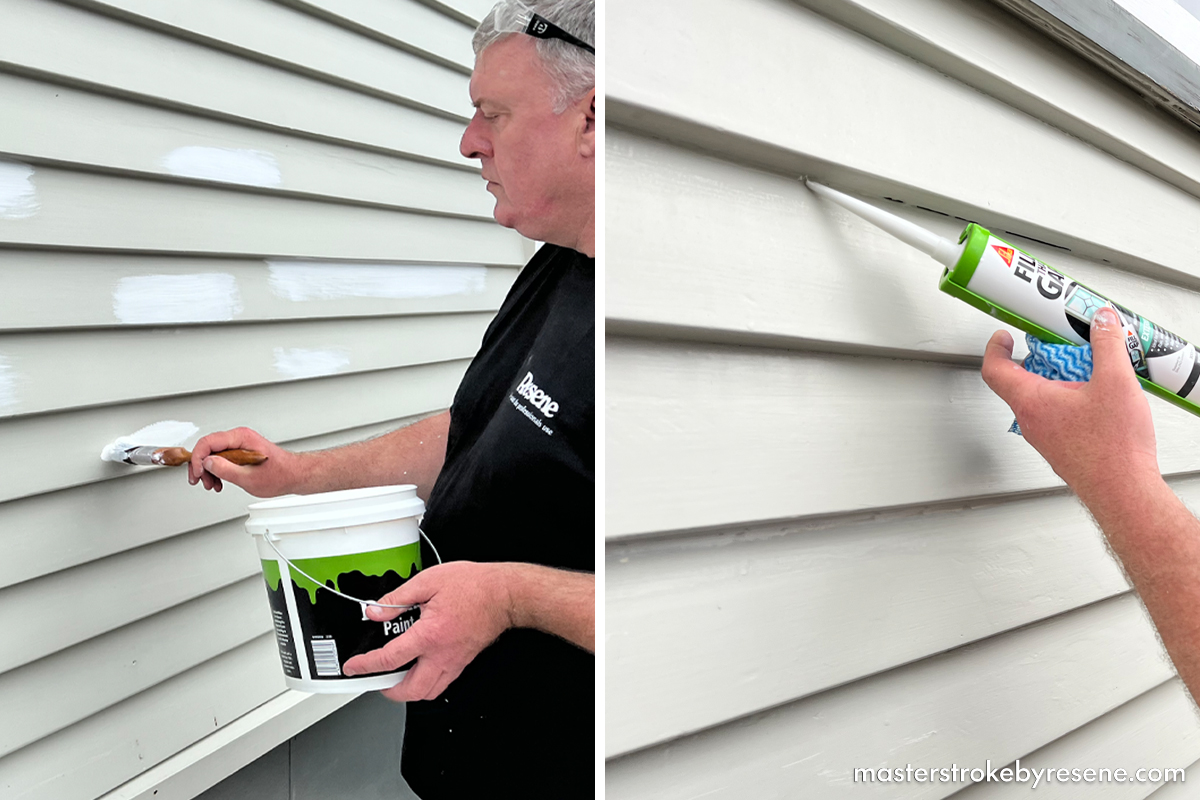
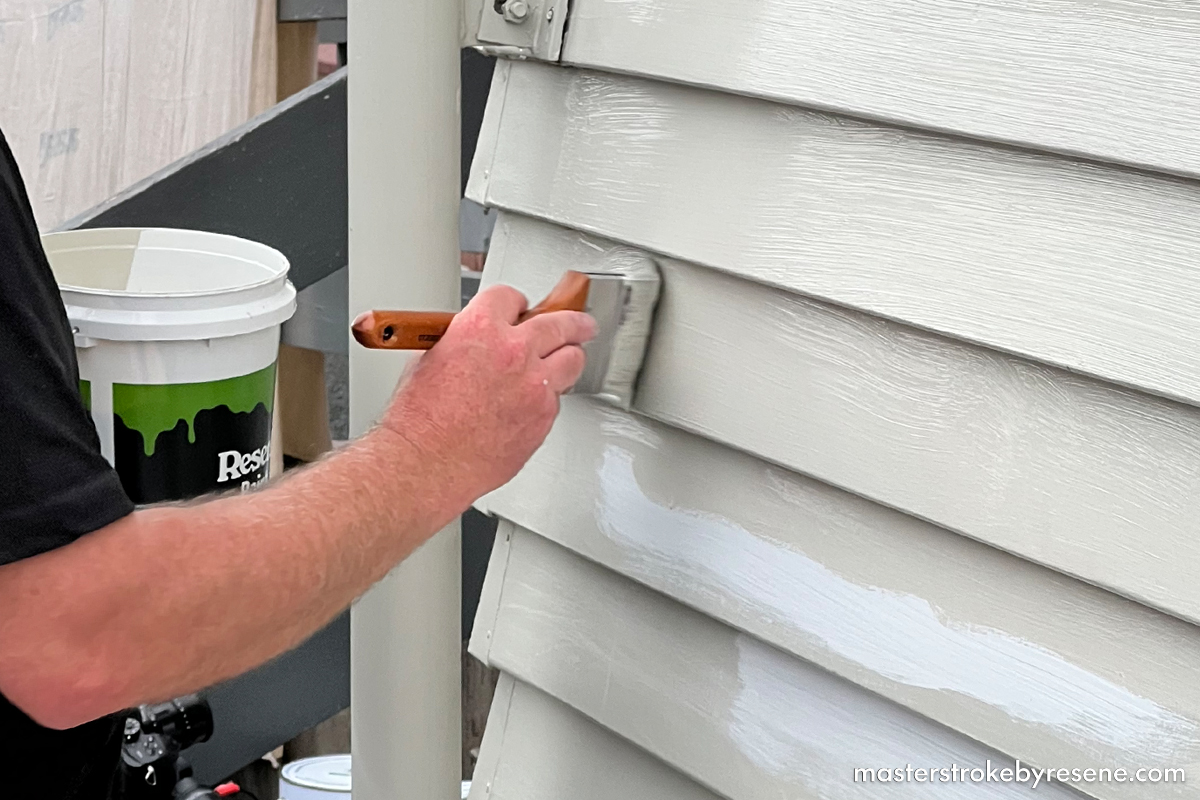
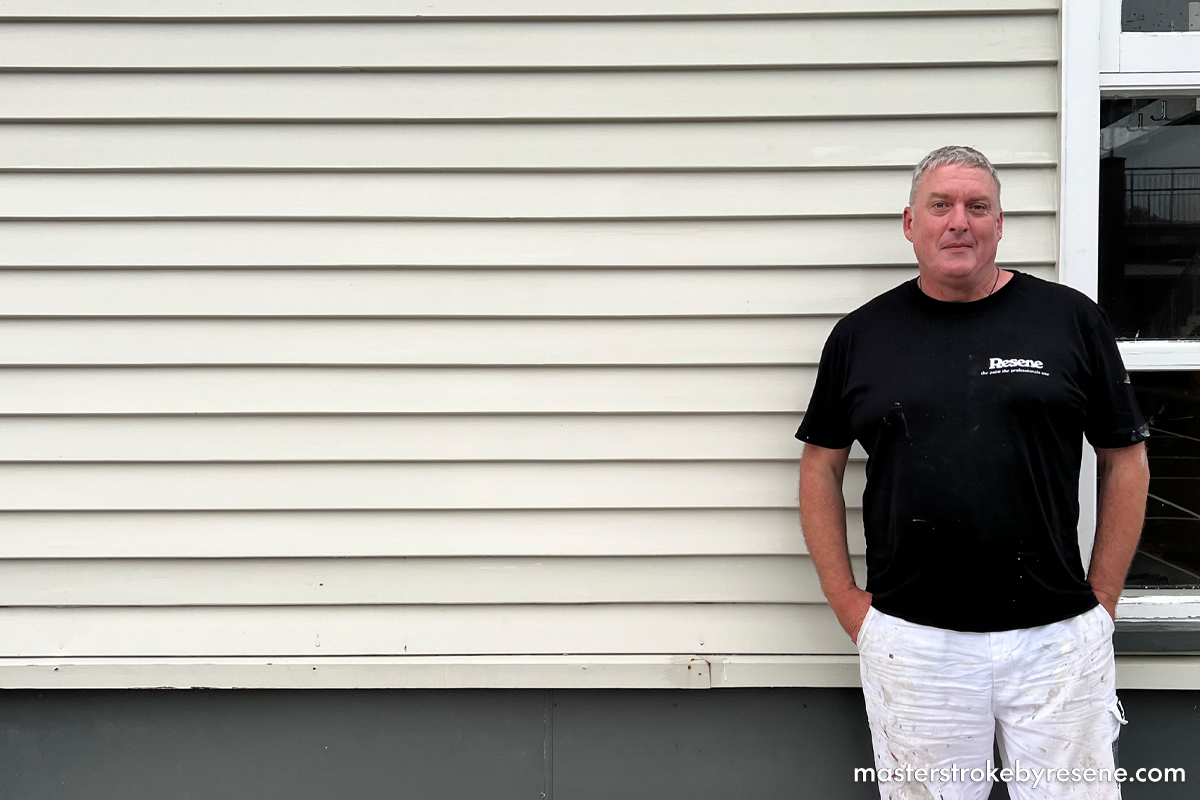
Resene Paint Expert Murdo Shaw has noticed some areas that need a little TLC and repainting on these weatherboards, so he’s taking you through the process of how to prep and paint weatherboards.

  • Scrubbing brush 
  • Bucket 
  • Water 
  • Safety gear
  • Dust brush 
  • Paint scraper 
  • Putty knife 
  • Cloth 
  • Sanding block 
  • Paint can opener 
  • Paint stirrer 
  • Resene paint pots 
  • Assorted paintbrushes

1

Clean

Before you start, make sure you’re wearing safety glasses and gloves when prepping your surfaces. 

If it’s been a while since you last washed your home and there is moss and mould present, use Resene Moss & Mould Killer to treat any moss and mould. Murdo recommends doing this once a year to keep on top of it, but if it’s been a while, there’s no time like the present. 

Check your weatherboards for chalkiness – simply run your fingers along the surface – if it is chalky you’ll end up with a light layer of a chalky dust on your fingers. If there is a chalky residue present, give your weatherboards a good scrub with Resene Paint Prep and Housewash. Once you’re done, rinse well with clean water. This is best done once a year to help keep your home’s paintwork looking fresh.

2

Smooth

Scrape and remove any loose or flaking paint using a scraper – and make sure you’re wearing a dust mask as well as safety goggles for this step. 

Lightly sand the length of the weatherboards with your sanding block and 100 grit sandpaper, smoothing out any remaining imperfections. Use your dusting brush to remove all sanding dust.

3

Prime and fill

Spot prime any bare or exposed areas of the weatherboards with Resene Quick Dry. Fill any gaps with a flexible gap filler (Murdo uses SIK Fill The Gap exterior) and wipe away any excess with a damp cloth. 

If there are any holes or further imperfections you need to fill, use Resene EzyFill GP. 

Lightly sand the areas you’ve filled and wipe away all sanding dust. Doing this removes any loose particles from the surface that can adversely affect your paint finish. 

Top tip: It’s always best to prime then fill as the primer will help the filler to hold onto the surface. If you fill first then prime there is more chance of the filler popping out.

Then it’s time to prime all your weatherboards with a single coat of Resene Quick Dry, and wait for it to dry.

4

Paint

After all your careful preparation, you can now apply your choice of Resene exterior paint in your selected Resene colour and finish.

Murdo used the colour Resene Ash.

5

Done!

All that’s left to do is allow the topcoat to dry and you’re finished.

Top tips to help you pick your weatherboard finish:

  • If you prefer a glossier finish, choose Resene Hi-Glo gloss or Resene Sonyx 101 semi-gloss. A glossier finish will make your colour seem brighter and will be easier to clean, but it can also be more glary. Many decorators choose Resene Sonyx 101 so they can get a glossier finish but with a little less glare than a full gloss.
  • If you prefer a more subtle finish, choose Resene Lumbersider Low Sheen or Resene Lumbersider Matt. Lower sheen finishes bring out the moodiness in dark colours and are more forgiving of surface imperfections. They are though generally harder to keep clean than glossier finishes. All these finishes are waterborne and Eco Choice-approved, so you can easily clean up after the painting with water.
  • If you’re planning to use a dark colour, use the Resene CoolColour version of your colour to help reflect more heat and keep the paint and surface cooler.
  • If you have stained weatherboards and prefer to keep to a stained look, Resene has a range of wood stain finishes perfect for exterior weatherboards, such as Resene Waterborne Woodsman and solventborne Resene Woodsman Wood Oil Stain.

Maintaining a wet edge

Maintaining a wet edge means the end of your painted area is still wet before the next stroke is applied. This will prevent brush strokes from showing in your paint finish. If you allow the paint to dry out halfway along the weatherboard, there may be a visible line – or lap mark – in the paint. 

If you find your paint is drying too quickly, you may need to add Resene Hot Weather Additive to your paint, which will help slow down the drying time. Take care not to overwork the paint or spread it too thinly.

Check your paint container for the recommended coverage for your paint. If the paint covers 12sqm this means that you should be able to paint an area around 3m x 4m in one coat. If you find you’re using less paint you are applying it to thin and will need to apply more. It’s best to apply the right amount of paint to ensure your home has the protection it needs and the paint keeps looking good. Applying too little paint means you’ll need to paint more often and your finish won’t look as good as it could. 

How much paint will you need?

If you change data entered into the fields below, ensure you press the calculate button again to re-run the equations and get the new answers.
Calculated result: 0 Litres in total
To find the spreading rate of your Resene product, click here.
NB: Porous surfaces and shapes (ie corrugated iron) will require more paint.

About MasterStroke by Resene
MasterStroke by Resene is here to help you master your paint and decorating DIY projects. Brush up on your skills with advice, tips and ideas from our trusted experts.

Check out the latest how-to videos on our YouTube channel.