DIY projects

Five fun Christmas DIY projects using Resene paint

Get into the festive spirit with these clever DIY decorations made using Resene paint! Jacob Leaf (Ngāpuhi), aka The Upcycler, shows you how to create these bespoke and sustainable pieces that will impress your friends and relatives so much, they’ll be requesting their very own next year!  

Follow these easy steps to create some magical memories this holiday season!

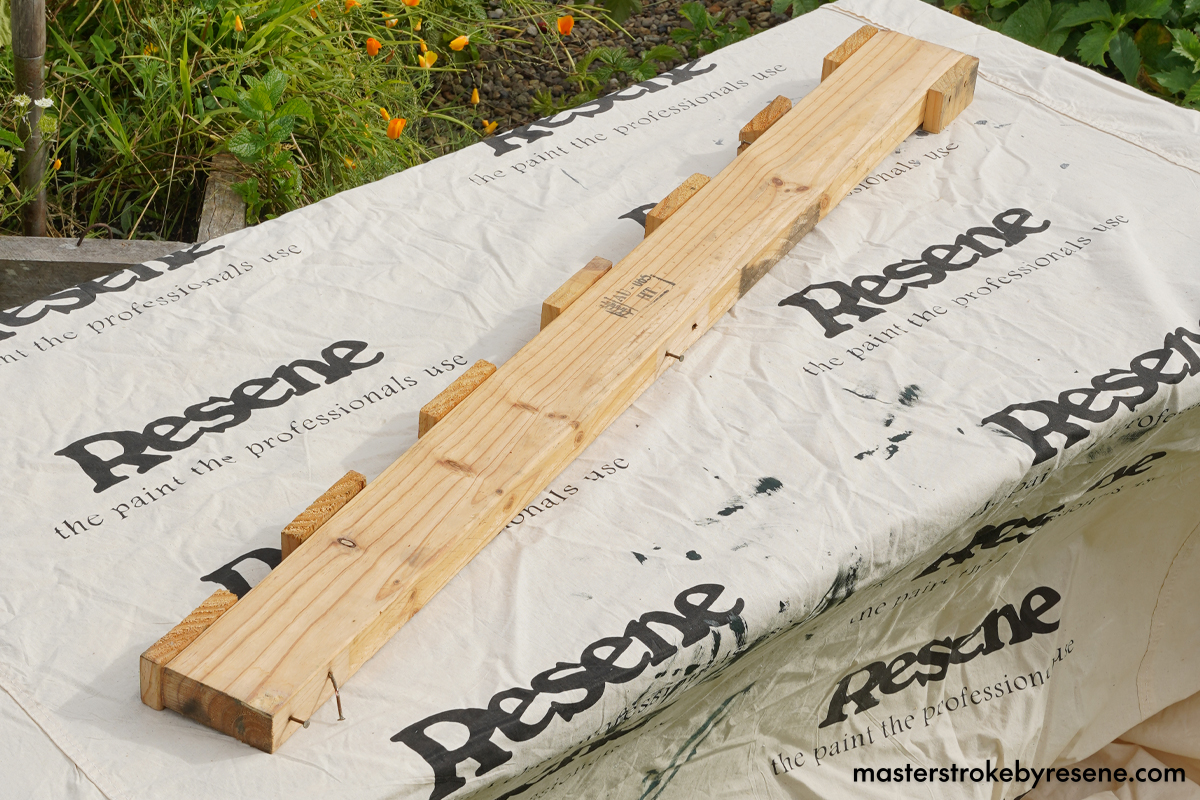
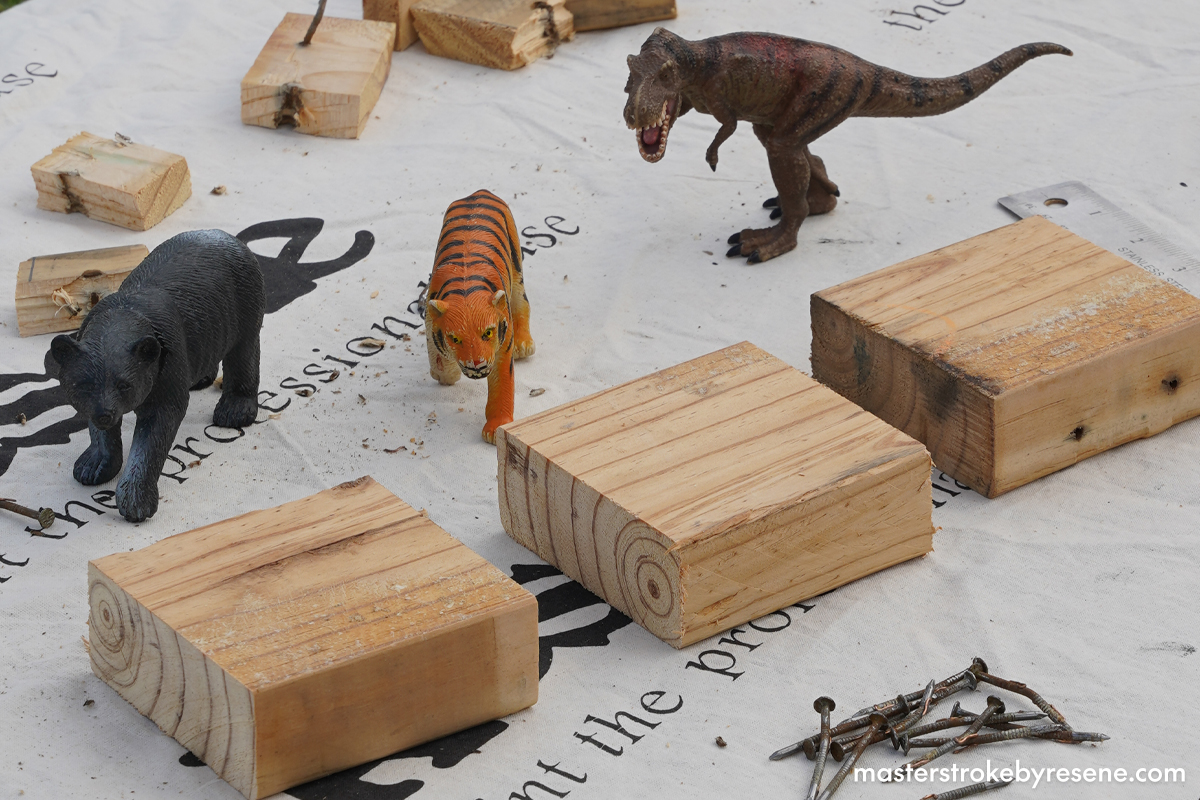
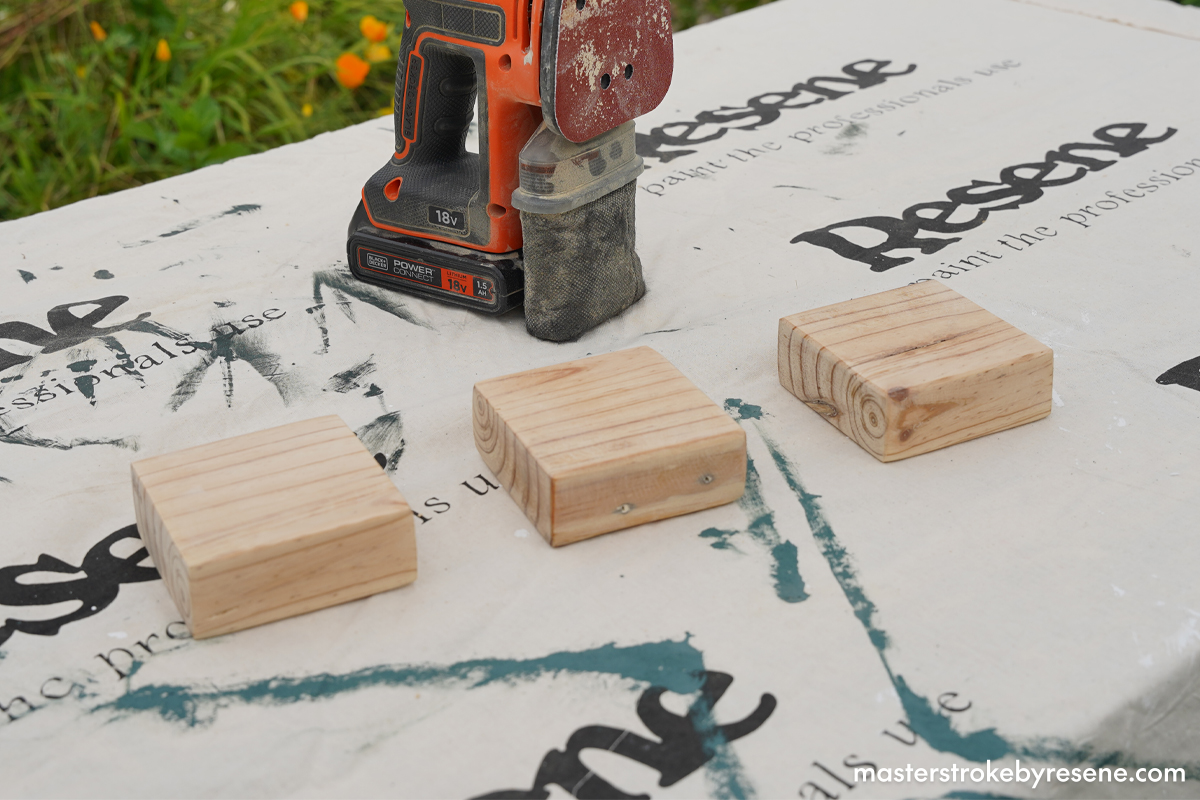
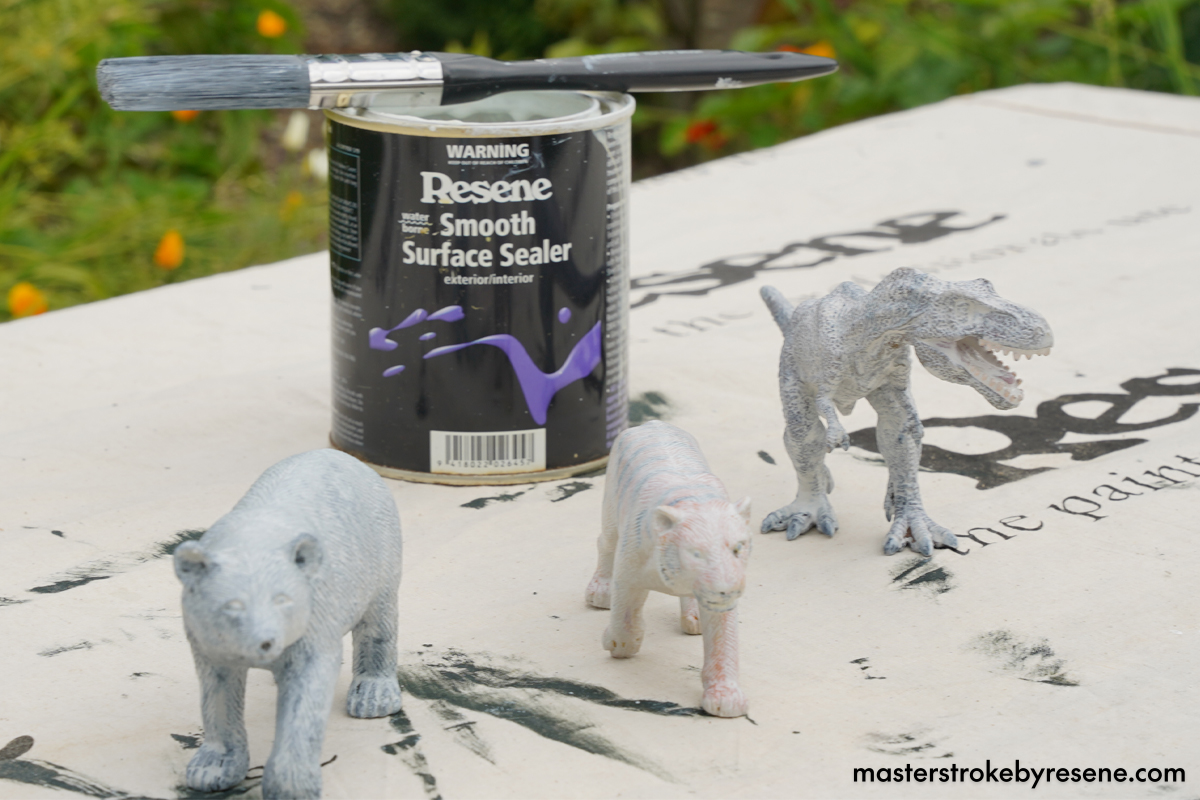
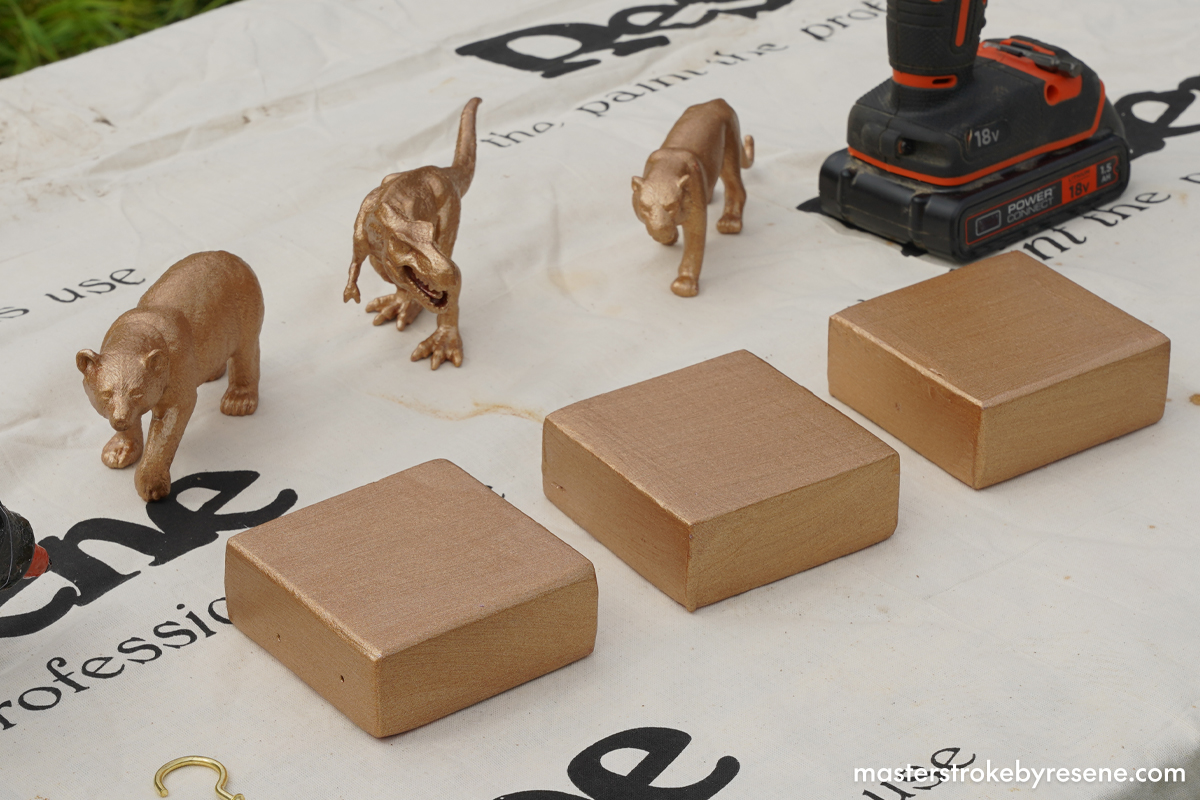
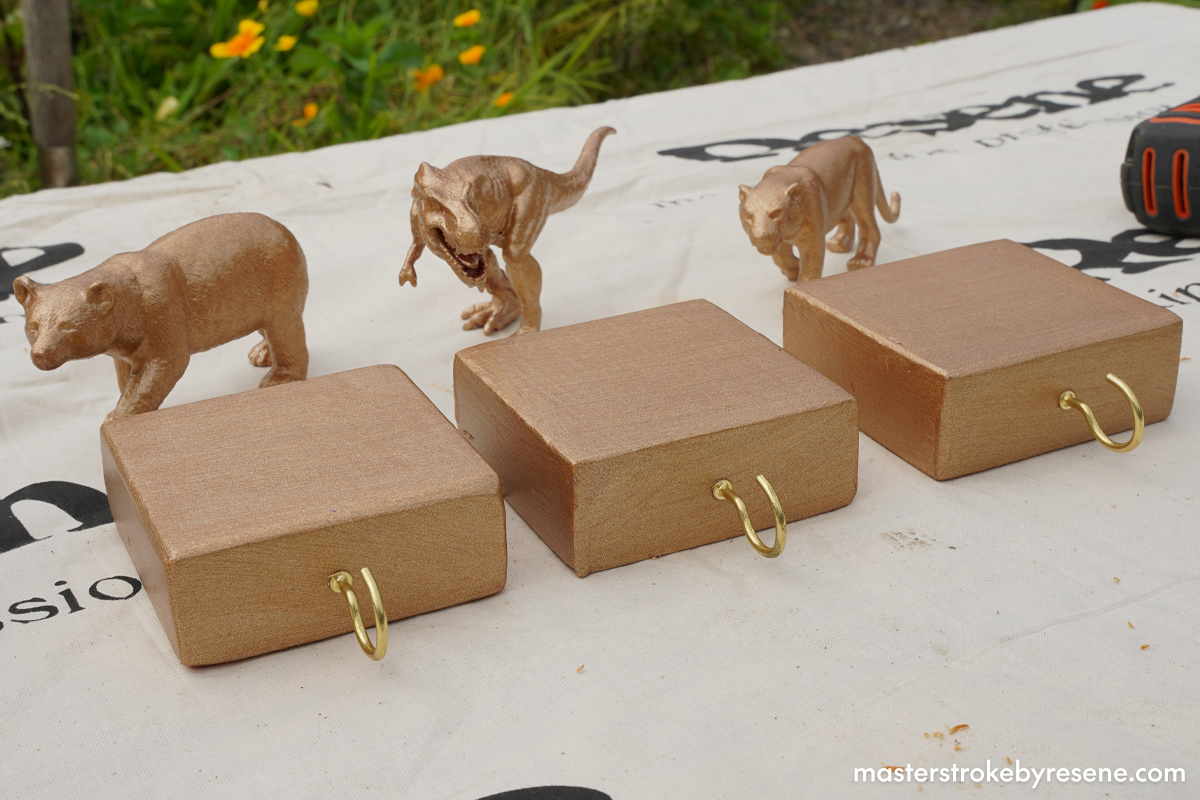
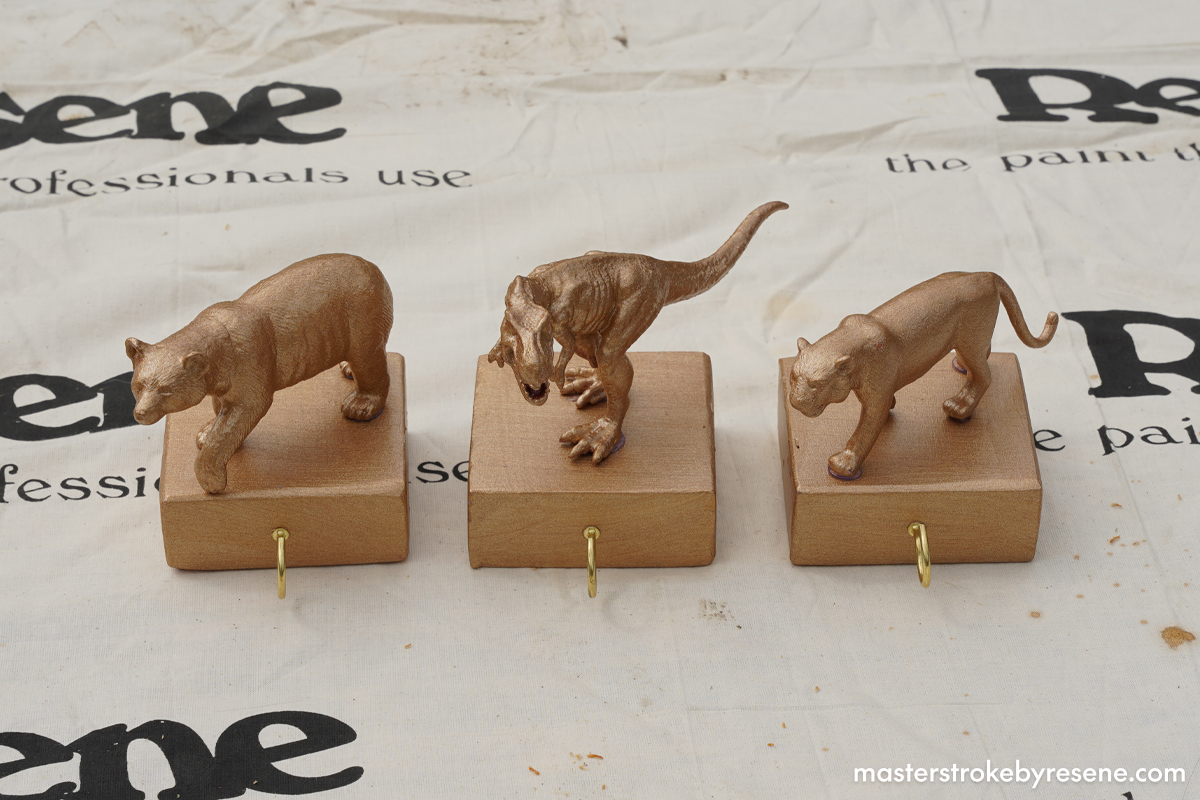
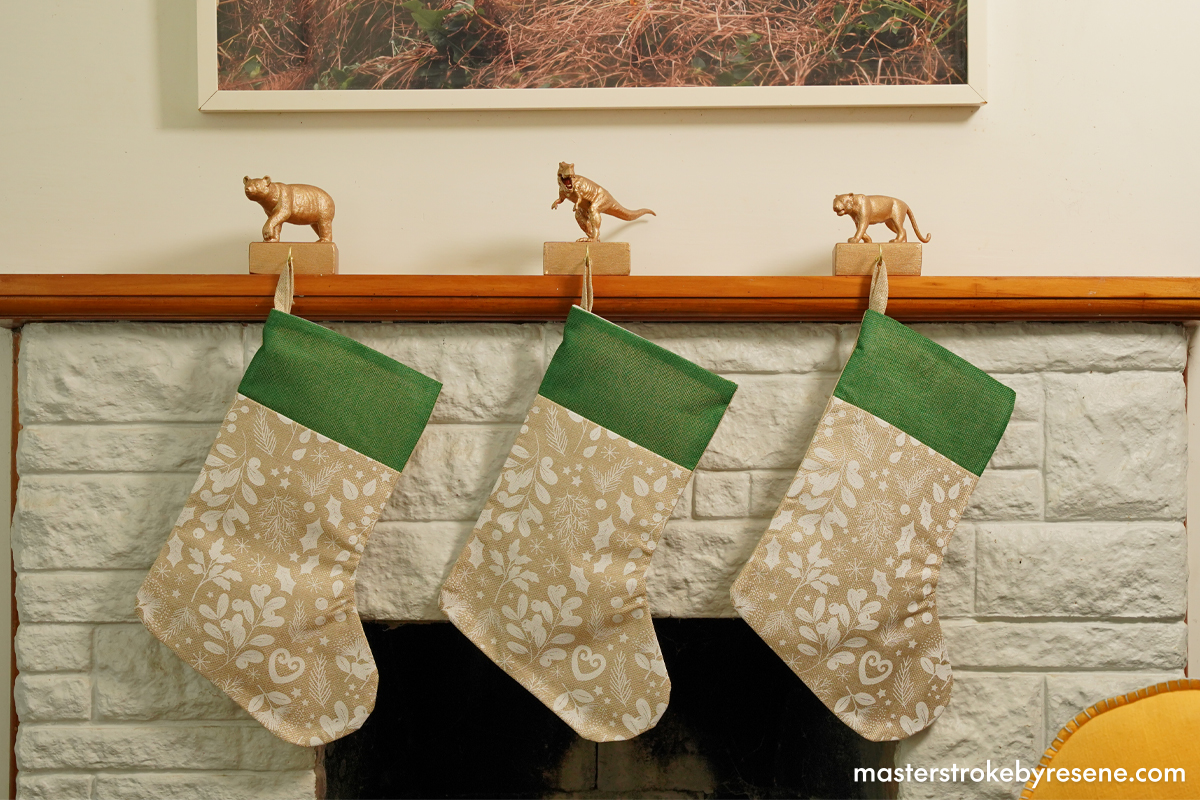
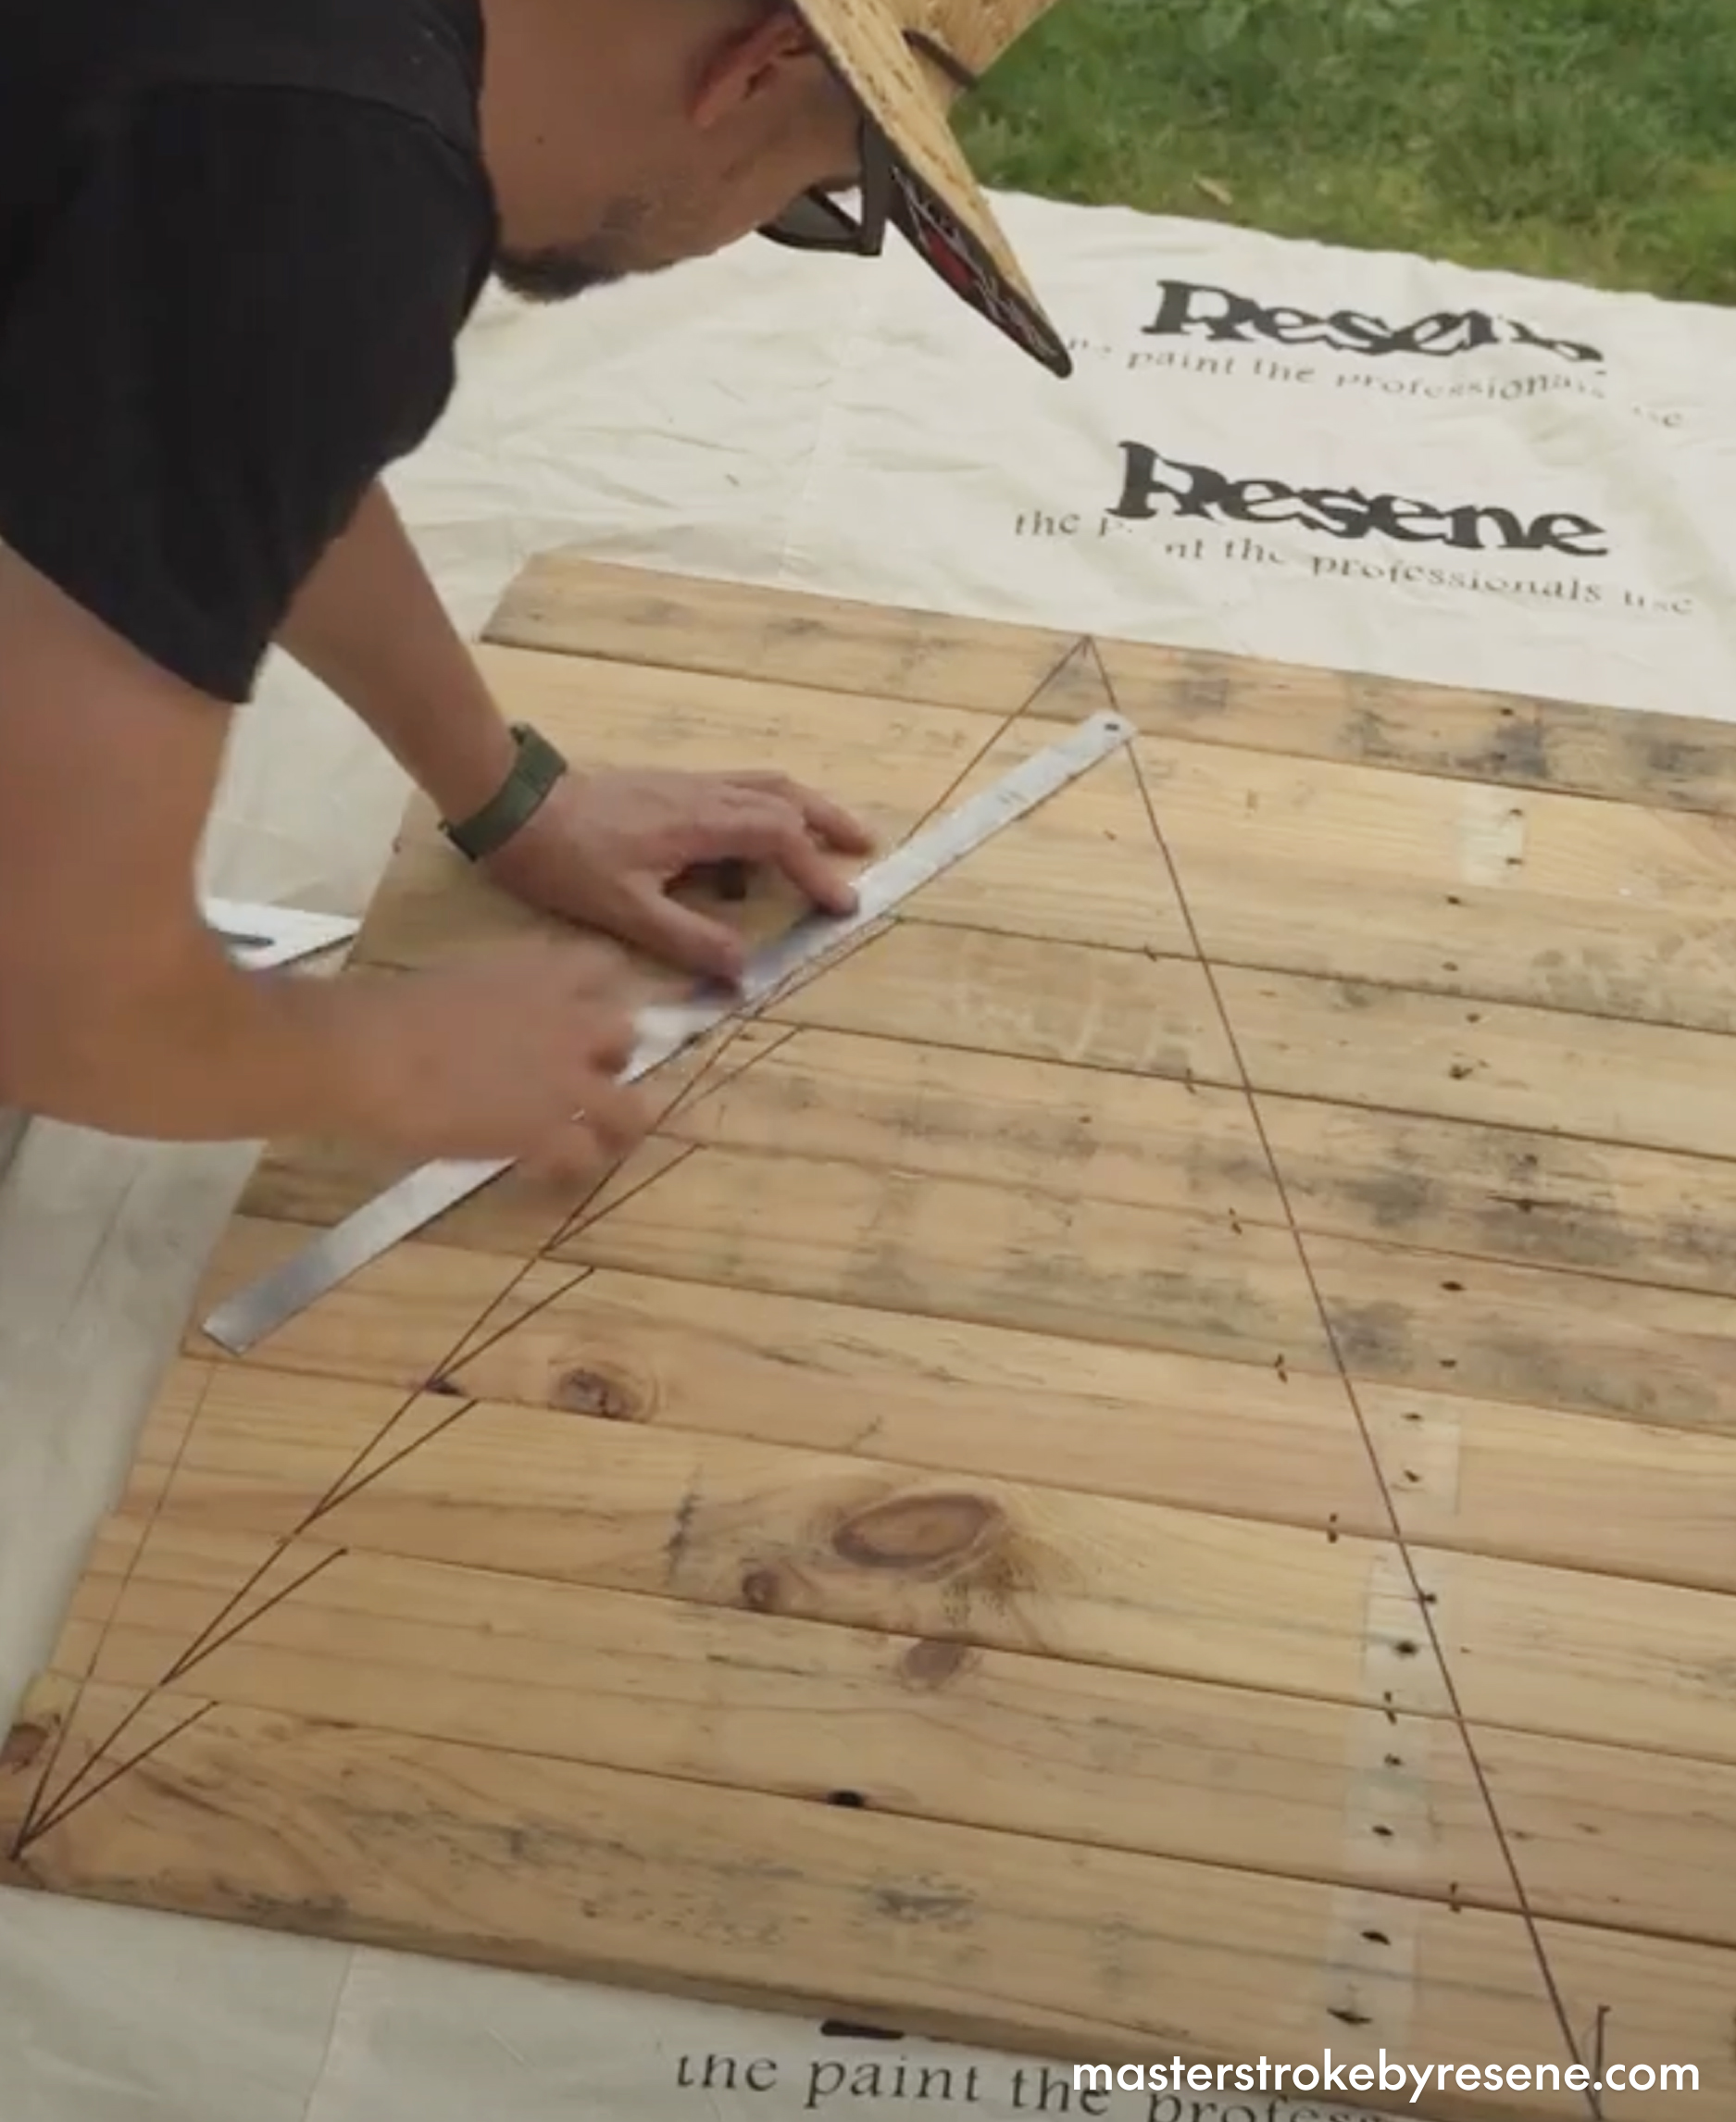
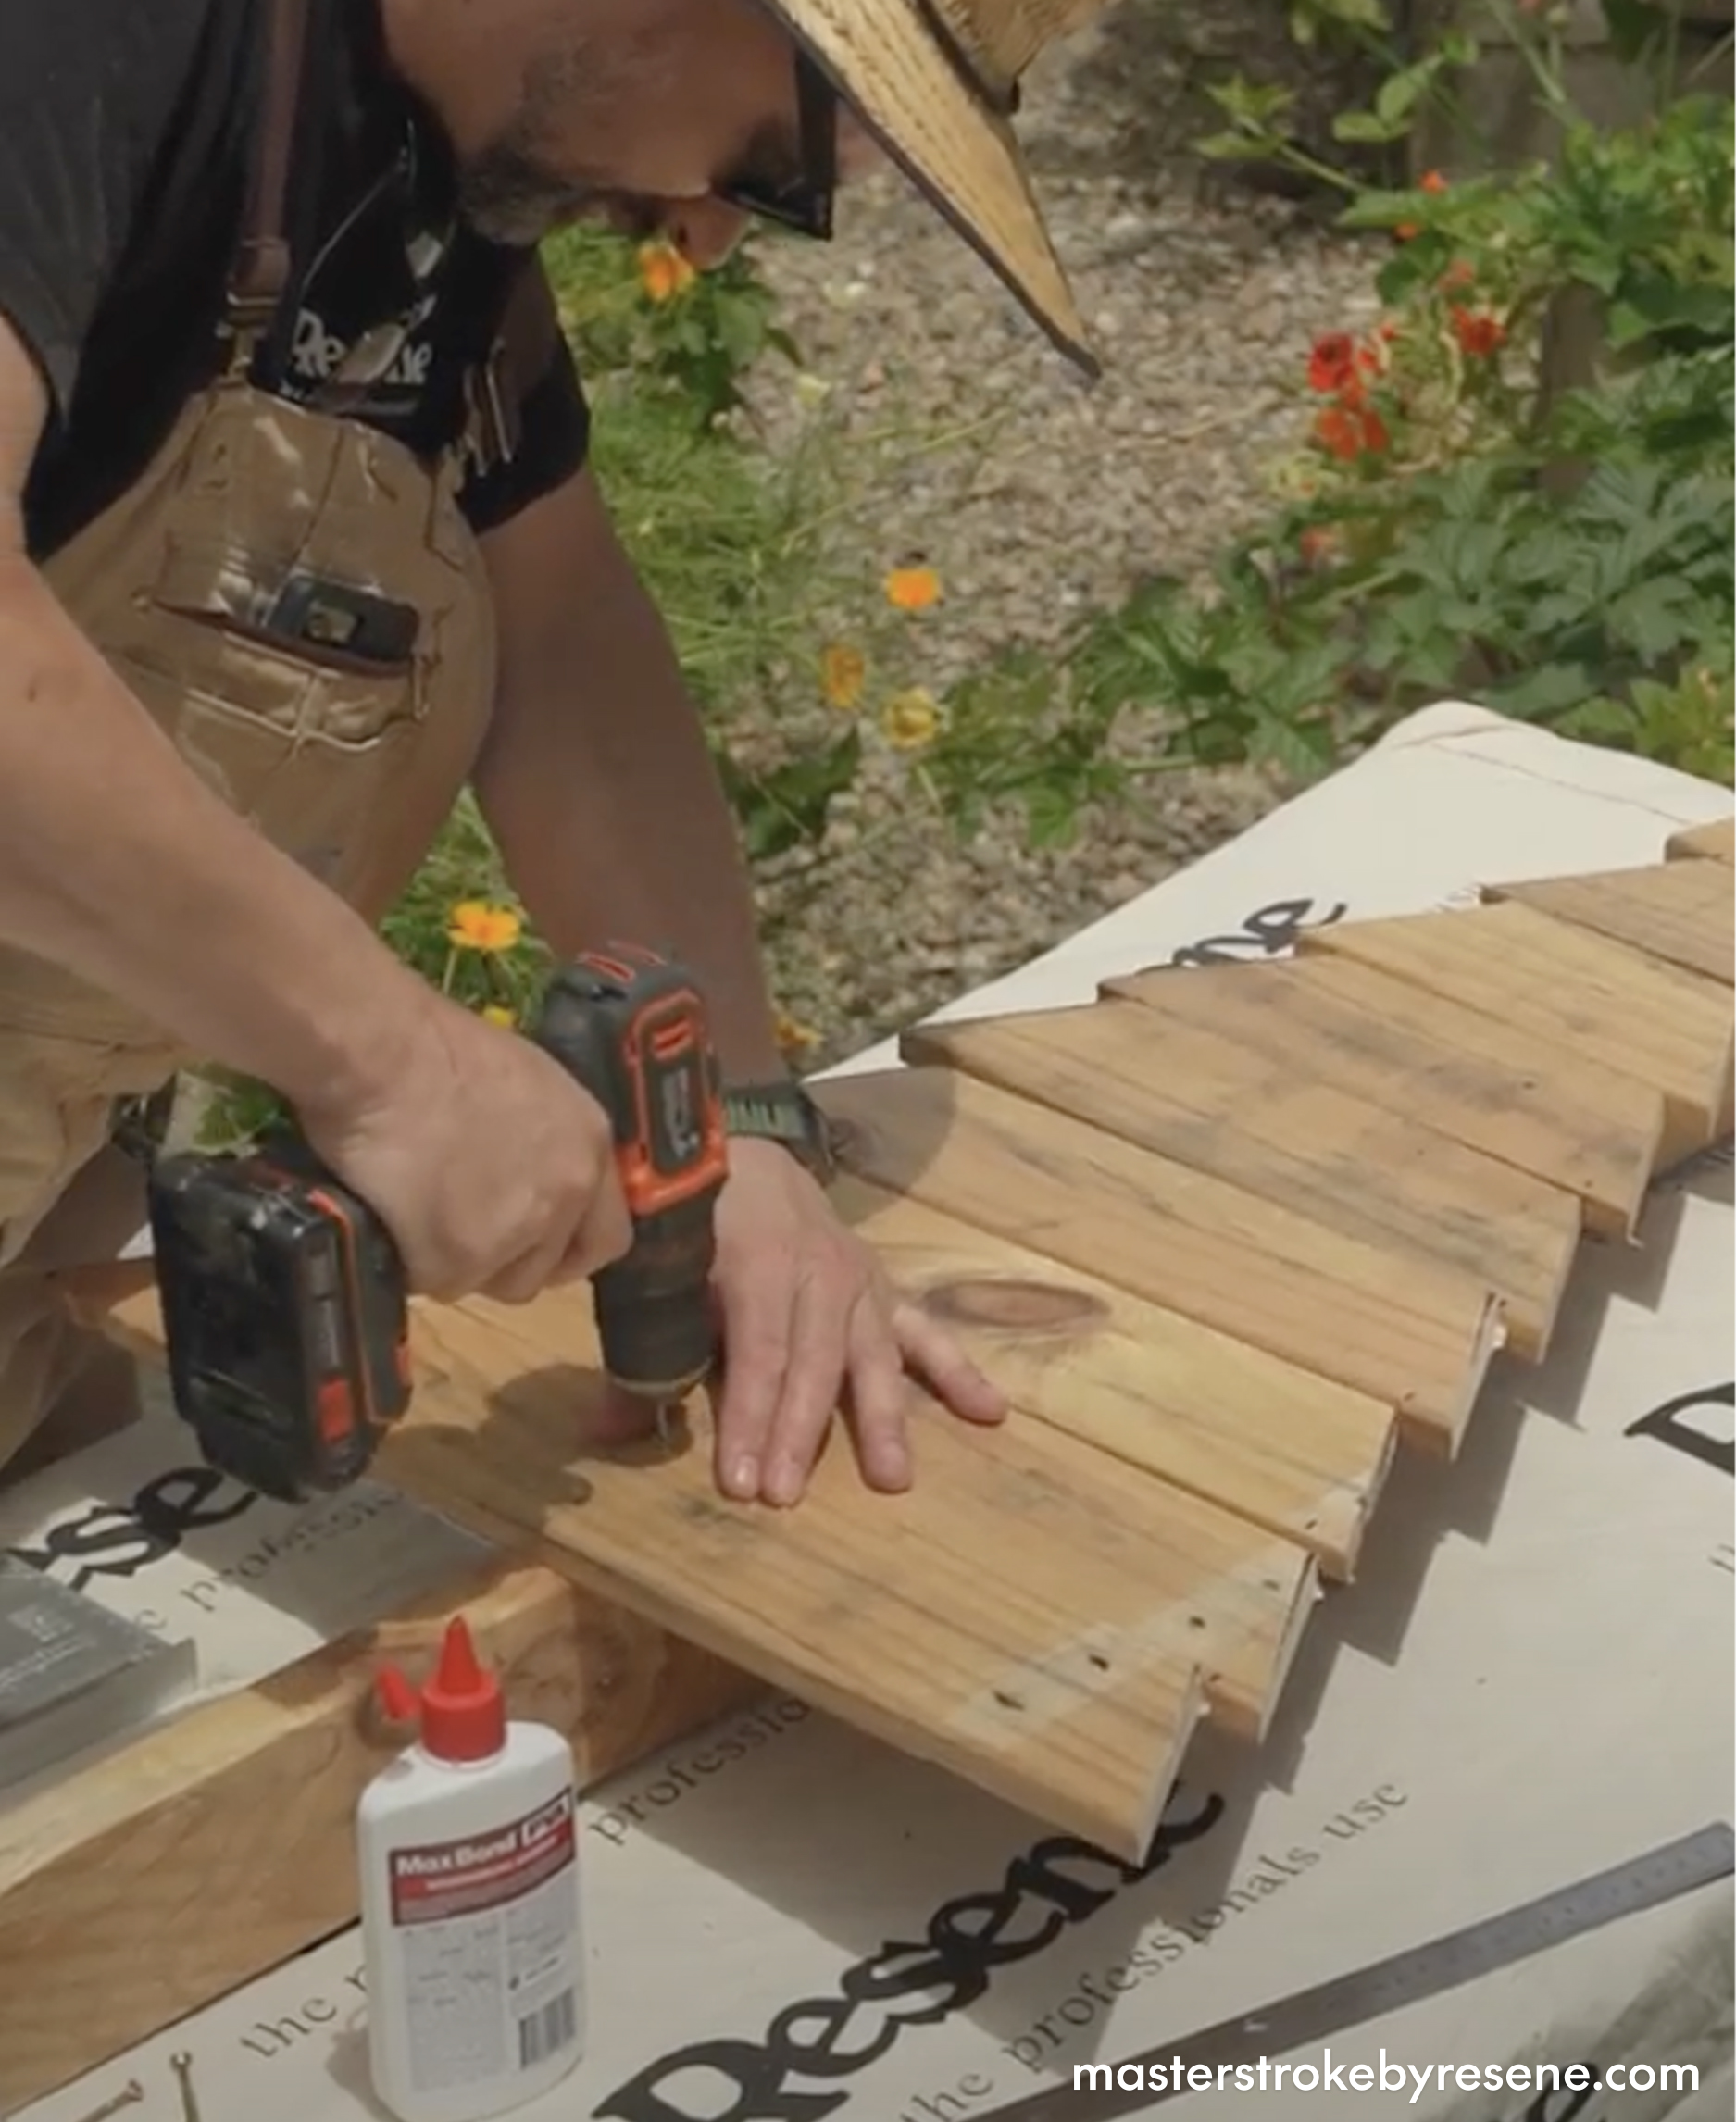
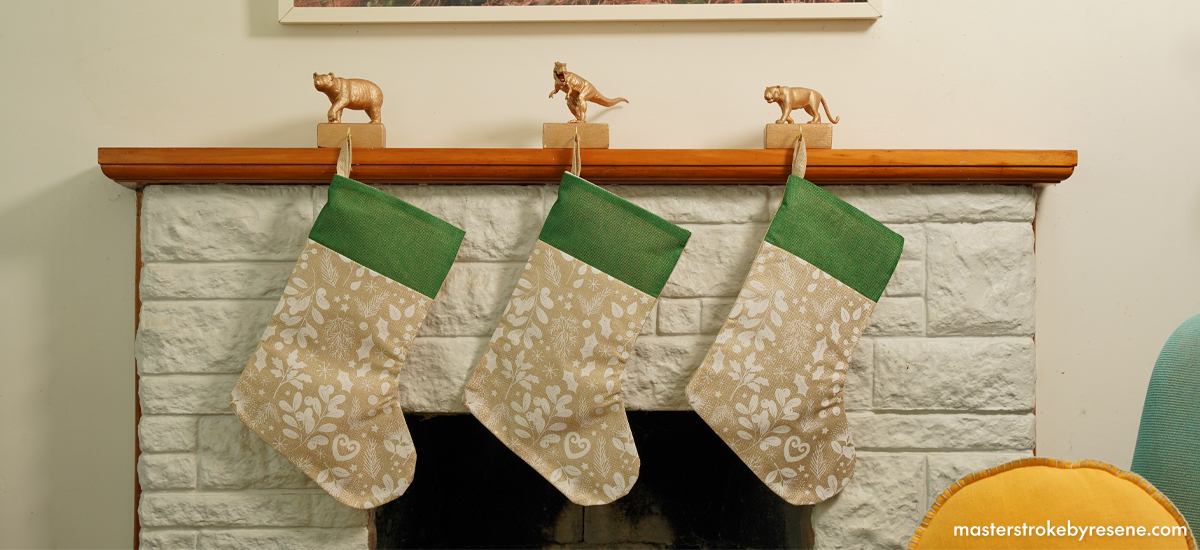
Christmas stocking hooks

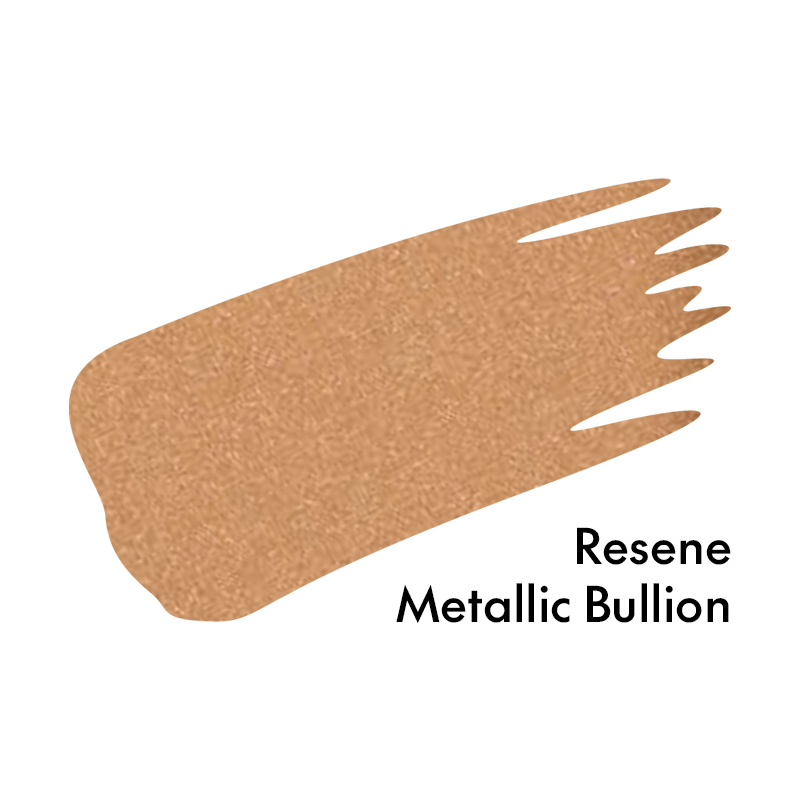
Create these cool bespoke stocking hooks for each family member. Jacob got creative using an old wooden pallet, forgotten toys and the glorious golden paint colour Resene Metallic Bullion to make unique festive hooks the family will love for years to come. 

  • Leftover piece of timber (Jacob used an old pallet board)
  • Ruler
  • Pencil
  • Circular saw or hand saw
  • Safety gear
  • Sandpaper
  • Paintbrushes
  • Resene Quick Dry waterborne primer undercoat
  • Resene Laminate and Melamine Primer
  • Resene testpot in your chosen colour (Jacob used Resene Metallic Bullion)
  • Cup hooks
  • Superglue
  • Christmas stockings

1

Gather your timber

Clean and dismantle an old wooden pallet, or any scrap piece of timber you have.

2

Cut pieces

Measure out enough pieces so you have one for each member of your family. Cut to size using a circular saw or hand saw – and don’t forget your safety gear!

Choose some small ornaments or toys to decorate your hooks.

3

Sand

Smooth all the rough edges using sandpaper and wipe away the sanding dust.

4

Prime timber

To prime your timber pieces, apply one coat of Resene Quick Dry waterborne primer undercoat and leave to dry.

5

Prime toys

Jacob has chosen to decorate his stocking hooks with old animal toys. As they are made of plastic, they need to be primed with a coat of Resene Laminate and Melamine Primer. Allow to dry completely.

6

Add some colour

Paint the timber pieces and the toys using a Resene testpot in your chosen Resene colour. Jacob decided to go for gold with Resene Metallic Bullion. Allow to dry before the next step.

7

Hook it up

Attach a cup hook to each timber piece.

8

Attach toys

Using super glue, attach a toy or ornament to the top of each timber piece.

9

Ready for presents

Place the hooks on the mantelpiece or a shelf, then hang your stockings and wait for Santa!

Die Hard decoration

Yippee-ki-yay, we’re getting into the spirit of Christmas! Whether or not you think Bruce Willis’ classic 1988 action film Die Hard belongs in the Christmas movie category, we think you’ll have a blast creating this bauble and catch a few laughs when family and friends spot it on your tree. Jacob used Resene Metallic Infinity to recreate the iconic air vent scene in miniature.

Print out three copies of the air vent scene onto A4 paper, then cut out Bruce’s head on one and his hand with the lighter on the other with a craft knife.

Cut four thin pieces of balsa wood then cut some reflective silver cardboard the same size and attach to one side of each balsa wood piece. Tape the balsa wood together with the cardboard on the inside to create the air vent.

Paint the outside using a Resene testpot of Resene Metallic Infinity (silver with a fresh undertone of warm blue). 

Place small sticky labels on Bruce’s hand and head on your main image, then stick your cut-outs onto each. Place the main image over the back of the ‘vent,’ curving it inwards and securing with tape. 

Glue a hook on the top using a hot glue gun, then glue a small battery-operated tea light into the space at the back to illuminate the decoration. You’re done!

Balsa wood Christmas trees

Christmas tree, oh Christmas tree! Create these cool modernist balsa wood Christmas trees. Jacob used the colour Resene Midnight Moss on his, but you can choose any Resene colours you like! 

First draw a triangle on two small pieces of balsa wood – use a ruler to make sure they’re exact – then use a craft knife to cut the triangles out. 

One one triangle cut a very thin line from the centre up to the top, and on the second triangle cut from the centre down to the bottom.

Apply painter’s tape directly above the end of each line, then apply your chosen Resene colour on the tips of the triangles. You can use tape to create any designs you like. 

Then fit the two pieces together to create your Christmas trees!

Cut slots into the centre of your triangles – one on the top and one on the bottom.
Mask your design and paint with your chosen Resene colour. Jacob used Resene Midnight Moss.
These stylish balsa wood Christmas trees are the perfect modernist decoration. Painted with Resene Midnight Moss.

Meri Kirihimete doormat 

Meri Kirihimete e te whānau! Have some fun this silly season by creating a festive doormat to warmly welcome your Christmas guests. Get everyone involved – this is a great activity to do with the kids! Head to your local Resene Colorshop to get your paint supplies. Jacob used Resene testpots in the colours Resene Black, Resene Parsley and Resene Smashing to create this holiday-themed doormat.

Start by stencilling your greeting onto your mat, as well as some small pōhutukawa decorations. 

Once that’s done, fill in each letter using an artist’s brush and your Resene Black testpot.

Paint the pōhutukawa branches in Resene Parsley and the flowers in Resene Smashing and you’re done!

Christmas tree chalkboard

Jacob transformed another old wooden pallet into this festive tree sign using Resene FX Chalkboard Paint in the colour Resene Green Meets Blue.

Get the kids involved and change the festive message all season – and for years to come!

Cut the deck boards from your pallet and line them up. Draw a large triangle and mark out lines on an angle all the way up – these will become the branches. 

Cut with a circular saw and then glue from smallest to largest onto another deck board. Then secure each by drilling them in with screws. 

Make a stand by using four even offcuts of the deck boards. 

Give the whole tree a sand and wipe away all the sanding dust. Prime the wood with Resene Quick Dry waterborne primer undercoat. Then apply Resene FX Chalkboard Paint in Resene Green Meets Blue. Once it’s dry, use chalk to decorate and write your festive message.

Precise cuts in the pallet deck boards will create the perfect effect for your branches.
Glue your branches in place, then screw them in for added strength.
You can personalised your tree and change the greeting whenever you want. Tree painted in Resene Green Meets Blue.

Updated May 2024: Resene Laminate and Melamine Primer has replaced Resene Waterborne Smooth Surface Sealer.

About MasterStroke by Resene
MasterStroke by Resene is here to help you master your paint and decorating DIY projects. Brush up on your skills with advice, tips and ideas from our trusted experts.

Check out the latest how-to videos on our YouTube channel.