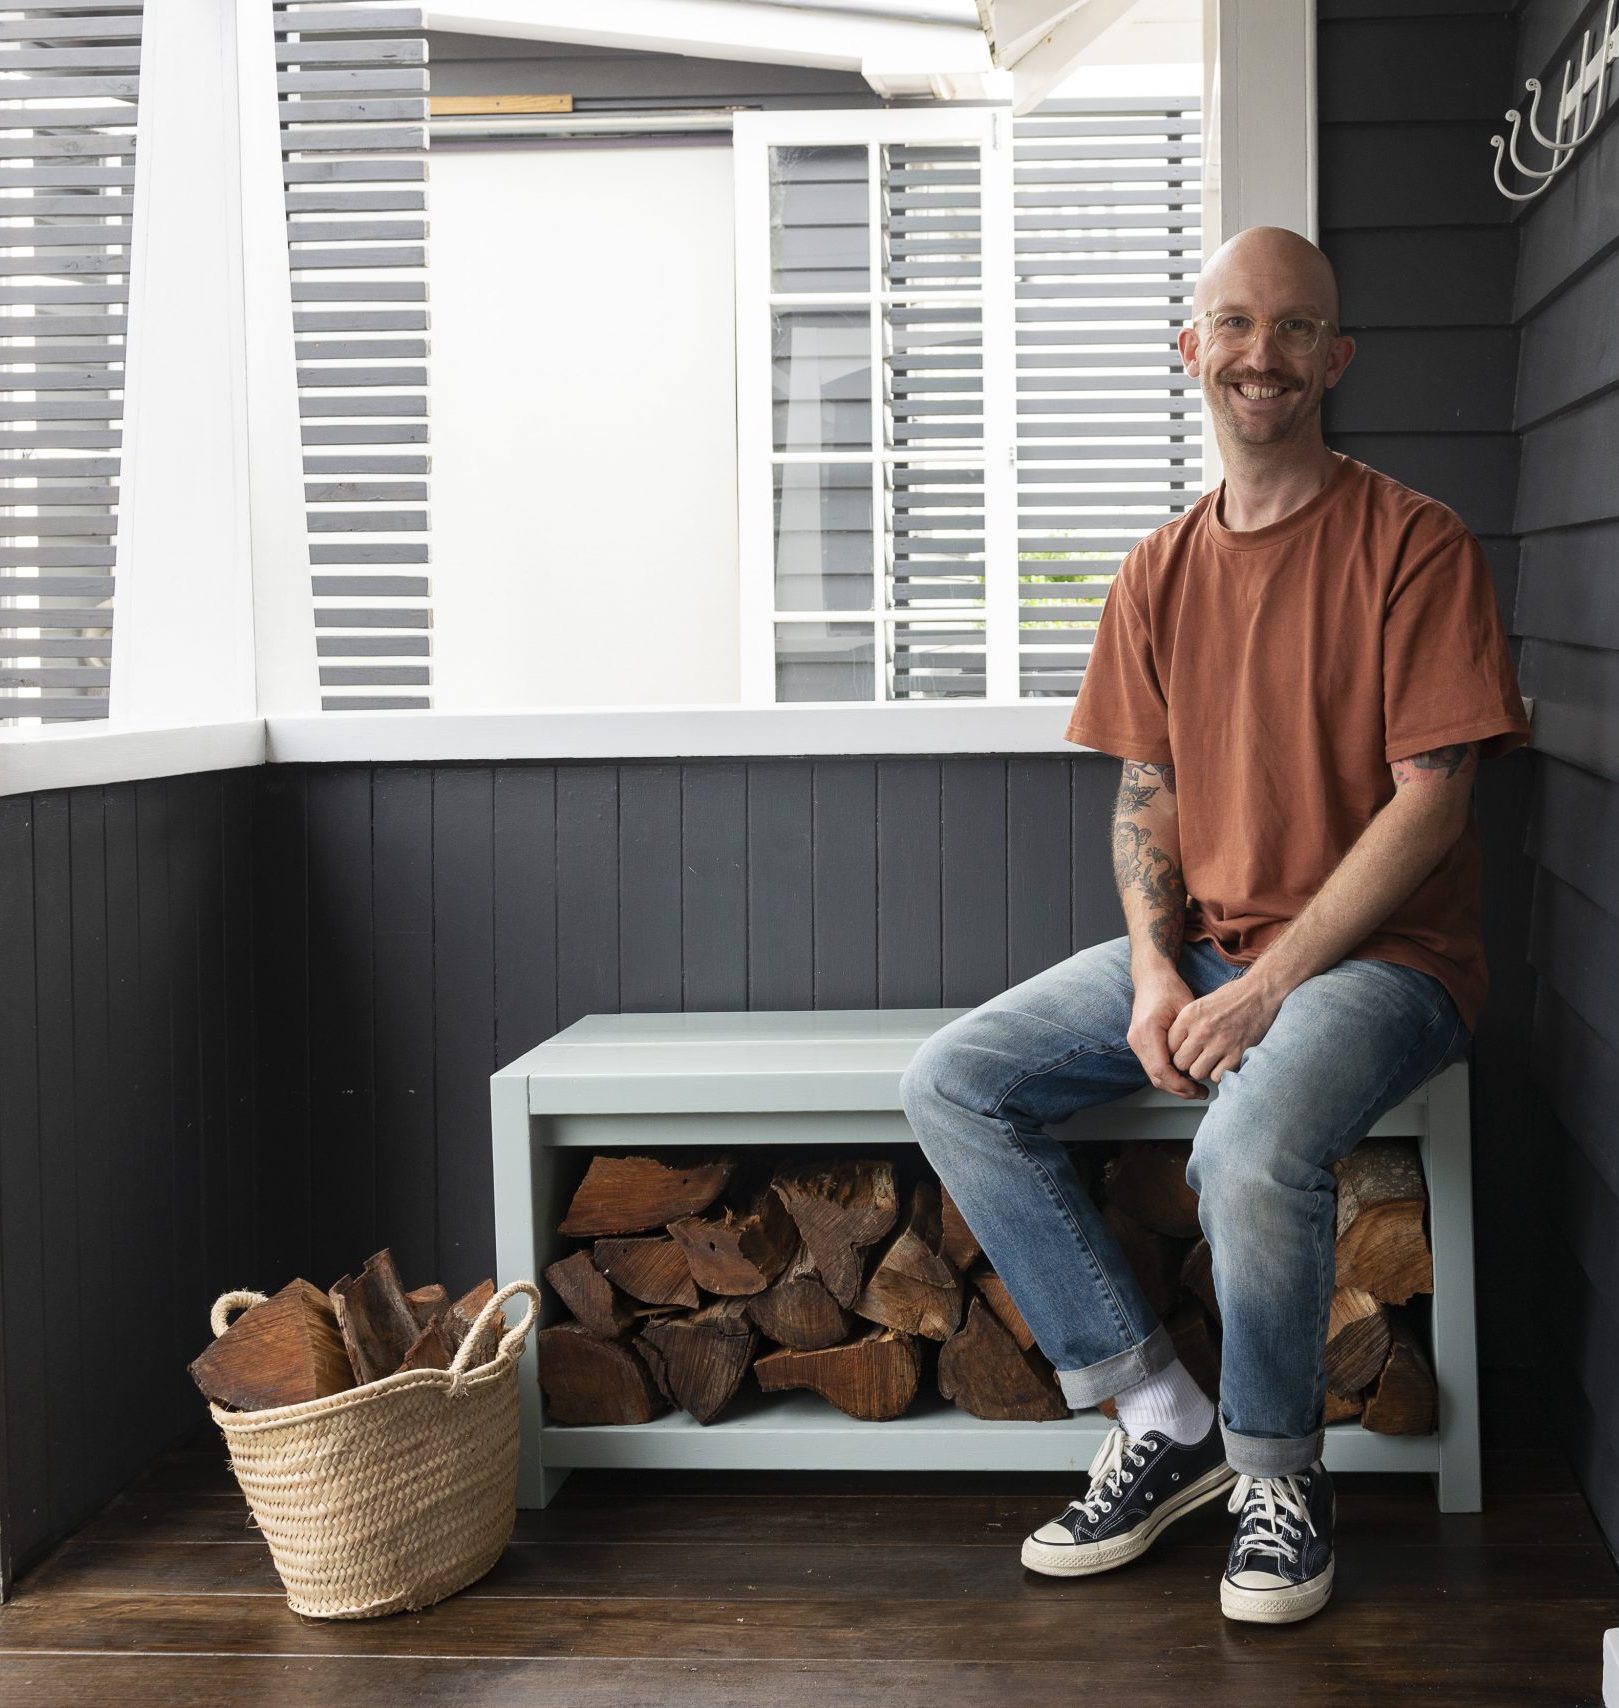
From trash to flash – it’s time for those unsightly wheelie bins to go incognito. Jacob Leaf (Ngāpuhi), aka The Upcycler, shows you how to transform old wooden pallets and fencing timber into your very own bin storage unit and planter.
From trash to flash – it’s time for those unsightly wheelie bins to go incognito. Jacob Leaf (Ngāpuhi), aka The Upcycler, shows you how to transform old wooden pallets and fencing timber into your very own bin storage unit and planter.
From the top deck pallet boards, cut the following for the cladding and doors:
From the wider bottom deck pallet boards, cut the following for the door frame:
From the 75mm x 50mm H3.2 fence rail timber, cut the following for the framing:
From the 1200mm x 150mm x 25mm H3.2 radiata fence paling, cut the following for the planter sides:
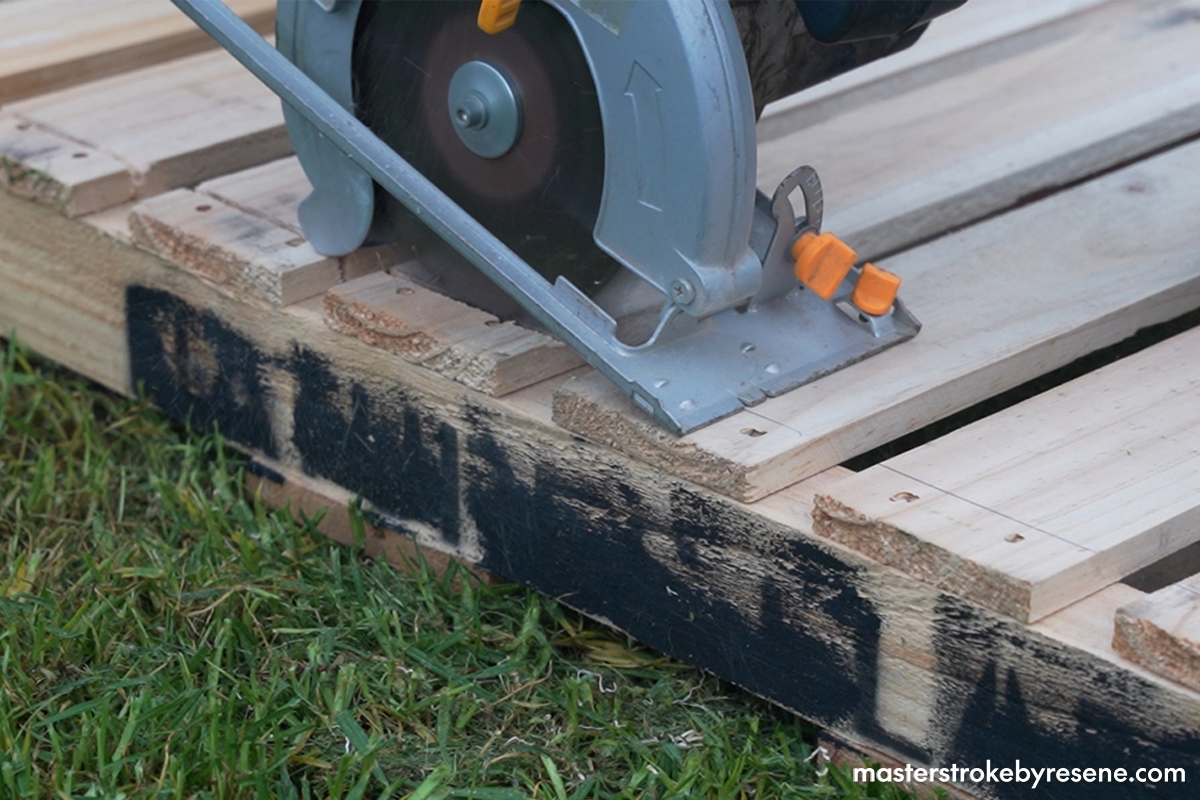
Run a circular saw along the inside length of each outer stringer.
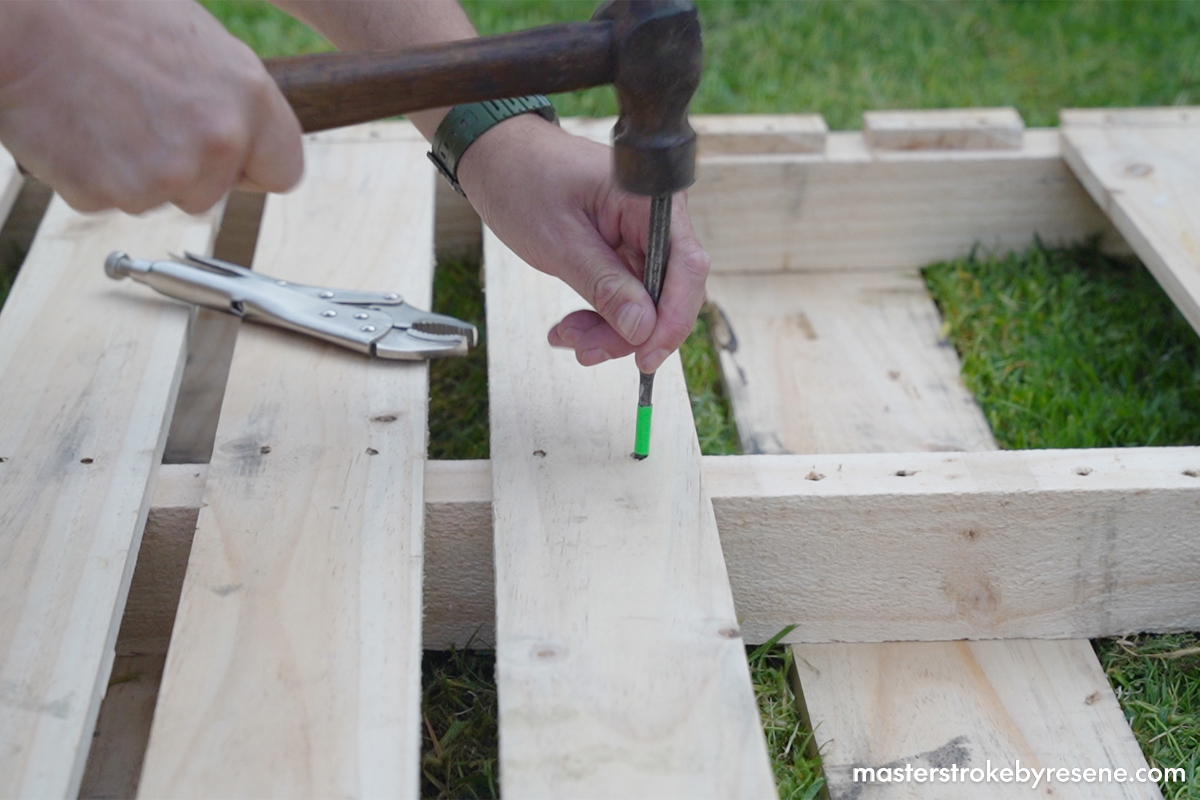
To free the deck boards from the middle stringer, use a hammer and steel pin punch to push the nails through. This method will give you more usable deck boards than prying them off with a crowbar.
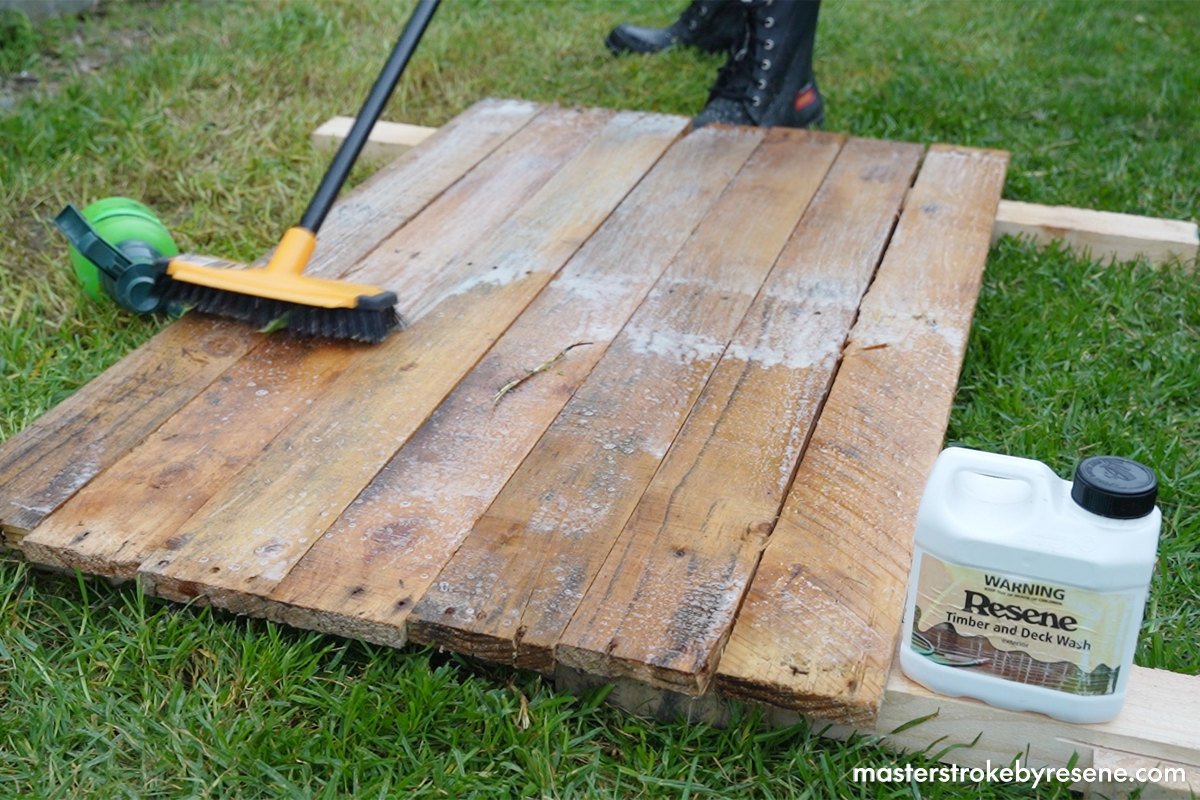
Clean the deck boards with Resene Timber and Deck Wash, let them dry completely then cut to size.
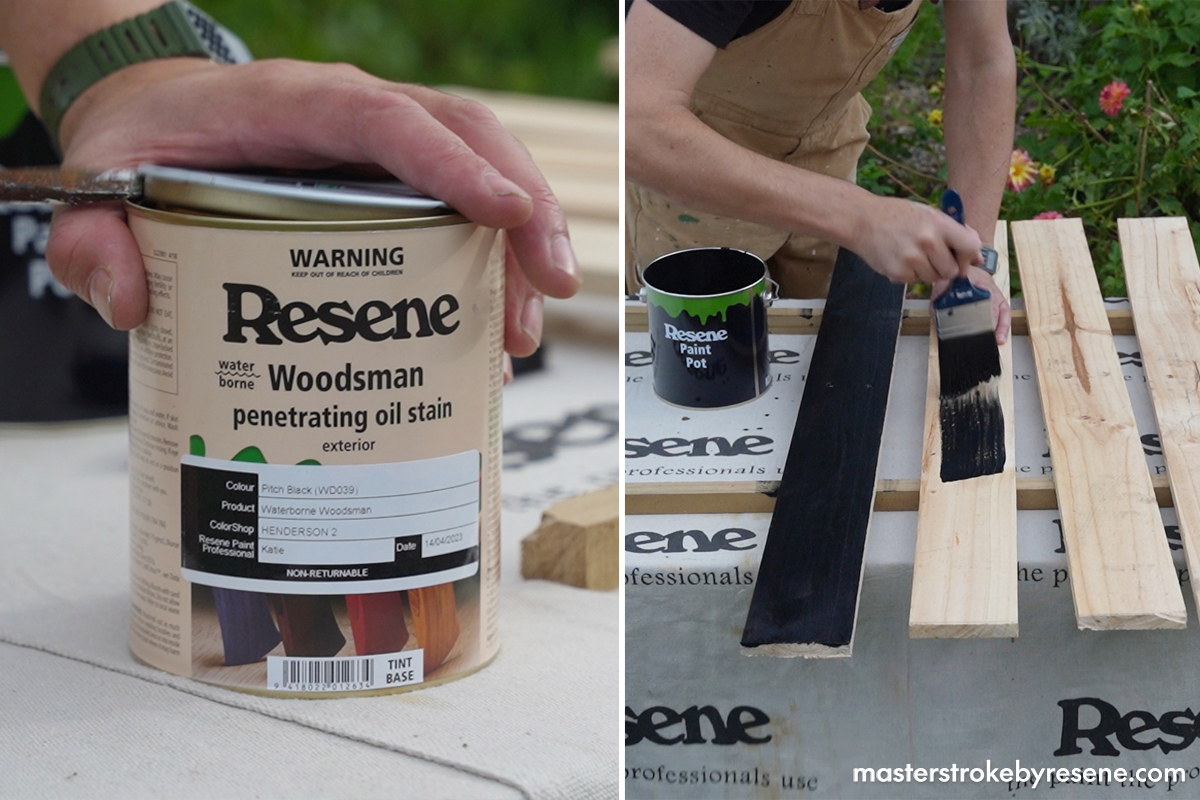
Sand off any rough edges and wipe away any dust before staining with Resene Waterborne Woodsman in your choice of colour (Jacob used Resene Pitch Black).
Top tip: If you’re planning a dark colour, choose a Resene CoolColour version to help reflect more of the sun’s heat and keep your storage area cooler.
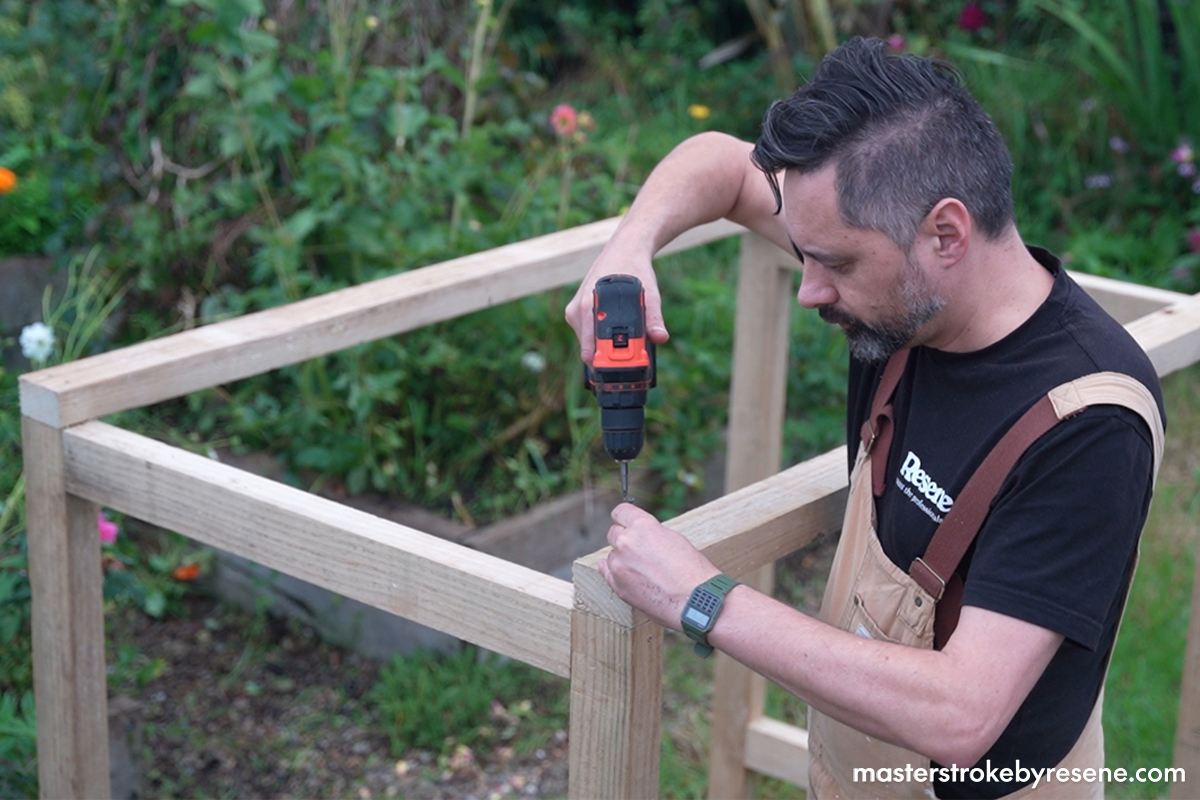
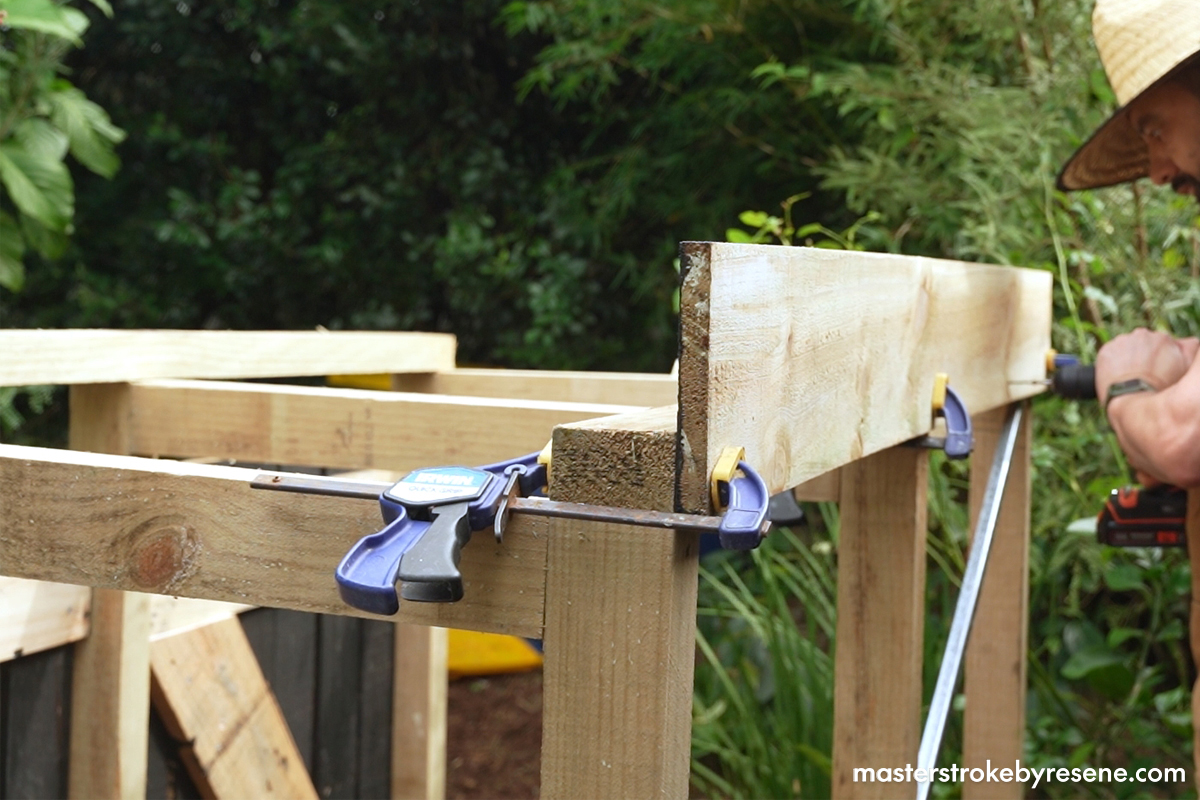
Make a leg frame by attaching an 800mm fence rail at right angles and flush with the ends of two 1200mm fence rails.
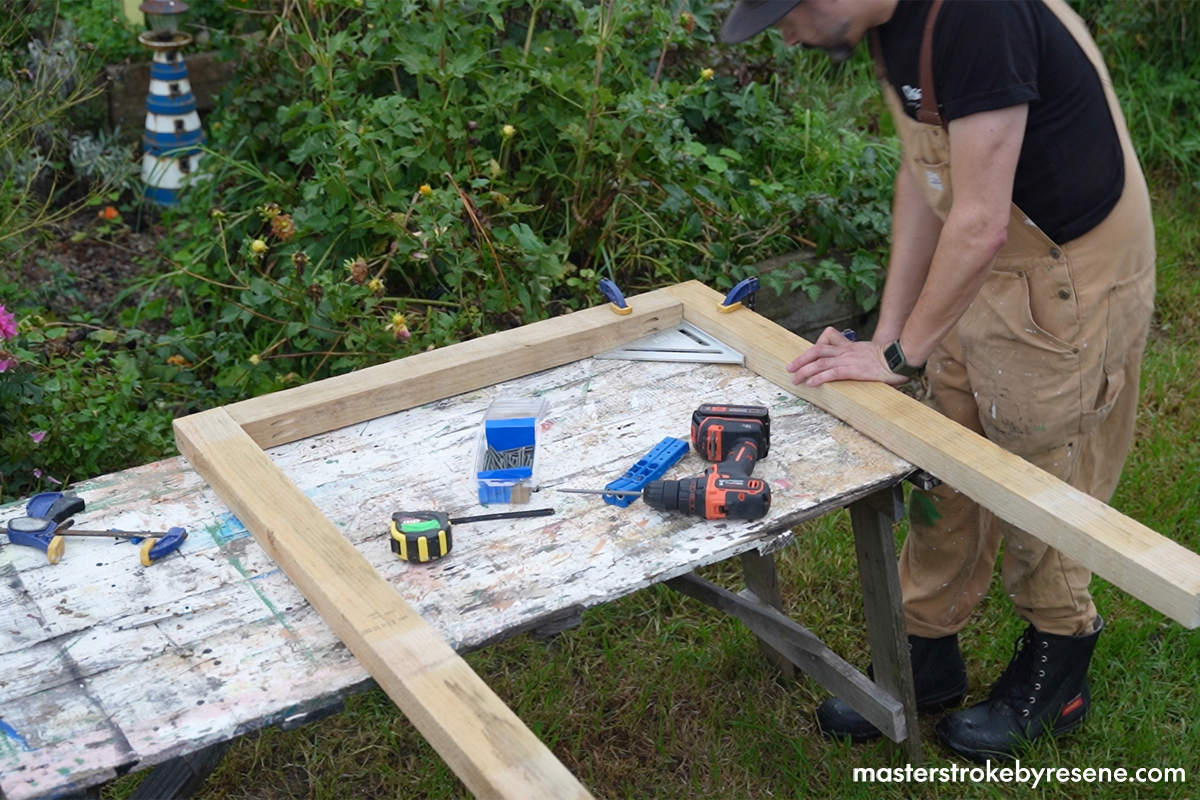
Strengthen this by attaching a lower brace 1000mm in from the end. Repeat the above steps twice so you end up with three identical leg frames.
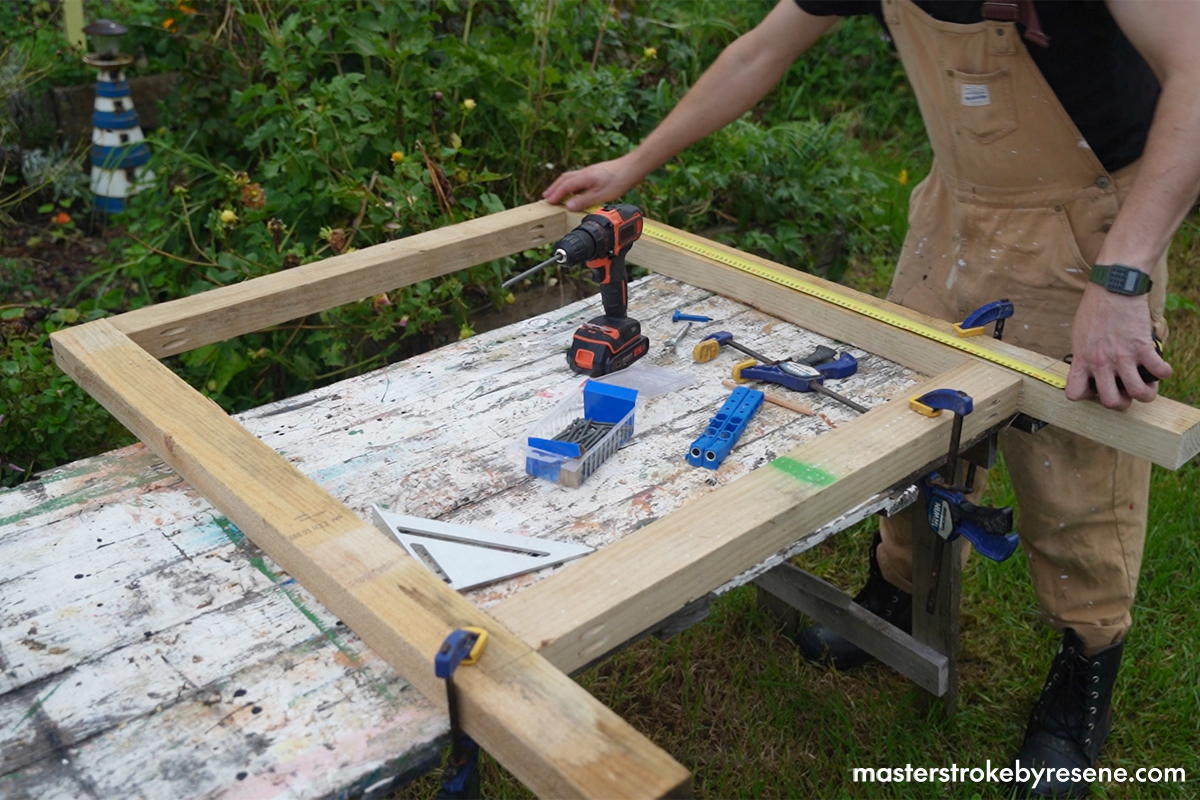
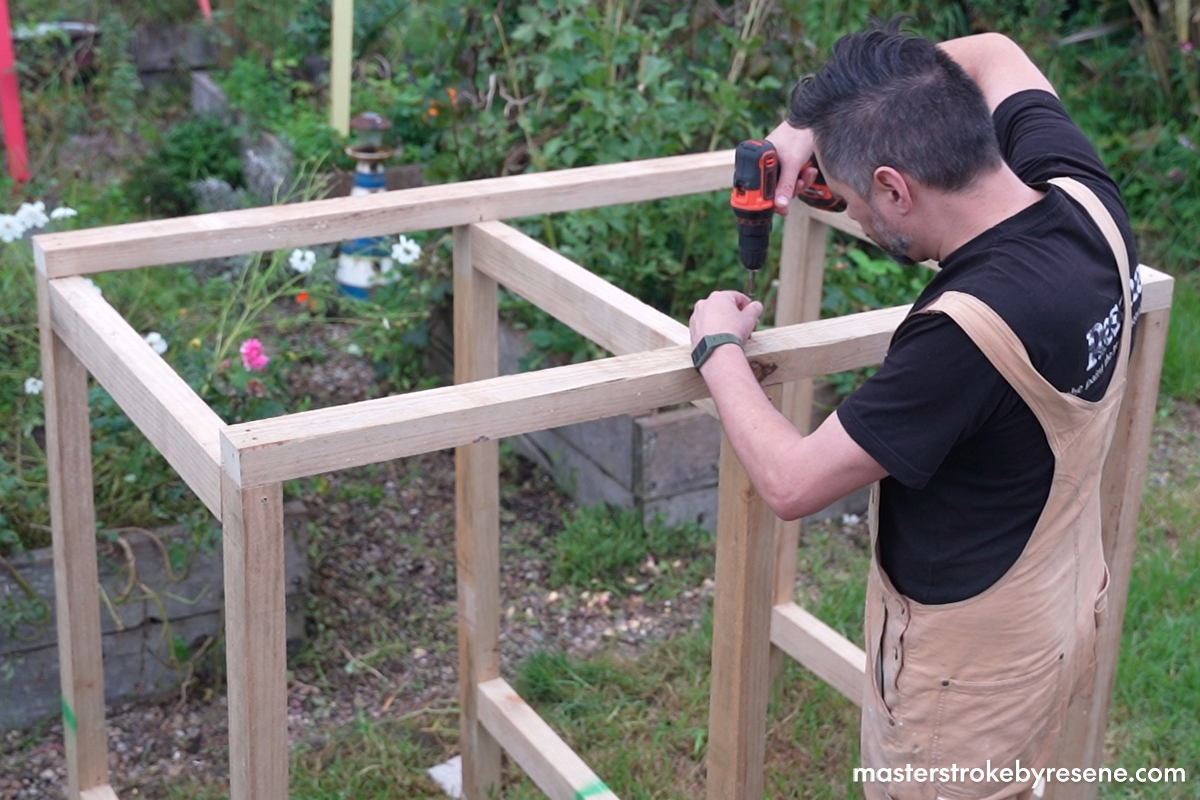
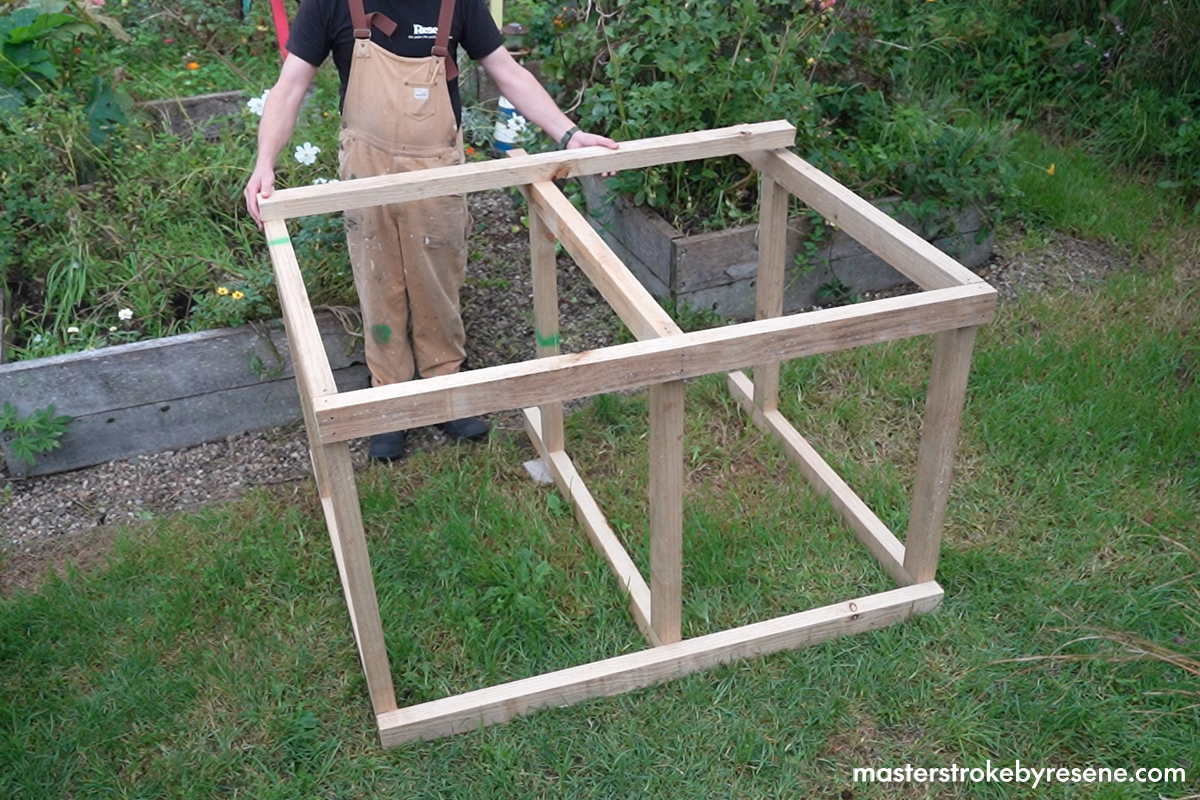
Brace two outer leg frames together by attaching two 1500mm fence rails to the top.
Attach the remaining leg frame in the centre.
Carefully turn the frame over and attach the third 1500mm fence rail across the back of the lower leg sections.
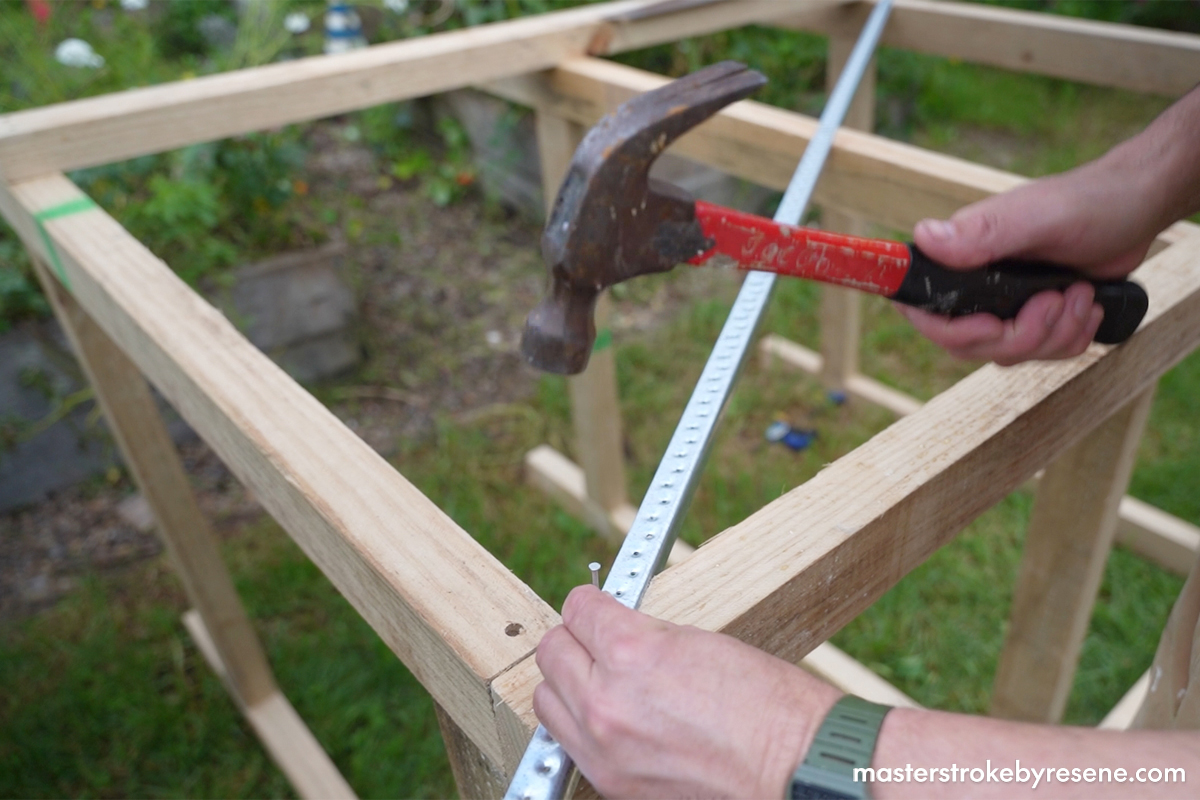
For more stability, add the galvanised angle brace across the back of the frame and trim it to fit using an angle grinder.
To make the doors, screw two of the 670mm bottom deck pallet boards to six of the top deck pallet boards. The dimensions of each door should be 670mm wide by 1050mm tall.
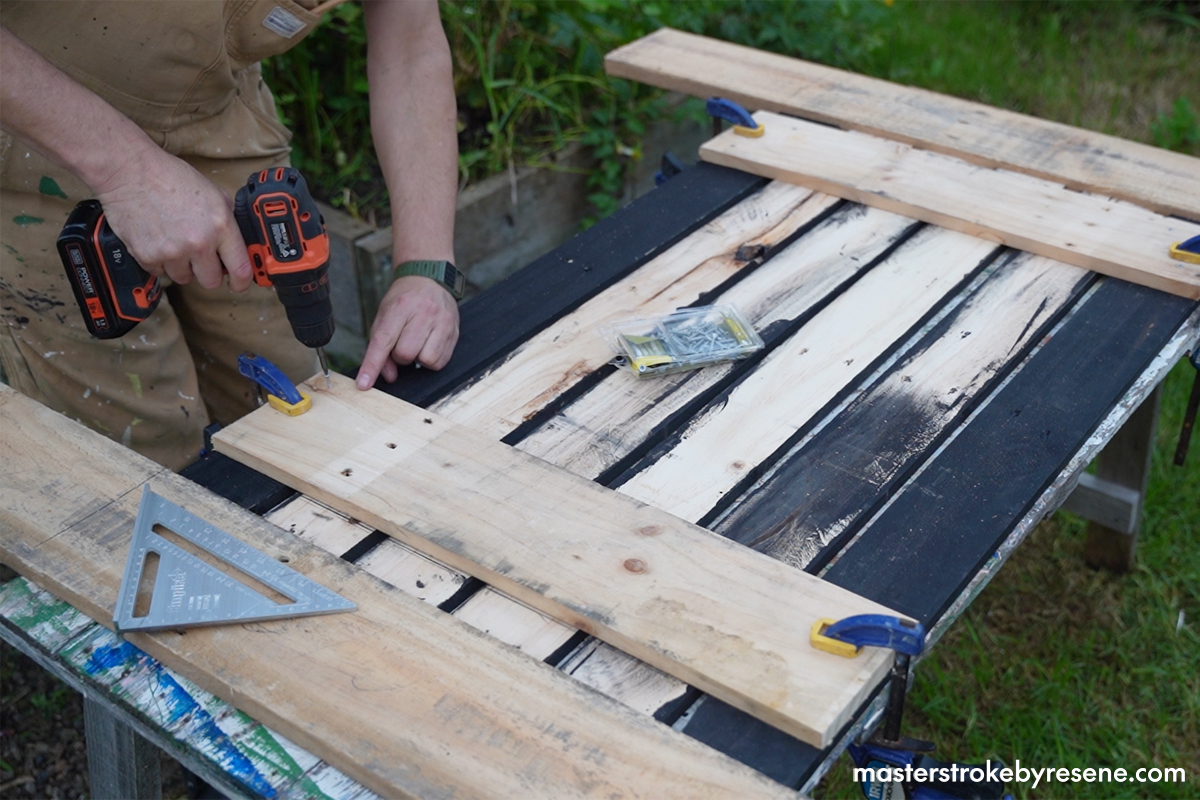
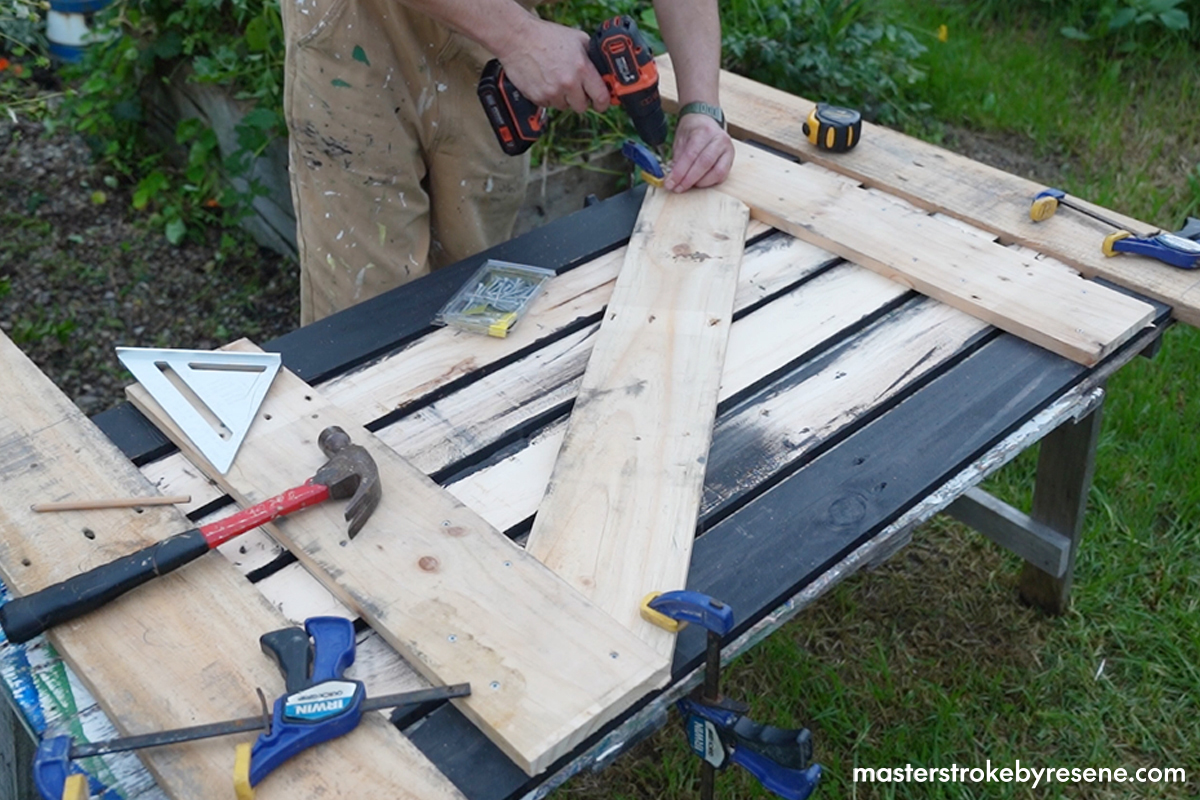
Add the angled brace to stop the doors sagging. Repeat steps 11 and 12 to make the other door.
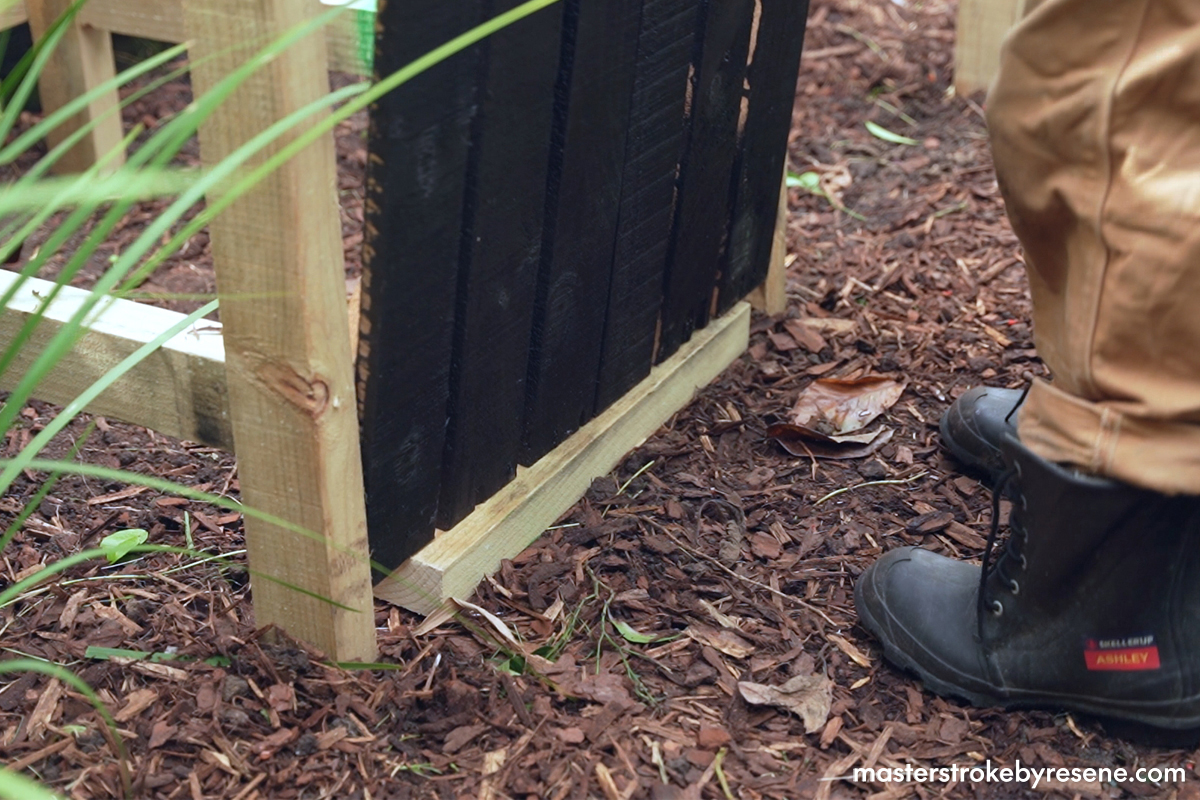
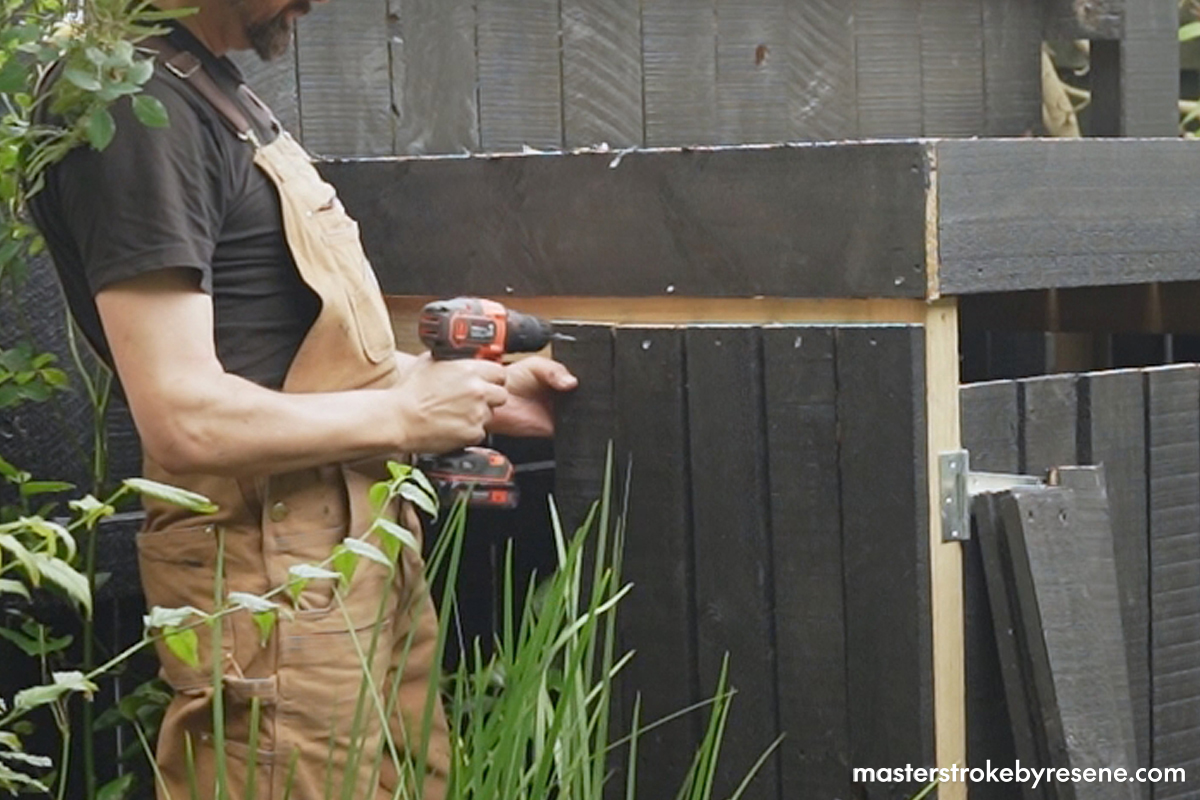
To attach the doors, use a spacer on the ground to set them at the correct height.
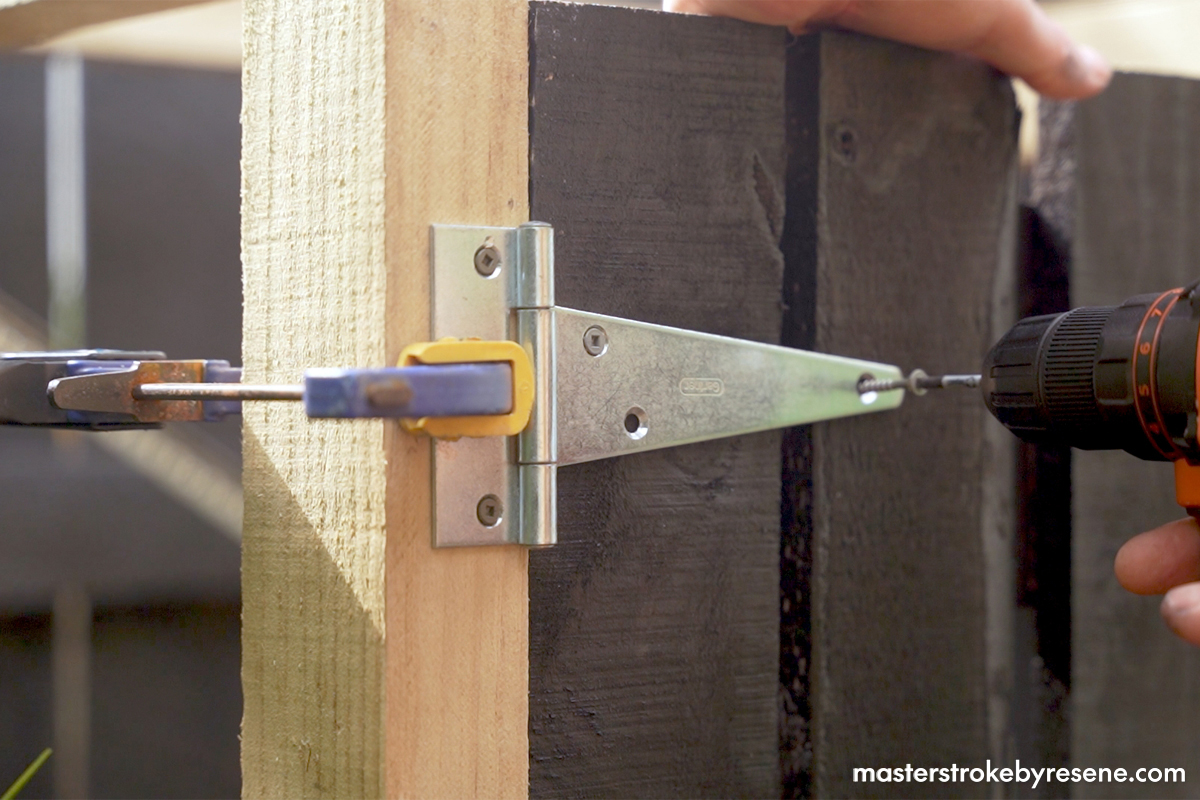
Use a quick clamp to hold the tee hinges in place while screwing into the doors.
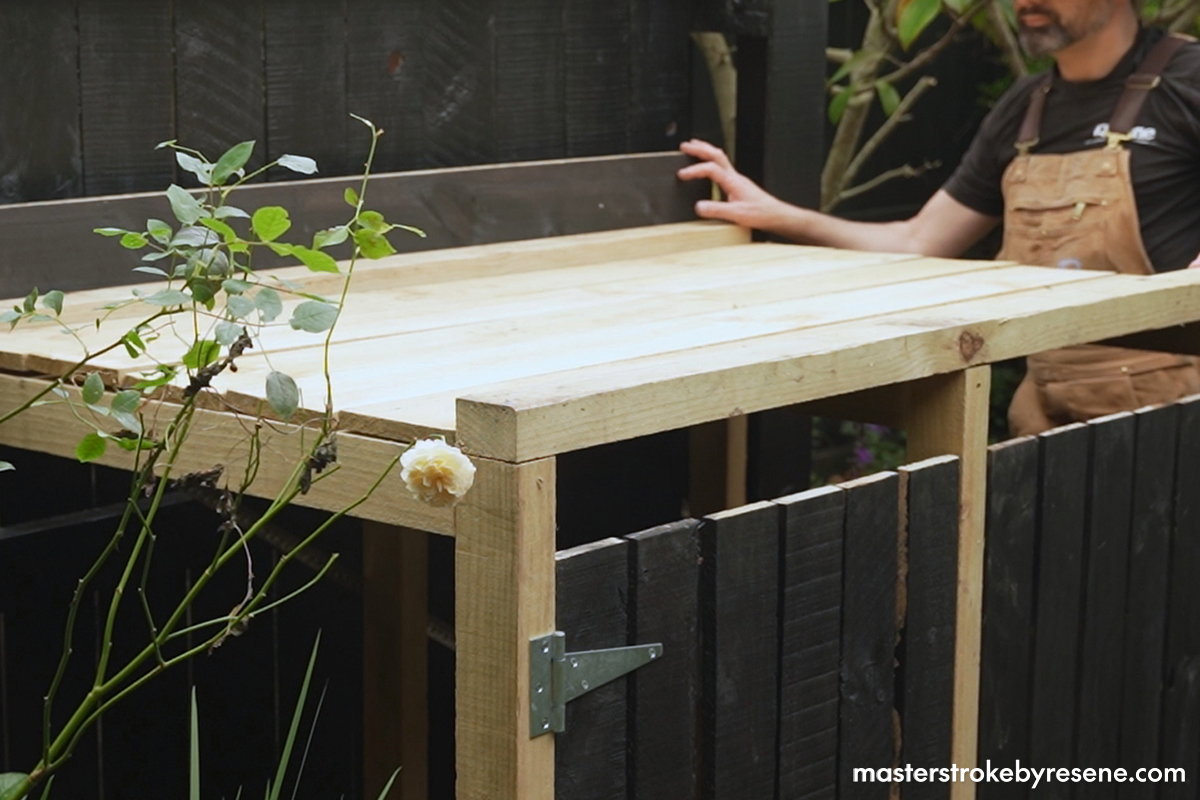
Attach a 1500mm fence paling – this will be the backboard for the planter. It’s best to do this before putting the frame in its final position.
Add the five 1500mm fence palings as baseboards for the planter.
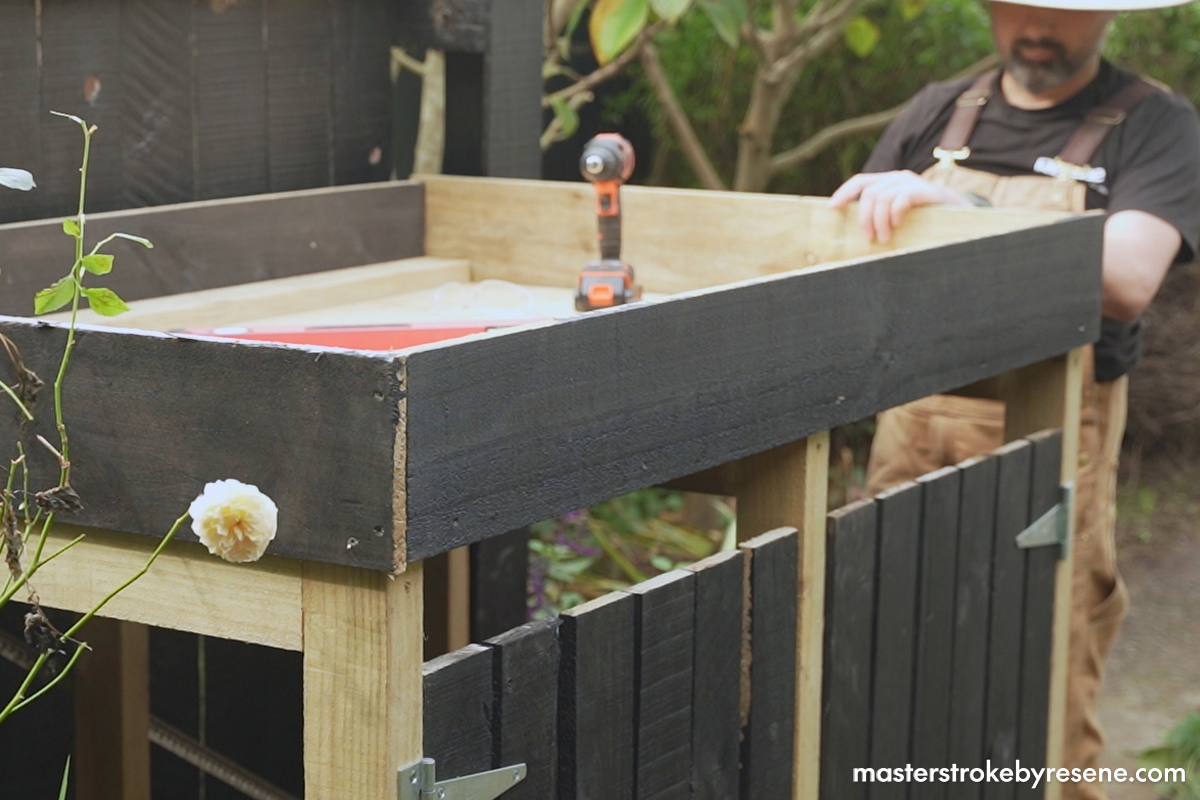
To finish off the planter, add the remaining 1500mm fence paling across the front followed by the 1000mm fence paling on each side.
To close off the structure, add the eight remaining 1050mm pallet deck boards to each end. Jacob spaced them a pinkie’s width apart.
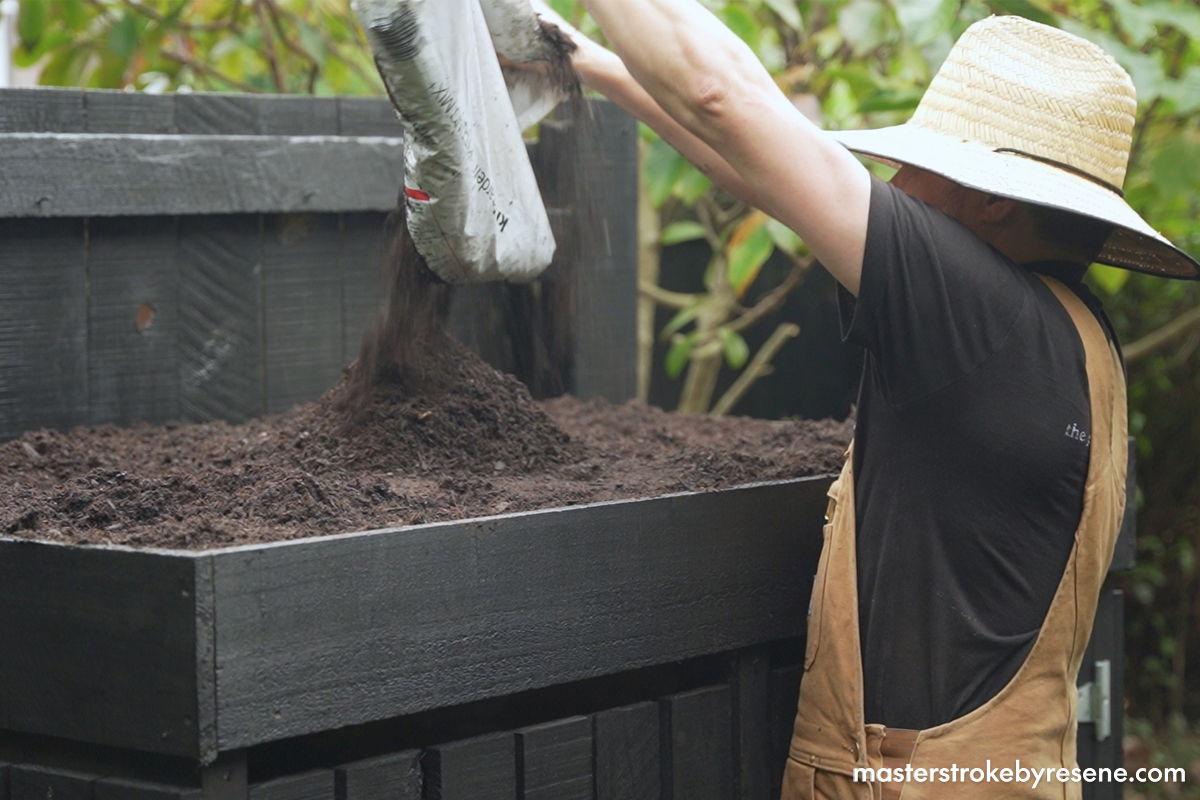
Finish any stain touch-ups before filling the planter with 240L of potting mix, then plant it up with grasses.
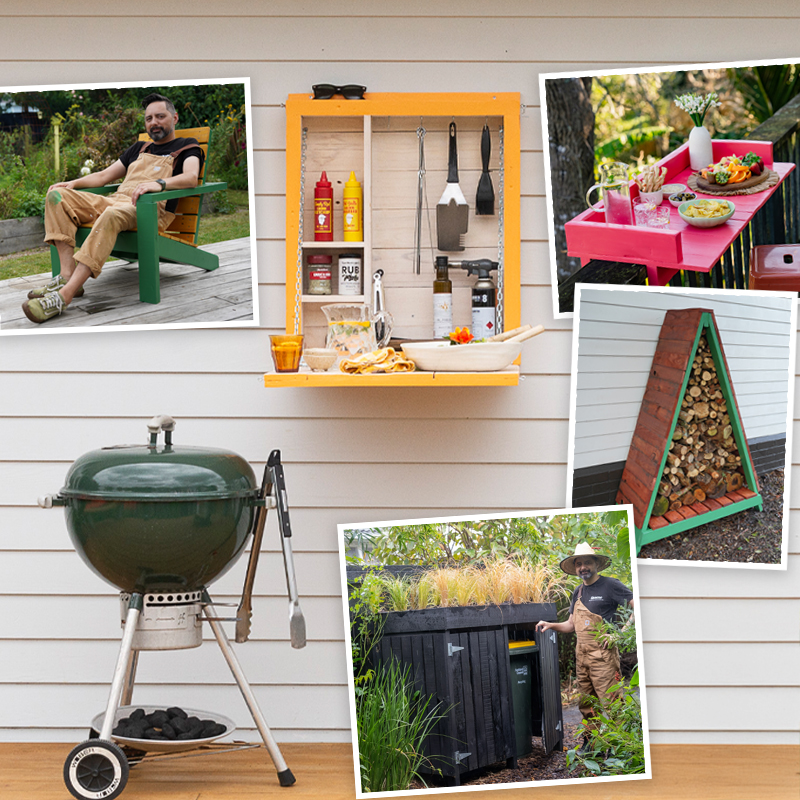
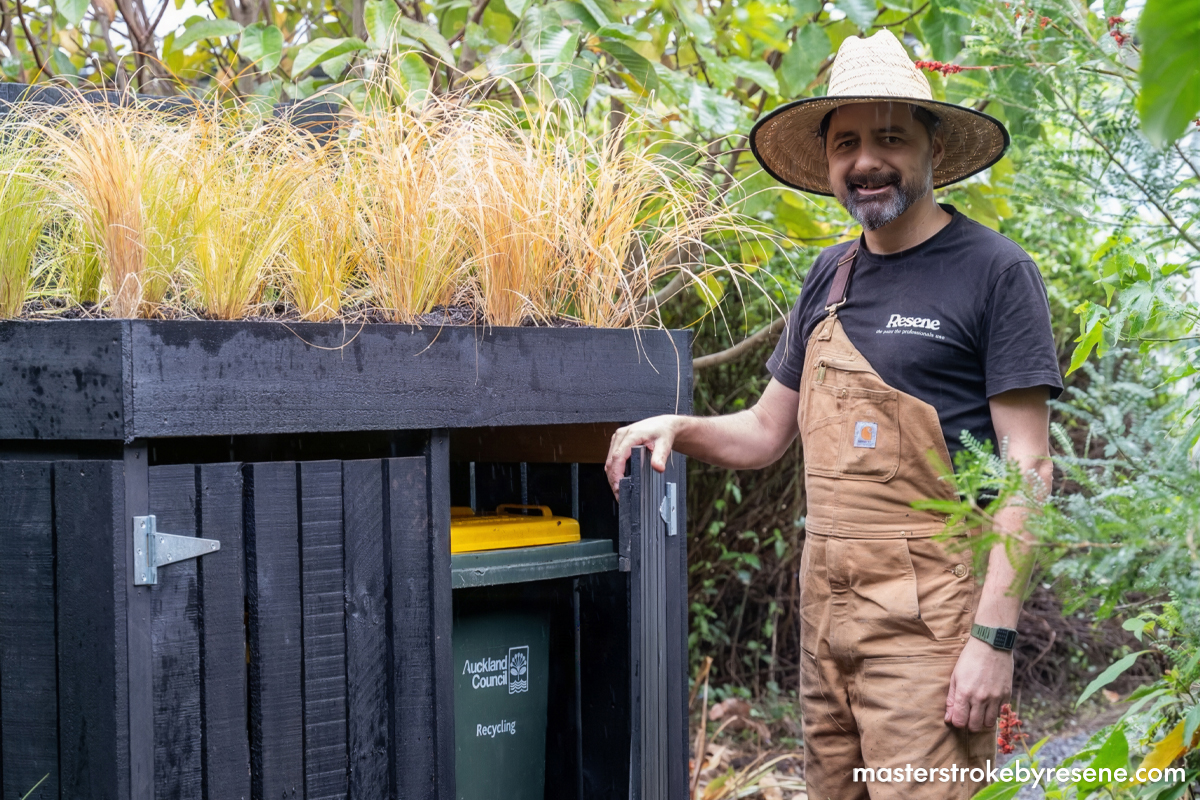
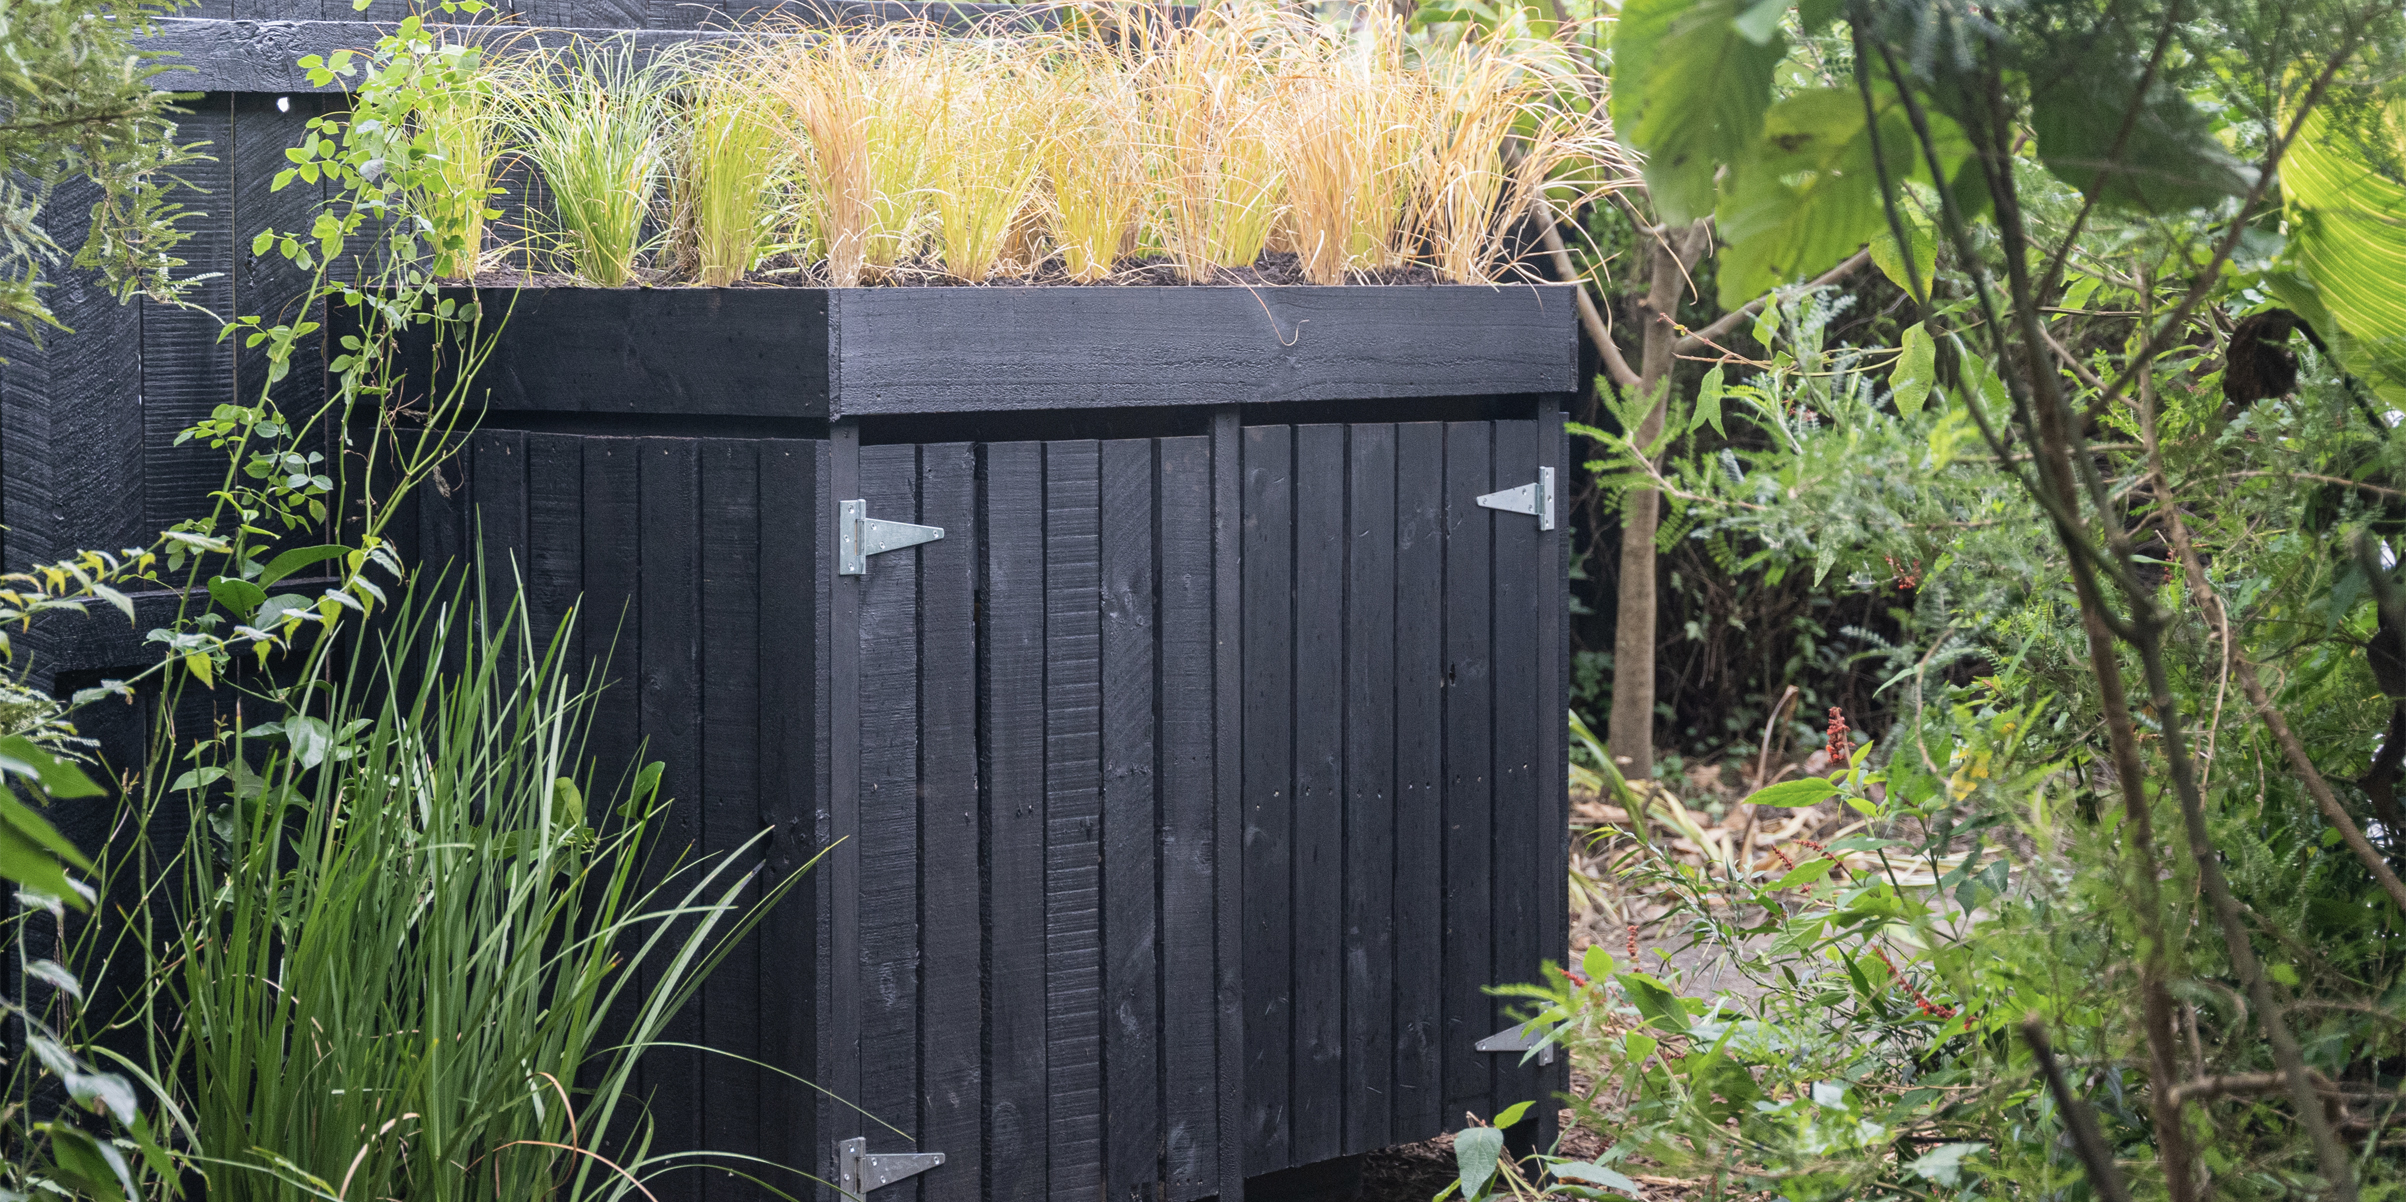
Success – you’ve got a sturdy storage unit to house your wheelie bins and protect them from the elements.
Resene Timber and Deck Wash

Resene Waterborne Woodsman
penetrating oil stain
About MasterStroke by Resene
MasterStroke by Resene is here to help you master your paint and decorating DIY projects. Brush up on your skills with advice, tips and ideas from our trusted experts.