DIY projects

Build your own outdoor privacy screen

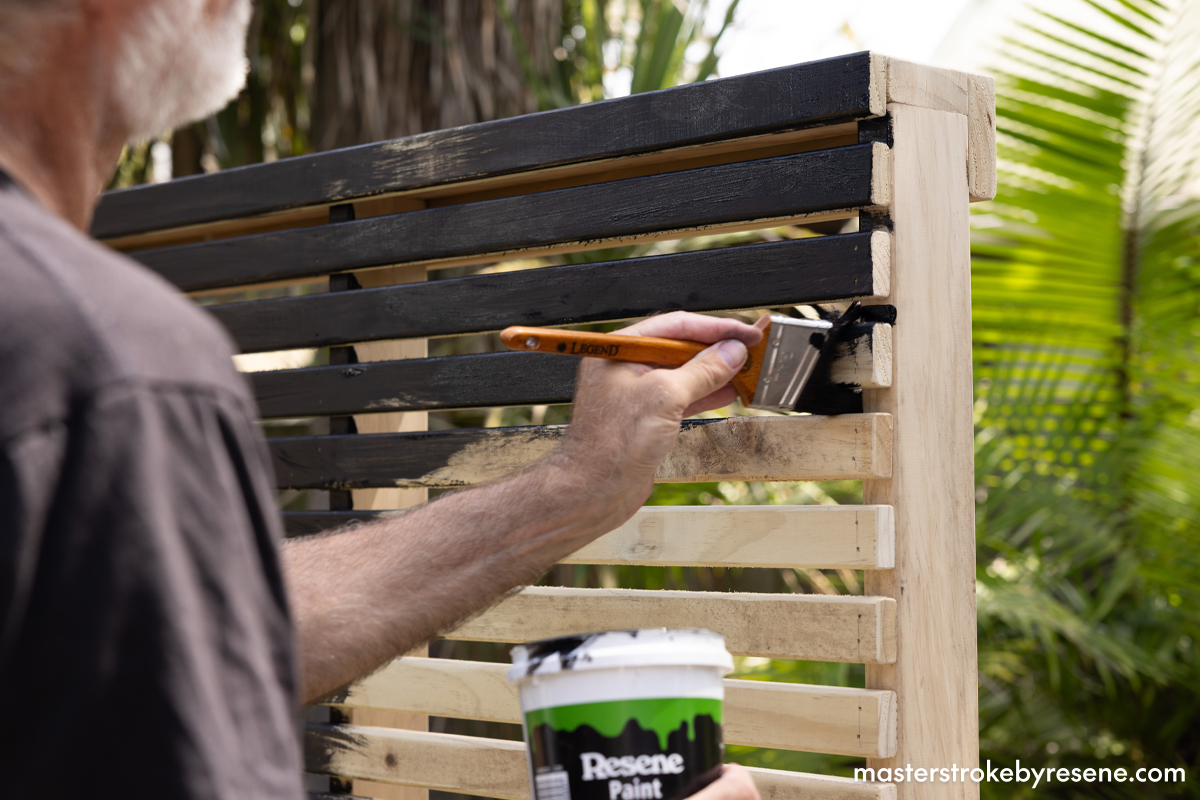
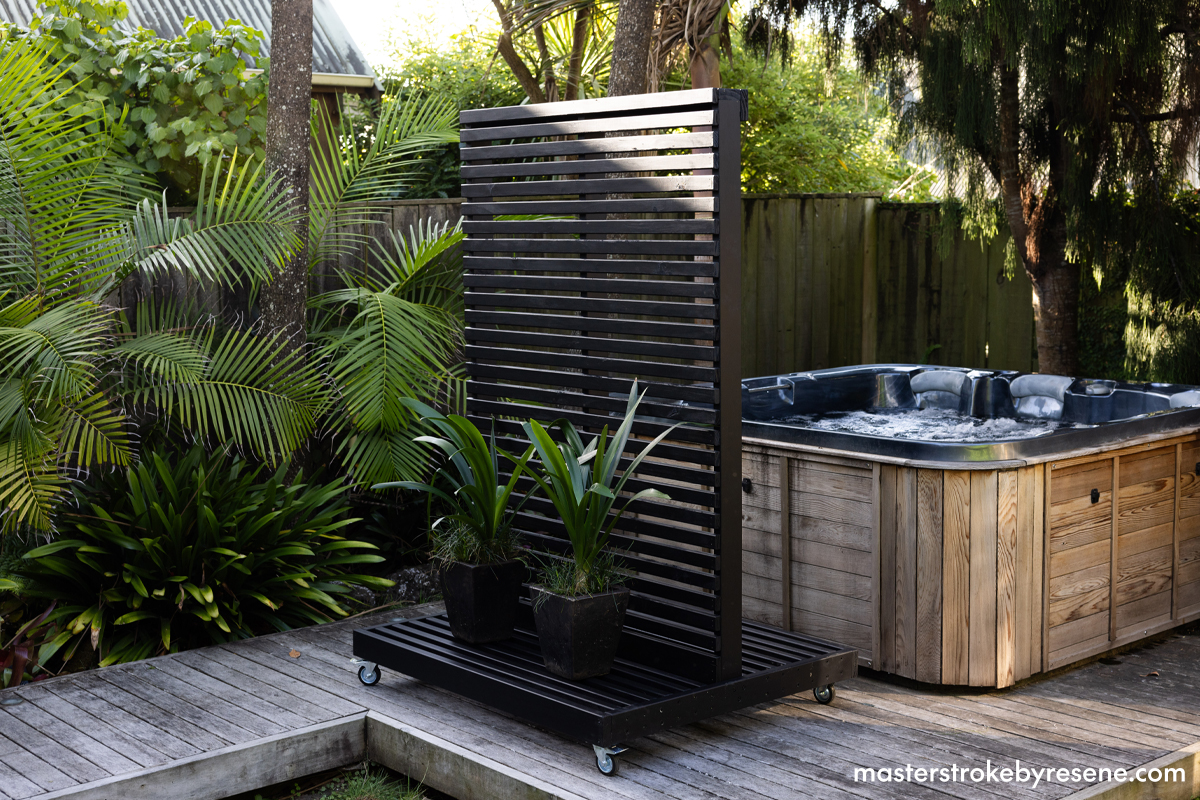
Auckland-based commercial photographer and artist Jae Frew is also a keen DIYer, and in this Odd Jobs video, he shows how to whip up a cool privacy screen. He has crafted it from timber and given it a lovely dark finish by staining it with Resene Waterborne Woodsman penetrating oil stain in Resene Pitch Black. The screen is anchored by a sturdy base, which ensures it’s well-balanced and won’t topple over, plus it has castors for seamless movability. 

Versatile furniture pieces like this let you customise your outdoor space depending on the season or weather – creating an outdoor room and extension of your home. Think of being curled up with a book in winter or enjoying a wine with friends al fresco on a summer evening. It provides an adjustable shade screen during sunny days, as well as protection from the wind, and thanks to its wheels, can be stored and secured swiftly when required. 

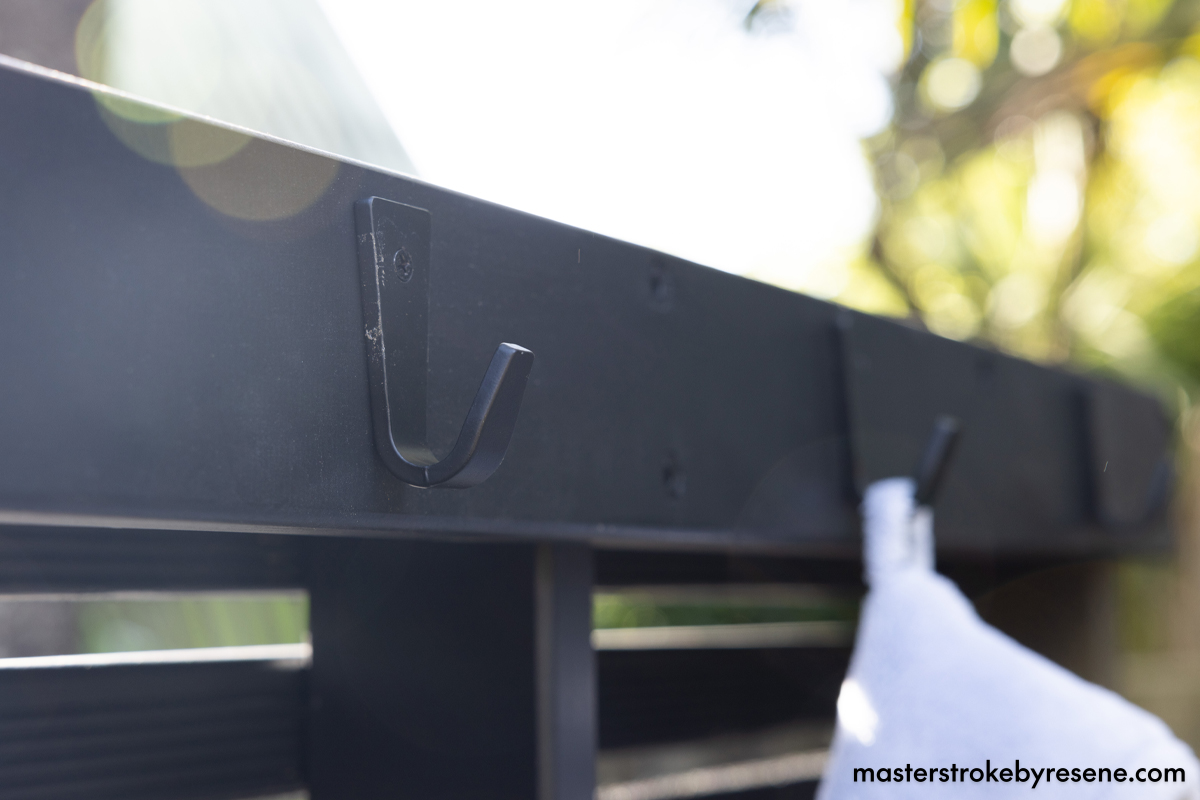
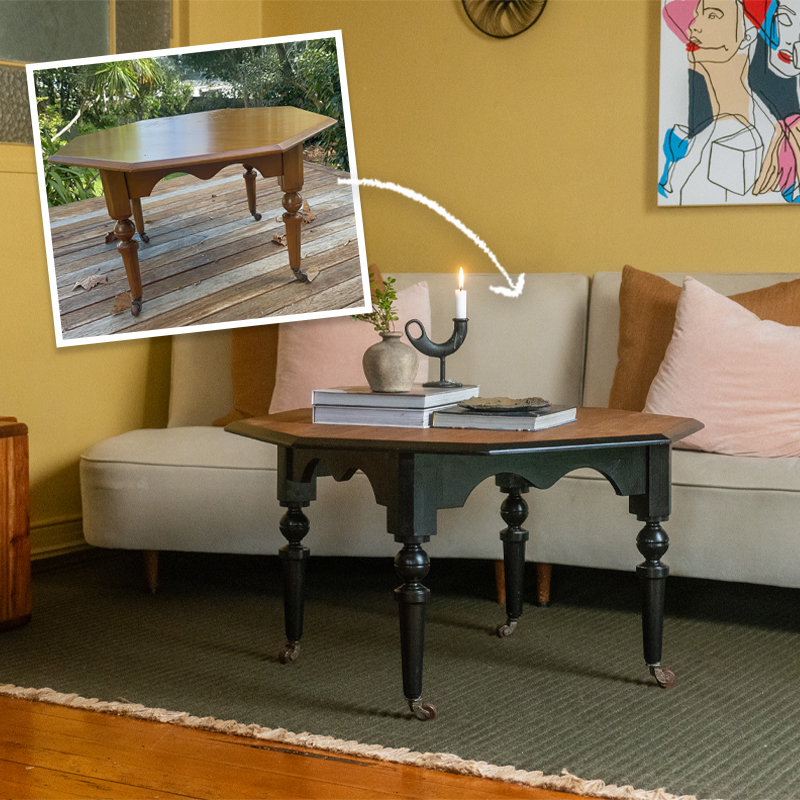
Handy hooks along the top offer all kinds of practical uses and take it to a new level of functionality. They’re an ideal place to hang barbecue tools and equipment, or as Jae has done here, holding robes while you take a dip in the pool or spa. The Resene Pitch Black wood stain this screen is finished in also provides an eye-catching contrast to the vibrant green of the plants and garden. 

Jae’s interest in DIY came from his father, who was a cabinetmaker. “He let me work alongside him in his workshop, quietly teaching me countless skills and tricks of the trade. I’ve put this knowledge to good use over the past 30-odd years renovating and repairing my Mt Eden house and creating furniture.” 

When undertaking projects around the home as well as for his art, Jae loves the reliability and ease of use of Resene products. “There’s a terrific range of products and colours, and the paint covers well and leaves a lovely finish,” he says. “The staff are very knowledgeable and always helpful. I always use Resene – almost every surface of our house is covered in a Resene product of some sort.” 

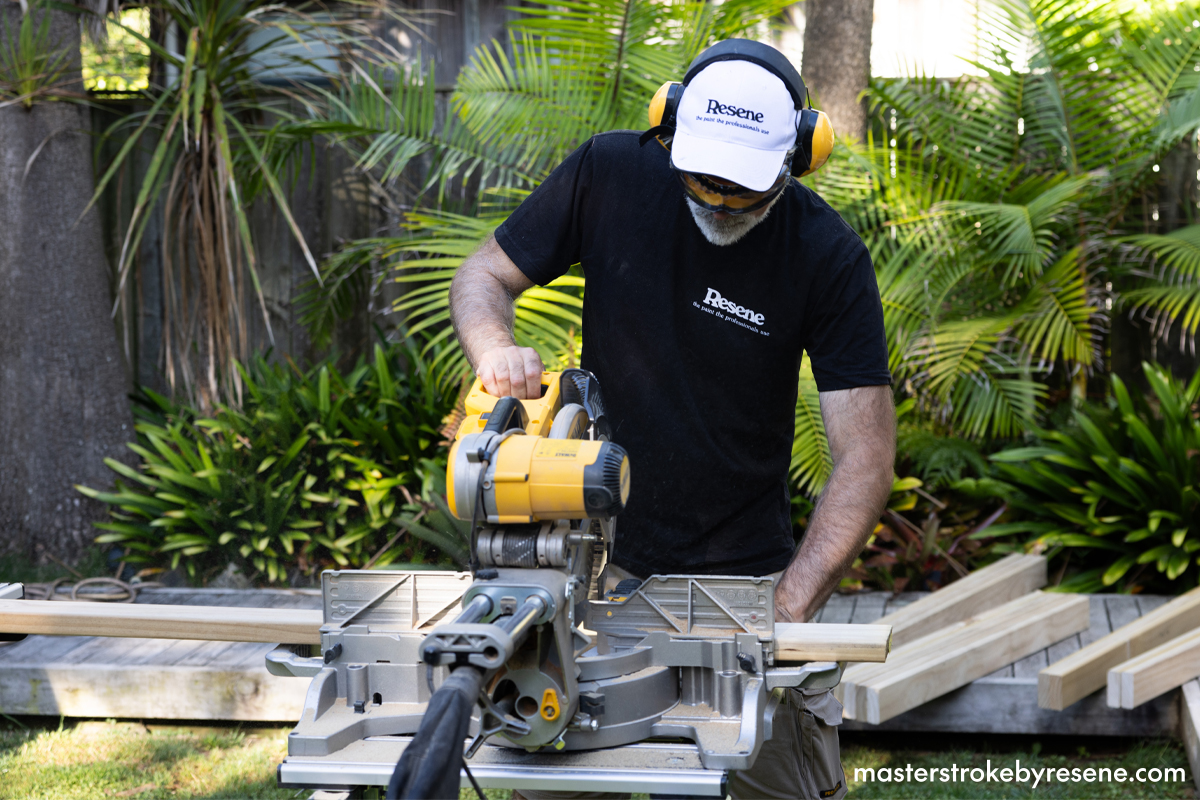
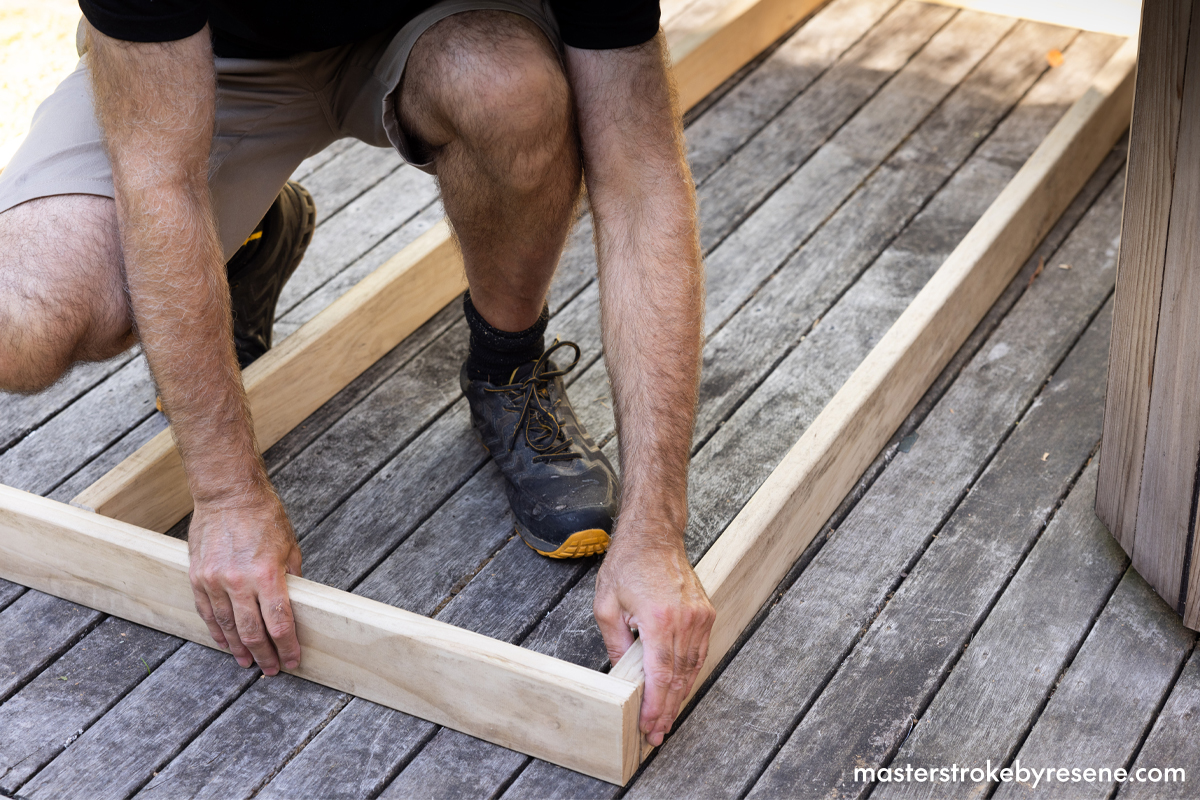
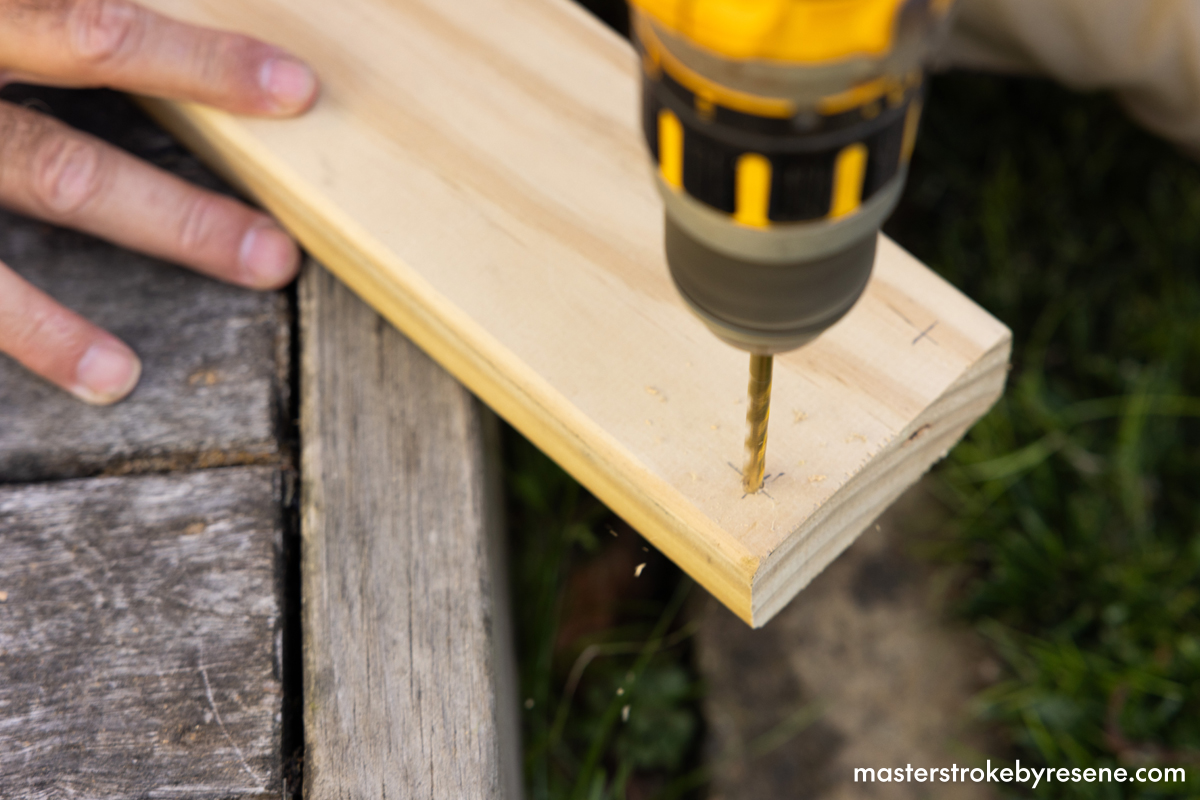
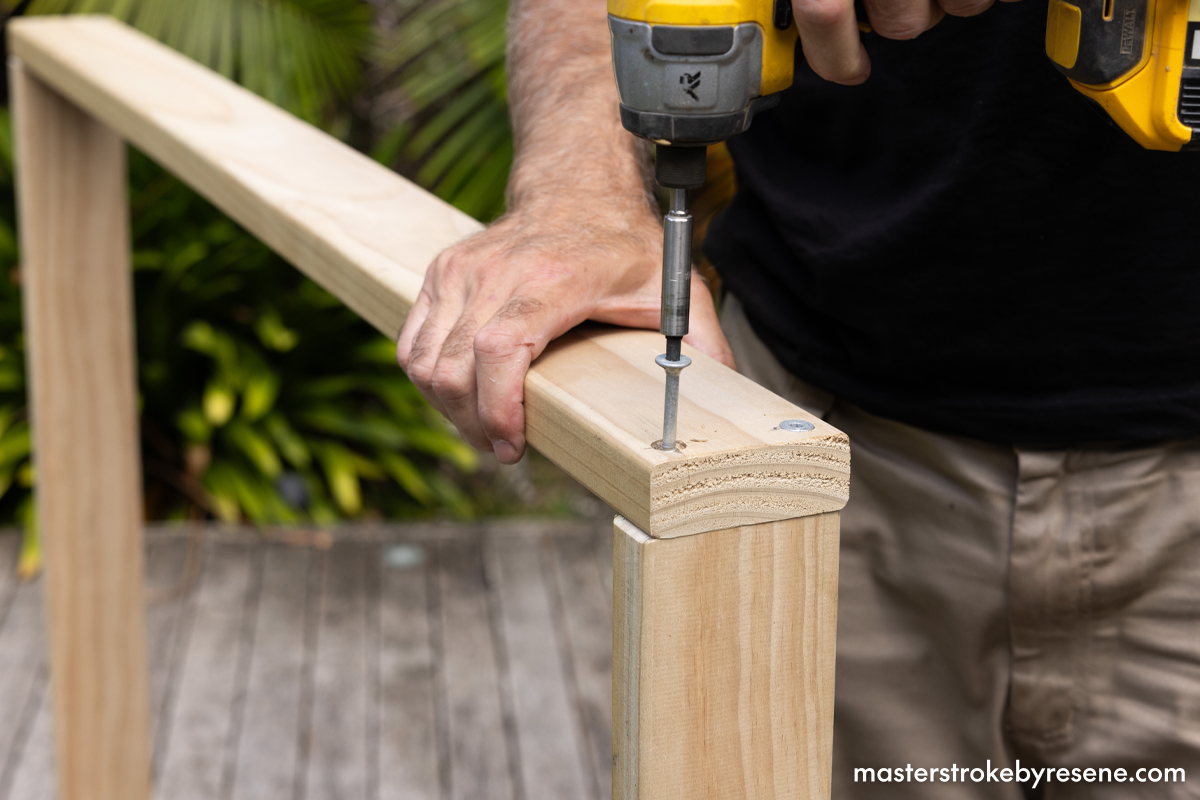
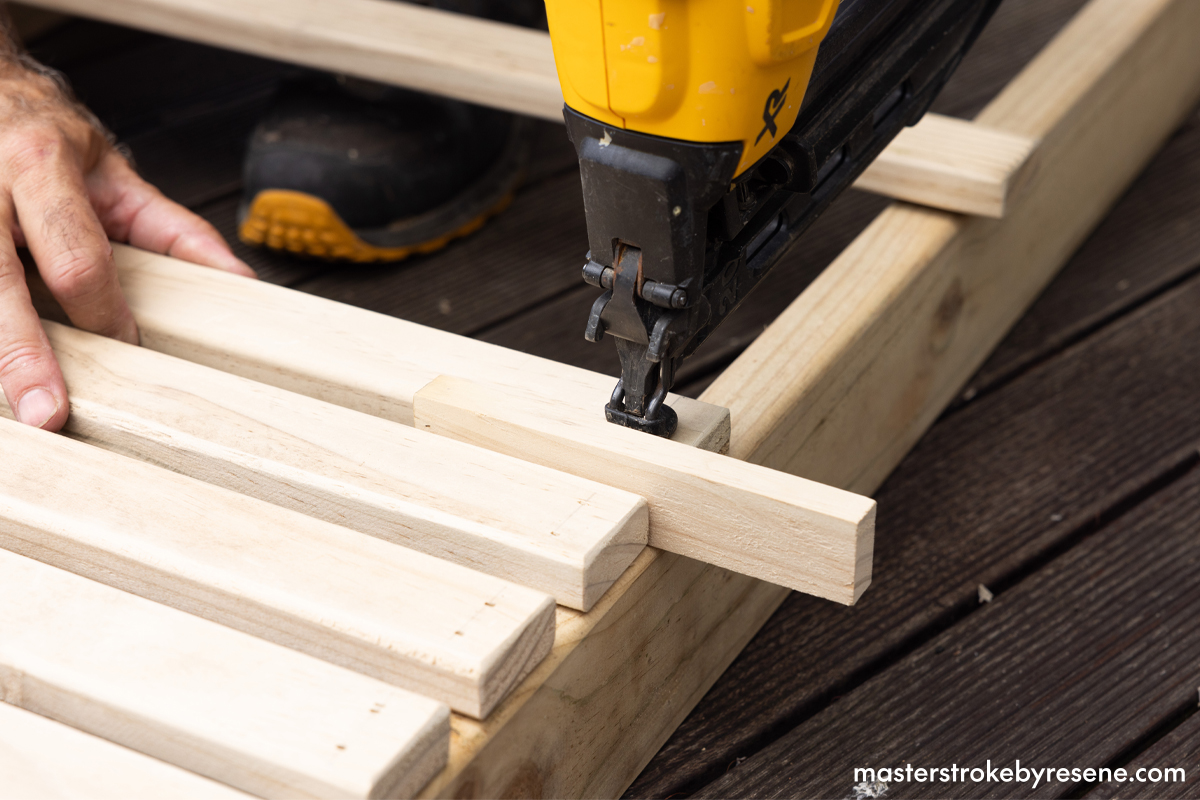
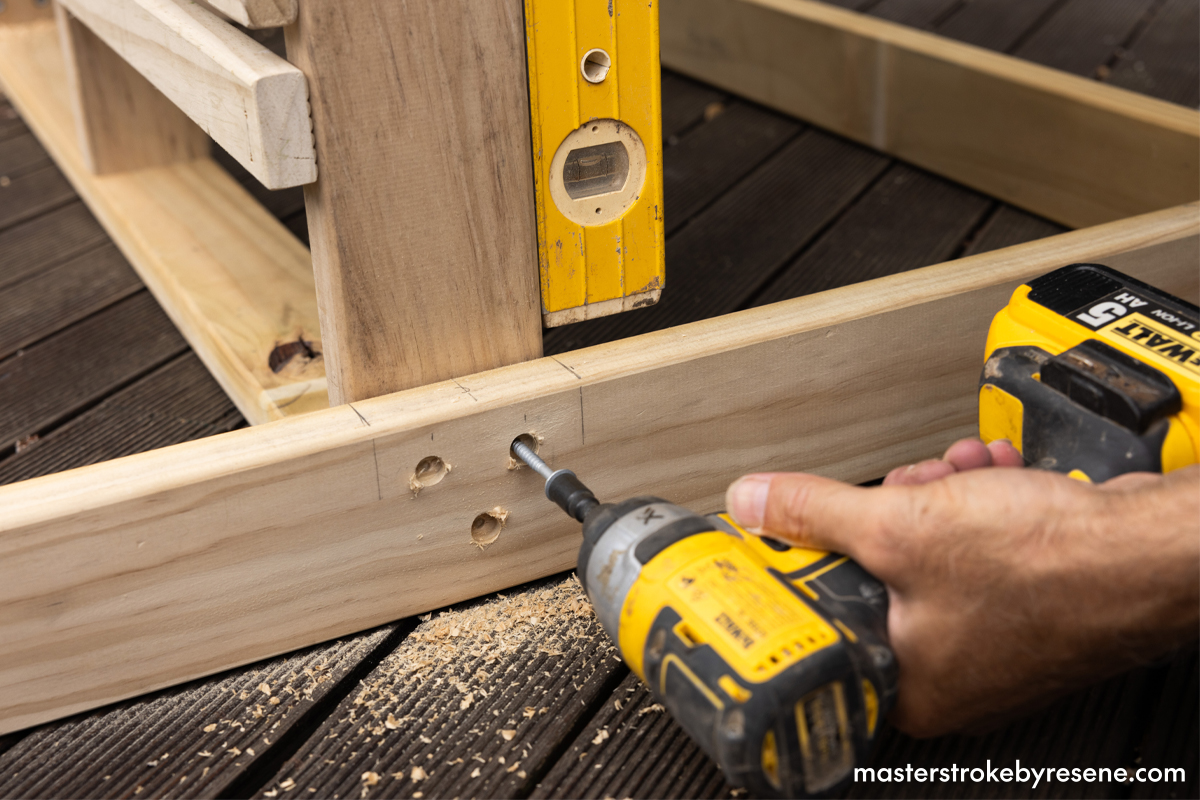
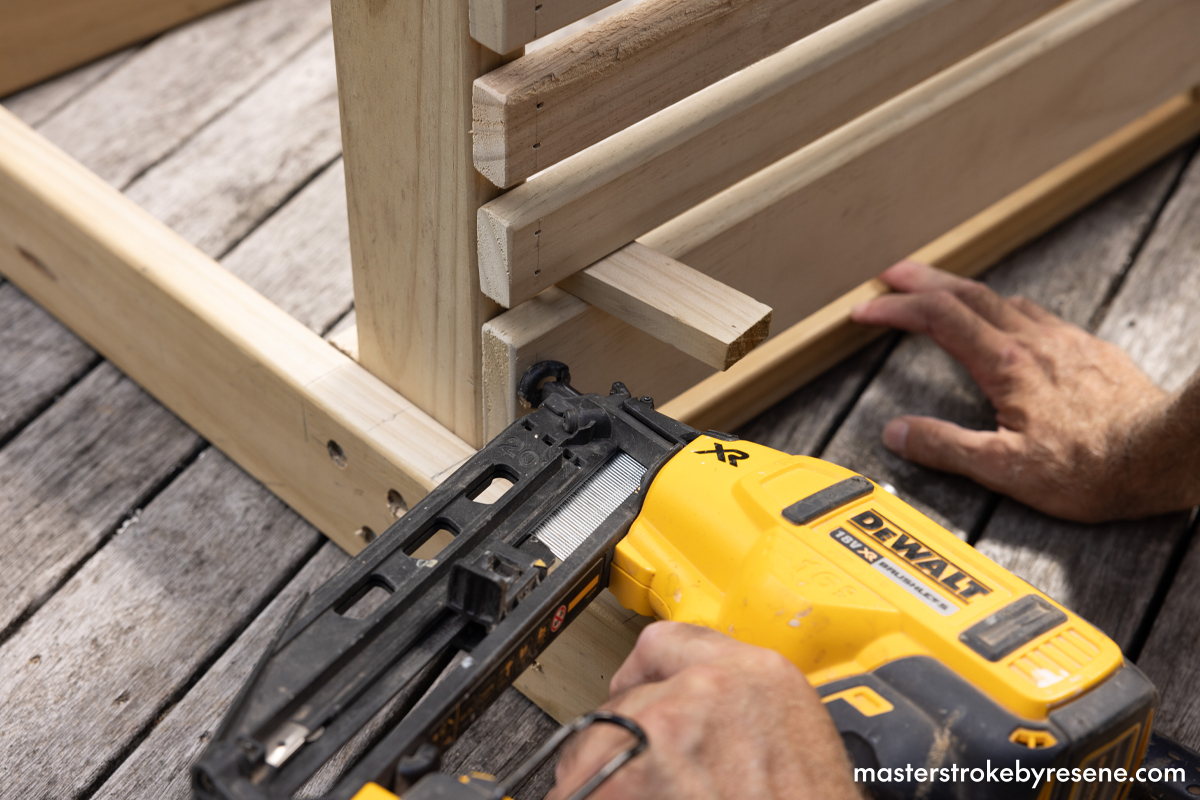
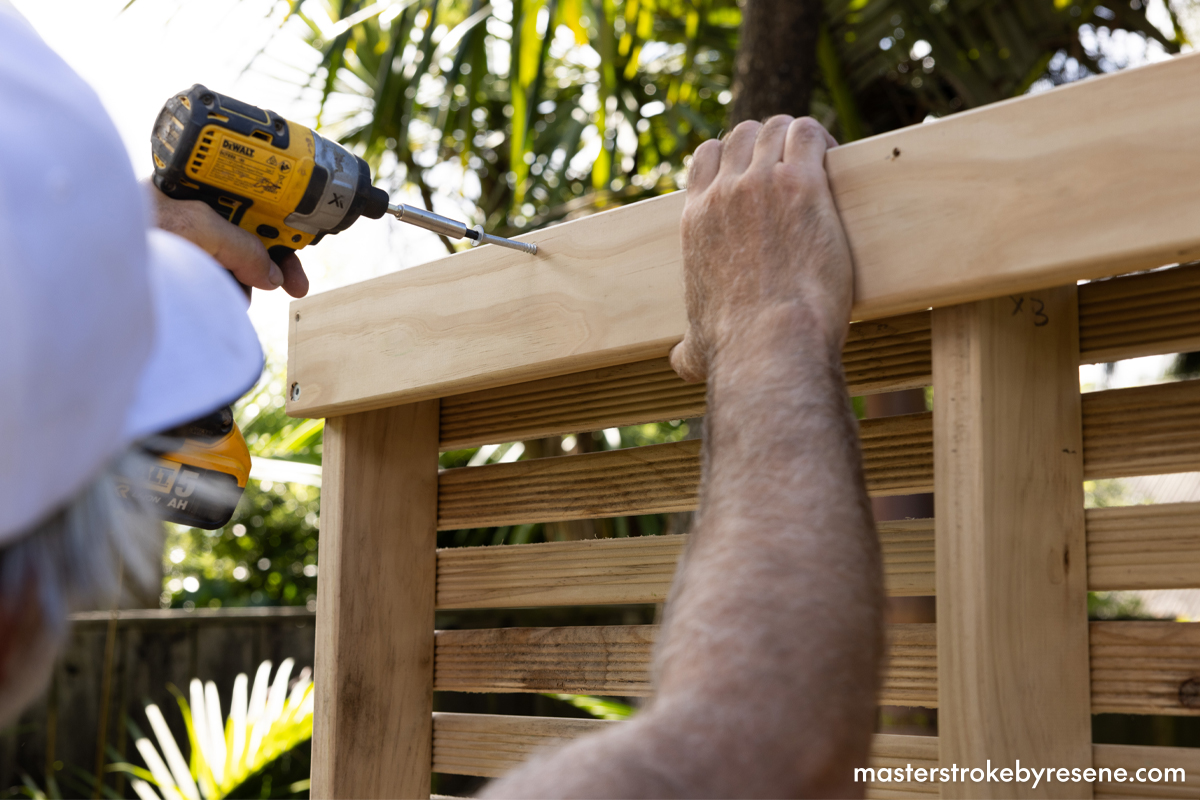
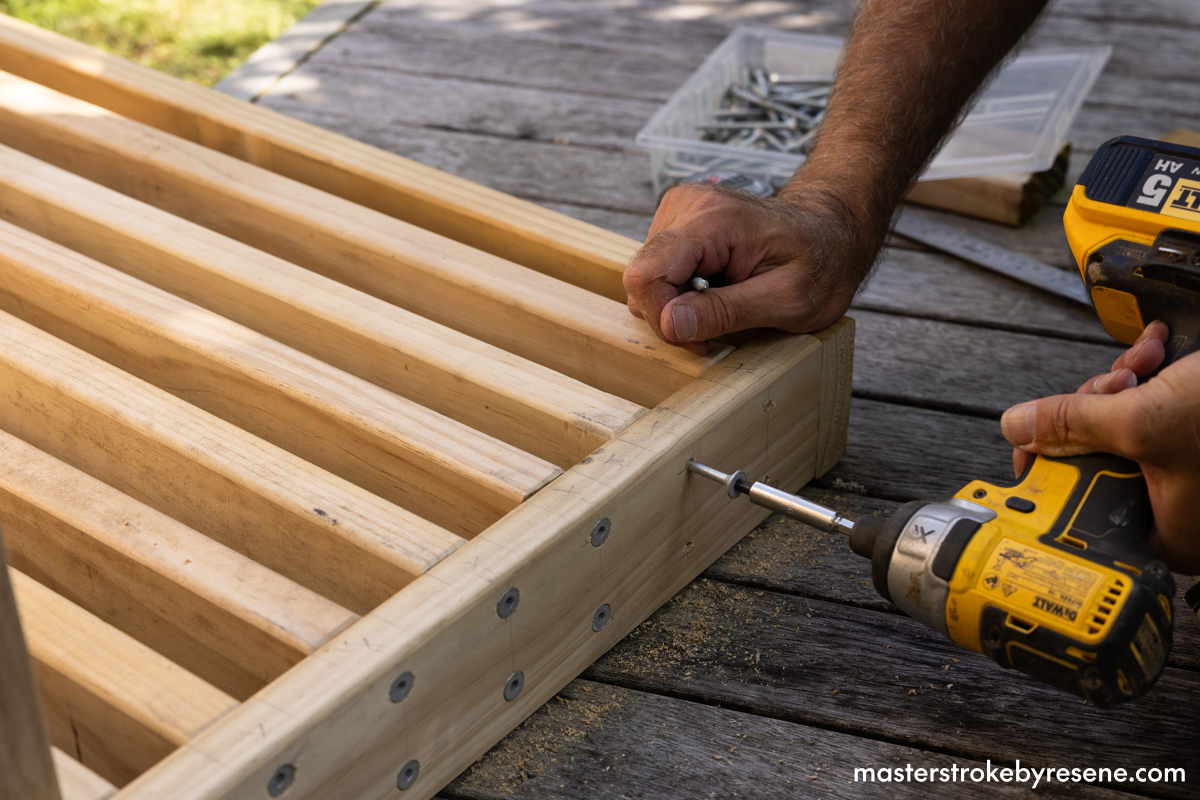
Check out Jae’s step-by-step guide to make your own outdoor privacy screen.

  • Tape measure
  • Pencil
  • Safety gear
  • Drop saw or handsaw
  • Combination square
  • Drill and assorted drill bits
  • 15mm spacer
  • Nail gun and nails (or hammer and nails)
  • Spirit level

For the base:

  • 2x 1265mm x 90mm x 32mm
  • 2x 1000mm x 90mm x 32mm

For the screen frame:

  • 2x 1200mm x 90mm x 32mm
  • 3x 1765mm x 90mm x 32mm

For the battens:

  • 27x 1200mm x 40mm x 20mm
  • 2x 1200mm x 90mm x 20mm

For the base slats:

  • 12x 1200mm x 90mm x 32mm

1

Cut your timber

Measure and mark out your timber to the listed lengths, then cut using a drop saw. Remember to always measure twice and cut once, and don’t forget to wear your safety gear.

2

Frame it up

On the ground, lay out the timber that will create the frame for your screen.

3

Pre-drill

Mark pilot holes for drilling 20mm from the edge, then drill pilot holes into the timber using a 3/16 drill bit.

4

Smooth edges

Chamfer the edges of the timber using 80 grit sandpaper and a sanding block.

5

Assemble frame and base

Screw the screen frame together using 14G x 75mm bugle head screws. 

Repeat this for the base frame.

6

Install battens

Now that you have your frame sorted, chamfer the edges of all the batten pieces then place the first one flush at the top of the frame and secure with nails. 

Use a 15mm spacer between each batten to ensure they’re evenly distributed and secure with nails. Repeat until all battens are installed.

7

Attach frame to base

Align the screen with the base, using a spirit level to make sure the screen is plumb. Drill pilot holes in the centre of the base, then use a 3/8 drill bit to countersink holes and secure the frame to the base using 12G x 45mm hex head screws. Repeat on the inside of the base frame, drilling the holes on opposing sides to the outer holes.

8

Final batten

Secure one of the 90mm battens to the bottom of the screen. 

9

Back plate

Screw the remaining 90mm batten to the reverse of the screen for the back plate.

10

Base slats

Evenly mark out and drill pilot holes for the base slats, then secure the base slats with 14G x 75mm bugle head screws.

11

Staining

To prepare for staining, put down drop cloths under your screen and decant your stain into a paint pot or roller tray. 

Apply two coats of Resene Waterborne Woodsman with a flat brush to make sure you cover all edges.

You can also use a paint roller to speed up the process.

Allow the stain to dry before applying the second coat.  If you have applied too much stain, wipe off the excess with a cloth.

If you’re planning a dark colour and your backyard is sundrenched, consider using a CoolColour version of your colour to keep the screen timber and stain cooler.

12

Add hooks

When the stain is dry, mark out pilot holes for four hooks on the back plate and drill holes using a 1/8 drill bit.

Screw the hooks into place.

13

Make it move

For portability, attach four lockable castors to the base. This makes easy to move it around and customise your outdoor space.

14

Private screening

Place potted plants or other outdoor decor on the base and you’re ready to enjoy your new privacy screen. Screen stained with Resene Waterborne Woodsman penetrating oil stain in Resene Pitch Black.

About MasterStroke by Resene
MasterStroke by Resene is here to help you master your paint and decorating DIY projects. Brush up on your skills with advice, tips and ideas from our trusted experts.

Check out the latest how-to videos on our YouTube channel.