How to

How to paint a room using an airless sprayer

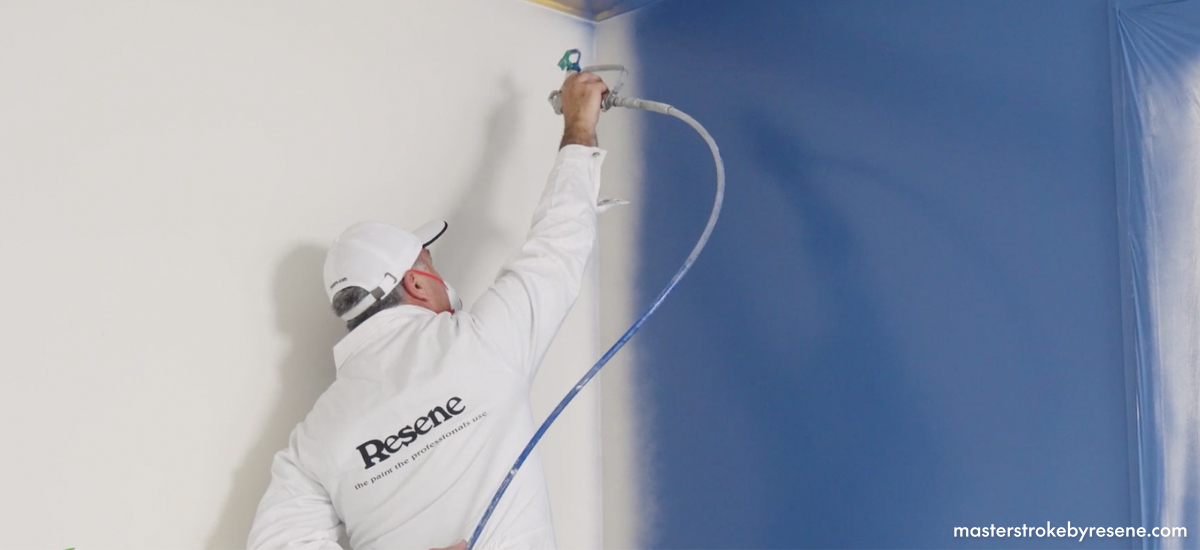
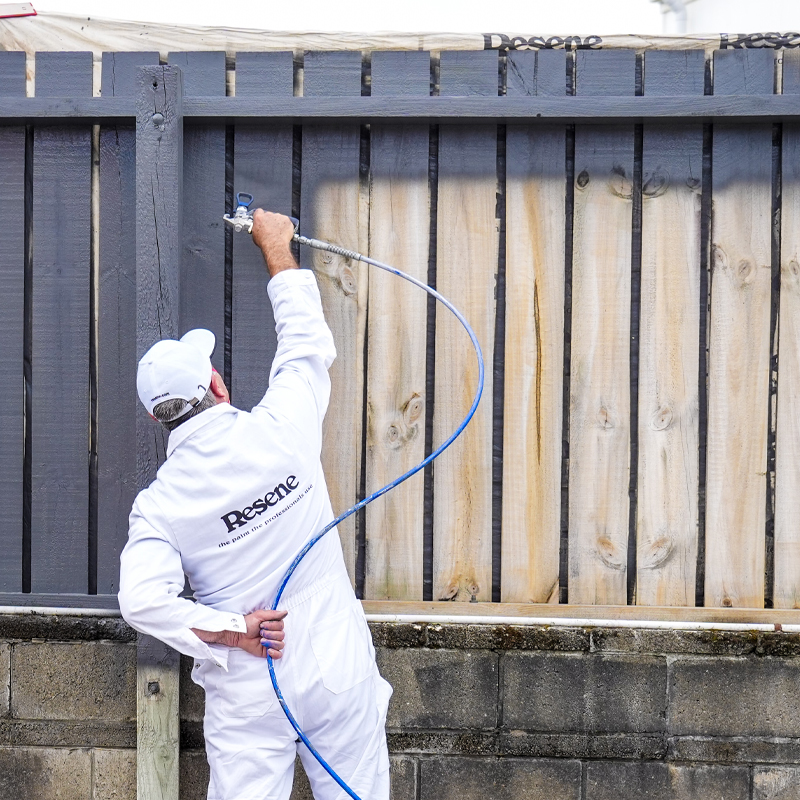
While it can take some experience and skill to achieve a professional result, applying your Resene paint with an airless sprayer can save a lot of time and gives a beautifully seamless and uniform finish when done right.

What is airless spraying?

In basic terms, a high-pressure pump atomises paint at the point of discharge. The actual painting part is relatively simple, but proper planning is absolutely crucial, because as soon as you pull the trigger, paint comes out – and lots of it!

But never fear, Allan McMillan from Resene is here to start from the very beginning and take you through what you need, how to prepare and the correct method of spray painting a room. 

Choose the correct type of paint

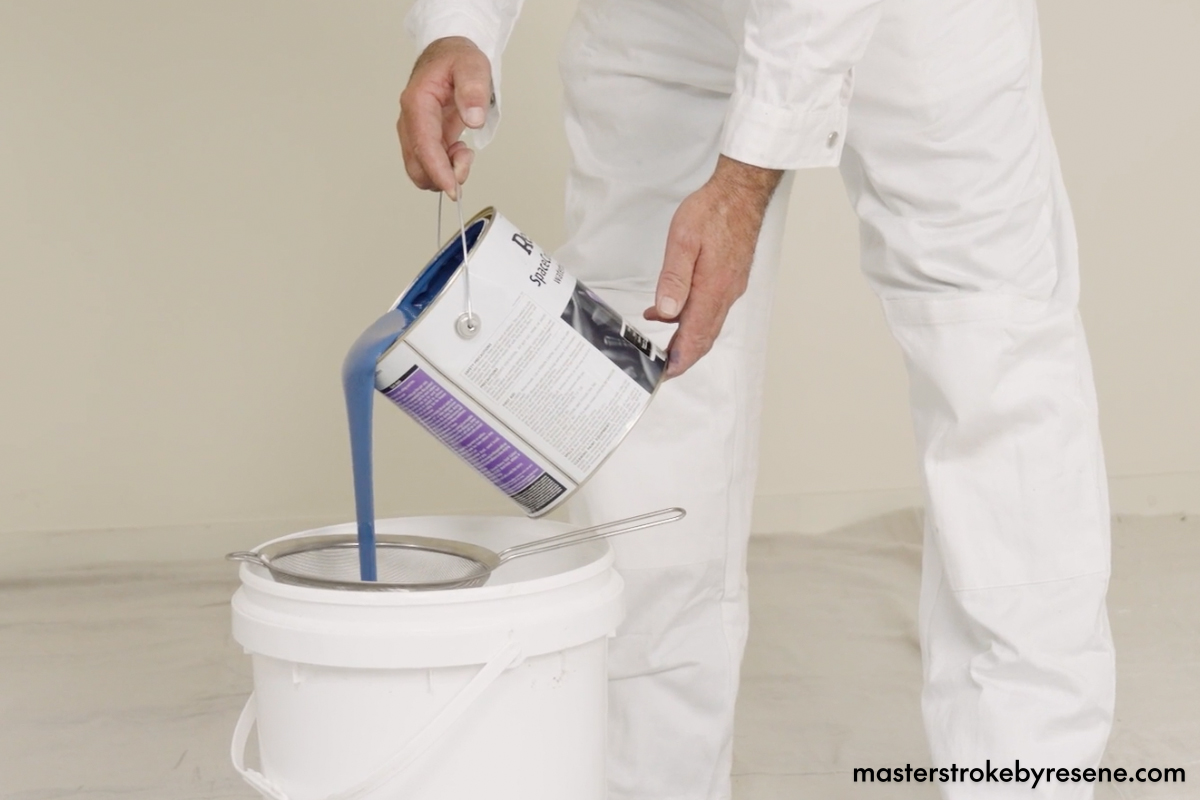
It’s essential to choose a paint that is appropriate for use in an airless sprayer. To find out if yours is, look at the label on the back of the paint can or on the relevant data sheet. Product data sheets describe the recommended usage of the product and the spreading rate per litre and the dry film thickness in microns, which is the thickness of the material (usually one coat) after properly drying.

Protect your space

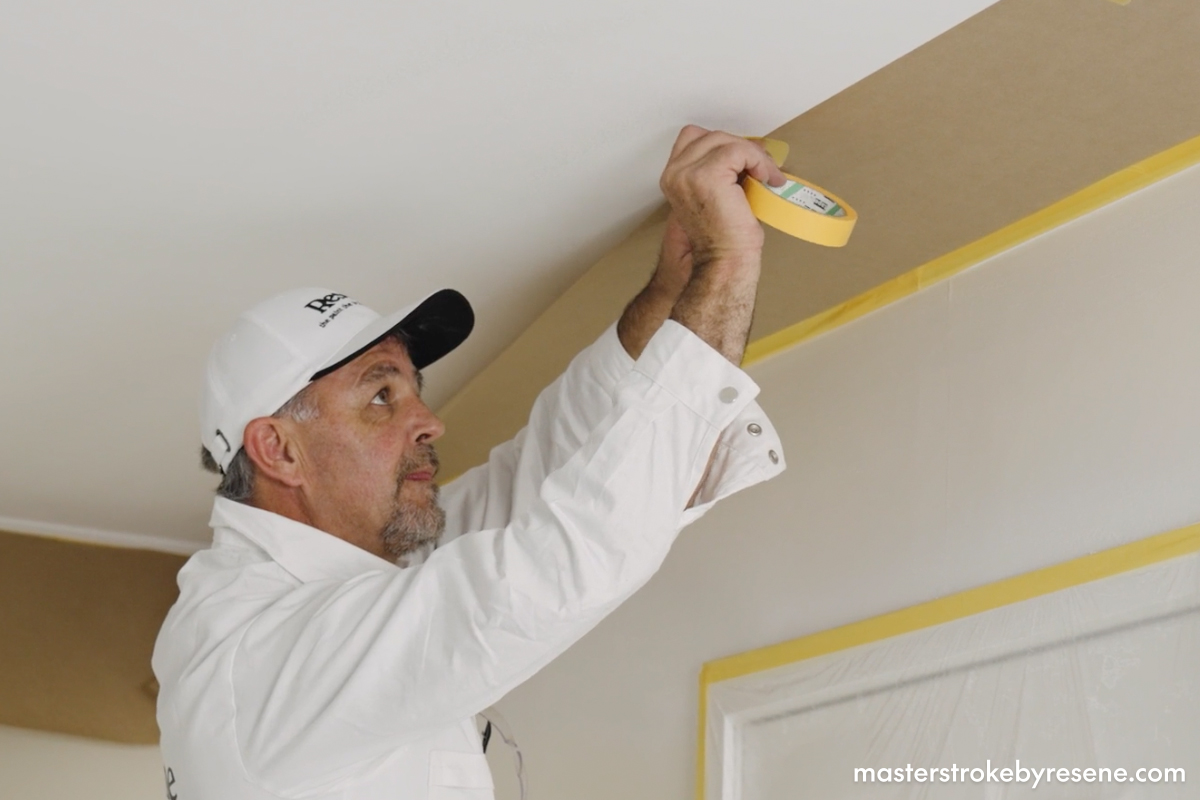
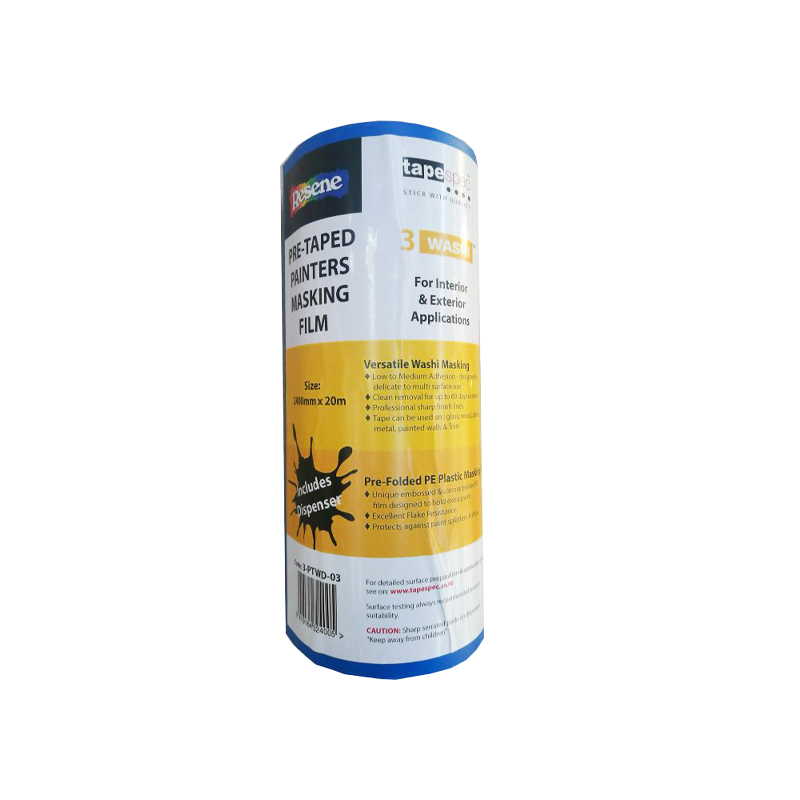
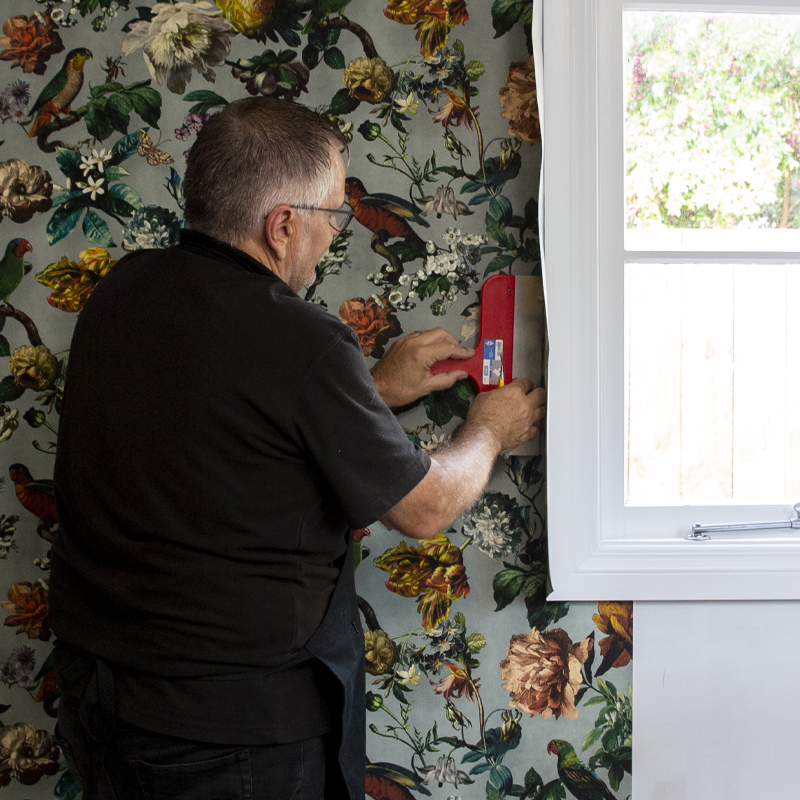
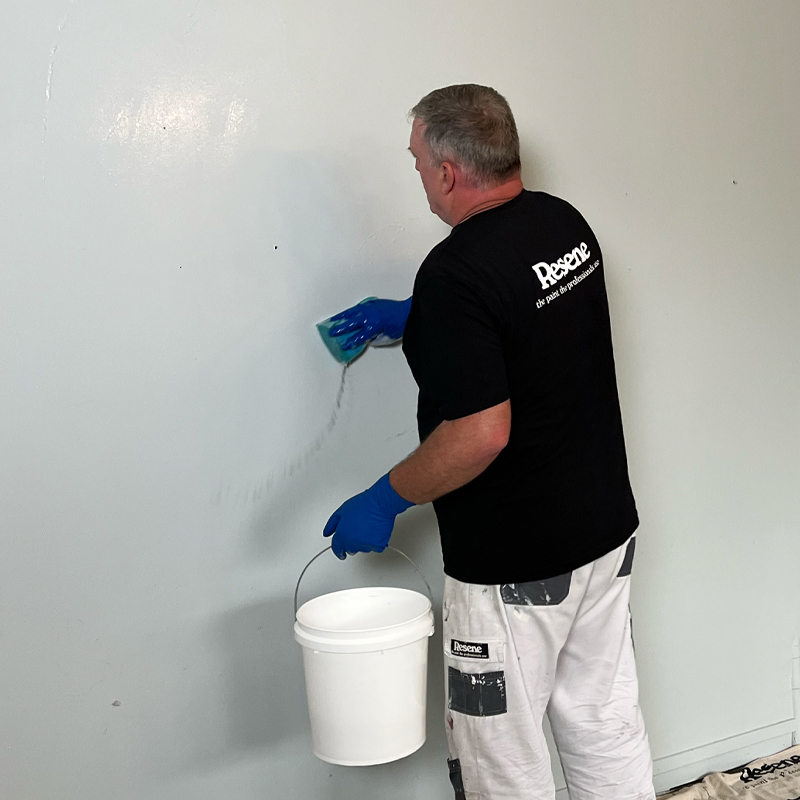
Due to the nature of spraying paint, areas of your room that you’re not painting need to be adequately prepared and protected. Place Resene drop cloths on the floor, then apply masking film with masking tape – or Resene Pre-taped Masking Film – around your doors and windows. After sanding and filling any gaps, you’ll also need to adhere masking paper to your ceilings and around your skirtings. Make sure all sanding dust is wiped away with a damp cloth.

Due to the nature of spray painting, it’s imperative to protect any areas of the room that you don’t want to get paint on.
Running your paint through a sieve removes any particles that could potentially block the filter and tip of your sprayer. Allan is using Resene Takaka.

Preparing to paint

Allan is using Resene SpaceCote Low Sheen waterborne enamel in the colour Resene Takaka, but prior to pouring it into the sprayer, he strains it through a sieve. This removes any stray particles that may end up blocking the filters and spray tips. 

There are many different sprayer options available and you’re able to hire them if you don’t feel the need to fully invest and purchase one. Allan is using the Graco Ultra 490, which is a great all-rounder and is easy to handle.

Choosing your tip

This is another key step in the process, as you need to use the right tip for the sprayer and the paint that you’ve chosen. 

The tip size is denoted by a number, for example 413. The first number (4) refers to the angle of spray, and roughly double that number equals the width of spray at a 300mm distance, while the number following that is the tip size in thousands of an inch. So, a 413 tip has a size of 13 thou, a 40-degree angle and a width of 8 inches.

The Resene Airless Tip Guide is a great resource to help you get the most out of your equipment.

Painting your room

Flush out your sprayer into a bucket to get rid of any air in the system, then do a test spray on a large piece of cardboard. You don’t want a tailing effect, which looks stripey like railway tracks. Instead, aim to get a smooth, even distribution. Once you’re happy, pop your sprayer outside the room you’re working in to avoid it getting covered in paint. 

Spray parallel to the surface about 300-400mm away from the wall, moving up and down. Overlap your previous strokes by 50% to avoid patchy coverage and hold your hose behind your back so it doesn’t get in the way or hit the wall. It’s totally up to you whether you want to do one or two coats – it’s all about whether you’re satisfied with the uniform finish.  You may find when you’re new to spraying that you need to do two coats for an even finish, then once you get more confident you may be able to get a quality finish in one coat as Allan does.

Whether you use one or two coats, make sure you do put enough paint on.  You can check this by checking the paint’s coverage on the can.  Most paints cover around 11-12 square metres per litre, so if your wall is 3 x 4m (12 square metres) you should be applying 2 litres total (which is the equivalent of 1 litre per coat).  If you haven’t applied that much, you may need an extra coat to ensure you have enough paint on the wall to protect the surface and keep looking good.

Spray parallel to the surface and hold the tip about 300-400mm away from the wall, overlapping your previous strokes as you go. Allan is using Resene Takaka.

Cleaning your tip

When using waterborne coatings, it is good practice to clean your unit daily. For best results, follow these steps:

  • Flush your sprayer with water to remove paint from the unit and hose.
  • Drop the pressure and remove all filters. Clean them and store them safely in your toolbox.
  • Put the unit back together without the filters. Clean excess paint off the pick-up shaft.
  • Remove the dirty water and replace it with a bucket of fresh water, using hot water if possible. Mix in two capfuls of Resene Quick2Clean Paint Equipment. Flush through the unit until clean.
  • Mix a small amount of fresh water in a bucket with Resene Pump Protector and run this through your unit.
  • Drop the pressure and store your unit.

Interior spray painting checklist:

  Is the paint suitable for airless spraying? Check the data sheet, verify the paint type, spreading rate, volume solids, dry paint thickness, health and safety issues, thinners and calculate quantity of paint per square metres of area.

  Will airless spraying give a better finish than paintbrush or roller application?

  Is the substrate surface suitable and what preparation is required?

▢  How long will the job take to complete?

  Do you have the right skills to do it yourself, or do you need to call in a professional to help?

Top tips:

Spray painting is generally best on projects where you are painting a good-sized area and you can easily move furniture and other items out of the way (and even better out of the room!).  For smaller projects or where you are doing the project in lots of stages, brush and roller application can be quicker and easier and you can wrap up your brush and roller in a reusable plastic bag or cling film and then carry on painting where you left off.

About MasterStroke by Resene
MasterStroke by Resene is here to help you master your paint and decorating DIY projects. Brush up on your skills with advice, tips and ideas from our trusted experts.

Check out the latest how-to videos on our YouTube channel.