How to

How to paint a fence using an airless sprayer

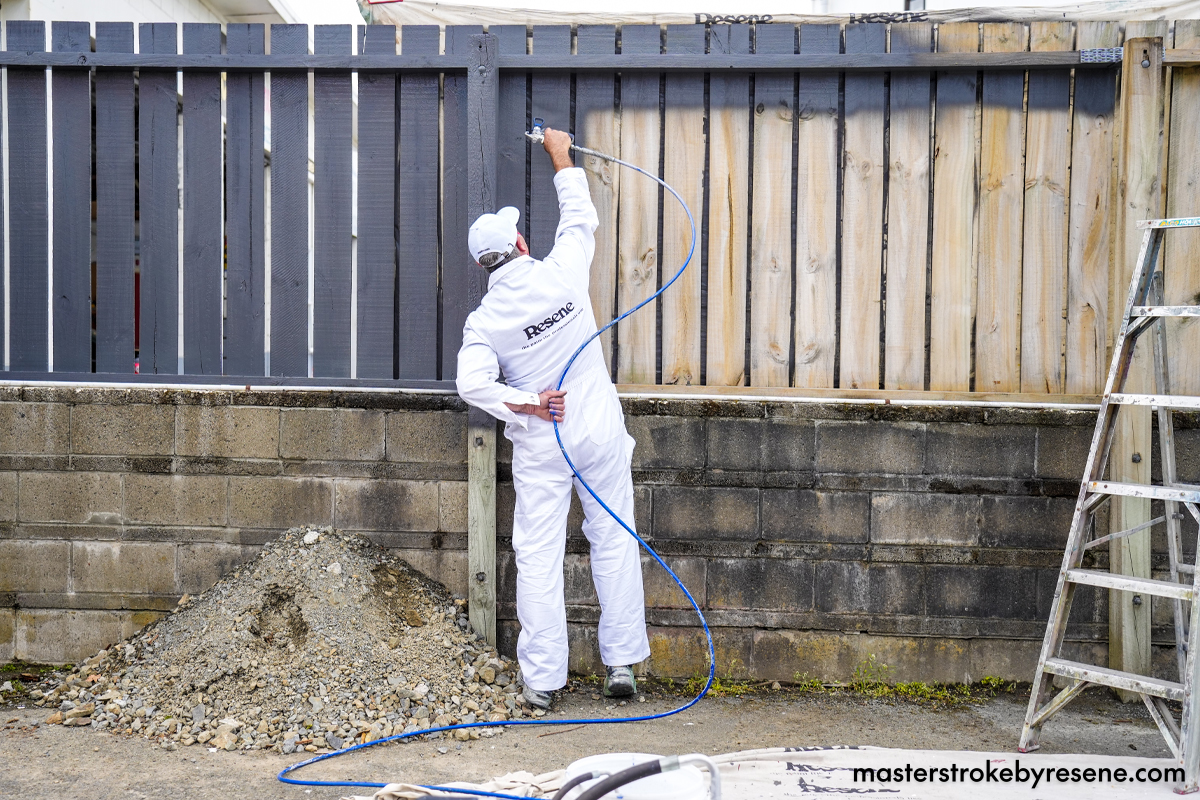
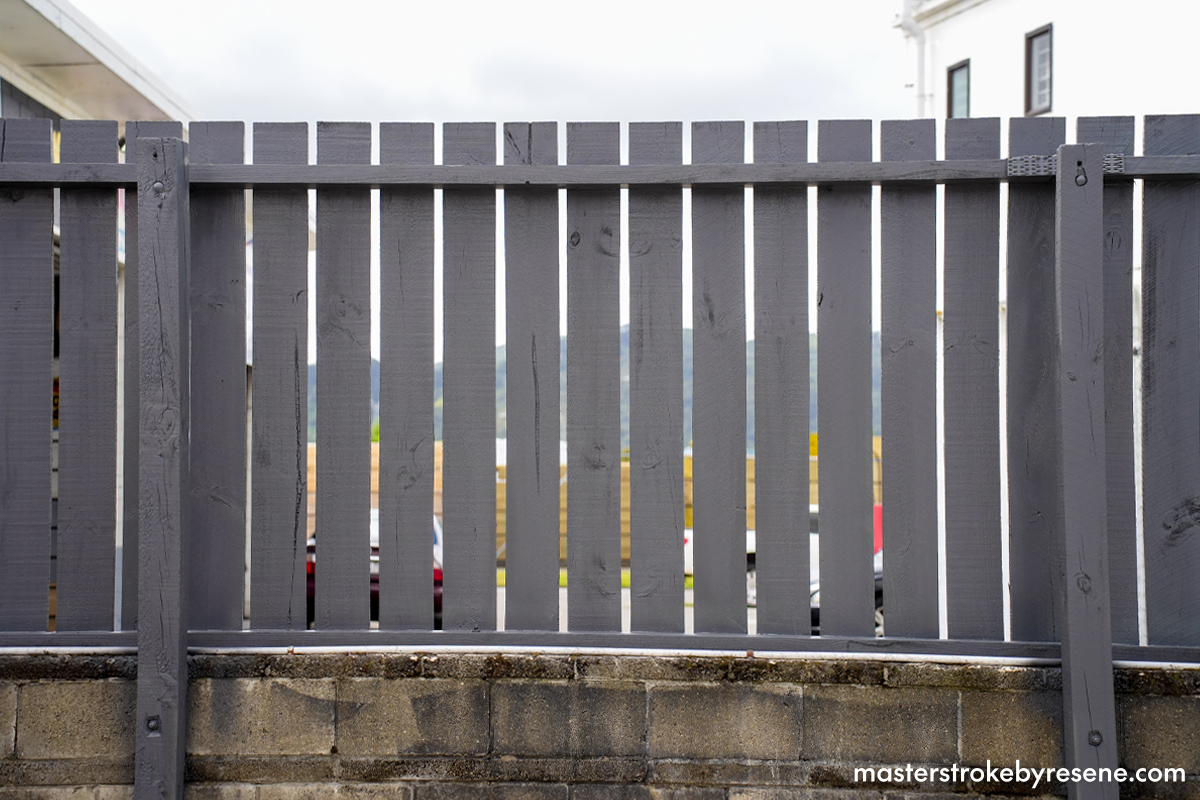
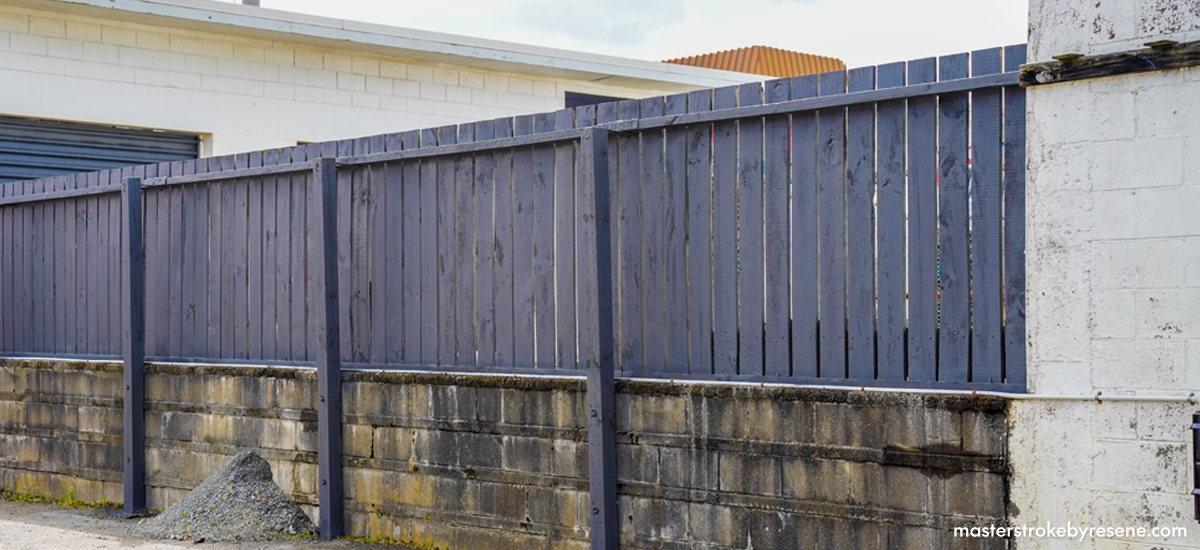
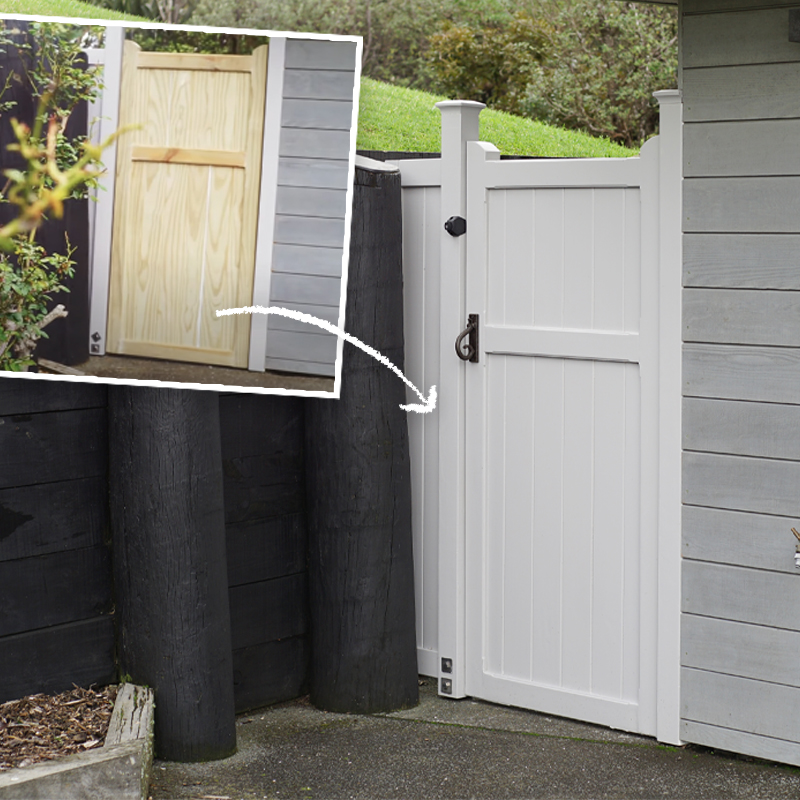
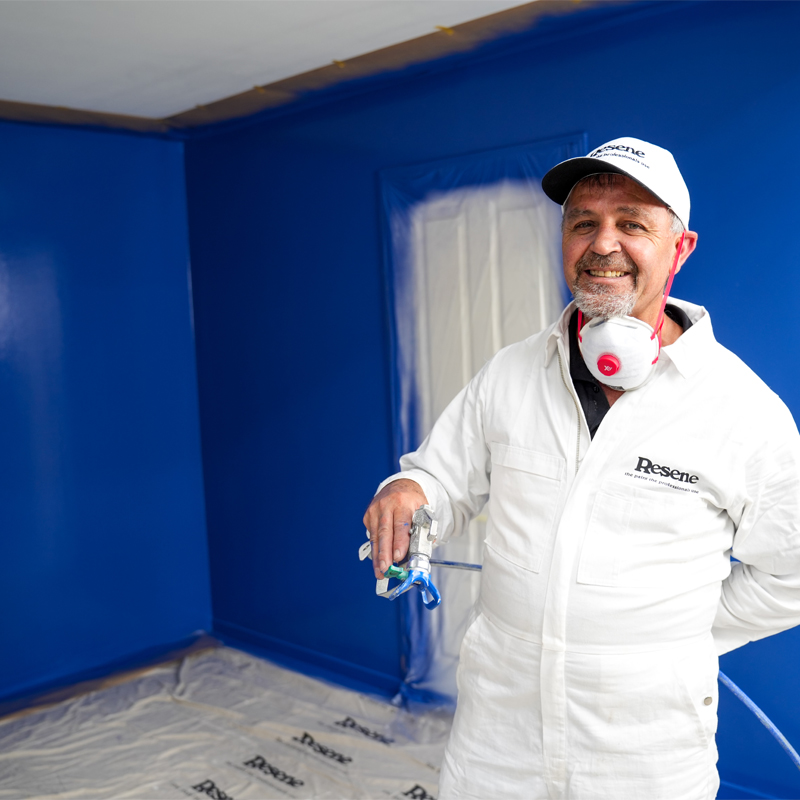
Got a large or long fence that needs painting? If done properly, using an airless sprayer to apply your Resene paint can cut hours off the job, as well as help you to achieve a professional looking finish. Resene Spray Expert Allan McMillan is here to show you exactly how to spray a fence and talks through invaluable tips and techniques along the way. 

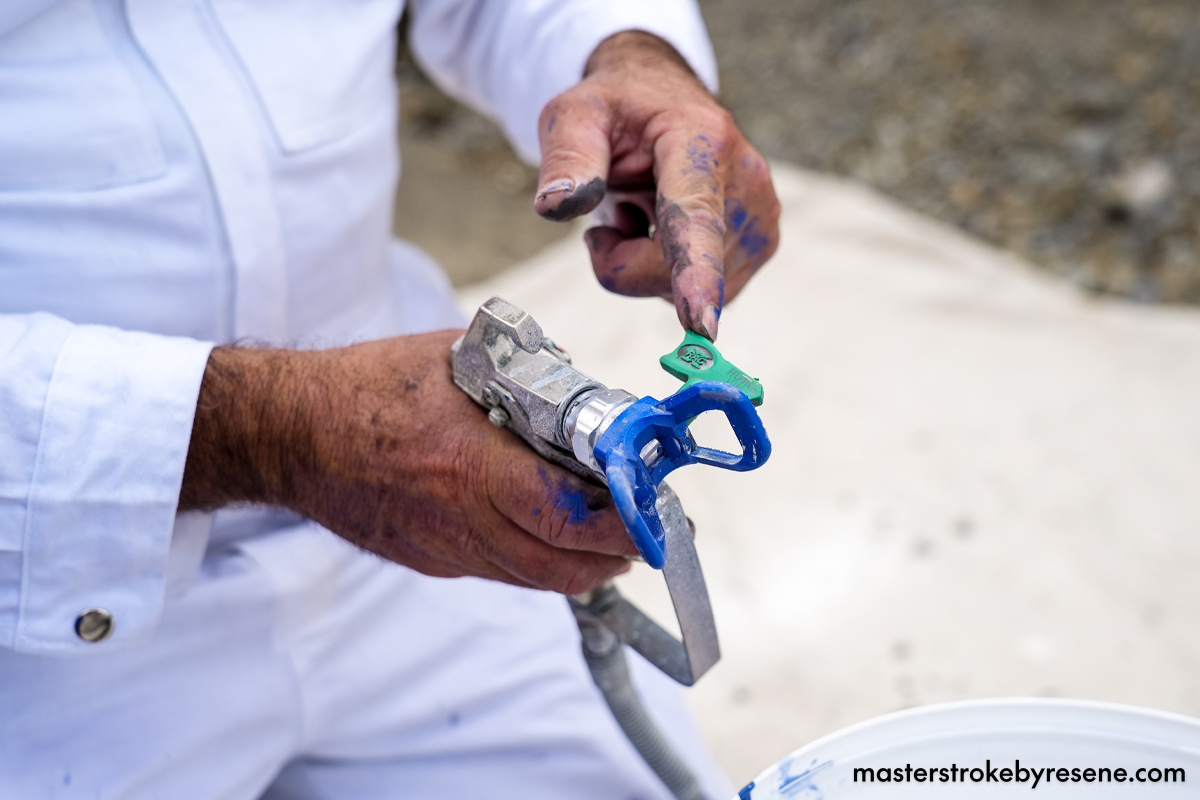
Spraying is a highly effective method of painting, but it is crucial to know your way around the proper equipment, as you can end up wasting paint and making a major mess if you don’t know what you’re doing. While there are a variety of makes and models available, an airless sprayer is a machine where a high-pressure pump atomises paint at the point of discharge. There are many intricacies and variables involved when selecting not only the machine, but the appropriate tip for your type of paint and the size of the area you’re spraying. The Resene Airless Tip Guide is a great resource to help you get the most out of your equipment.  

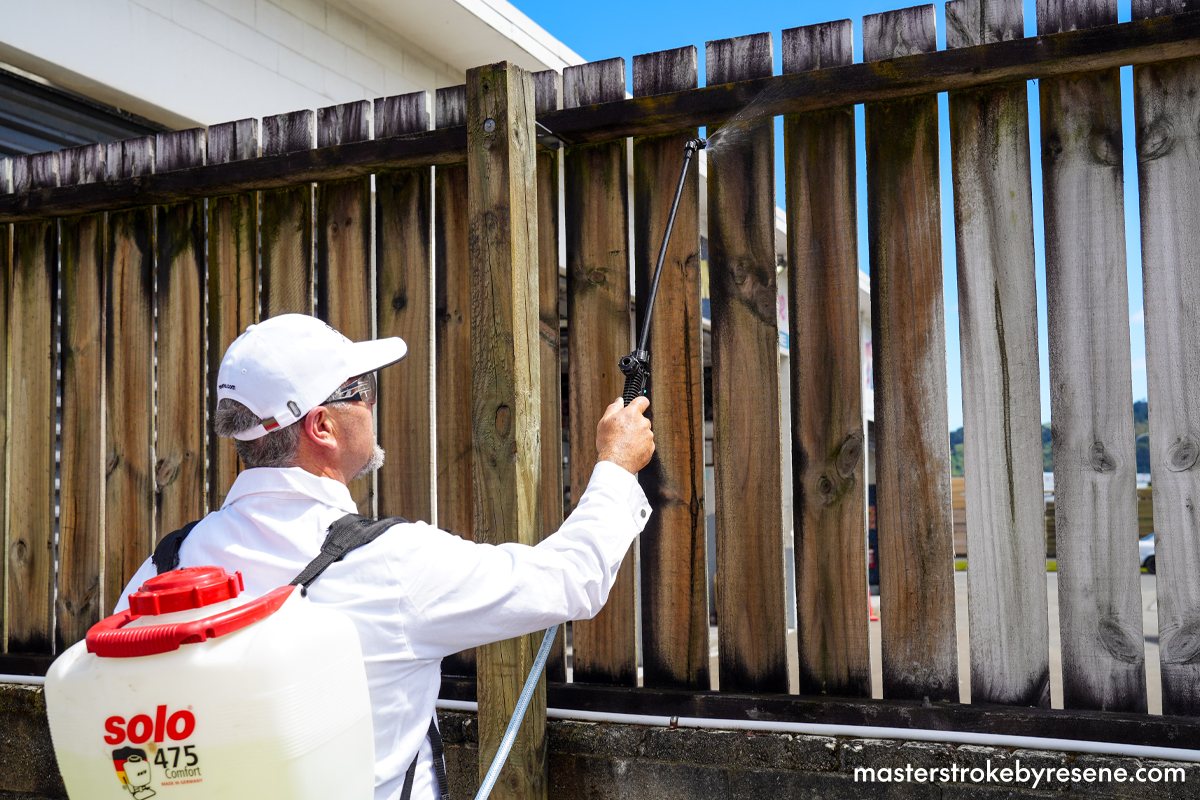
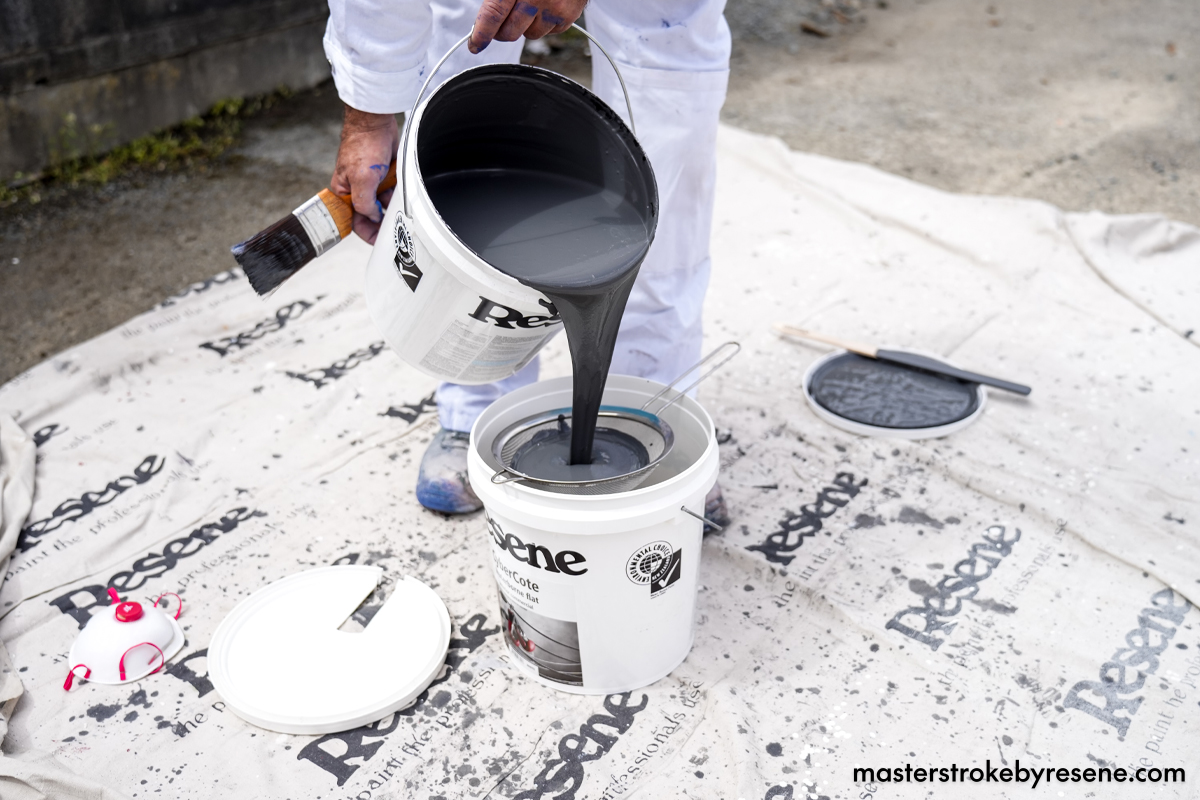
Follow Allan’s step-by-step instructions on how to spray paint a fence using an airless sprayer.

1

Treat your timber

As this is a wooden fence that’s been exposed to the elements, it needs to be thoroughly treated with Resene Moss & Mould Killer prior to painting. 

Decant it into a spray pack following the dilutions instructions on the pack, then spray it onto the fence. Leave it for 24 hours to penetrate the wood.

Once the moss and mould are killed, you need to clean the timber. Apply Resene Timber and Deck Wash ensuring it stays wet for 10-15 minutes and scrub. Then wash off with a hose or use a water blaster on a low-pressure setting. Avoid using a water blaster on a high pressure as it can gouge and damage the timber.

2

Prepare the paint

As this fence is made from rough sawn timber, there is no need to sand before painting.

Place down Resene drop cloths to protect the ground and open your paint. Allan is using Resene Lumbersider Low Sheen CoolColour in Resene Fuscous Grey. He’s chosen to use a CoolColour formulation as these are made with special pigment technology that reflects more of the sun’s heat and keeps the surface and your stain or paint cooler. This looks like normal colour colour but won’t get as hot in the summer months.

Give it a good stir and then use a sieve to strain the paint into another bucket. This is one of Allan’s key tips when using a sprayer, as that way he’s sure it’s free of any particles that may clog up the machine.

If you prefer, you can apply Resene Quick Dry waterborne primer undercoat first before the topcoats.

3

Prepare the airless sprayer

There’s a wide range of machines available to either buy or hire, but today Allan is using the Graco Ultra 490. To keep his paint from forming a skin on top while working outside in warm weather, Allan has fashioned a custommade lid for his paint by cutting a slot in the lid wide enough for the hose to fit into. 

Always flush out your unit first, even if you have previously cleaned it, to make sure it’s clear and running smoothly – and always ensure you have selected the right tip for the job. Refer to the Resene Airless Tip Guide for assistance when selecting, it is a great resource to help you get the most out of your equipment.

4

Start spraying

Allan has erected a drop cloth attached to two extension poles for his ‘assistants’ to hold behind the fence, which will catch any spray that escapes through any panels. 

Always take care to protect surrounding areas that you don’t want to get paint on.

When spraying, hold the hose behind your back so it doesn’t get in the way. Hold the gun at a 30-degree angle and spray into the edges and overlap what you have sprayed by at least 50%.

5

Check your coverage

You may be satisfied with just the one coat, as Allan is with his fence, but you may find when you’re new to spraying that you need to do two coats for an even finish. 

Whether you use one or two coats, make sure you put enough paint on. You can check this by checking the paint’s coverage on the can – most paints cover around 11-12 square metres per litre. If you haven’t applied that much, you’ll need an extra coat to ensure you’ve applied enough paint to protect the surface and keep it looking good.

Before
After
Using an airless sprayer to paint a fence can take hours off the job and give you a professional looking finish. Fence painted in Resene Fuscous Grey.

Cleaning your machine

When using waterborne coatings, it is good practice to clean your unit daily. For best results, follow these steps:

  • Flush your unit with water to remove paint from the unit and hose.
  • Drop the pressure and remove all filters. Clean them and store them safely in your toolbox.
  • Put the unit back together without the filters. Clean excess paint off the pick-up shaft.
  • Remove the dirty water and replace it with a bucket of fresh water, using hot water if possible. 
  • Mix in 2 capfuls of Resene Quick2Clean Paint Equipment. Flush through the unit until clean.
  • Mix a small amount of fresh water in a bucket with Resene Pump Protecta. Run through your unit.
  • Drop the pressure and store your unit.

Five ways to extend your tip life

  1. Spray at the lowest pressure that atomises the material.
  2. Strain the material before you spray it.
  3. Use the correct size filters.
  4. Clean the filters after every use.
  5. Clean the tip with a soft-bristled brush.

About MasterStroke by Resene
MasterStroke by Resene is here to help you master your paint and decorating DIY projects. Brush up on your skills with advice, tips and ideas from our trusted experts.

Check out the latest how-to videos on our YouTube channel.