How to

How to prep a room for wallpaper

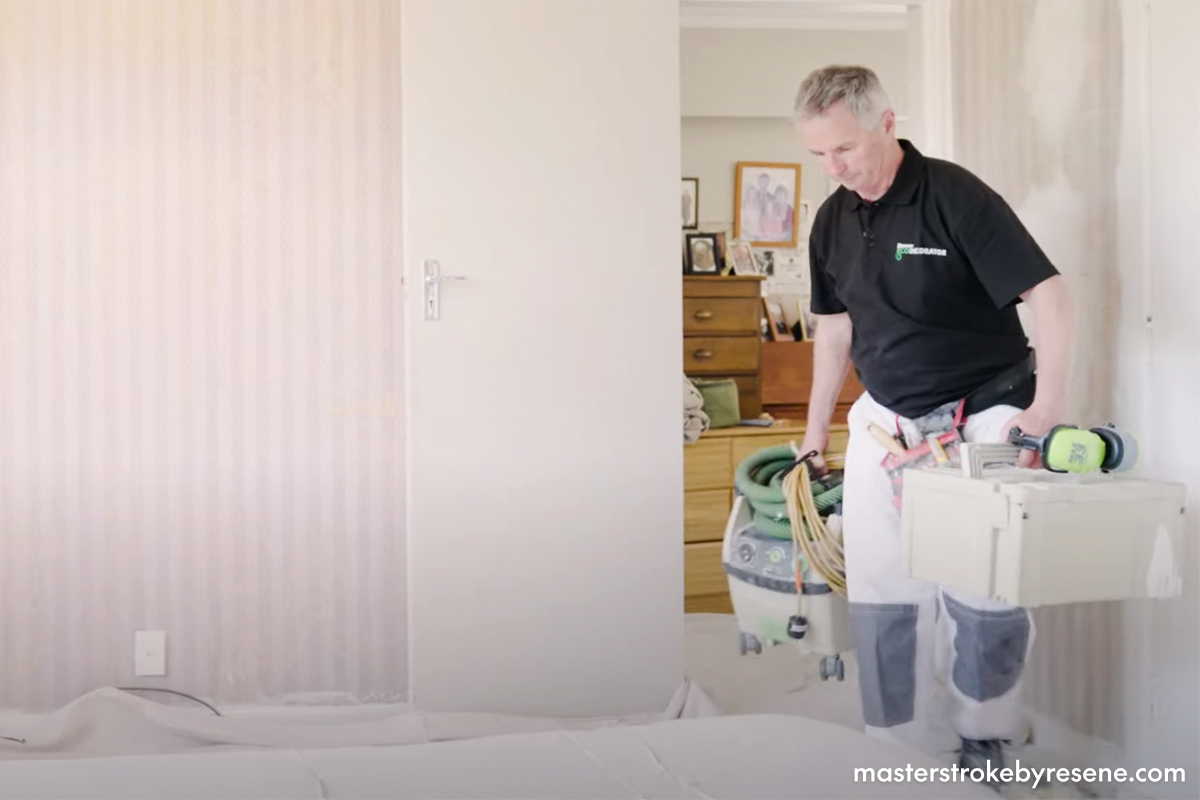
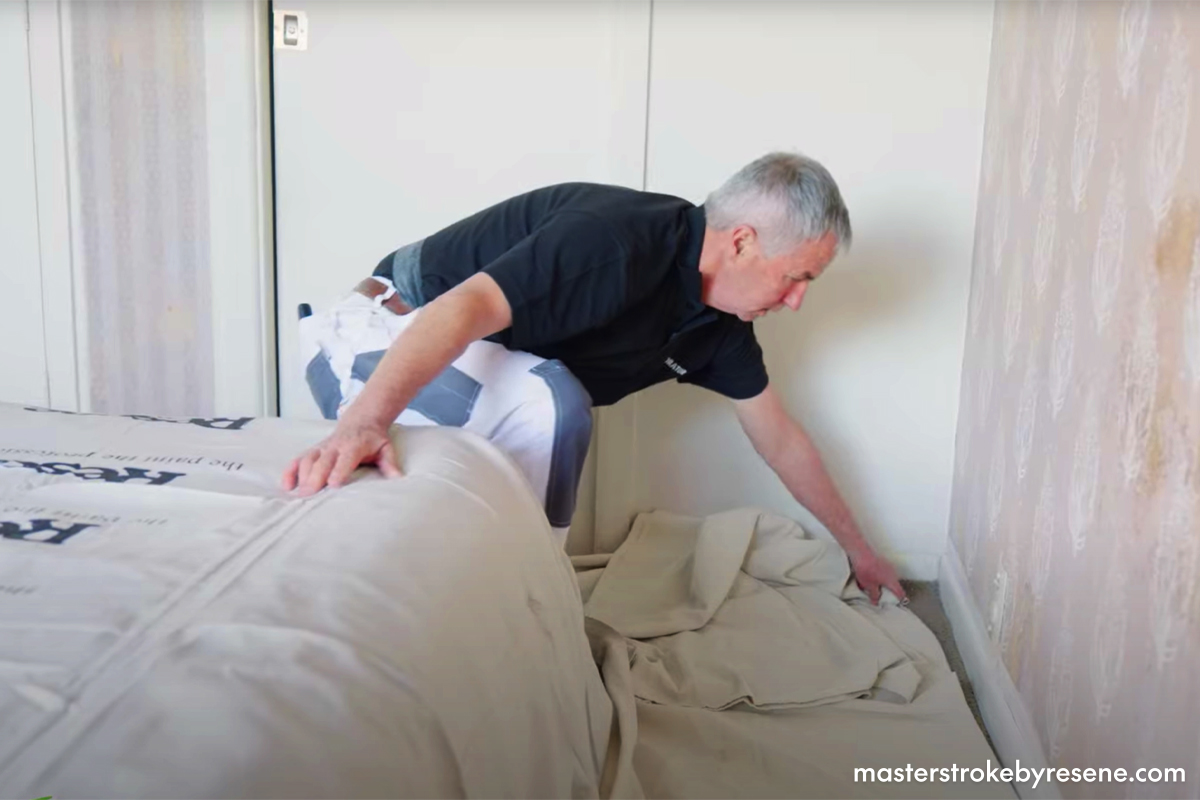
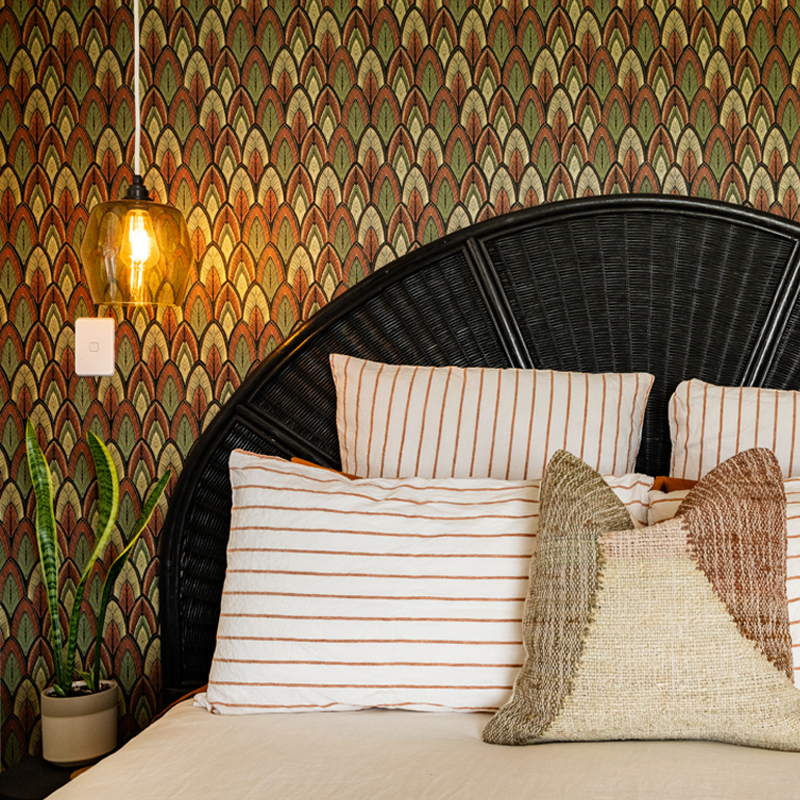
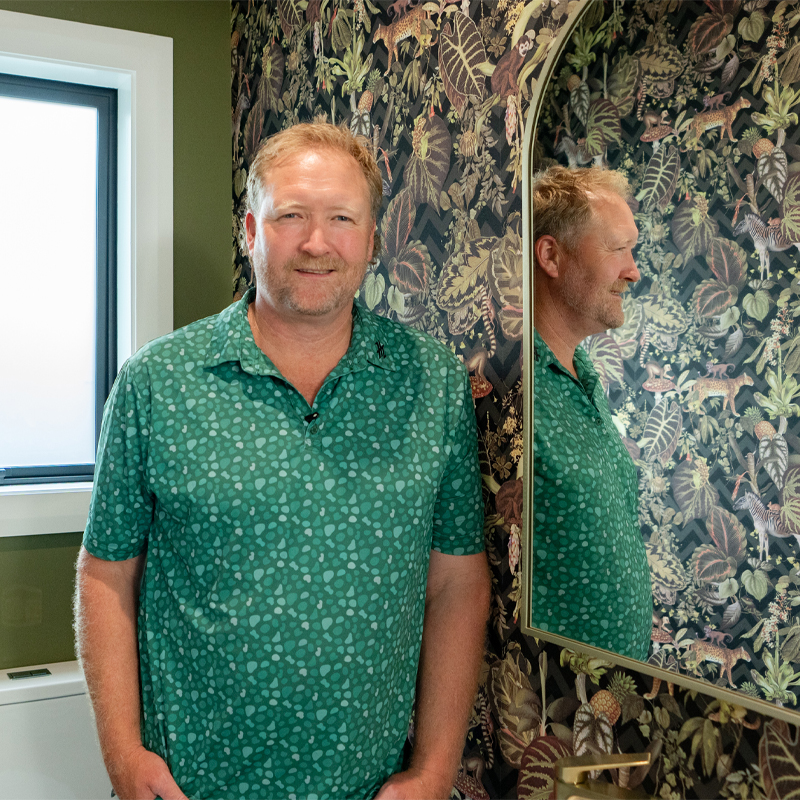
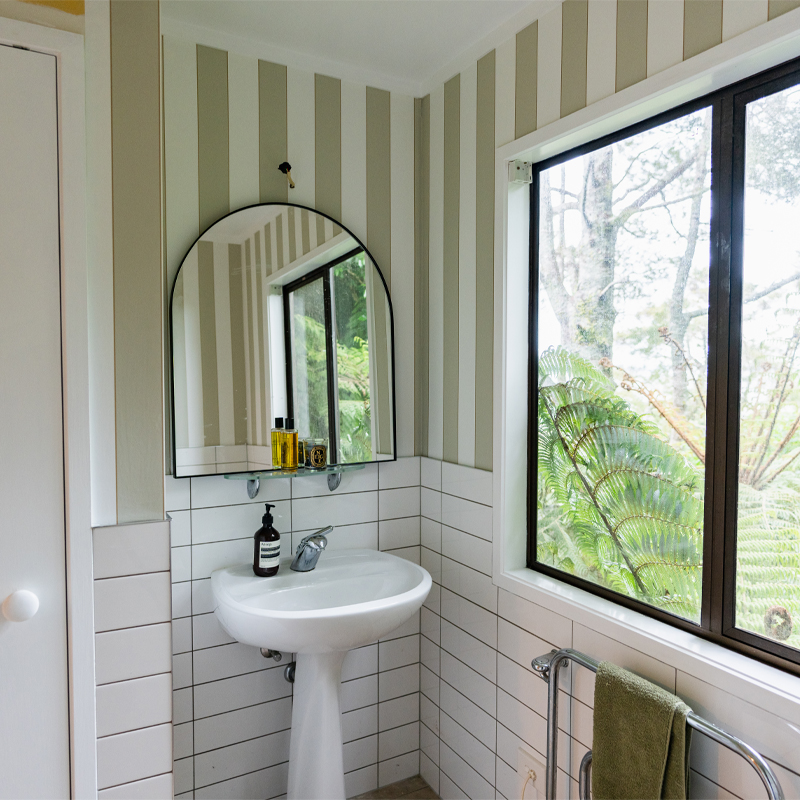
Wallpapering is a fantastic way of transforming, updating and achieving different textural effects in rooms. The ever-increasing variety of wallpaper textures, patterns and colourways makes it easier than ever to add a new element into your home. As with most projects, it pays to know what you’re doing before you start. This is where Resene Eco.Decorator Steve Flett comes in. He’s here to show us exactly what prep is involved when choosing to wallpaper a room, including what tools you’ll need and how to go about each task. 

Modern wallpapering

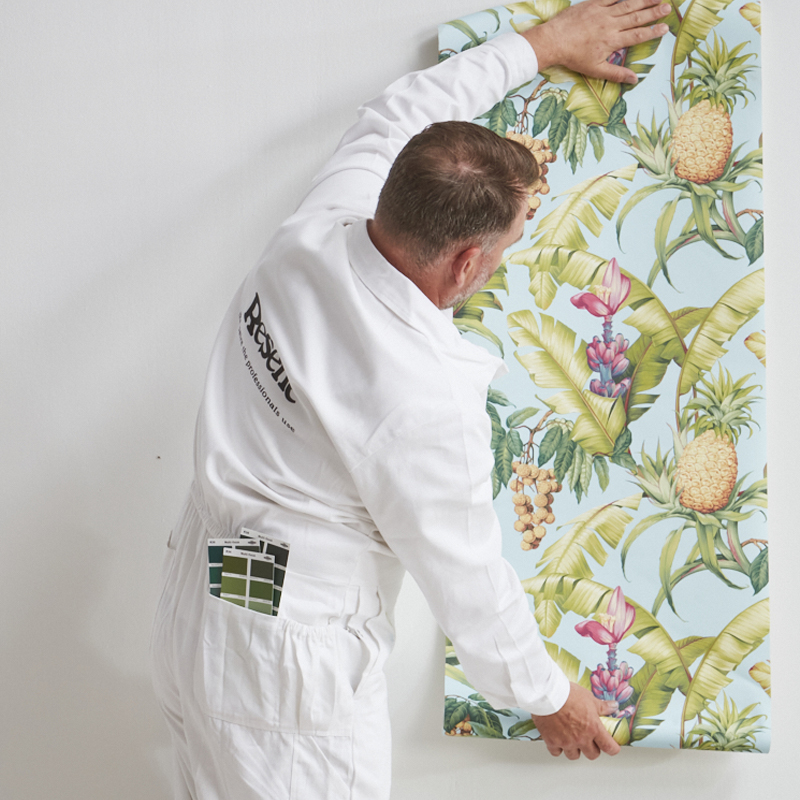
Wallpaper is easier to hang than ever before, and it’s not just the patterns and colours that have been brought into the present day. Previously, wallpapering meant cutting pieces of wallpaper to size, laying them and applying paste to each piece and also pasting the wall. The latest paste-the-wall wallpapers mean just that – you simply need to apply wallpaper paste to the wall. The advantage of this is you don’t have to measure each piece of wallpaper beforehand, you can just unroll the wallpaper down the wall, lining up the pattern as you go. 

What you’ll need to prepare your room for wallpaper

Here’s the list of Resene products Steve uses to prepare this room for wallpapering:

After laying down some drop cloths, Steve is ready to bring in all the tools and equipment he'll need to prep this room for wallpaper.

Protect at all costs

“The most important thing in decorating is covering things,” says Steve. This prevents dust and splatters damaging your furniture and ensures you’re able to leave the space as you found it once the work is complete. In this room, Steve covers the bed first with plastic drop cloths, then with Resene canvas drop cloths. The plastic layer adds extra protection from sanding dust, which can find its way through canvas. He then covers the floor, making sure to go right up to the skirtings for optimum coverage. 

Treat any mould

Because of our climate, mould is a very common occurrence inside homes. This can be minimised with proper ventilation to avoid condensation and ensuring there are no leaks. If you do find any mould in the room you’re planning to wallpaper, Resene Moss & Mould Killer will blitz it fast. You can decant it into a spray bottle which will make it even easier to apply. And remember, safety first! 

“When you’re using products like Resene Moss & Mould Killer, make sure you wear a mask and safety glasses,” says Steve. Give the patches of mould a spray to kill the mould so it won’t grow through your new wallpaper or paint.

Covering things is the most important part of a decorating job, according to Steve. For extra protection from dust, lay down a plastic sheet before a canvas drop cloth.
Treat any mouldy areas using Resene Moss & Mould Killer. Steve mixed his in a spray bottle for easier application.

Patchwork

The ceiling in this ceiling has a small hole in it, which needs to be patched up. Steve sands it using a vacuum assisted sander. “That’ll prepare that part of the ceiling until we seal it and replaster the hole,” he explains. He wipes off the sanding dust then fills the hole with Resene EzyFill Quick. When that’s dry he sands it again so it’s smooth and ready for painting. After any sanding, wipe down the skirtings, door and window trims with a clean, damp cloth.

Seal the deal

The walls in this room are going to be coated with Resene Waterborne Sureseal pigmented sealer. “The paper we’re going to be hanging is called ‘paste the wall’ and it needs that sealer underneath it to provide a good binder for it,” Steve explains. The sealer needs to be stirred well, then decant a small amount into a paint tray or paint pot. At this point Steve doubles over his drop cloths, to add another layer of protection from any spillage. He uses a roller with an extension pole to roll over the wall, then cuts in with a brush around the light fittings and switches. Steve’s top tip is to load the roller up as much as possible, which will make the job much easier and faster.

Fill and sand any cracks or holes in the ceiling, then wipe all the surfaces to remove sanding dust before doing the walls.
Steve is using a roller and extension pole to apply Resene Waterborne Sureseal pigmented sealer, using a paintbrush to cut in around the light fittings. If your old wallpaper is vinyl, use Resene Waterborne Vinyl Wallpaper Sealer instead of Resene Waterborne Sureseal. If the old wallpaper is peeling, it’s best to remove it.

Paint time

If you’re planning to paint areas like the ceiling, joinery and trims, now would be the time to do this, to avoid damaging any new wallpaper. Paint the highest areas first, such as the ceiling, then work your way down to windows and doors, finishing with the floor and skirting boards. Once that is all done, you’re ready to start wallpapering!

Resene Eco.Decorators

Curious about Steve’s title? The Resene Eco.Decorator programme has been designed to recognise a nationwide network of environmentally responsible, quality focused painting contractors. By choosing the services of an Eco.Decorator, clients have the confidence that the contractor is committed to sustainable principles in their work processes. Sustainable decorating is more than just choosing an Eco Choice-approved paint – it’s also making sure that it is applied in an environmentally responsible manner following sustainable principles.

About MasterStroke by Resene
MasterStroke by Resene is here to help you master your paint and decorating DIY projects. Brush up on your skills with advice, tips and ideas from our trusted experts.

Check out the latest how-to videos on our YouTube channel.