How to

Prep and paint a timber fence

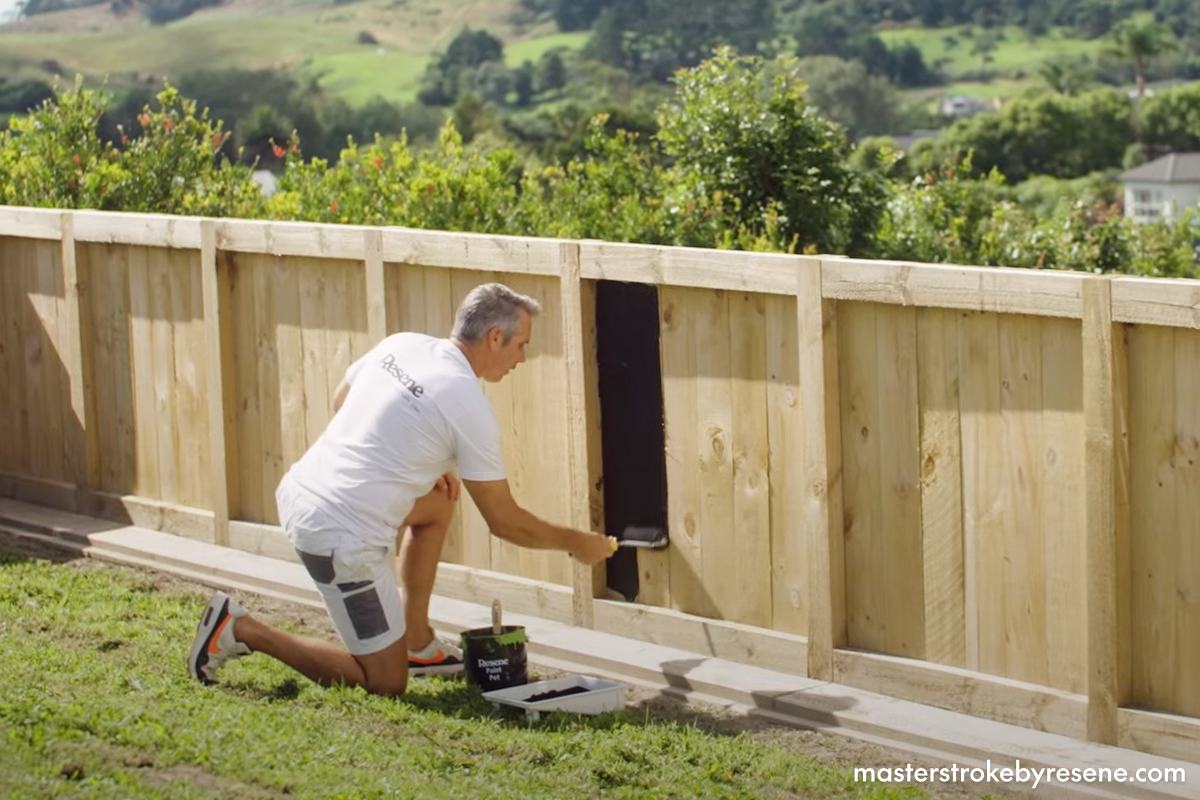
Like the bow on a present or a frame around a picture, a freshly painted fence is the finishing touch that will really elevate your home. Fences aren’t just for privacy or aesthetics, they’re a necessity for security and safety, helping to keep pets within your property and kids safe from swimming pools. It pays to look after this essential home feature, and luckily Resene is here to help you answer all your fence maintenance questions.

Which paint should I use?

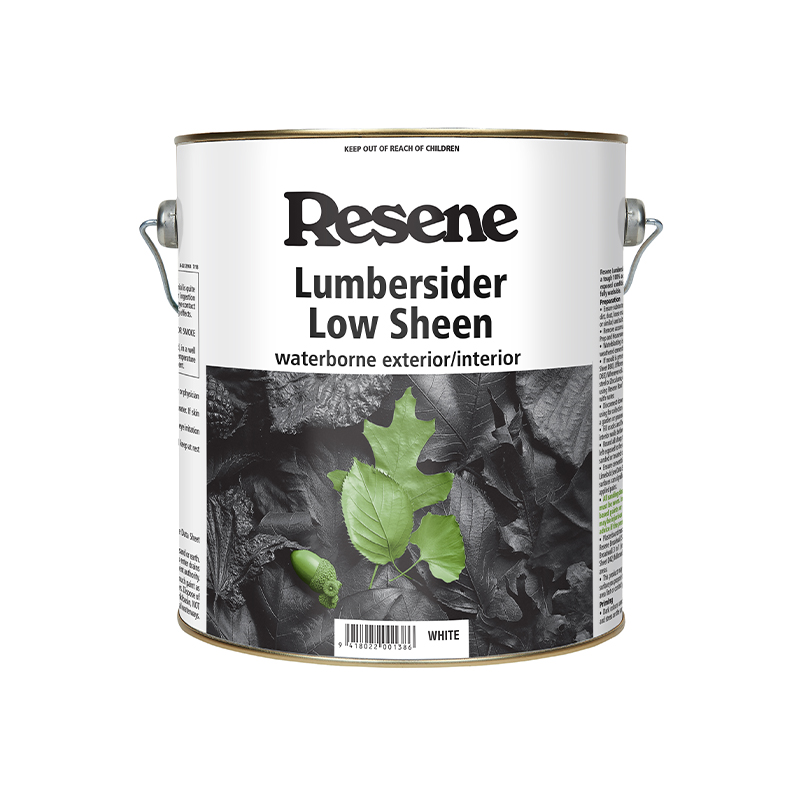
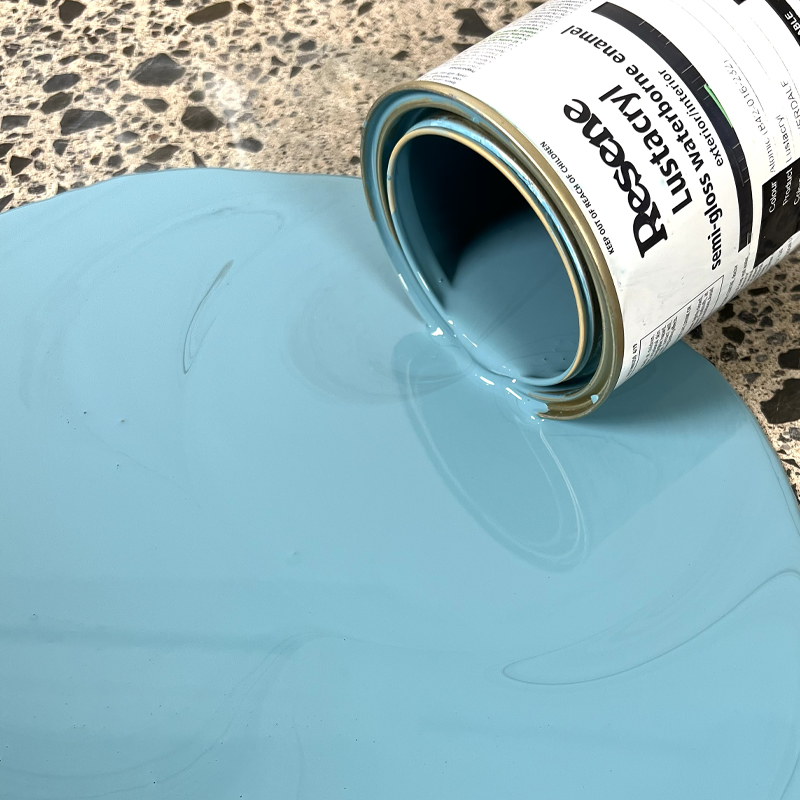
Resene Lumbersider Low Sheen is an ultra-durable paint recommended for exterior timber, including fences. Its long-lasting low-sheen formula will withstand harsh UV light, as well as wet and rainy conditions. For a higher sheen semi-gloss finish, try Resene Sonyx 101. Or for a lower sheen, try Resene Lumbersider Matt.

To achieve a more natural look, consider using stain instead of paint. Resene Waterborne Woodsman is a semi-transparent product that allows the natural grain of the timber to show through. 

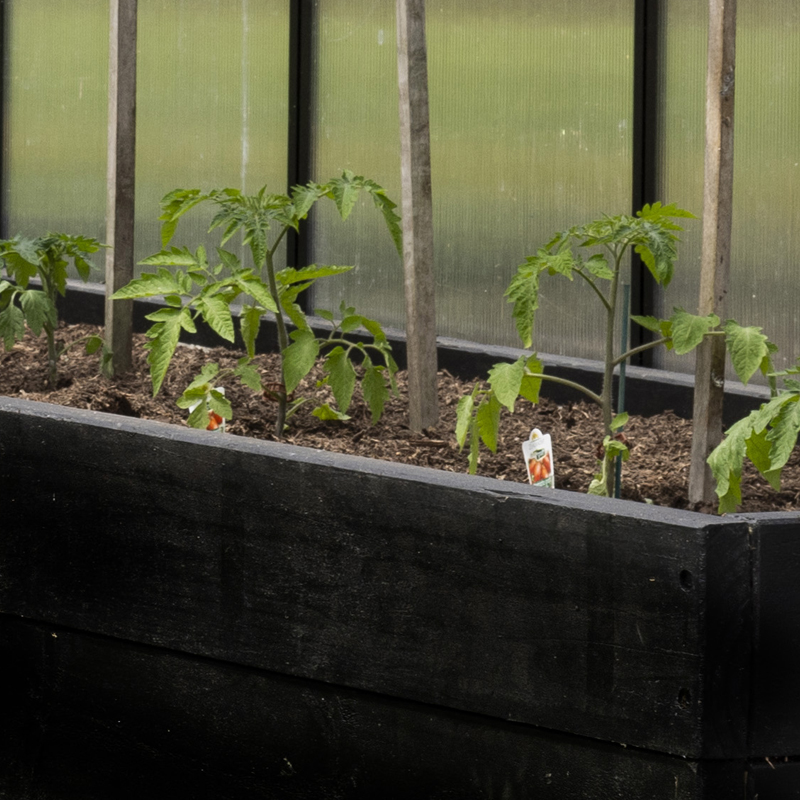
If you want to paint or stain your fence in a modern dark colour – such as Resene Ironsand or Resene All Black – go for a Resene CoolColour formula. Resene CoolColour paints contain special heat-reflective pigments which stop dark colours from getting too hot in the sun, preventing your timber from heat damage and warping. 

Cement or brick fences can be painted with Resene Lumbersider or Resene Sonyx 101 as well, but if the fence is plaster or render, or if waterproofing is a concern, use Resene X-200 acrylic weathertight membrane instead.

If you choose to use paint on your fence, Johnny recommends the Resene Fence and Deck Roller Kit as the 150mm roller is the perfect width for most fence palings. Johnny is using Resene Lumbersider Low Sheen in Resene Pitch Black.
Applying stain with a paintbrush makes it easier to work the product into the timber grain. Johnny is using Resene Waterborne Woodsman penetrating oil stain in Resene Pitch Black.

What if my fence is old or damaged?

As with any DIY project, a good result comes down to prep work. Before painting, treat the timber with Resene Moss & Mould Killer. Apply with a garden sprayer and allow it to soak in for 48 hours before scrubbing and rinsing clean. If left untreated, mould and moss can damage timber and penetrate the new paint film, affecting the look of the paint.

Once the mould has been treated, wash your timber fence with Resene Timber and Deck Wash. You also may need to sand off any flaking paint or timber splinters.  If you have a metal finish, use Resene Roof and Metal Wash instead of Resene Timber and Deck Wash.

If your fence is extremely weathered you may need to apply spot treatments of Resene TimberLock, a wood preserver and conditioner designed to protect timber from further damage. Resene TimberLock can even regenerate wood fibres that have been laid bare by UV and water, rebuilding them into a wood-like material. 

If your fence is very weathered or is built from rough sawn timber, you may require more paint than on smooth planks. Rough sawn timber can use 30 to 40 per cent more paint than flat timber. While it’s not 100 per cent necessary to prime your fence before painting – Resene Lumbersider is designed to adhere directly to timber – a coat of Resene Quick Dry waterborne primer undercoat will make paint application easier and may mean you require fewer coats of paint.

If your fence isn't brand new, you'll need to give it a good clean before painting or staining. Treat the timber with Resene Moss & Mould Killer, then wash thoroughly with Resene Timber and Deck Wash.

What’s the best technique for painting a fence?

Once you’ve done your prep, it’s time to start painting. Follow these steps.

1. Give your Resene paint a good stir before pouring into a paint pot or roller tray.

2. Use a cutting-in brush to paint between the fence posts and the top and bottom of each plank.

3. Next, choose whether you’d prefer to use a paintbrush or a roller. If choosing a paintbrush, use the largest you can manage – a 75-83mm Legend brush is ideal if you are strong and do a lot of DIY work, but if you are less experienced try a lighter brush such as a 63-75mm Legend brush. Brushing may take longer than a roller, but can lead to a better finish as the bristles will help guide the paint into the grain of the timber.

If you’d prefer to use a roller, choose the Resene Deck and Fence roller kit, with a Resene #15 roller – its 150mm nap is ideal for rough surfaces.

4. Start painting the main face of your fence. Use the brush or roller to paint the fence in long strokes following the grain of the timber. Remember to maintain a wet edge, and not allow the paint to dry before the next stroke is applied.

A good technique when using a paintbrush is to move your wrist rather than your arms and shoulders, and to hold the brush at a 45-degree angle to the surface.

5. Allow the paint to dry before applying a second coat. If necessary, apply a third coat.

Top tips:

  • If you’re painting in summer, try and paint out of the sun.  Start early and in the shade and work your way around your fence as the sun moves.  Take a break in the hottest part of the day.
  • Waterborne paint will dry faster when it is hot.  Add Resene Hot Weather Additive to your paint to show the dry time down so you have more time to get a smooth finish.

Getting a professional-looking finish is all about technique – apply plenty of stain to your brush, then work it into the grain of the wood. Johnny's fence is stained in the colour Resene Pitch Black.

How long will the paint last?

A fence painted using Resene products should not need to be repainted for at least seven years, but in many cases it will last much longer. Resene Woodsman wood stains will require reapplication after two years, however the staining process is much quicker than painting so it’s an easier job in the first place. Resene makes many low-VOC waterborne paints such as Resene Lumbersider that are incredibly durable.

While it might be tempting to buy cheap paint, it’s a false economy – while you may save money initially, the job will need to be redone much sooner, costing you more in the long run, and chances are you’ll have to apply more coats so you will end up using more paint than you expect and taking up more of your time.

You can help your fence finish last longer by spraying on Resene Deep Clean once or twice a year and then leave it and nature to keep the surface cleaner – no scrubbing needed!  Use the trigger version and attach it to your hose for quick application to your fences.  You can do your paths and driveway at the same time too.

About MasterStroke by Resene
MasterStroke by Resene is here to help you master your paint and decorating DIY projects. Brush up on your skills with advice, tips and ideas from our trusted experts.

Check out the latest how-to videos on our YouTube channel.