How to

How to fix a sticking door

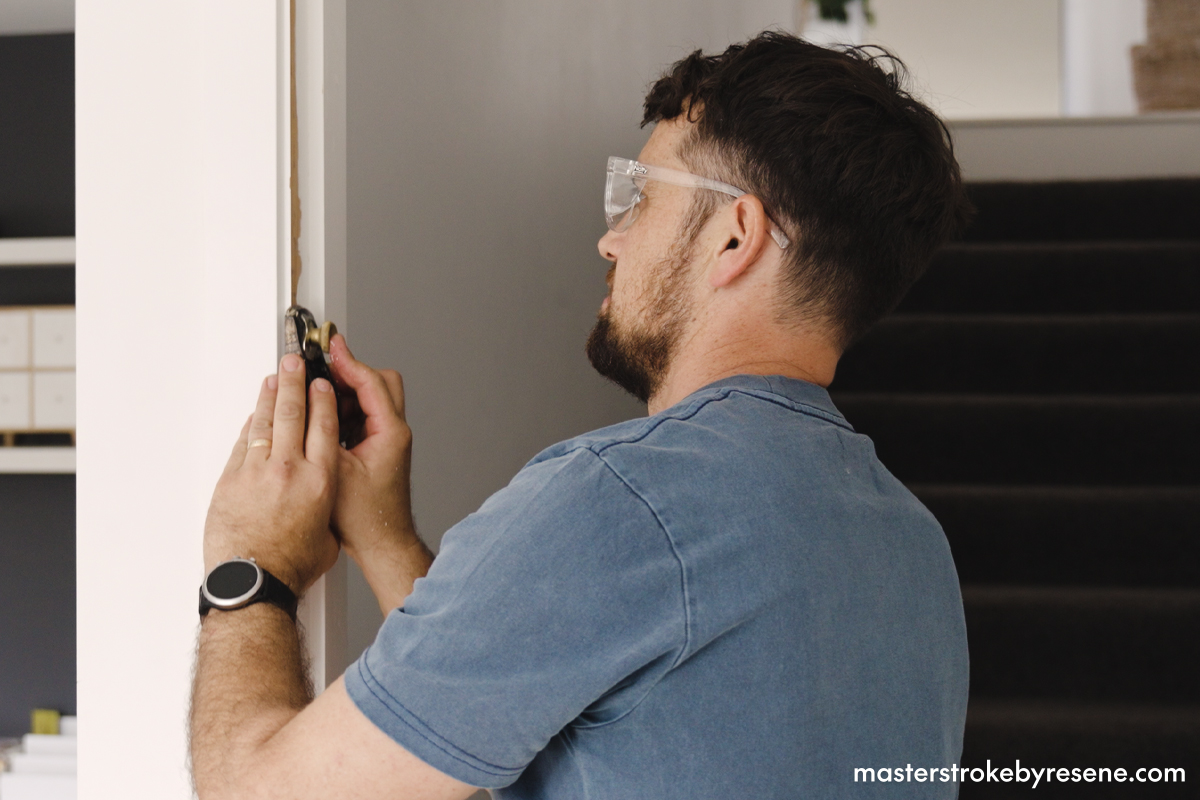
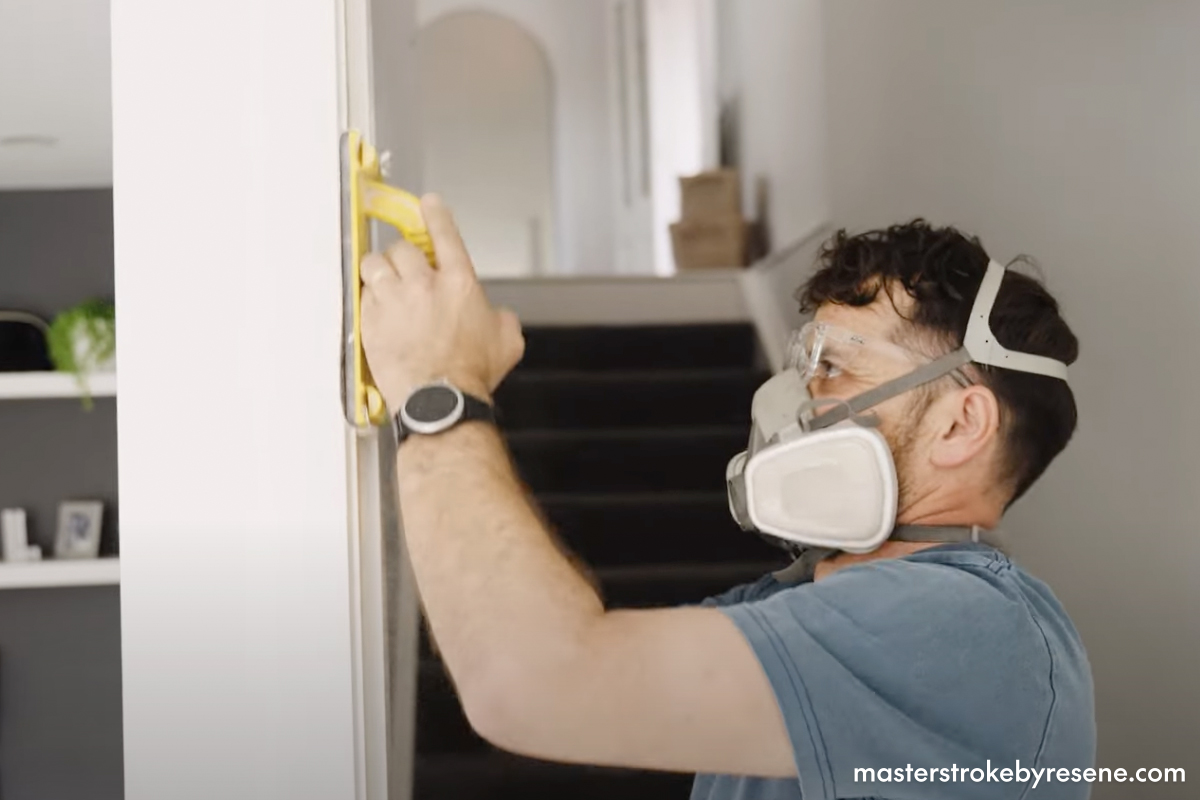
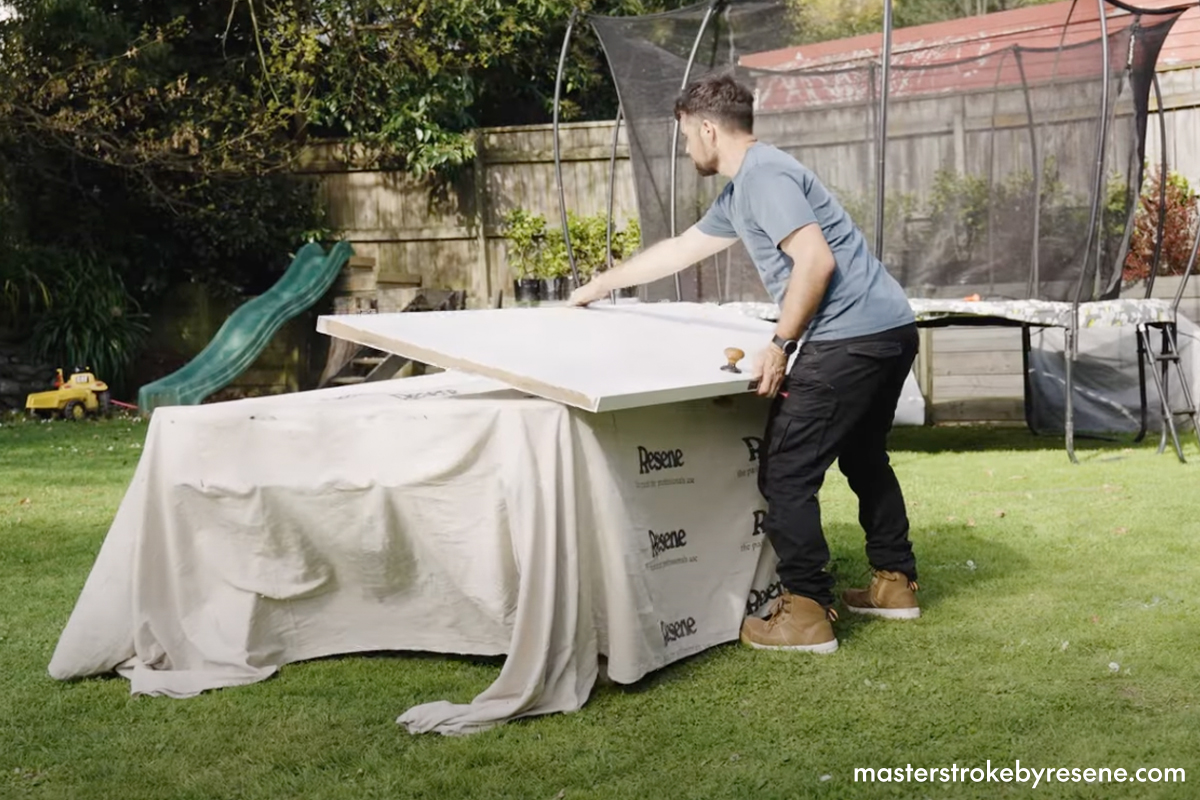
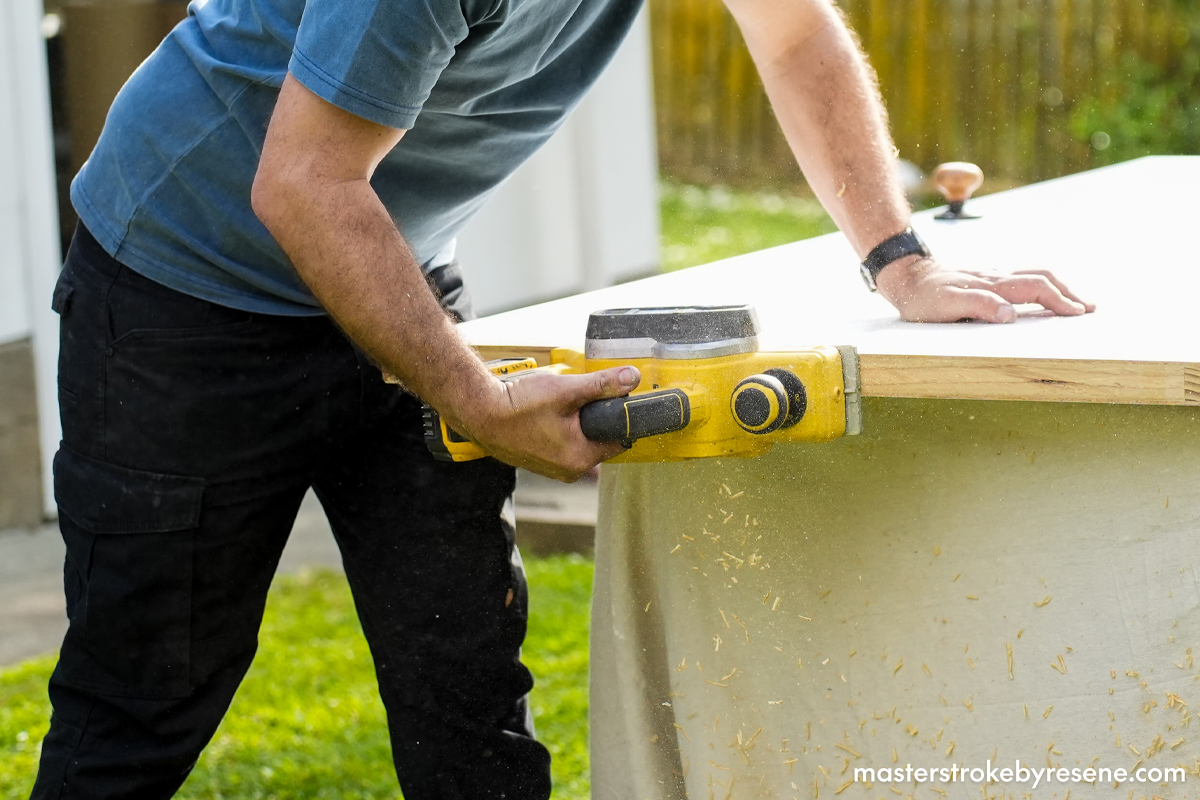
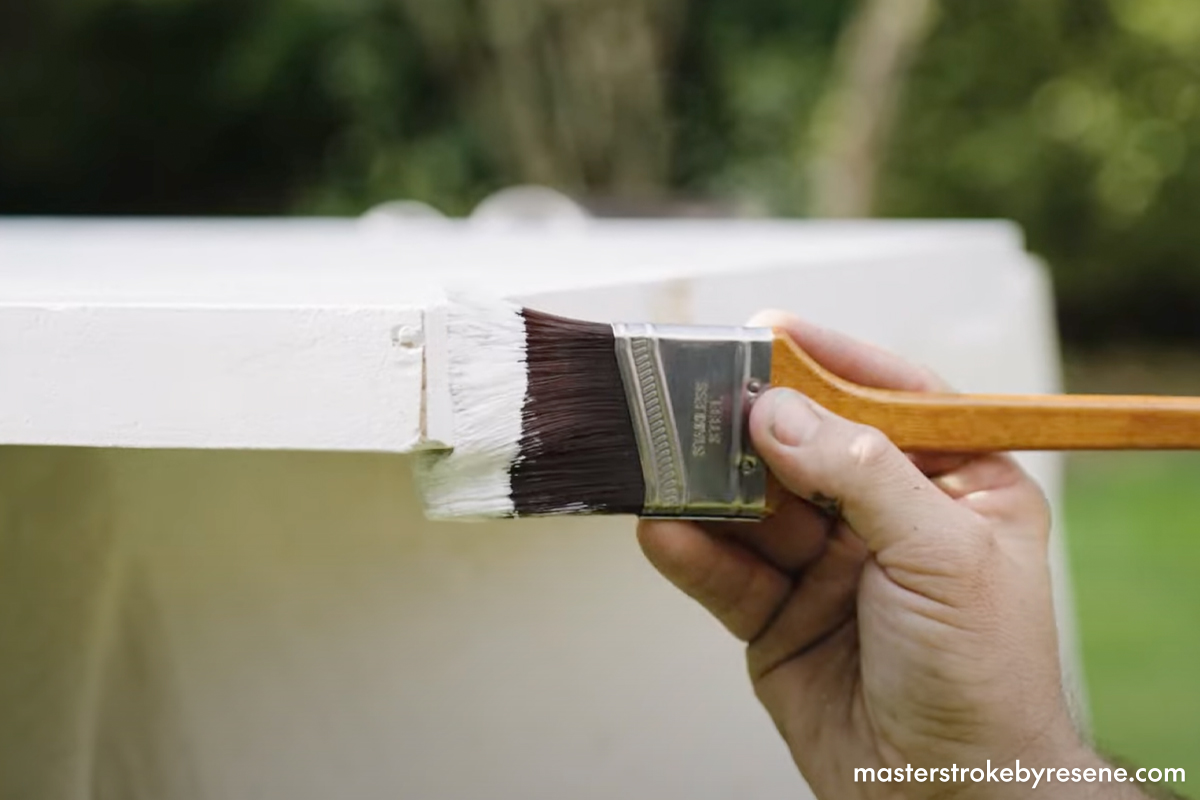
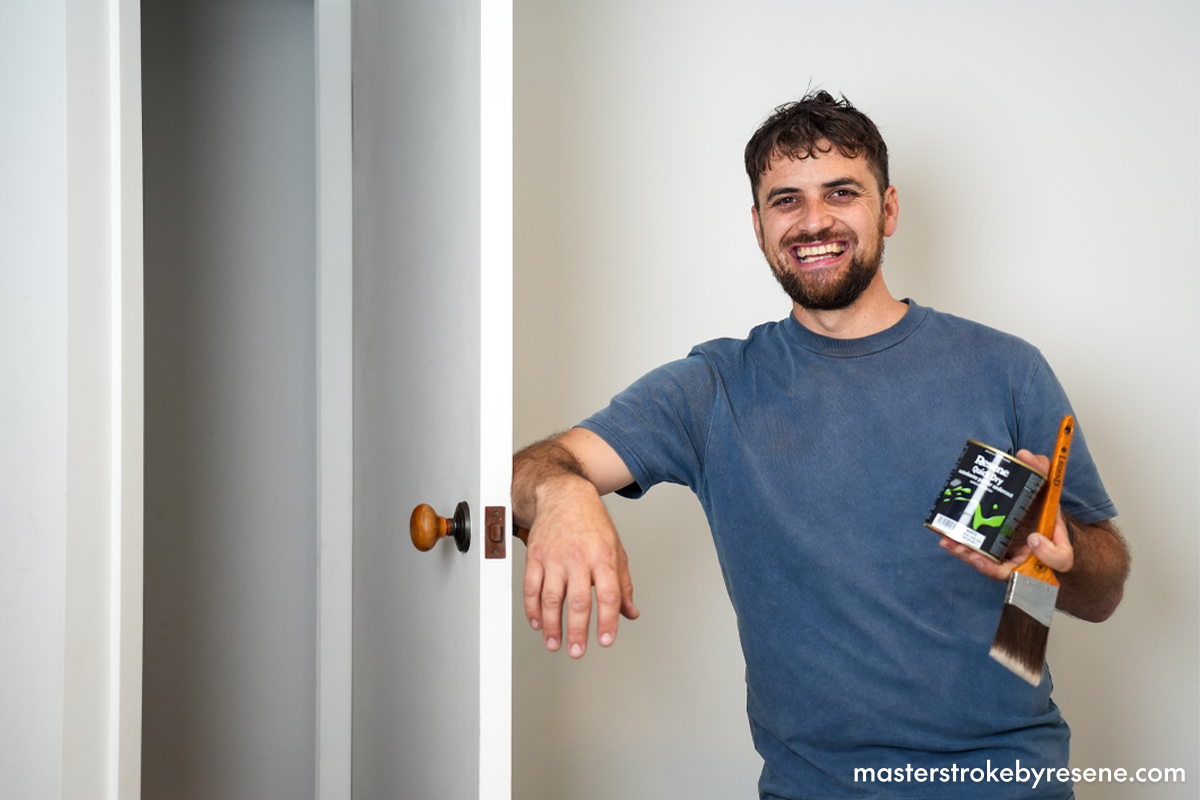
Doors are a regular fixture in our homes, but over time they can start to stick and not open and close as seamlessly as they once did. In this Weekend DIY Fix video, qualified builder Chris Donnelly shows you how to fix a sticking door at your place, without the need to call in a handyman. 

While it may not feel like an urgent job in the scheme of things, a sticking door may start to prematurely wear down the carpet it’s rubbing on beneath. It’s also important to keep on top of your home maintenance and this job will only take a few hours. Just follow these step-by-step instructions and your door will be swinging again with ease.

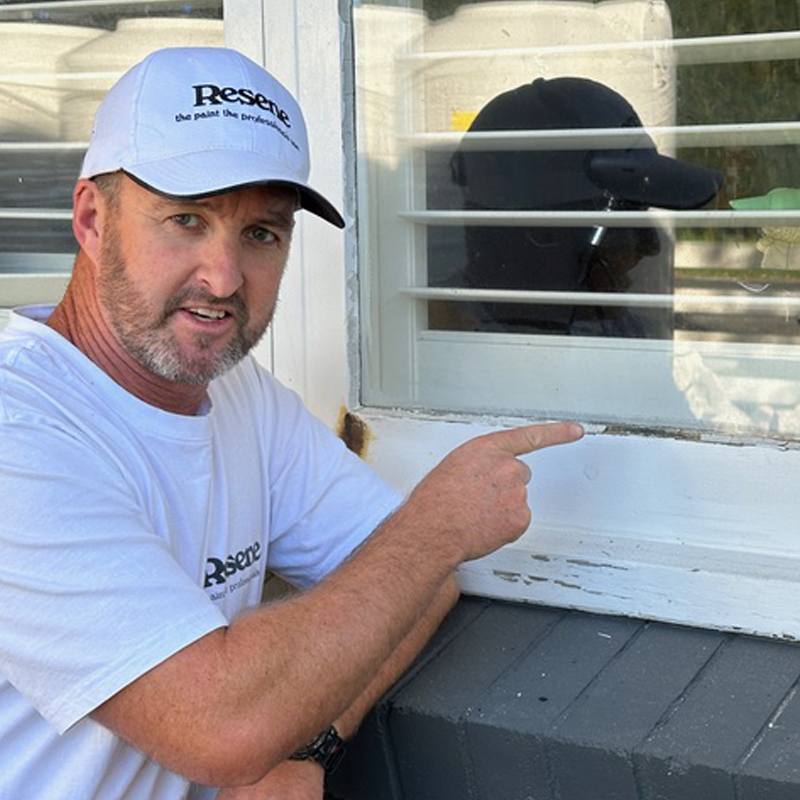
As well as doors, windows can also get stuck. Click here for Chris’ guide on how to fix a stuck window quickly and easily.

  • Pencil
  • Wood planer
  • Sandpaper
  • Safety gear (mask, goggles)
  • Small wedge (optional)
  • Hammer (for pin hinges)
  • Drop cloth
  • Resene Quick Dry waterborne primer undercoat
  • Paintbrushes
  • Resene Lustacryl semi-gloss waterborne enamel (Chris used Resene White)

1

Find the sticking point

Identify exactly where your door is sticking by opening and closing it a few times. Chris’ door is sticking in two places: at the bottom on the carpet and further up against the jamb. Using your line of sight, figure out how much of the door needs to come off. Use a pencil to mark out these spots on the door.

2

Plane the jamb

Start by planing the jamb, being very careful not to press too firmly and remove too much of the wood. You’ll be repainting later so, don’t worry about stripping the paint off at this stage. Working in upward strokes, plane the jamb until the door opens and closes easily. Take care not to remove too much.

3

Sand

Once you’re happy with the operation of the door, give the area that you’ve planed a light sand to smooth the sharp edges, then wipe away the sanding dust. Make sure to wear your safety gear when you do this.

4

Remove the door

If your door is sticking along the bottom edge, you’ll need to remove to plane it. 

Right before you do this, slide a small wedge underneath the door. This helpful hack means that when you undo the hinges, the door won’t drop down.

Chris’ door has loose pin hinges – to remove them, all you need to do is tap them gently from beneath with a hammer.

5

Get ready to plane

Carry your door outside and place it on a table covered with a drop cloth. Measure a straight line along the bottom between your two pencil marks, then you’re ready to plane.

6

Plane the door

Start at one end so you avoid chipping out the end grain, then plane along the whole edge. Check that it’s square, then use a block plane to get rid of the sharp edges. 

Top tip: Always plane the end grain with a slight sideways motion.

7

Prime and paint

Apply a coat of Resene Quick Dry primer with a quality paintbrush. Then go back inside and apply a coating of primer to the jamb. 

When the primer is dry on both surfaces, apply two coats of your Resene topcoat. Chris used Resene Lustacryl semi-gloss waterborne enamel in the colour Resene White. Allow dry time after each coat.

8

You're done!

Now reattach your door and marvel how it swings open and shut with ease.

Essential safety gear

Investing in quality safety gear means you’re properly protected for all your projects at home. Look after it properly and you’ll have it for years to come. Here’s a list to get you started – you won’t need the full kit every time, but it’ll have you covered for most different DIY jobs. 

  • Overalls – to protect your good clothes from splatters. 
  • Shoe protectors – not only to protect your shoes but to stop you from treading paint into flooring.
  • Dust mask – essential for when you’re sanding and removing flaking paint. 
  • Goggles – a must-have when you’re painting a ceiling and when sanding or removing flaking paint. 
  • Sunglasses – for painting outside as fresh paint can be extra glary in the bright sun. 
  • Ear protection – ideal when sanding or using power tools. 
  • Chemical resistant gloves – when using cleaning products.

For more about must-have safety gear, click here.

About MasterStroke by Resene
MasterStroke by Resene is here to help you master your paint and decorating DIY projects. Brush up on your skills with advice, tips and ideas from our trusted experts.

Check out the latest how-to videos on our YouTube channel.