DIY projects

How to repair a stuck window at home

Many neighbourhoods are filled with lots of classic character homes, which have traditional timber joinery. While the look is timeless and undeniably charming, more often than not you’ll run into the odd issue with them at one stage or another – the most common being a stuck window. The good news is that these minor problems are easy to sort out and it shouldn’t take you long to repair the window yourself.  

Windows can get stuck for a few reasons, such as the age of your home, structural issues or too many layers of paint. Weather conditions can also contribute – moisture in the air can cause the timber to expand and contract, which can subsequently cause sticking.

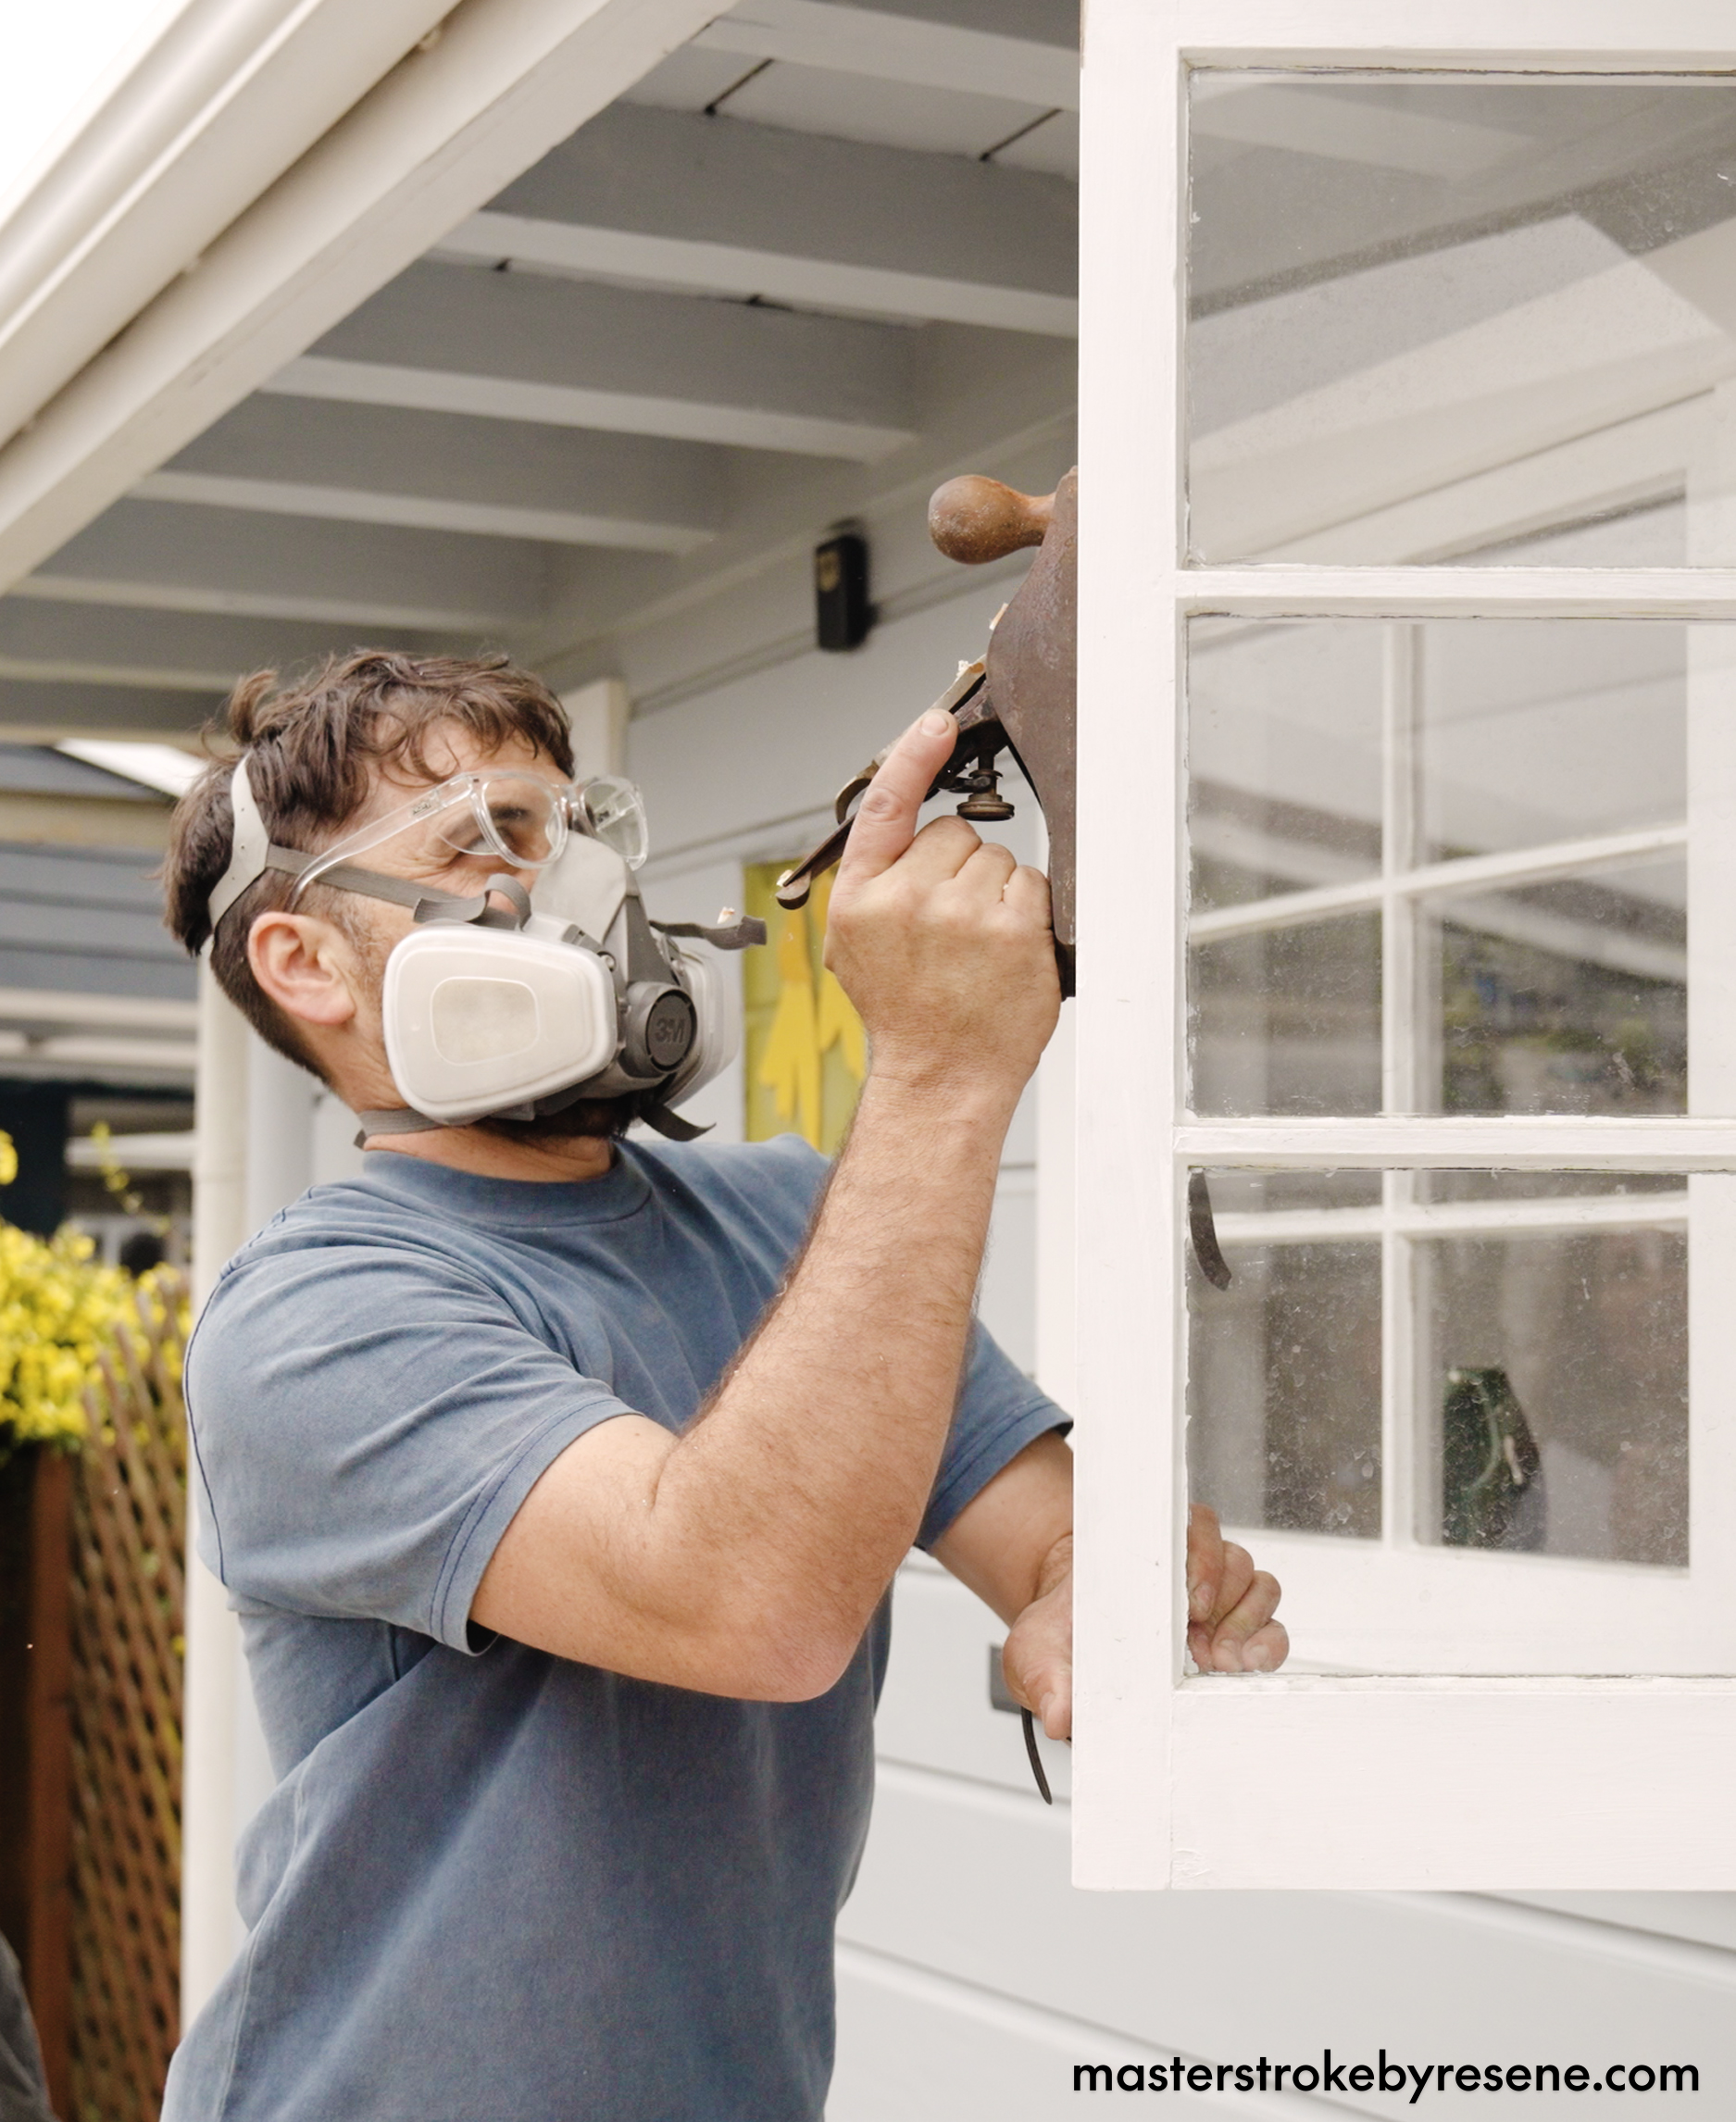
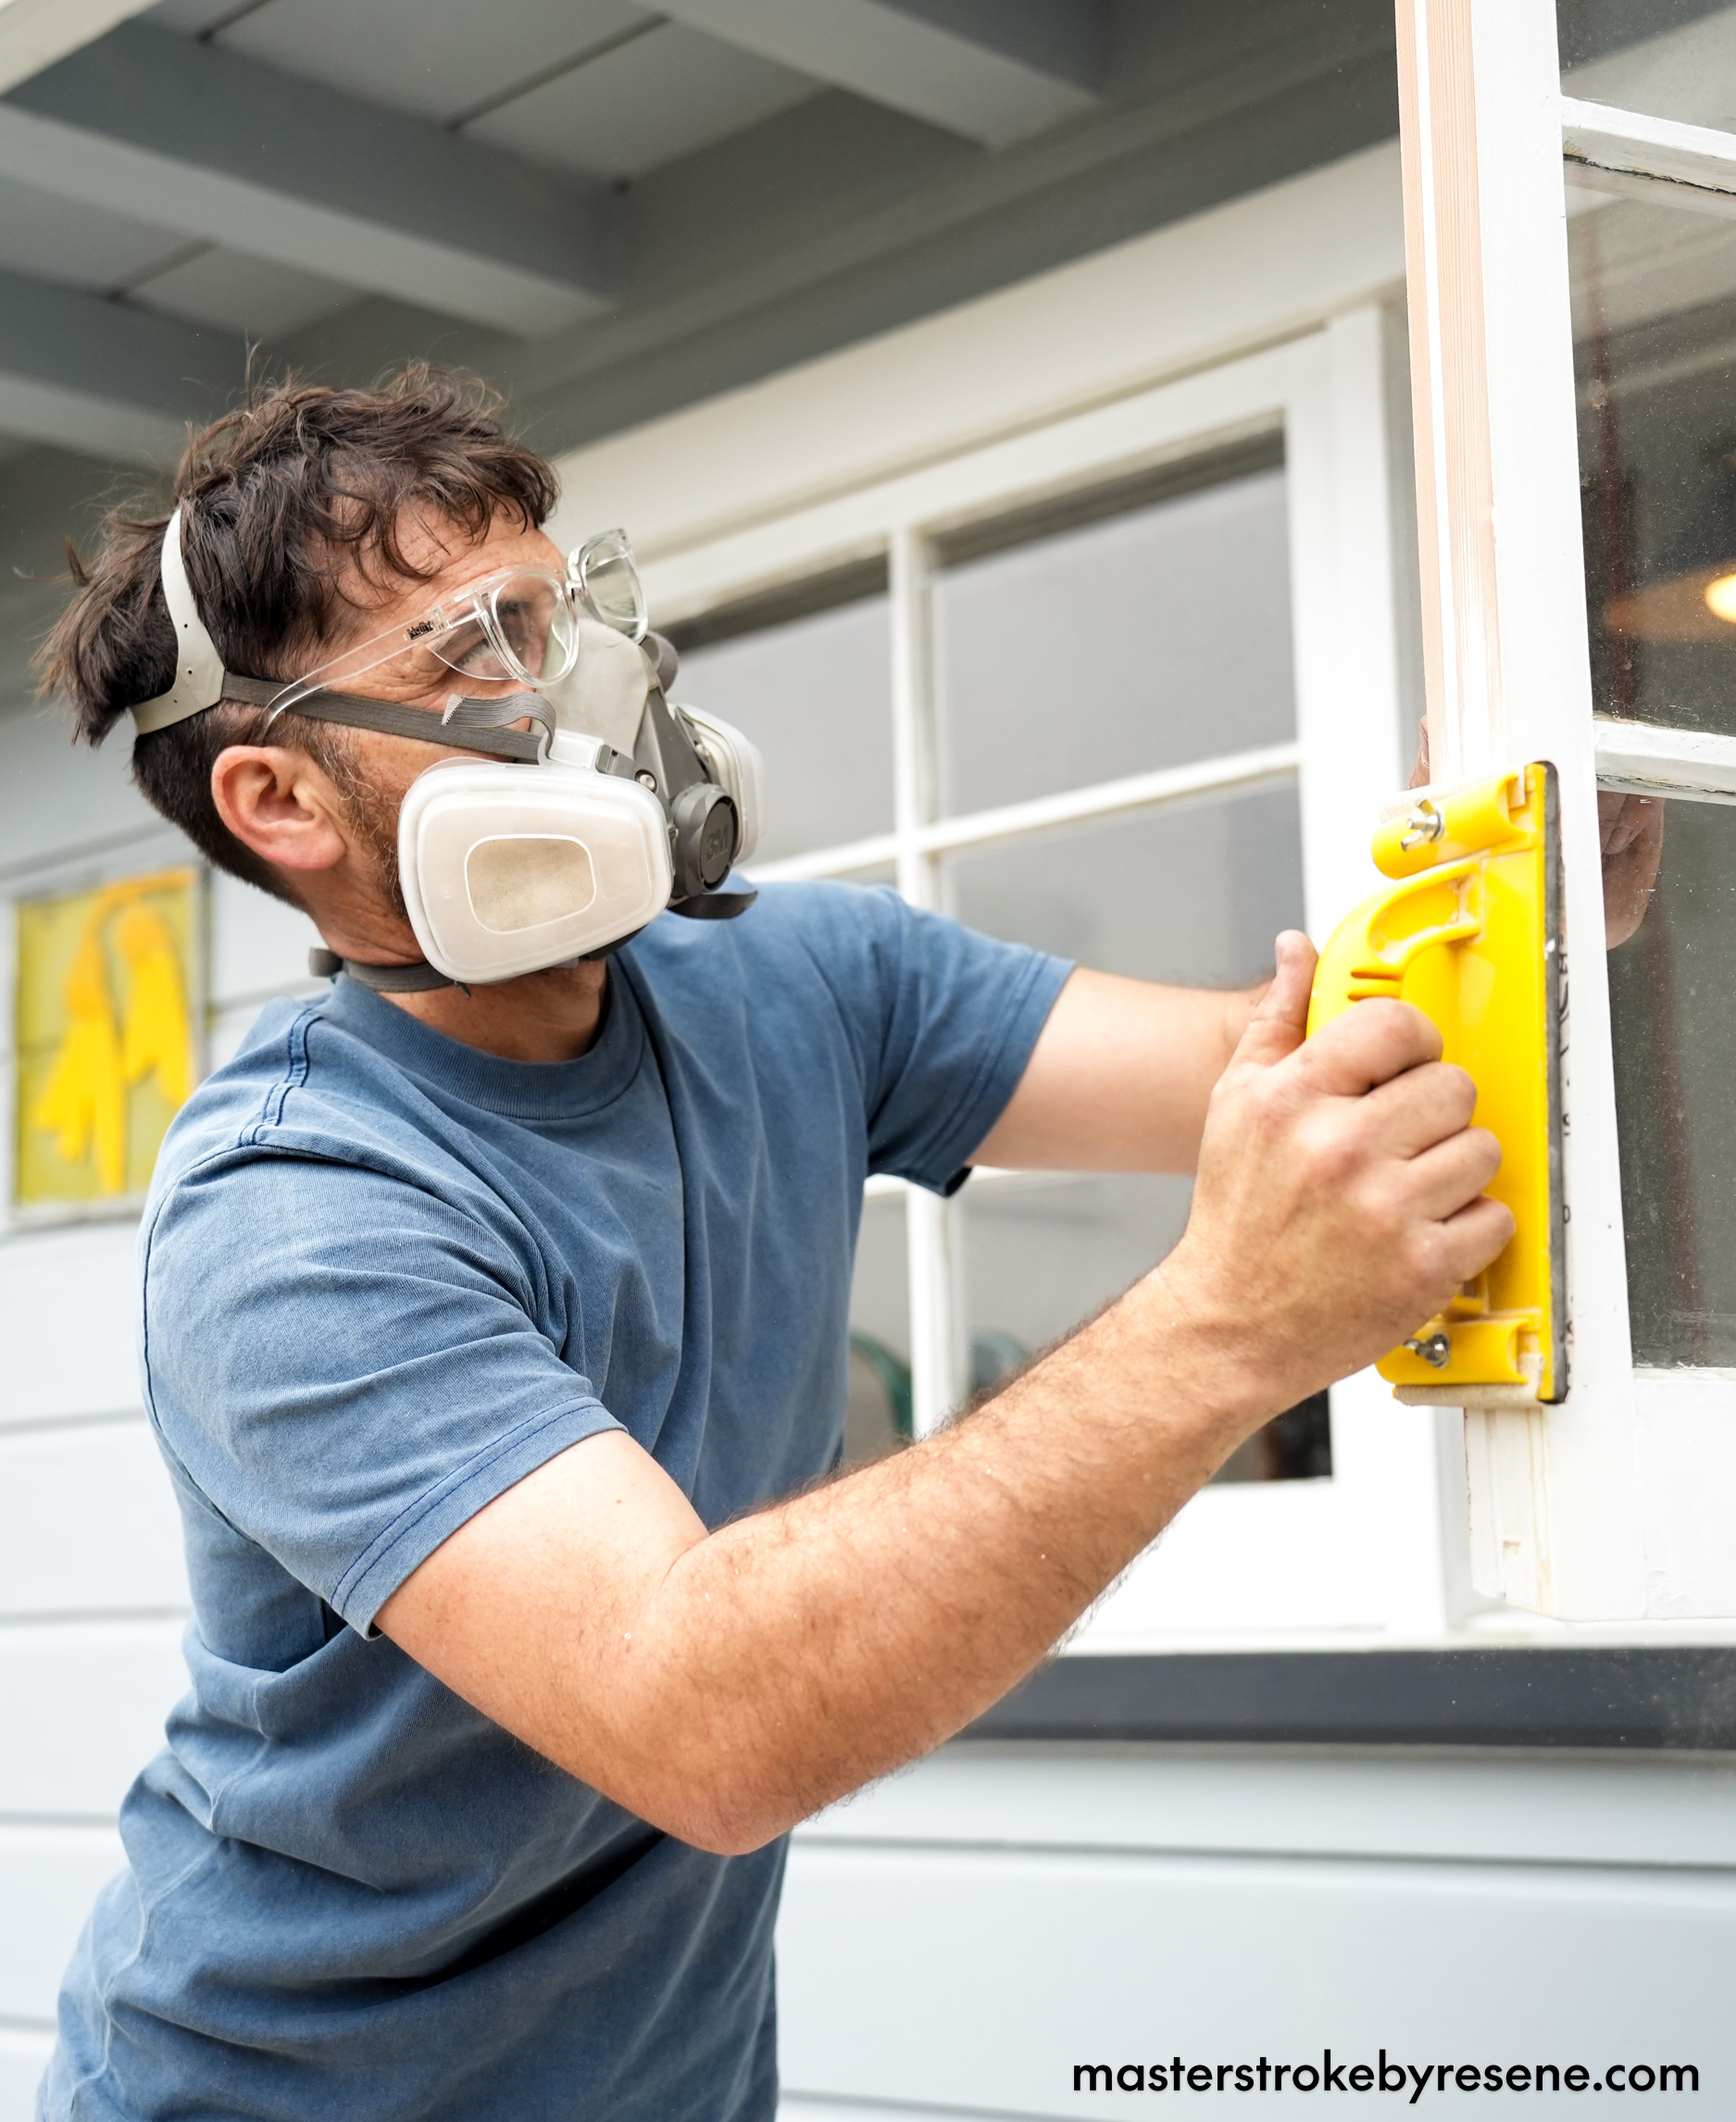
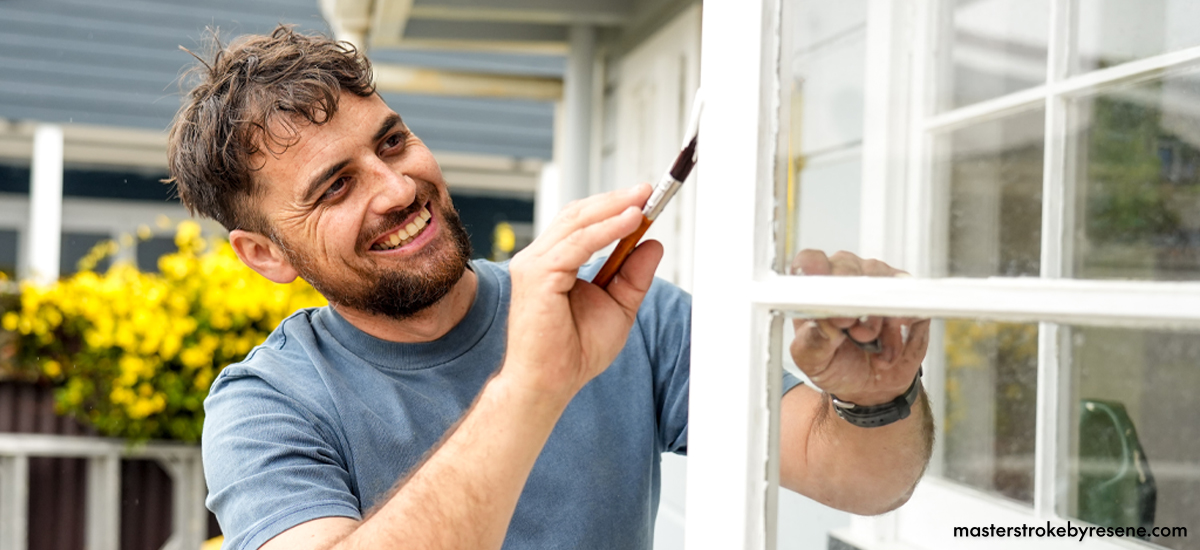
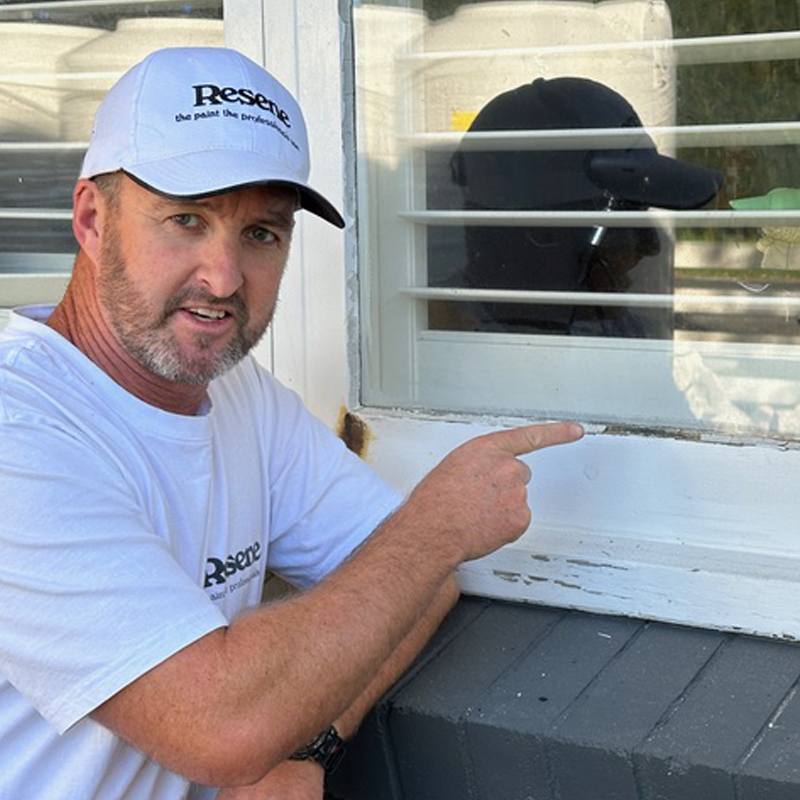
In this Weekend DIY Fix video, builder Chris Donnelly shows you how to identify the issue, how to solve it and repair a sticking window yourself. The process involves using a planing tool to slightly reshape the window, then restoring the look with a coat of Resene paint.

The trick to unstick

Firstly you need to identify exactly where your window is sticking. Once you’ve figured that out, put a pencil mark in the spot then use a measuring tool to draw a line down from the pencil mark – this will be the guide to show you exactly where you will use your plane. A planing tool is used to flatten, smooth and shape a wooden surface by shaving it down.  

“Window edges are not perfectly square,” Chris explains. “They have a relief angle, otherwise they wouldn’t shut at all.” When you’re planing, identify that angle and try to follow it. Plane in an upwards motion and keep checking your progress by opening and closing the window to make sure you’re not taking too much off. “It’s a fine line and you don’t want to cross it,” says Chris.

Find out exactly where the window is sticking and mark it with a pencil.
Use your planing tool in an upwards motion to gently remove the area of the window that is sticking. Remember to wear your protective mask and glasses when both planing and sanding.

Fresh outlook

Once you’re happy with the movability of your window, it’s time to get it looking perfect again. Use a hand sander to smooth any sharp edges created during the planing process. Always remember to wear protective glasses and a mask when planing and sanding. After sanding, wipe down the area thoroughly with a damp cloth. This is a crucial step, as any residual sanding dust left on the surface can adversely affect the finish of the Resene primer and paint you’ll be applying over the top.

Now it’s time to prime, using Resene Quick Dry waterborne primer undercoat. This is ideal for timber windows as it can be used for both interiors and exteriors. Use a good quality brush to apply it, such a PAL Legend Angle Brush. Using a brush like this will ensure the best finish possible for both your Resene primer and paint.

Once you’re happy with your window’s flexibility, use a hand sander to smooth down any rough edges and prepare the surface for priming and painting. Remember to wipe off the sanding dust with a damp cloth.
Apply Resene Quick Dry primer, this is ideal for timber windows as it can be used for both interiors and exteriors.

One the Resene Quick Dry has dried, apply two coats of your topcoat. Chris is using Resene Lustacryl semi-gloss waterborne enamel in the colour Resene Black White. As Chris explains, “You need a waterborne enamel paint for your windows because it has block resistance so it won’t stick to itself when it’s dry.” 

Give the paint a good mix with a paint stirrer and then decant a small amount into a separate paint pot. This will make it easier to hold while you’re paining the window. It will also help keep your paint in your original paint can free of contaminants from the window. Make sure you leave your window to dry before closing it.

Once you’ve completed this window repair process, you will have a window that opens and closes with ease.

Chris applied two coats of Resene Lustacryl in Resene Black White. You need a waterborne enamel for your windows because it has block resistance, so it won’t stick to itself when it’s dry. If you prefer, you can use a traditional solventborne enamel such as Resene Super Gloss, for a high gloss finish.

About MasterStroke by Resene
MasterStroke by Resene is here to help you master your paint and decorating DIY projects. Brush up on your skills with advice, tips and ideas from our trusted experts.

Check out the latest how-to videos on our YouTube channel.