How to

How to fix a rotten timber window frame

Many homes in our part of the world have timber joinery and while their character is undeniably classic and elegant, the harsh elements are often not kind to them. Replacing windows can be an extremely costly exercise, so the good news is that you can repair rotten patches instead. 

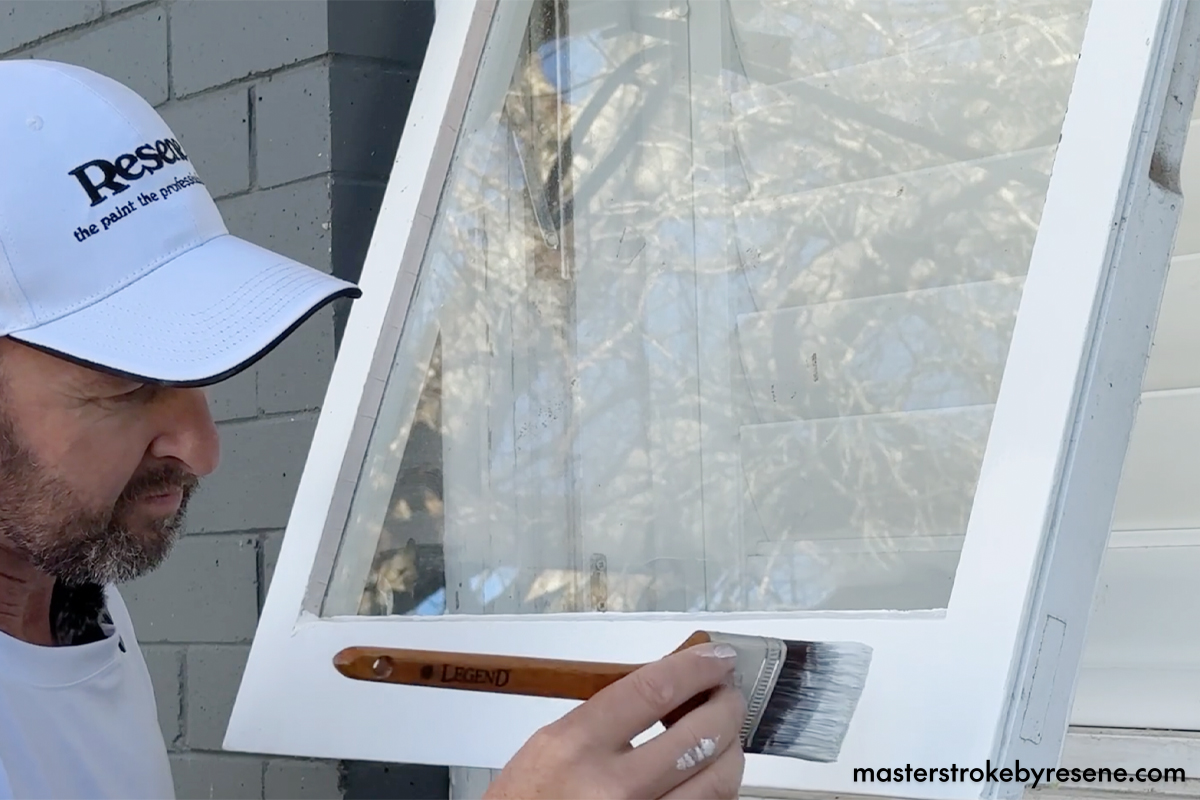
Richard Mills from Living Improvements is a handyman in Pāpāmoa who is here to show you how to fix rot in your timber windows. His secret weapon? Repair Care. “It’s a specialised product but you don’t have to have specialised skills to use it,” he says. 

While many people might think you can scrape out the rot and fill the hole with some builder’s bog, Richard seriously advises against it. While he admits it’s cheap, easy to use and can make your window look as good as new, the issue is that it sets like a rock. Timber naturally shrinks and expands, so eventually will separate away from your repair. The bog will crack away from the timber, letting water in and causing the rot to start again.   

Using Repair Care will ensure you achieve a professional level repair that looks good and will last for a very long time. Before you begin, always test the paint for lead. This is very quick and easy to do with a lead paint test kit which you can get from your local Resene ColorShop. 

Once you’ve ensured that your paint is lead-free and ready to go, follow these step-by-step instructions.

1

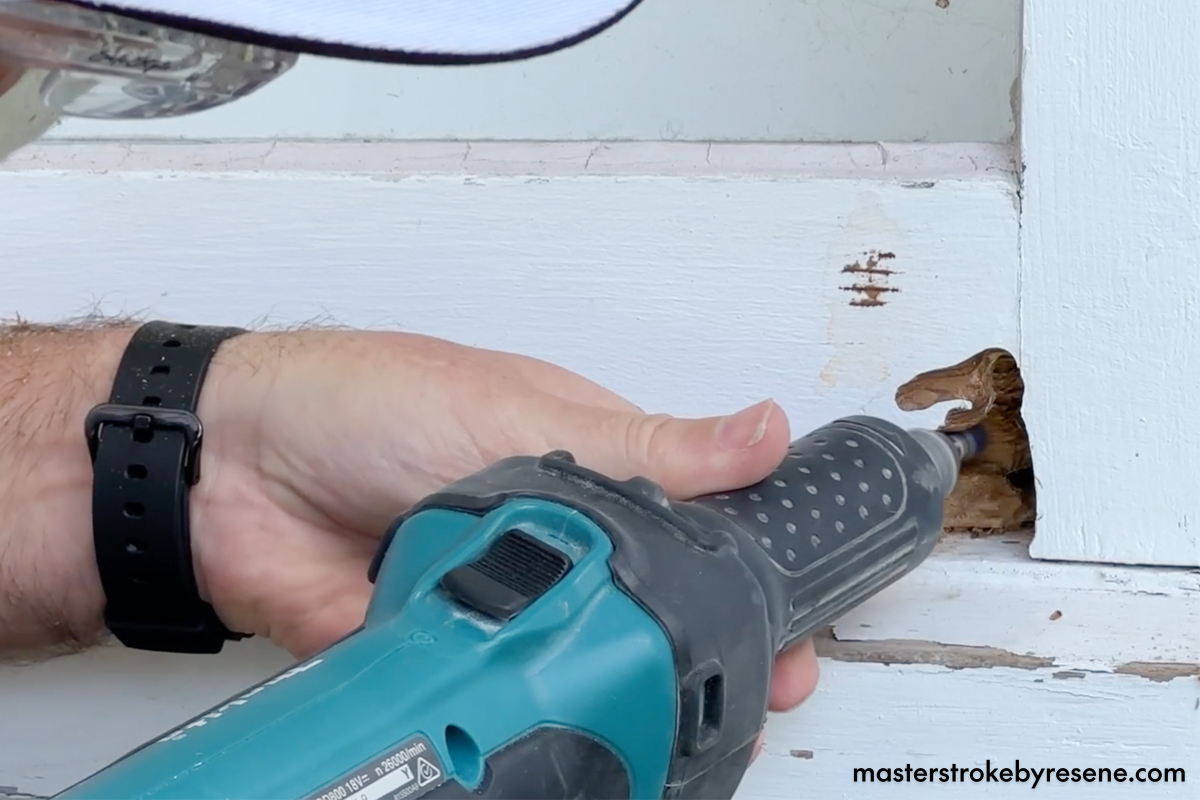
Remove rot

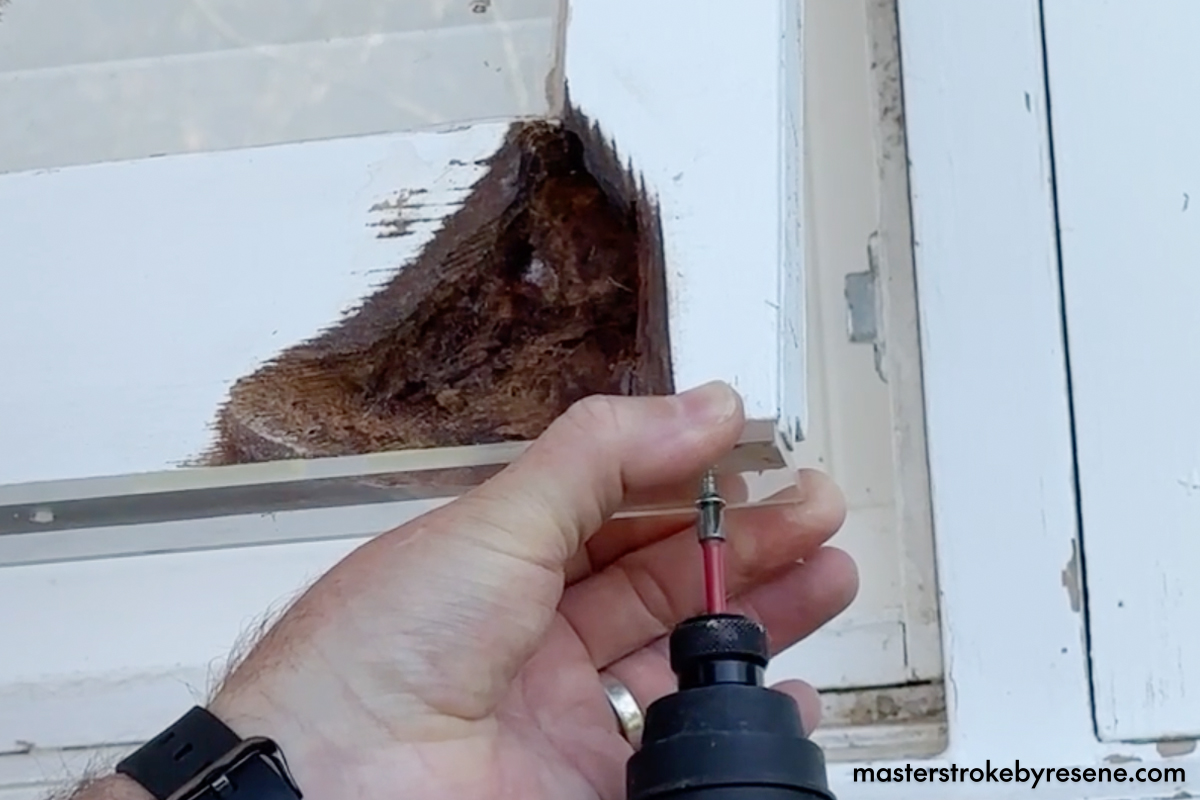
Put on your safety gear, then use a die grinder with a router bit to work out the rot in your window. You could also put this router bit on the end of your power drill to get the same result if you don’t have a die grinder.

2

Fix it up

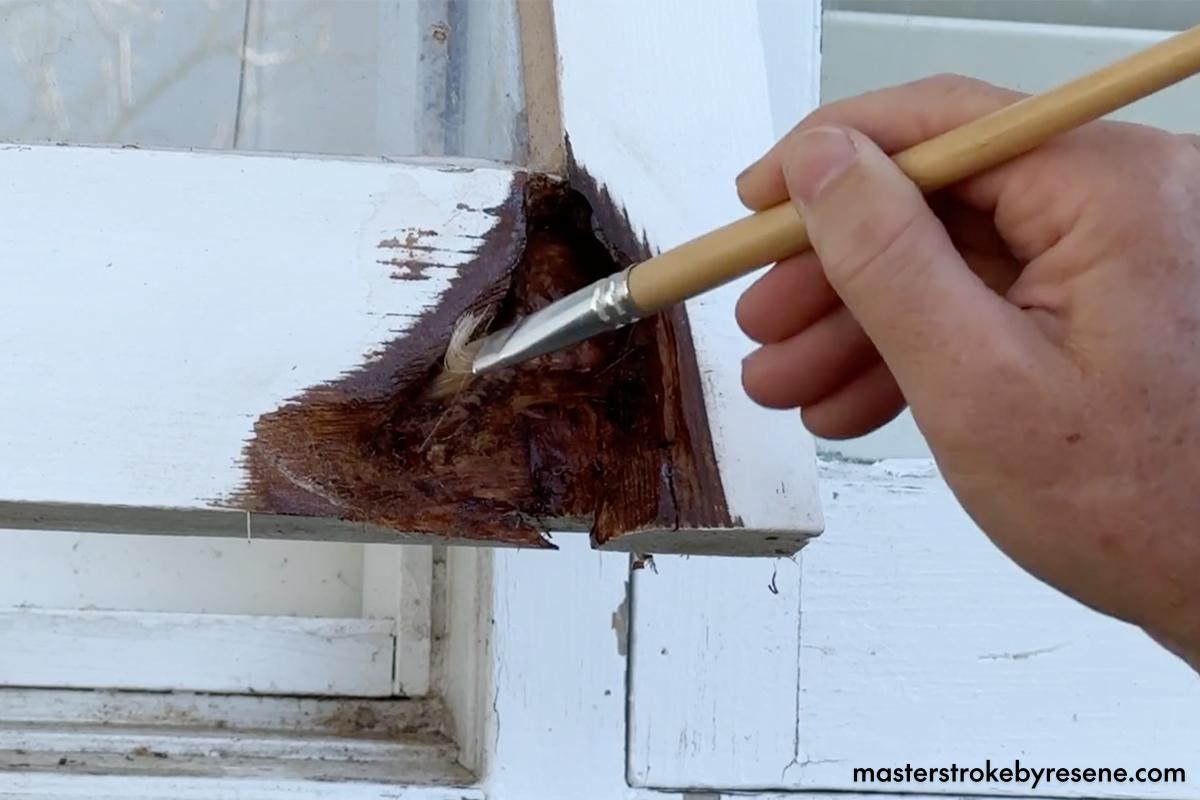
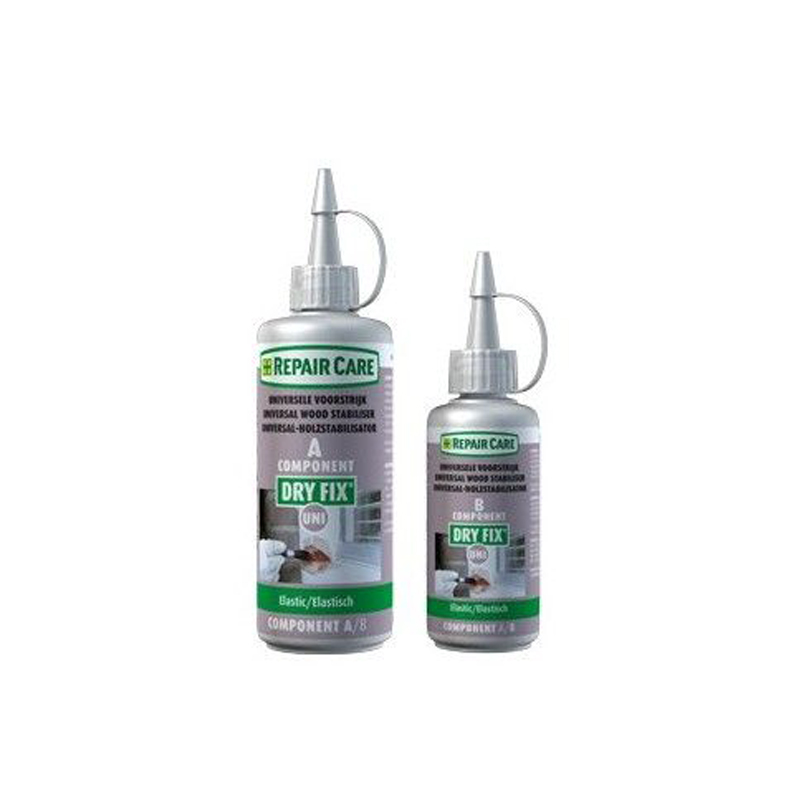
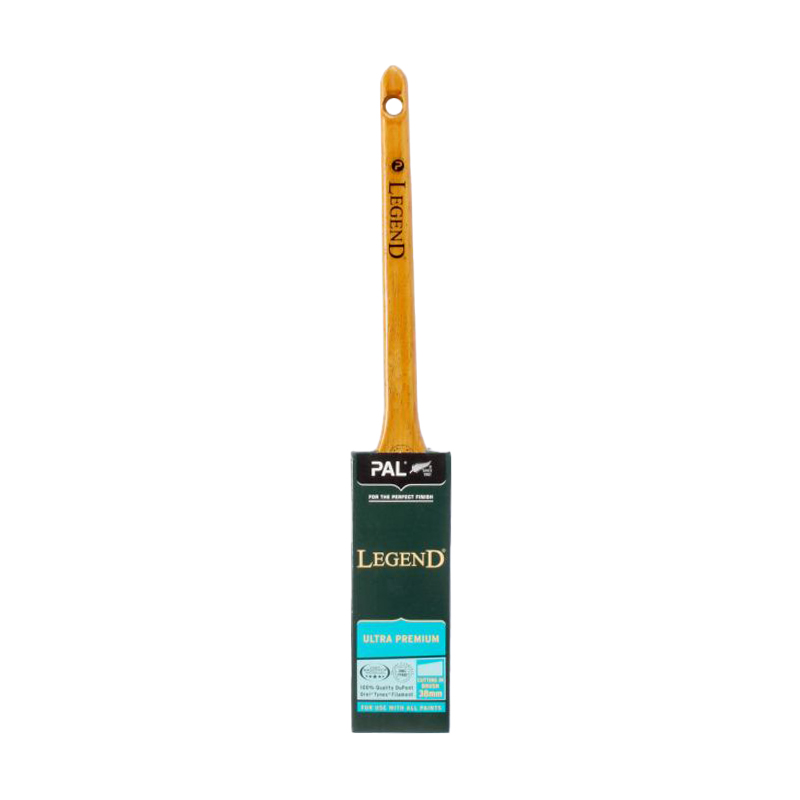
Now that the rot has been removed back to the solid timber, it’s time to bust out the Repair Care Dry Fix. It’s a wood stabiliser and a primer in one, so the two parts need to be mixed together in a plastic cup first. Use a small paintbrush to apply the solution all over the inside of the hole.

3

Edge support

As Richard’s repair has gone the entire way through both sides of his window frame, he secures a small piece of Perspex to the base of the window frame. This makes it easier to get a nice, even fill and smooth edge along the bottom. This step is not necessary if your repair is smaller.

4

Fill and smooth

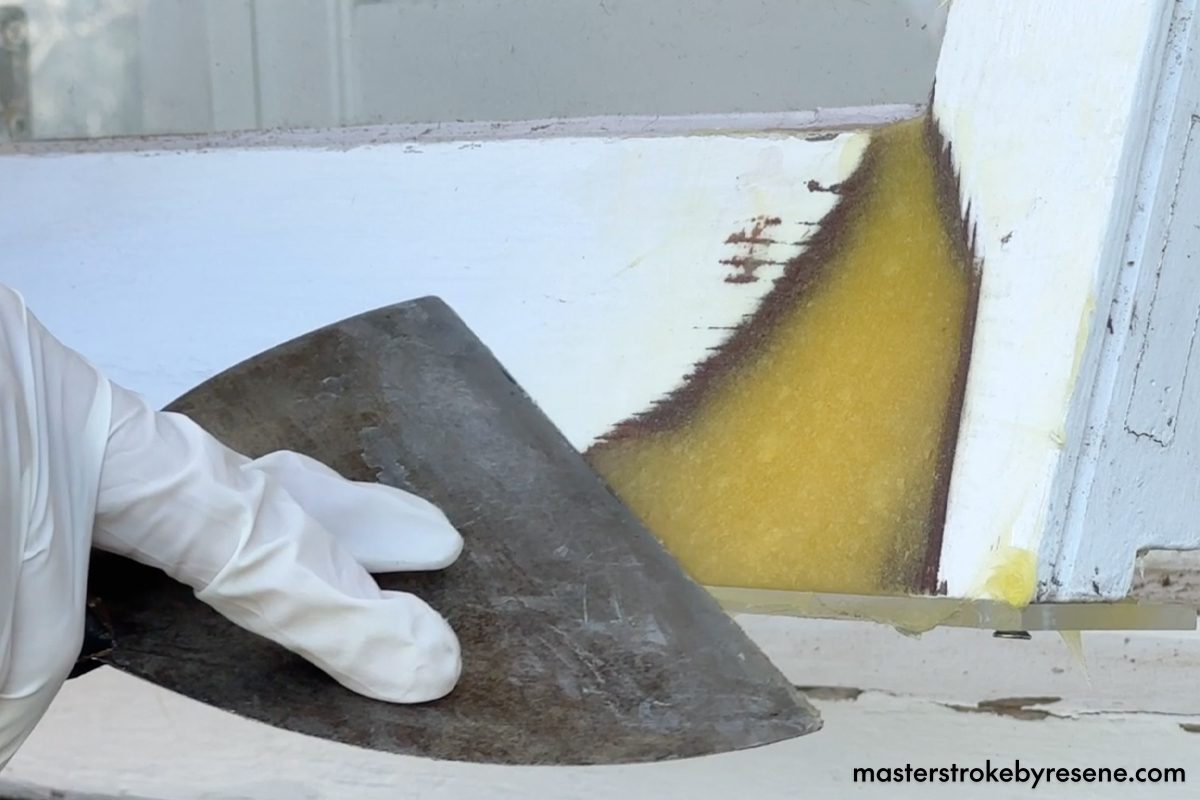
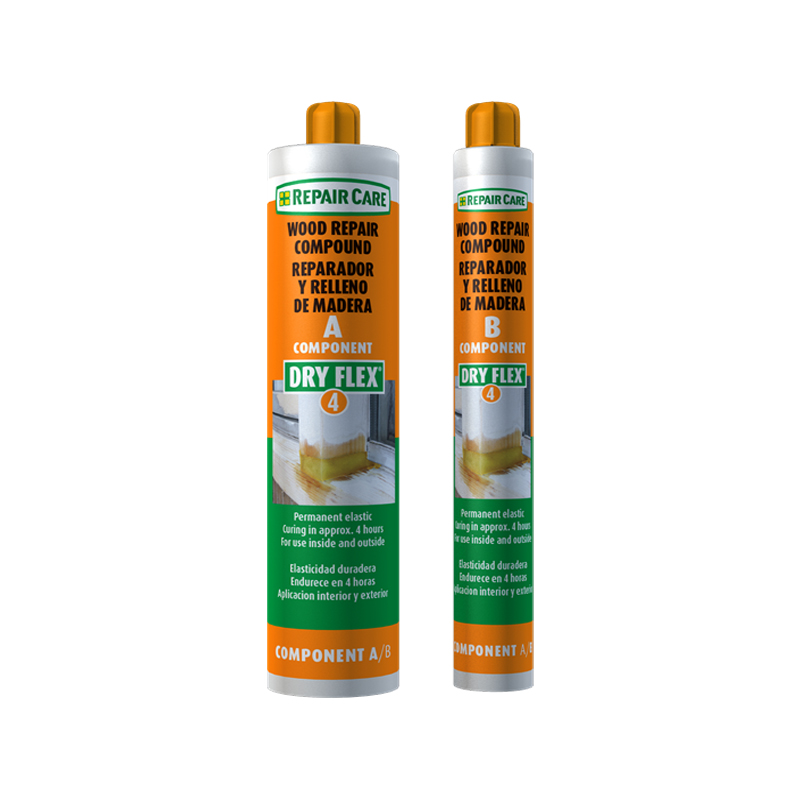
Repair Care Dry Flex 4 is Richard’s product of choice to fill his window frame – it has a four-hour drying time and is best suited to deeper repairs like this. 

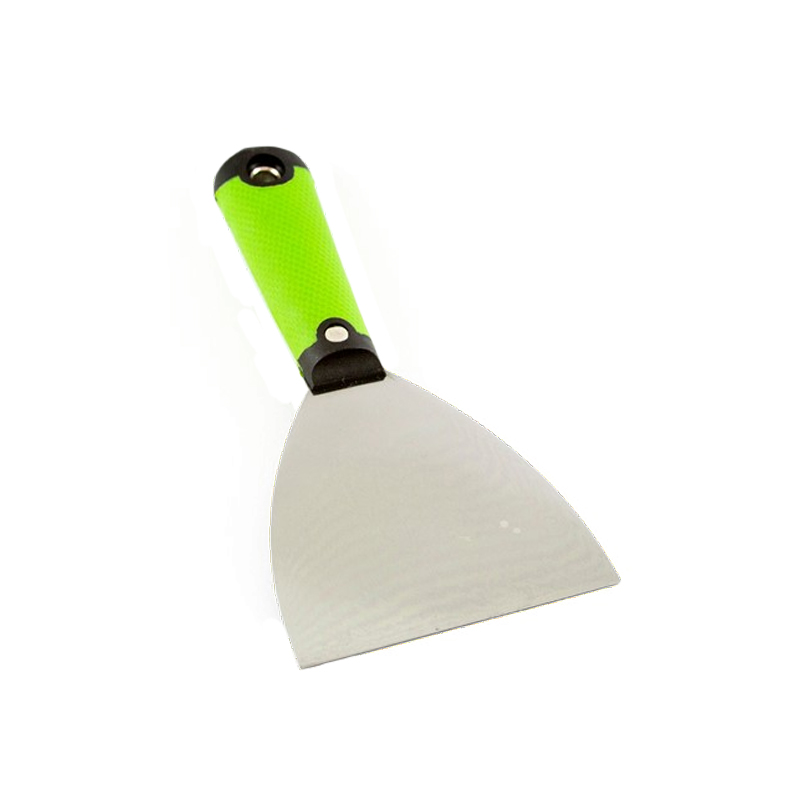
Mix the two parts together thoroughly with a  putty knife then begin to fill the gap – it’s really important to fill it all the way from the back. Once you’re happy, use a large putty knife to smooth it all flush with the rest of the frame.

5

Sand and prime

Once you have waited the four hours drying time and the filler is nice and hard, give it a quick sand and wipe away the sanding dust. 

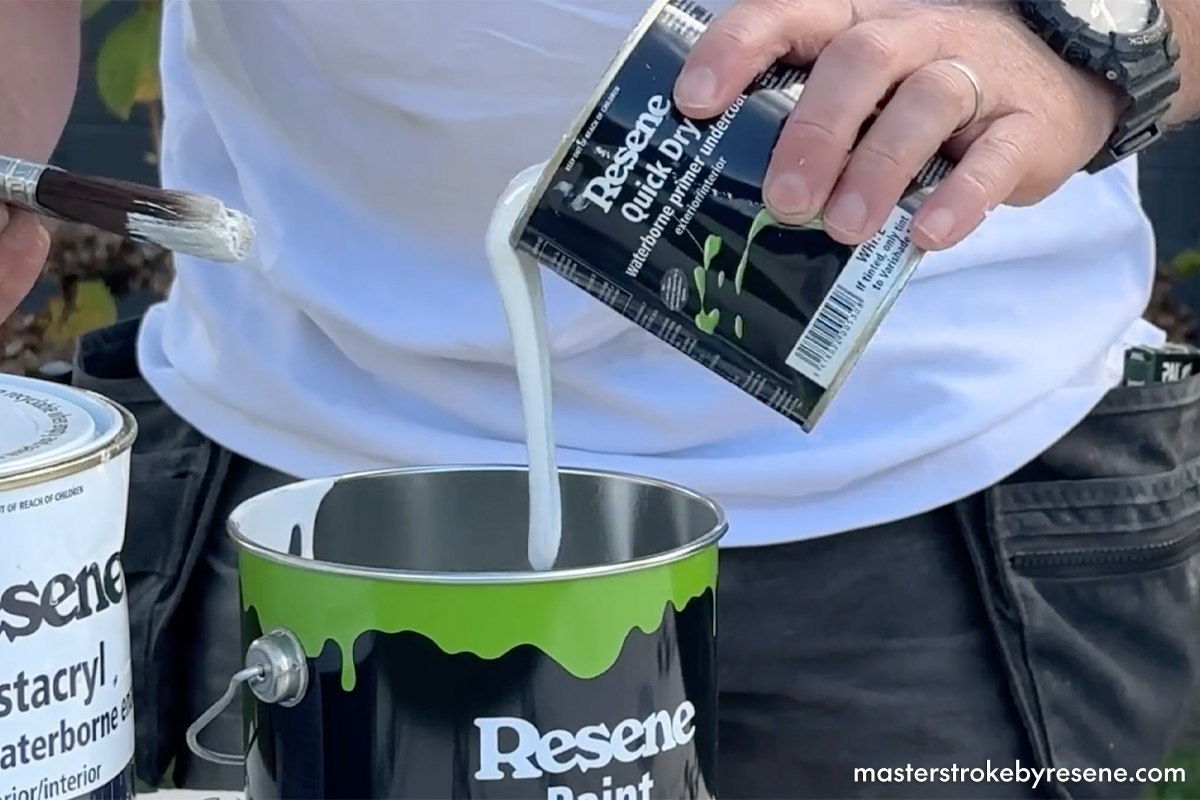
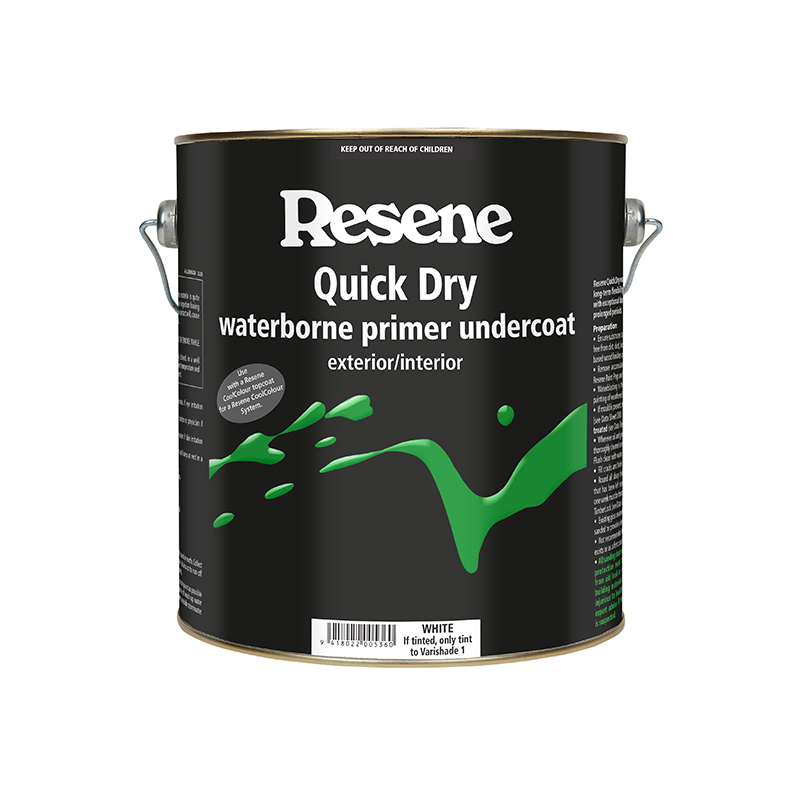
Pour your Resene Quick Dry into a paint pot and use a paintbrush to apply it all over your window. Allow to dry.

6

Paint

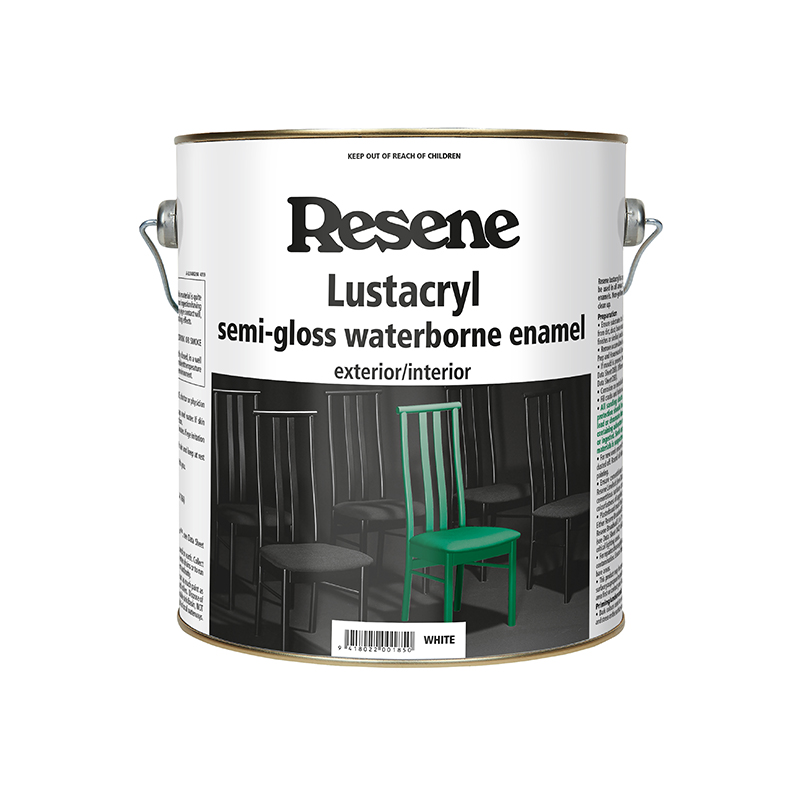
Pour your Resene Lustacryl into a Resene paint pot and apply two coats, waiting the recommended drying time between each coat. 

Richard is using Resene Lustacryl in Resene White.

More exterior fixes

How to fix heat damaged weatherboards

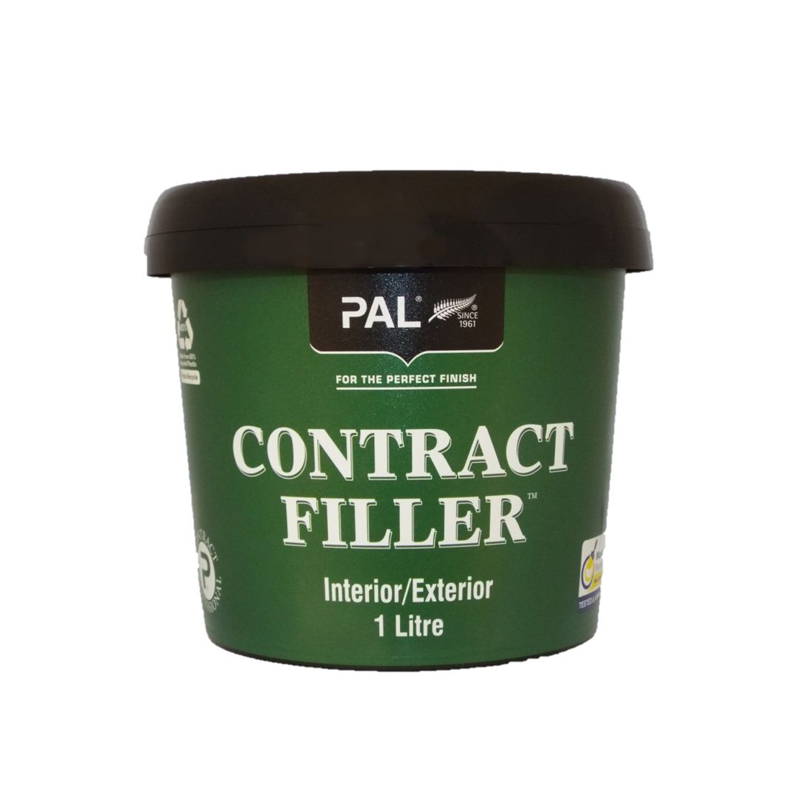
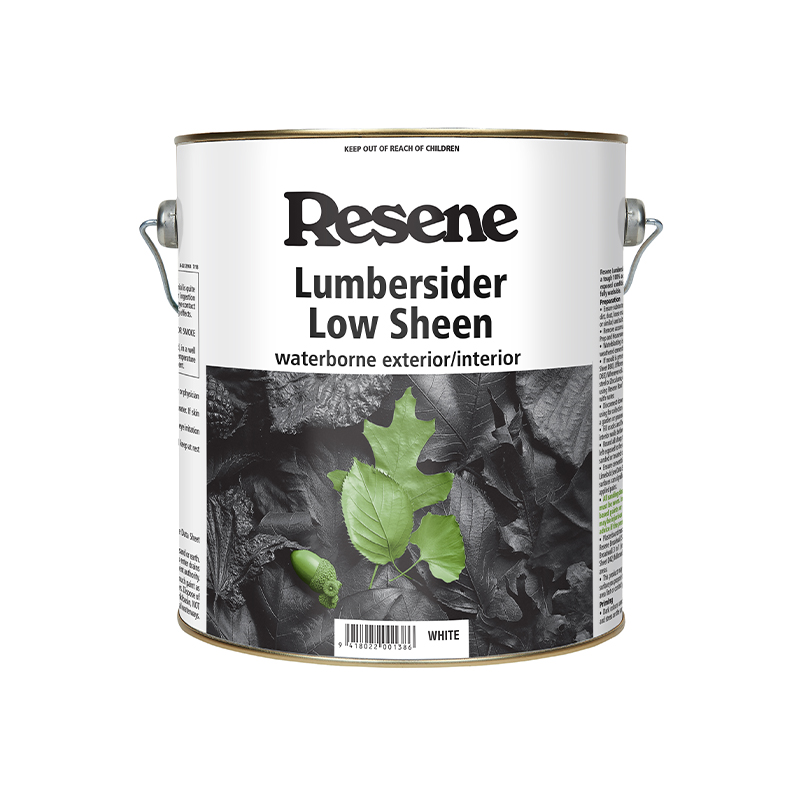
If your home’s exterior paintwork is affected by extreme heat, there is no need to stress as it can be easily fixed with Resene products. Bubbled paint needs to be scraped off, then any holes filled with PAL Contract Filler and sanded back. Then apply a coat of Resene Quick Dry to prime the weatherboard, then once that is dry, apply two topcoats of Resene Lumbersider Low Sheen in your chosen colour. Check out this article for more detailed instructions and a step-by-step video.

Tip for painting weatherboards

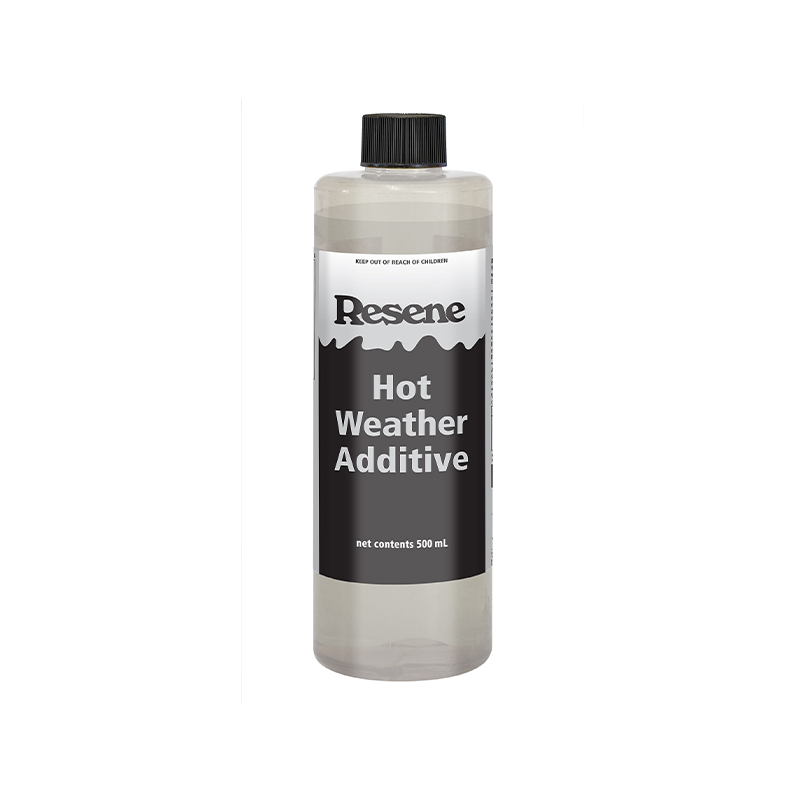
It’s important to maintain a wet edge when painting weatherboards – this means the end of your painted area is still wet before the next stroke is applied. This will prevent brushstrokes from showing in the finished paint job. If you allow the paint to dry out halfway along the weatherboard, there may be a visible line or lap mark. If you find your topcoat is drying too quickly, you may need to add some Resene Hot Weather Additive to it. Take care not to overwork the paint or spread it too thinly as this will make it harder to get a smooth finish. Click here for expert advice on painting weatherboards.

Visit your local Resene ColorShop for everything you need for decorating your place inside and out. They can answer all your tricky questions and help you with everything from prep to painting and colours to wallpaper. Or Ask a Resene Paint Expert free online.

About MasterStroke by Resene
MasterStroke by Resene is here to help you master your paint and decorating DIY projects. Brush up on your skills with advice, tips and ideas from our trusted experts.

Check out the latest how-to videos on our YouTube channel.