Every hardworking DIYer would like their painting project to have a polished finish, one that looks like it could have been done by a professional. Rollers are an ideal way to paint a large area quickly and get a top-notch result.
In this Paint like a Pro video, Resene expert Murdo Shaw shows you how it’s done.
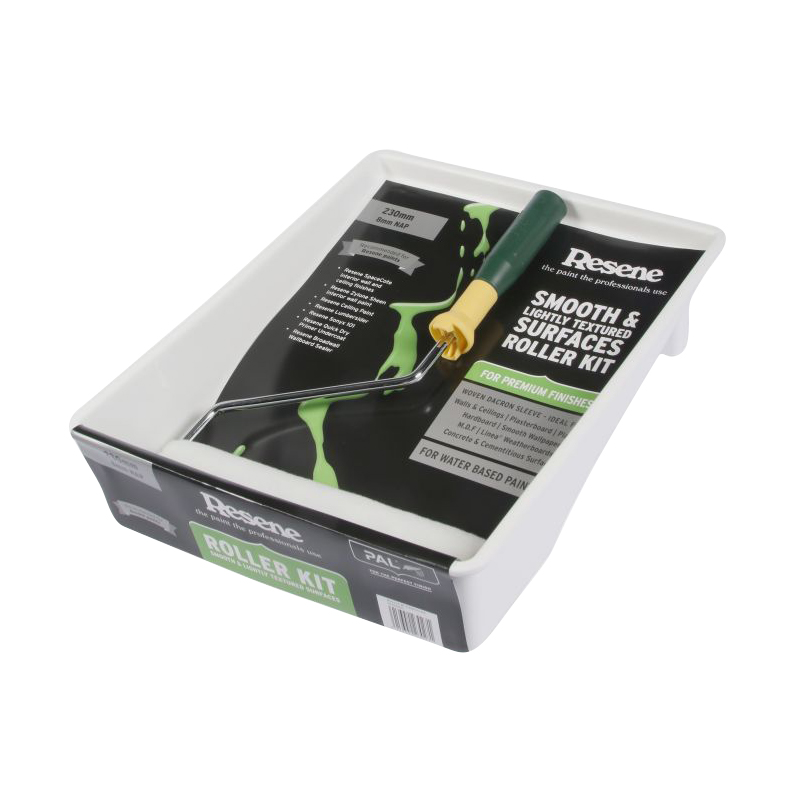
It’s all about the right roller
First up, make sure you choose the right roller for the job. If you’re unsure about what you need, chat to a staff member at a Resene ColorShop – they can recommend the best roller for the paint you are using and the surface you’re painting.
“Quality is key – roller sleeves may look similar, but they are not created equal. A better quality sleeve will help you put on the correct amount of paint at the required spread rate and give you a significantly better finish,” says Murdo.
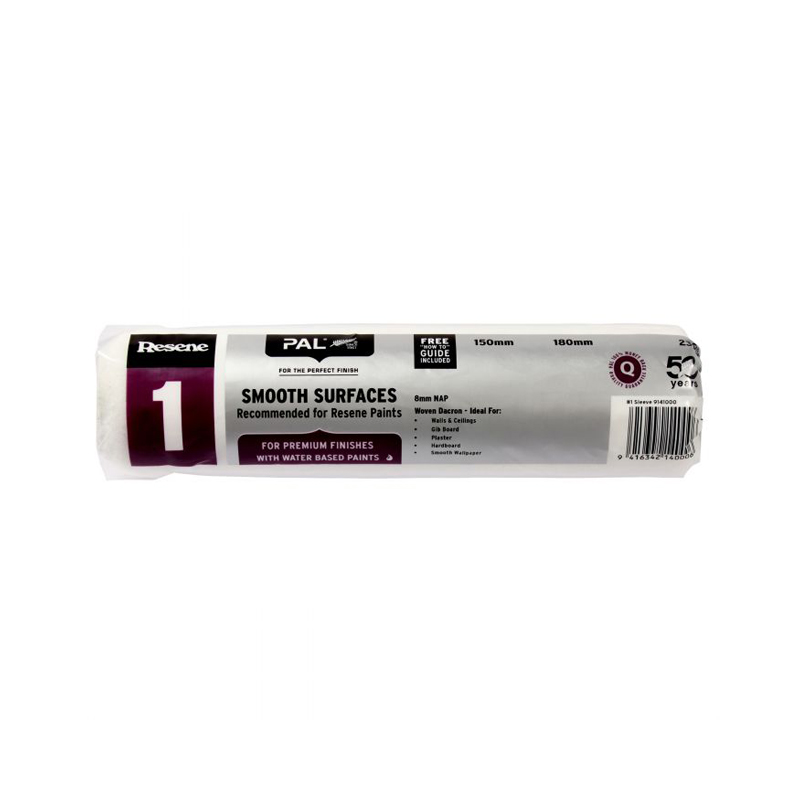
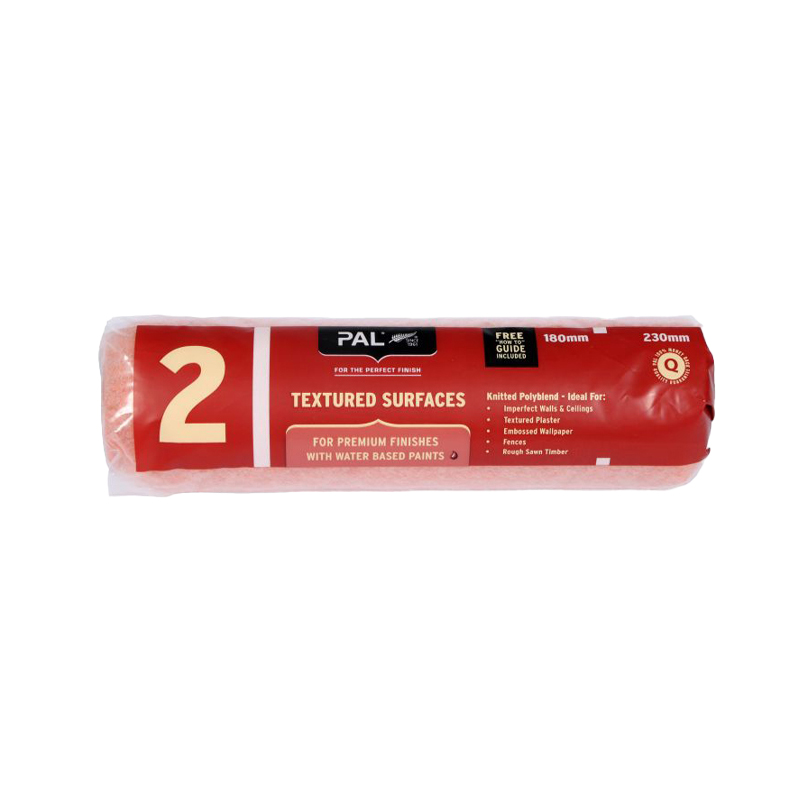
Roller sizes
The most popular DIY roller sleeves are available in three sizes. The 230mm-long sleeve is the most popular and is used for larger areas, including most walls and ceilings.
The 150mm sleeve can also be used on walls and ceilings but is most suited to smaller surfaces, such as interior doors and cupboards, as well as fencing.
The 100mm-long reach rollers are made using the same fabric but do not hold as much paint as the other sleeves as they’re smaller with less surface area. They are designed for cupboards, doors, and hard-to-reach areas, such as inside cupboards and shelving.
Rollers with extendable handles allow you to paint higher ceilings or walls more easily.
Start with a brush
Once you’re ready to get to work, make sure you have everything you need before you start applying paint.
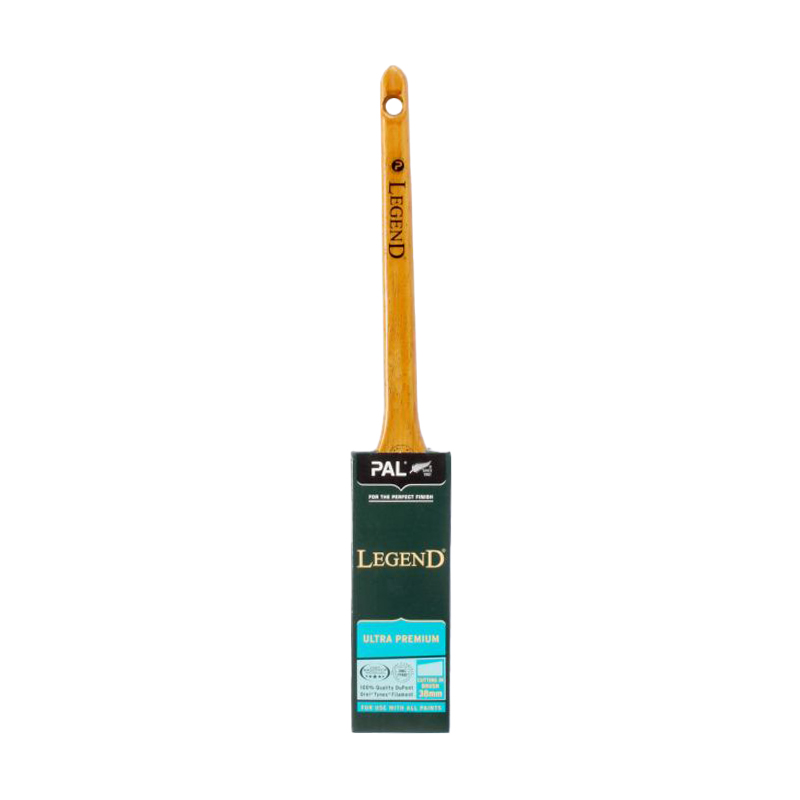
Use a brush to paint the edges – a 50mm cutting-in brush is a good size. Paint 40mm to 50mm from the edges, outwards. As a rule, the more confident and experienced you are, the bigger the brush you can use. Bigger brushes hold more paint and get the job done faster.
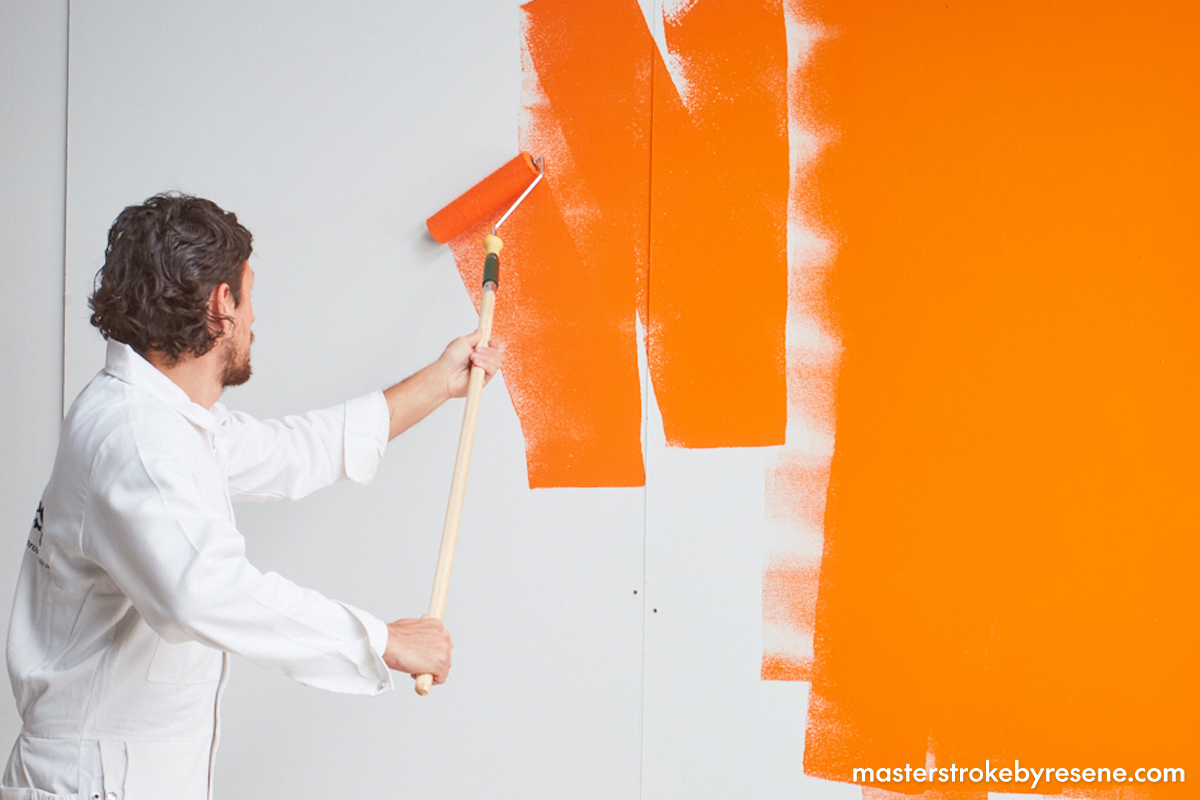
Ready to roll
Add plenty of paint to your tray and load your roller up properly – it should look like a hot dog dipped in batter. Then lay the roller carefully against the wall. Roll upwards first and then continue along the surface, making W-shapes as you go. Make sure you always roll in the same direction – up and down, rather than side to side.