DIY projects

Make an Adirondack chair from pallets

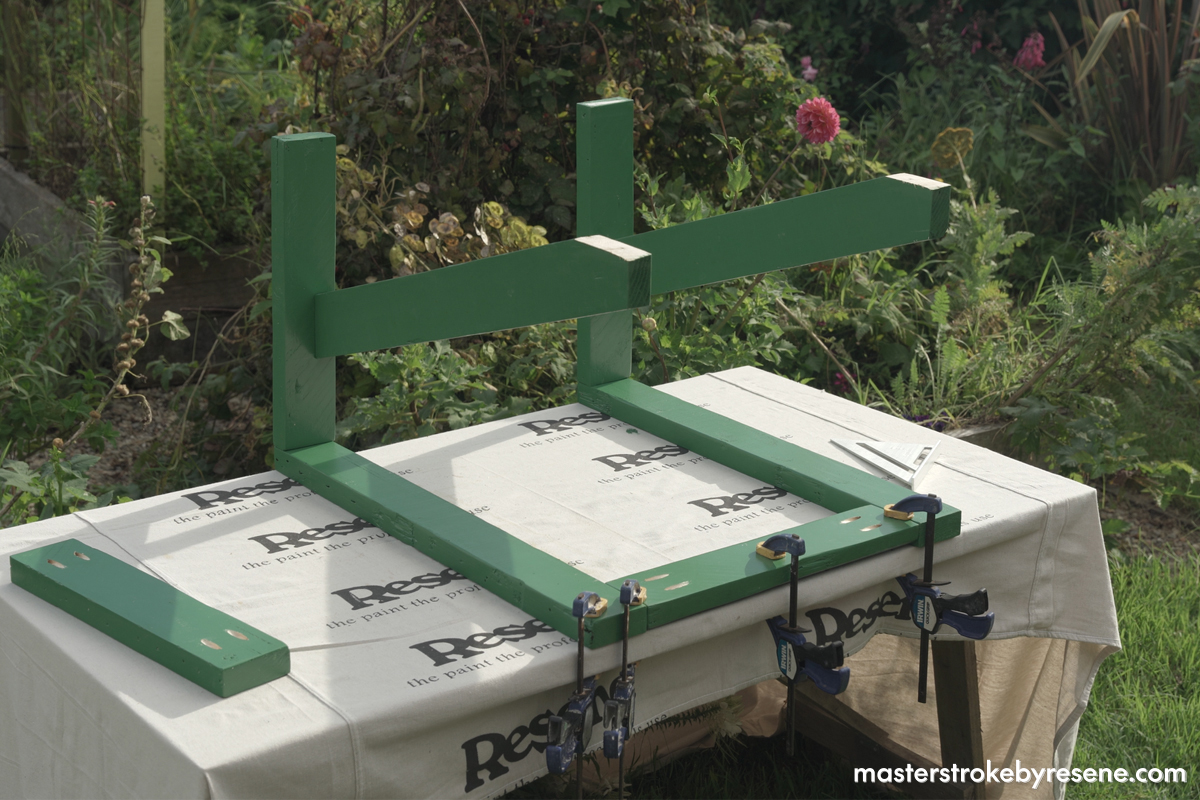
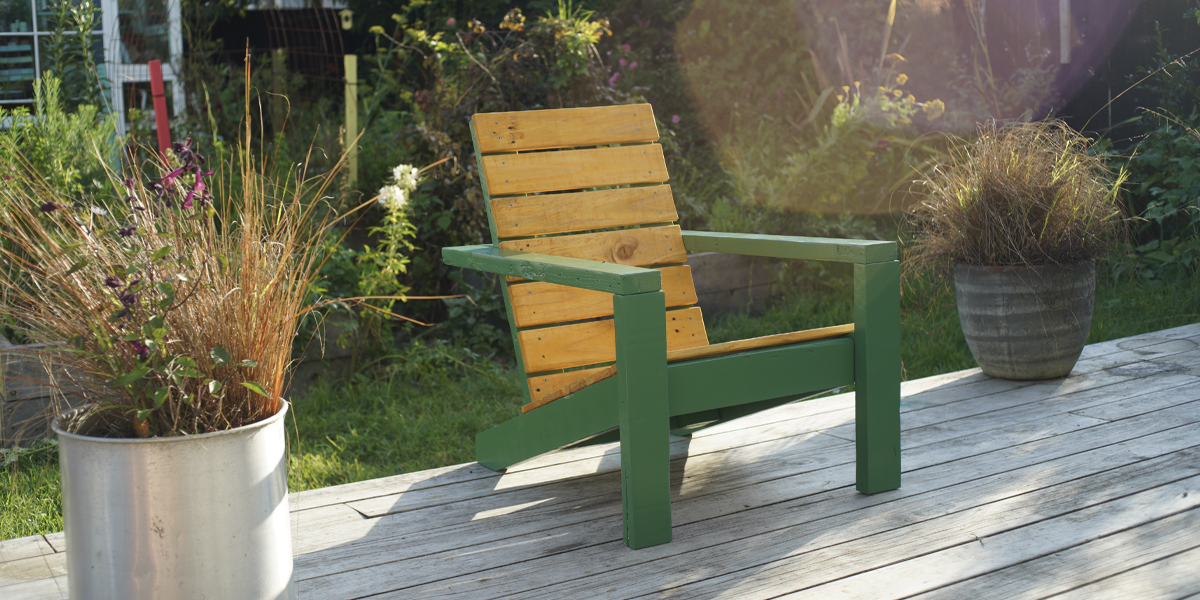
American Thomas Lee knew the importance of comfort when he designed the Adirondack chair in the early 20th century. He was looking for something that was comfortable to sit on but sturdy enough to cope with the rugged elements of the Adirondack Mountains where he lived.

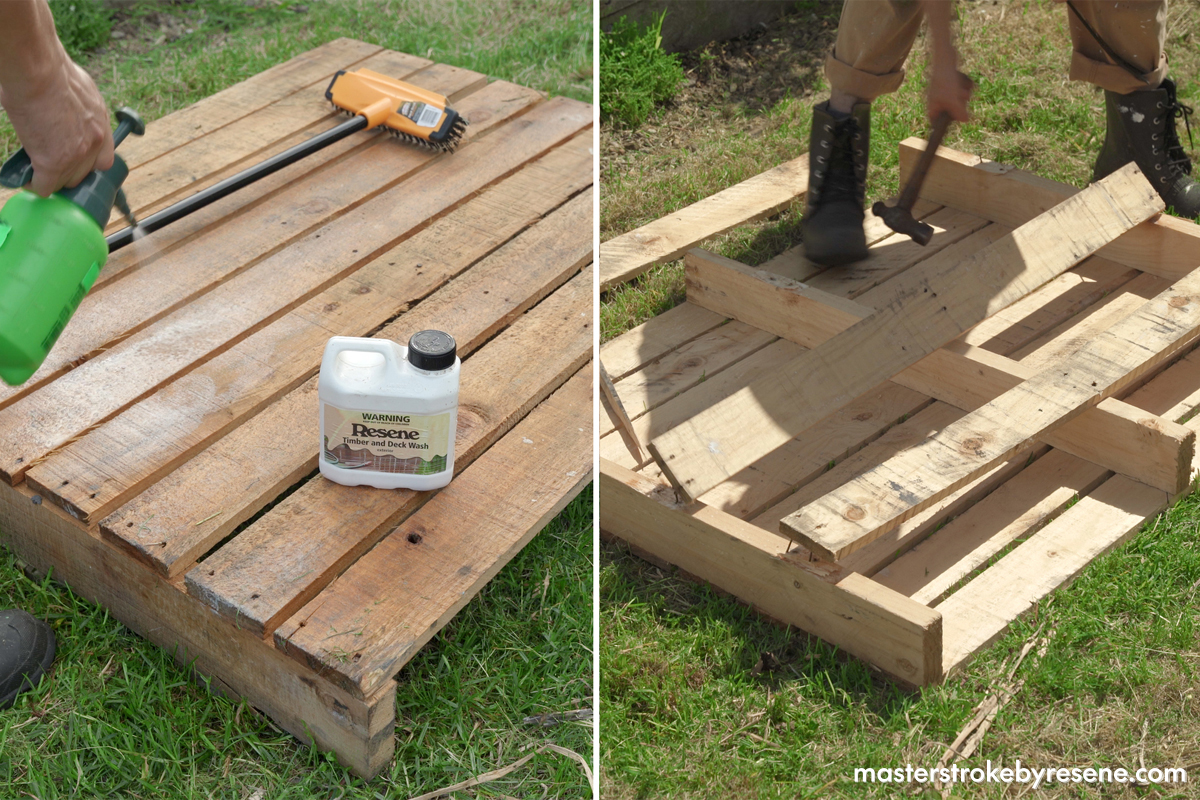
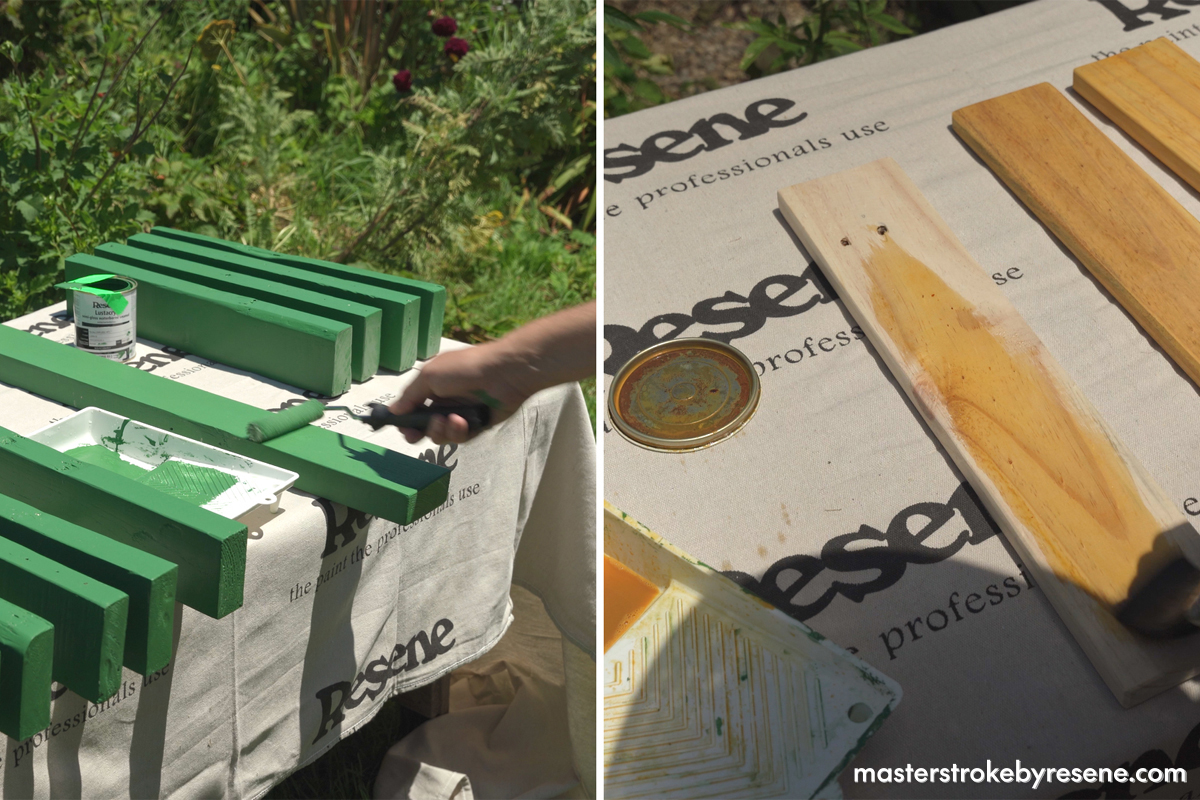
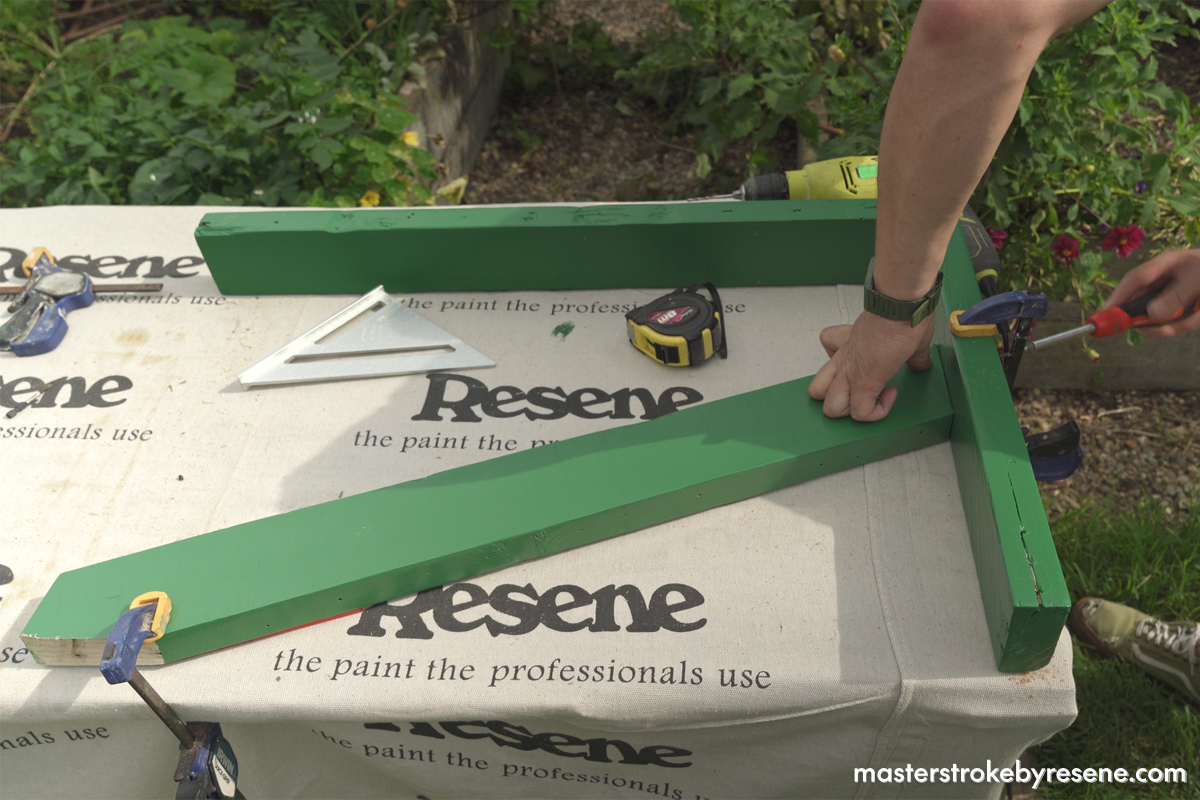
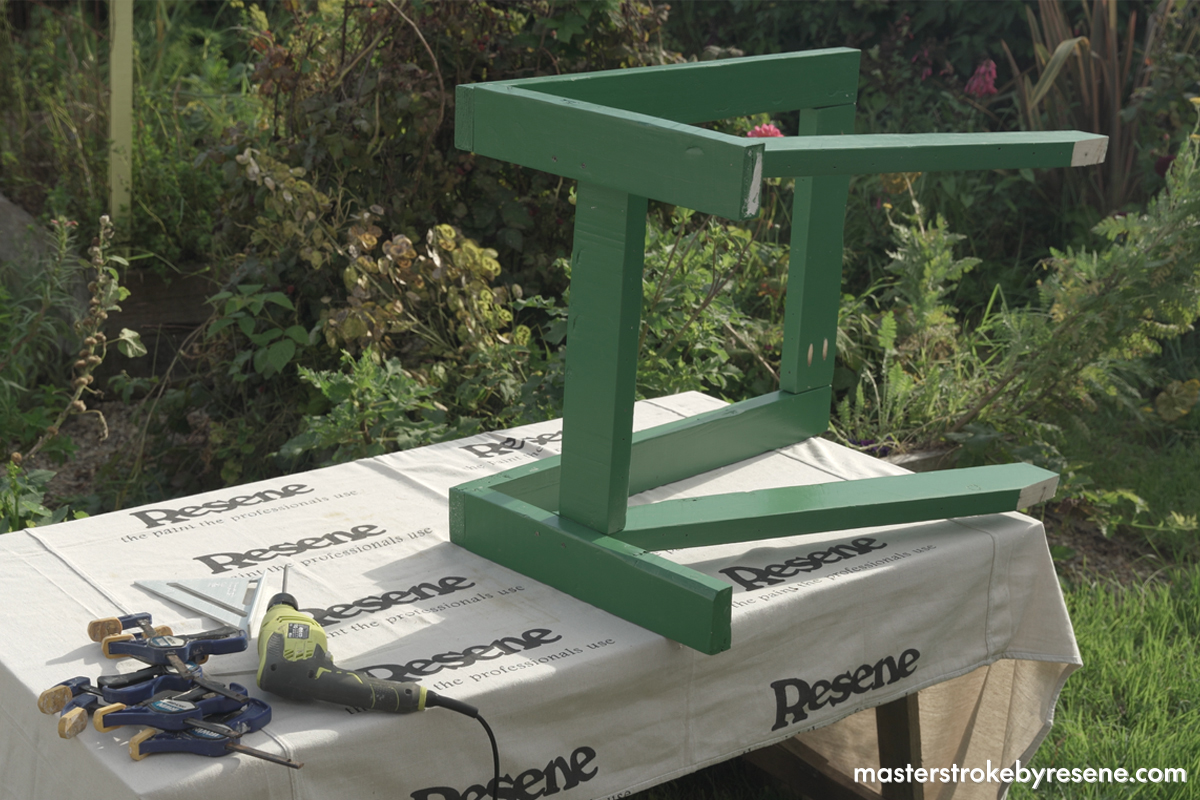
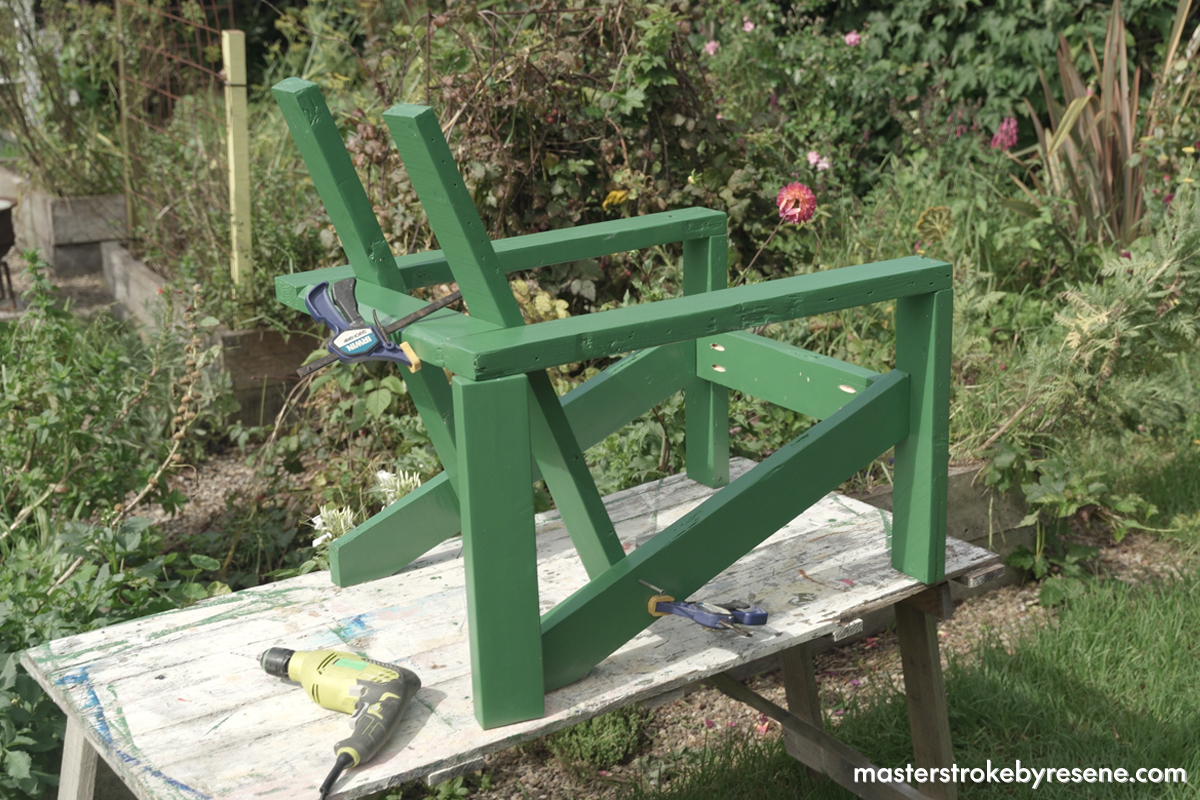
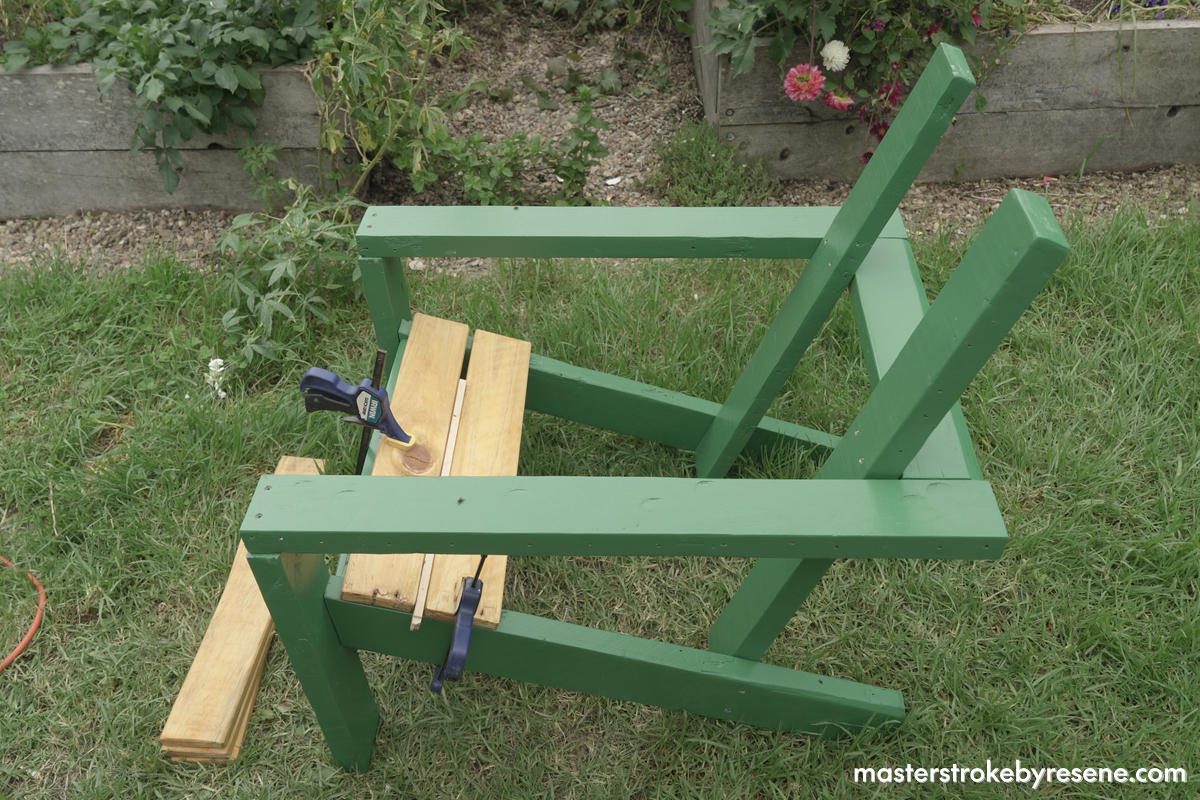
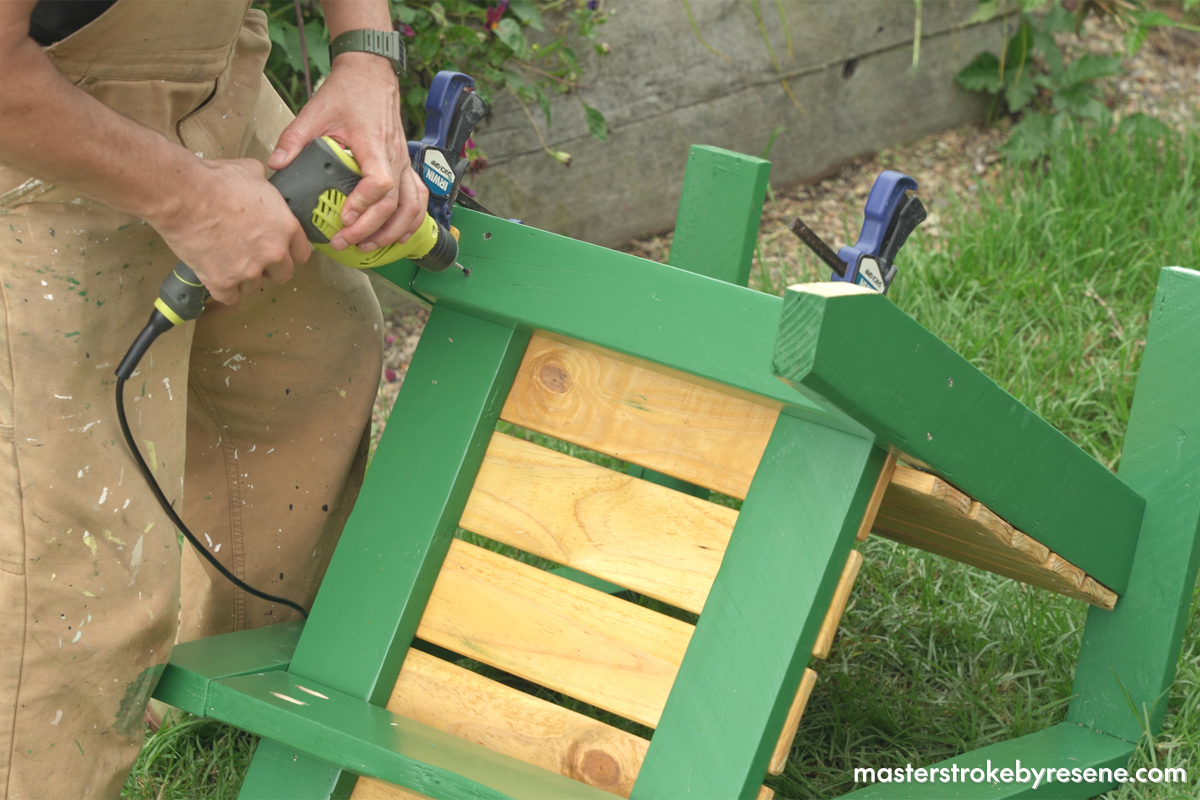
The beauty of this chair is that you can make it from any kind of timber, even the humble pallet. These sources of free timber can be found everywhere – in fact they’re so ubiquitous you probably just drove past one! Otherwise, ask nicely at your local supermarket – tell them you’re an upcycler! Jacob Leaf, aka The Upcycler, shows you how to turn old pallets into a great new piece of outdoor furniture.


Cost: Approximately $40 for screws and excluding Resene products.

  • Crowbar or pinch bar
  • Hammer and sledgehammer
  • Tape measure
  • Pencil
  • Speed square
  • Drop saw or hand saw
  • Speed clamps
  • Drill
  • 10mm spacer

From the stringers, cut the following piece for the chair frame:

  • 2 x 845mm – back legs (with both ends 20 degrees off-square parallel)
  • 2 x 831mm – backrests
  • 2 x 805mm – armrests
  • 2 x 485mm – front legs
  • 3 x 485mm – horizontal braces

From the deck boards, cut the following for the seat and back slats:

  • 5 x 565mm – seat slats
  • 7 x 485mm – backrest slats

1

Wash and separate timber

Clean the pallets with Resene Timber and Deck Wash. Once dry, break down the pallets with a crowbar and hammer and remove any nails.

2

Cut and paint

Cut your wood to size, then sand any rough edges before priming with Resene Quick Dry waterborne primer undercoat.

After a light sand, paint the pieces for the frame with two coats of Resene Lustacryl semi-gloss waterborne enamel paint using a Resene #4 roller and tray set for an even finish (allow at least two hours between coats).

Paint all the seat and backrest slats with two coats of Resene Furniture and Decking Oil.

3

Arm rests

It’s time to start assembling the frame! To make the sides, attach one arm rest piece to a front leg piece with two 75mm screws.

4

Back legs

Attach the back leg to the front leg 145mm below the armrest, using two 75mm screws.

For the other side of the frame, make a mirror copy of the first side.

5

Backrest brace

Attach the horizontal brace for the backrest flush with the end of both armrests using 75mm screws.

6

Front brace

Attach the horizontal brace for the front flush with the top of the back leg stringer using 75mm screws.

7

Backrest

Use the last horizontal brace to prop up the armrests (this will ensure everything is level while attaching the backrest supports).

Clamp one side of the backrest 550mm down from the top of the rear leg (this should give you a good backrest angle of 100-110 degrees) and screw together with 75mm screws. Repeat for the other side.

8

Seat slats

Use a 10mm spacer to evenly position the five seat slats. Clamp in place, drill pilot holes, then attach with 35mm screws.

9

Backrest slats

Use a 10mm spacer to evenly position the seven backrest slats. Clamp in place, drill pilot holes, then attach with 35mm screws.

10

The final piece

Attach the last horizontal brace between the back legs. Screw it to the bottom of the back rest stringers with 75mm screws and through the back legs with more 75mm screws.

11

You're done!

Sit back and enjoy your comfortable new outdoor chair.

Before
After
From old pallets to stylish seating – personalise this DIY Adirondack chair in any colour you like. Jacob used Resene Parsley.

Top tips:

  • If you prefer a higher gloss finish, use Resene Enamacryl in place of Resene Lustacryl. Or for a lower sheen finish use Resene Lumbersider.
  • If you’re choosing a dark colour, opt for the Resene CoolColour version to keep your chair cooler.
  • If you can’t choose a favourite colour, use multiple colours to paint the back upright part of the chair – it’s a great way to enjoy more than one colour and brighten up your deck or backyard.

About MasterStroke by Resene
MasterStroke by Resene is here to help you master your paint and decorating DIY projects. Brush up on your skills with advice, tips and ideas from our trusted experts.

Check out the latest how-to videos on our YouTube channel.