How to

How to repair a damaged timber door

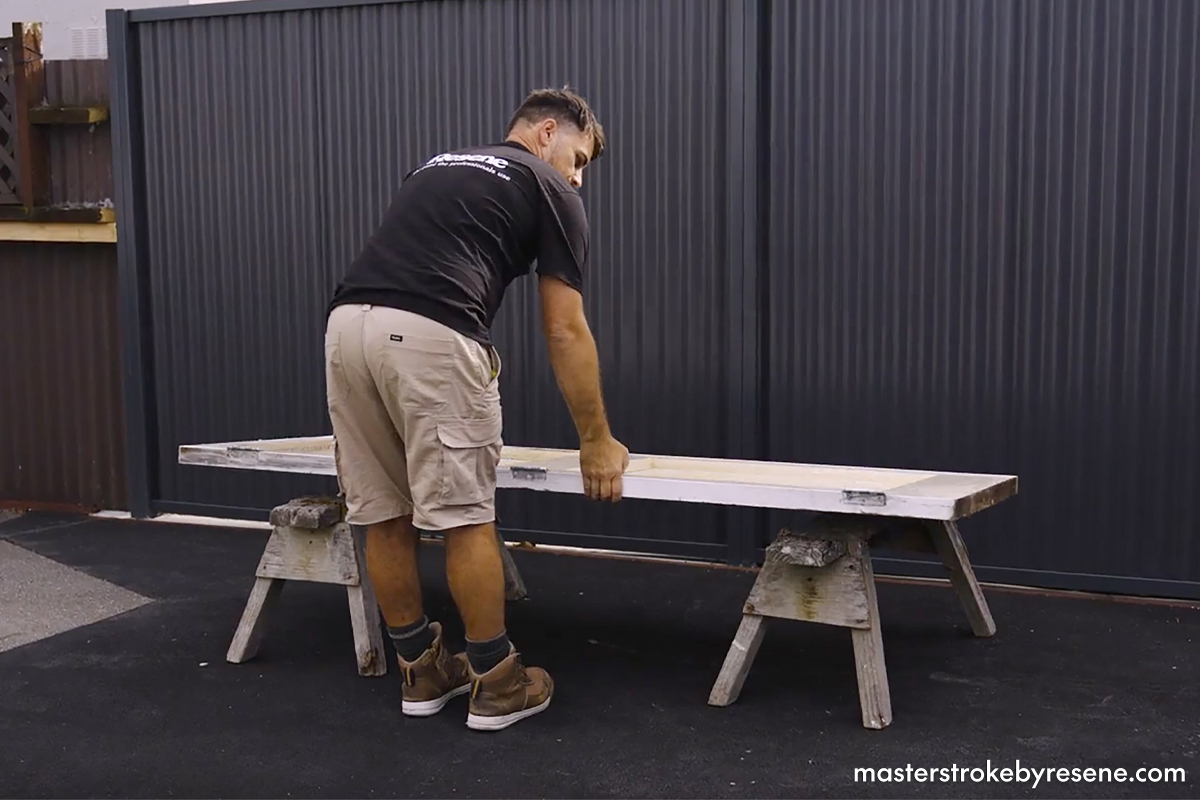
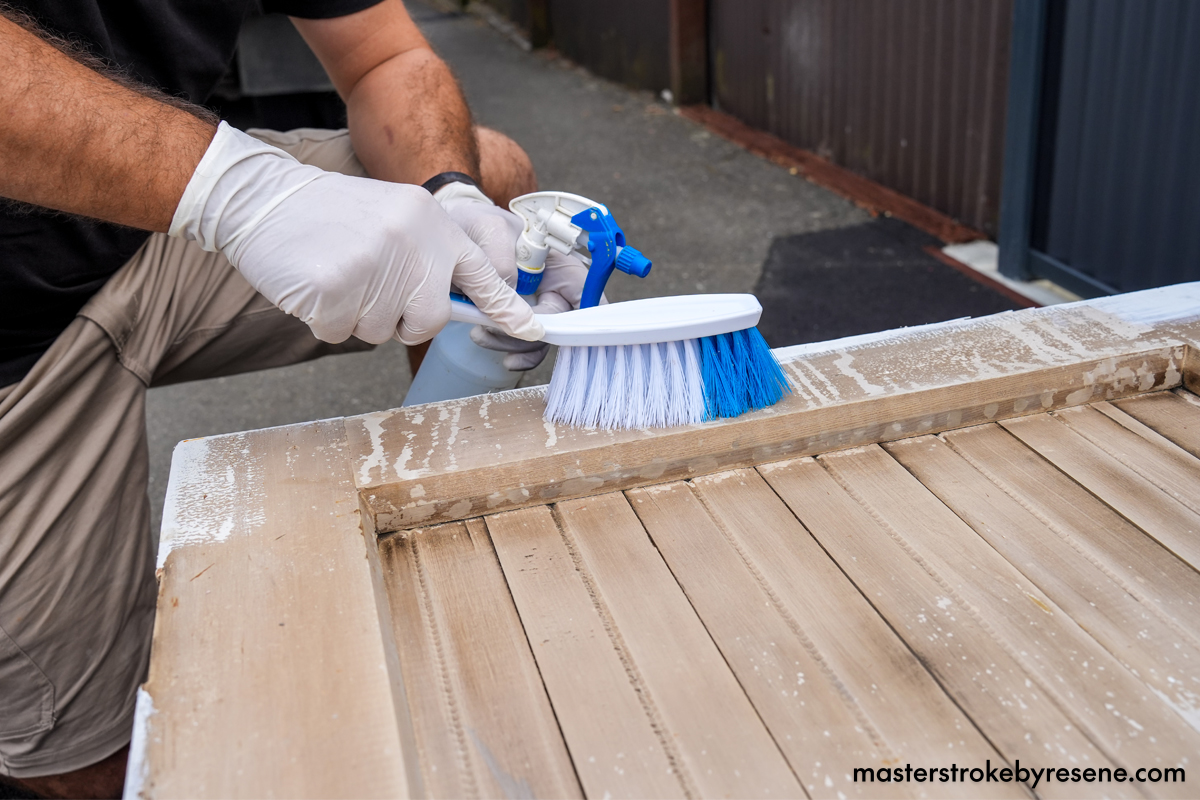
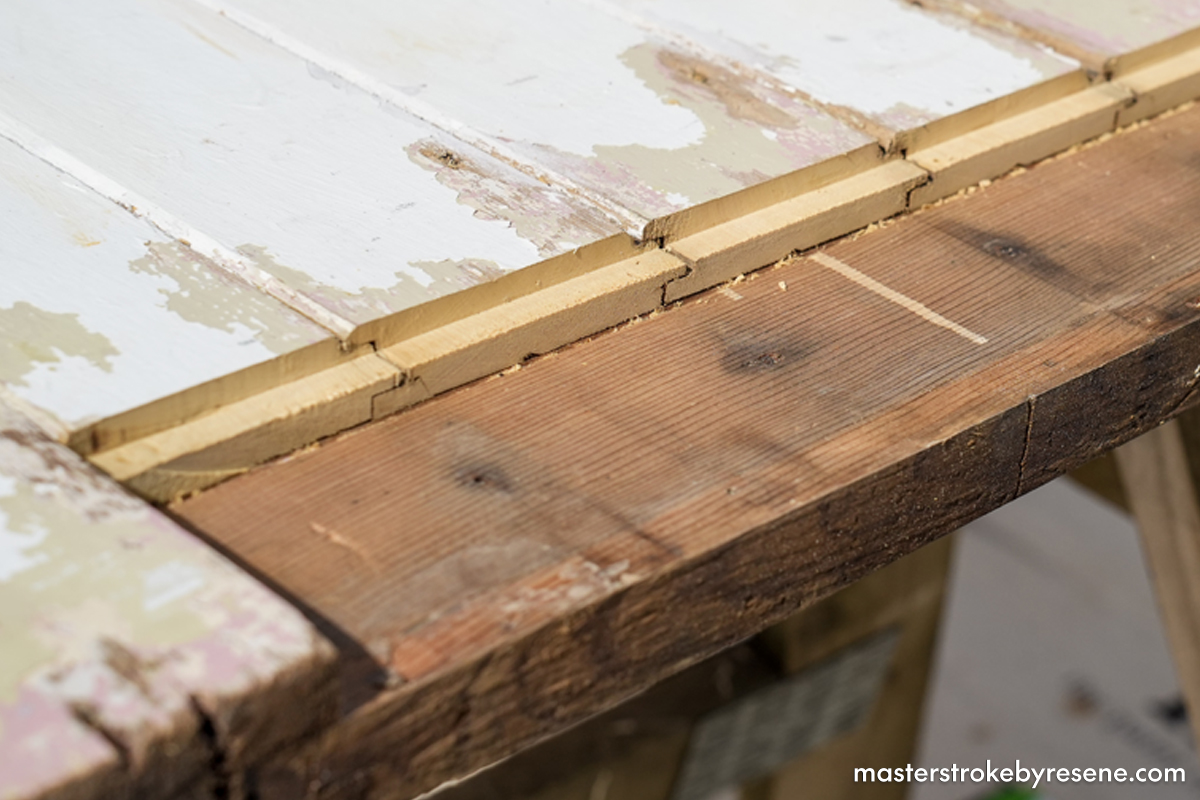
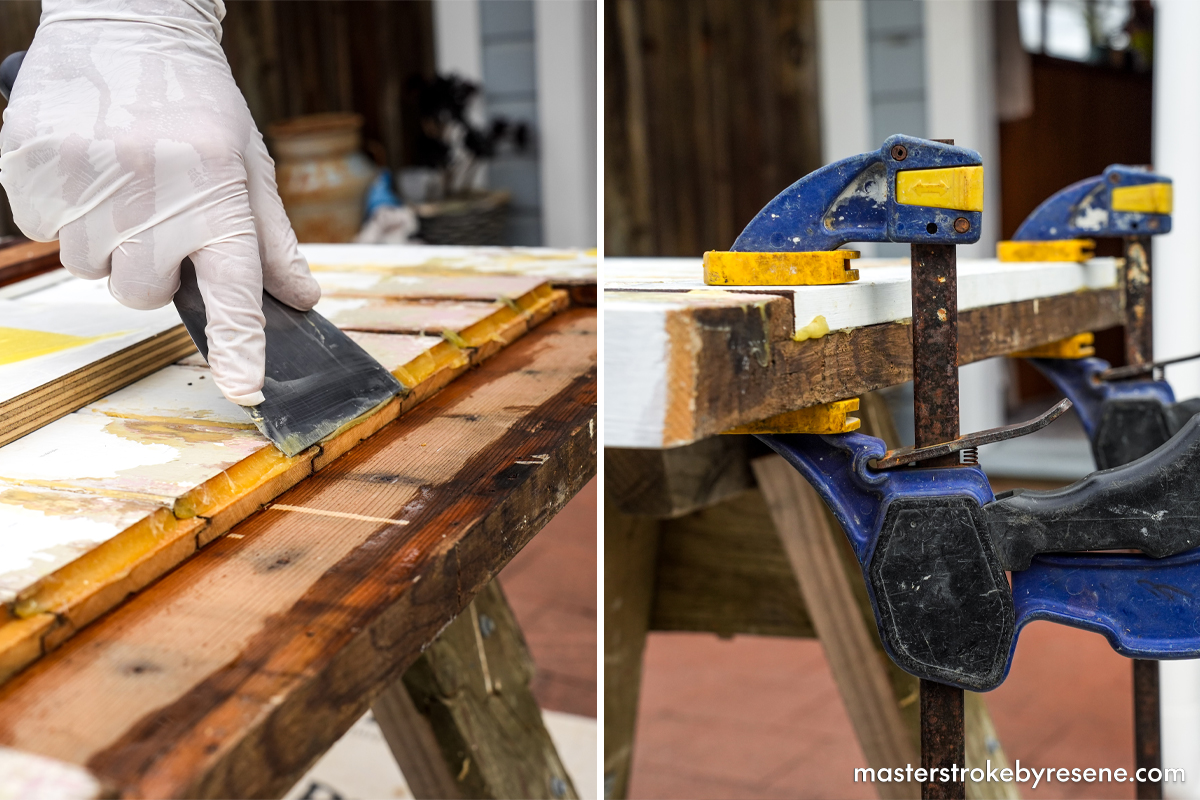
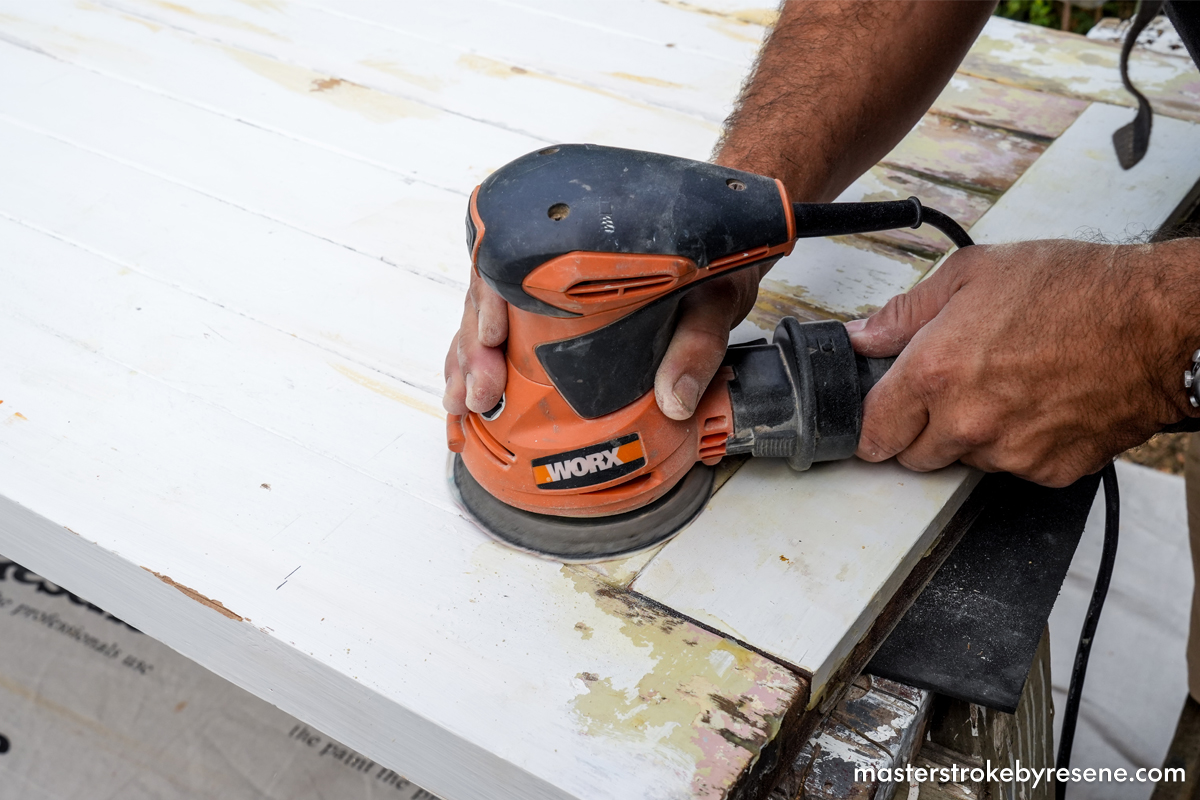
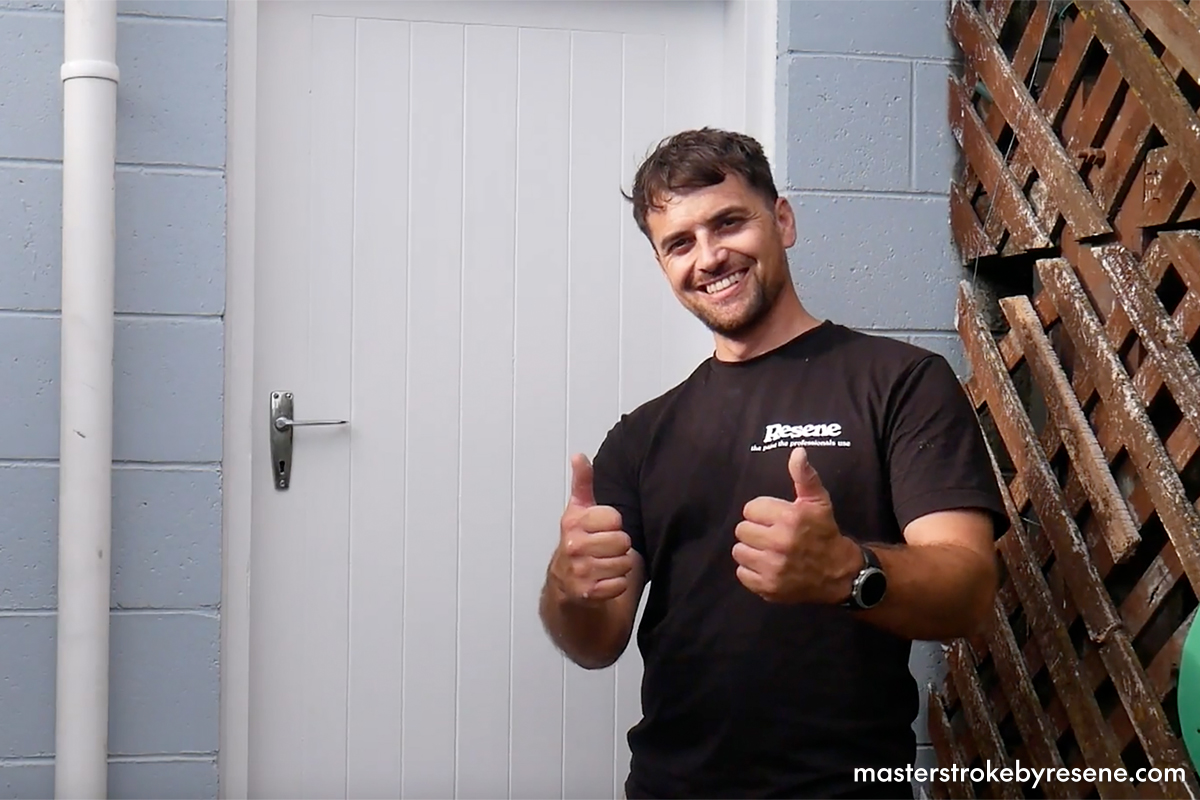
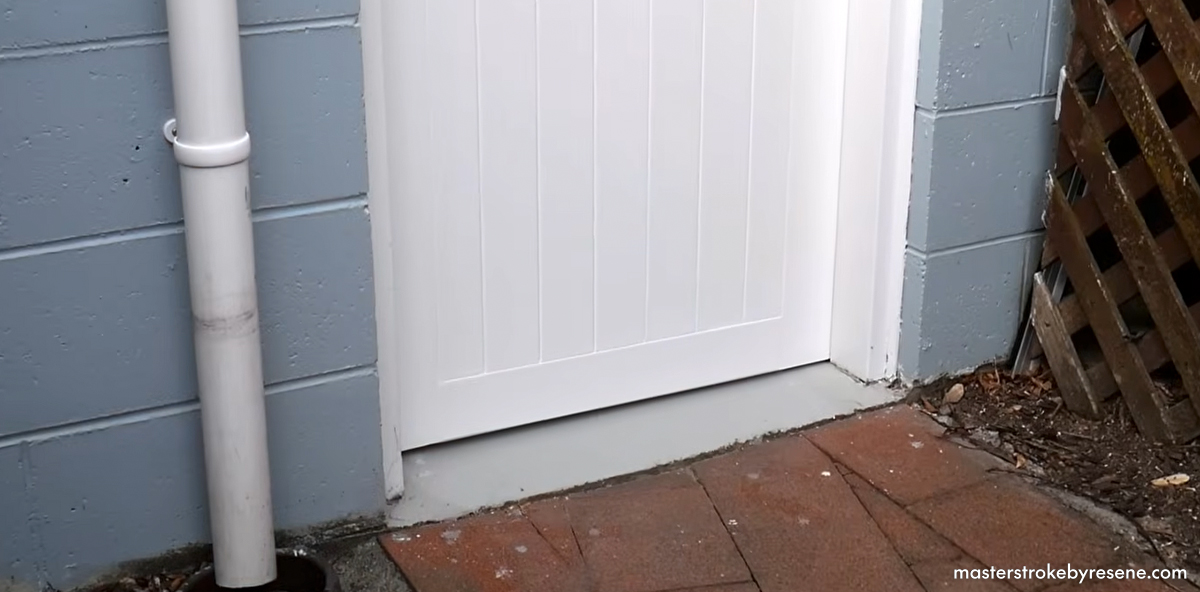
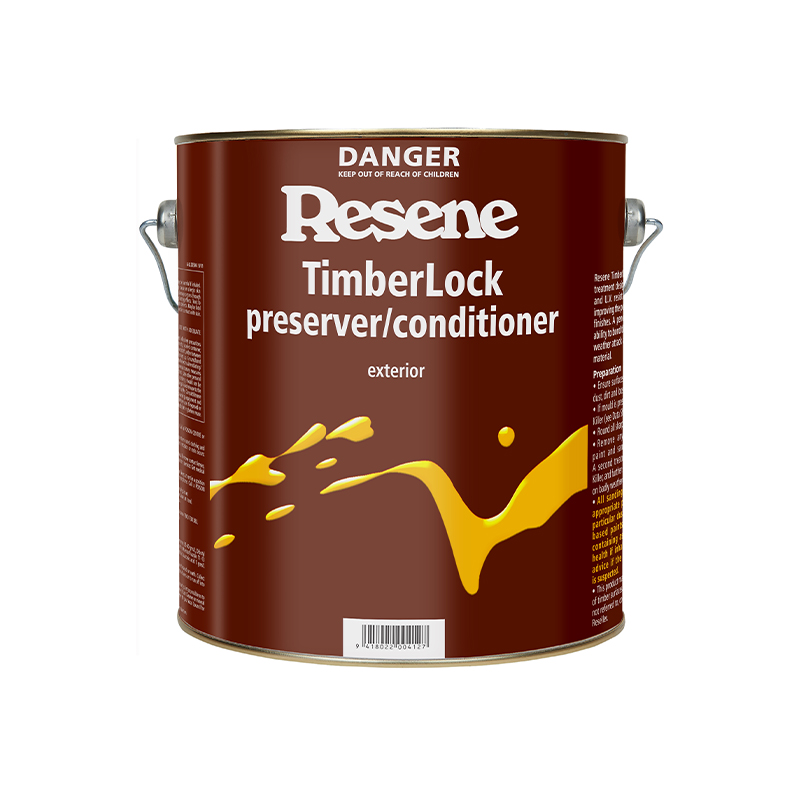
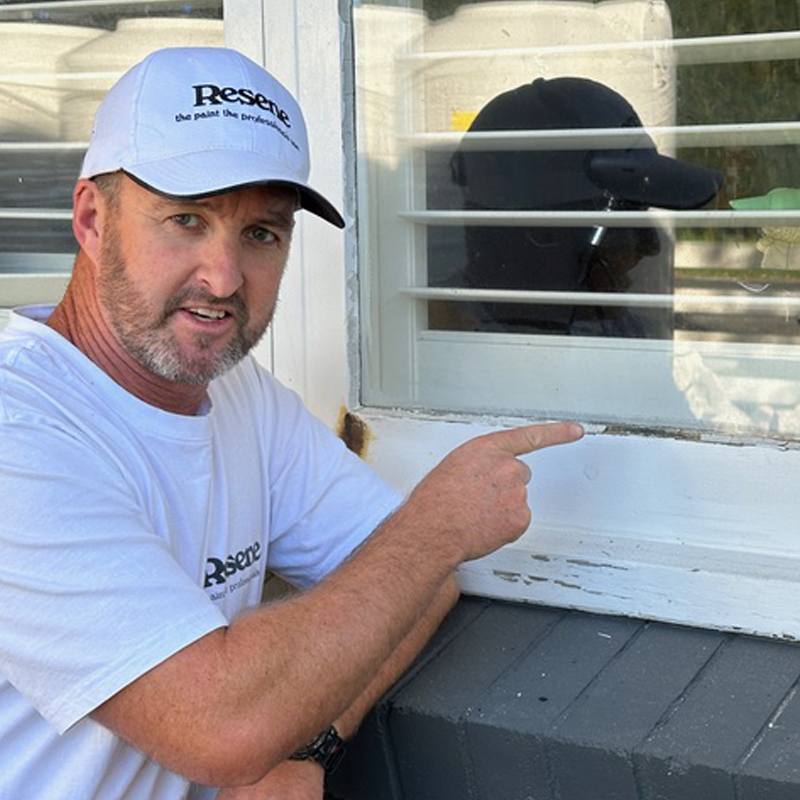
In this Weekend DIY Fix, qualified builder Chris Donnelly (Ngāti Maniapoto) shows us how to fix a damaged timber door.  It’s the door to his mum’s garage, which was recently damaged in a fire. When he was water blasting it, he discovered some rot and deterioration in the timber, as well as smoke damage on the inside from the fire. 

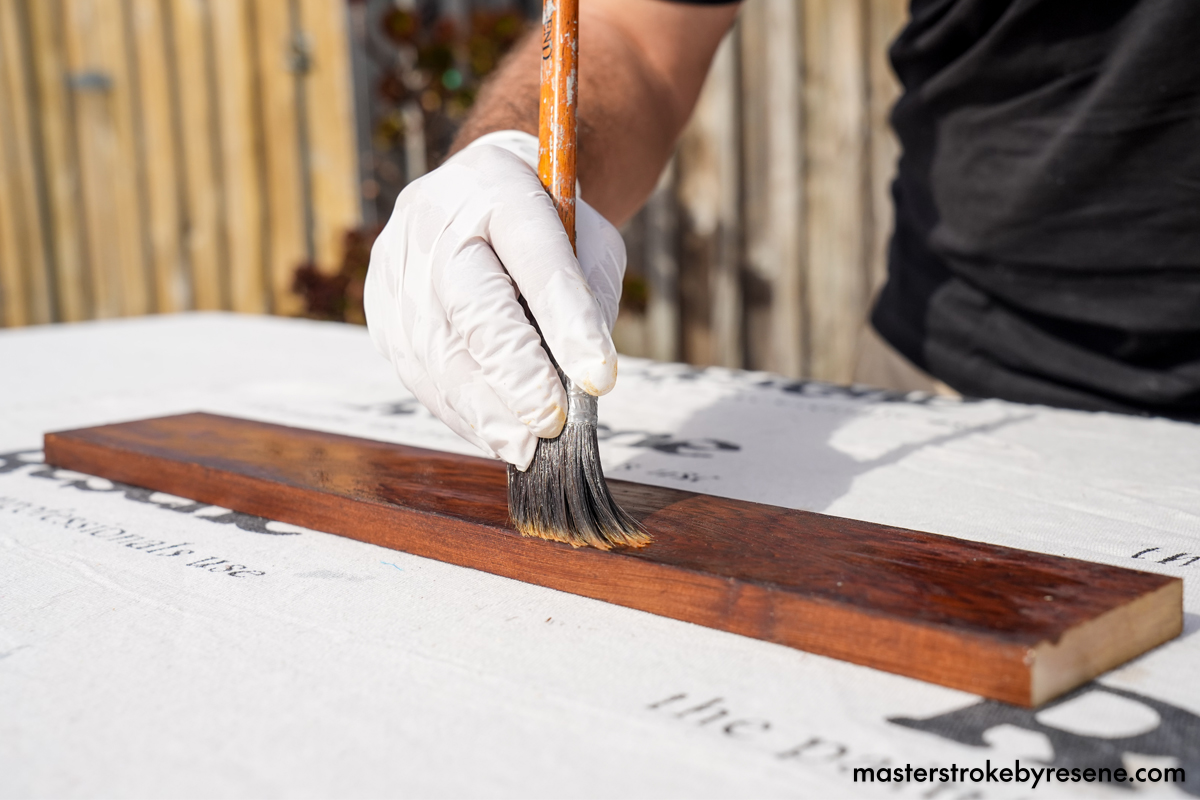
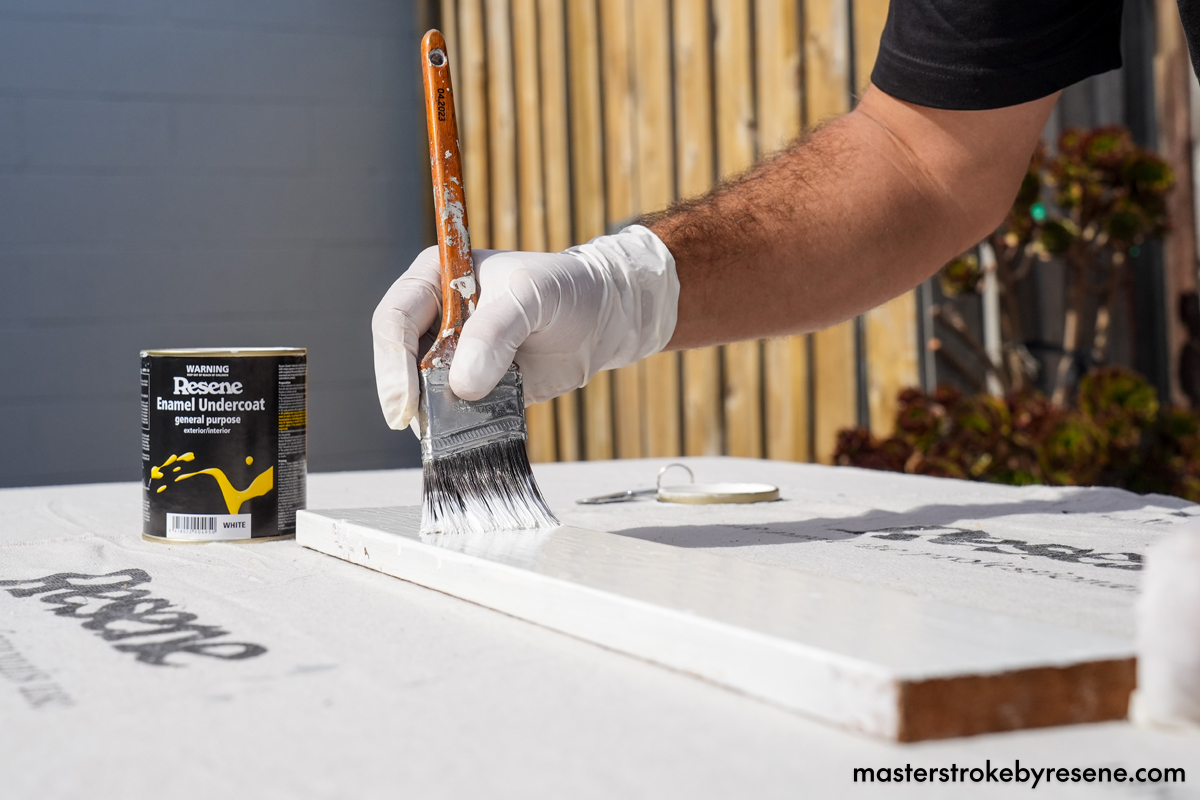
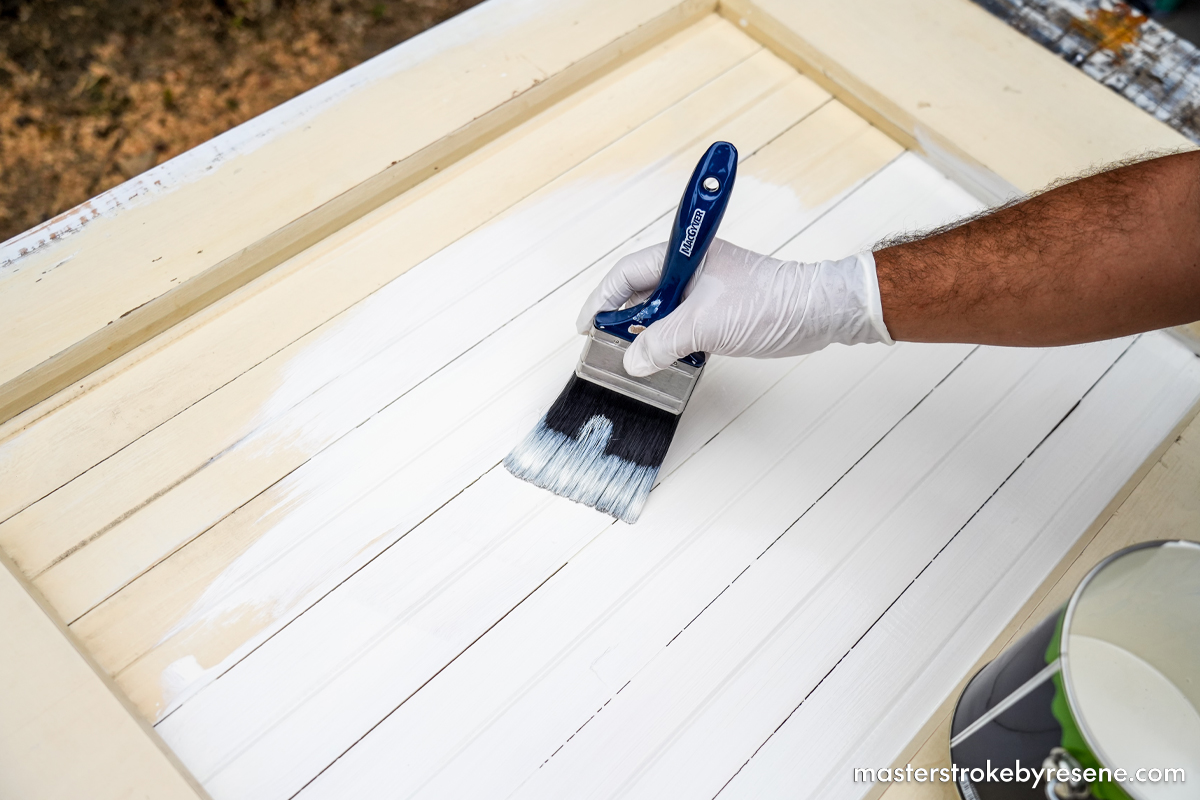
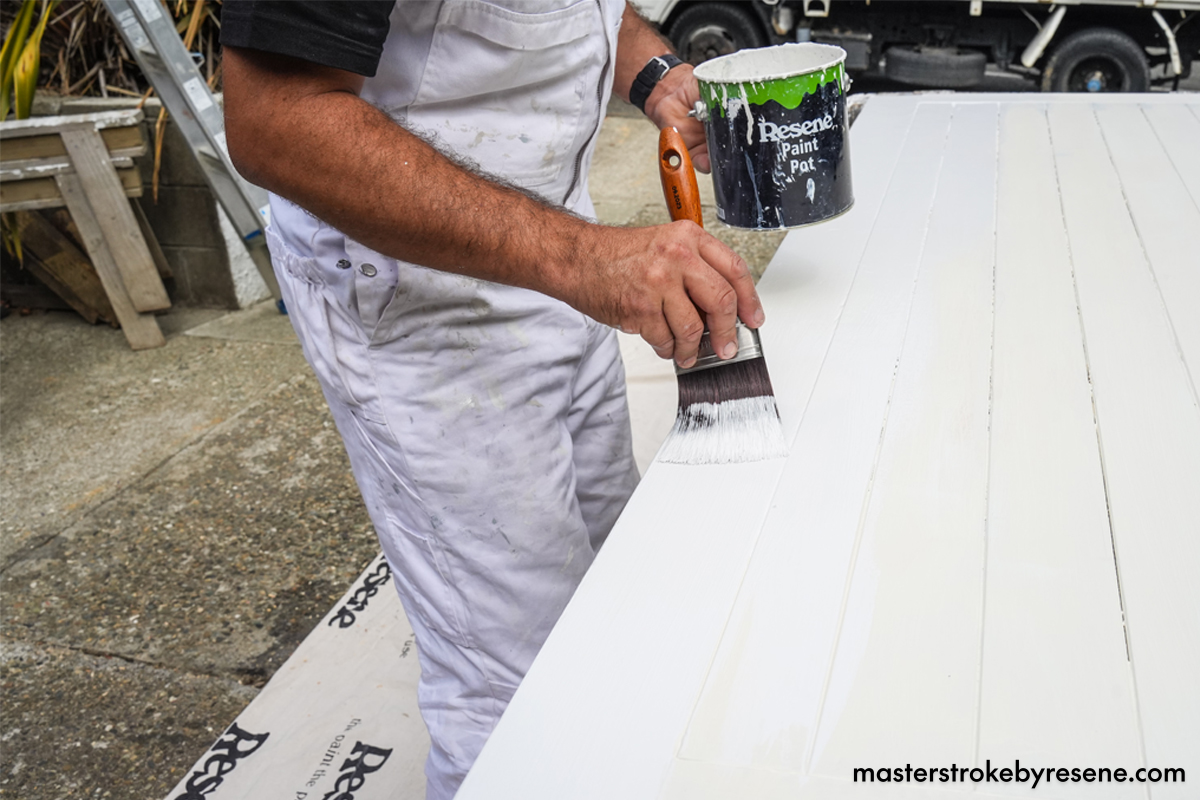
All is not lost however, as it’s amazing what you can fix with the right equipment and Resene products. Part of the wood at the base was so severely damaged that Chris replaced it with a new board. He also dealt with the smoke damage and repainted the entire door. 

Follow along below if you’ve got a damaged timber door that needs some love.

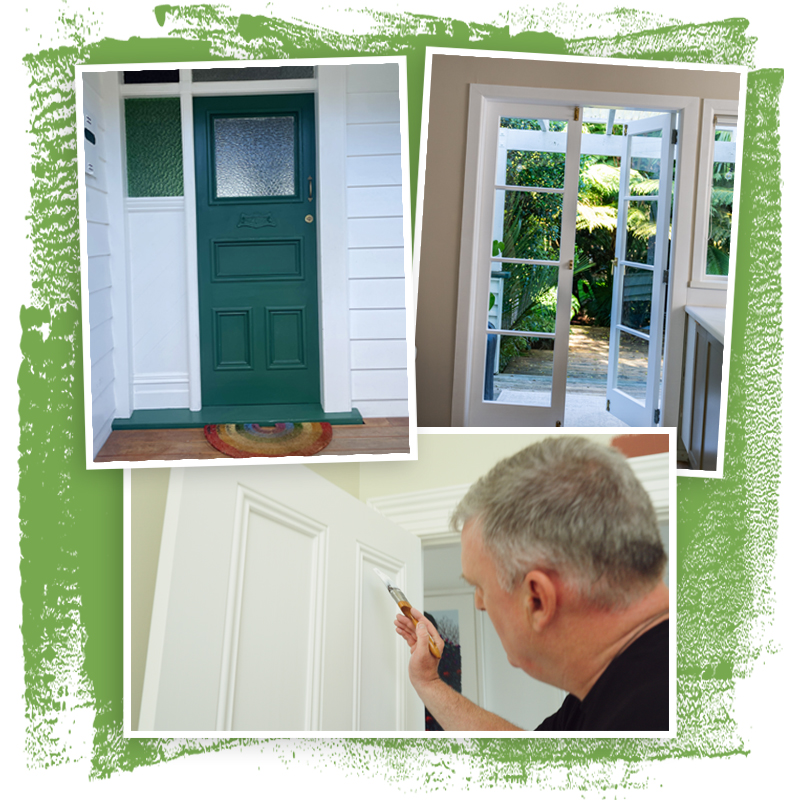
Check out how Chris repaired other smoke-damaged parts of his Mum’s property, including repairing and repainting heat-damaged weatherboards.

  • Power drill
  • Hose
  • Circular saw
  • Scrapers
  • Clamps
  • Orbital sander
  • 120 grit and 180 grit sanding discs

1

Remove door

Take the door off its hinges and put it on some sturdy stools in a clear area to make it easier to work with.

2

Clean

Started by cleaning the door with Resene Heavy Duty Paint Prep and Oil Remover. 

It’s a biodegradable detergent designed to clean painted surfaces prior to repainting.  

Wear safety gear and decant it into a plastic spray bottle. Spray it on and scrub to clean the door, then rinse with water. Give your door a good wipe down and wait for it to dry.

3

Prep new timber

As the timber on the bottom of Chris’ door is so damaged, it’s being replaced with a new timber board which needs to be prepped properly.

If you are replacing any boards on your door, the first step is to apply Resene TimberLock. This is a multifunctional timber treatment designed to increase the water, fungal and UV resistance of the wood surface, improving the performance of subsequently applied finishes. 

Place your drop cloth down, give the Resene TimberLock a stir and apply it over every surface using a paintbrush.

4

Prime new timber

Once the Resene TimberLock is dry, prime the replacement board with Resene Wood Primer and wait for it to dry. 

The final part of this prep process is to apply Resene Enamel Undercoat to the board. Remember to wear gloves because these three products are all oil-based.

5

Create a rebate

While the replacement board dries, form a rebate on the bottom of the door where it will be inserted. 

Remove the old timber at the base of the door, then measure a rebate onto the new timber. Aim for a 5mm rebate, which should mean that the new timber fits like a glove.

6

Fill the gaps

To repair the old wood and fill in the gaps, use Repair Care Super Finish 2-in-1. Use a scraper to flatten it out one way and then scoop it up the other way to fold it together and work it into the right consistency. 

Apply where needed and wait 30 minutes for it to dry. 

If you spot any more rot while you’re working, scrape it out.

7

Attach replacement timber

Apply Repair Care Dry Fix to the area where the new timber will be attached. This will maximise adhesion when it is combined with Repair Care Dry Flex, which can also be used to fill in any other holes or gaps in the door that you may have missed. 

Slot the board into place and clamp it, where it will need four hours to dry.

8

Sand

Once the adhesive has dried, give the whole door a good sand – start with a 120 grit sanding disc and finish with a 180 grit sanding disc. This will allow the new paint to key into the old paint. 

Brush away the dust and gently scrape away any remnants of glue, then wipe the door down with a damp cloth.

9

Prime

Decant Resene Quick Dry into a paint pot, the prime the bare bare timber with before applying a full coat to the entire door.

10

Apply the top coat

For the topcoat, Chris is using Resene Lustacryl semi-gloss waterborne enamel, which is a great choice for doors. He’s chosen the classic colour Resene Black White. 

Apply two coats, leaving enough dry time in between.

11

Reattach the door

Once dry, rehang the door and admire your handiwork!

Before
After

About MasterStroke by Resene
MasterStroke by Resene is here to help you master your paint and decorating DIY projects. Brush up on your skills with advice, tips and ideas from our trusted experts.

Check out the latest how-to videos on our YouTube channel.