How to

How to reglaze a window and repair damaged putty

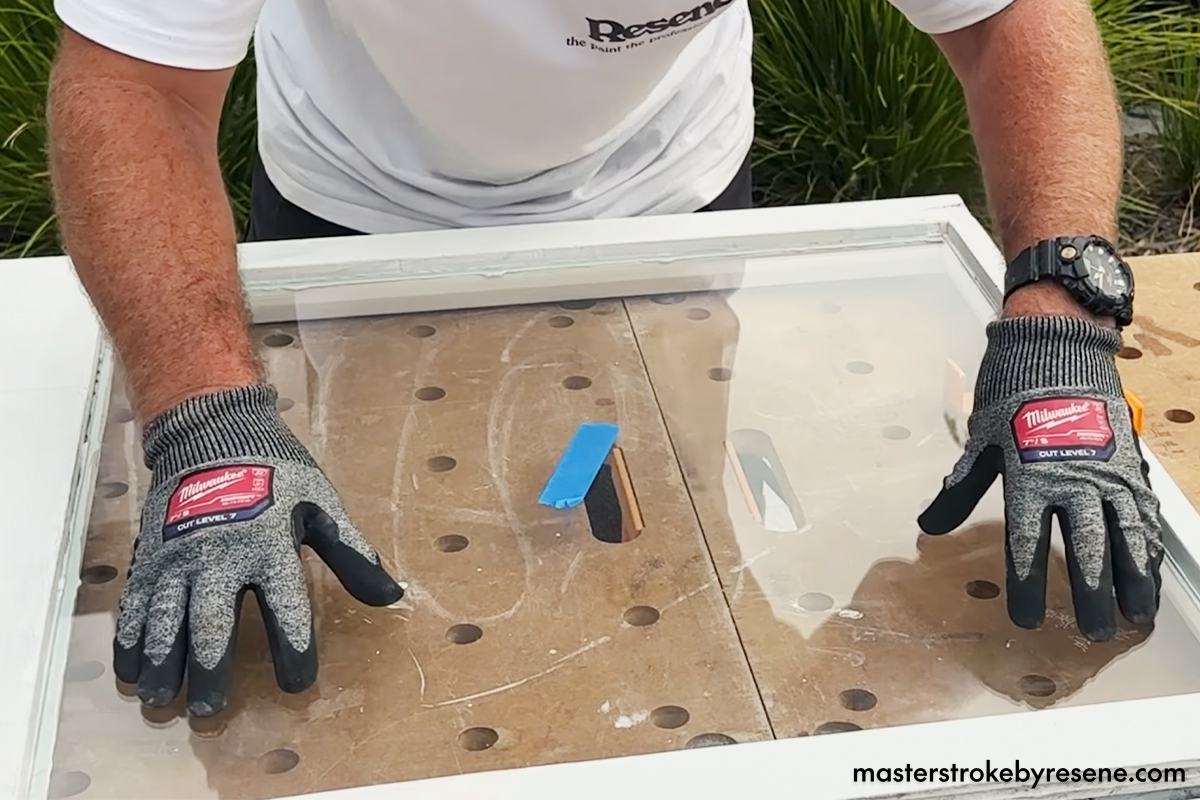
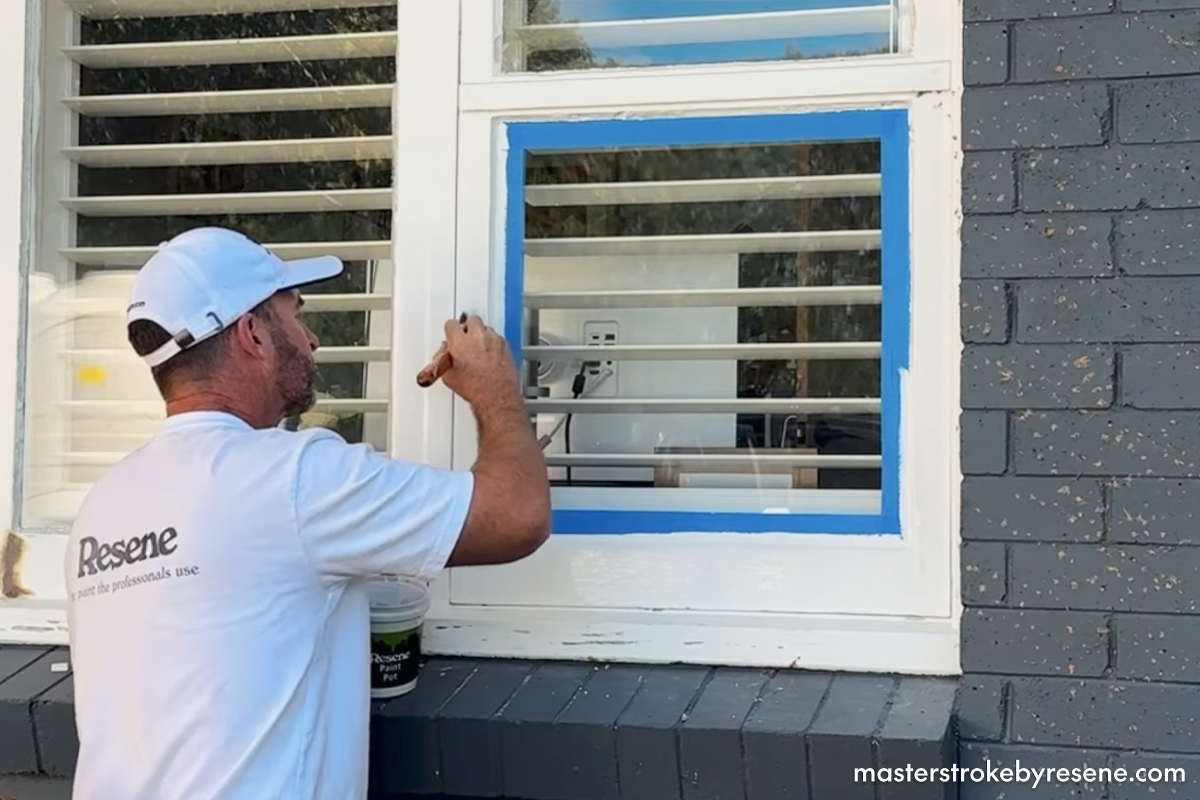
Pāpāmoa handyman Richard Mills is a jack of all trades when it comes to home repairs. He’s a strong advocate of gaining the confidence to be able to fix any issues that may arise at your place, with the help of Resene products. It’s amazing what you can do with a little know-how and helpful hacks from the pros. In this video, he shows you how to reglaze timber windows and repair damaged putty. 

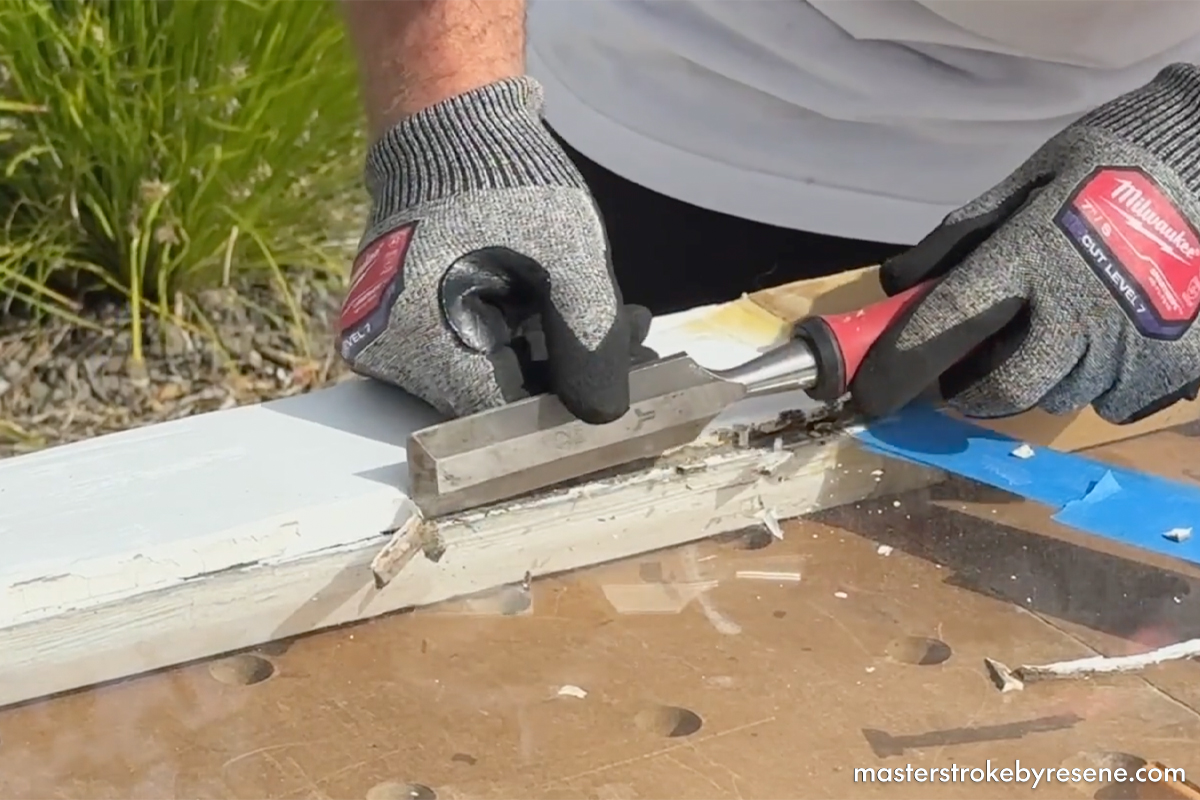
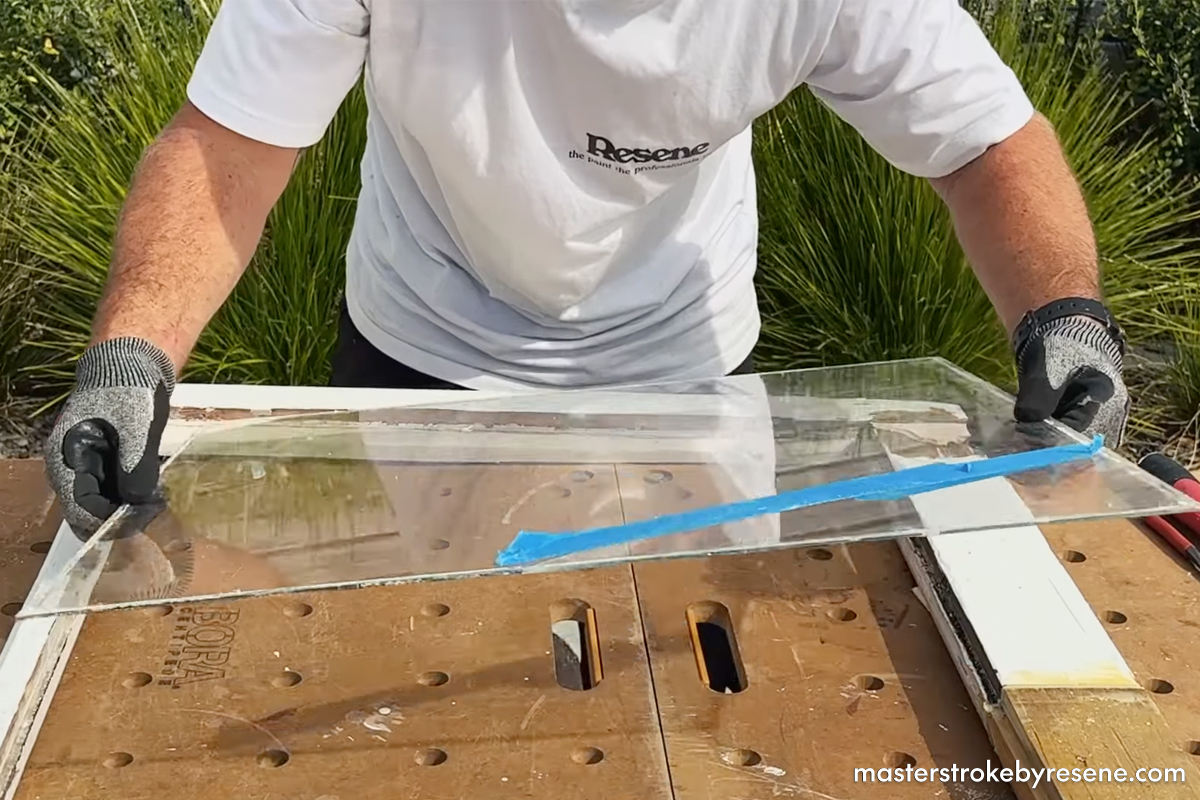
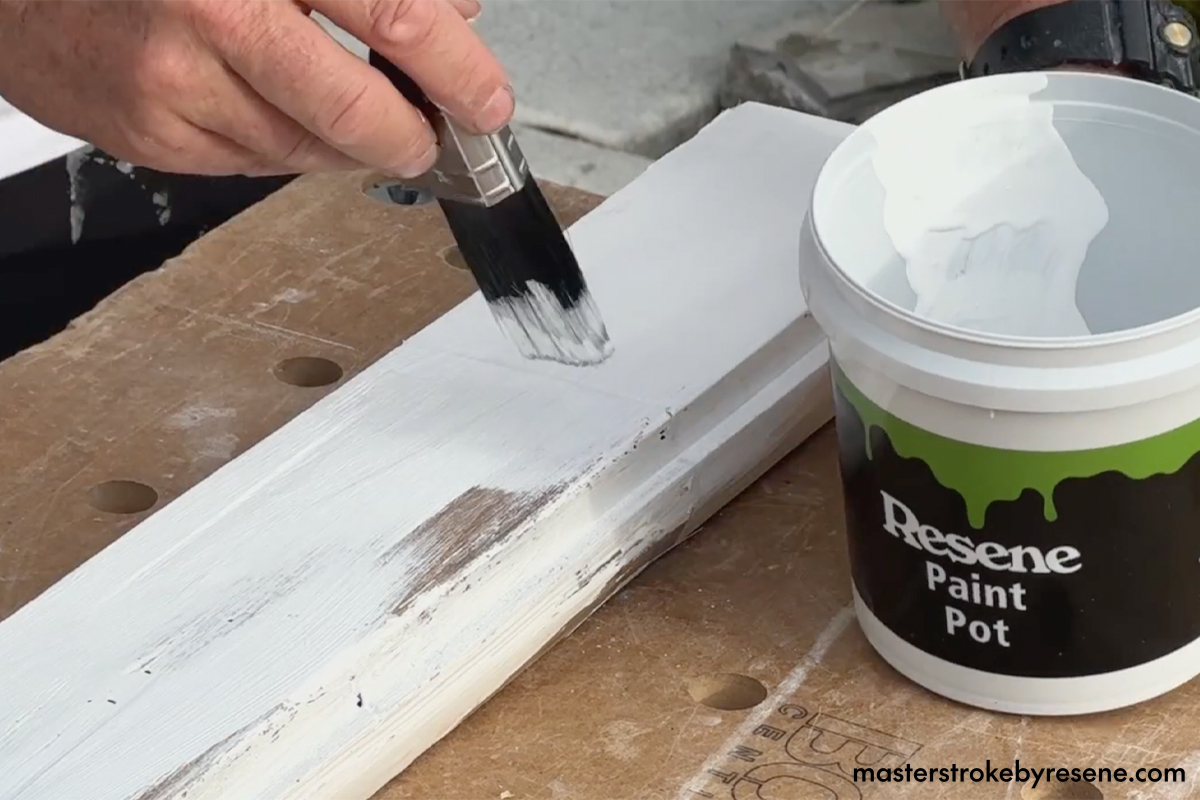
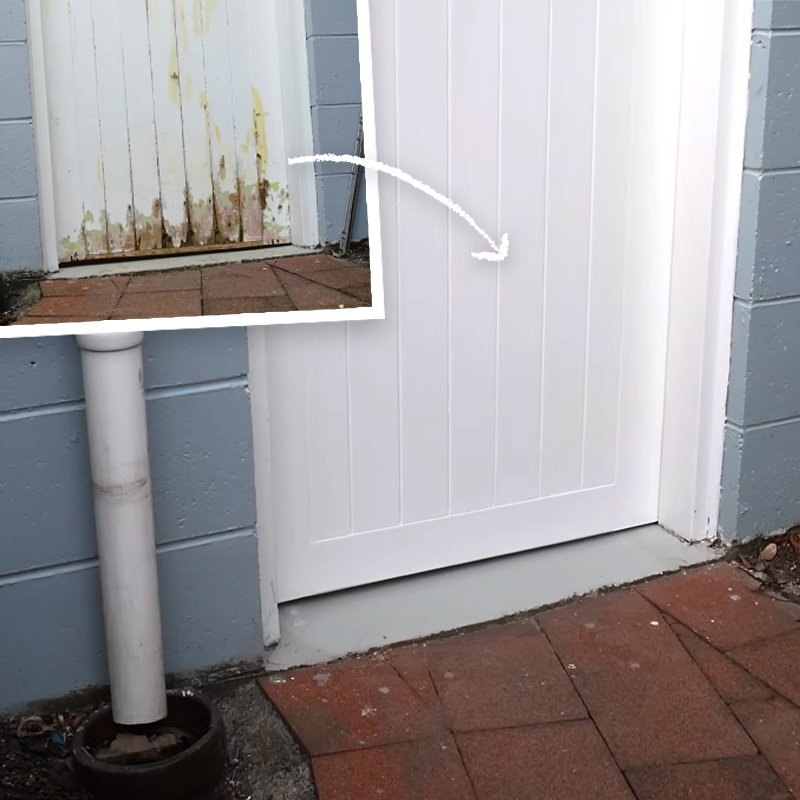
Often with these old timber windows, you might find that small sections of putty need replacing while the rest is still in really good condition and just needs a quick sand and a paint. If you’re in that position, then it’s best to try and match the product that’s already there. On the other hand, if your window glass is broken and you need to replace the entire pane, you’ll also need to redo all of the putty. 

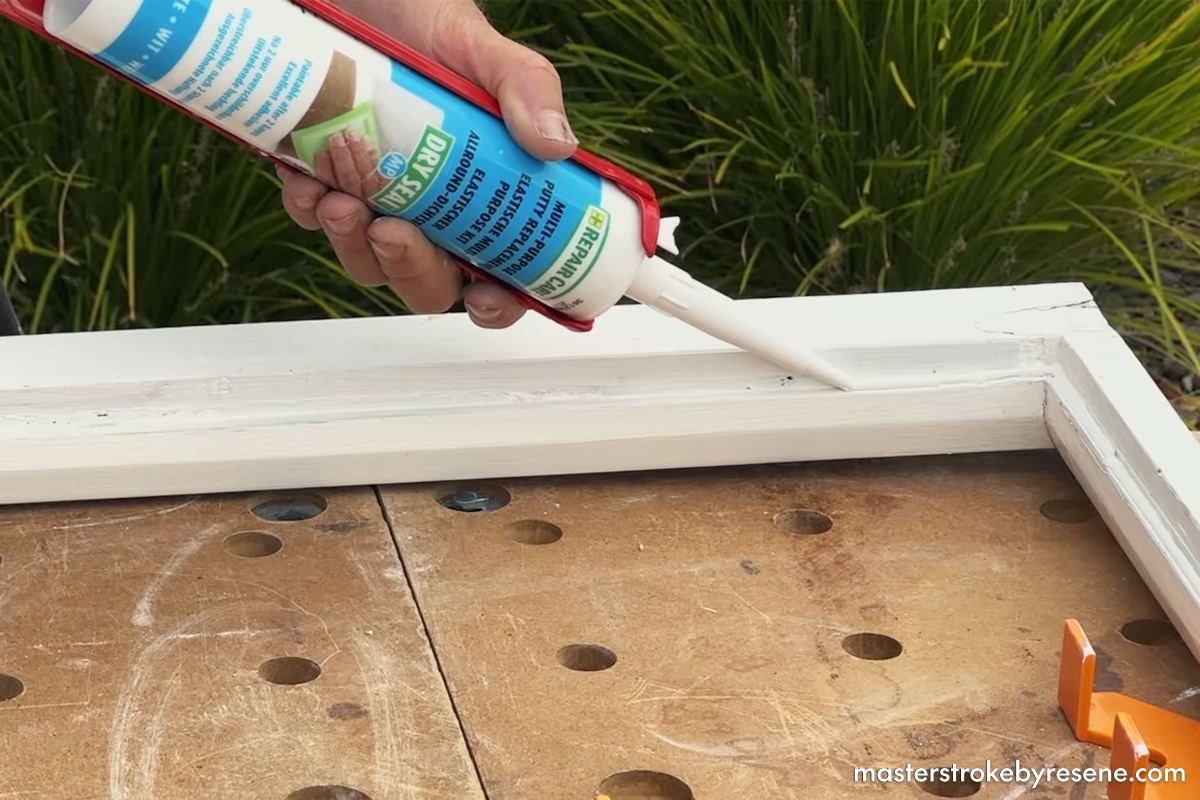
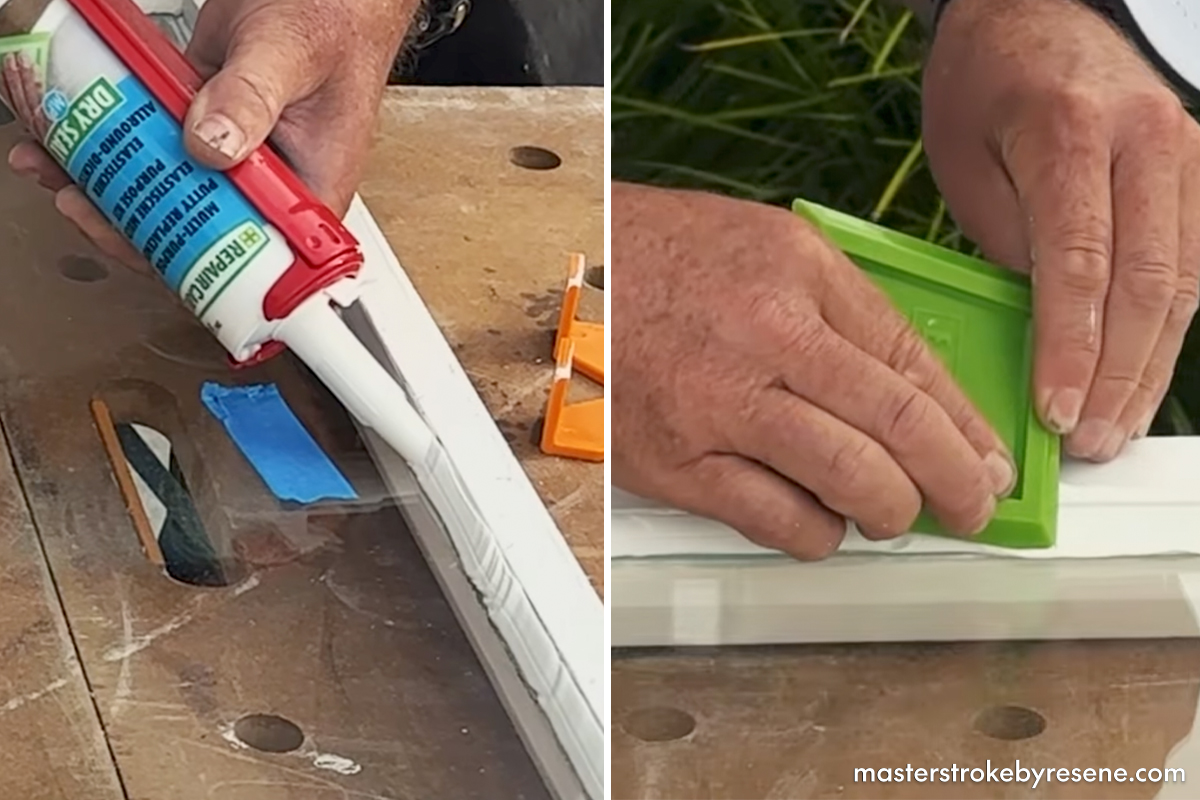
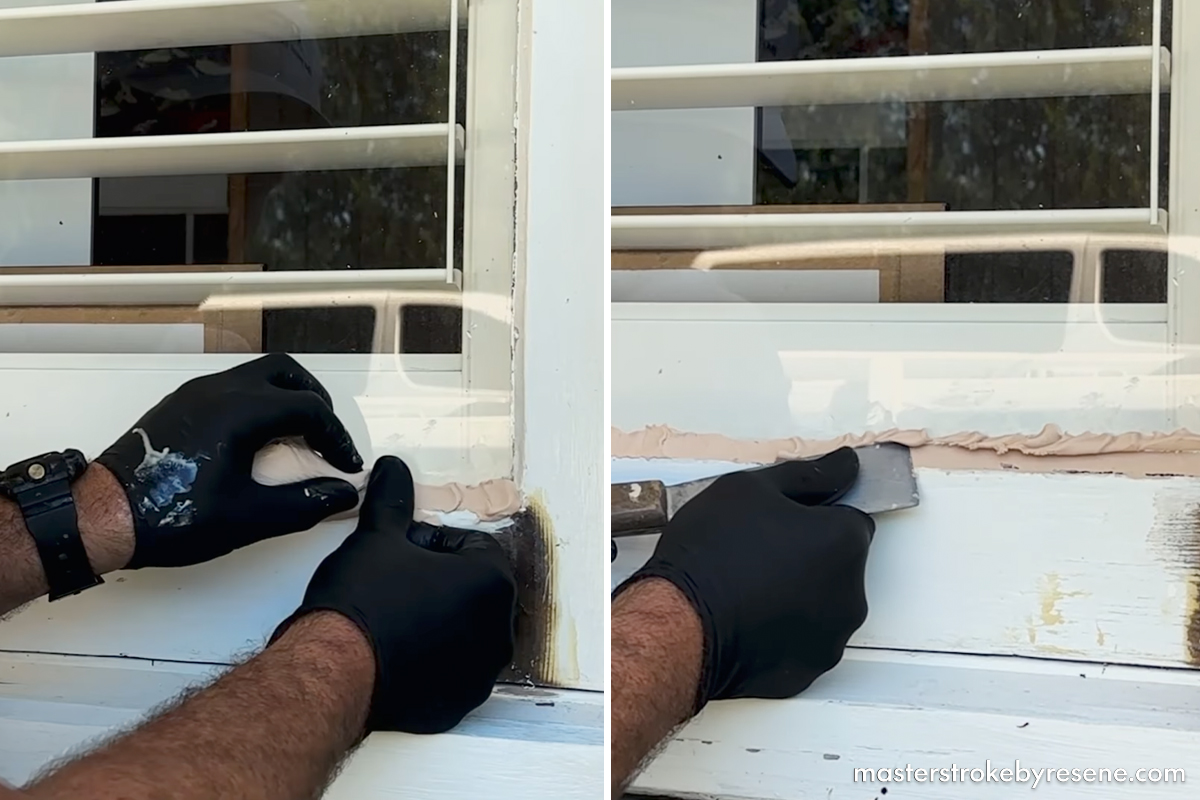
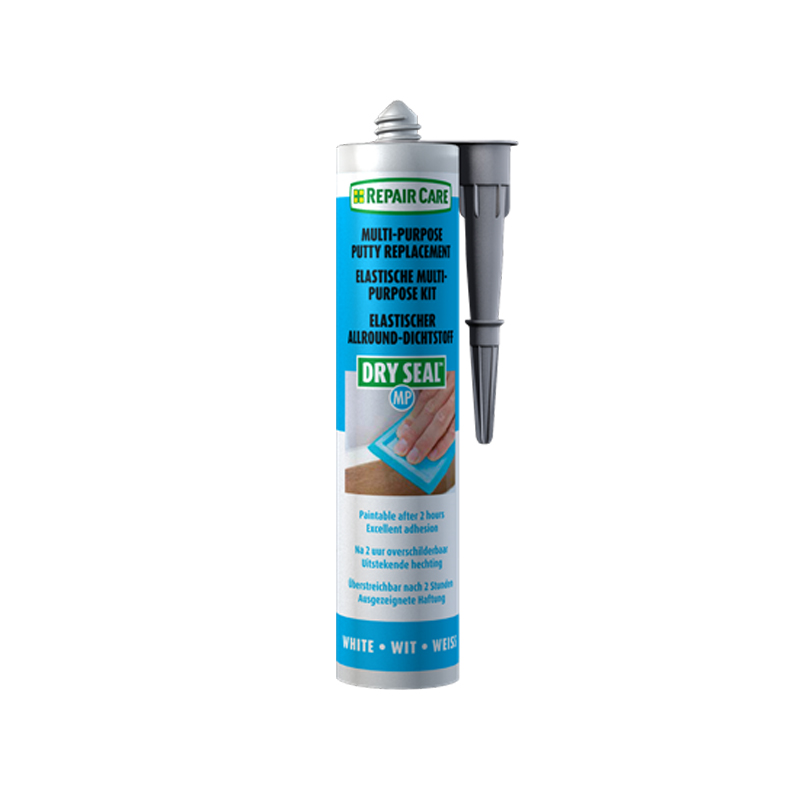
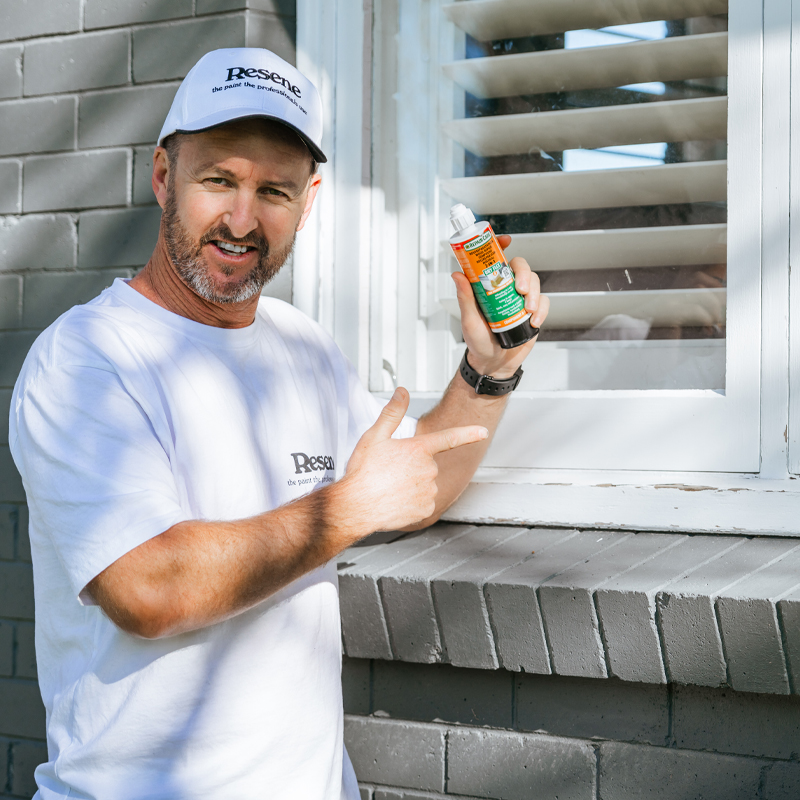
Either way, there are a couple of different products you can use to tackle these issues – one is a traditional-style putty, one is a more modern silicone-style product from Repair Care – but each has specific uses they’re suited to. 

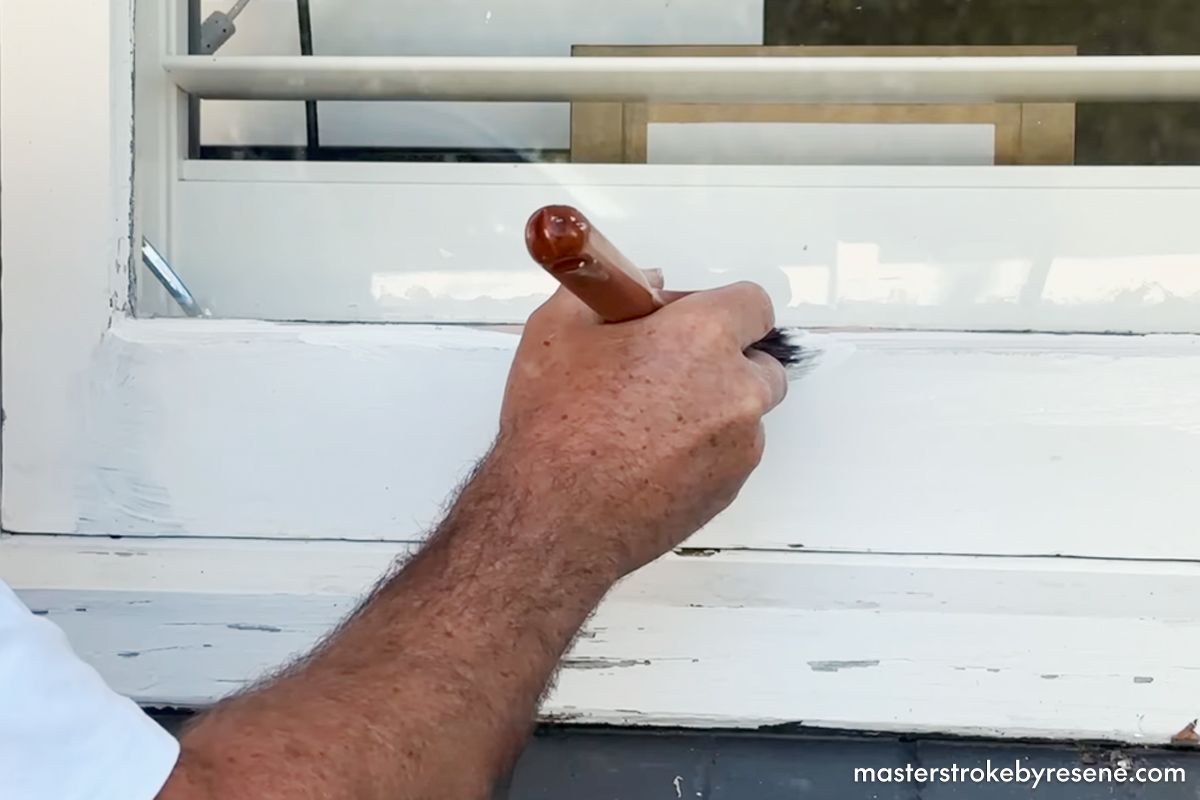
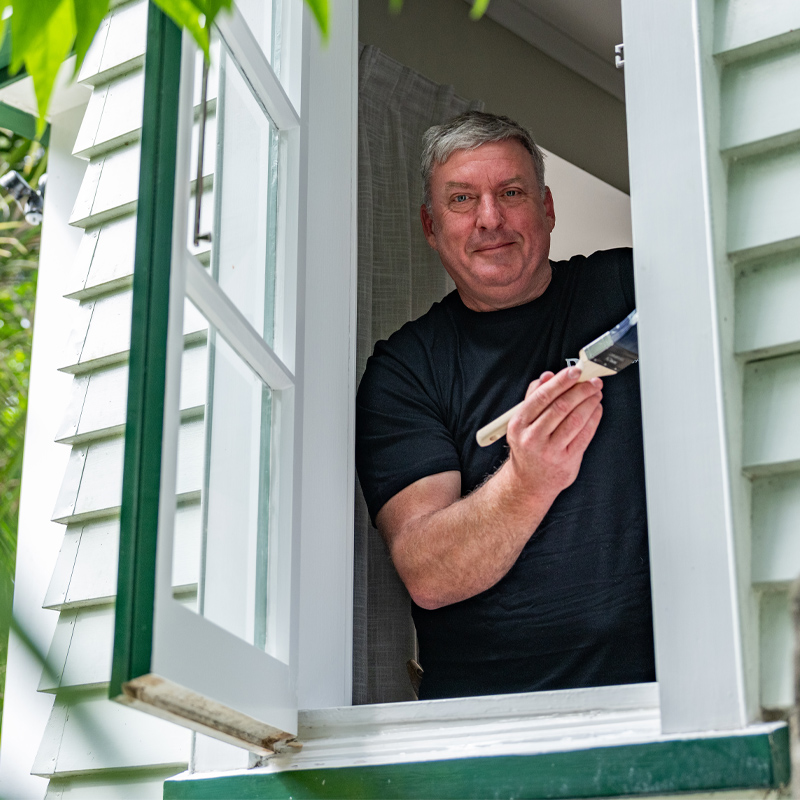
Richard’s top tip for window reglazing? Start by working on the windows at the back of your house – by the time you get to the front, you’ll be a pro! 

Read on to find out how to use these products, whether you’re reglazing or simply tidying up worn-out putty.

  • Chisel
  • Hammer
  • Router
  • Straight edge
  • Clamps
  • Caulking gun
  • Sealant spatula
  • Scraper
  • Putty knife

If you need to replace the glass:

1

Remove the old putty

While Richard says that this is a job you can do in situ, he’s removed the window frame to make life easier here. Place it on a workbench and put on cut-resistant gloves. You might only need a chisel with a bit of pressure to remove the old putty, particularly on the bottom edge.

2

Remove the damaged glass

Remove all the little metal glazing points that stick into the rebate and hold the glass in place. Next, very carefully prise the glass out. Finally give the rebate a quick sand and wipe away the sanding dust.

3

Prime and paint the frame

Apply one coat of Resene Quick Dry and leave to dry. Then topcoat with two coats of Resene Lustacryl semi-gloss, allowing to dry between coats. Richard used the colour Resene Seashell.

4

Seal the deal

Since he’s replacing the glass in this window frame, Richard is using Repair Care Dry Seal MP, which he says creates a better seal, is more flexible and longer lasting than the old-school glazing putties. Lay in a bead around the rebate of the entire frame.

5

Install the glass

Now you’re ready to put your new pane of glass in. Place it gently into the rebate and replace the glazing points back in – you might need to use new glazing points if the ones you removed are old or damaged.

Use a scraper to remove any excess Repair Care Dry Seal MP from the underside of the glass.

6

Finish the seal

Now it’s time for the main event: sealing the front edge of the rebate on the window. The key here is cutting the caulking tube to the right size and angle so it perfectly lines up with the front edge and inside edge of the rebate. 

Once you’ve finished applying the seal, use your spatula to tidy up, remembering you want the bottom edge to be at the same height and level as the inside of the rebate.

If you need to replace worn-out sections of putty:

1

Remove and replace

Remove the damaged putty and sand the area smooth, wiping away all sanding dust.

Wear gloves and scoop out a blob of glazing putty, then knead it between your hands until it becomes pliable.

Slowly press it into the rebate using your finger. Then take your putty knife, making sure to line that tip up with the inside edge of the window, and run it along the putty to smooth it off.

As Richard points out, the beautiful thing about using putty as a DIYer is that if you’re not happy with the result, you can just peel it out and start again.

2

Sand and prime

Once the putty is dry, give the edges a light sand and wipe away the sanding dust.

Apply one coat of Resene Quick Dry and leave to dry.

3

Paint

Now it’s time for your topcoat – Richard is using Resene Lustacryl semi-gloss in Resene Seashell. Give the can a good stir, then pour it into a paint pot to prevent your brush contaminating the whole pot. 

Mask around the glass with painter’s tape, leaving a small gap between the edge of the putty and the glass. By allowing a small amount of paint onto the glass, it can help prevent any water getting down behind the putty.

Apply two coats of paint, leaving to dry between coats.

About MasterStroke by Resene
MasterStroke by Resene is here to help you master your paint and decorating DIY projects. Brush up on your skills with advice, tips and ideas from our trusted experts.

Check out the latest how-to videos on our YouTube channel.