How to

How to fix heat-damaged weatherboards

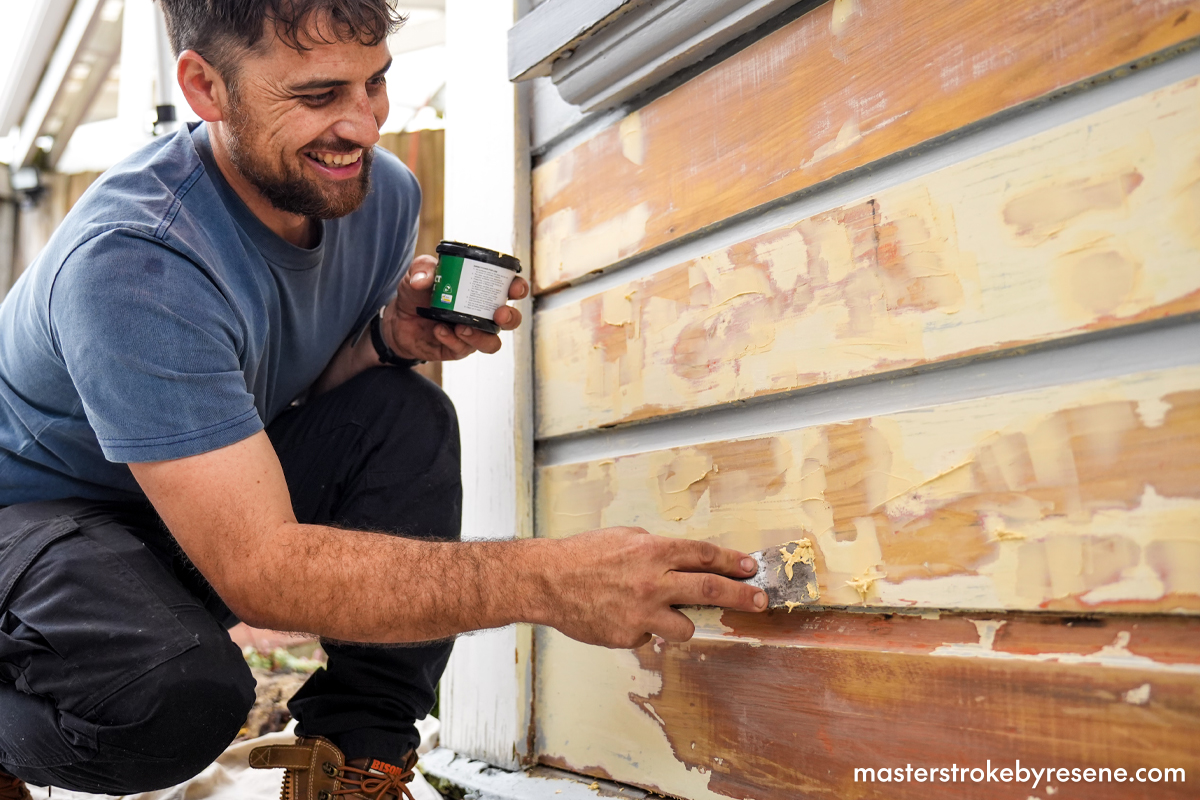
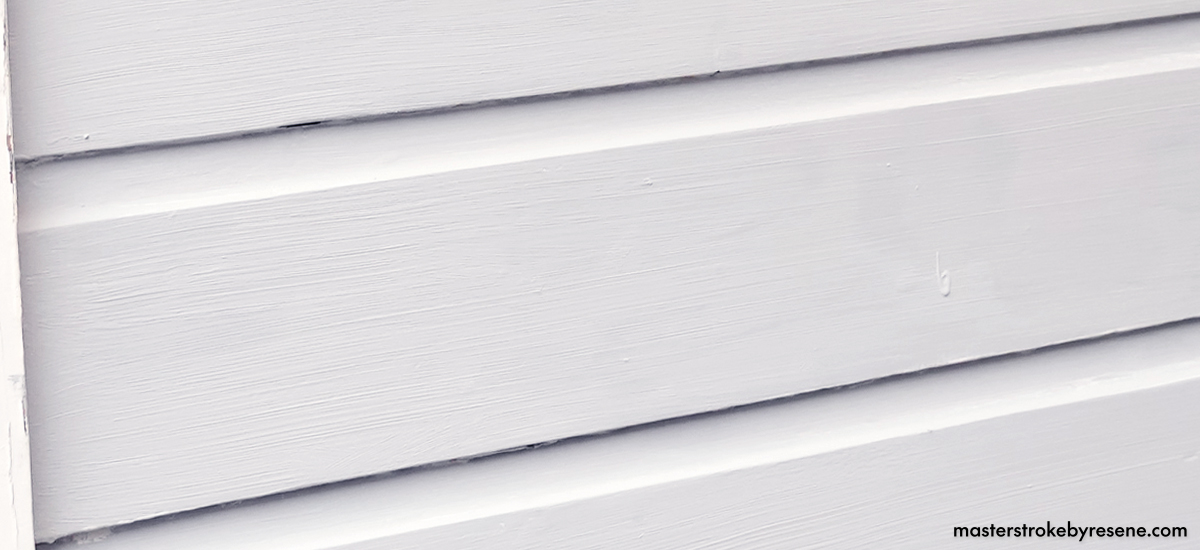
If your home’s precious exterior paintwork is affected by extreme heat, there is no need to stress. In this Weekend DIY Fix video, qualified builder Chris Donnelly shows how he fixes heat-damaged weatherboards on his mother’s character home. Unfortunately, her garage caught on fire and was destroyed, which caused the paint on her weatherboards to bubble with the heat from the fire

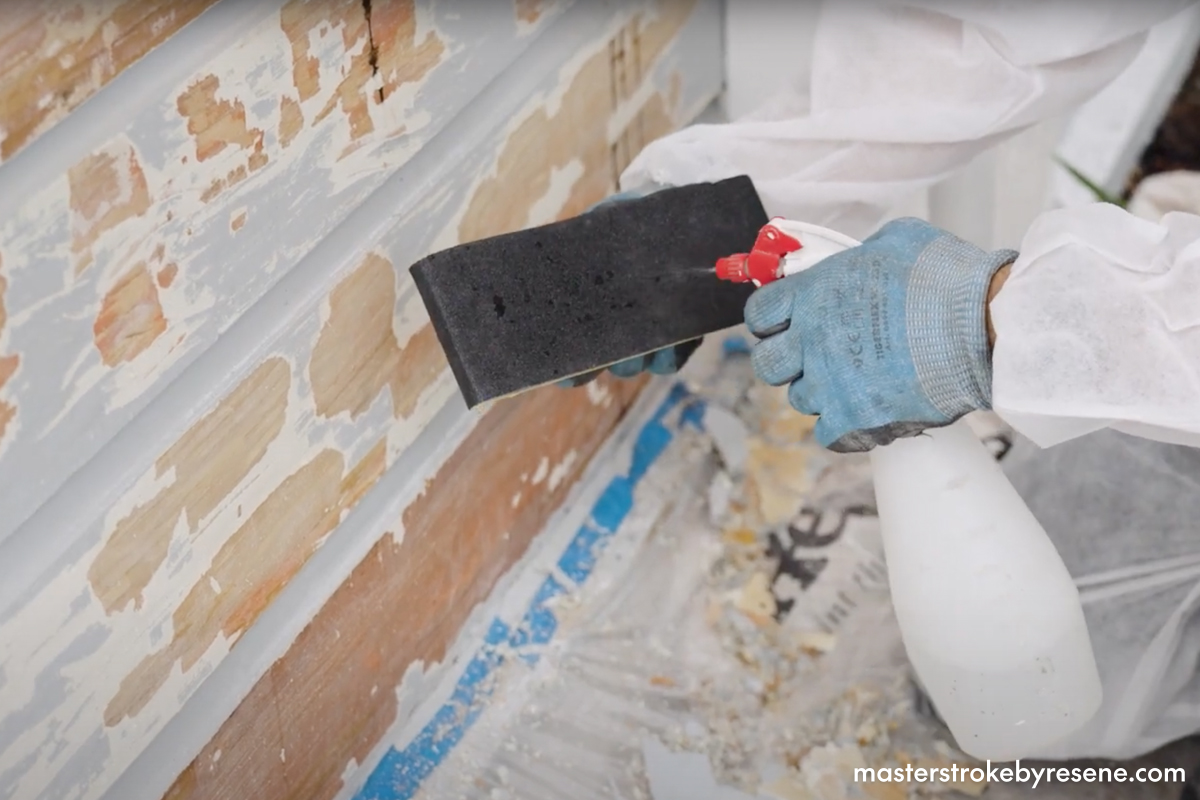
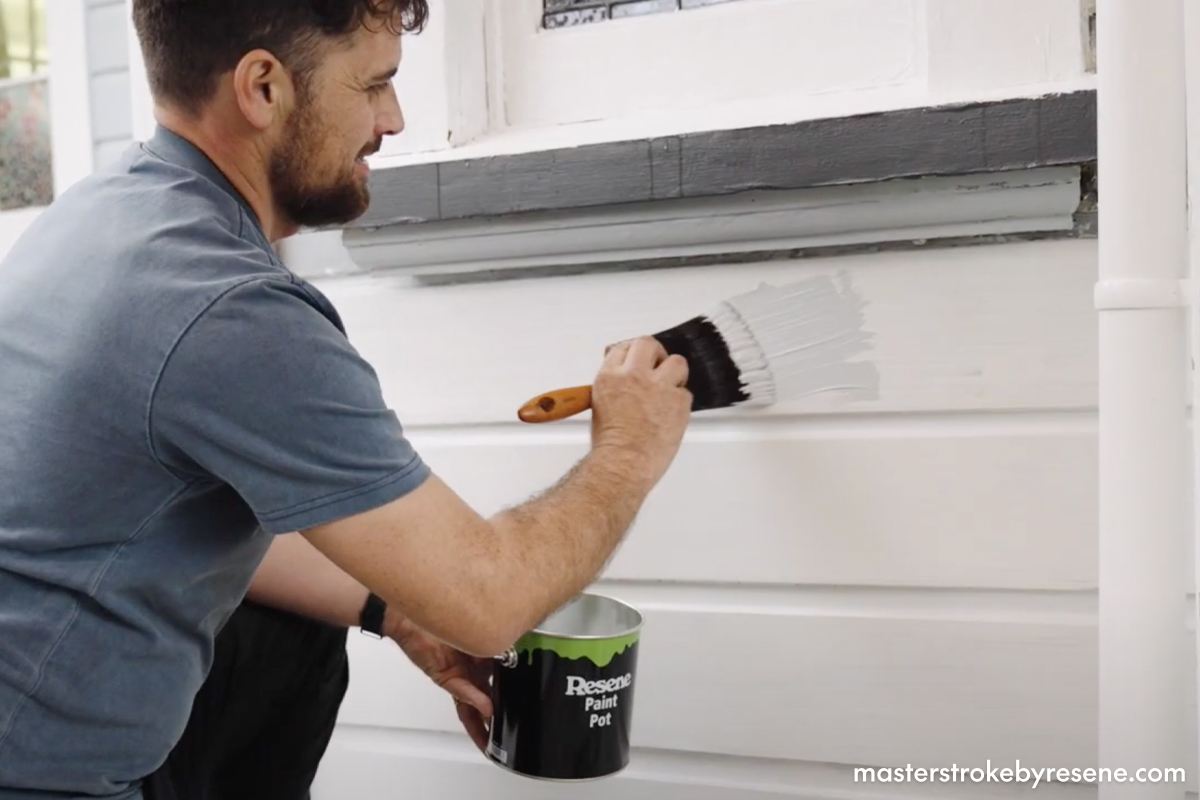
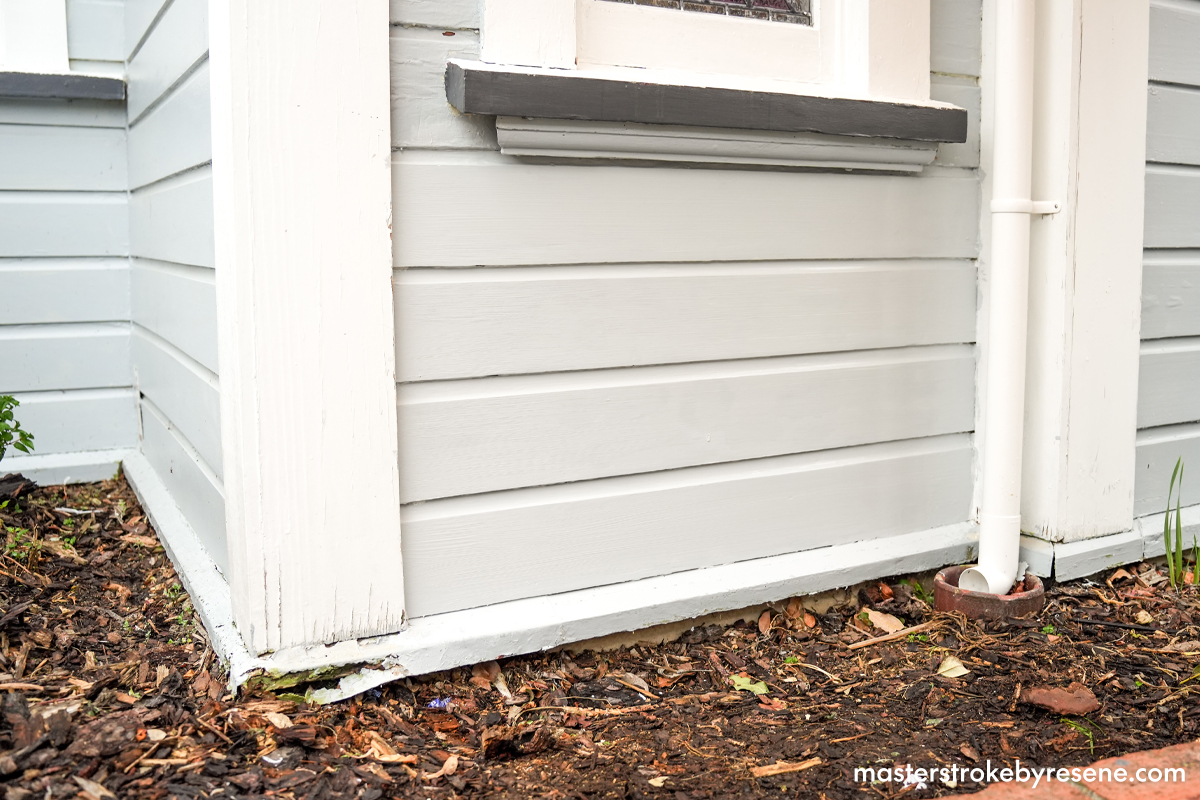
Luckily there was no smoke damage to the building, so all that was required was a scrape and a repaint. As she’d only had the house painted a year previously, it was definitely worth Chris taking the time to fix the damaged weatherboards. 

Follow along with these step-by-step instructions to mend any heat-damaged weatherboards at your place.

1

Remove damaged paint

With older homes, it’s always important to be careful in case there are traces of lead in the older paint layers. 

Always test paint on older homes for lead with a lead-based test kit from your Resene ColorShop before you remove any paint. If you find lead-based paint, you might want to get a professional to help you with your project to ensure the lead-based paint is safely handled. 

Place your drop cloths down and make sure to put on your safety gear – gloves, mask and glasses. Wet sand any flaking paint, ensuring all the sanding dust and debris is contained.

2

Fill and smooth

Fill any holes and gaps with PAL Contract Filler. 

Once dry, sand the weatherboards smooth and wipe away the sanding dust.

3

Prime time

Decant Resene Quick Dry into your Resene paint pot and apply it to the weatherboards.

4

Topcoat

Once the primer is dry, it’s time for the topcoat. Chris is using Resene Lumbersider Low Sheen in Resene Gull Grey.

Decant Resene Lumbersider Low Sheen into your paint pot – this will not only make it easier to manoeuvre the paint but will also stop dirt and dust entering your main paint pail, which can cause paint to go off. 

Use a PAL Legend Flat brush to apply it to the weatherboards, then allow to dry before applying a second coat.

5

Done!

No more bubbles here – the weatherboards look as good as new repainted in Resene Gull Grey!

Before
After

What type of paint should I use on weatherboards?

  • Resene Lumbersider Low Sheen is ideal for a huge range of exterior projects, including weatherboards. Its low sheen finish will help to hide any surface imperfections. 
  • Resene Sonyx 101 is an exterior semi-gloss paint which creates a sleek look, allowing architectural features such as fretwork to stand out. The semi-gloss sheen makes it easier to clean than a low sheen finish. 
  • Resene Hi-Glo is an exterior gloss finish, which used to be one of the most popular options for exterior weatherboards. Many homeowners have started to use lower sheen finishes now. Resene Hi-Glo looks beautiful on a well-prepared villa in off white tones and can also help to accentuate architectural features and bolder colours.
  • For wooden joinery, trims and front doors, Resene Lustacryl semi-gloss will do the trick, or if you prefer a higher gloss finish use Resene Enamacryl or solventborne Resene Super Gloss.

All of these waterborne paints are low odour, easy to clean up in water and have Eco-Choice approval.

What should I consider before starting the job?

  • It’s best to stay ahead of the sun when painting the exterior of your home, so make note of how the sun travels around your property. Avoid painting in direct sunlight as this may make your paint dry too quickly. The ideal painting conditions are 15-20°C with 70-80% humidity and a very gentle breeze. 
  • If you’re painting in autumn and spring, be aware of sudden drops in temperature and dew appearing on your paintwork at the end of the day. If there is a risk of a light shower coming through, add Resene Umbrella Additive to your paint for extra protection to help prevent your paint being washed off the wall.
  • If you’re painting in the height of summer, you may need to use Resene Hot Weather Additive to prevent your paint from drying too quickly. Simply add to the waterborne Resene paint you are using and it will slow down the drying time, helping you maintain a wet edge and get a quality finish. 
  • If you’re painting in winter, the cold temperature can affect the paint drying. Adding Resene Wintergrade Additive to selected Resene waterborne paints will allow your paint to dry at temperatures as low as 3°C. 
  • Always get the right safety gear when painting your house exterior. Wear a hat to protect yourself from the sun and if your home is more than one storey you may need to hire scaffolding. Remember to take plenty of breaks, especially in the hottest part of the day.

How can I get it looking perfect?

A wet edge means the end of your painted area is still wet before the next stroke is applied. This will prevent brushstrokes from showing in the finished paint job. If you allow the paint to dry out halfway along the weatherboard, there may be a visible line or lap mark. If you find your paint is drying too quickly, you may need to add Resene Hot Weather Additive to your paint. Take care not to overwork the paint or spread it too thinly as this will make it harder to get a smooth finish.

If you need help choosing your paint or specific advice for applying paint to your project, visit your local Resene ColorShop or Ask a Resene Paint Expert free online.

About MasterStroke by Resene
MasterStroke by Resene is here to help you master your paint and decorating DIY projects. Brush up on your skills with advice, tips and ideas from our trusted experts.

Check out the latest how-to videos on our YouTube channel.