How to

How to create a rust effect feature wall

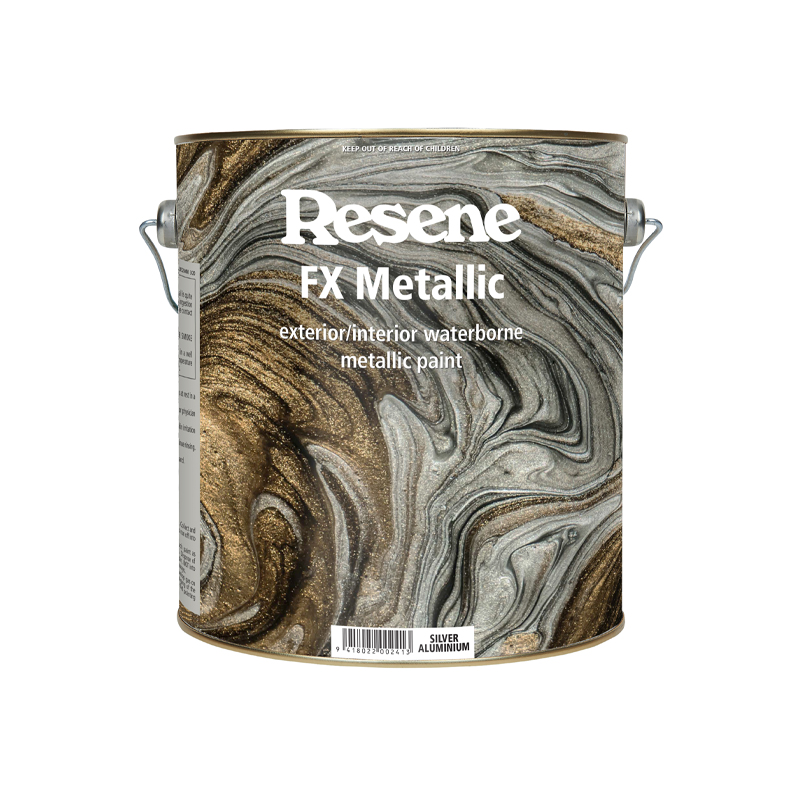
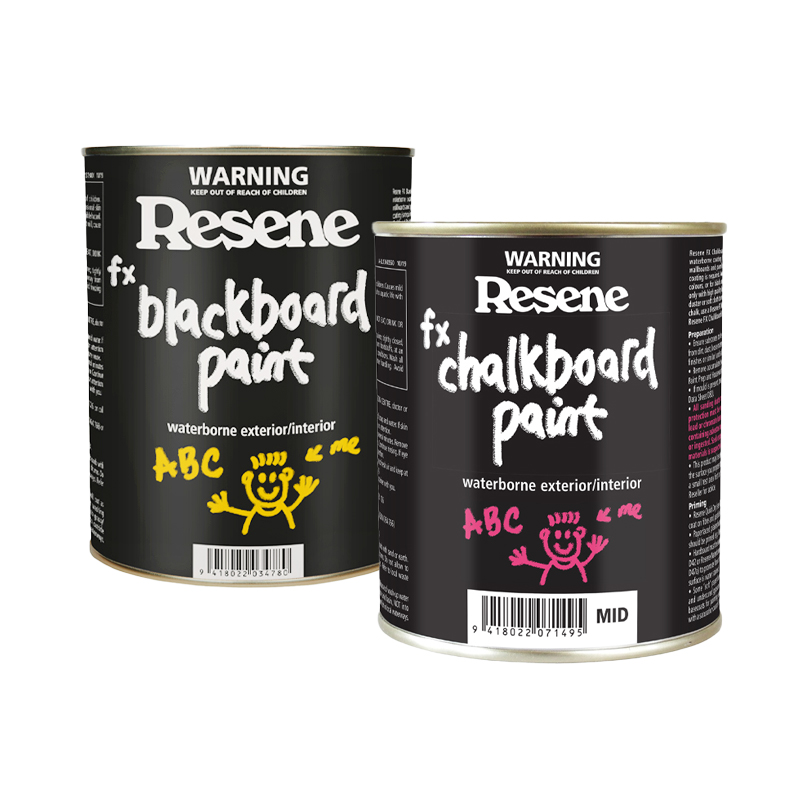
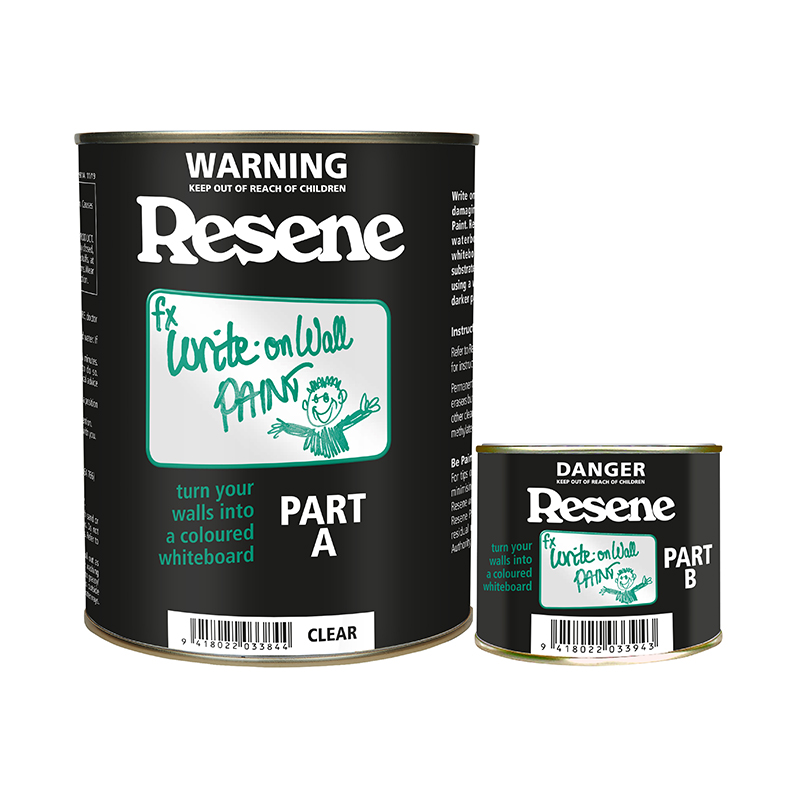
Keen to make a statement with minimal effort? The Resene FX range has been cleverly designed to create unique and textured paint effects, including concrete, crackle, limewash and colourwash. 

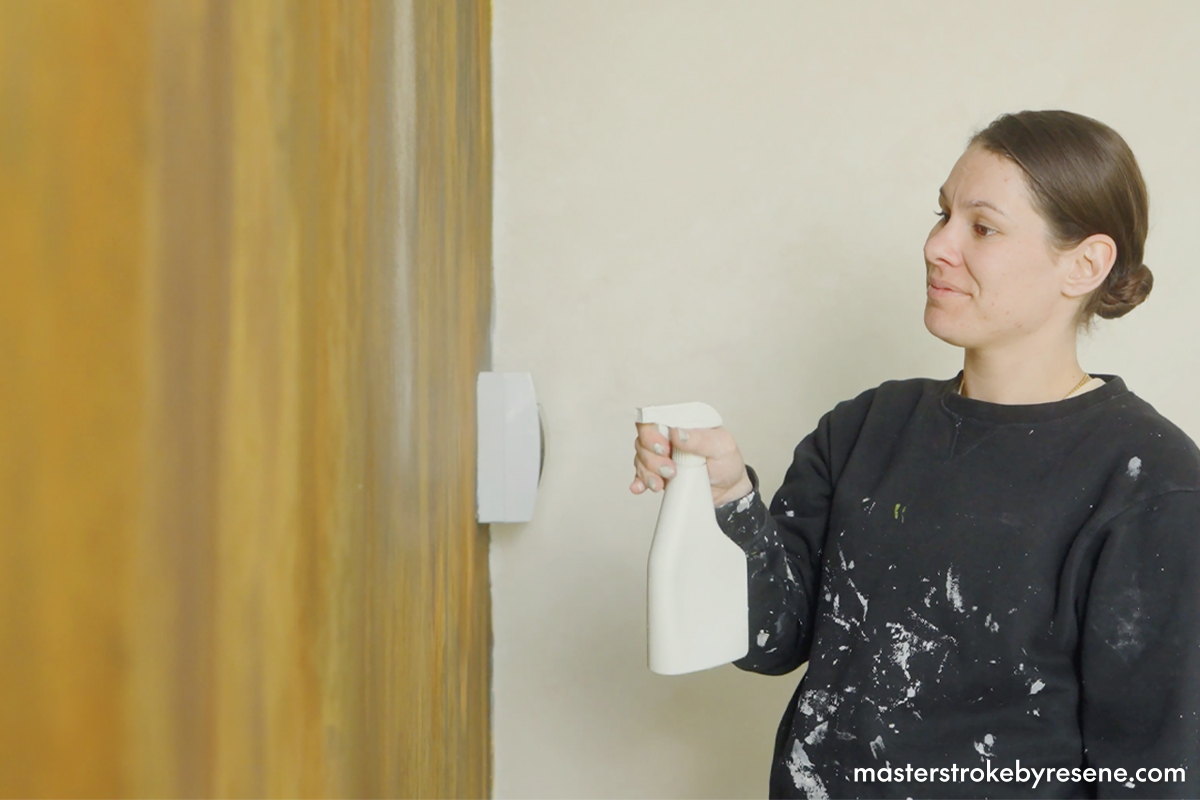
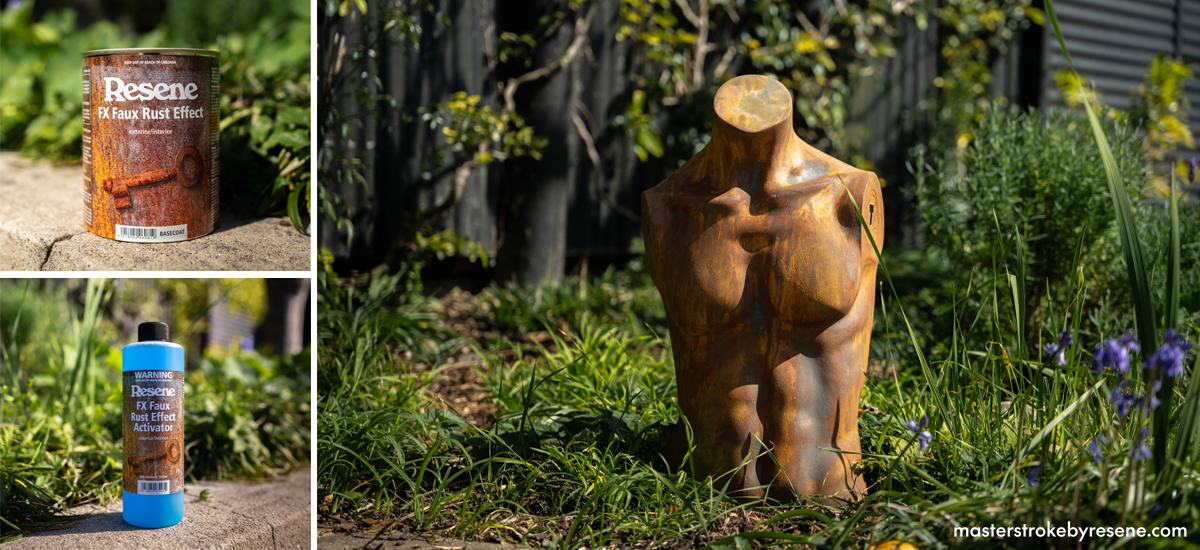
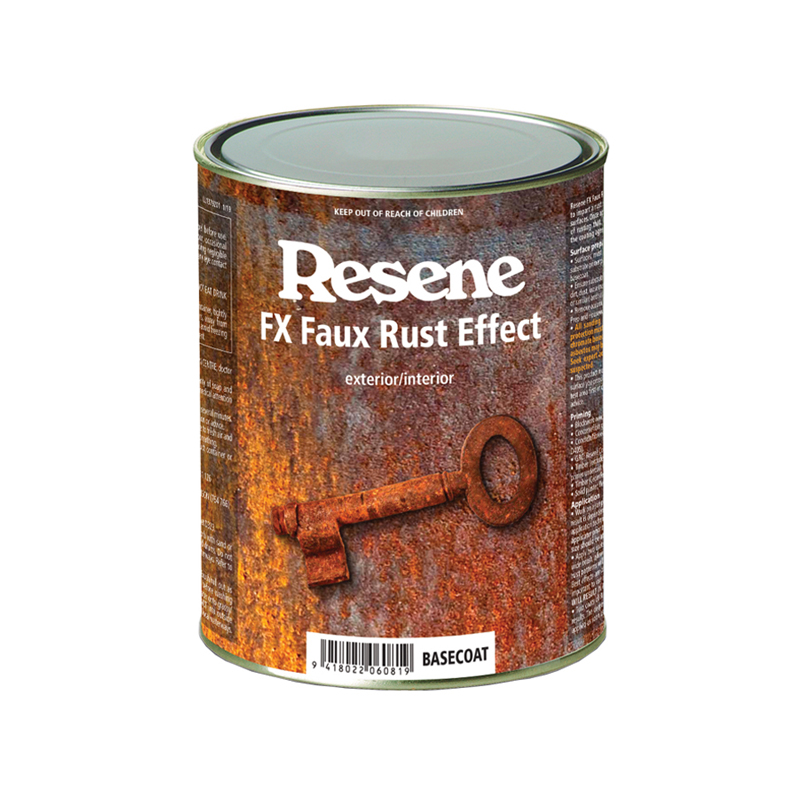
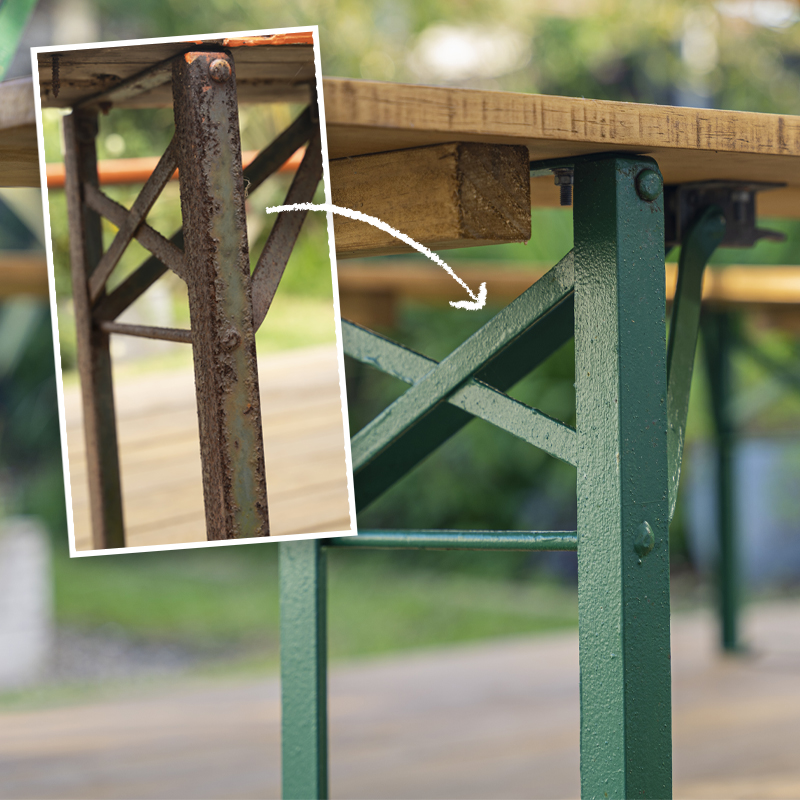
One of the most spectacular is Resene FX Faux Rust Effect, which creates a weathered steel-style finish for a fraction of the cost – and in just a matter of hours. It’s a waterborne coating that can be painted on both exterior and interior surfaces, and once applied, the rust look will continue to develop over time. It looks particularly great on outdoor art and indoor feature walls. 

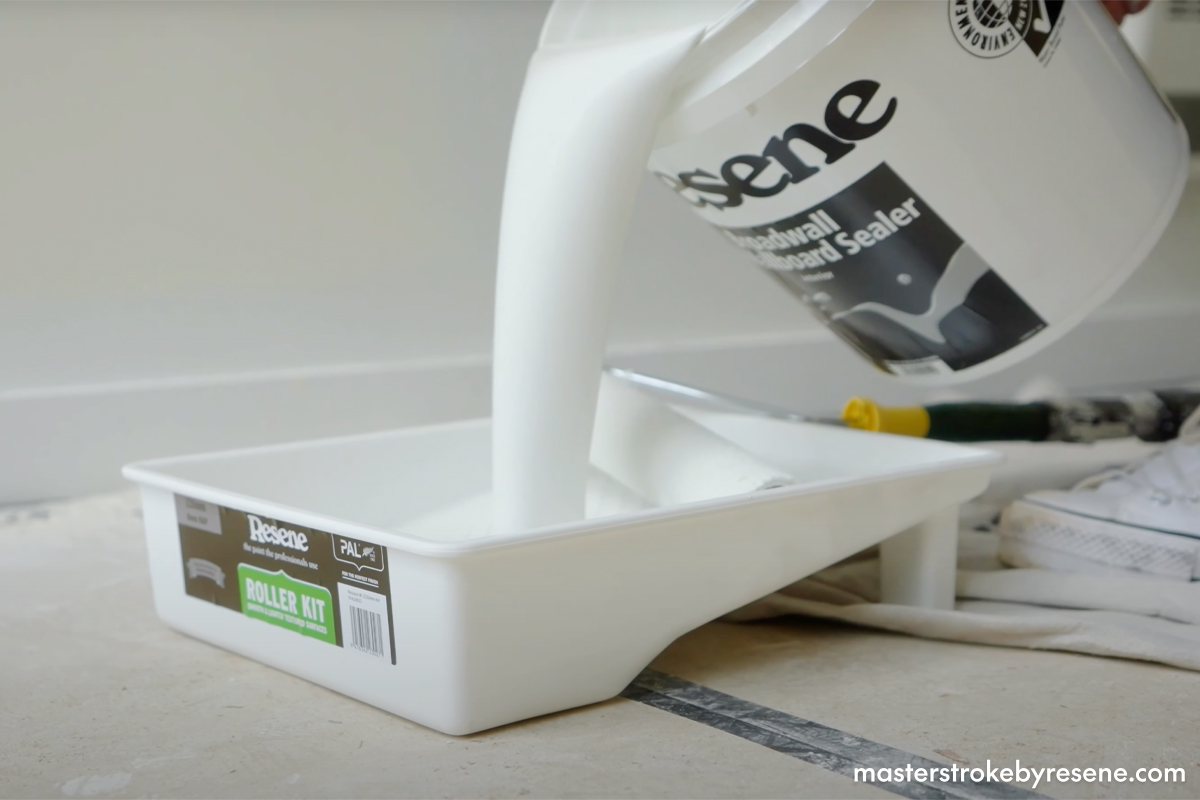
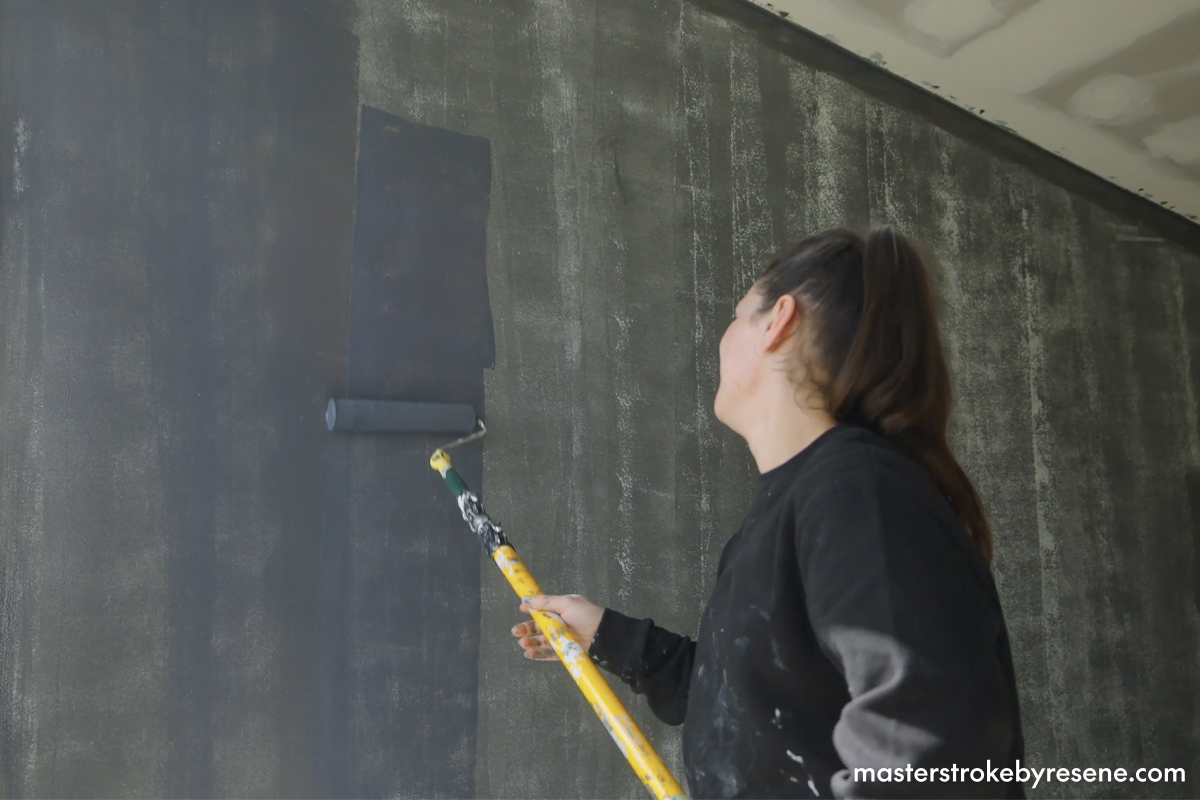
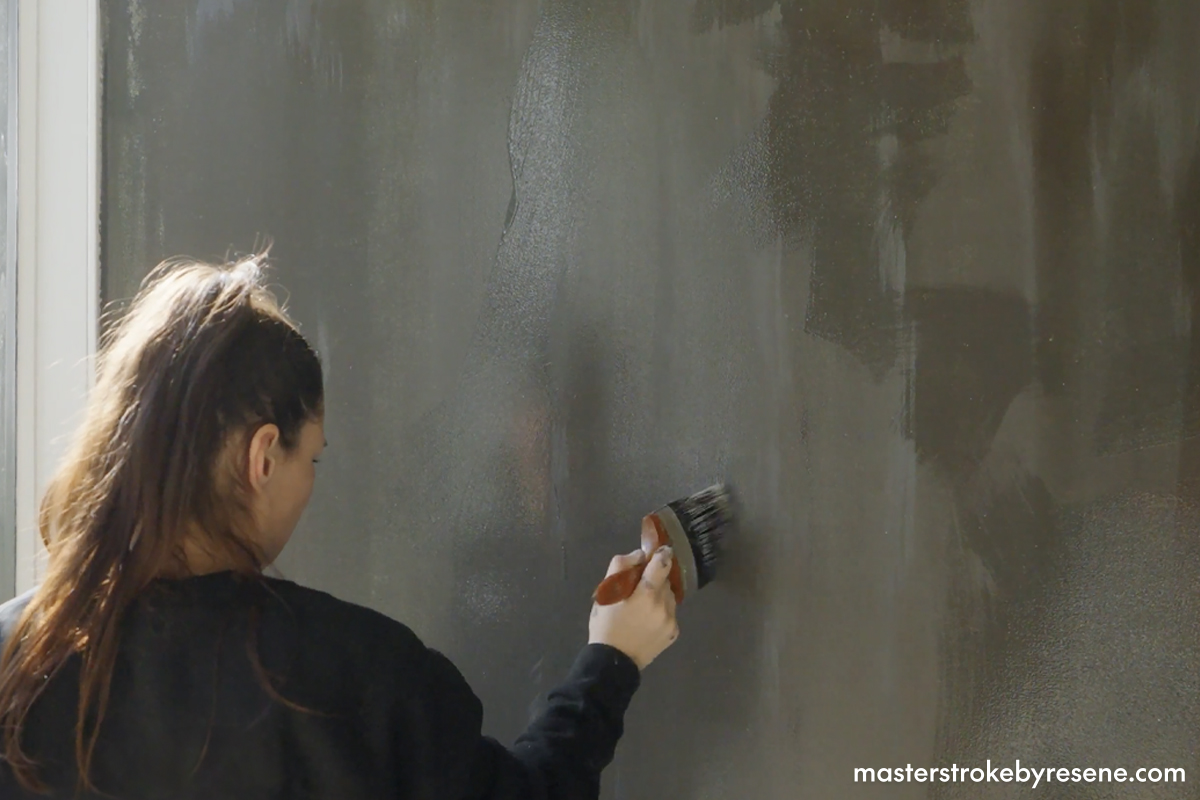
A lot of new projects strive for weathered finishes, which helps to make them blend into the environment and gives the impression that they’ve been there for years. Resene FX Faux Rust Effect comes in two parts – the basecoat and the activator. The colour intensity and depth of the rusting effect depends on the application and technique – the more activator you apply, and the sooner it is applied after the basecoat is touch dry, the more impressive the rust effect is. 

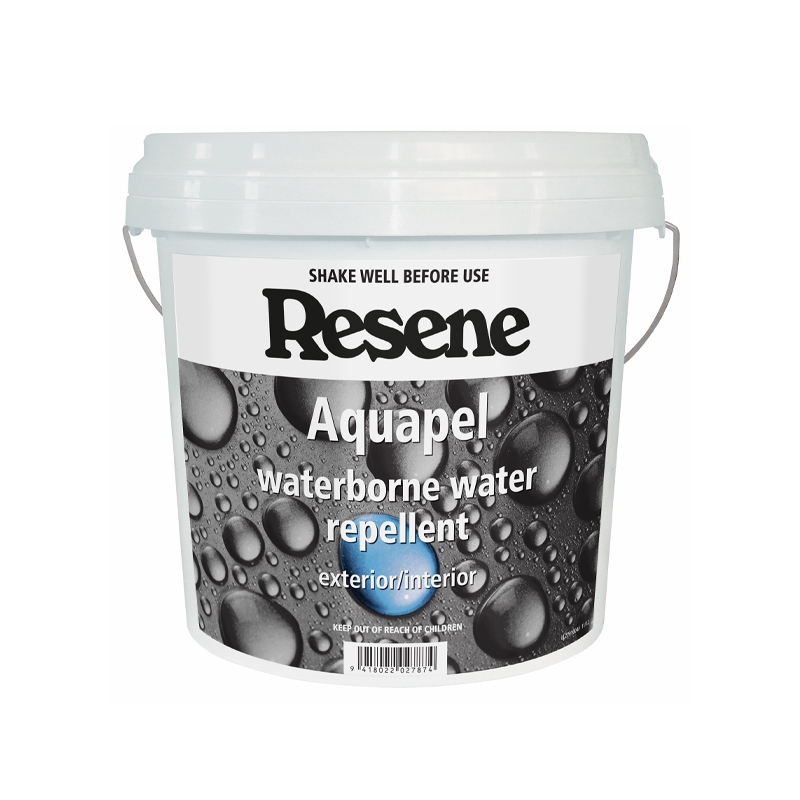
The paint has a fine texture to it so it feels a little different to a normal paint when you’re applying it. It can be applied to timber, concrete or plasterboard surfaces to create a rust effect as a clever alternative to using weathered steel. Leave it as is for a living rust effect outside or protect it with a clear finish of diluted Resene Aquapel waterborne water repellent. 

Resene Special Effects Expert Adriana shows you how easy it can be to create a magnificent rust effect feature wall in your home over a weekend.

1

Prep

If you have new plasterboard, prep your wall first by applying Resene Broadwall Waterborne Wallboard Sealer. Decant it into a paint tray and use a roller with an extension pole to coat the wall.

If you have an already painted wall, clean it with Resene Interior Paintwork CleanerIf it is a glossy or solventborne finish, sand it first to help provide a surface that the paint can grip onto and dust off.  Then clean with Resene Interior Paintwork Cleaner.  

The prep you need will depend on the surface you are painting. On most exterior timber projects you would normally prime with Resene Quick Dry and on concrete you would usually use Resene Concrete Primer.  If your surface has bare patches or is a different substrate to plasterboard, check with Resene ColorShop staff what prep is recommended. 

2

Basecoat

Decant the Resene FX Faux Rust Effect basecoat into a paint tray and apply one coat with a roller and extension pole. When that’s dry, apply a second coat.

3

Activator

Once the basecoat is dry, decant the Resene FX Faux Rust Effect activator into a paint pot and then use a large paintbrush to apply it all over the wall. The messier it is, the better and more authentic the rust effect will be, so that should take the pressure off. You can be as creative as you like.

4

Just add water

After one hour you will see the rust effect starting to happen and the majority will have developed in 12 hours. Regular water misting by spraying on clean water will deepen the rust effect colour.

5

Done

Step back and admire your dazzling new rust effect feature wall!

Tips and advice for using Resene FX Faux Rust Effects

  • It’s best to plan a rust effect for an exterior area or an interior non-contact area.  Avoid using it on the sides of a hallway that are likely to get brushed against.
  • Work on a sample area first. This is especially important as the end result is dependent not only on the products, but also on the application technique. Always agree on a sample panel prior to the full project being undertaken, then use this to check progress once the painting starts. The sample size should be at least 70cm x 70cm (half a square metre).
  • Apply two coats of Resene FX Faux Rust Effect basecoat using a wide brush, allowing dry time between coats. The final rust patterns will vary with application method and technique. The best effects are obtained with random direction brushstrokes. It is important to use a consistent technique. Do not cut in, as this will result in picture framing. 
  • Two coats of Resene FX Faux Rust Effect Activator give the best results. Apply with a brush using random brushstrokes to completely cover the basecoat. Missed areas will not develop the rust effect. The deepest rust effect is obtained if the first application is applied as soon as the Resene FX Faux Rust Effect basecoat is tacky or touch dry and should be completed within 24 hours of applying the Resene FX Faux Rust Effect basecoat. Apply the second application of activator as soon as the first is dry, which is typically less than one hour. 
  • Rusting begins immediately after the activator is applied. Visual rust is noticeable within one hour and the majority of rust development occurs within 12 hours. A mist/brush/roll application of clean water 12-24 hours after application of the activator solution will produce a deeper rust effect. Repetitive water misting will increase the rate of rust development and the deeper the rust effect colour will be.
  • High temperatures and low humidity will reduce the available working time. If necessary, add Resene Hot Weather Additive to the Resene FX Faux Rust Effect basecoat to slow drying.
  • The Resene FX Faux Rust Effect Activator is corrosive. When applying close to any adjacent metal surfaces, ensure plastic covers are in place to protect the metal against contact with the activator.
  • The final colour may be protected (not sealed) by applying two coats of Resene Aquapel waterborne water repellent diluted. This provides a highly hydrophobic surface that water will bead off. A slight deepening of the rust colour will result. You can reapply Resene Aquapel in the future once you notice the water beading effect has stopped. This is an optional extra step that will stop the rust effect developing further.

Resene FX Faux Rust Effect also looks incredible on outdoor art. The rust effect will continue to develop the longer the finish weathers outside.

Hoe much paint will you need?

If you change data entered into the fields below, ensure you press the calculate button again to re-run the equations and get the new answers.
Calculated result: 0 Litres in total
To find the spreading rate of your Resene product, click here.
NB: Porous surfaces and shapes (ie corrugated iron) will require more paint.

More about the Resene FX range:

Resene FX Paint Effects Medium 
Use this to create ambience and transform something very plain into something truly special. You can choose from a wide variety of techniques to achieve everything from colourwash and limewash effects to ragrolled finishes.

Resene FX Magnetic Magic  
Loaded with iron oxides for maximum magnetic effect, this is a great way to display posters and brochures without damaging the walls. Resene FX Magnetic Magic is applied as a basecoat so you can apply whatever colour topcoats you like on top.

Resene FX Metallic
Filled with aluminium flakes, this product will transform and add extra dimension to a wide range of surfaces, from exterior concrete and steelwork through to interior feature walls, doors, joinery and furniture. It’s a great way to help reflect light around a room and to add a little extra glamour to spaces.

Resene FX Blackboard Paint / Resene FX Chalkboard Paint
Turn your wall into a chalkboard! For areas where space is limited this can be applied over the top of the Resene FX Magnetic Magic to create a magnetic chalkboard. Resene FX Chalkboard Paint can be tinted to a range of Resene colours or for a classic blackboard, use Resene FX Blackboard Paint.

Resene FX Pearl Shimmer 
A waterborne pearlescent glaze, this product is ideal for creating shimmering walls and sparkling features, adding visual interest and diversity to any colour scheme. You can apply it over an already painted wall.  It’s best to test your colour combinations first.

Resene FX Write-on Wall Paint
This can be applied over your existing paint job to turn your wall into a handy coloured whiteboard. Its glossy finish is what makes it easy to remove any whiteboard marker. It works best on a smooth surface so it does not show any imperfections – or it can be masked and used on the back of a door. It’s usually best to use this over a light or off-white as most whiteboard markers are designed for use over white backgrounds and may not be easy to see over a dark background.

There are other fun Resene FX finishes you can try too. Click here for more ideas.


About MasterStroke by Resene
MasterStroke by Resene is here to help you master your paint and decorating DIY projects. Brush up on your skills with advice, tips and ideas from our trusted experts.

Check out the latest how-to videos on our YouTube channel.