How to

How to create a colourwash effect

Along with thousands of colours and different paint formulations to choose from, Resene also has a collection of innovative products designed to create various wall treatments and paint effects: the Resene FX range. Mixed with Resene colours, they create an infinite number of special effect finishes – think concrete, rust, crackle, limewash, colourwash and more – to turn even the plainest of surfaces into an instant talking point.

As well as being visually stunning, some techniques also have the extremely practical benefit of disguising less-than-perfect surfaces. In fact, imperfections in the surface can add to the overall impact of the effect. The products are also designed for durability, so you can be confident the effort you put into creating your effect will be rewarded with an effects finish that continues to look good. 

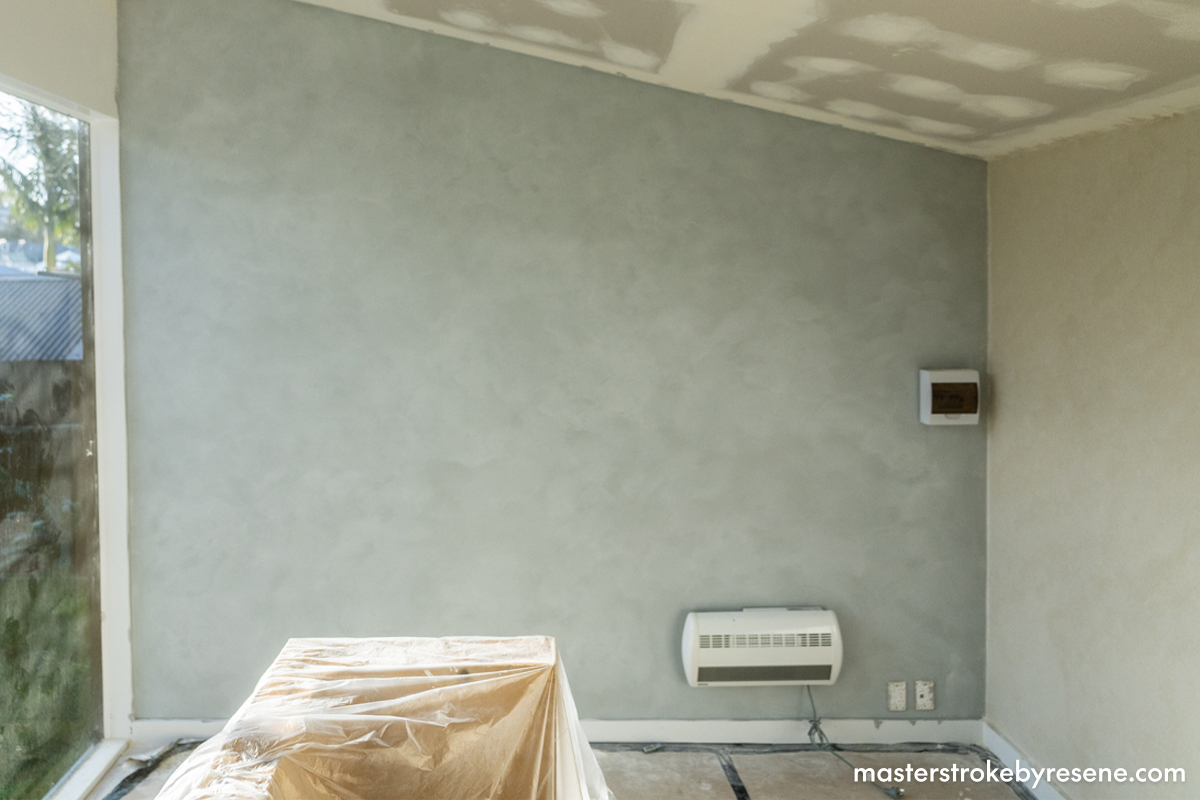
One popular paint effect is colourwashing, which is when you create a subtle wash of colour over a surface to add depth and personality to a room. Resene Colour Expert Angela Fell says, “You can create a light wash over a dark coloured wall or you can create a dark wash over a light-coloured wall.”

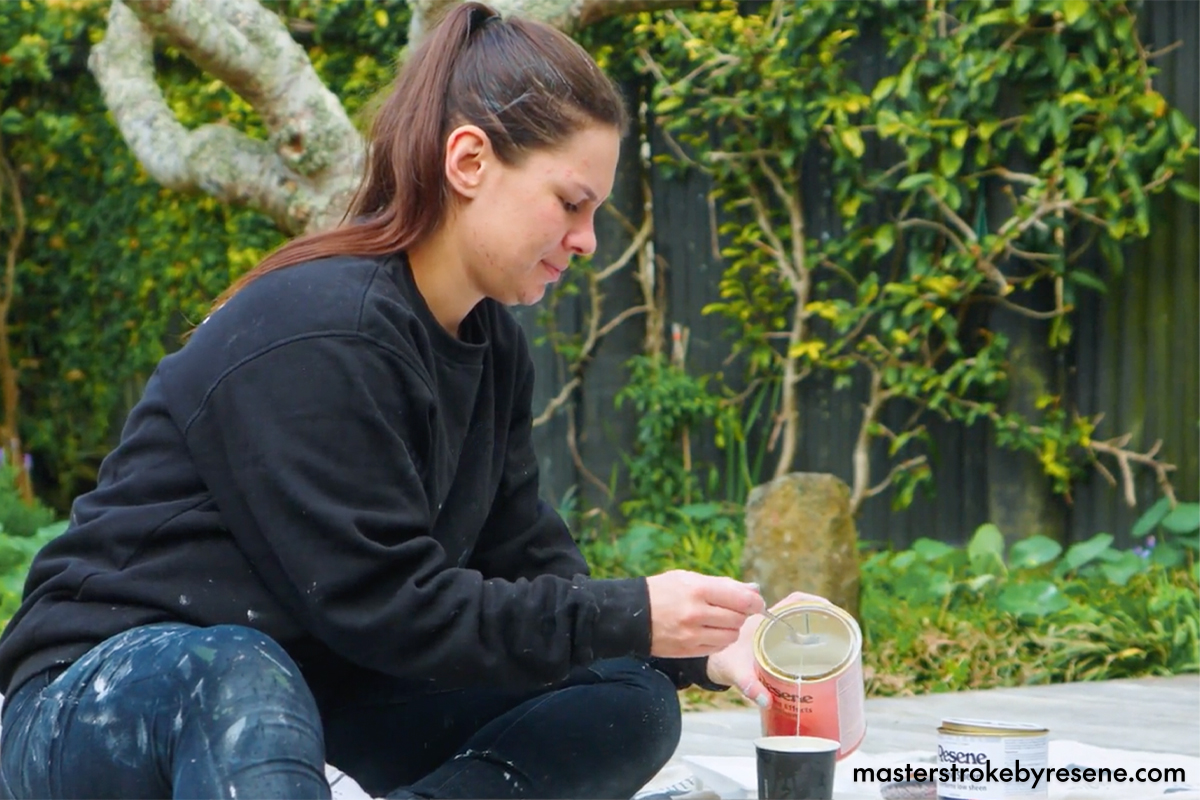
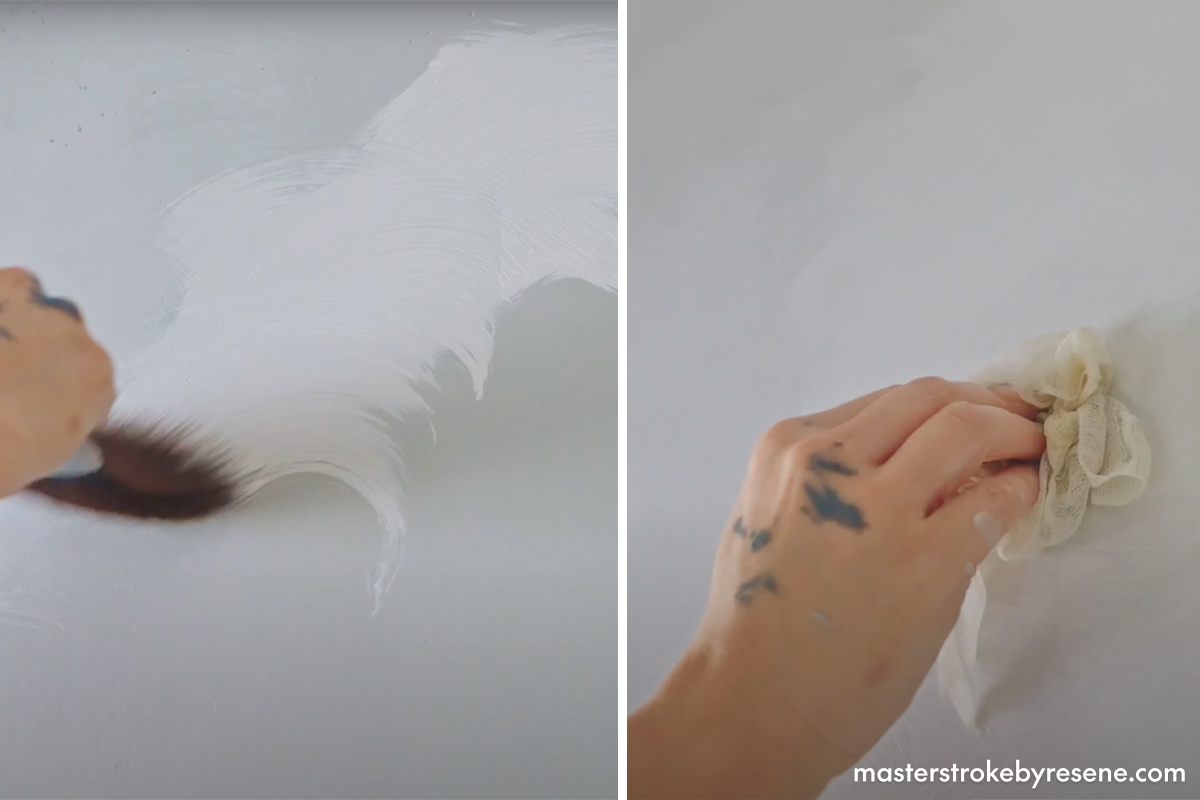
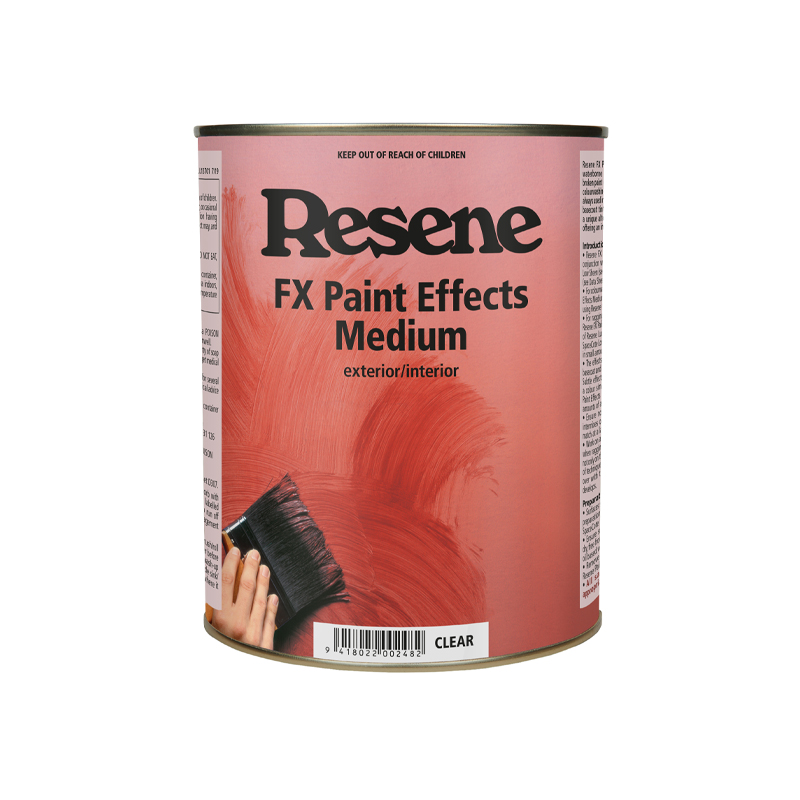
It’s a two-step process where a base colour is washed over with a stronger colour that has been mixed with Resene FX Paint Effects Medium to produce an effect made up of different tones and textures. Resene FX Paint Effects Medium is a tintable acrylic used to obtain a variety of paint finishes. 

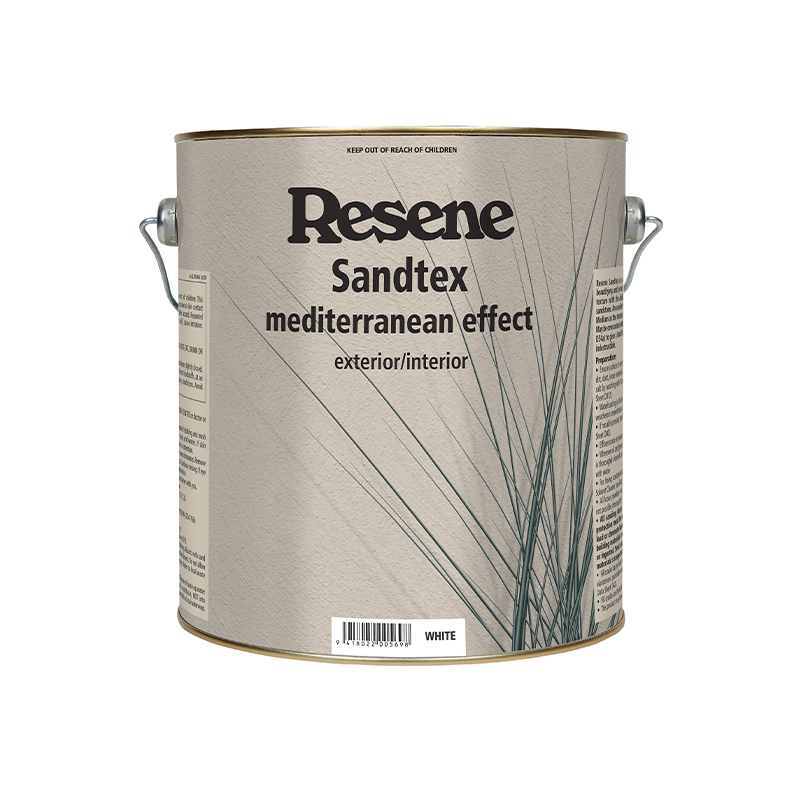
“It’s so versatile and can be used to create beautiful limewashing and colourwashing effects,” says Angela. “The medium is used to create a stronger wash or as light a wash as you desire, which means you can really create a truly unique paint effects finish. There are different application techniques such as dragging, when you drag a large brush down the wall, crowsfoot, when you apply in a criss-cross motion, and ragging, which is when you apply using a rag,” Angela explains. “These can also be created over texture by incorporating Resene Sandtex – a popular option for those wanting to create a concrete-like finish.” 

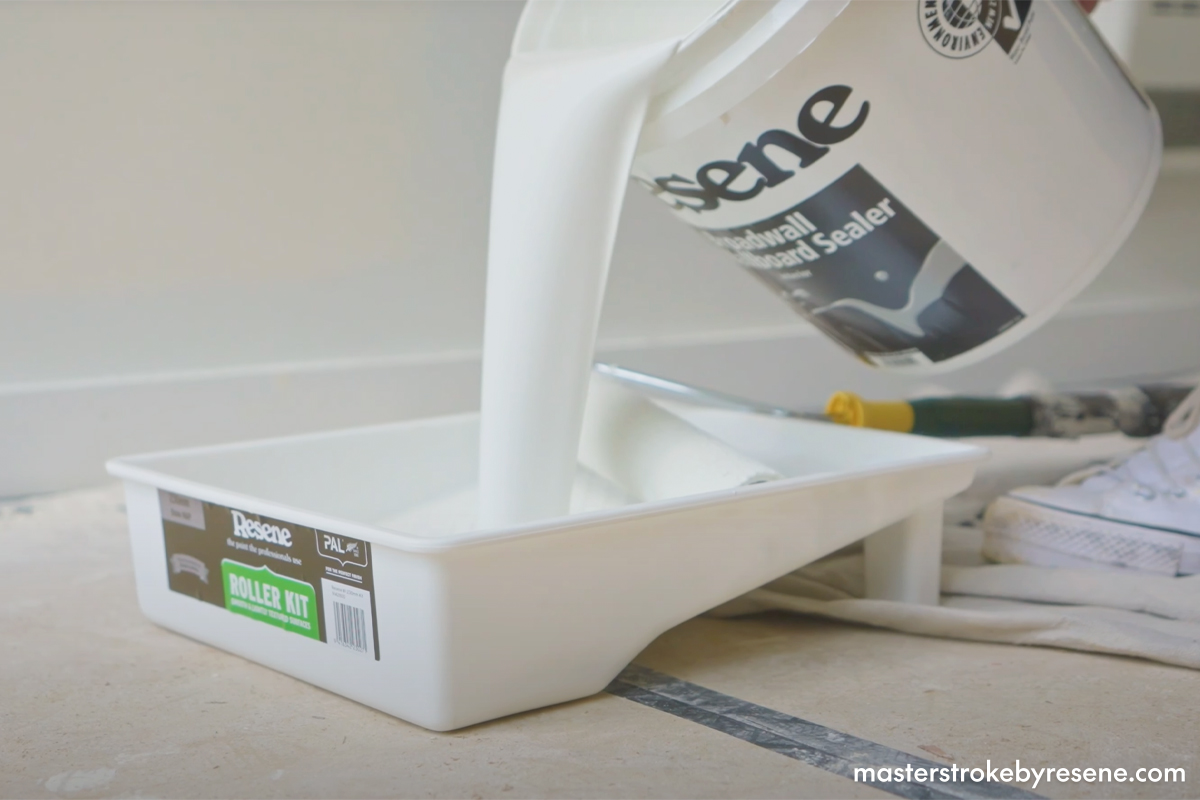
Follow Special Effects Expert Adriana’s step-by-step instructions to colourwash a wall at your house.

1

Prep the surface

Prepare the wall first with Resene Broadwall Waterborne Wallboard Sealer. When that’s dry, give it a light sand and a brush off.

2

Basecoat

Now you’re ready for your basecoat. Use a roller to apply two coats of Resene Zylone Sheen (you could also use Resene Lustacryl or Resene SpaceCote Low Sheen) in your chosen Resene colour and allow to dry. Adriana used Resene Quarter Stack.

3

Mix it up

Choose your topcoat colour – Adriana used Resene Zylone Sheen in Resene Concrete. To create the colourwash, mix five parts Resene FX Paint Effects Medium with one part topcoat in a cup or paint pot.

4

Apply colourwash

Using a large fence brush, apply the mixture in a criss-cross motion on the wall – this is the crow’s foot method. Dab with a tack cloth to blend. Always start in the top left corner and work your way diagonally across the wall. The plan is to eventually finish in the bottom right-hand corner of your wall.

Remember to stand back from your work as you go to make sure you’re achieving the desired effect.

It’s often best to create a sample panel first to get the look you want, then use that as a reference when you are doing the project. If you’re hiring a professional, the sample panel can be used as a reference for them to make sure everyone knows the effect that is expected.

5

Done!

Remember that your paint effect will look better once it’s dry.

Colourwashing tips and tricks

  • The greater the ratio of Resene FX Paint Effects Medium the less opaque the finish will appear. For a subtle change, add more Resene FX Paint Effects Medium to your mixture. For a more striking effect, add less.  The same applies to colours.  The more similar your colours are, the more tonal your effect will be.  If you want more contrast, choose colours that are more different from each other.
  • Give it a go on something small first. Get used to the way the product works and test it on some large card or a small panel to ensure you are happy with your chosen technique before you start applying it to the wall. You can also use this as a handy reference for the project to make sure the effects finish is on track.
  • It’s always a good idea to keep note of the ratio you are using so that if you run out partway through the job – or you want to recreate the look in another room – you know what ratio you used. A popular ratio is one part paint to five or six parts Resene FX Paint Effects Medium.  Or some decorators just add one Resene 60ml testpot per 1 litre of Resene FX Paint Effects Medium.  Generally, it’s best to start with less colour as you can always add more if you need to. 
  • You will want to apply the product reasonably quickly so it doesn’t dry as you try to blend with the tack cloth.
  • Soften the bristles of the colourwash brush by soaking them in water for 10 minutes to make application easier.
  • A popular choice is selecting a triple strength colour for the basecoat and a quarter or half strength for the top (which will be mixed with your Resene FX Paint Effects Medium), this will help in achieving a natural appearance.
  • Before using Resene FX Paint Effects Medium, remember to prepare your walls by making sure that the surface or surfaces are clean and in good condition, free of dirt, dust and any other loose material.

More about the Resene FX range:

Resene FX Faux Rust Effect 
Achieve a weathered steel-style finish for a fraction of the cost on a wide range of surfaces. This waterborne coating is designed to create a rust effect on exterior and interior surfaces.  Once applied, the rust look will continue to develop as the coating ages. Leave it as is for a living rust effect or protect it with a clear finish of diluted Resene Waterborne Aquapel.

Resene FX Paint Effects Medium 
Use this to create ambience and transform something very plain into something truly special. You can choose from a wide variety of techniques to achieve everything from colourwash and limewash effects to ragrolled finishes.

Resene FX Magnetic Magic  
Loaded with iron oxides for maximum magnetic effect, this is a great way to display posters and brochures without damaging the walls. Resene FX Magnetic Magic is applied as a basecoat so you can apply whatever colour topcoats you like on top.

Resene FX Metallic
Filled with aluminium flakes, this product will transform and add extra dimension to a wide range of surfaces, from exterior concrete and steelwork through to interior feature walls, doors, joinery and furniture. It’s a great way to help reflect light around a room and to add a little extra glamour to spaces.

Resene FX Blackboard Paint / Resene FX Chalkboard Paint
Turn your wall into a chalkboard! For areas where space is limited this can be applied over the top of the Resene FX Magnetic Magic to create a magnetic chalkboard. Resene FX Chalkboard Paint can be tinted to a range of Resene colours or for a classic blackboard, use Resene FX Blackboard Paint.

Resene FX Pearl Shimmer 
A waterborne pearlescent glaze, this product is ideal for creating shimmering walls and sparkling features, adding visual interest and diversity to any colour scheme. You can apply it over an already painted wall.  It’s best to test your colour combinations first.

Resene FX Write-on Wall Paint
This can be applied over your existing paint job to turn your wall into a handy coloured whiteboard. Its glossy finish is what makes it easy to remove any whiteboard marker. It works best on a smooth surface so it does not show any imperfections – or it can be masked and used on the back of a door. It’s usually best to use this over a light or off-white as most whiteboard markers are designed for use over white backgrounds and may not be easy to see over a dark background.

There are other fun Resene FX finishes you can try too. Click here for more ideas.

About MasterStroke by Resene
MasterStroke by Resene is here to help you master your paint and decorating DIY projects. Brush up on your skills with advice, tips and ideas from our trusted experts.

Check out the latest how-to videos on our YouTube channel.