Get inspired

Blair and Gretchen's home renovation gets an Italian twist

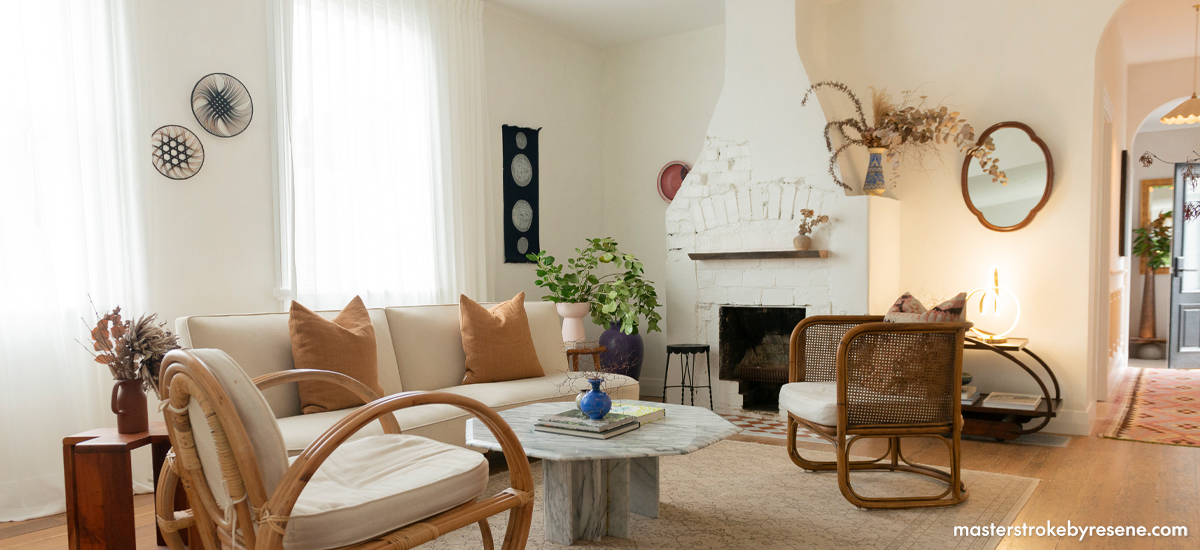
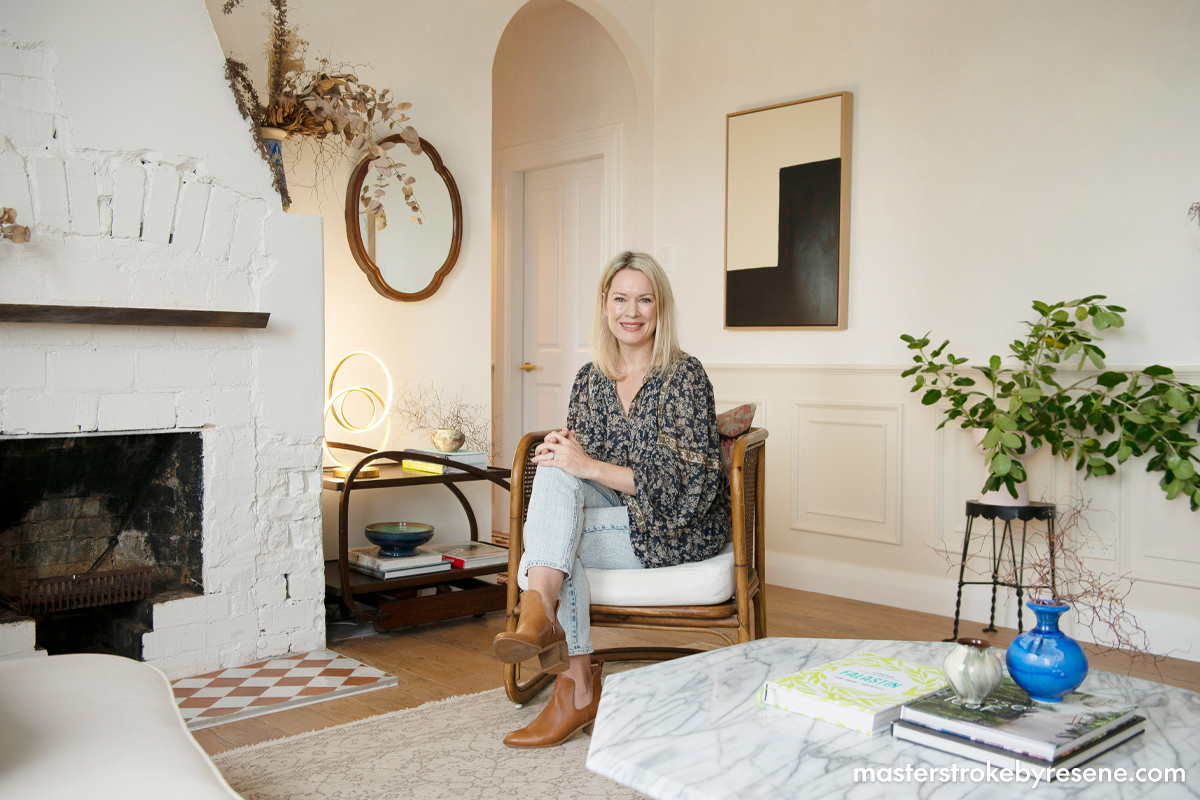
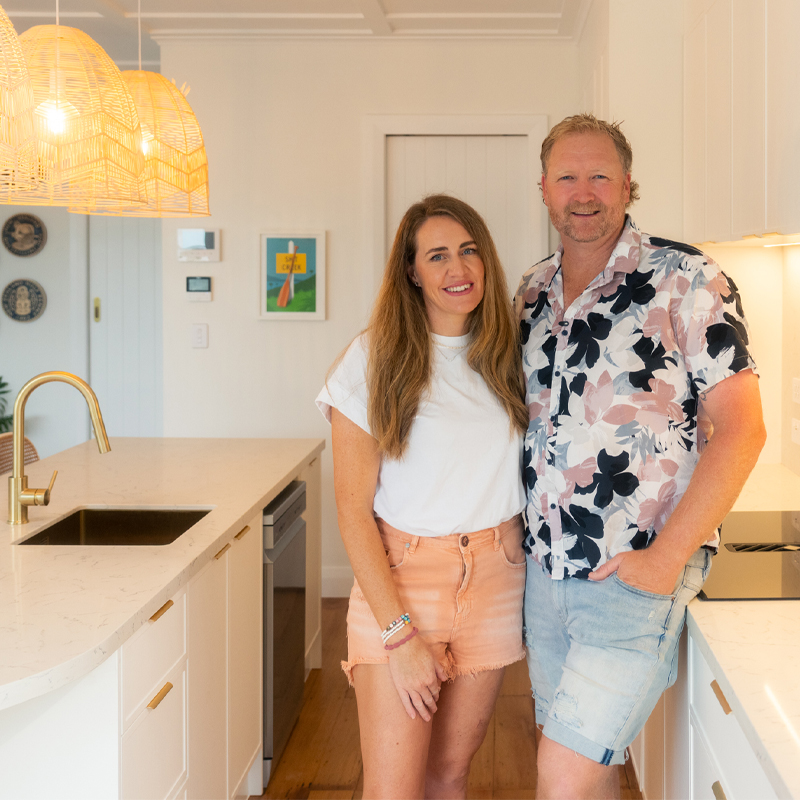
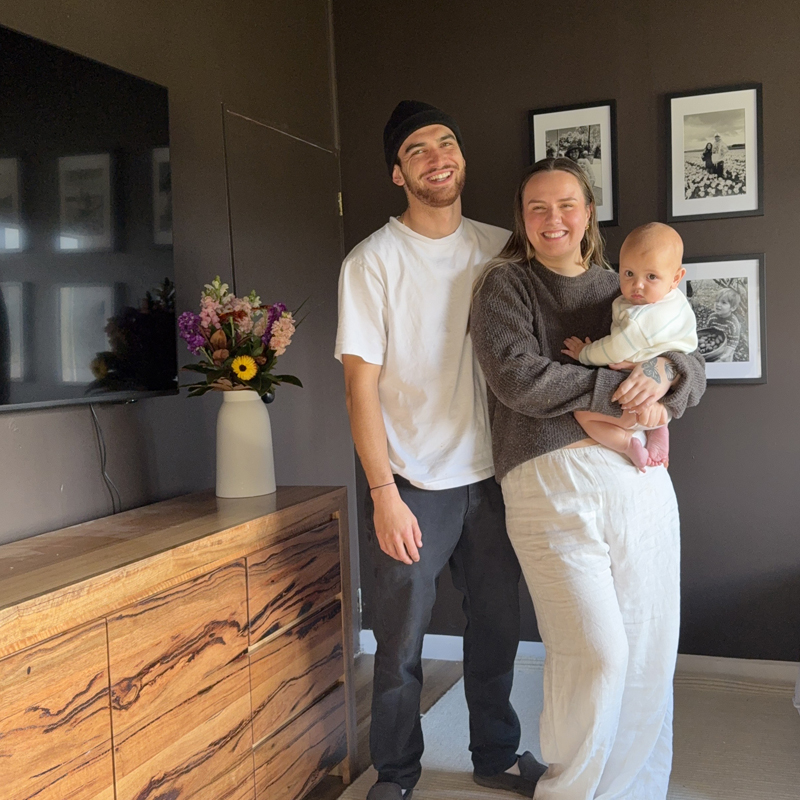
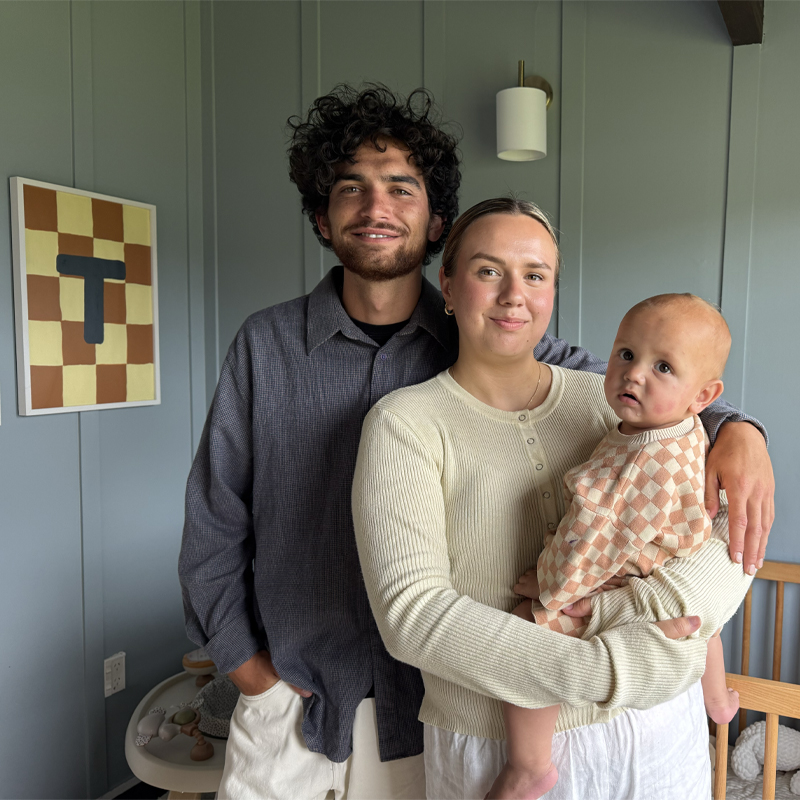
Serial renovators Blair and Gretchen Houston are well underway with their home renovation in Auckland. In this episode of The Do Up, the couple take on their largest room: the open plan lounge.

After tackling several renovations in the past, their bungalow project is by far their most ambitious to date. Juggling work and family life with two young daughters means the practical pair tackle most of their DIY work in the evening and on weekends.

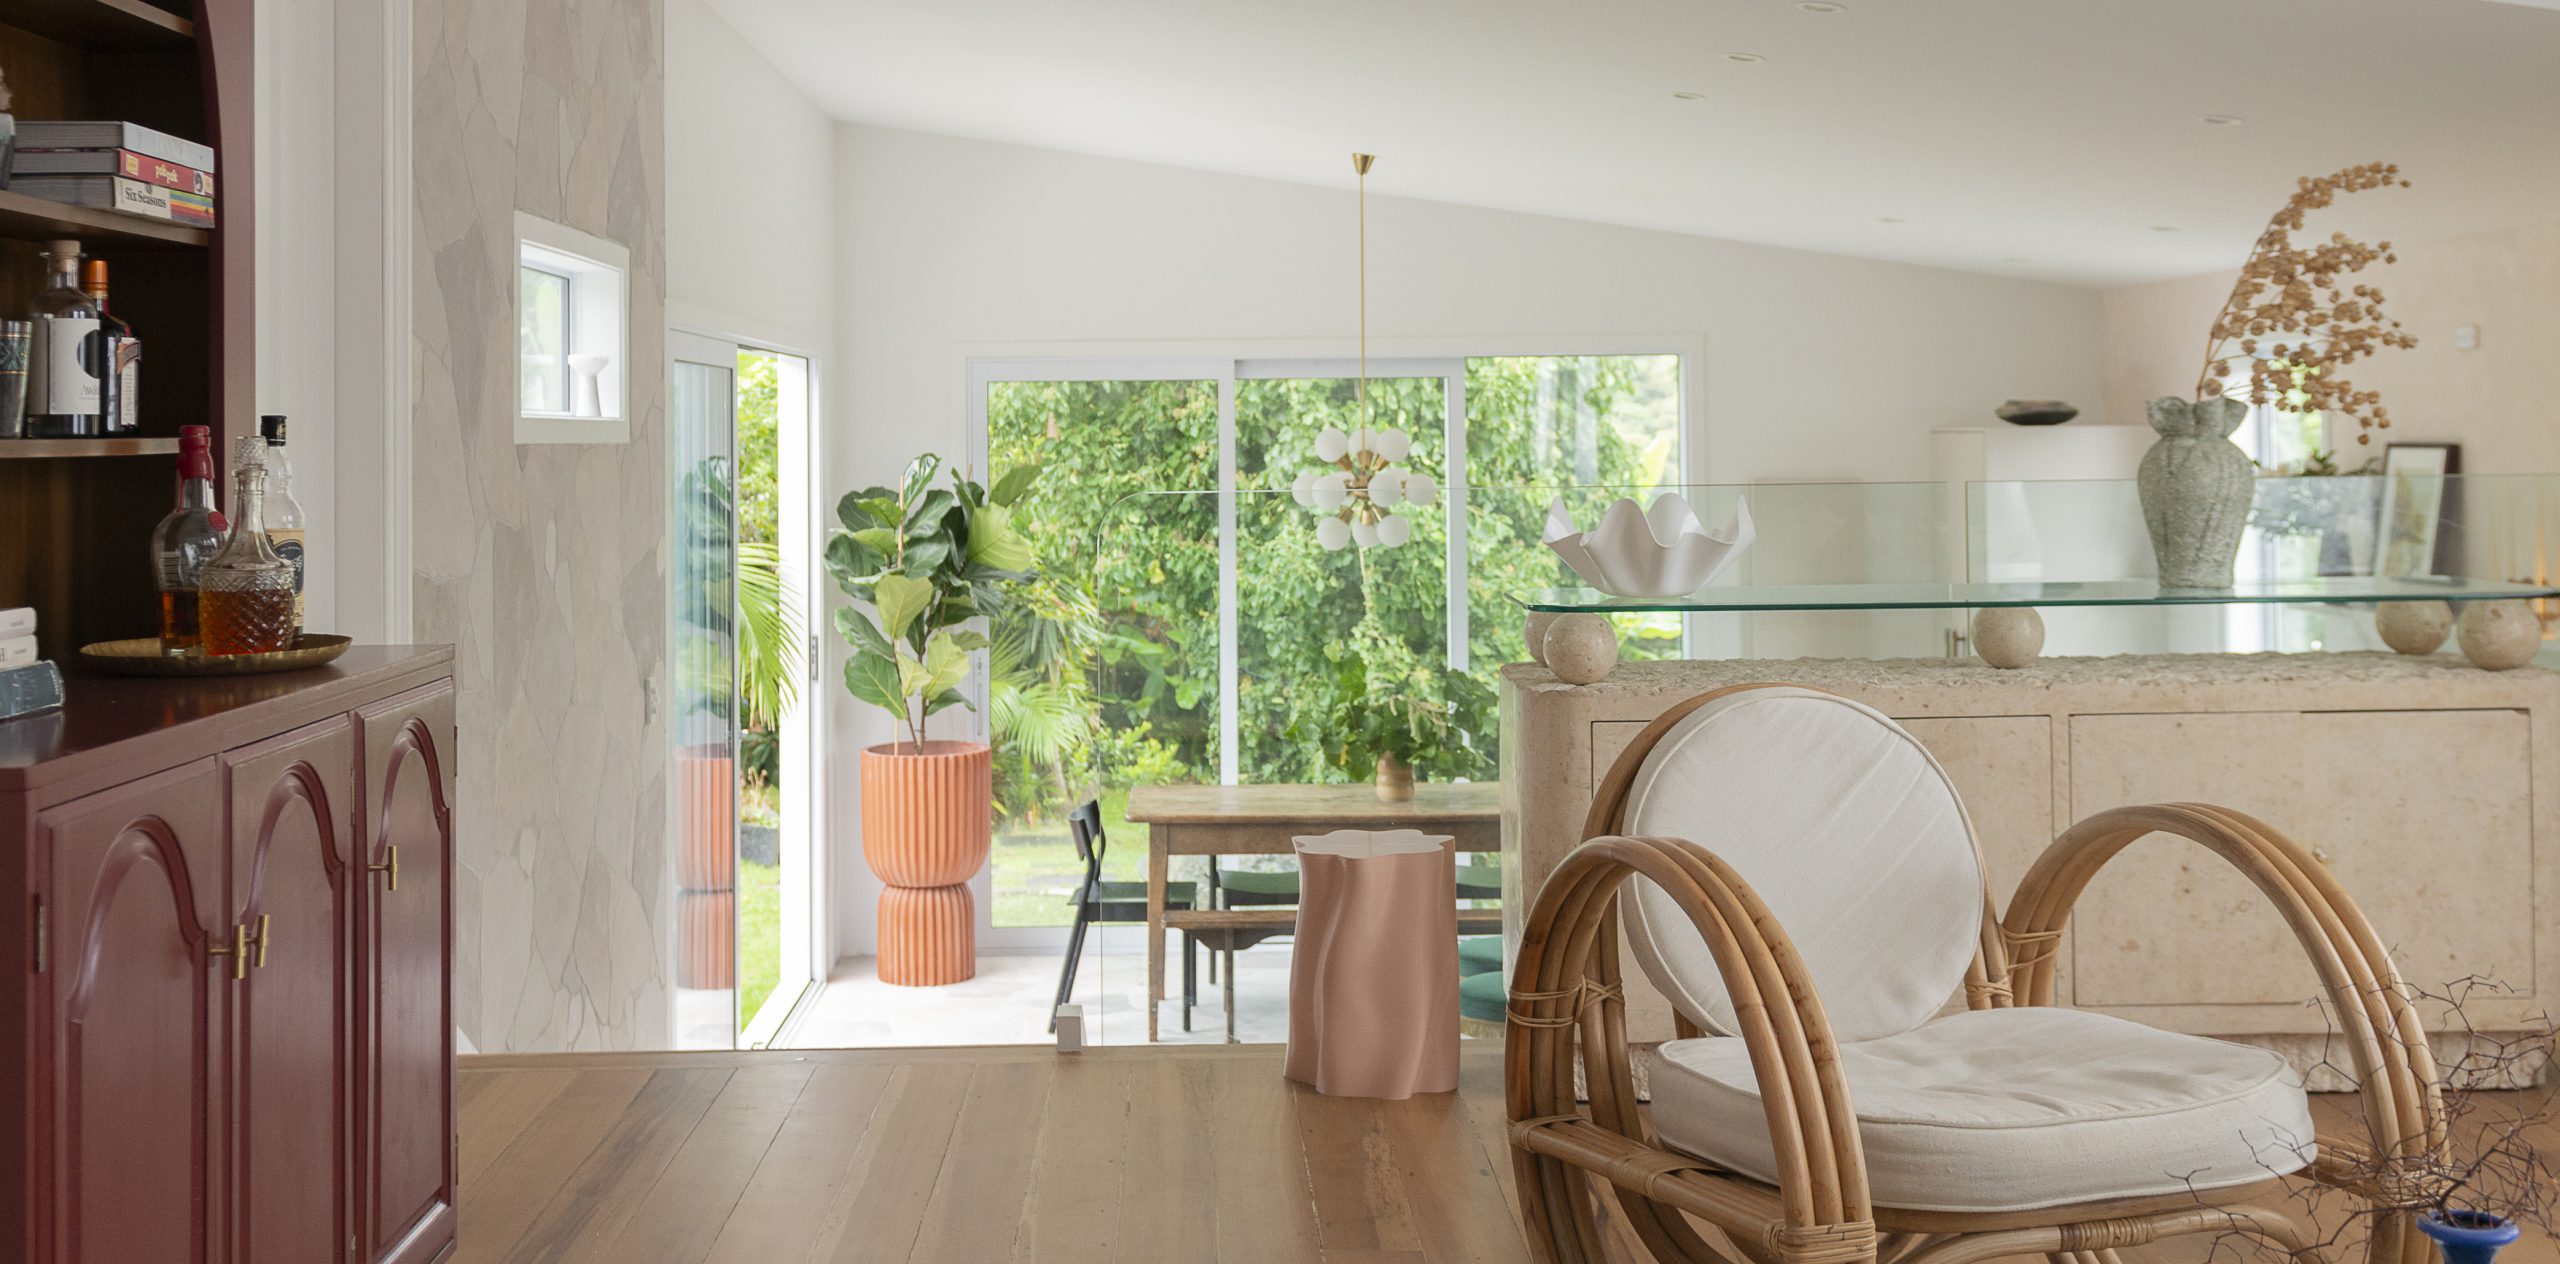
Their design vision is inspired by the colours of Italy, so choosing a colour palette for the walls is the perfect place to start.

“Our overall theme is Mediterranean,” says Gretchen. “It’s a look we kept coming back to because we love Italy. We love the architecture, the colours and the cosiness of the homes.”

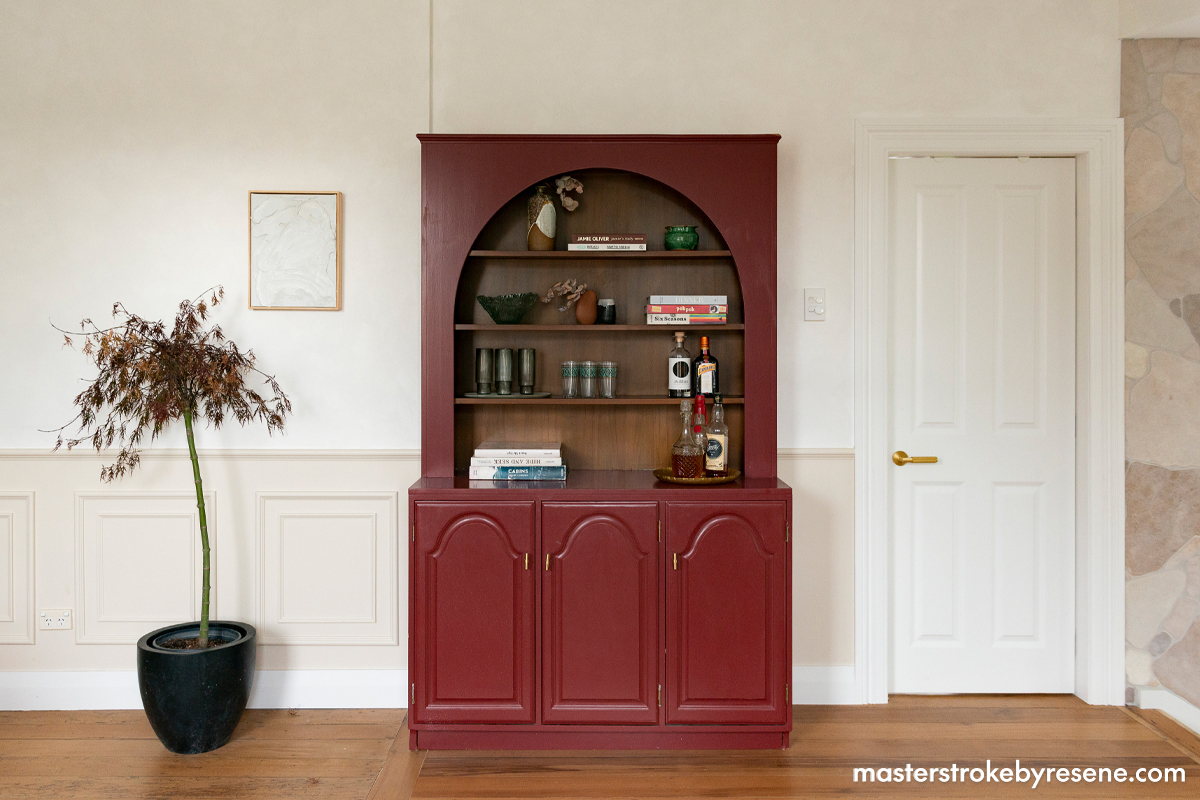
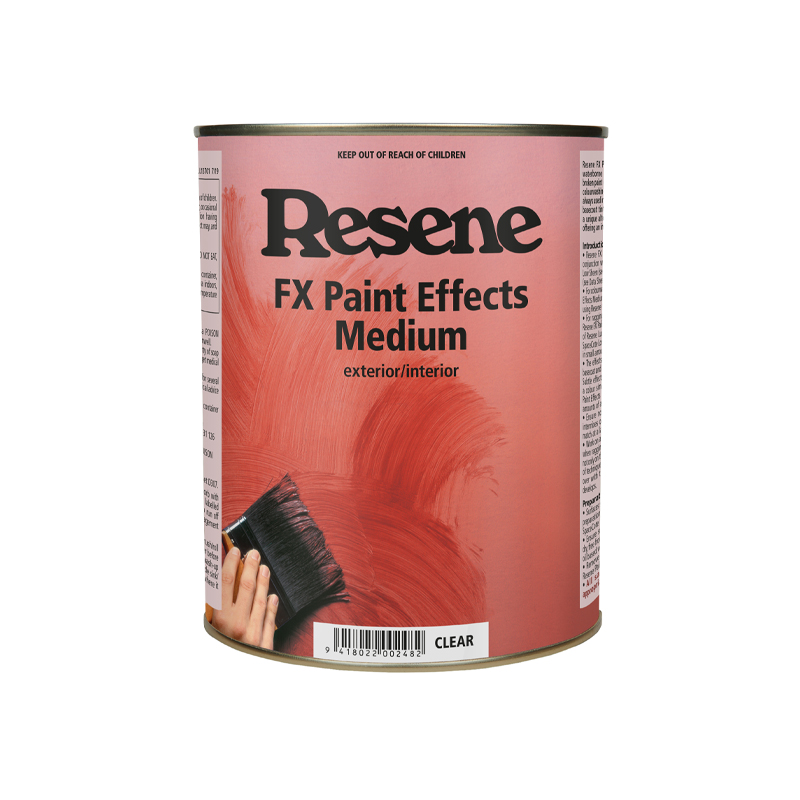
In the past, white was the safe colour choice Blair and Gretchen tended to favour, but for their lounge they decided to do something with a bit more texture. With the help of Resene, they settled on a two-tone limewash effect to achieve the look of textured sandstone veneer.

“We’ve always just done white or shades of white, so it’s actually quite a change from what we’ve done in the past,” says Blair.

Gretchen agrees. “We’ve chosen interesting Resene neutrals that anyone could easily use,” she says. “They’re calm, but they’ve got depth and are a little bit more interesting than your average whites.”

The soothing lounge area is painted in a selection of soft autumnal neutrals such as Resene Eighth Canterbury Clay and a mix of Resene Sea Fog and Resene Alabaster.

To effectively achieve a DIY limewash technique, they sought advice from Resene Colour Expert Amy Watkins.

“Resene has an amazing product called Resene FX Paint Effects Medium that does create a washed look,” says Amy. Being an artistic product, she suggests practising a few times on plasterboard or cardboard to get familiar with the technique, then moving the test board around different areas within the room to see how the effect looks in different lighting.

Italian villas are often made from stone so they have texture and patina to their walls that Blair was keen to replicate. He started by priming the walls with Resene Quick Dry waterborne primer. Then, to add texture, he applied a coat of Resene X-200 acrylic weathertight membrane in Resene Alabaster followed by a coat of ReseneSpaceCote Low Sheen in Resene Alabaster.

Next up is two coats of limewash, which Blair was a bit nervous about but knew the outcome would be worth it. First, he mixed Resene SpaceCote Low Sheen in Resene Double Sea Fog with Resene FX Paint Effects Medium (1/3 colour to 2/3 Resene FX Paint Effects Medium).

The limewash was then applied in a criss-cross manner on all walls, apart from the lower panelling which was painted in Resene SpaceCote Low Sheen in Resene Eighth Canterbury Clay to create the two-tone effect. For the skirting, Blair and Gretchen used Resene Lustacryl in a 50/50 mix of Resene Alabaster and Resene Sea Fog.

Before
After
In an attempt to move away from an all-white palette, the canny renovators introduced subtle colour with a nod the Mediterranean using Resene FX Paint Effects Medium mixed with Resene Double Sea Fog, over a basecoat of Resene Alabaster.

Blair is the implementer of the couple’s vision but he trusts Gretchen when it comes to colour, and both of them got stuck in on the painting.

“It’s amazing how much our confidence has grown,” says Gretchen. “We had no idea what we were capable of, but paint is actually very forgiving. You look at it while you’re painting and you think, ‘Oh, there’s going to be streaks’, but somehow it dries perfectly.”

Blair credits the quality of Resene paint and the wonderfully supportive staff at their local Resene ColorShop with helping them to learn how to create such a polished finish. “If you’ve taped it properly and used a good brush or roller with quality Resene paint, you know the paintwork will look incredible,” he says.

Because they are fans of old homes with heritage features, Blair and Gretchen were mindful to modernise without losing character. With the fireplace being one of the only original features in the house, they wanted to make it a statement piece. By applying a Resene paint update using the 50/50 mix of Resene Alabaster and Resene Sea Fog, they gave it a creamy rustic look.

For the hearth, Gretchen initially considered using paint to create a checkerboard effect, but as she had some tiles left over from a previous project she decided that a contrast will actually make the paintwork on the fireplace stand out more.

“I feel it will allow it to shine a bit more,” she says proudly. “By not having competing paint colours, the focus is more on the different textures and I think it works really well.”

Gretchen was keen to retain the fireplace for its character. She painted it a 50/50 mix of Resene Alabaster and Resene Sea Fog, which gave it a hint of creaminess.
Blair and Gretchen upcycled an old sideboard using Resene Waterborne Smooth Surface Sealer followed by Resene Lustacryl in Resene Avant Garde.

When it comes to the finishing touches, Blair and Gretchen are big fans of vintage finds – especially ones that can be upcycled with a lick of paint. A wooden cabinet they picked up second-hand was crying out for a bold paint colour to pop against the neutral panelling and textured limewash walls.

“I love that autumnal palette of brown and burgundy, plus we’ve used cream and taupe,” says Gretchen.

With the help of experts at Resene, she primed the cabinet with Resene Waterborne Smooth Surface Sealer then used Resene Lustacryl in Resene Avant Garde for the topcoat.

The result is a stunning piece of furniture that doubles as a space for the kids to stash colouring books – and a bar for the couple to enjoy after they’ve put their tools down at the end of the day.

“Blair makes a great margarita,” Gretchen laughs – it might not be Italian, but it sounds good to us!

Click here to learn how to limewash your walls.

Follow Blair and Gretchen’s renovation journey here:
Part 2 – Hallway and entrance
Part 3 – Gwynnie’s bedroom
Part 4 – Kitchen
Part 5 – Family bathroom
Part 6 – Ensuite

About MasterStroke by Resene
MasterStroke by Resene is here to help you master your paint and decorating DIY projects. Brush up on your skills with advice, tips and ideas from our trusted experts.

Check out the latest how-to videos on our YouTube channel.