Get inspired

Blair and Gretchen make an entrance

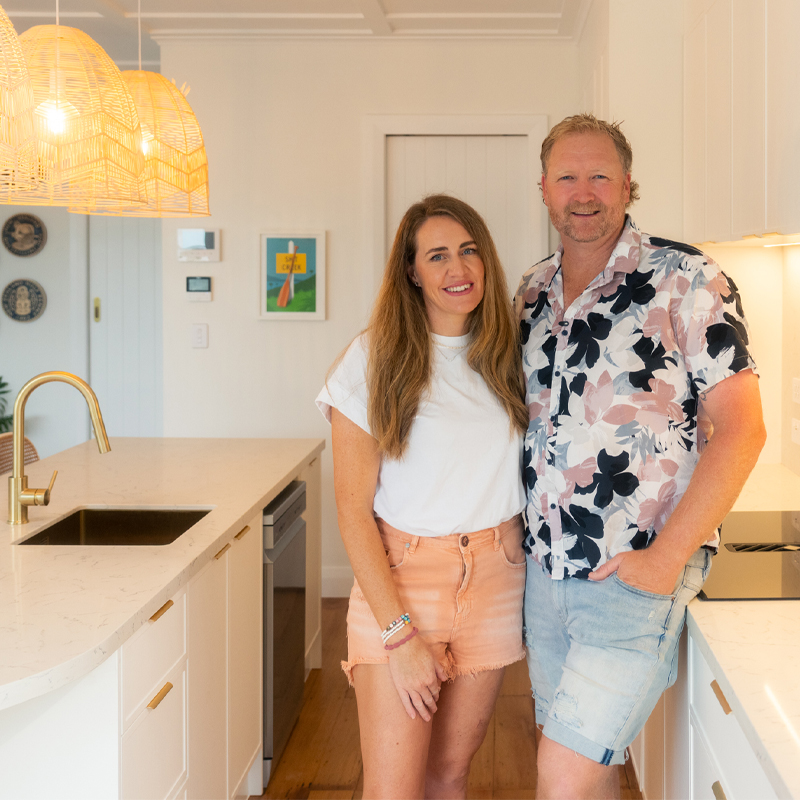
First impressions count! So tackling the narrow entrance and hallway of their Kingsland reno project was top of the list for serial DIYers Blair and Gretchen. Luckily, the pair knew where to turn for advice and headed straight to their local Resene ColorShop, where Resene Colour Expert Amy Watkins gave them some great practical tips to make the space work better for them. 

“Don’t go too dark,” was Amy’s main advice. “As soon as you go darker, it starts to make the space feel that much smaller. The key is keeping it light and bright, so then it feels light and open.”

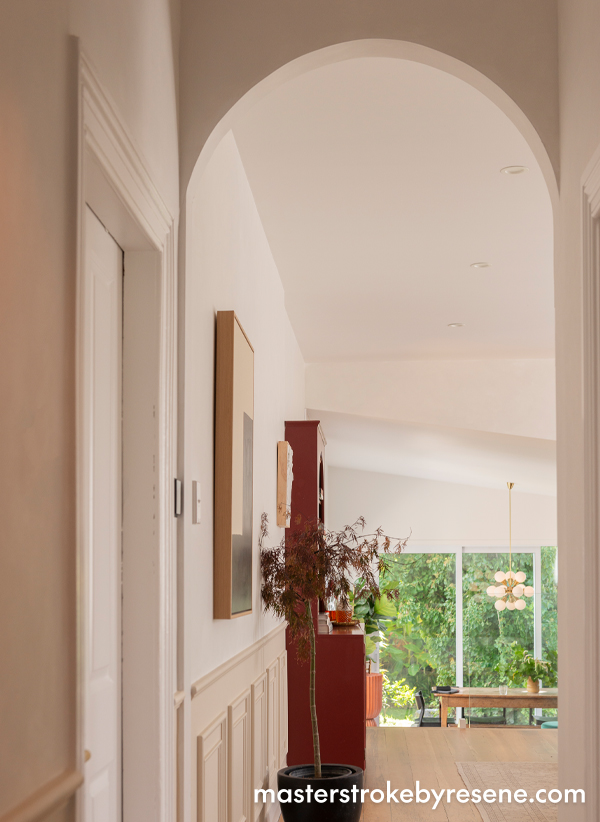
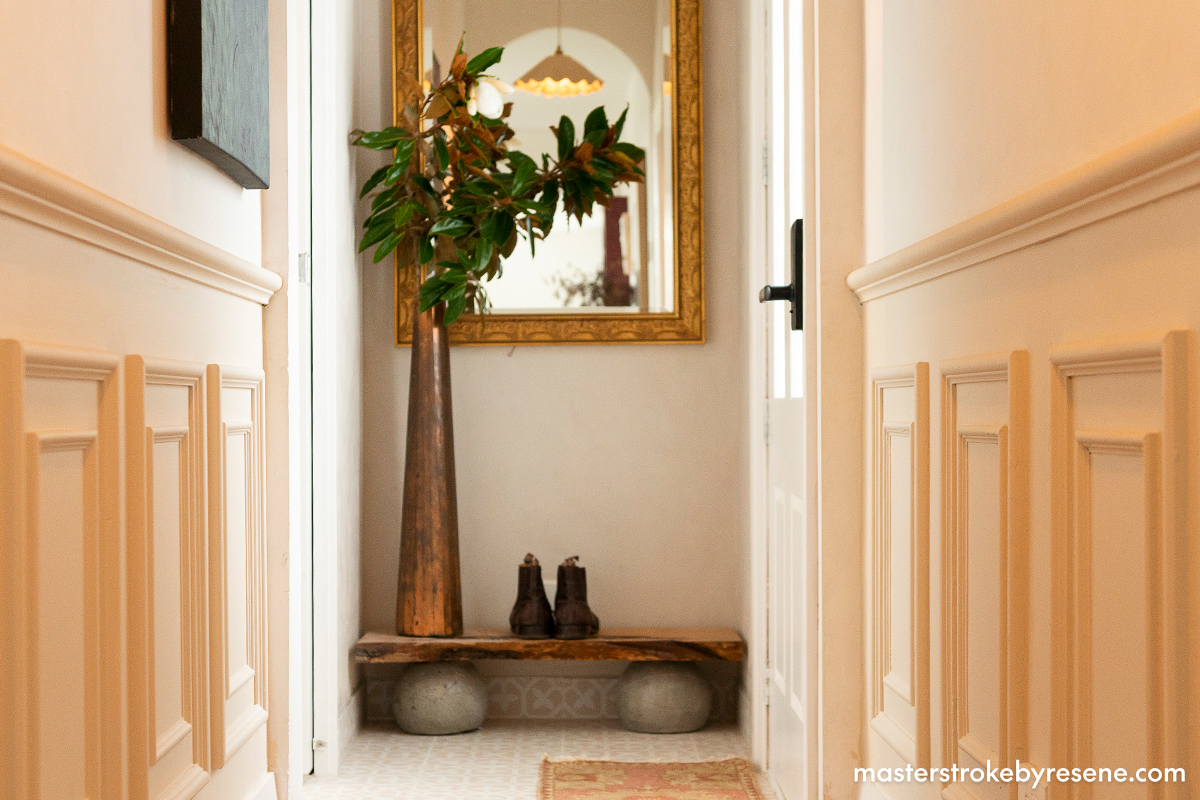
As the original entrance was “pokey, dark and crammed”, Blair and Gretchen extended the panelling from their lounge into the entrance and hallway, and utilised the same Resene limewash effect for consistency and to create a harmonious, expansive feeling.

“We’ve always loved the two-tone effect that we saw in Italian villas in magazines and from our travels,” Blair explains as to why they chose to paint the panelling and the walls in different hues.

A touch of texture

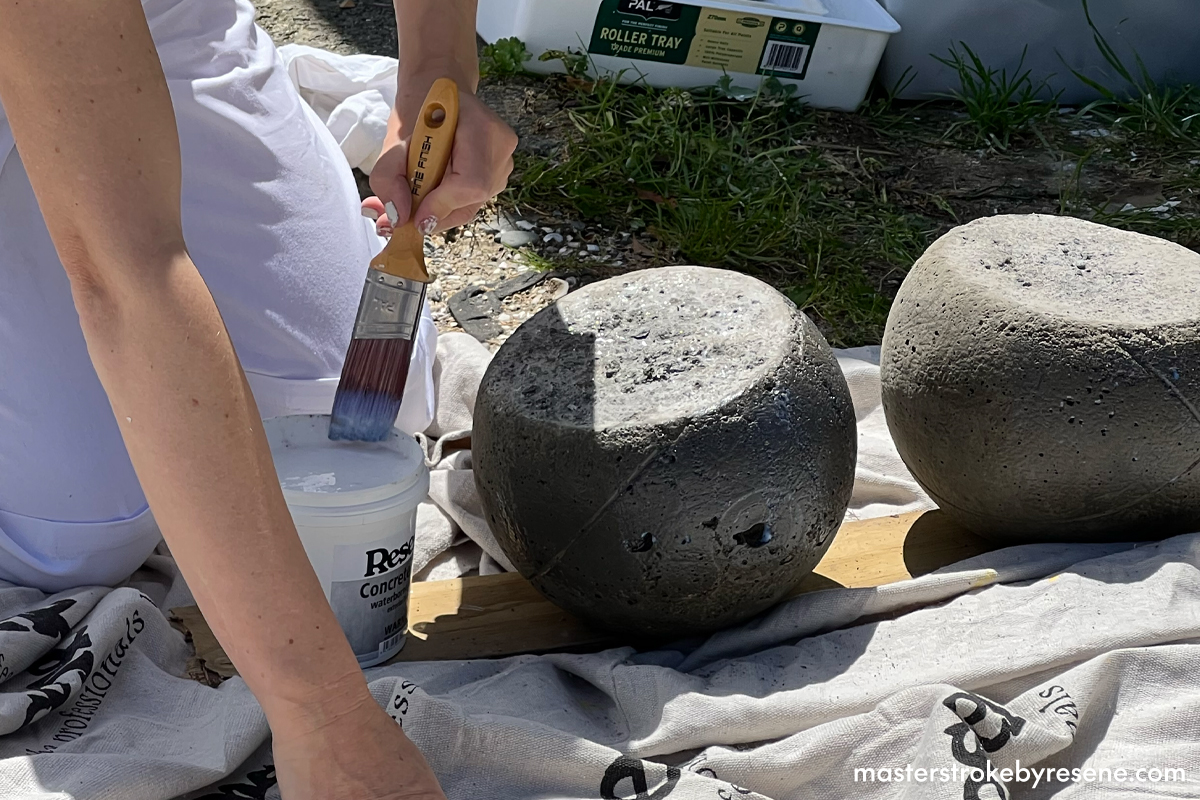
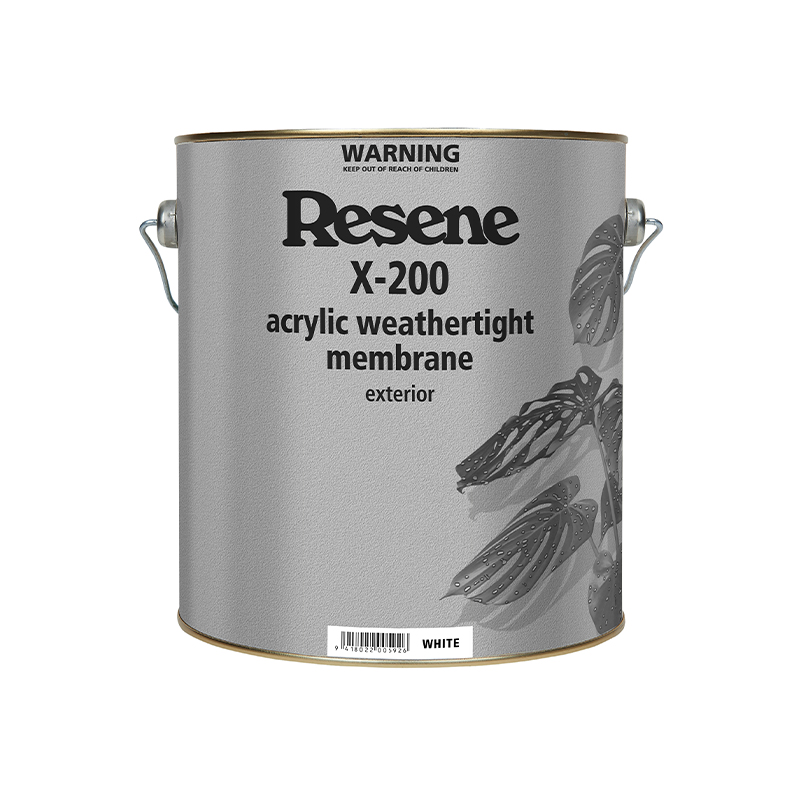
To achieve the limewash look on the walls, they started with a coat of Resene Quick Dry waterborne primer undercoat, then a coat of Resene X-200 acrylic weathertight membrane in Resene Alabaster, to add texture, followed by a coat of Resene SpaceCote Low Sheen, also in Resene Alabaster. 

Once dry, they added one coat of Resene SpaceCote Low Sheen in Resene Double Sea Fog mixed with Resene FX Paint Effects Medium (1/3 colour to 2/3 Resene FX Paint Effects Medium) applied in a criss-cross manner, then ragged, then a final coat of Resene SpaceCote Low Sheen in Resene Sea Fog mixed with Resene FX Paint Effects Medium (1/3 colour to 2/3 Resene FX Paint Effects Medium), also applied in a ‘criss cross’ manner, then ragged.

The limewashed walls are inspired by Italian villas the couple saw on holiday. Walls painted in Resene Alabaster, with paint effect in Resene Double Sea Fog mixed with Resene FX Paint Effects Medium and Resene Sea Fog mixed with Resene FX Paint Effects Medium.
Soaring arches add character and height to the hallway. Panelling on the walls extends into the lounge and is painted in Resene SpaceCote Low Sheen tinted to Resene Eighth Canterbury Clay.

Gretchen found a beautiful rug that matched their colour palette to run the length of the newly-painted hallway and painted the panelling with Resene SpaceCote Low Sheen in Resene Eighth Canterbury Clay. 

“Old Italian buildings often use two tones,” she says. “There’s a tone that sometimes looks yellow and sometimes it can have a tiny bit of a pink look to it. In Italy, and especially Sicily, there are so many different types of stone, but we just had wallboards to work with, so that’s why we chose to bring in the panelling. It added another tactile element as well as the chance to have different colours.”

Another highlight of the hallway are the arches that Blair added at both ends to introduce some character. “We think they are quite a cool feature for the house!”

Stylish storage

Down the cramped end of the hallway, near the front door, the existing laundry area had to go to make way for a stylish space to welcome guests. For practical reasons, they also opened up the area to create a nook for shoes and Gretchen got creative with a bespoke storage solution for the space.

Using halved basketballs as moulds, Gretchen created two concrete balls and coated them in Resene Concrete Clear satin finish for added protection. Once the concrete balls were dry, she then recycled a piece of macrocarpa that was left over from the fireplace to make a shelf for shoes to be neatly stacked. 

“I’m really happy with that!” she says, smiling. “When I have these ideas, I lie awake trying to figure out how I’m going to make them happen.”

Gretchen got creative to make a unique storage shelf, featuring concrete balls coated in Resene Concrete Clear.
The shelf is a practical and stylish shoe storage solution. Walls painted in Resene Alabaster, with paint effect in Resene Double Sea Fog mixed with Resene FX Paint Effects Medium and Resene Sea Fog mixed with Resene FX Paint Effects Medium.

It all hinges on teamwork

Working together as a unit is clearly a mix of necessity and fun for the busy couple, and it was definitely a team effort when it came to painting the doors and the skirting boards. “The pros probably take the doors off,” says Blair, “ but we didn’t really have the time or patience for that.” 

Because the doors already had a smooth finish, the pair used a small roller to apply one coat of Resene Quick Dry, followed by two coats of semi-gloss paint in a 50/50 mix of Resene Alabaster and Resene Sea Fog. Blair’s advice is to use a paintbrush in the ‘valleys’ of the door then use the roller over the top for a couple of coats. 

To finish, the ceiling was painted with one coat of Resene Quick Dry, followed by two coats of Resene Ceiling Paint in Resene Alabaster. Gretchen added brushed brass hardware to the interior doors, delicate ceramic lights that she designed herself and a brand new front door sealed the deal. 

To learn how to achieve the limewash technique, download this PDF from Resene.

Follow Blair and Gretchen’s renovation journey here:
Part 1 – Lounge

Part 3 – Gwynnie’s bedroom
Part 4 – Kitchen
Part 5 – Family bathroom
Part 6 – Ensuite

About MasterStroke by Resene
MasterStroke by Resene is here to help you master your paint and decorating DIY projects. Brush up on your skills with advice, tips and ideas from our trusted experts.

Check out the latest how-to videos on our YouTube channel.