DIY projects

Use Resene FX paints to organise your office

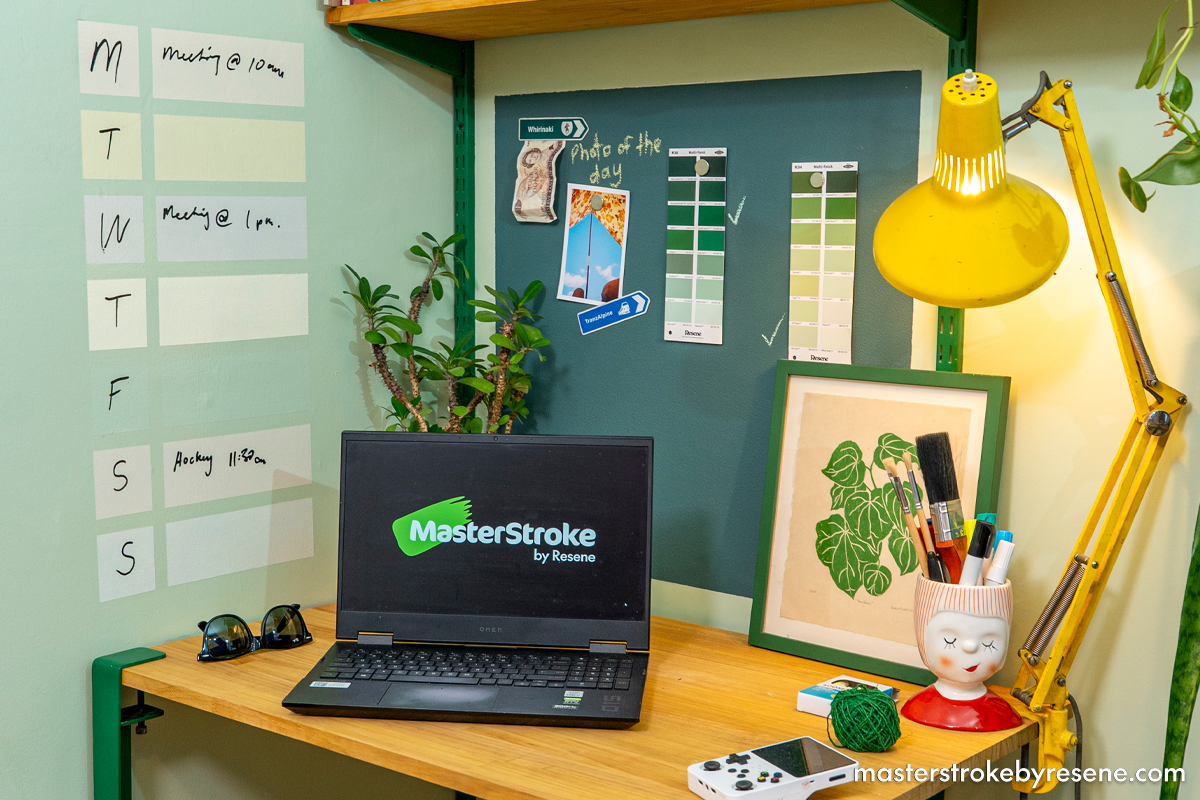
Working from home is something we all had to get used to during Covid times, and many workplaces still offer WFH days during the week. Whether you have a proper office or just a small corner nook for a desk, it’s important to make it an organised, user-friendly and practical place to work.

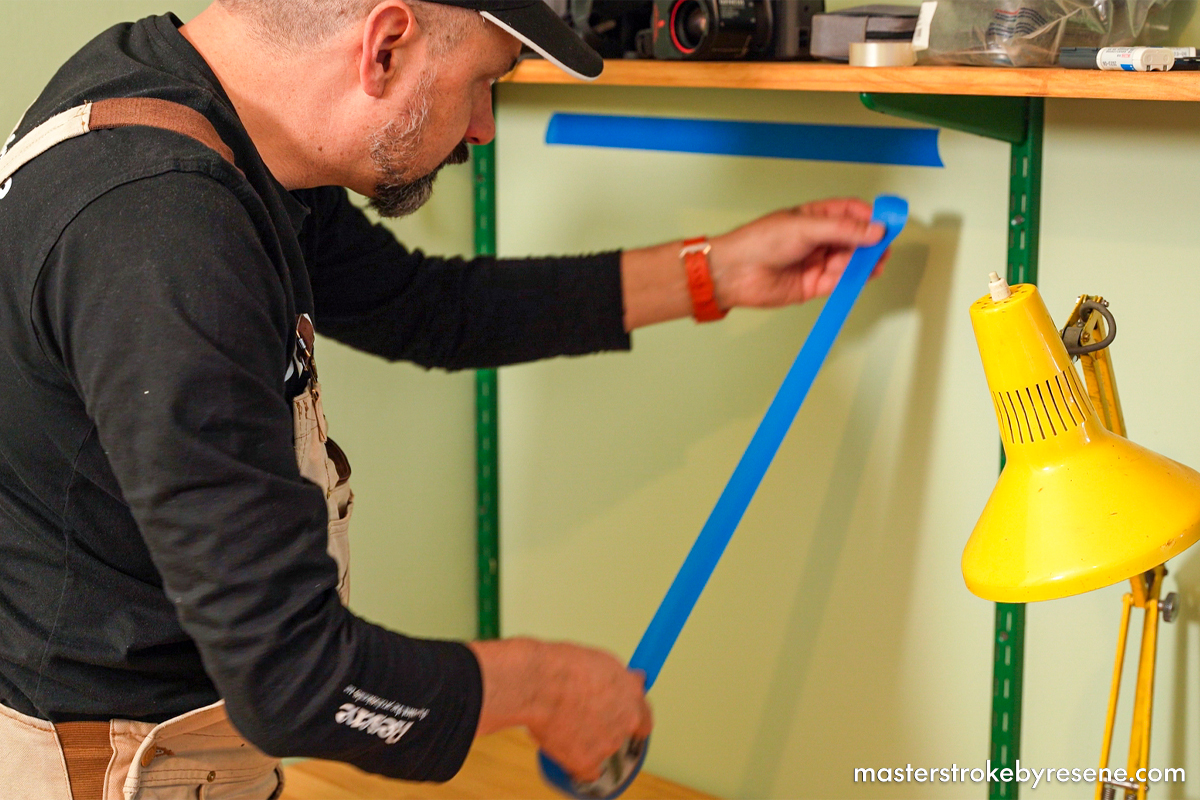
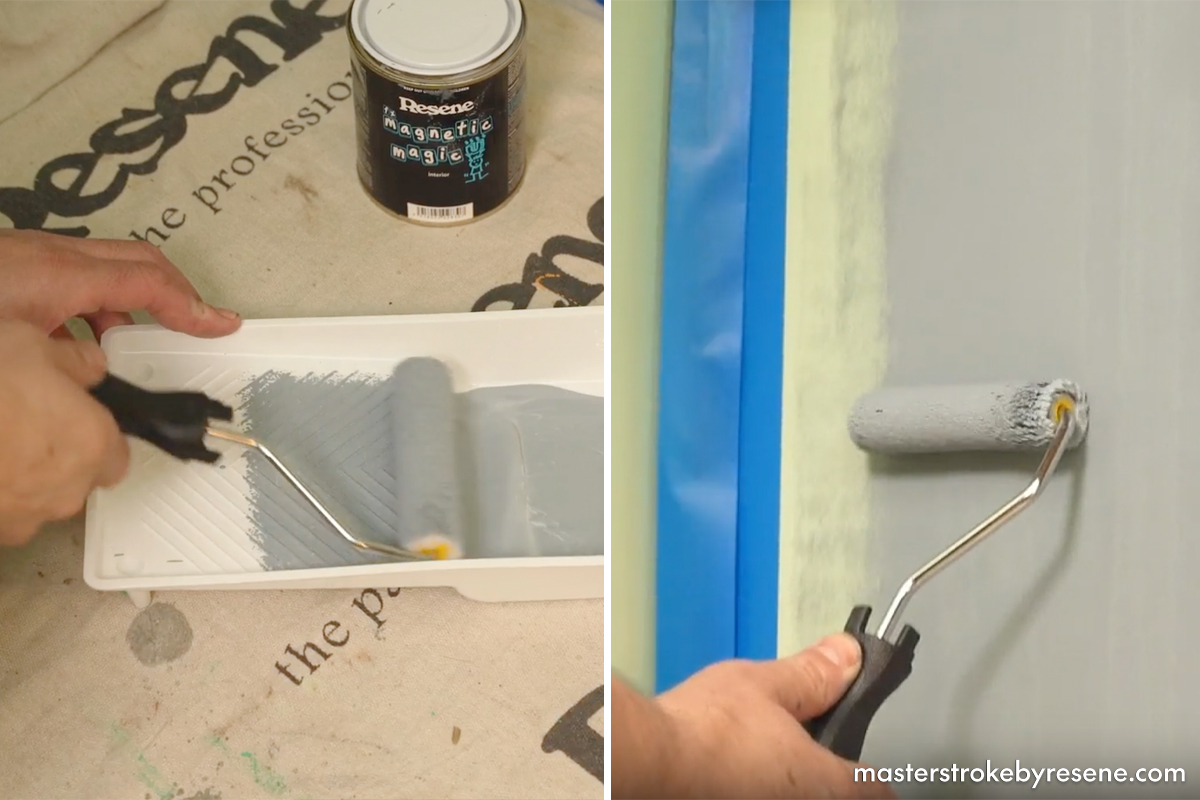
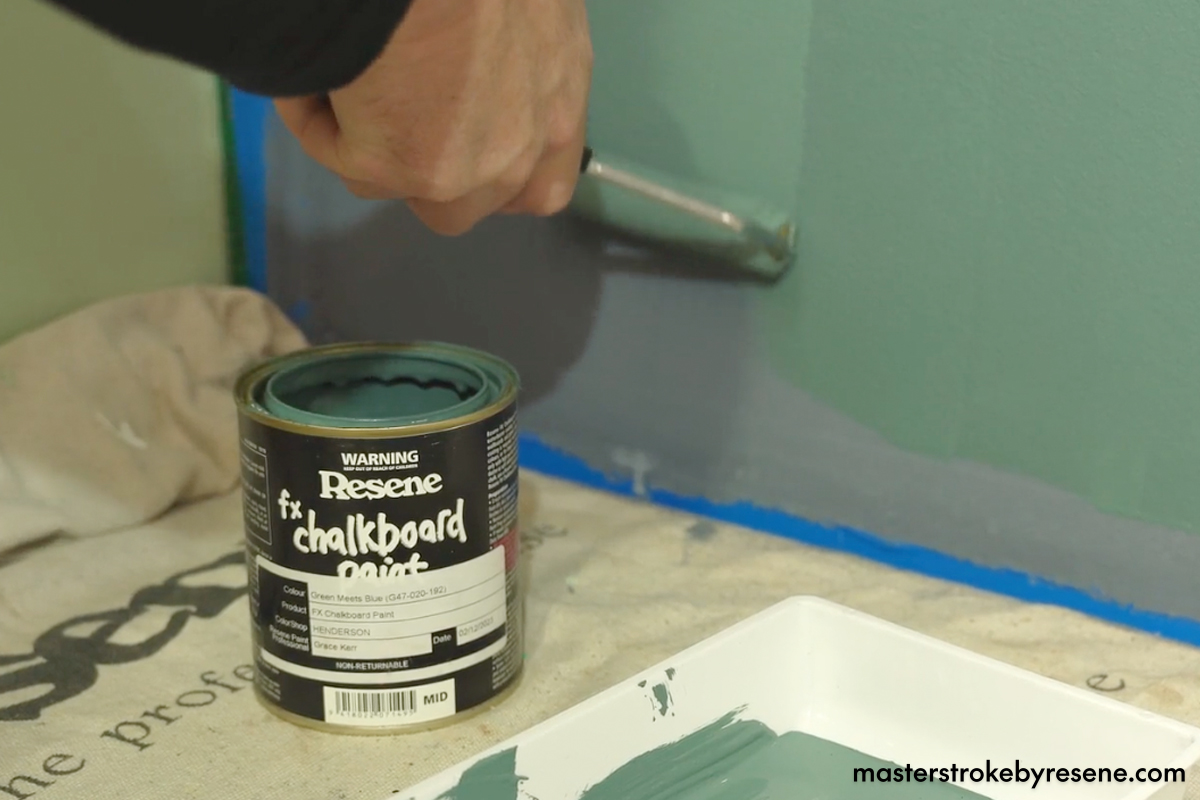
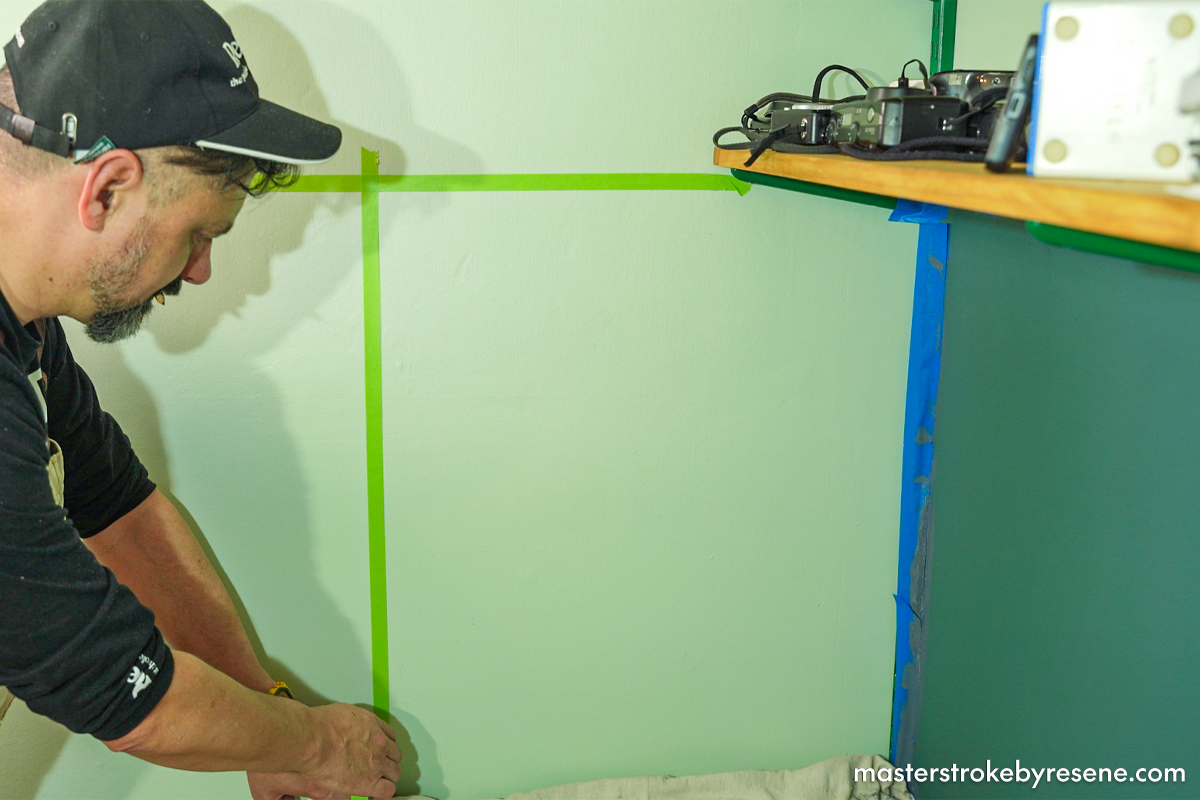
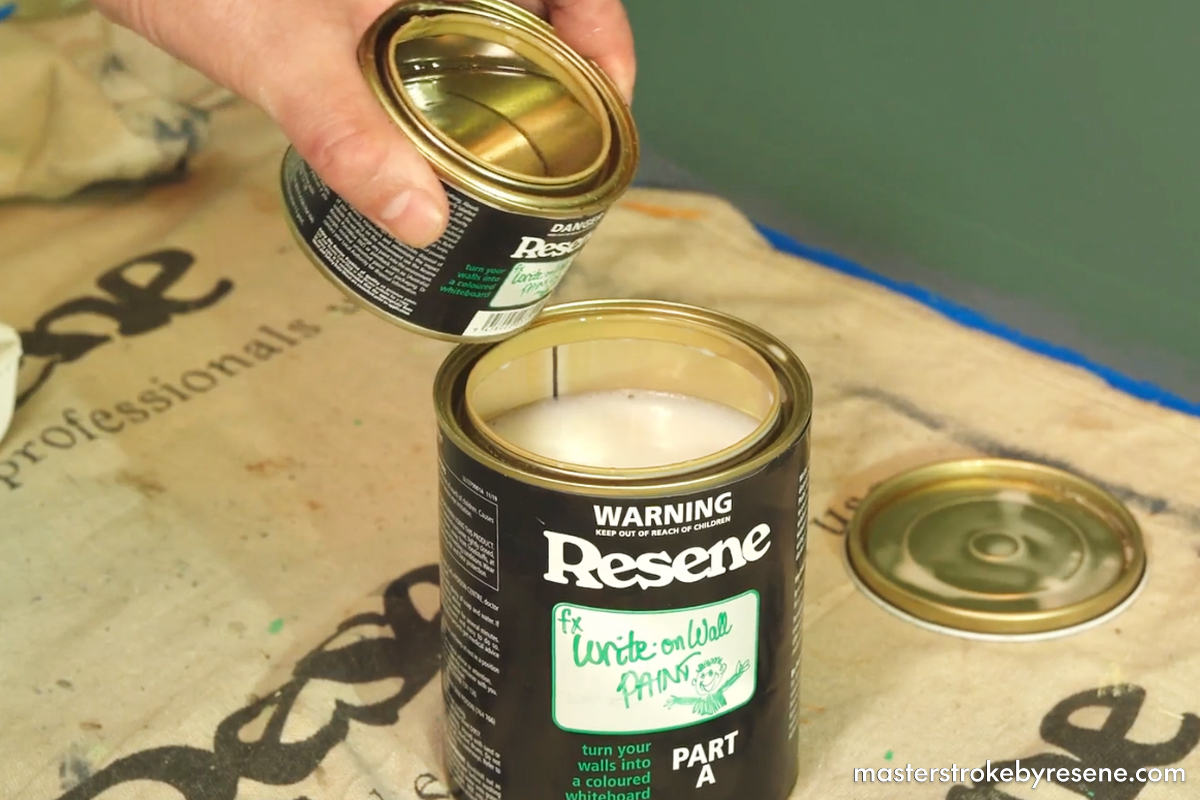
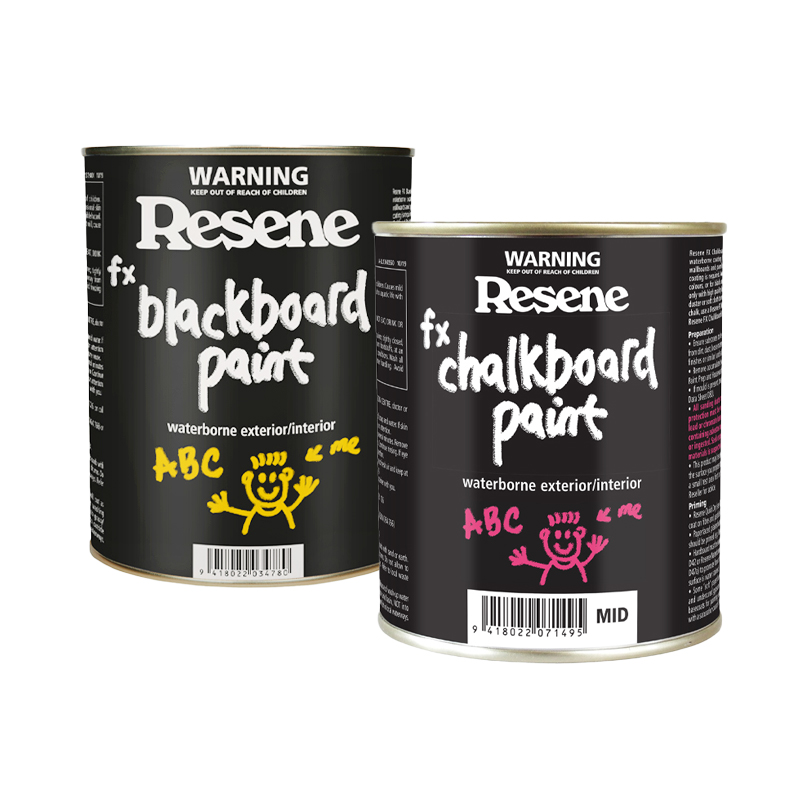
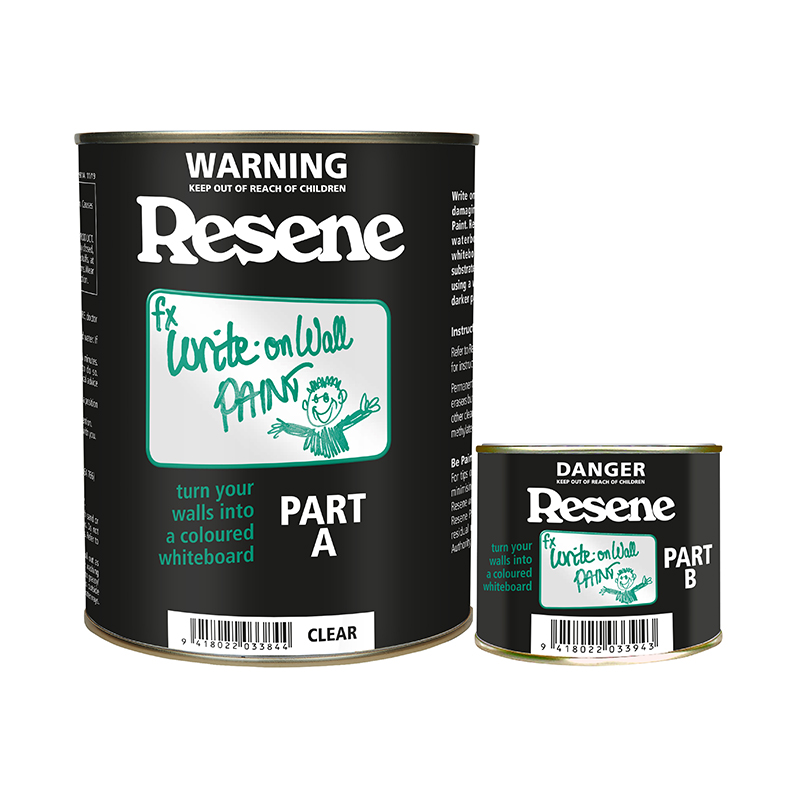
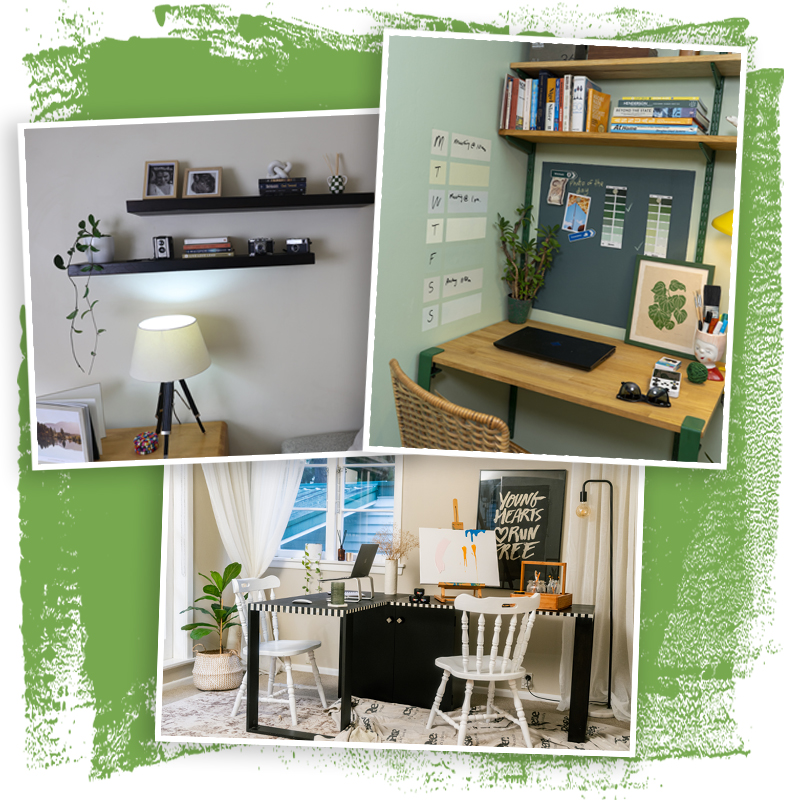
Instead of buying whiteboards and pinboards for the space, did you know you can make your own directly on the wall with paint? Prepare to have your mind blown with just what the Resene FX paint range can do – the best part is they can be layered to be dual purpose. Resene FX Magnetic Magic creates a magnetic surface using iron oxides and needs to be overcoated to prevent rusting. The perfect topcoat for this is Resene FX Chalkboard Paint, as it makes your magnetic wall into a handy two-in-one. Resene FX Write-on Wall Paint is a two-part clear coating designed to create a whiteboard effect, so notes and important dates can be written and rubbed out as required. 

These paint projects also work beautifully in children’s rooms and will help empower and motivate kids to feel organised and in control of their activities and to-dos during the week. 

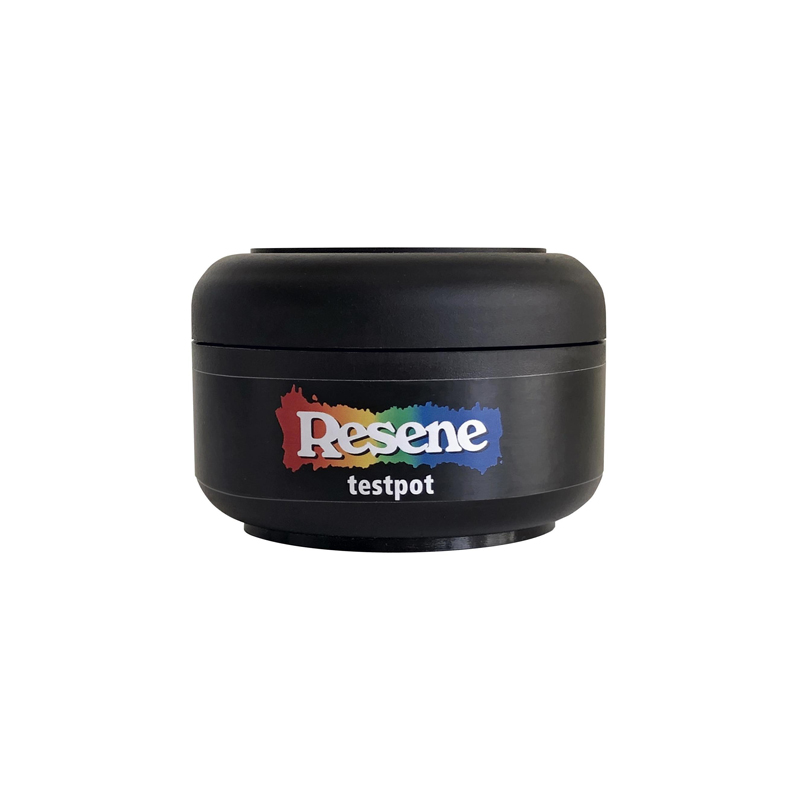
The world is your oyster when it comes to colour and you can select complementary Resene colours to suit your home. Resene testpots are also a great option for creating a colourful weekly planner. 

Jacob Leaf (aka The Upcycler) has transformed his space from cluttered to calm with these handy paint projects. Follow the step-by-step instructions to try it at your place.

1

Mask

Use painter’s tape to mask out an area for a magnetic chalkboard. Position it somewhere easy to access.

2

Magnetic basecoat

Pour your Resene FX Magnetic Magic paint into a paint tray and use your roller to apply two coats of Resene FX Magnetic Magic, waiting three hours between coats. The smoother the finish and the thicker the application, the stronger the magnetic effect will be. Make sure you put on the right amount of paint to get the correct magnetic effect.

Top tip: Test that your magnets stick well to the magnetic coating before you overcoat – if they don’t stick well, you can apply more of the Resene FX Magnetic Magic paint, let it dry and then recheck it is holding your magnets well. Be sure to use good quality magnets.

3

Chalk it up

Once the Resene FX Magnetic Magic basecoat is dry, it’s time to topcoat.

Pour your Resene FX Chalkboard Paint into a paint tray and apply two coats, allowing dry time between each coat.

Once dry, carefully remove the painter’s tape.

4

Plan it out

On another part of the wall, use painter’s tape to mask out a grid for a weekly planner – Jacob has made a small box so that jobs and tasks can be ticked off once they’re done.

5

Colour me organised

Make the planner really pop by painting each day of the week with a different Resene testpot colour. Jacob has gone for a pastel theme and used Resene Anglaise, Resene First Light, Resene Half Secrets, Resene Moon Glow, Resene Surf Crest, Resene Travertine and Resene Willow Brook. 

Wait two hours between coats. Once dry, peel off the painter’s tape between the colours – leave the outer box masked for the next step.

6

Mixing time

To prepare the Resene FX Write-on Wall Paint, pour Part B (the smaller tin) into Part A (the larger one) and mix it thoroughly with your Resene paint stirrer. Then return the mixture to the Part B container and mix it thoroughly, then finally, mix Part B back into Part A until smooth.

7

Clear coat

Pour the prepared Resene FX Write-on Wall Pain into a paint tray and use a roller to apply two coats evenly to your planner, waiting two hours between coats. Make sure you put on the second coat within the three hour pot life.

8

Crisp edges

Once dry, carefully remove the remaining painter’s tape.

9

Get to work

Your walls are now ready to help you stay on top of all your important tasks.

Wall painted in Resene Pale Leaf and shelving brackets in Resene Kaitoke Green.

Top tip: If you prefer a more classic blackboard look rather than a coloured chalkboard, use Resene FX Blackboard Paint instead of Resene FX Chalkboard Paint. You can also paint your magnetic, chalk and write-on boards onto separate panels and attach them to the wall if you want to take them with you when you move.  If you can’t find the colour you’d like in Resene FX Chalkboard Paint, you can use Resene SpaceCote Low Sheen as a chalkboard-style finish.

More from the Resene FX range:

Resene FX Paint Effects Medium 
Use this to create ambience and transform something very plain into something truly special. You can choose from a wide variety of techniques to achieve everything from colourwash and limewash effects to ragrolled finishes.

Resene FX Metallic
Filled with aluminium flakes, this product will transform and add extra dimension to a wide range of surfaces, from exterior concrete and steelwork through to interior feature walls, doors, joinery and furniture. It’s a great way to help reflect light around a room and to add a little extra glamour to spaces.

Resene FX Faux Rust Effect
Achieve a weathered steel-style finish for a fraction of the cost on a wide range of surfaces. This waterborne coating is designed to create a rust effect on exterior and interior surfaces.  Once applied, the rust look will continue to develop as the coating ages. Leave it as is for a living rust effect or protect it with a clear finish of diluted Resene Waterborne Aquapel.

Resene FX Pearl Shimmer
A waterborne pearlescent glaze, this product is ideal for creating shimmering walls and sparkling features, adding visual interest and diversity to any colour scheme. You can apply it over an already painted wall.  It’s best to test your colour combinations first.

There are other fun Resene FX finishes you can try too. Click here for more ideas.

About MasterStroke by Resene
MasterStroke by Resene is here to help you master your paint and decorating projects. Brush up on your skills with advice, tips and ideas from our trusted experts.

Check out the latest how-to videos on our YouTube channel.