DIY projects

Build a DIY go-kart from plywood

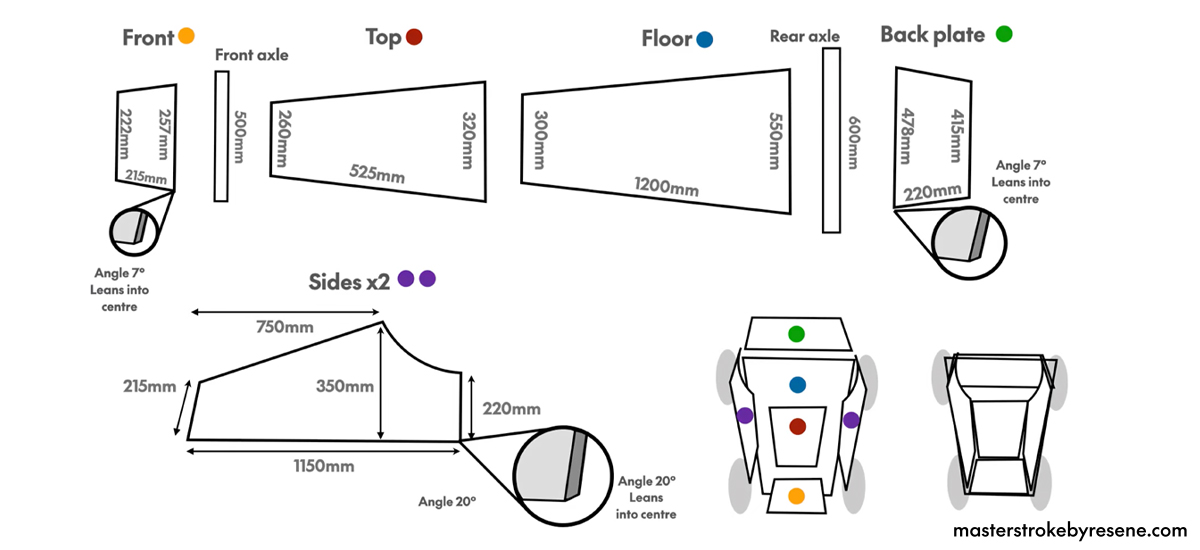
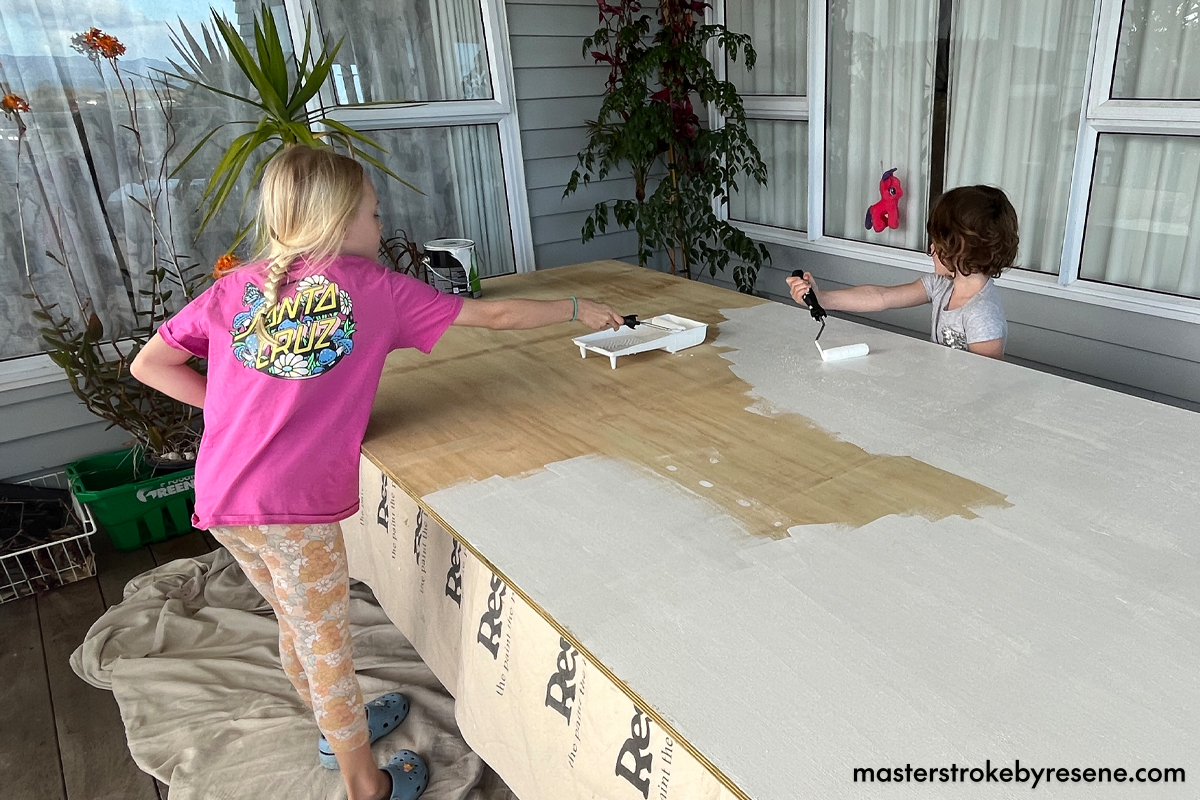
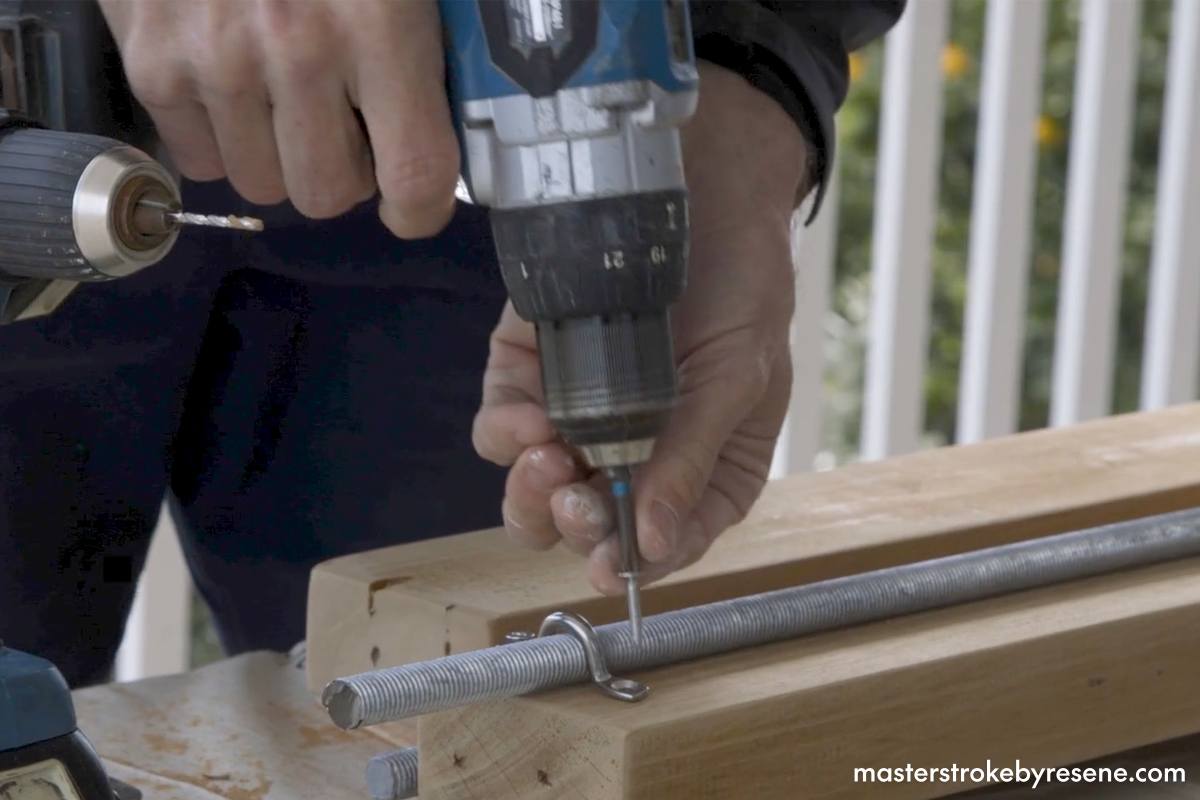
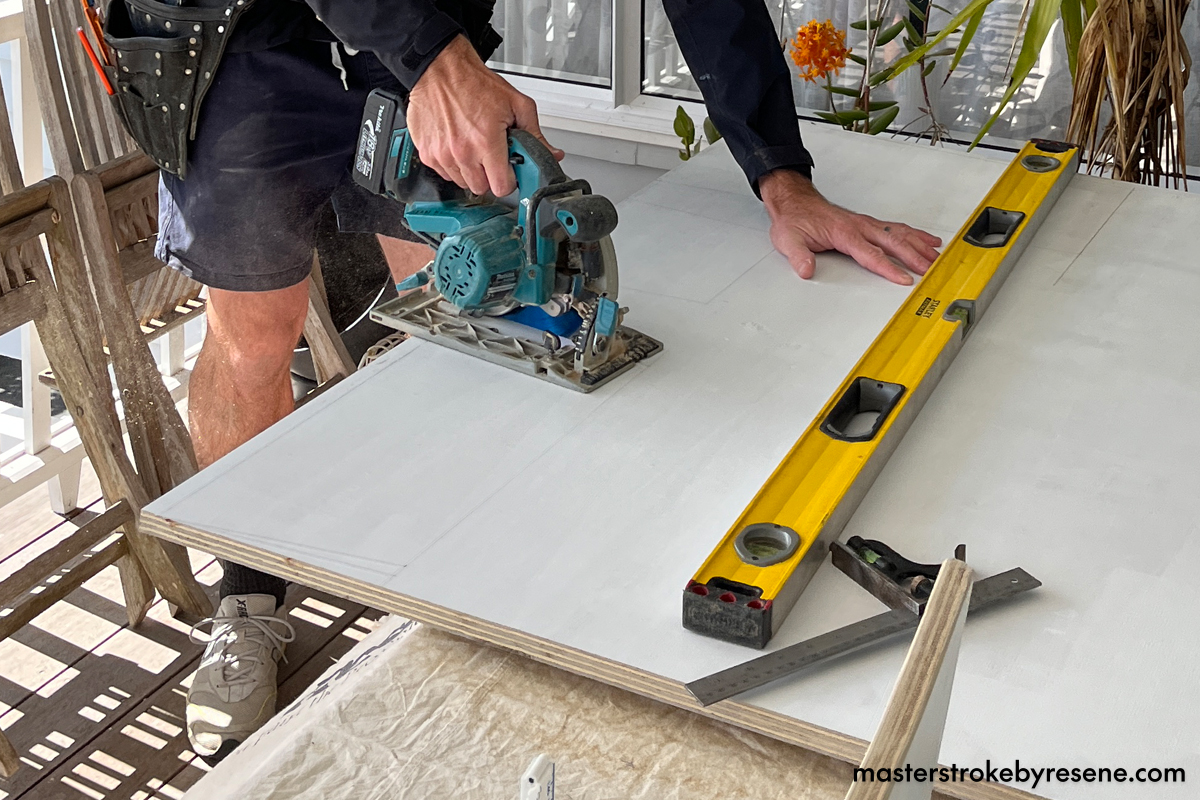
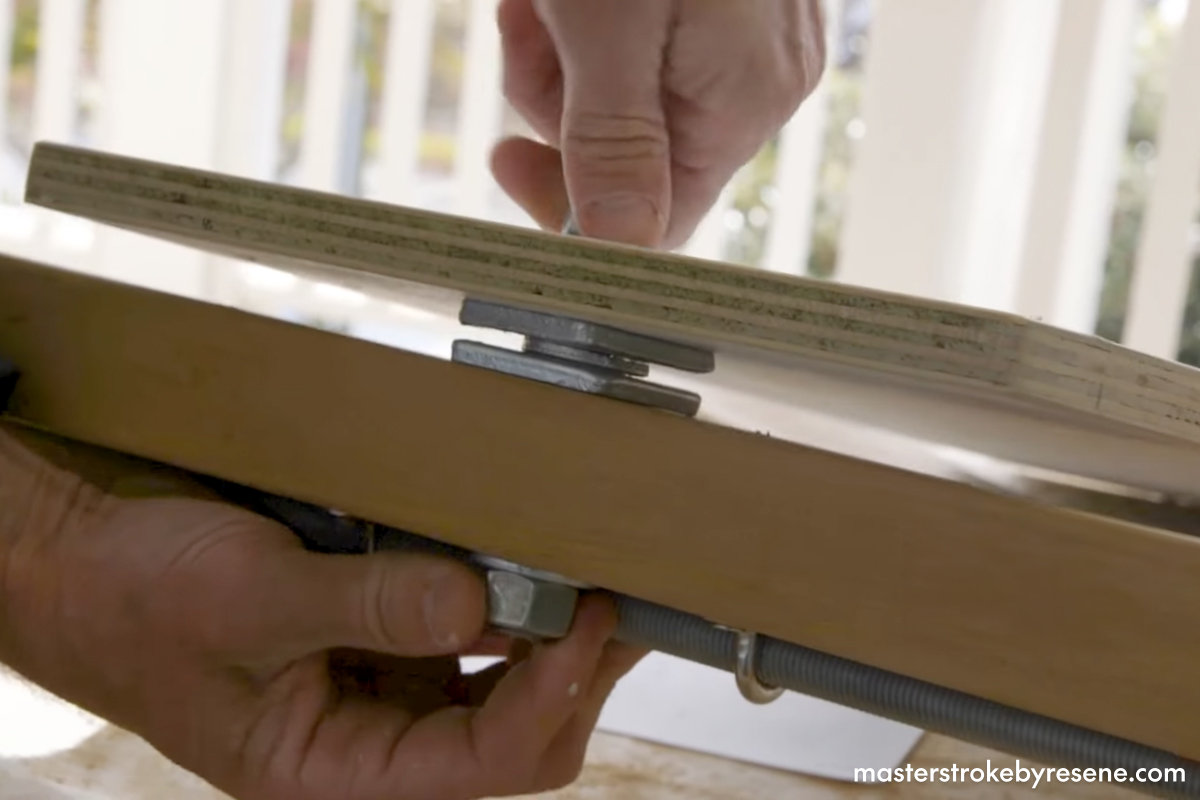
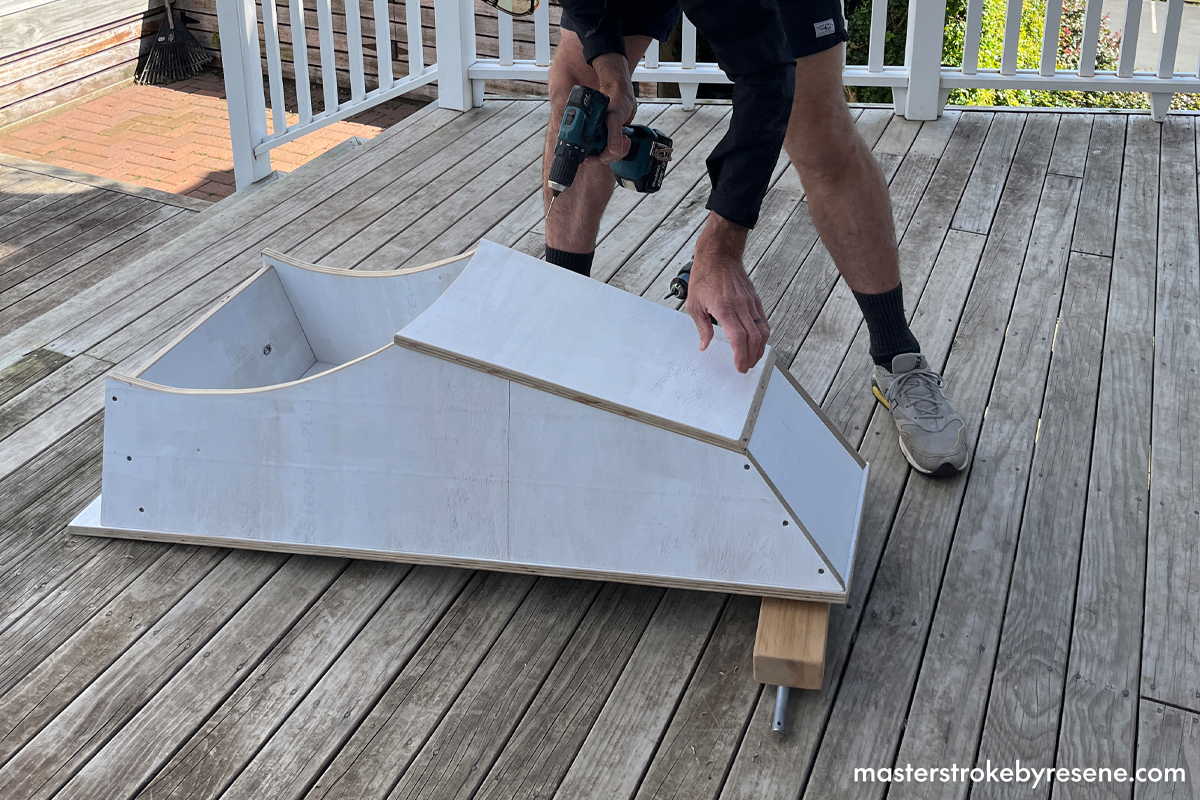
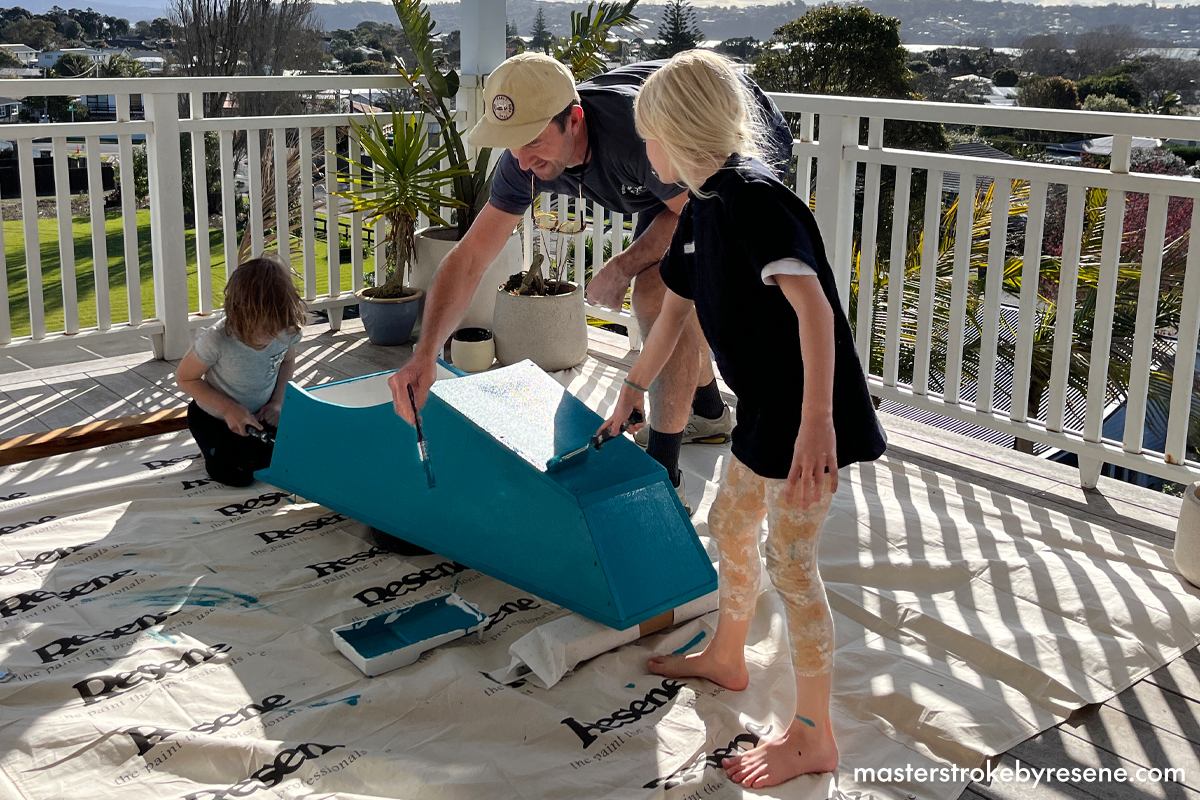
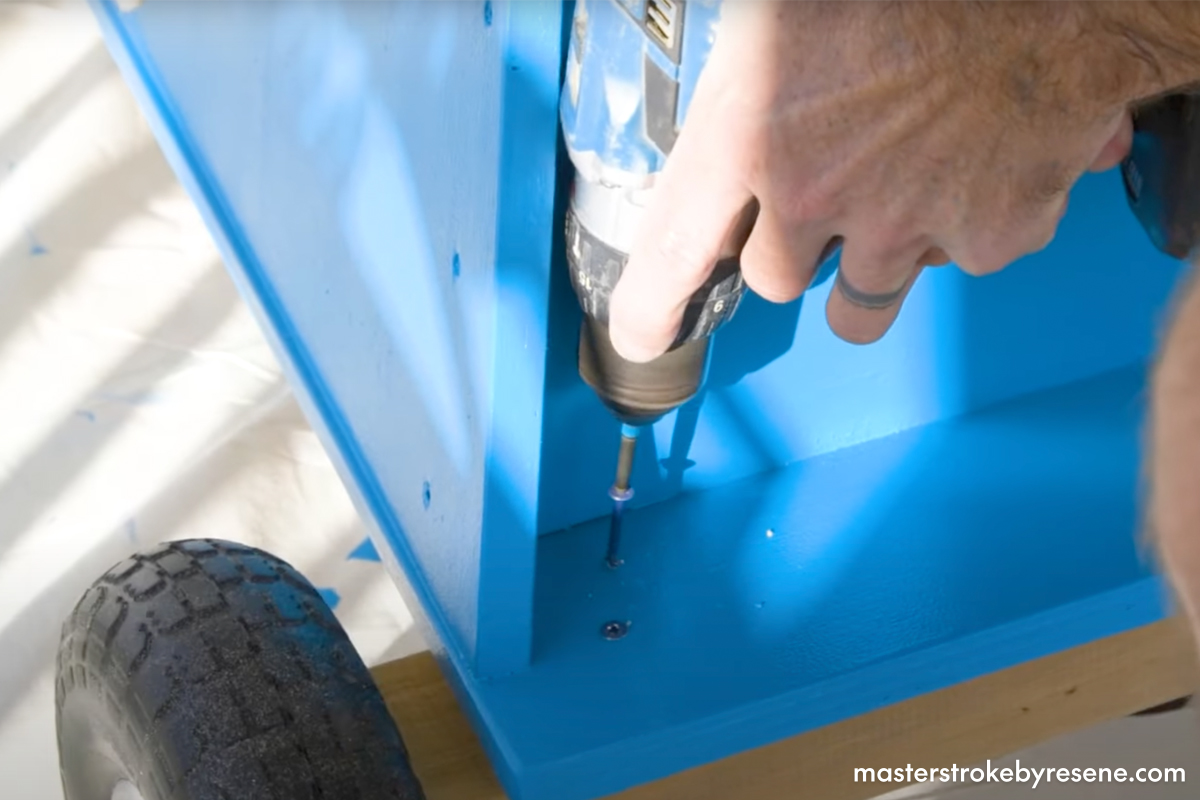
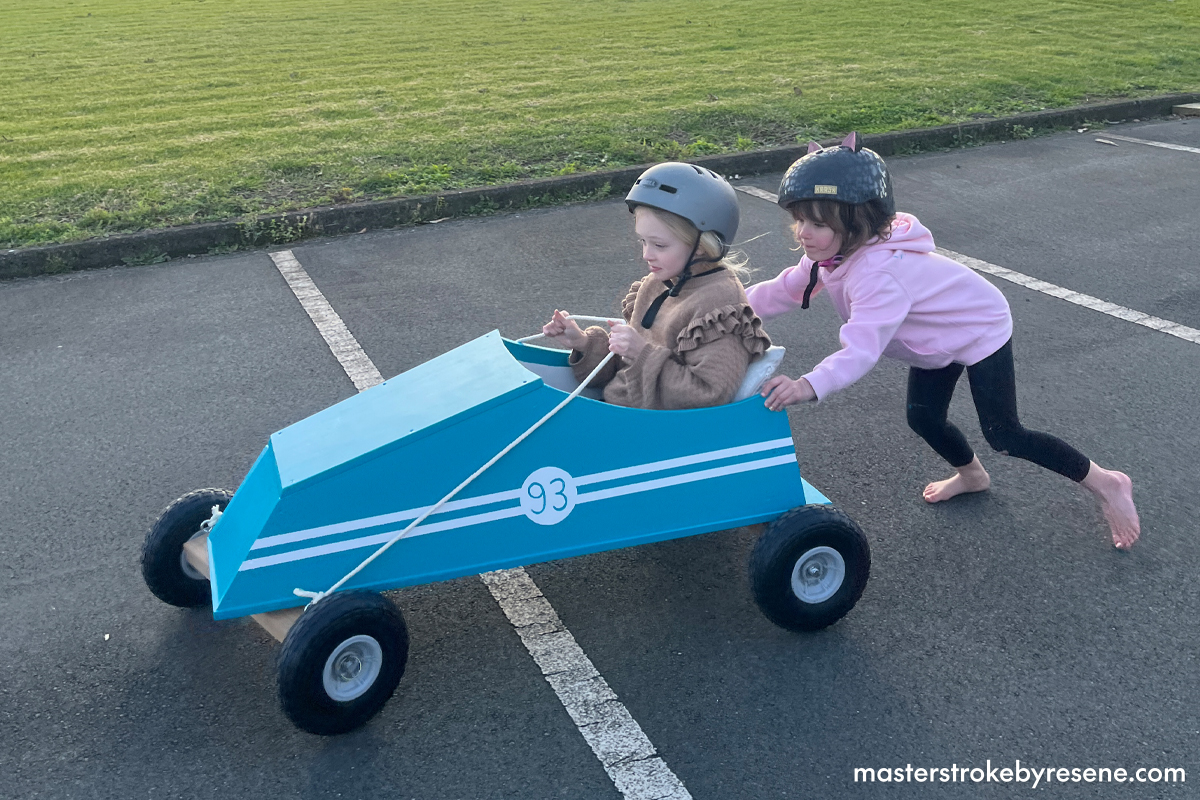
Ready, set, go! Win the award for Dad, Mum or Grandparent of the Year by making this super cool go-kart. In this My DIY Dad video, Sean Brown from Brown & Brown Builders shows you how to create this mean machine from plywood, which will be the envy of all the kids in the neighbourhood. For this fun weekend project he’s also being assisted by some very keen ‘helpers’ – his two young daughters. 

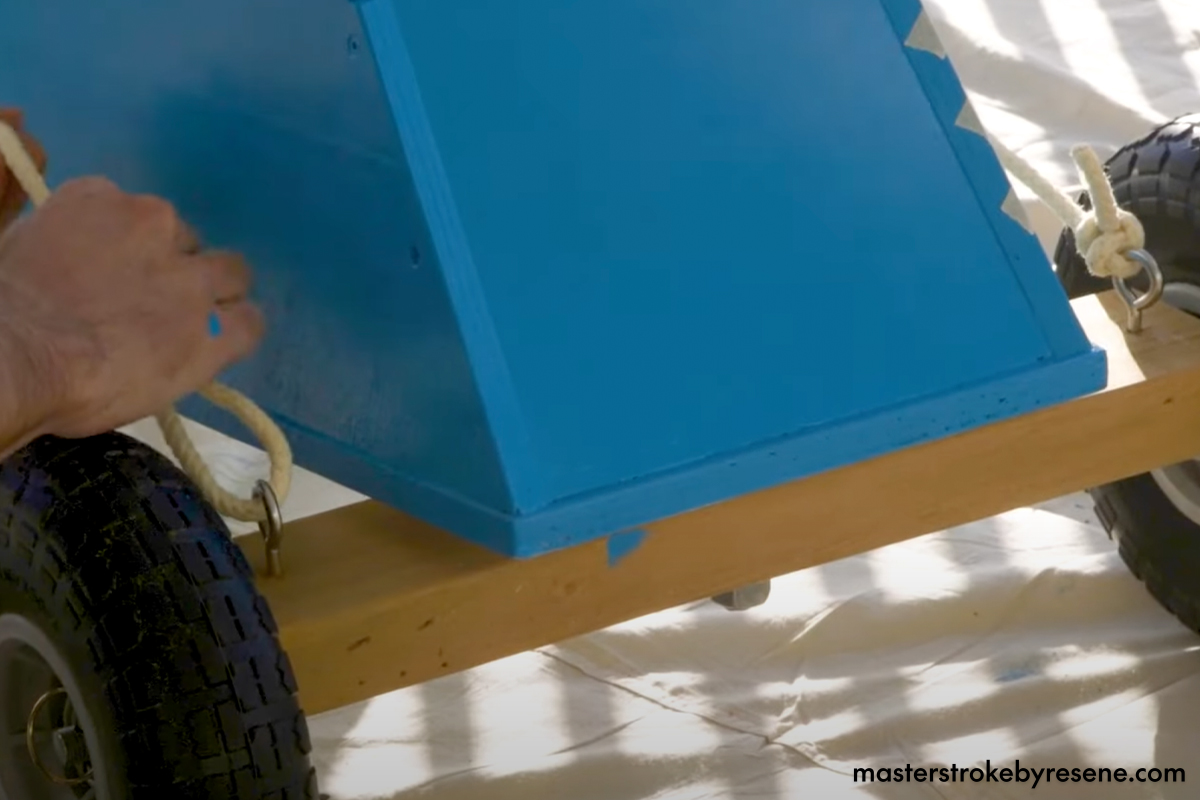
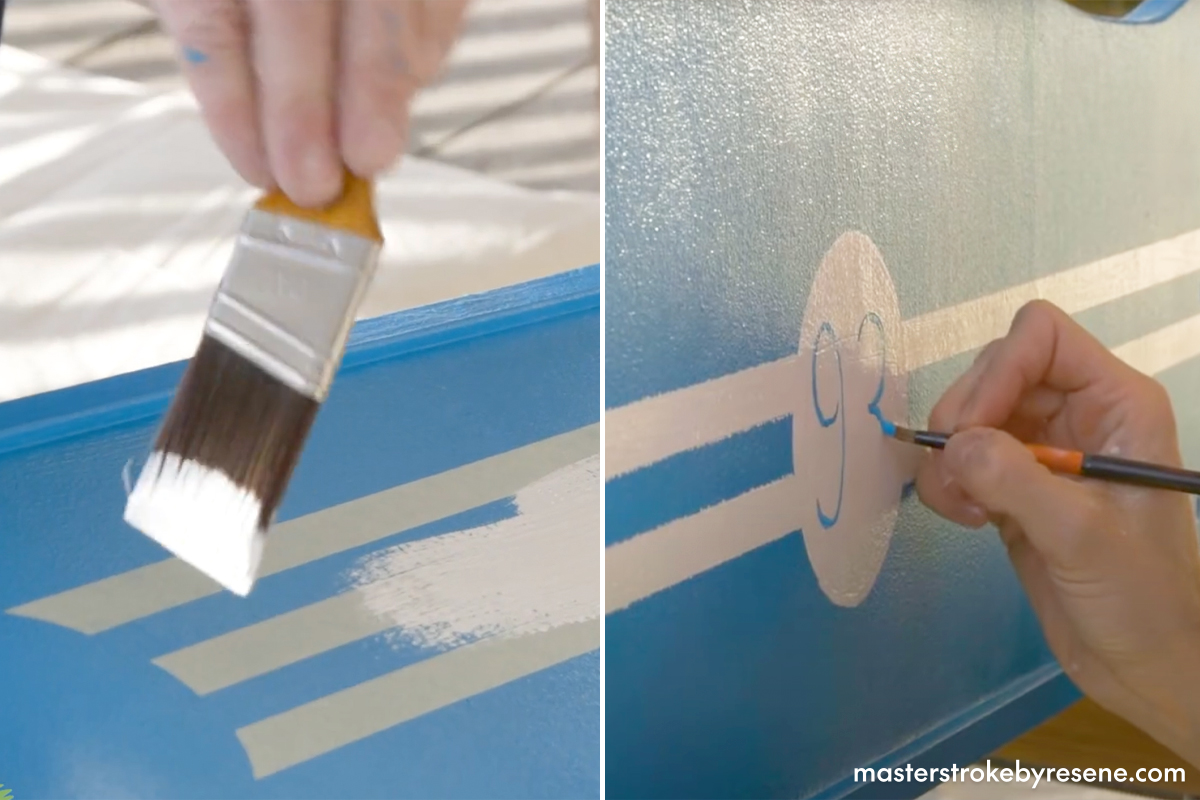
Sean’s go-kart is made from plywood and is finished with a lick of bright teal blue Resene Kitsch – but you can personalise yours with whatever Resene colour you like. The axles make it easy to manoeuvre and take corners with ease. There’s enough space for one big kid or two little ones, and don’t forget to wear your helmet! 

Gather your helpers and follow the step-by-step instructions below.

  • 2400mm x 1200mm x 17mm plywood sheet
  • Resene Quick Dry waterborne primer undercoat
  • Resene #4 Easy Reach roller kit 100mm
  • 1200mm x 400mm x 200mm timber plank (for axles)
  • 2x 1000mm x 16mm galvanised threaded rod
  • 4x stainless steel saddles with screws
  • 120 grit sandpaper
  • 120mm bolt and nut
  • 2x square galvanised washers
  • 2x circular galvanised washers
  • Galvanised screws (to assemble pieces)
  • Resene Enamacryl gloss waterborne enamel
  • 4x 230mm pneumatic wheels
  • 2x eyelet screws
  • Rope (for steering)
  • Painters tape
  • Paintbrushes

  • Orbital sander
  • Grinder or hacksaw
  • Jig saw
  • Circular saw
  • Drill (with 16mm drill bit)
  • Spanner
  • Measuring tape
  • Pencil
  • Drop cloth
  • Safety gear

Cutting plan:

1

Prime your ply

Clear a large space outside and put down your drop sheet, then prop up your sheet of treated plywood so it’s lying flat. Decant Resene Quick Dry primer into a paint tray and use a roller to apply the primer in long sweeping strokes. Once one side is dry, flip it over and do the other.

2

Prepare the axles

Use a circular saw to cut your 1200mm length of timber into pieces for your axles, one to 500mm and the other to 600mm. Give them a good sand with an orbital sander to tidy up the surfaces. Use a grinder to cut the 1000mm x 16mm galvanised rods and then attach them to the blocks of wood using steel saddles.

3

Cut the pieces

When the primer is dry, use a pencil and mark out your pieces for the go-kart body with a pencil. Move the blade on the circular saw to get the 7/20 angle cuts, as this will help the piece fit together more easily when you go to assemble. Then use a jigsaw to cut the arcs for the cockpit. Give all your edges a sand with 120 grit sandpaper and wipe away the sanding dust.

4

Attach the front axles

Place the base of the go-kart on the front axle block and drill a hole for the steering bolt, using a 16mm drill bit. Attach all the front axle fittings and make sure it can turn both ways with ease.

5

Assemble the go-kart

Use your drill and exterior screws to attach the pieces together, forming a snug spot to sit. They should fit together like a puzzle.

6

Time to paint

Pour some Resene Enamacryl into a paint tray. Doing this ensures you won’t be transferring any contaminants that may be in your rollers or brush into the main paint can. Using a PAL 100mm Easy Reach roller will make the job much quicker. Wait for the paint to dry, then apply another coat.

Top tip: If your kids like sleek and shiny, you can amp up the bling factor with Resene FX Metallic as your topcoat.

7

Attach the back axle and wheels

Once the second coat is dry, attach the wheels to either end of the back axle and screw it into the back platform area.

Attach wheels to front axle as well.

8

Add the steering rope

Secure your two eyelet screws on either side of the front axle and loop the rope through each side, tying it off at each end. This will create your handle and make it easy to steer.

9

Final touches

To make your double stripes, apply three strips of painter’s tape down the side to use it as a stencil. Place a bowl at the centre and draw around it with a pencil to create the circle shape, then cut around with a craft knife.  Then paint your lighter colour – Sean has used Resene Enamacryl gloss waterborne enamel in the colour Resene Black White along the lines and very carefully within the lines of the pencil circle. Once it’s dry, remove the tape and paint in your lucky number in the centre of the circle.

10

Let's ride!

This is a great project to do over a spring or summer weekend when you have some spare time and the kids will be able to enjoy your handiwork for years to come.

About MasterStroke by Resene
MasterStroke by Resene is here to help you master your paint and decorating DIY projects. Brush up on your skills with advice, tips and ideas from our trusted experts.

Check out the latest how-to videos on our YouTube channel.