DIY projects

How to build a paw-fect dog kennel

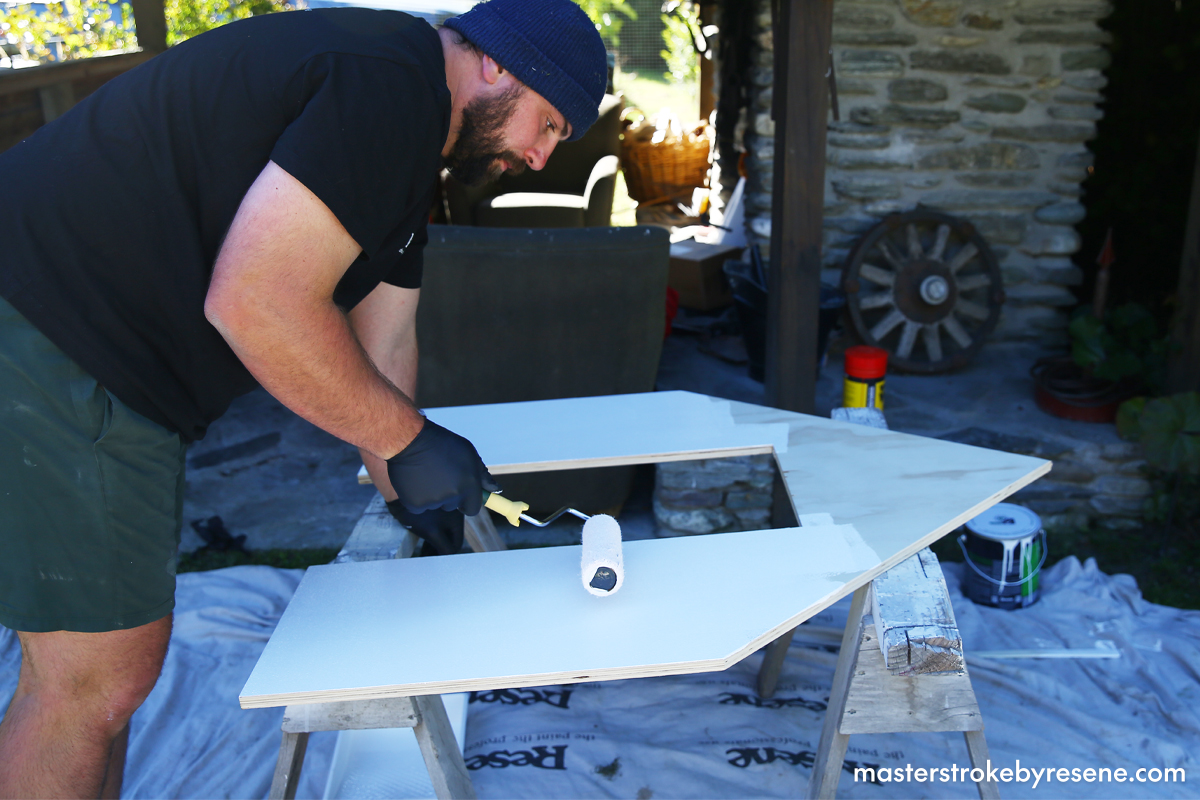
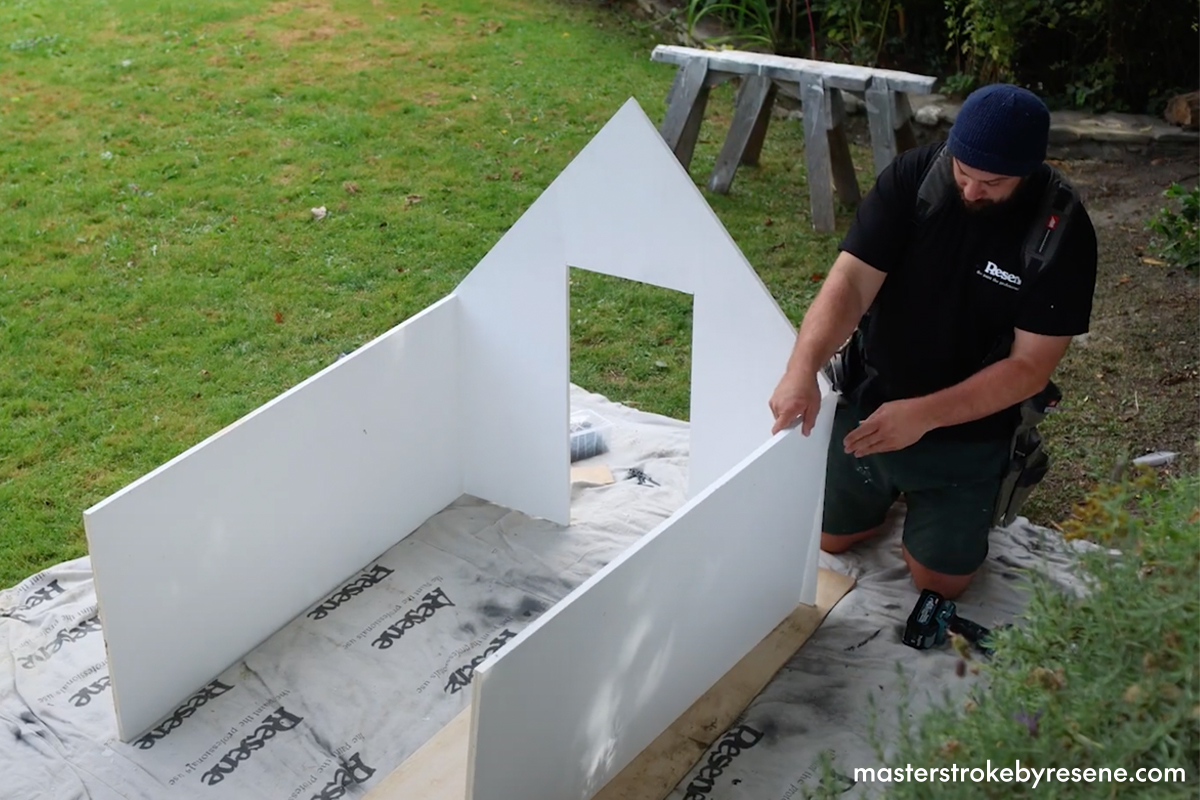
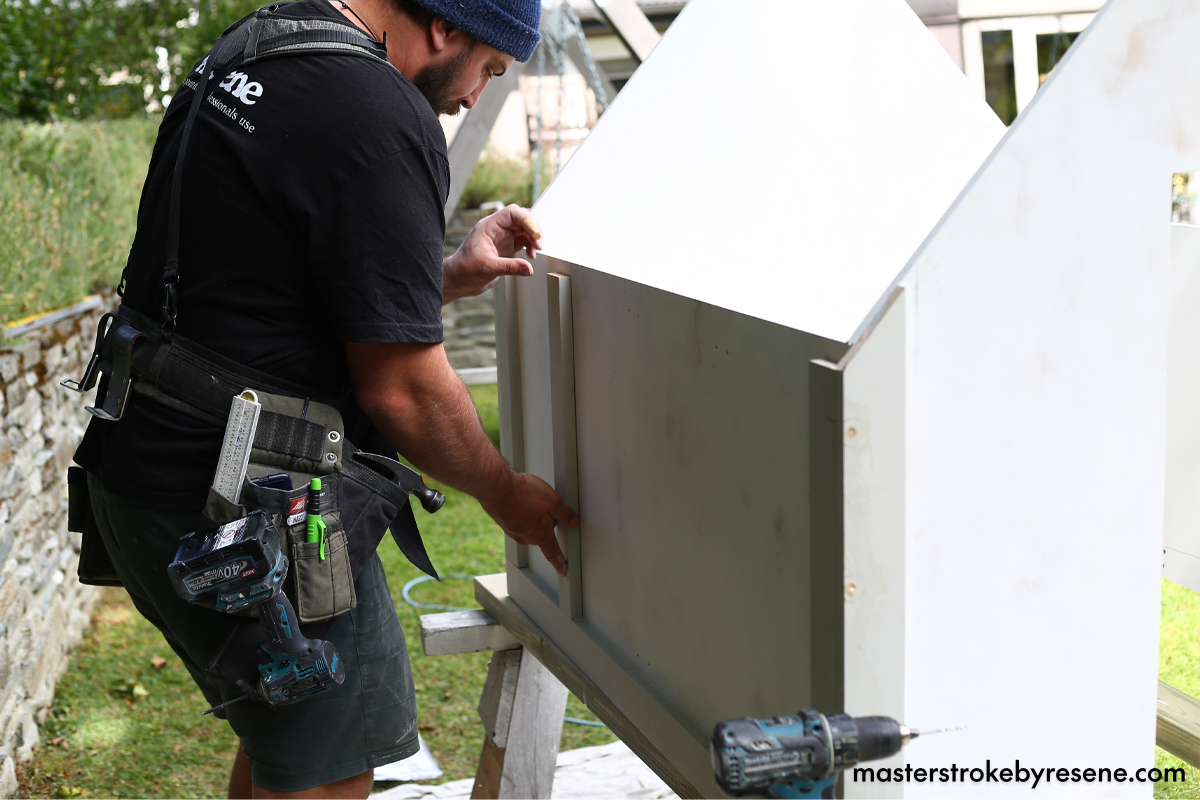
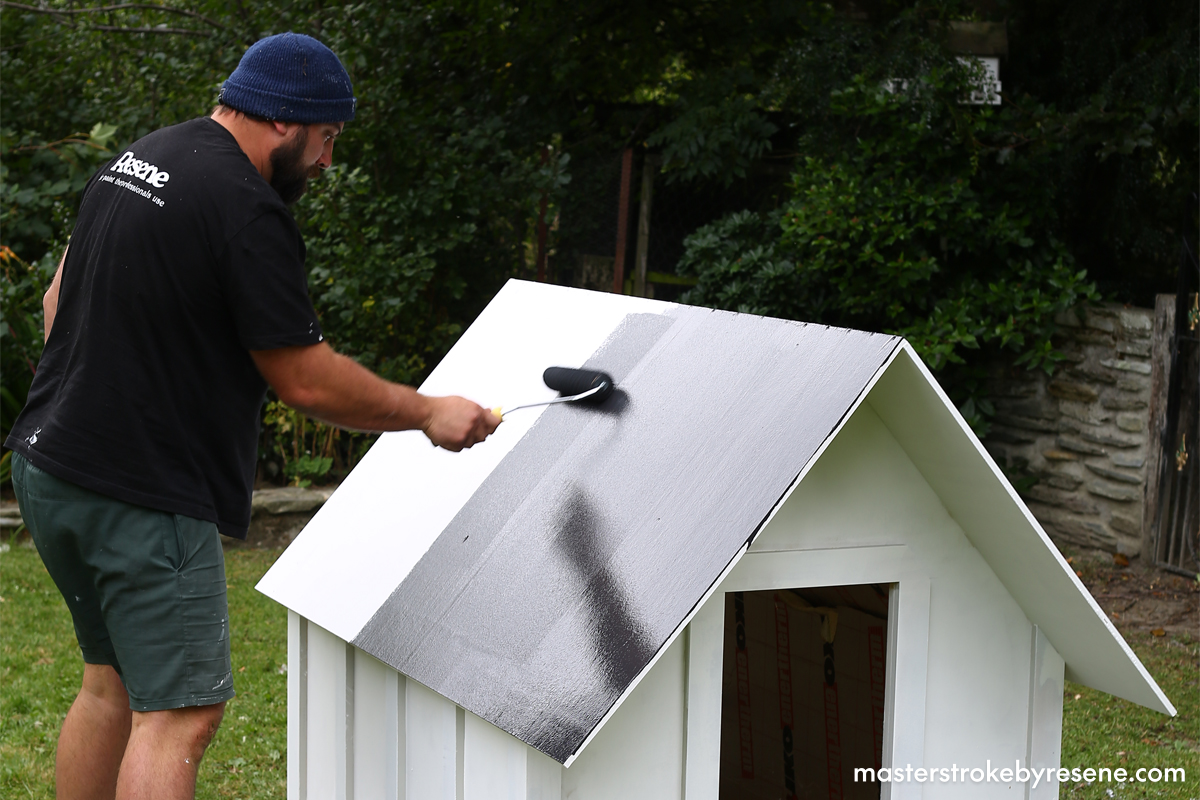
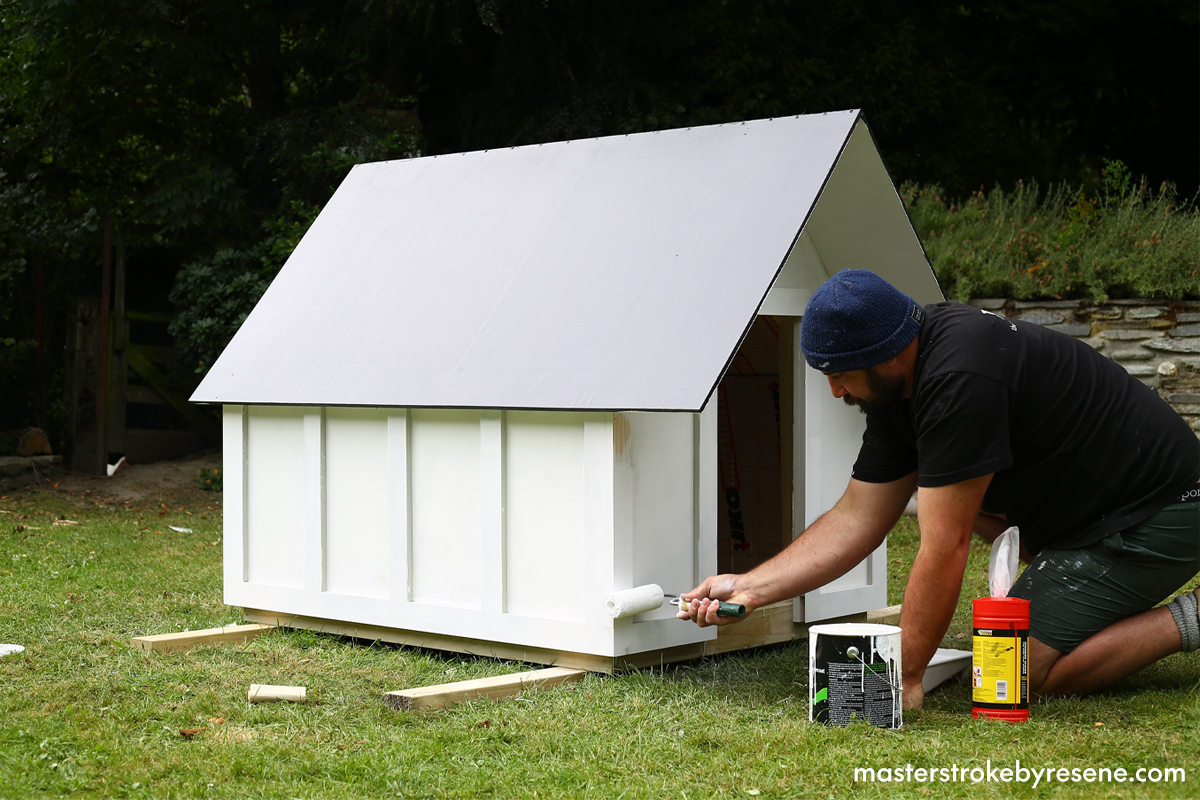
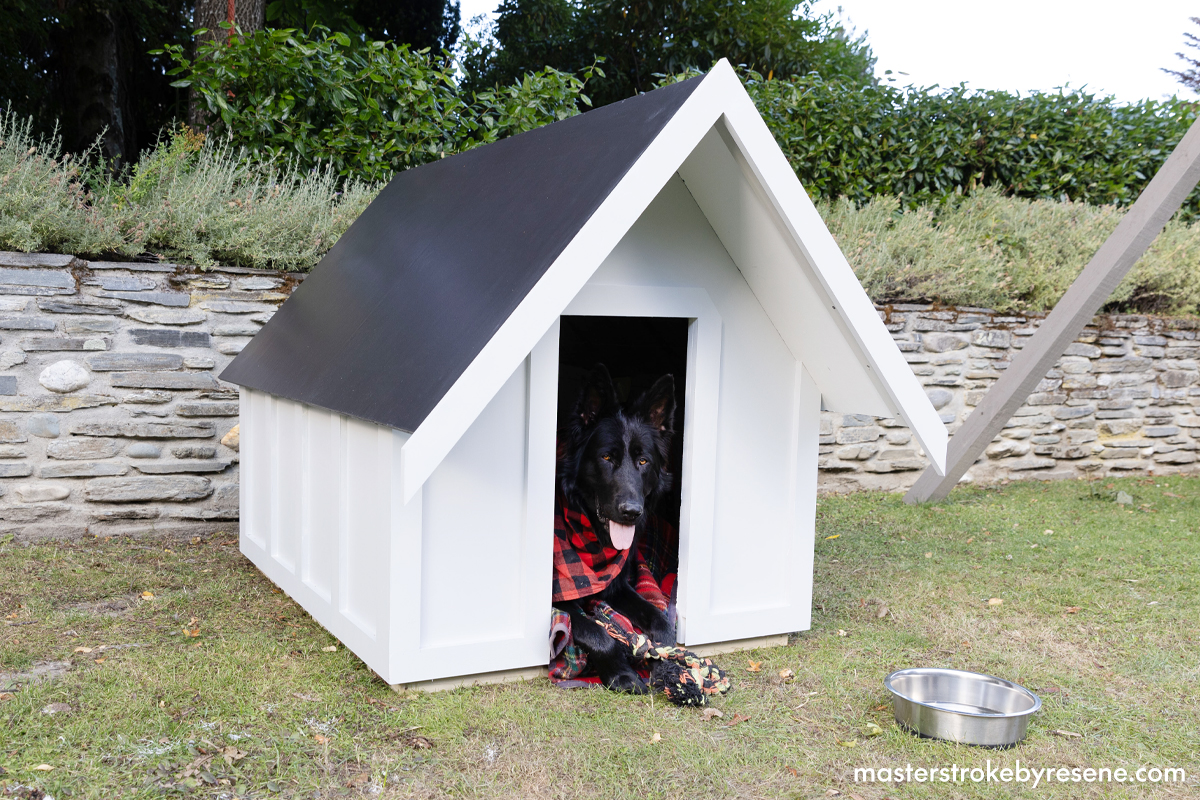
Flex your creative muscles and make this DIY canine castle for your precious pooch to snuggle up in during winter. Queenstown-based builder Josh Lysaght made this dog kennel for his buddy Odin and shows us how we can build our own.

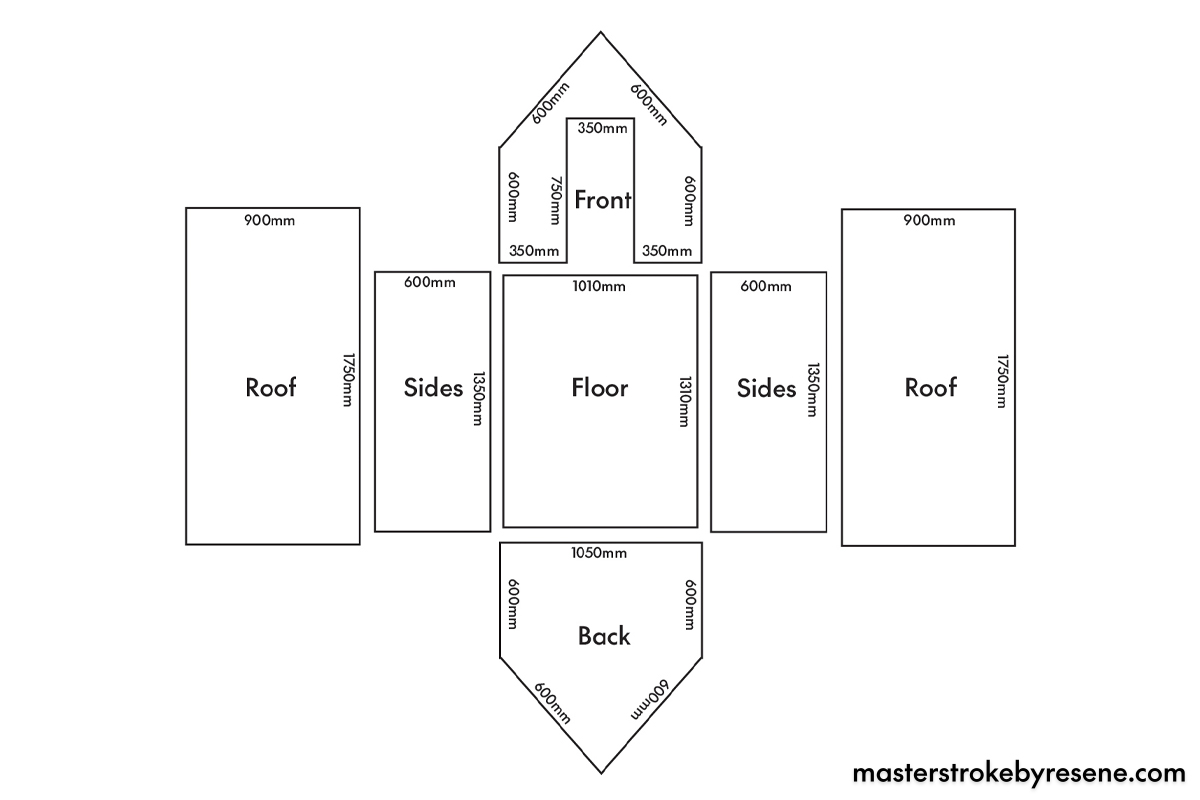
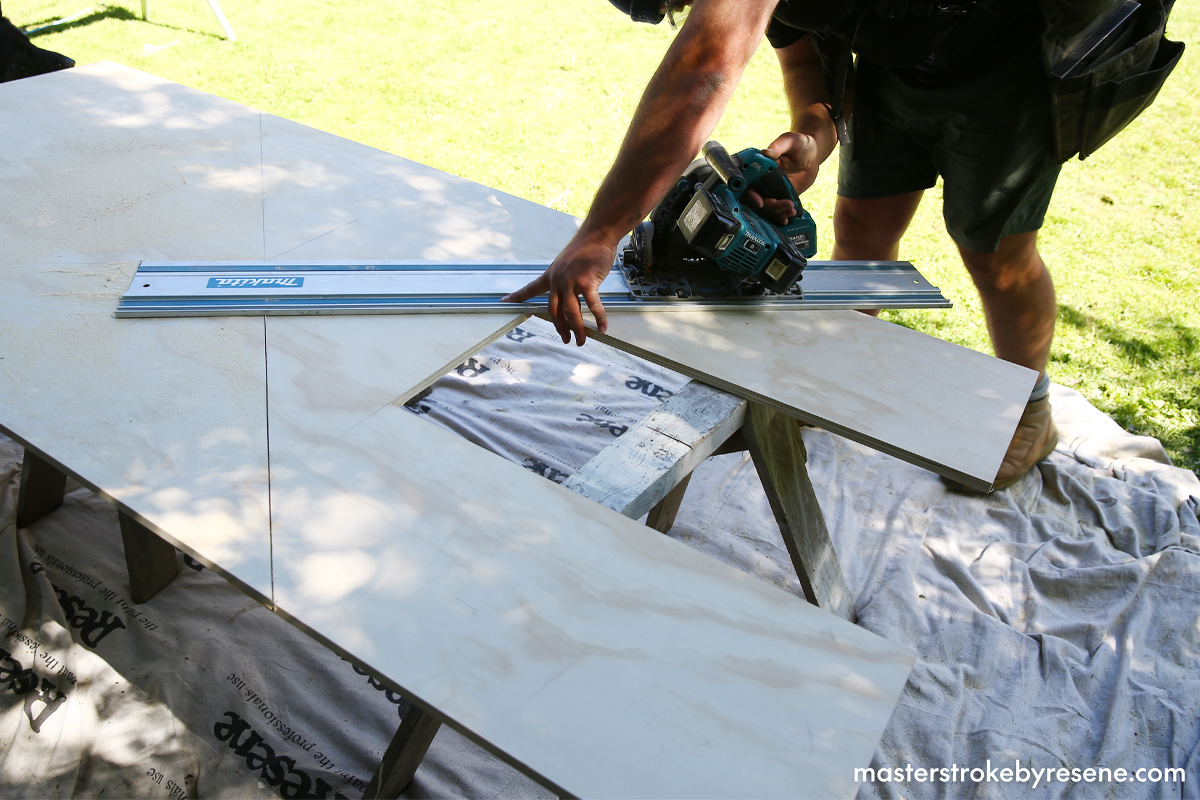
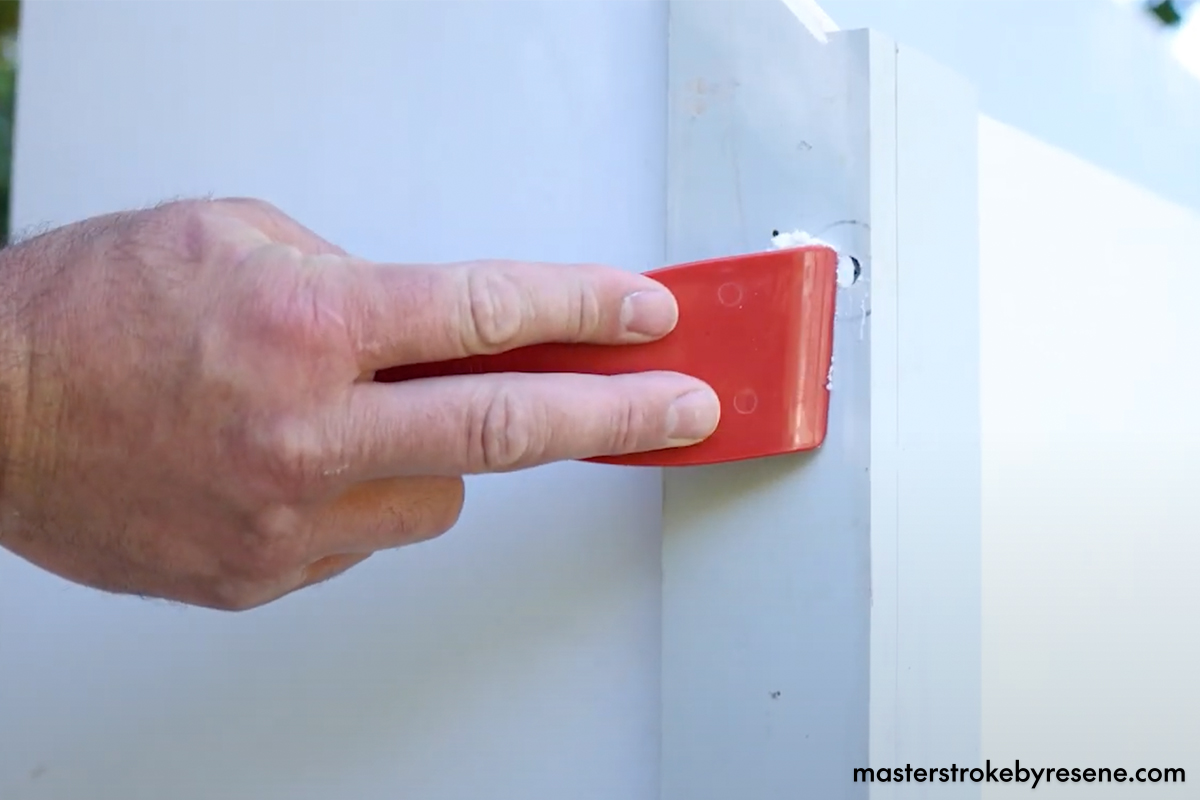
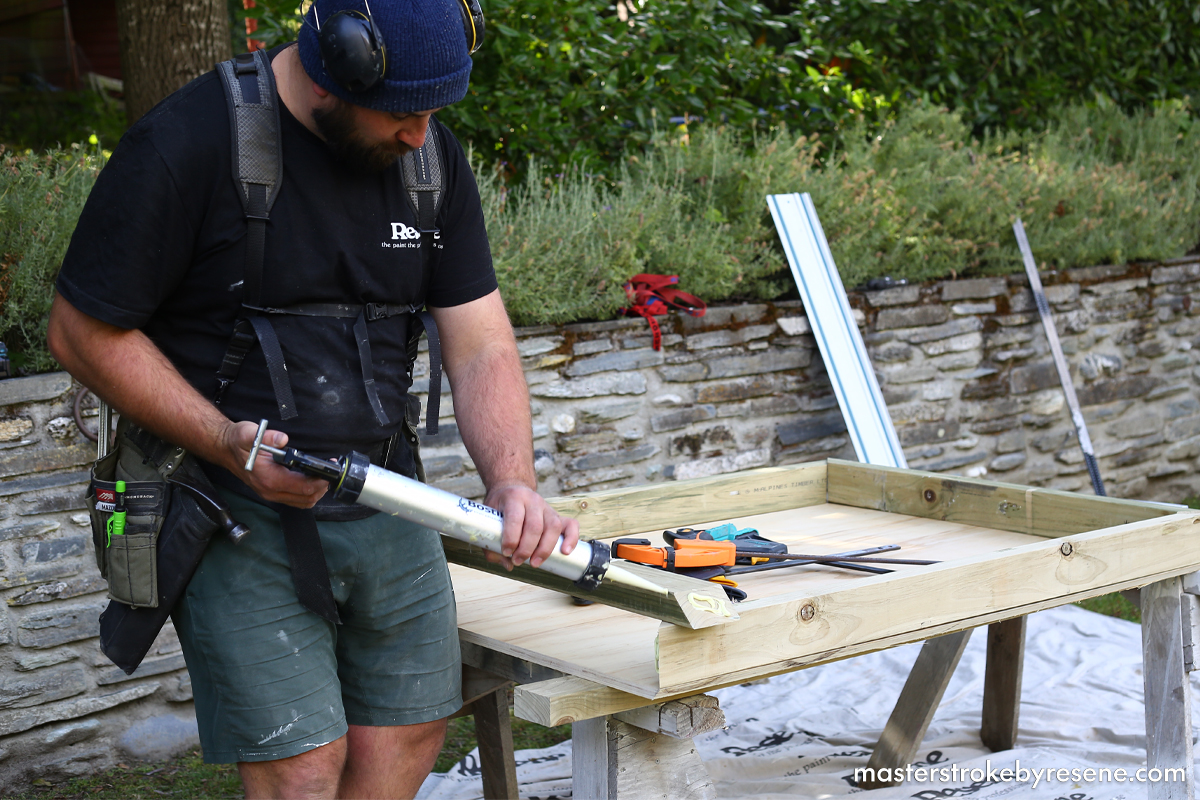
Follow the step-by-step instructions below and remember that cutting the right measurements is a very important part of the process. The diagram below should give you an idea of how you will be cutting your plywood to create the pieces of the structure. 

Note: The measurements Josh used were to ensure a comfortable fit for Odin – feel free to adjust these to suit the size of your pet.

  • Measuring tape or ruler
  • Pencil
  • Circular saw
  • Hand saw
  • Safety gear
  • Hand sander
  • Drill driver
  • Speed clamps

Cut list

1

Cut your pieces

Measure and cut your plywood following our cutting guide or adjust the sizing to suit your dog and space. 

2

Sand and prime

Sand all your pieces of ply and wipe away sanding dust with a damp cloth. Remember to wear your safety gear when sanding.  Then prime each piece on both sides and all the edges with Resene Quick Dry waterborne primer undercoat and leave to dry.

3

Assemble sides

Use construction glue to join the side pieces together, then secure with screws.

4

Batten down the hatches!

Measure and cut the batten timber to fit your doghouse. Attach them to the walls of the doghouse using construction glue, spacing them 250mm apart. Secure with screws.

5

Fill holes

Fill any holes or cracks with Resene EzyFill Quick. Once dry, sand them and wipe away any sanding dust with a damp cloth.  Then prime the filled areas with Resene Quick Dry.

6

Base

Cut the base frame timber to fit the floor piece of ply. Glue and screw the frame pieces together.

7

Paint roof

Attach the roof panels to the dog kennel.

Decant Resene Summit Roof Semi-Gloss CoolColour into your paint tray then apply it in two coats using a roller. Allow dry time between coats. Josh is using Resene Element, an earthy stone colour.

Using a Resene CoolColour formulation ensures that the doghouse is kept cooler in the summer months, so will be the perfect retreat for your dog.

Top tip:

Consider your weather conditions and use Resene additives to combat these. If it’s very warm, add Resene Hot Weather Additive to your paint to slow the drying or if you’re undertaking the project during the cooler months, use Resene Wintergrade Additive with your paint to help the paint cure in the colder temperature.

8

Paint walls

Paint the walls with two coats of Resene Lumbersider Low Sheen using a roller and a paintbrush to get any hard-to-reach spots. Allow dry time between coats. Josh used Resene Half Silver Chalice.

If you have a dog that likes to roll in the mud, consider using a darker colour and a higher sheen paint, such as Resene Lustacryl semi-gloss waterborne paint.  This will help to hide the mud and make it easier to wash off.

9

All done!

Now it’s time to place the kennel in a sheltered area of the garden – a shady area that’s flat and has good drainage is ideal. 

Place your pet’s favourite blanket and toys inside and it’s good to go!

Josh added some final touches like the trim on the front edge of the roof, but you can personalise yours to suit your style – and your dog.

About MasterStroke by Resene
MasterStroke by Resene is here to help you master your paint and decorating DIY projects. Brush up on your skills with advice, tips and ideas from our trusted experts.

Check out the latest how-to videos on our YouTube channel.