Ask an expert

Three ingenious paint hacks from our experts

Whether you’ve finally built up the confidence to tackle your first paint job or consider yourself a confident DIYer, these three ingenious hacks are guaranteed to make the process easier, helping you achieve a better finish and get the best out of your Resene paint and equipment. 

In these three videos, Resene paint experts Murdo Shaw and Johnny Warwick share practical, professional advice and their tricks of the trade to help elevate your skills and master paint jobs around your home. 

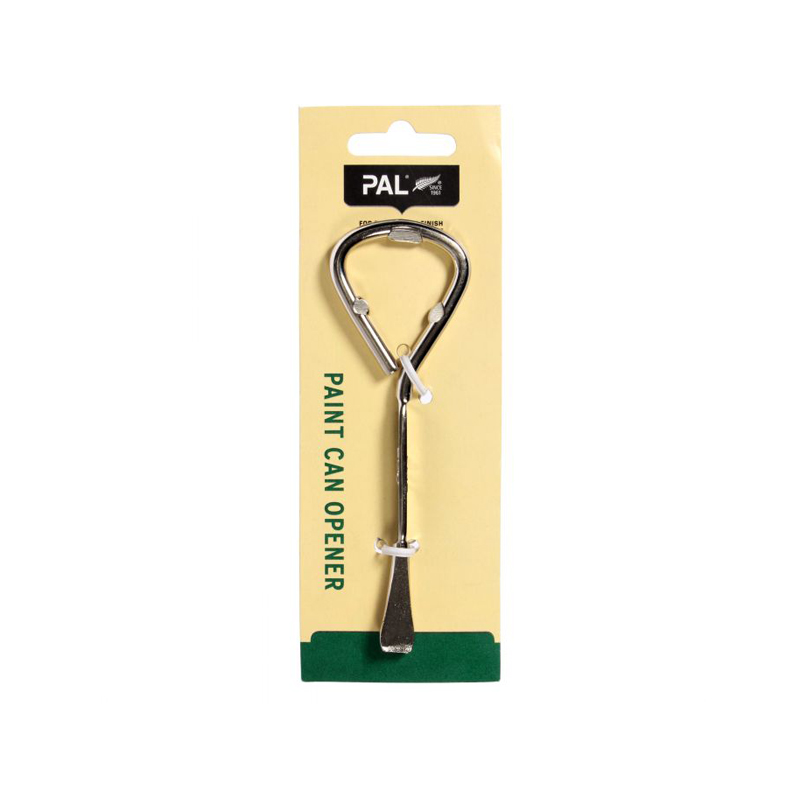
Hack #1: How to correctly open and close a paint can

While opening and closing a paint can might seem like a basic step, doing it correctly is more important than you think. If the lid or groove is damaged or bent out of shape, this may mean the can won’t reseal properly once you’re finished painting. This will, in turn, expose the paint to air and contaminants, drying out the paint or potentially damaging the formulation or. If paint is stored correctly it can last for years, so protecting your investment is key. An unsealed lid can also obviously cause major spills if the can is knocked over. 

While a screwdriver may be many people’s first choice of tool to use when opening a paint can, a Resene Paint Can Opener is a far better option, as Murdo demonstrates in the video above. The flat tip ensures no damage is done to the groove, while the looped end makes it easy to grip and work with. 

To open a paint can, gently lever the lid loose by working your way round the lip and voila! To get it back on, make sure the lip is nice and clean by wiping it with a cloth – paint build-up can affect the quality of the seal and cause the rim to rust. Slowly put the lid back on, working your way around the sides. To prevent denting or damaging the lid by hammering directly onto it, take a small block of wood and hammer onto that to get the lid back in place smoothly and seamlessly or use a soft mallet. 

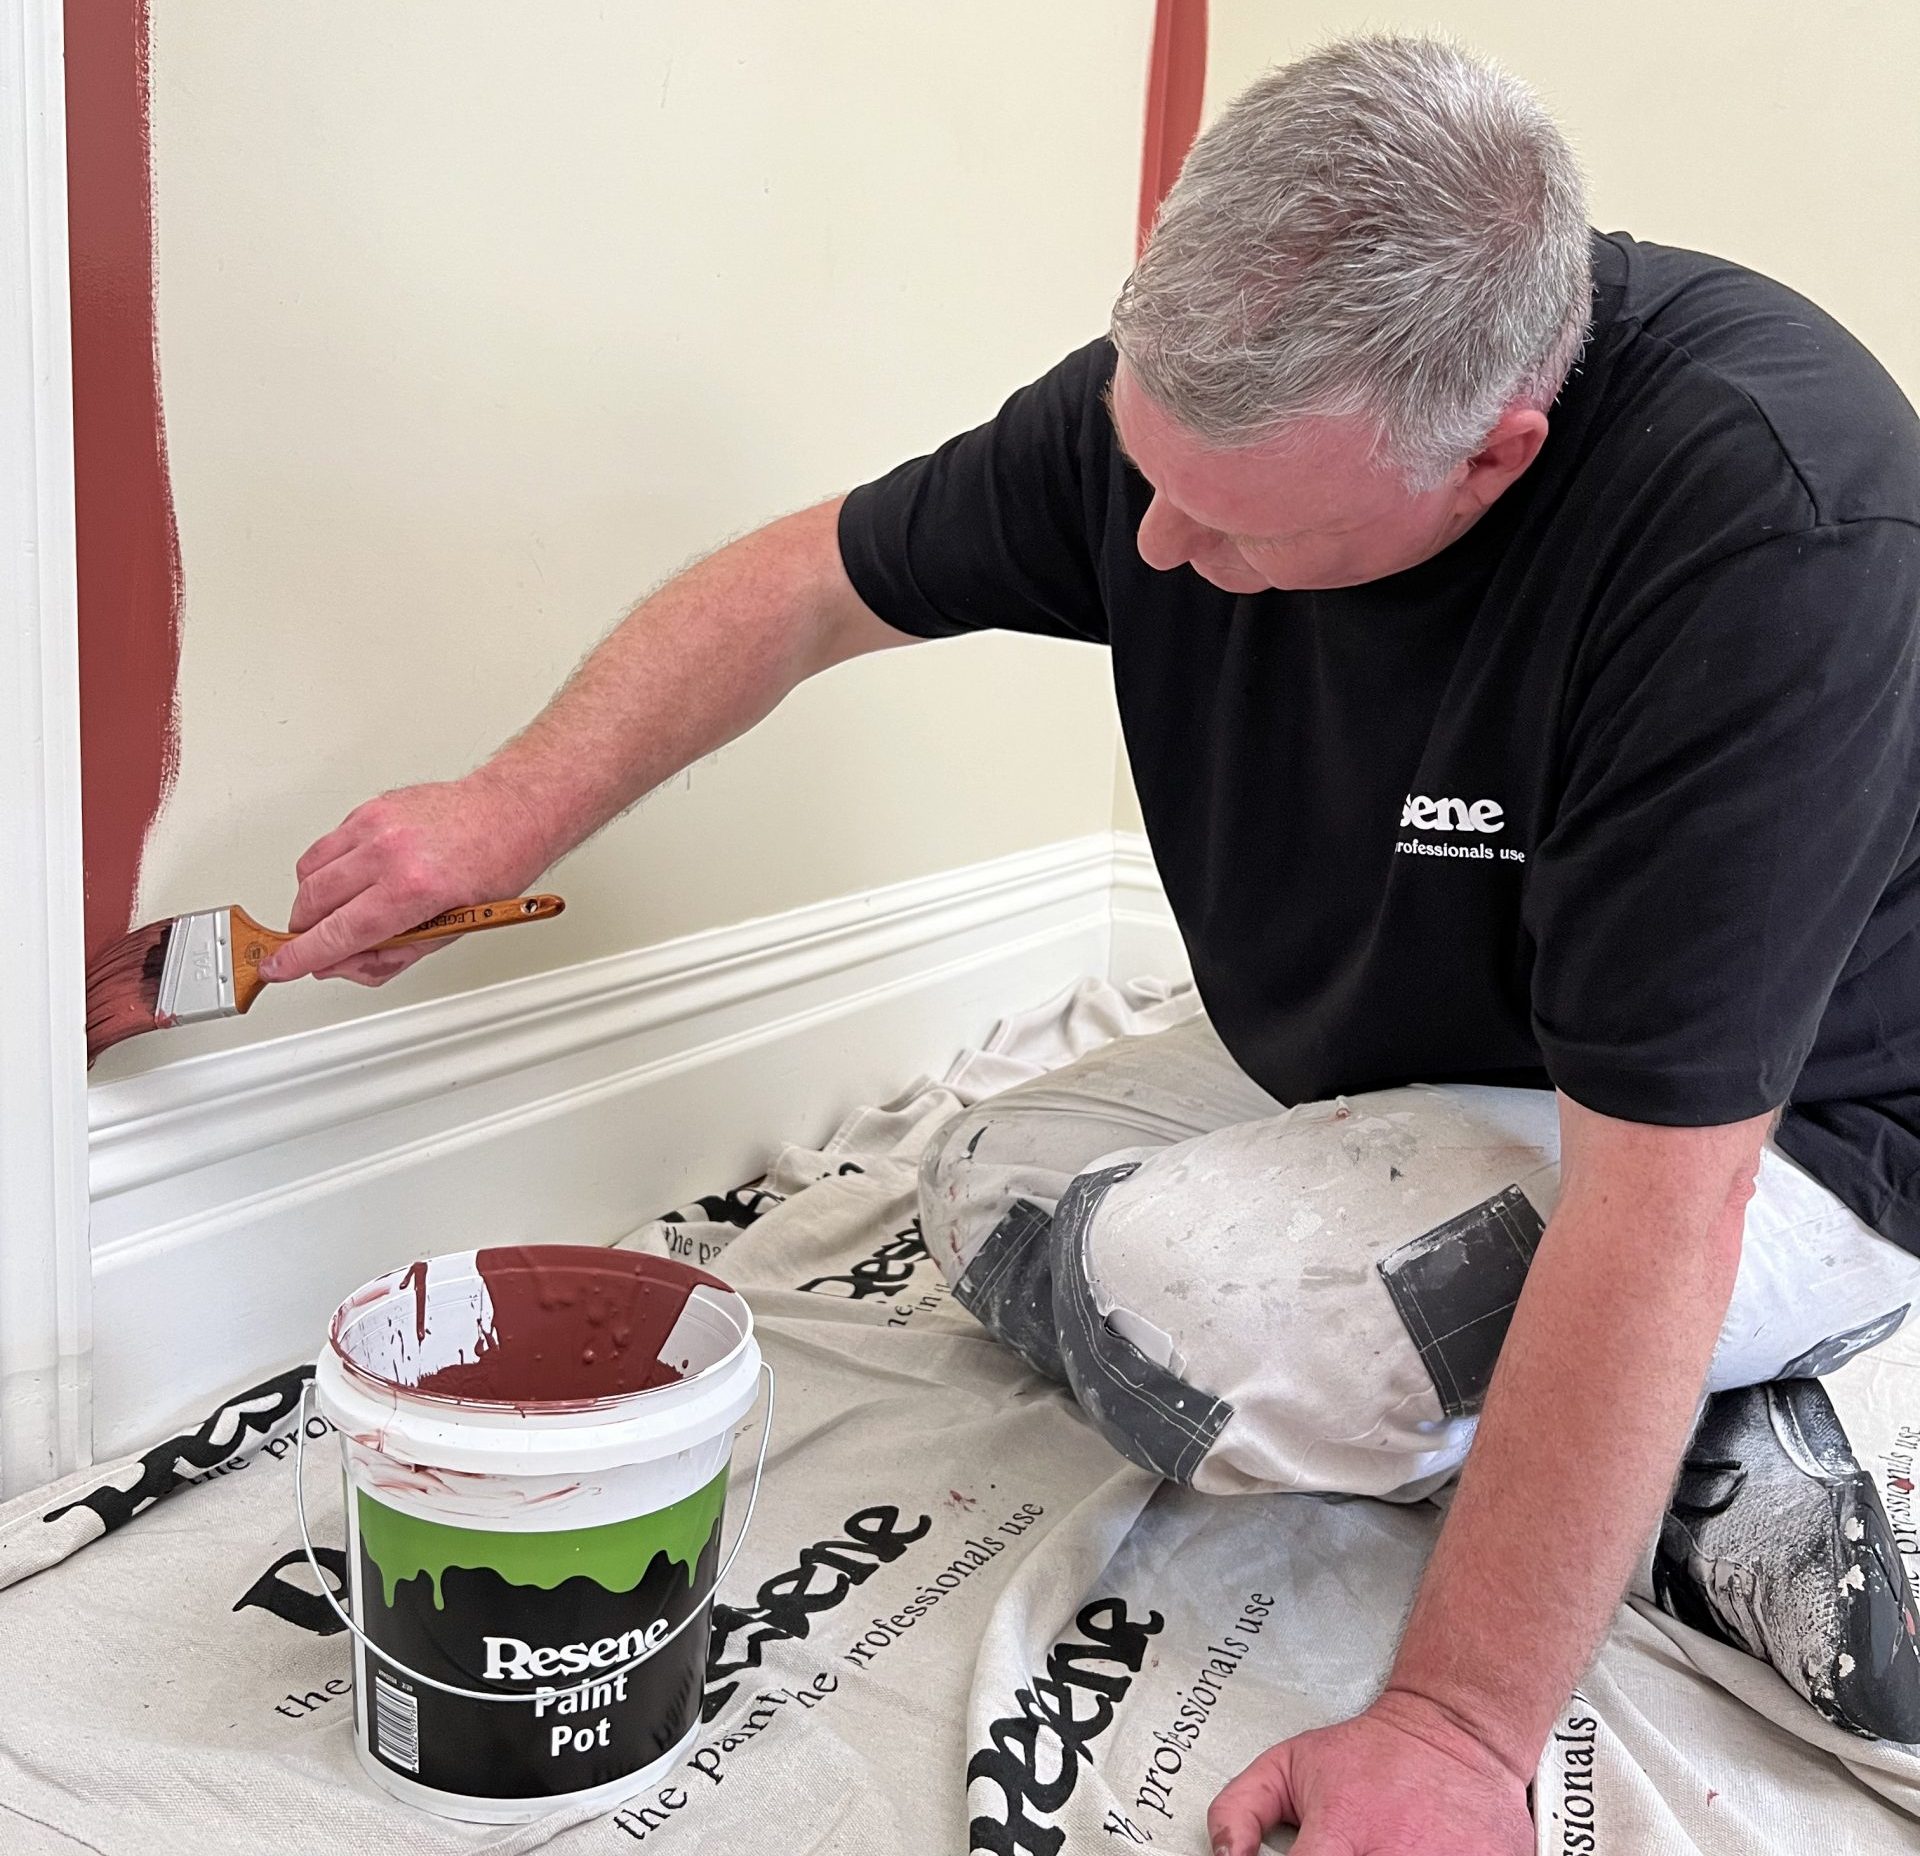
As paintbrushes can transfer surface contaminants back into the can, always tip as much paint as you need for your current session of painting into a separate paint pot or tray and use this for painting. This also saves you lugging around a full can of paint. 

Once the job is done, some decorators like to cover the top of the paint can with plastic wrap, place the lid on securely and store it upside down. The paint will create a tight seal around the lid and will remain fresh. Whether you store your paint right side up or upside down, make sure you store it in a cool and dry place, away from extreme heat or cold and out of reach of children.

Remember to write where you used the paint onto the can before you store it to make it easy to find the right paint if you need to touch up a room later.

Hack #2: How to make your paintbrushes last

Your paint finish is only as good as your preparation and the equipment you use. Choosing quality paintbrushes will get the best performance out of high-quality paint, so it’s important to look after and protect them properly. 

Before you start painting, take some painter’s tape and wrap it around the ferrule (where the bristles meet the metal). Make sure it’s nice and tight, with half on the metal of the handle and half on the bristles. Doing this step ensures paint won’t be right up against the ferrule, which will stop it from drying in the head of the brush and splaying the bristles out, meaning your paintbrush will last a lot longer. Once you’ve finished painting, simply remove the tape. 

When it comes to cleaning brushes, there are effective and eco-friendly ways to do this. Make sure you remove all the leftover paint on your brush by wiping or scraping it onto disposable materials such as old pieces of cardboard. When the paint has dried, you can recycle these – this will help prevent excess paint going down the drain. 

Instead of washing your paintbrushes under a running tap, wash them in a bucket of clean water. Add a little dishwashing liquid or soap if needed. Once you have washed it, transfer to a second bucket filled with clean water, then squeeze out excess water from the bristles. Don’t throw out the water in either bucket immediately – wait until the next day. By this time, the paint will have settled to the bottom, and you will be able to separate it from the water. Pour the clear water part onto a garden area, scrape out the solids and let them dry then dispose of in your rubbish. Keep the clean empty container ready for your next project.  

You don’t need to worry about cleaning your paintbrushes at the end of the day if you’re planning on using them again the following day. Just wrap them in a reusable plastic bag overnight and they’ll be all ready to go in the morning.

Hack #3: How to paint a sharp line using masking tape

Getting the most crisp, clean and seriously straight paint lines is an art form. Murdo shares his masking tape hack, which works beautifully when painting feature colours. 

First, use masking tape to mask off the area you want to fill with your feature colour. Then, paint along the edges of your tape with the same colour paint that is already on the wall. This will bleed through underneath the tape and seal the edge, so when you paint on your feature colour and take off the tape, you end up with a perfectly sharp line.   

The bleed-through occurs because the texture on your wall often has a light orange peel stippled texture. When you put masking tape on and paint on top, the paint invariably bleeds into the gaps where the texture is. By painting with the existing colour first, it fills those gaps and gives you a perfect straight line. 

We hope these handy hacks are helpful when you’re next painting. If you need more specific advice, fill in the Resene Ask a Paint Expert form here.

About MasterStroke by Resene
MasterStroke by Resene is here to help you master your paint and decorating DIY projects. Brush up on your skills with advice, tips and ideas from our trusted experts.

Check out the latest how-to videos on our YouTube channel.