Summer is a great time to stain and refresh your exterior timber. Staining not only keeps it looking its very best and lets the natural beauty of the wood grain shine through, but also protects it from the elements. It’s important to note that different timbers and where timber is used will mean different treatments and types of stain are needed to achieve the best results, so we’ve taken out the guesswork for you and explained exactly which Resene product is required for each of the different surfaces. This way, you’ll be able to easily identify and choose the Resene Woodcare product best suited to your project.
Check out the colour range here. If you still have further questions, ask the friendly staff in your local Resene ColorShop or send your questions through to our team of online paint experts.
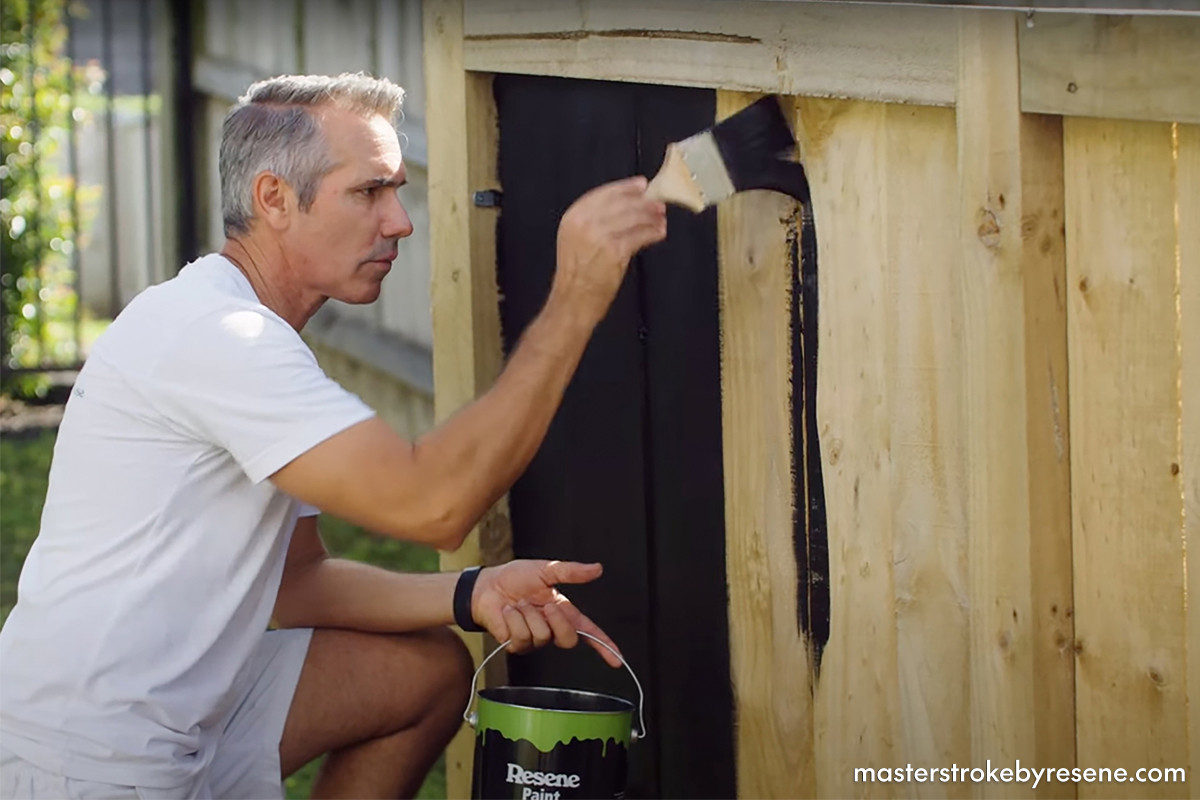
All in the preparation
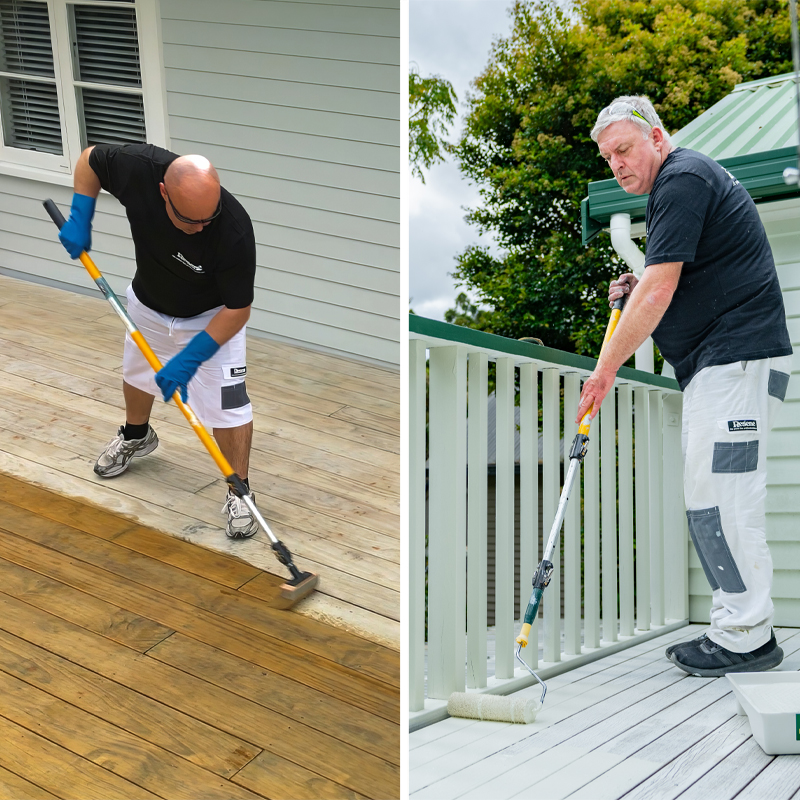
Before you start your project, all surfaces must be clean, dry and free from dirt, dust and loose fibres. Treat any moss and mould using Resene Moss & Mould Killer, following the instructions on the label.
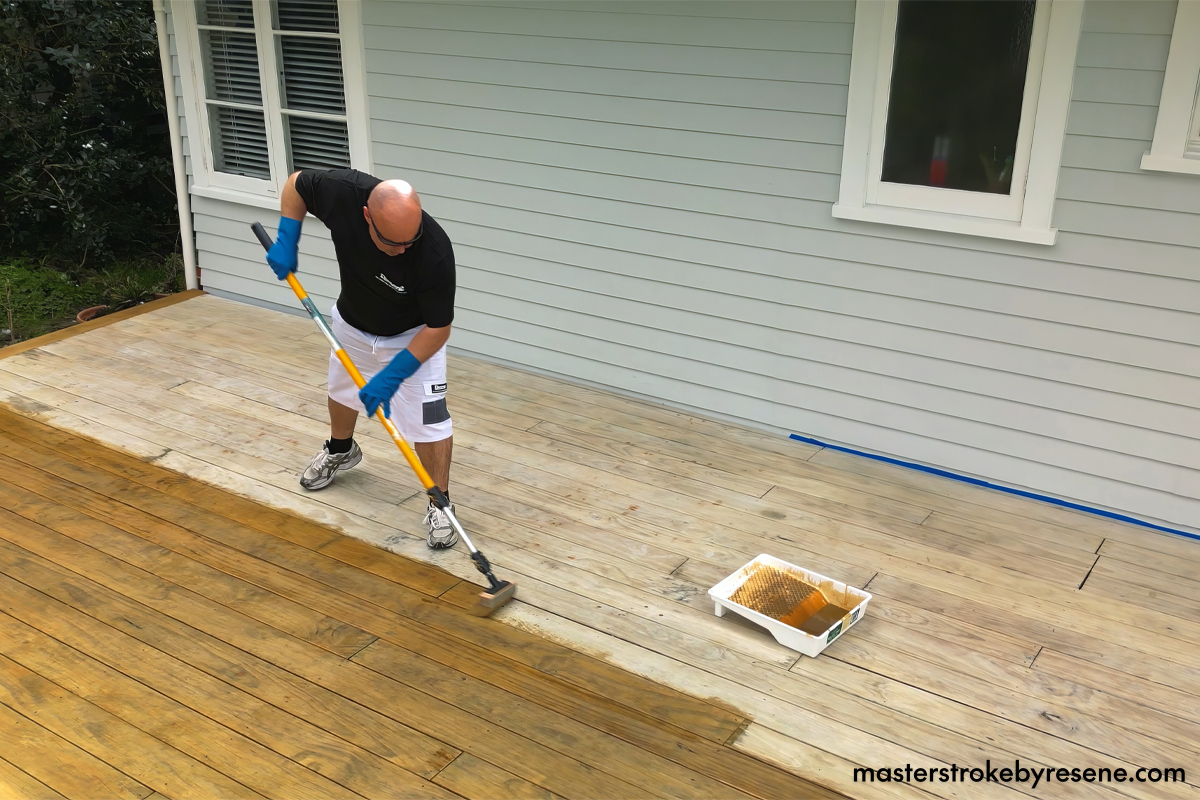
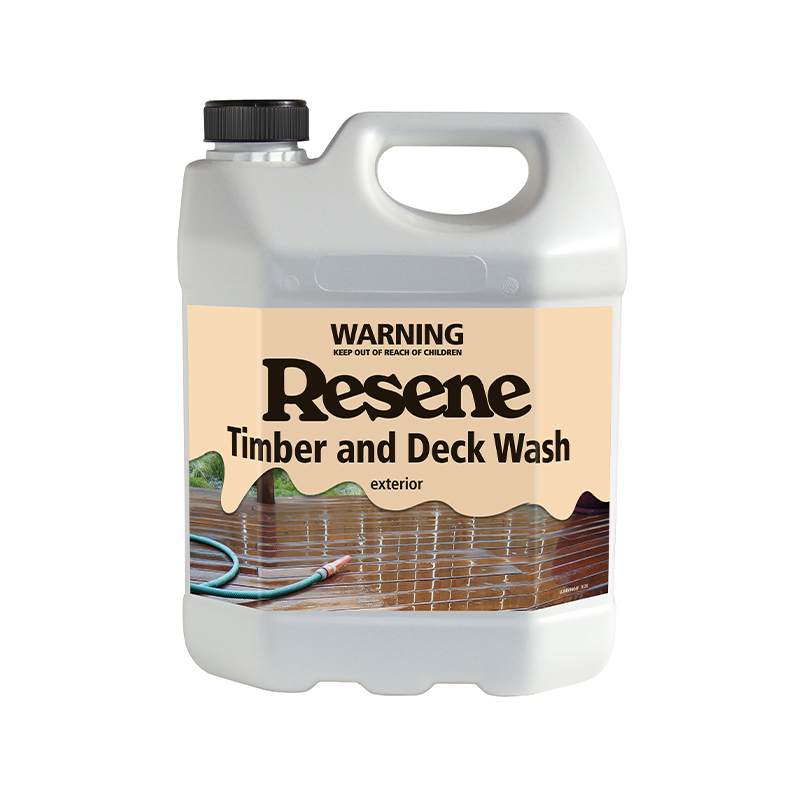
It’s also recommended that exterior timber surfaces, including previously stained timber, are washed and/or scrubbed using Resene Timber and Deck Wash. This is a powerful cleaner that removes degraded and weathered timber, as well as weakly adhering stains and coatings.
Additional sanding may also be needed for a smooth surface. You may also carefully water blast (at a pressure setting that will not damage the timber) in some situations, such as staining weathered pine fencing, landscape features and decking, as well as hardwood decking. Note: Do not water blast cedar or similar easily damaged timbers.
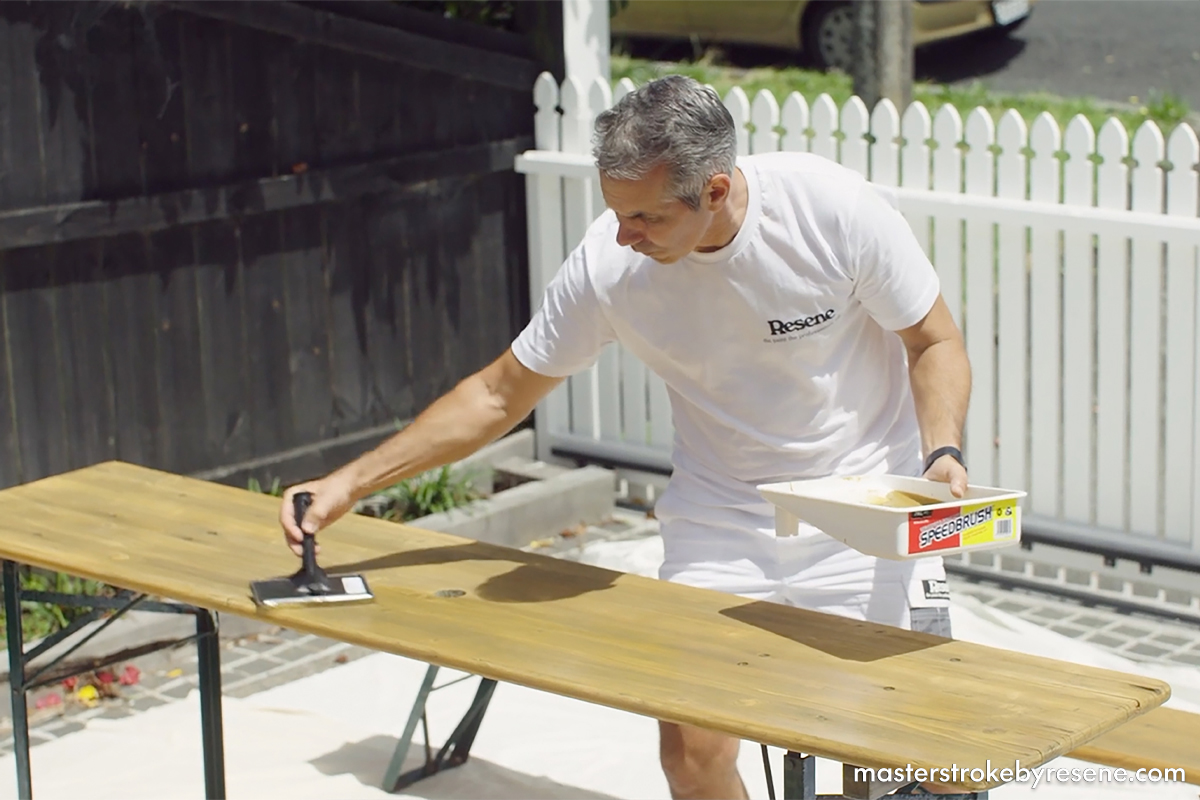
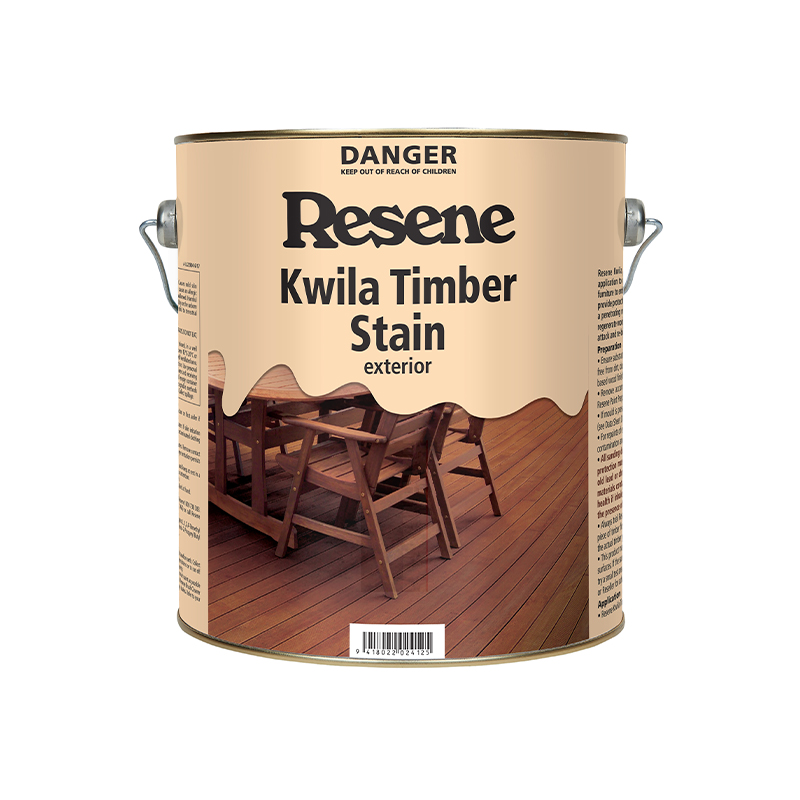
Choosing the best stain for your project
This is a list of common timber surfaces you’re likely to find at your place and the recommended system for each, as well as a backup option.
Cedar and redwood weatherboards, cladding and garage doors.
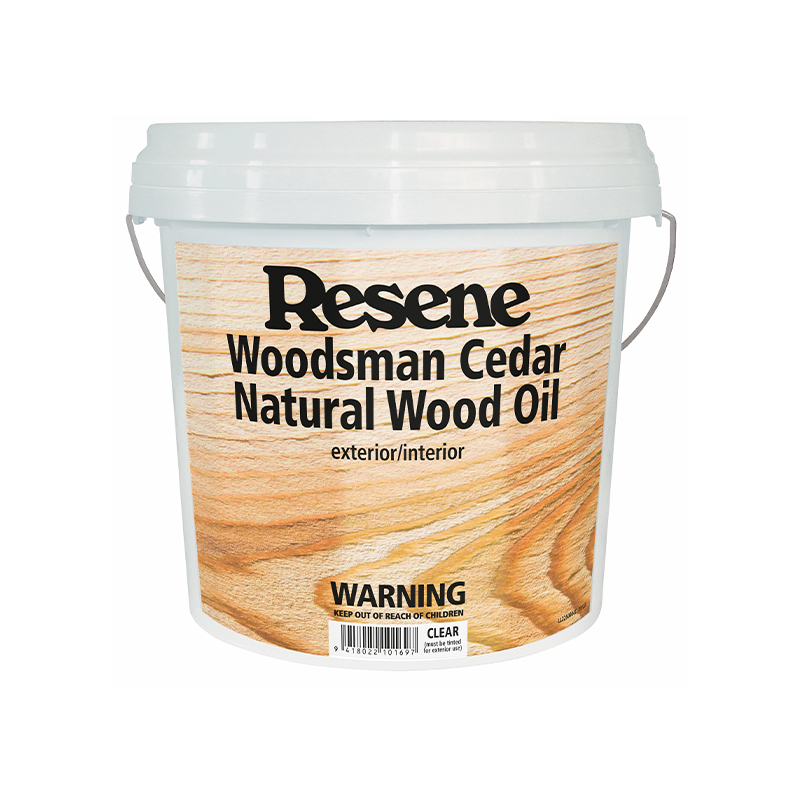
How: Two coats of Resene Woodsman Cedar Natural Wood Oil, or two coats of Resene Waterborne Woodsman.
Why: Resene Woodsman Natural Wood Oil has a wide palette of colours that highlight the natural appearance and hue of cedar. Furthermore, it penetrates deeper into cedar, resulting in a more natural appearance. Both the suggested products are best applied using a good-quality synthetic bristle brush, such as the PAL Legend.
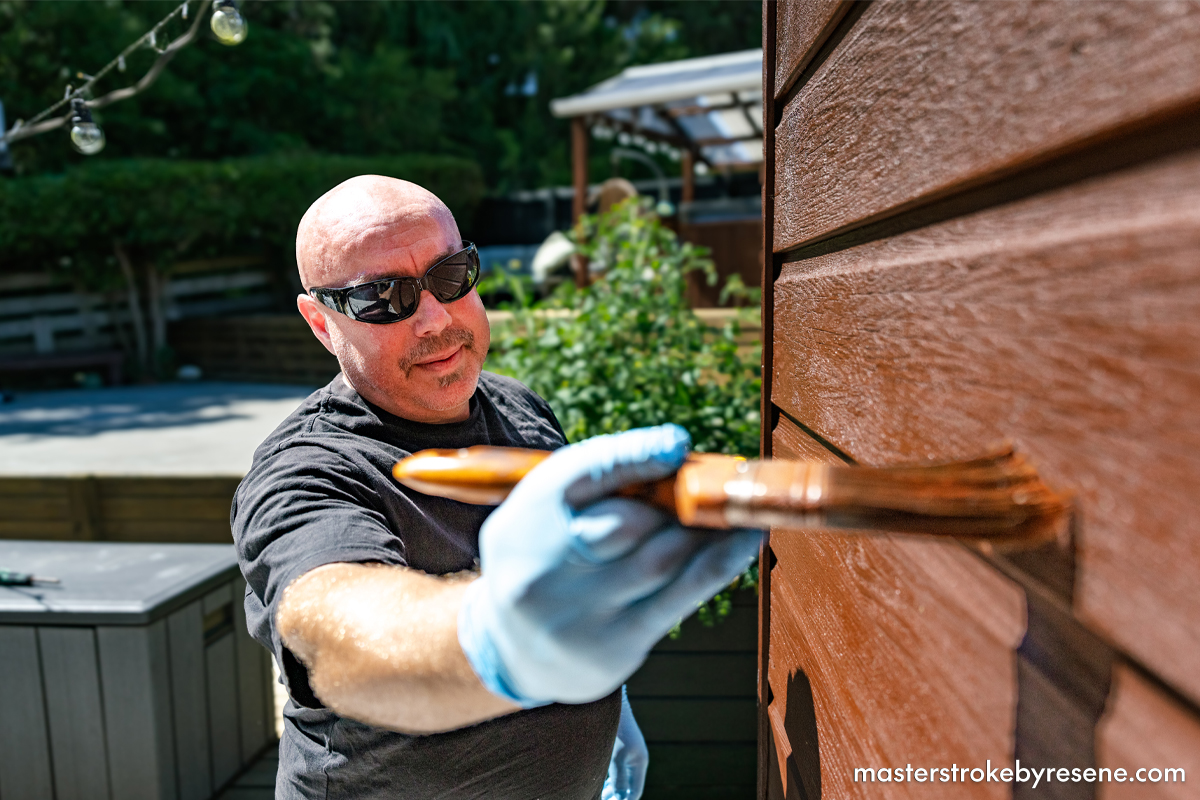
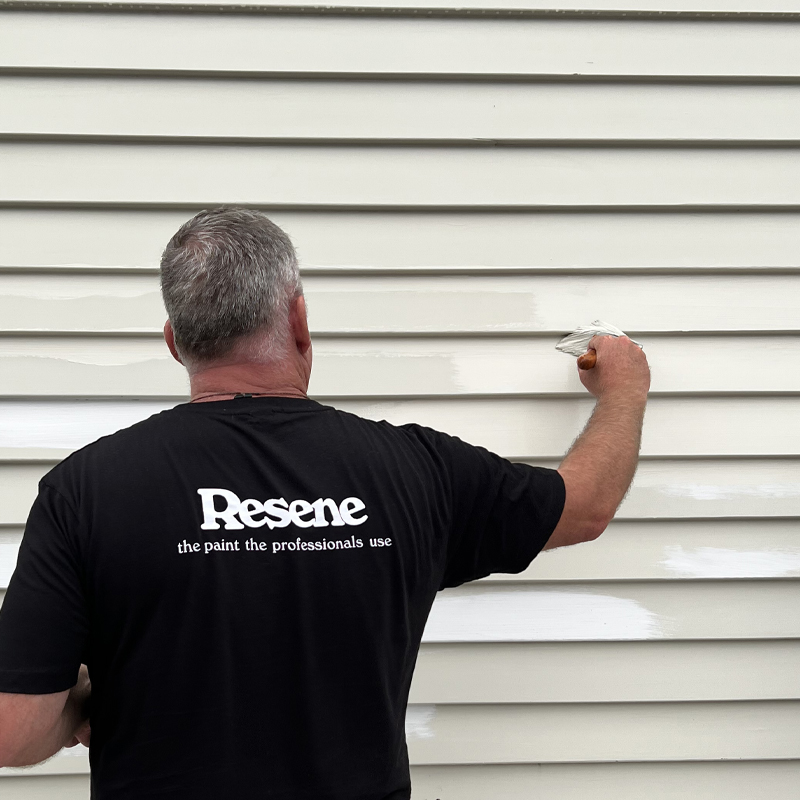
Pine and similar hued weatherboards and cladding.
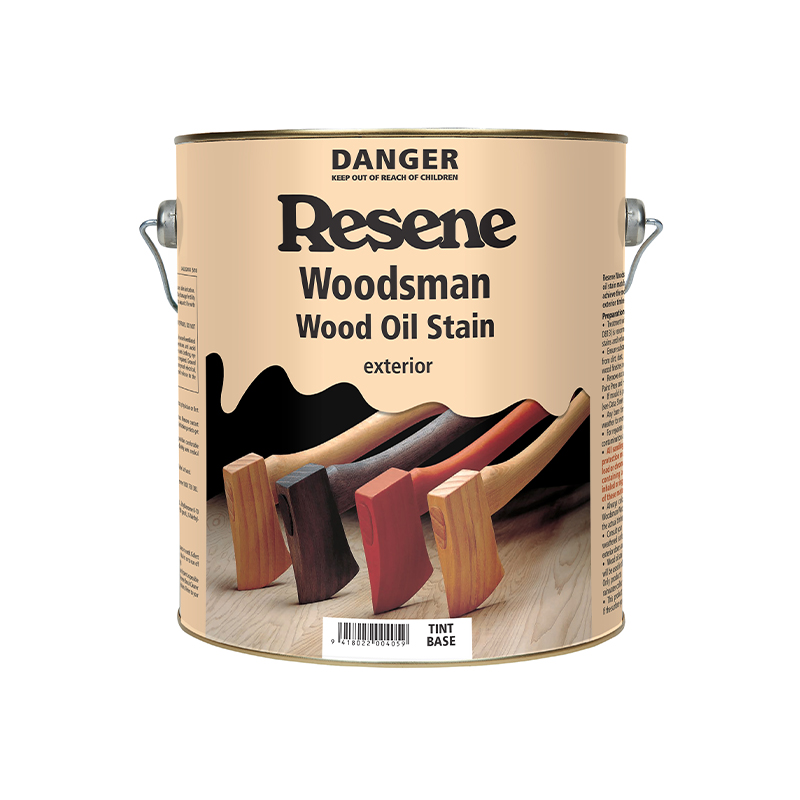
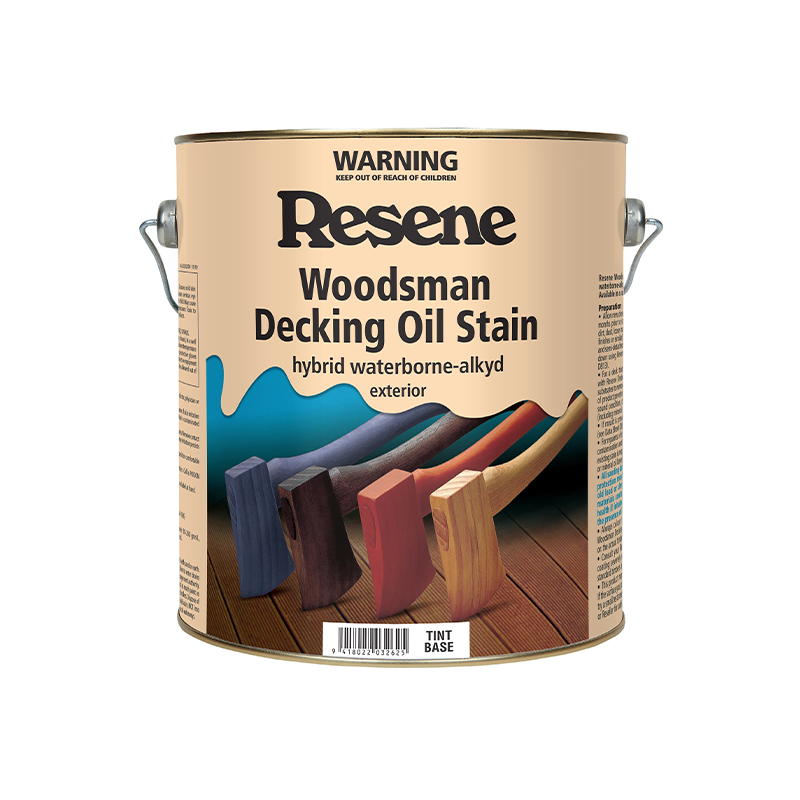
How: Two coats of Resene Waterborne Woodsman or two coats of Resene Woodsman Wood Oil Stain (solventborne).
Why: Resene Waterborne Woodsman is Resene’s most durable wood stain, however for old and badly weathered timber, Resene Woodsman Wood Oil Stain will perform better. Both are best applied using a good-quality synthetic bristle brush, such as the PAL Legend.