How to

How to refurbish outdoor furniture

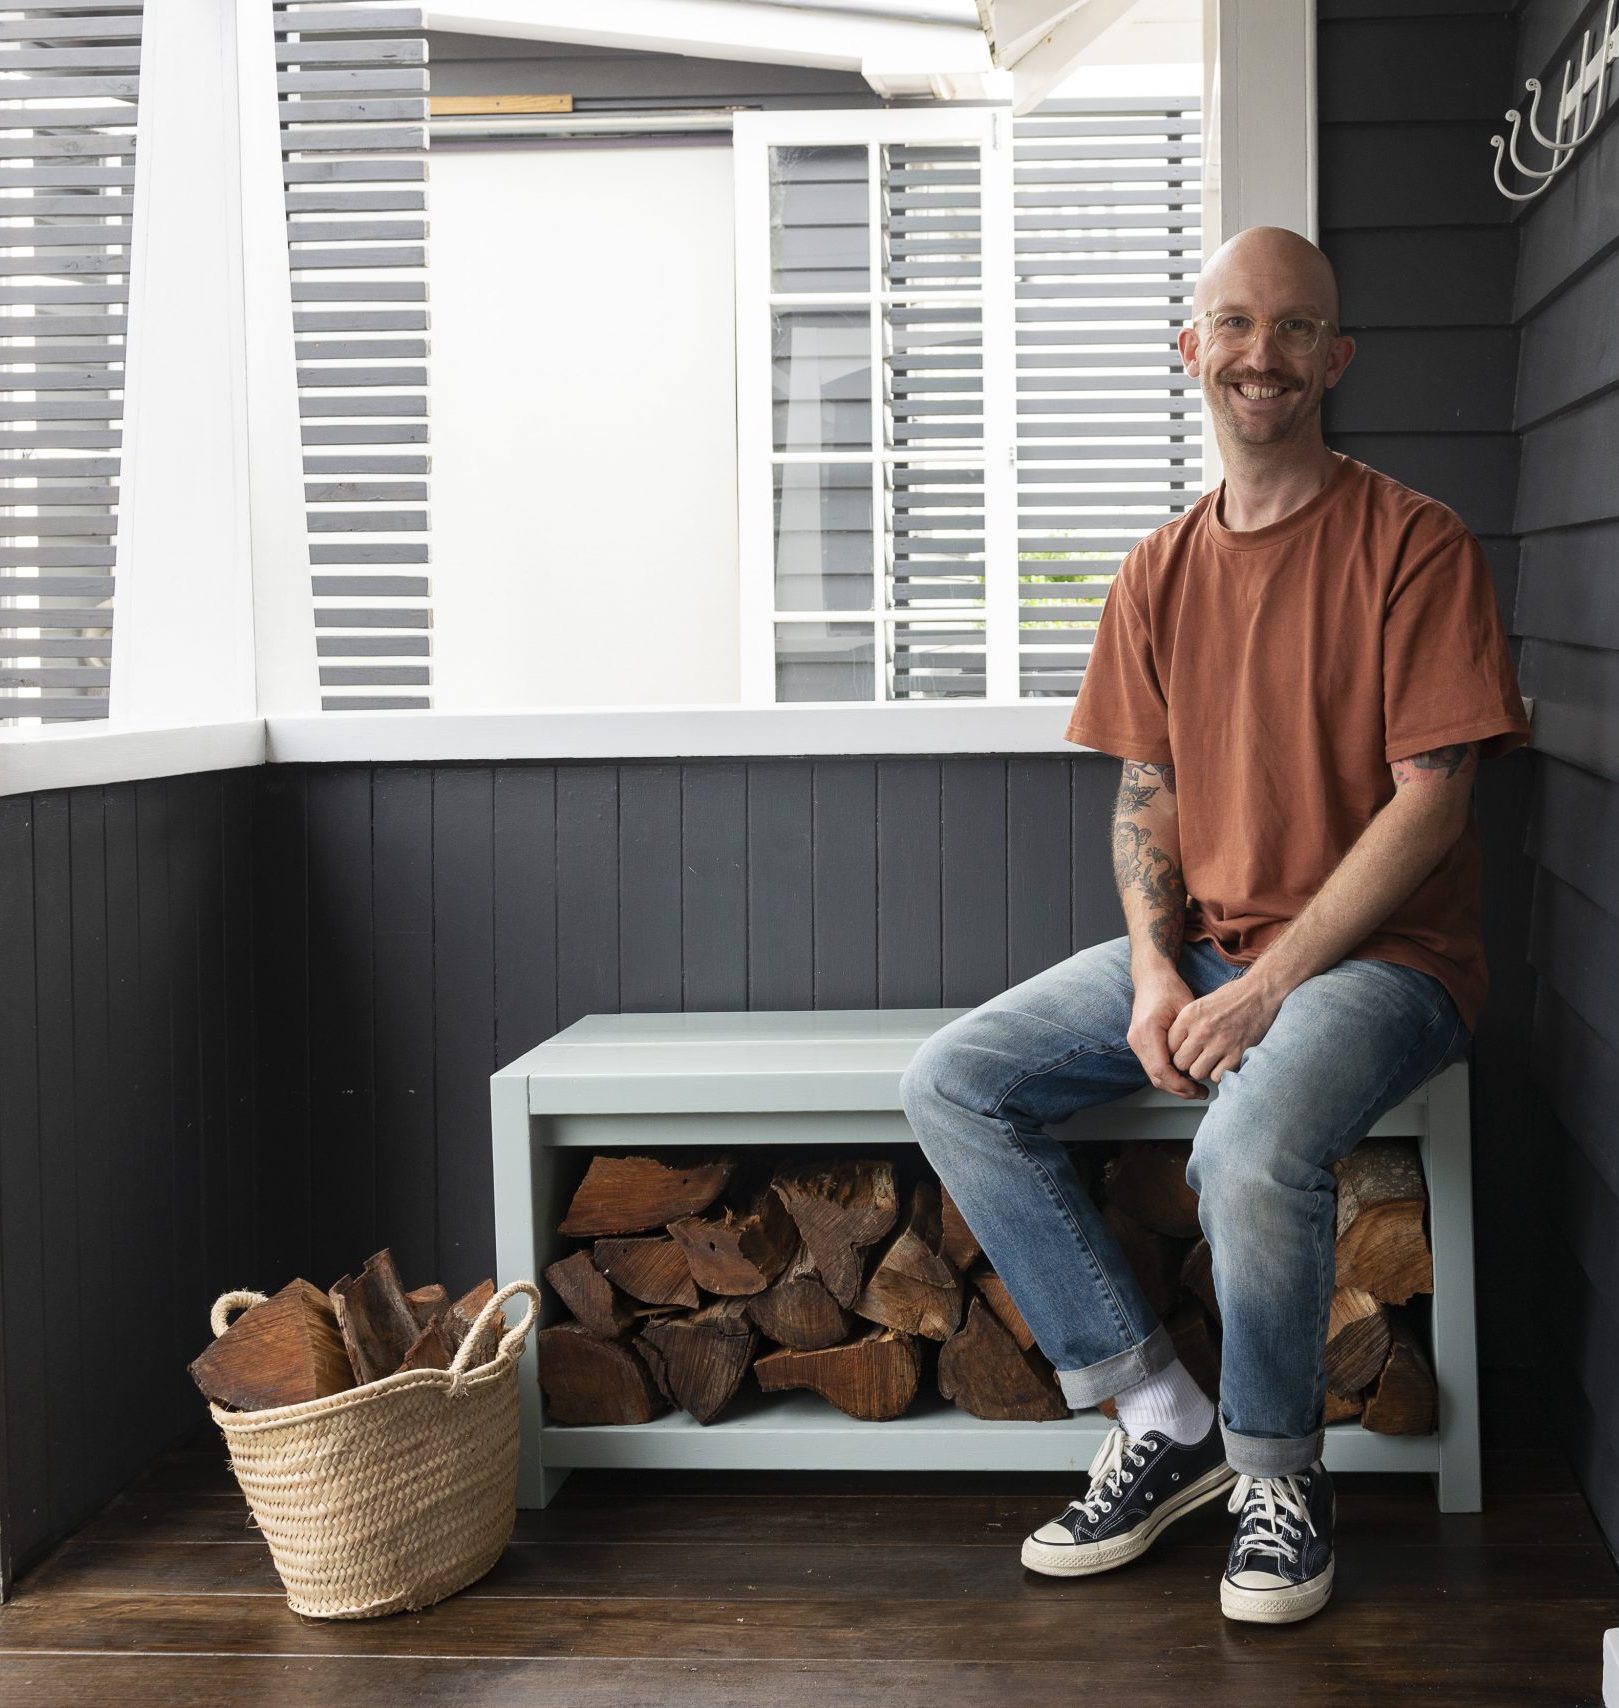
In this part of the world, we really put our outdoor furniture to the test. In summer, our UV light levels are approximately 40 per cent higher than countries in similar latitudes in the northern hemisphere. The figures are similar for Australia, with areas that are closer to the equator – like Queensland – reaching sweltering temperatures in summer. 

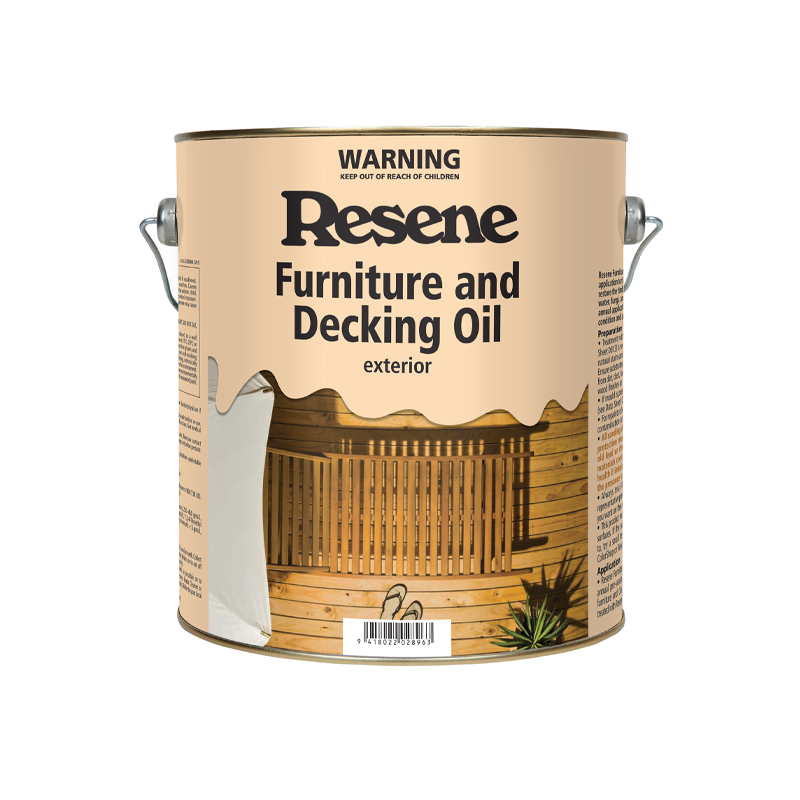
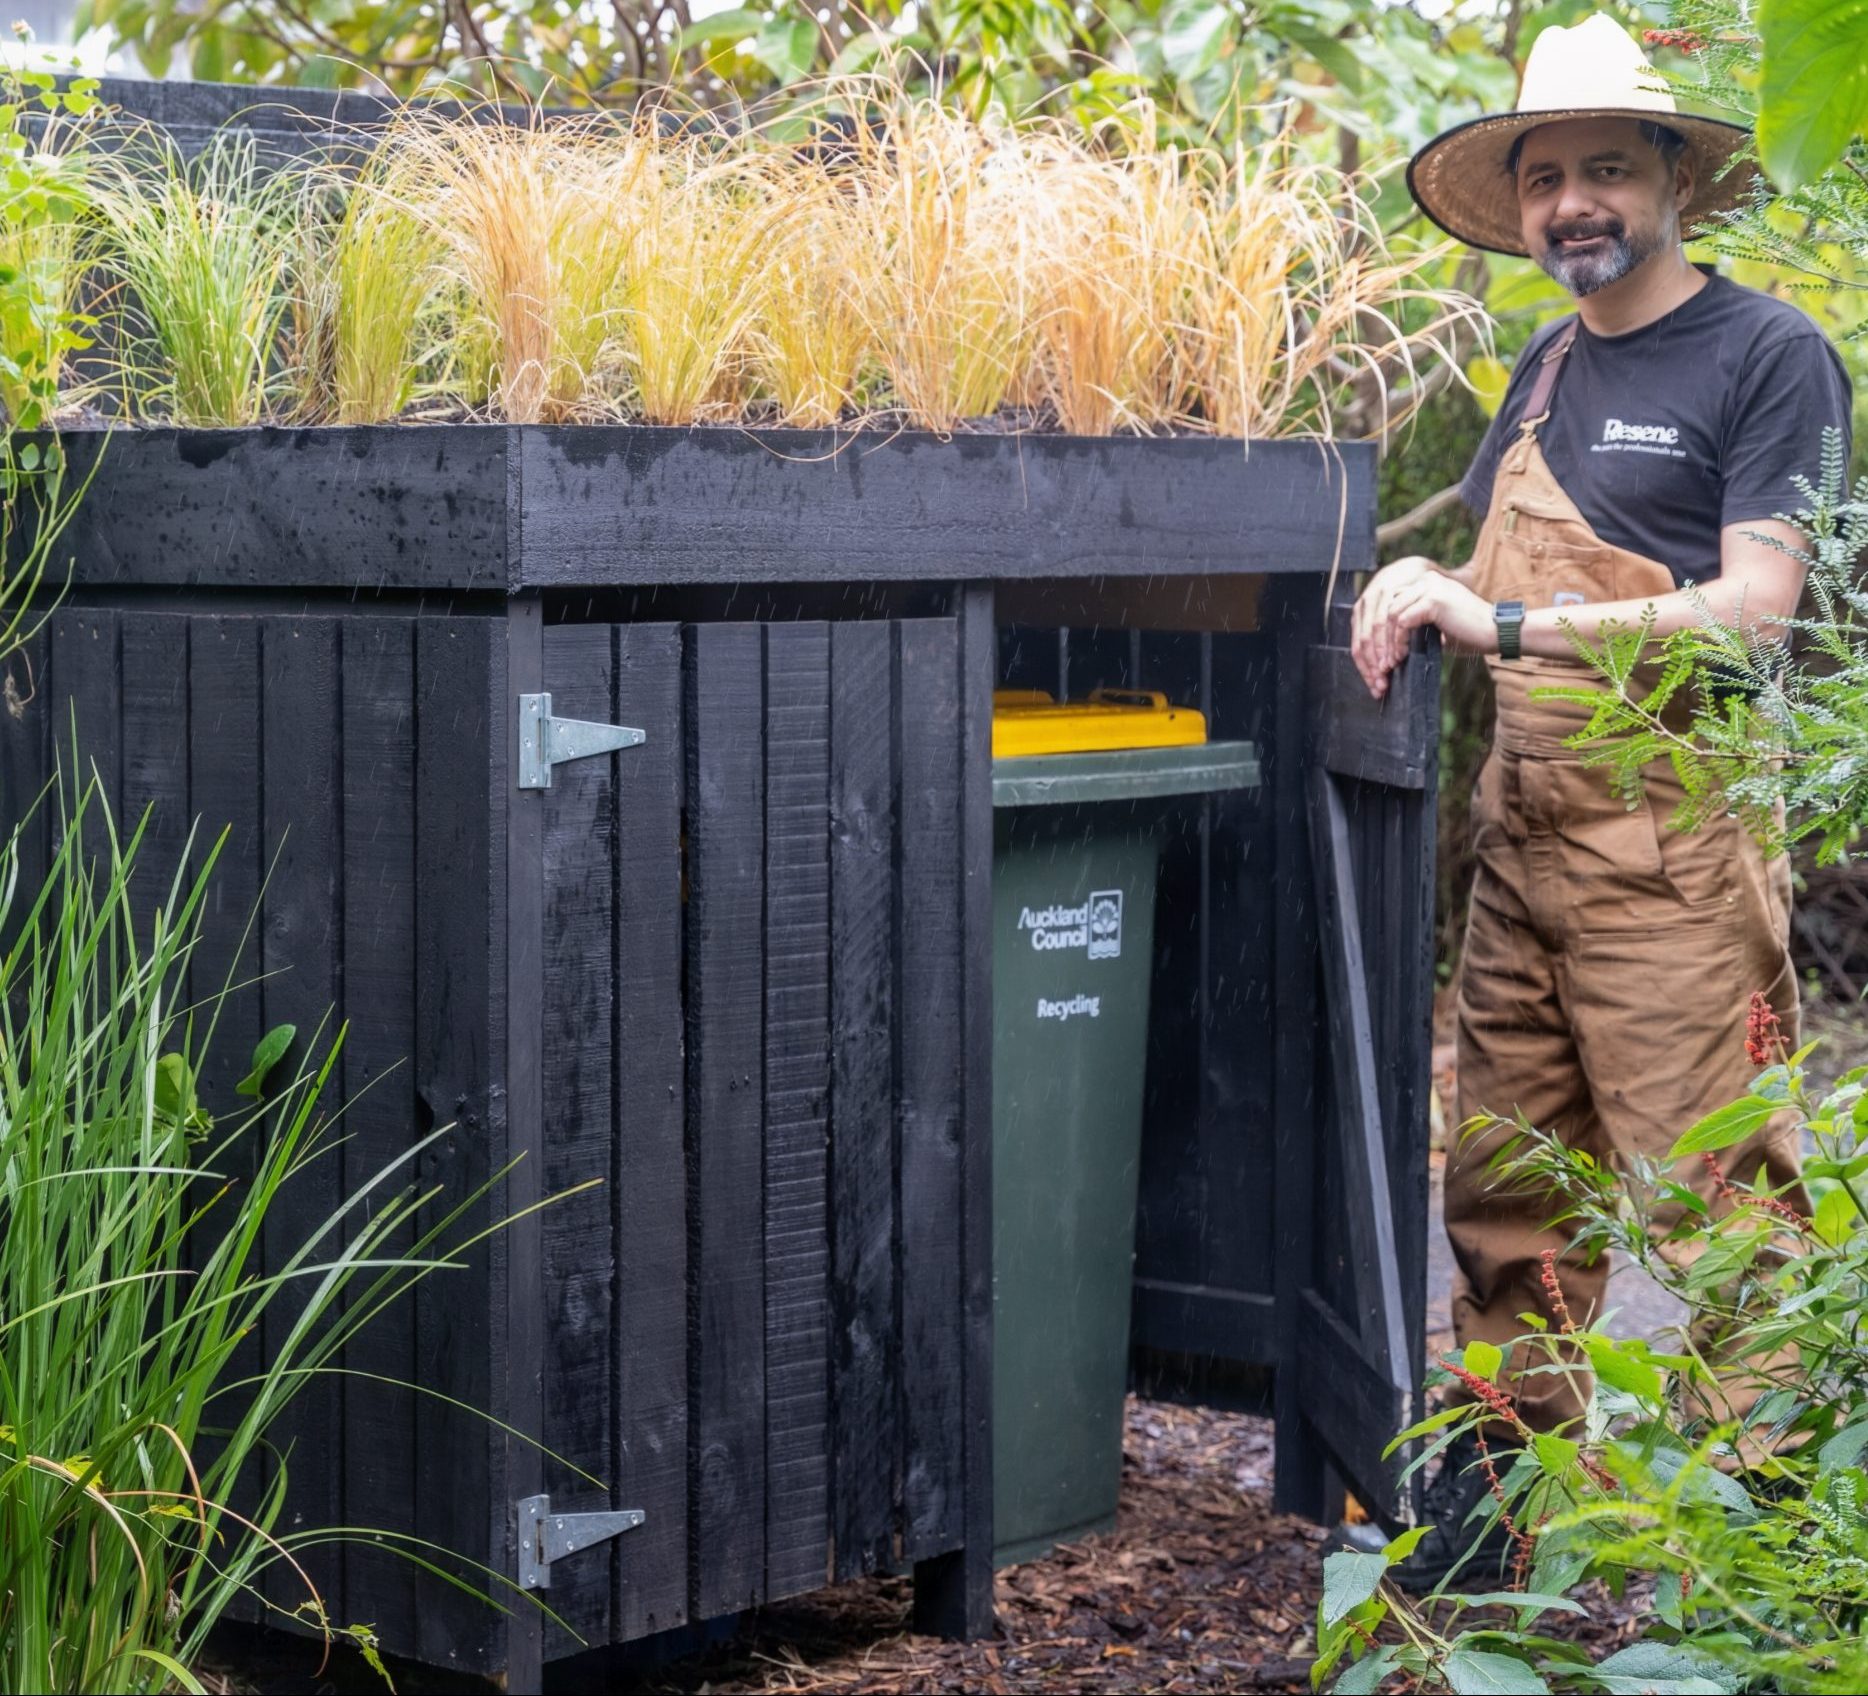
On the flip side, high levels of rainfall and ongoing dampness in winter can wreak havoc on outdoor furniture. Luckily, Resene has a range of products that will help rejuvenate your furniture and protect it for the future.

A clean start

Before restaining timber outdoor furniture, you may need to treat it for mould, algae and moss using Resene Moss & Mould Killer – especially if the furniture has been stored outside. First remove any fabric seating parts. Dilute Resene Moss & Mould Killer with water following the directions on the container, then apply the product using a garden sprayer. Allow it to penetrate the surface for 48 hours before scrubbing and rinsing with a hose. 

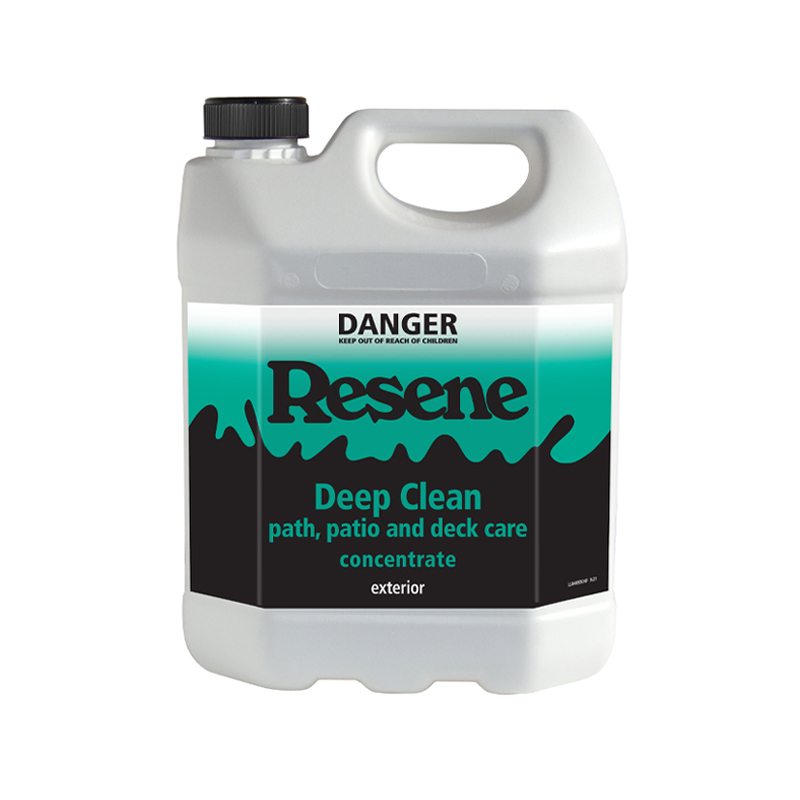
If left untreated, moss and mould can damage and discolour paints and stains and also damage the timber. Clean any fabric seating pieces with Resene Deep Clean, which acts as both a detergent and a mould killer. 

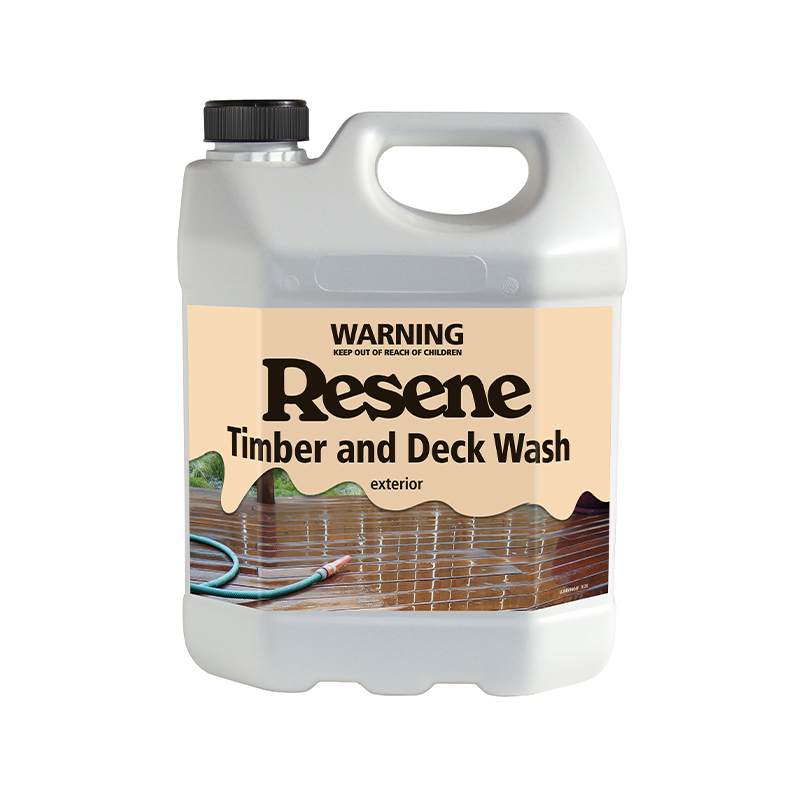
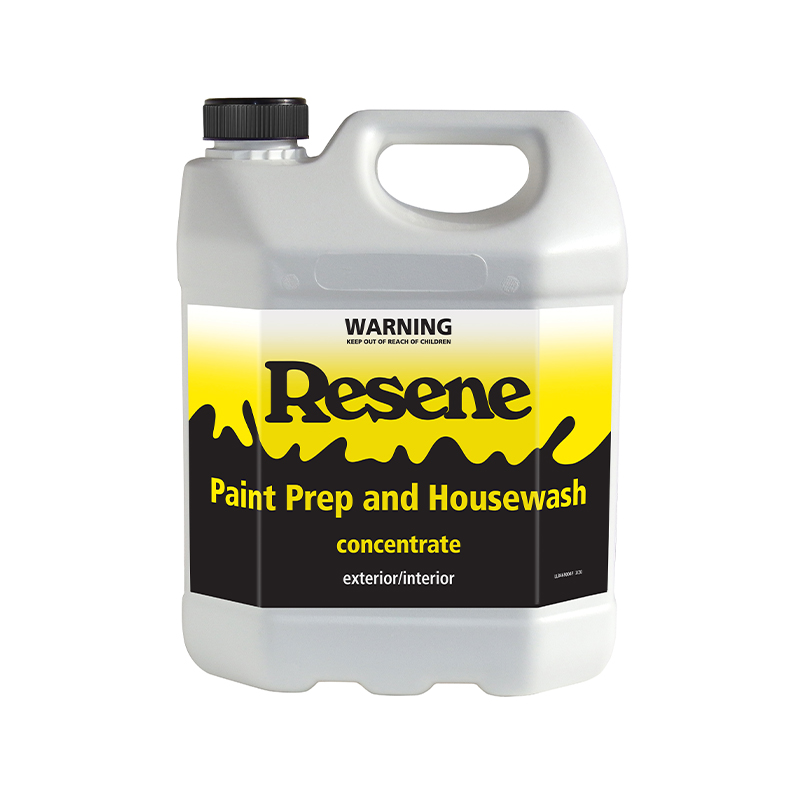
After the mould has been treated, clean the furniture to remove dirt and grime using Resene Timber and Deck Wash before hosing down. If your furniture is painted, wash with Resene Paint Prep and Housewash. Never waterblast furniture as it can damage the fibres of the timber.  

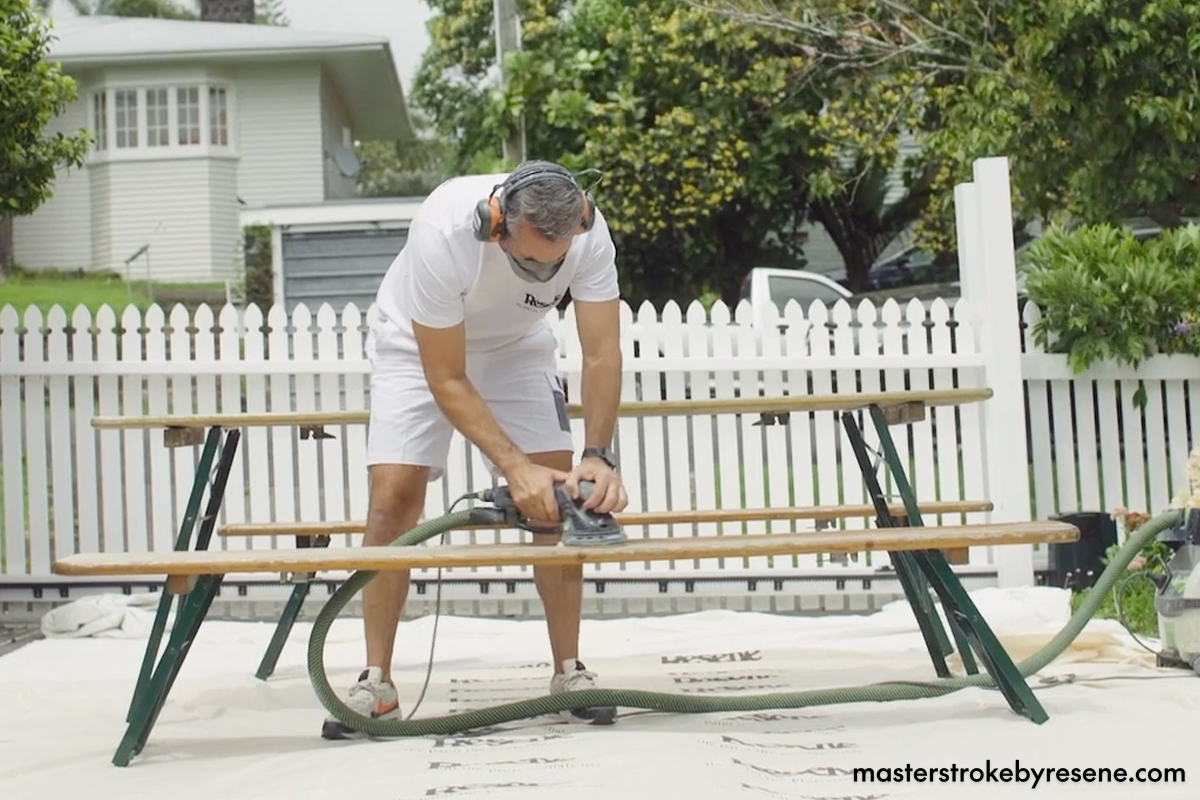
“After washing, the timber will be furry and there may be some small patches of stain left,” says Johnny. “A machine sander will remove these and smooth out the surface for restaining, but you can also do this by hand.”

Always wear a mask when sanding, and wipe off any sanding dust with a clean, dry cloth.

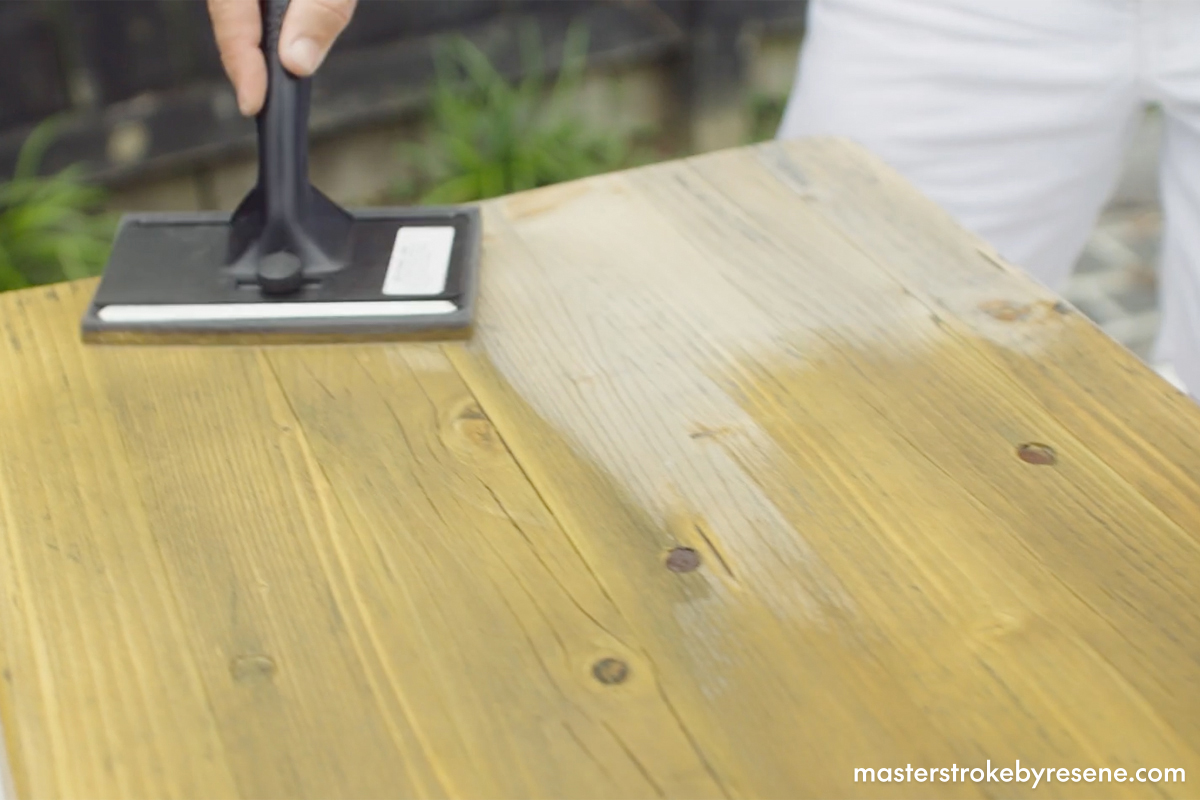
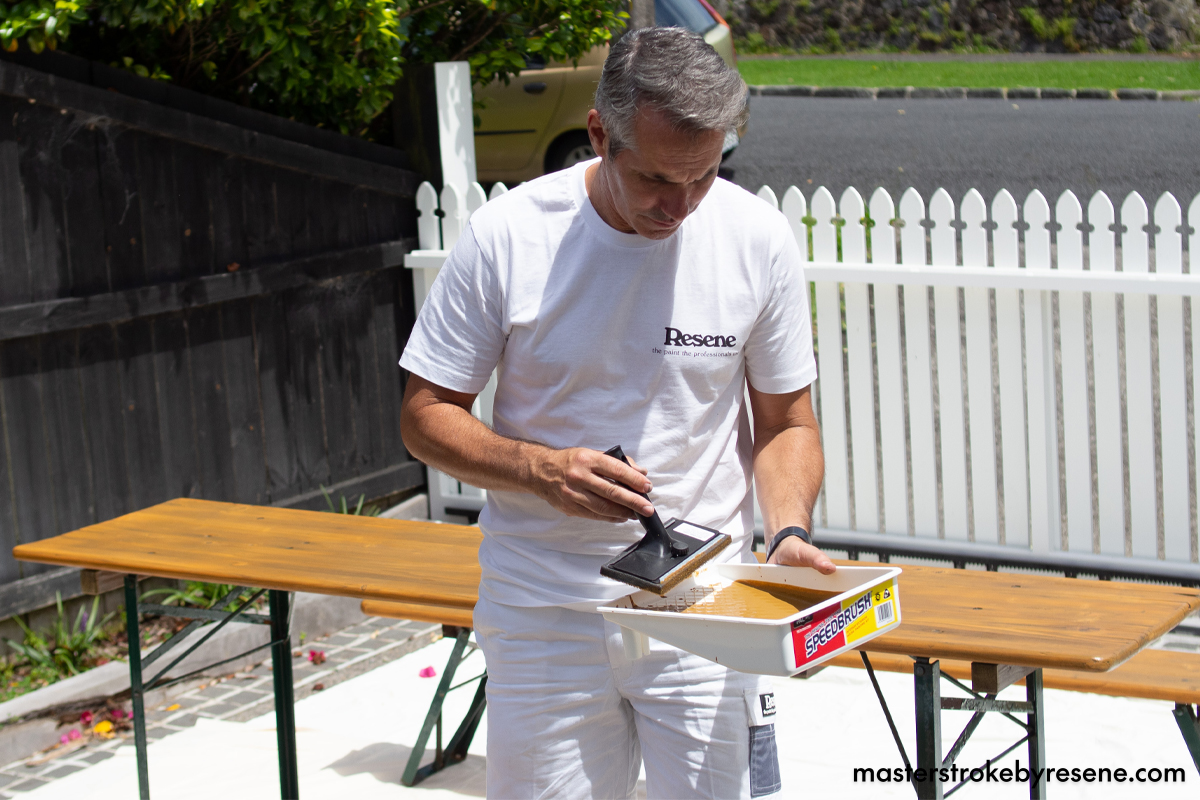
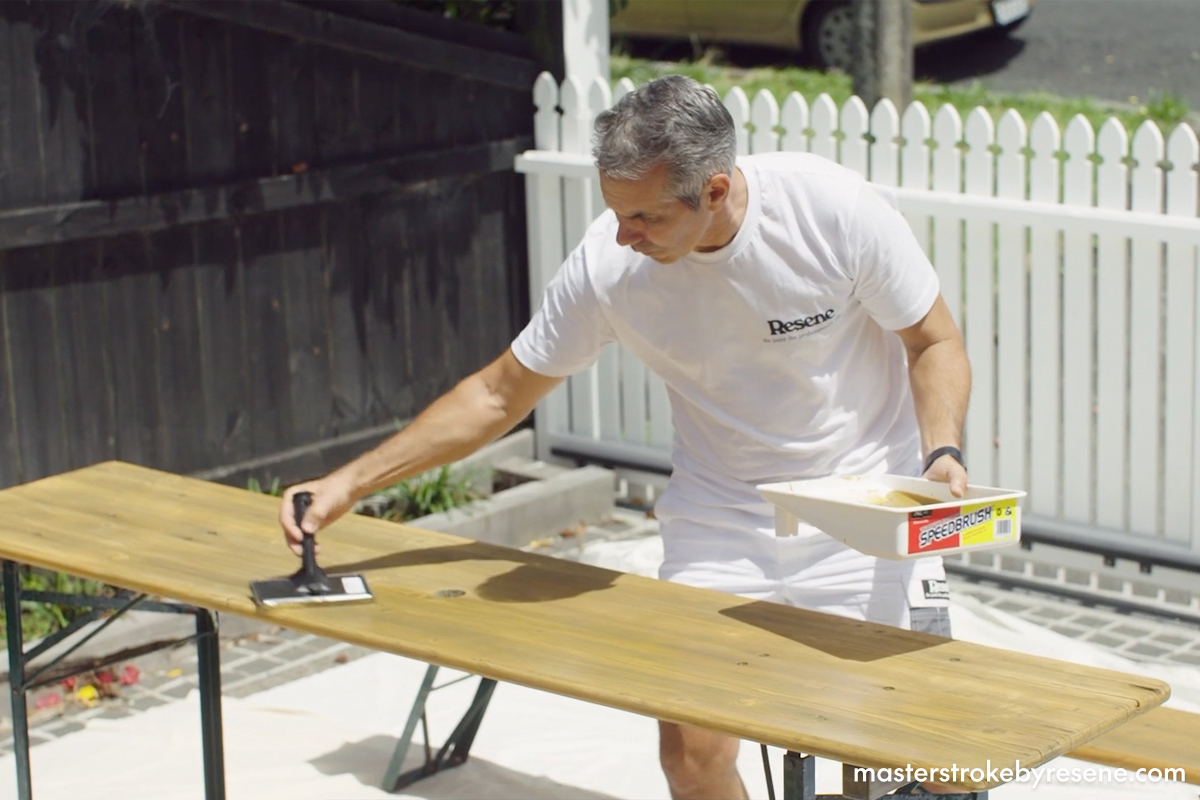
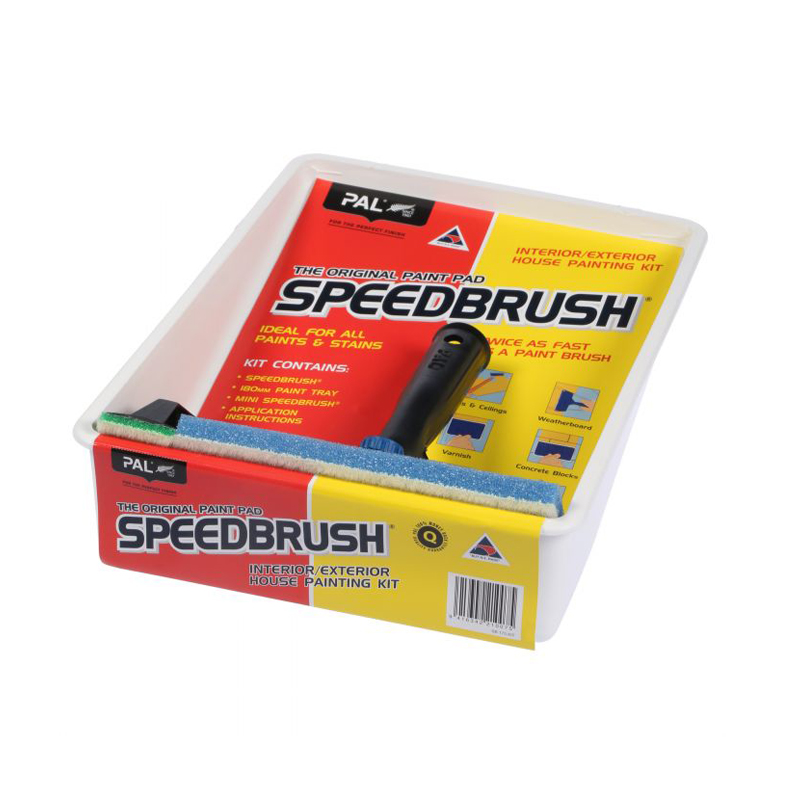
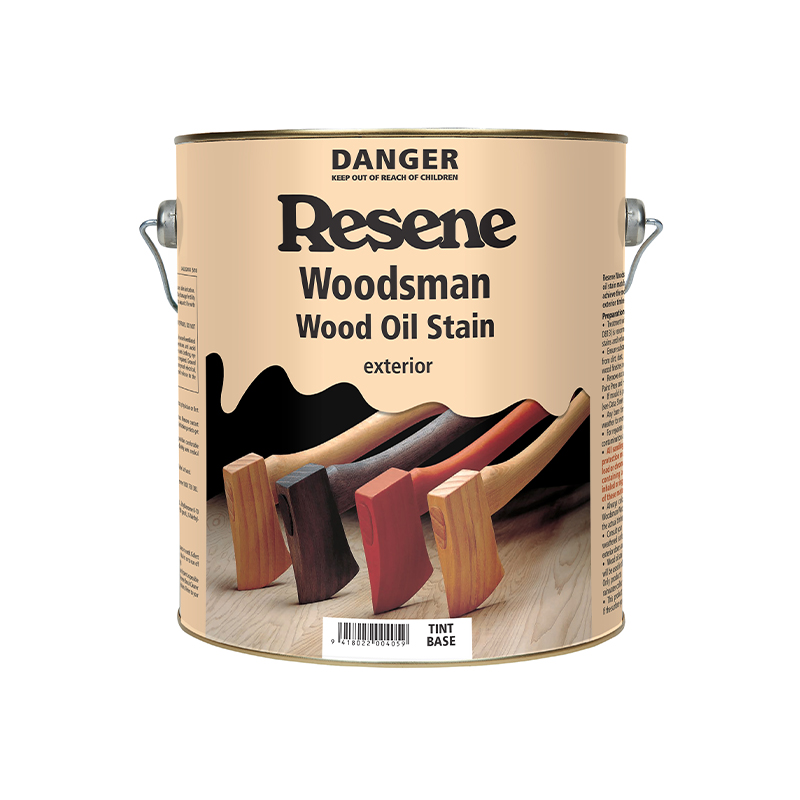
Resene Woodsman stains can be applied using a brush, but Johnny prefers to use a foam speedbrush.

“As a stain is like water, I recommend using a speedbrush,” he says. “Remember stain is like tinted glass – the more coats you put on, the darker it will get.”

Once the timber on your outdoor furniture has been washed, it needs to be sanded to remove any residue stain.
When applying Resene Woodsman stains, feel free to use a regular paintbrush or follow Johnny’s preference for a foam speedbrush. Johnny is using Resene Woodsman Wood Oil Stain in Resene Natural.

Pour your stain into a paint tray and load up the speedbrush – you won’t need much product. Apply the stain in long clean strokes following the grain of the timber. Allow the stain to soak into the timber for two to three minutes before wiping any excess away using a clean, dry cloth. 

“Always try to stain in the shade or when it’s cloudy, as stains can dry very quickly and look inconsistent,” says Johnny. For complex projects, divide the furniture into sections and stain one piece at a time – this will prevent lap marks and unwanted splashes.

Choosing the right stain for your furniture

There are many types of stains to choose from in the Resene exterior woodcare range. Johnny used Resene Woodsman Wood Oil Stain in Resene Natural, which gives a traditional finish. You could also use Resene Waterborne Woodsman, which comes in a wide range of different colours and can be used on a range of outdoor projects such as furniture, decks, fences, weatherboards and rough sawn timber surfaces.

Another option that allows the natural wood grain to show through is Resene Timber and Furniture Gel. This non-drip, easy-to-apply gel formula is ideal when staining furniture with fiddly parts such as slats or doweling.

For a Scandi look, try Resene Woodsman Whitewash / Greywash (available in mid and light tones). These tend to sit on the surface of the timber more than a Resene Woodsman stain but, unlike paint, the natural beauty of the wood grain still shows through.

Kwila furniture – weathered or new – can be stained with Resene Kwila Timber Stain. This product is especially designed for kwila, but can also be used on other exotic hardwoods. If you’re not sure which product to use, ask your Resene ColorShop expert. 

For a soft natural look you could try Resene Furniture and Decking Oil, a transparent resin and wax blend that brings out the beauty of timber. It will protect outdoor furniture from UV damage and mould while maintaining its natural look. 

Resene Furniture and Decking Oil is designed for annual application. Most stains will need to be reapplied every two to three summers. Furniture that’s badly weathered may absorb more stain and more product may be required. To help keep lichen at bay, spray your furniture with Resene Deep Clean and it will work with the weather to give you a cleaner surface.

Johnny advises that the more coats you layer, the darker it will look once it is dried. Johnny is using Resene Woodsman Wood Oil Stain in Resene Natural.
Apply wood stain in long clean strokes, allowing it to soak into the timber for a few minutes before wiping any excess away using a clean, dry cloth. Johnny is using Resene Woodsman Wood Oil Stain in Resene Natural.

Top tips

  • When staining new outdoor furniture, allow it to weather for at least four to five weeks first, if possible. Clean the furniture with Resene Timber and Deck Wash to remove any tannins and to open up the timber to accept the stain. Take care with fresh kwila furniture – it contains water-soluble red tannins that naturally leach out when exposed to water, and can stain concrete, tiles and decking if left uncared for. It is usually best to place fresh kwila furniture on grass initially to allow the tannins to leach out before placing onto your deck to avoid staining.
  • Remember to add the finishing touches to your outdoor space – think painted side tables to place drinks, painted planters to add a touch of colour and painted storage boxes to stow cushions, barbecue tools and more. Once you’ve done the decorating, all you need to do is sit back, relax and enjoy your refreshed outdoor space.

About MasterStroke by Resene
MasterStroke by Resene is here to help you master your paint and decorating DIY projects. Brush up on your skills with advice, tips and ideas from our trusted experts.

Check out the latest how-to videos on our YouTube channel.