How to

How to stain a cedar house

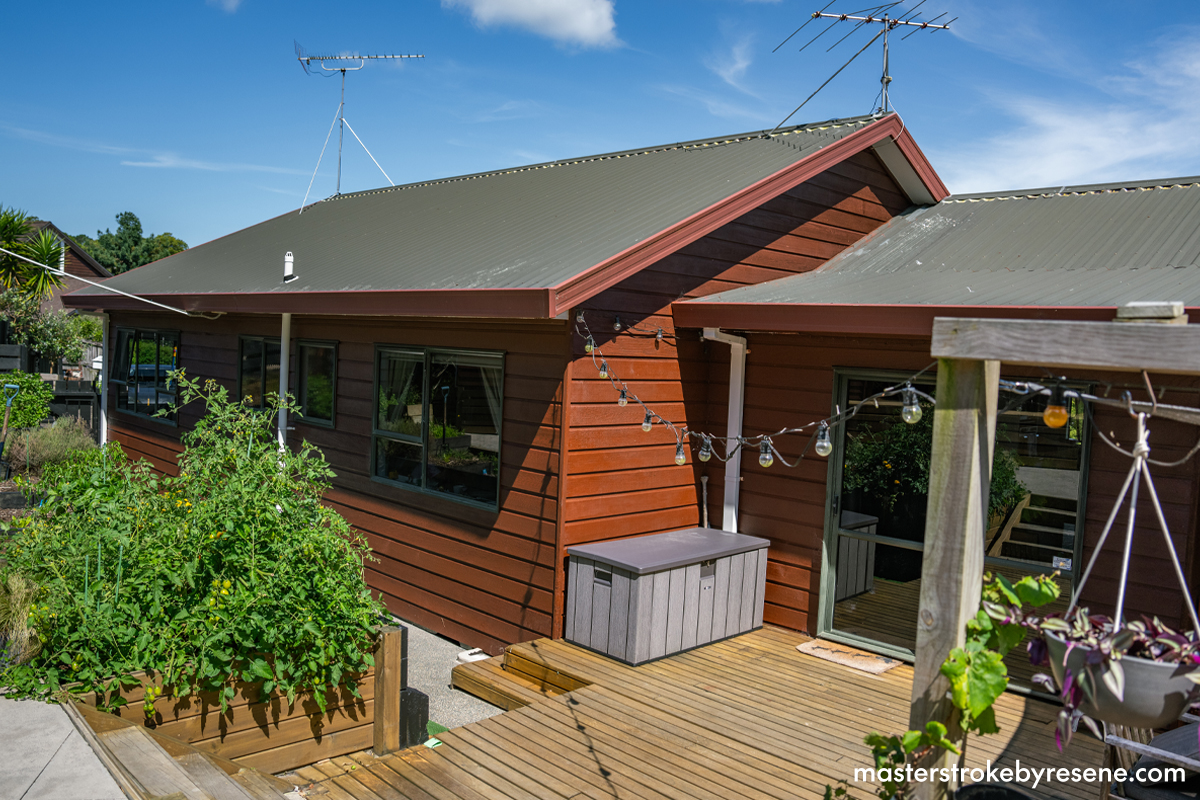
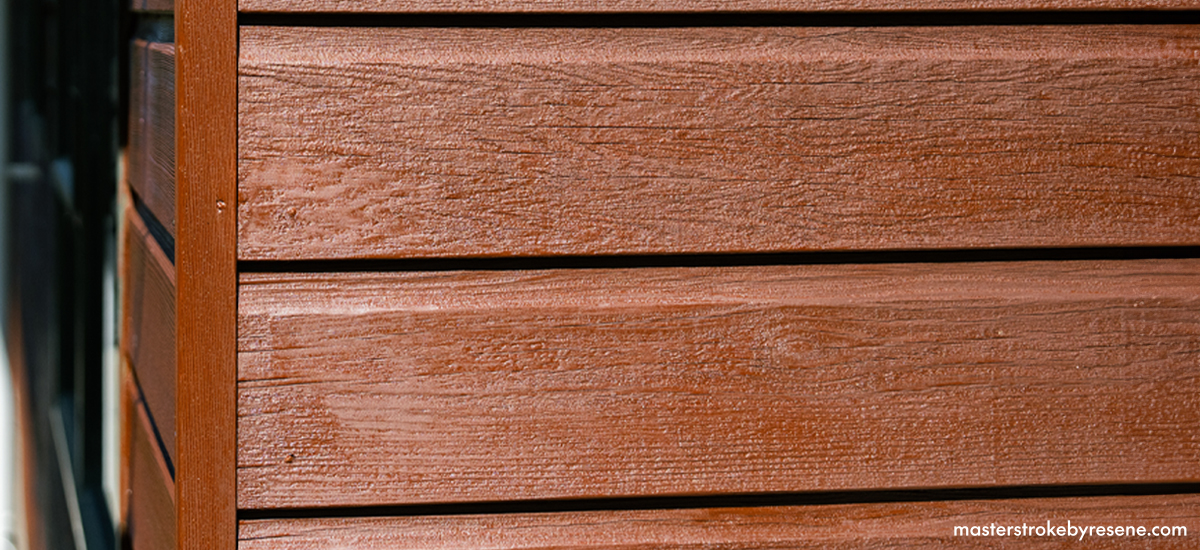
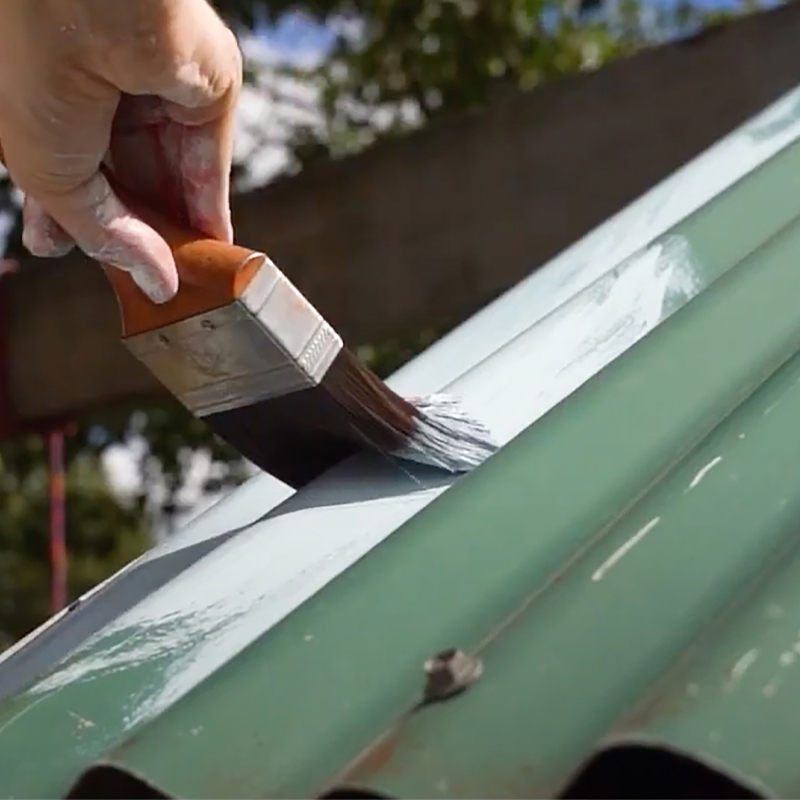
There are many cedar homes around – the rustic richness of the timber not only looks great, but it’s durable, sustainable, resistant to insects and rot, and a great thermal and acoustic insulator. As with any exterior cladding, it does require regular maintenance to help it withstand the elements and ensure it remains looking its best. 

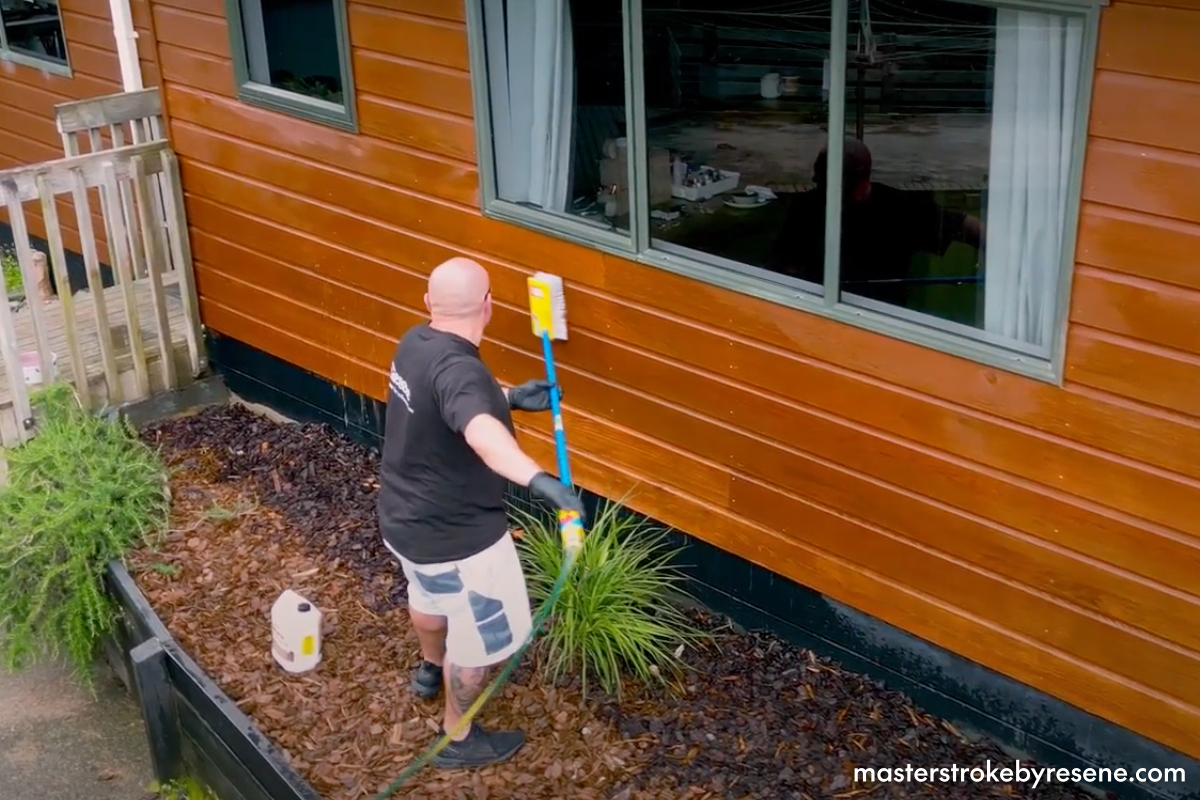
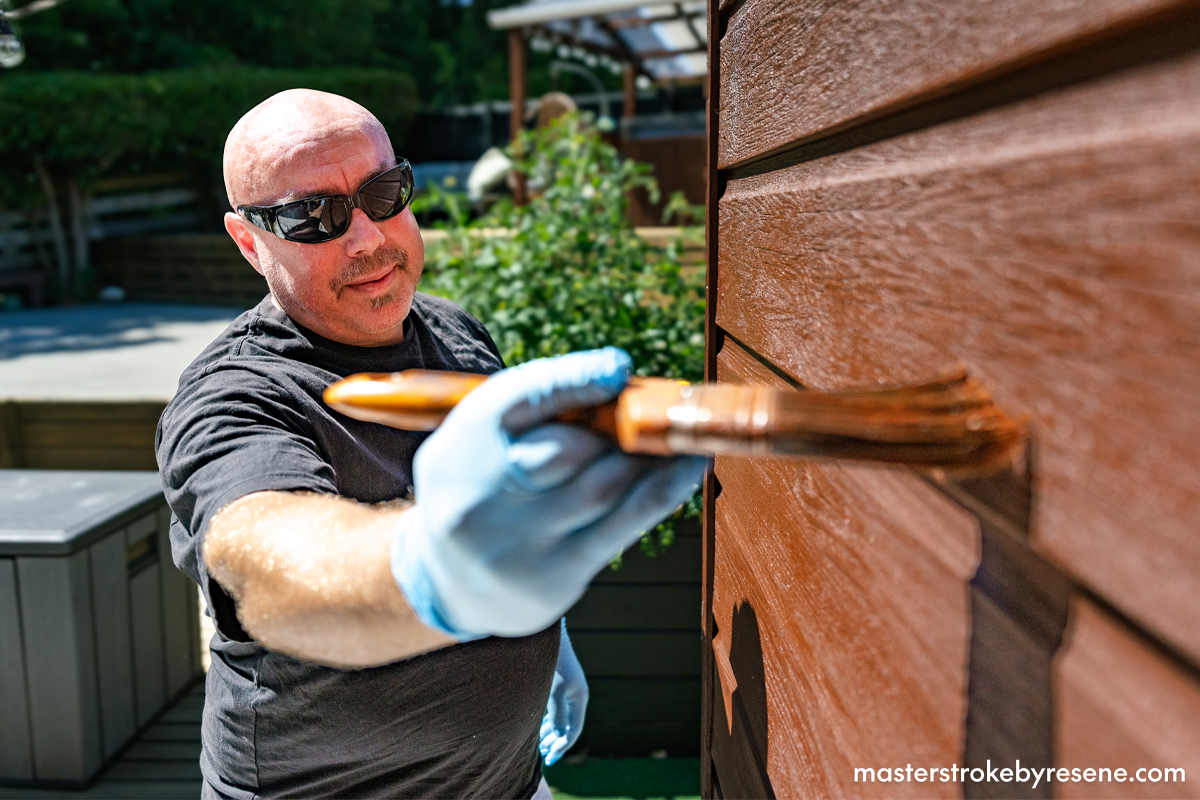
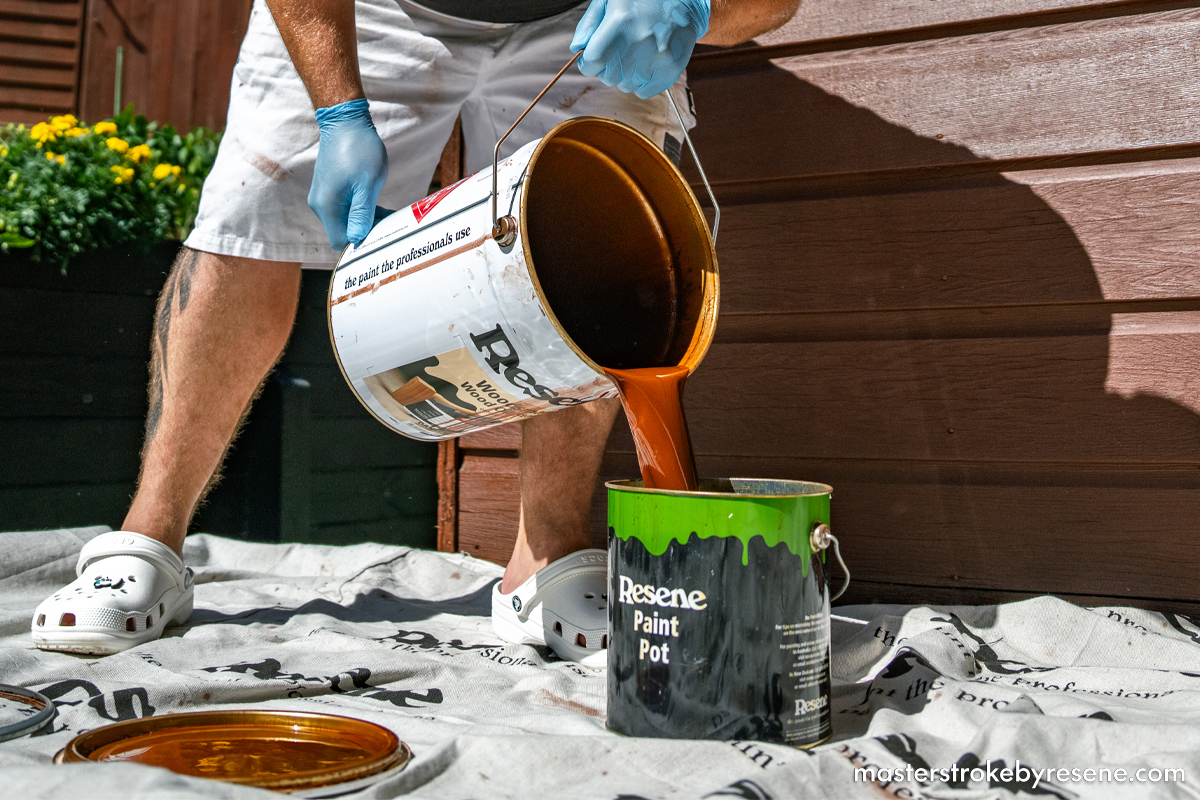
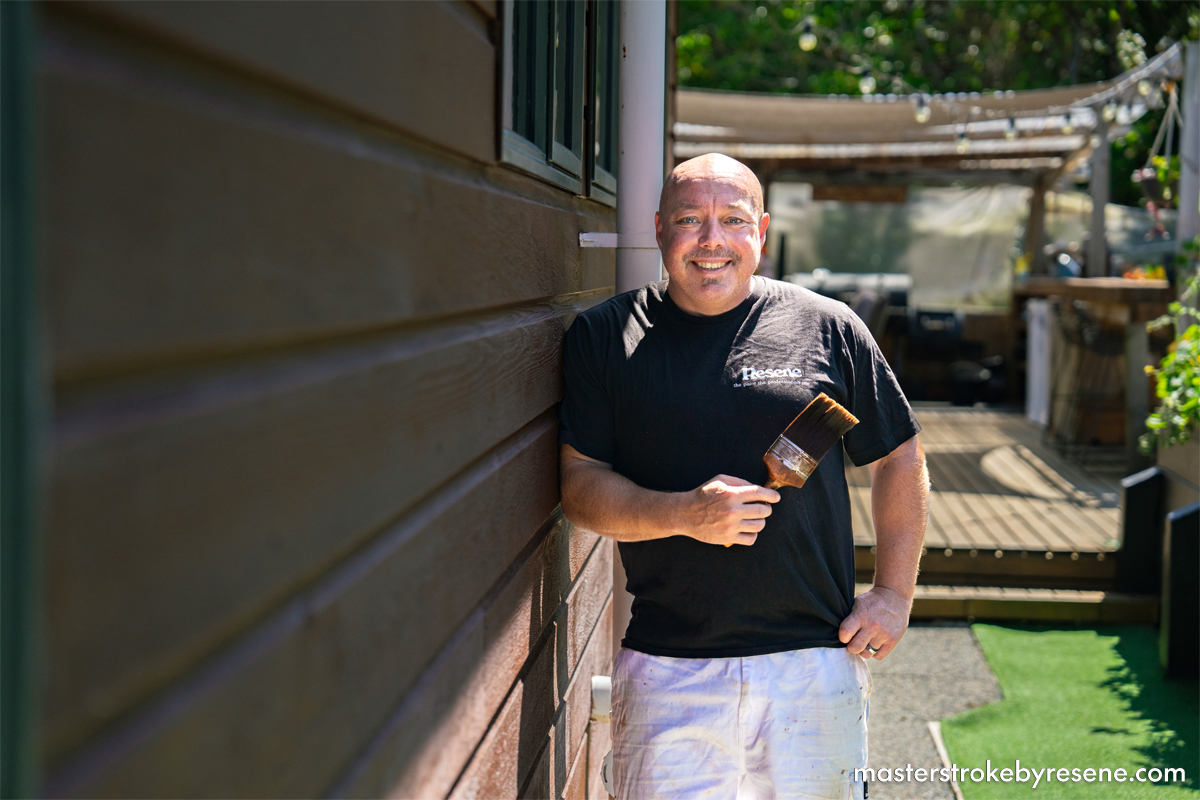
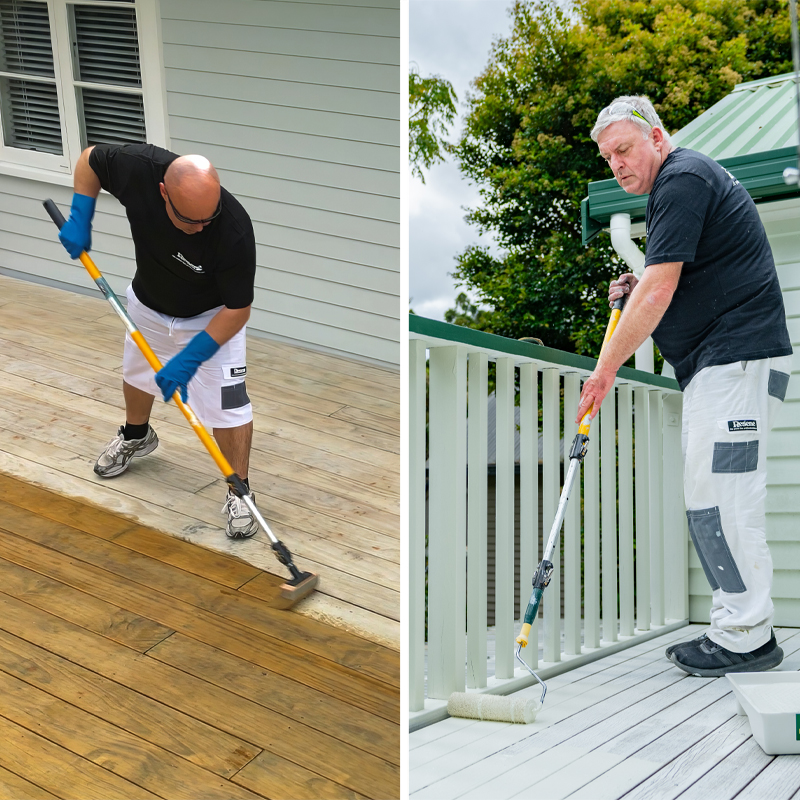
In this Paint like a Pro video, Resene Paint Expert Jay Sharples shows exactly how he goes about cleaning and staining his single-storey cedar house. He also provides valuable advice, tips and Resene product information along the way. Jay restains his home every couple of years to keep the boards in good condition. It’s important to keep this in mind, says Jay, “as stains need to be recoated more regularly than paint.”
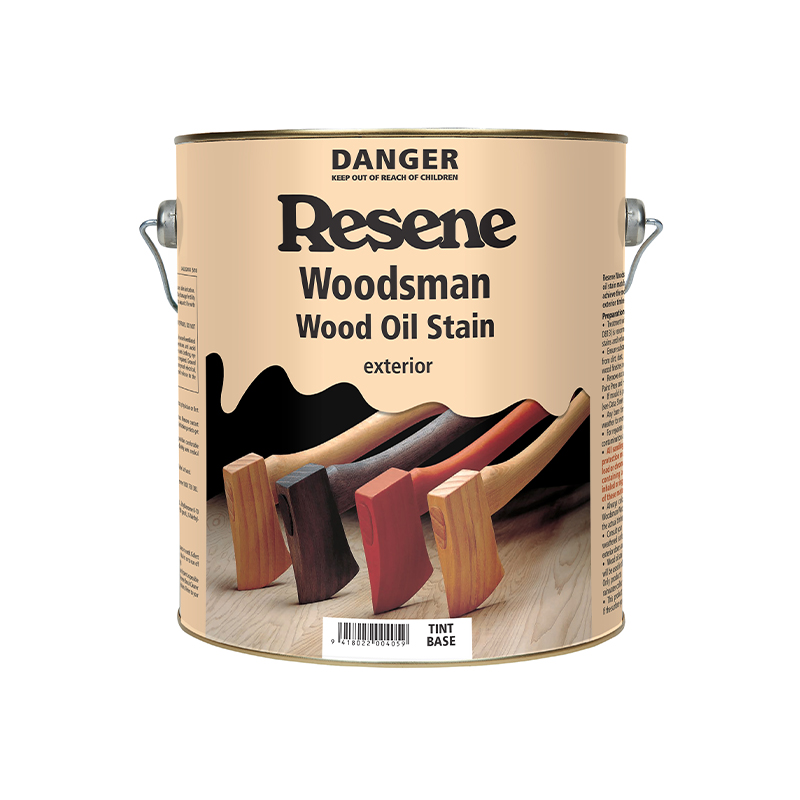
Resene Woodsman Wood Oil Stain and Resene Waterborne Woodsman require maintenance after two summers. Depending on the location and environment, this could mean only having to apply one coat,” Jay explains. “Leaving it longer than this can mean having to do multiple coats and the timber potentially being left unprotected. Some stains require annual or even bi-annual maintenance, while other stains can be left longer.”  Generally the most exposed side of your home will need re-staining faster, especially in coastal areas.

Whichever stain you are using, Jay advises to “do your research, check the restaining recommendations and then make a maintenance plan for the future.”

If you also have a cedar home that needs a little TLC, follow along with these simple step-by-step instructions on how to wash and restain it.  These same steps will apply to other timber stained homes too.

1

Remove moss and mould

Before any exterior staining or painting, the timber needs to be thoroughly washed and treated – this step can be done the weekend before staining. 

Use Resene Moss & Mould Killer to get rid of any moss, mildew or fungus. Allow the product to penetrate the timber for up to 48 hours before scrubbing and rinsing clean.

2

Wash

Decant Resene Timber and Deck Wash into a large spray container. Jay stresses that you have to use this every time you stain, whether it’s a fence, deck or your house. 

Put on your gloves and goggles (or sunglasses). Spray thoroughly and make sure it stays wet on the surface for 10 to 15 minutes, then give it a really good scrub and wash it off thoroughly and allow to dry before you carry on.

3

First coat

Once your weatherboards are completely dry, you’re ready to stain. Put down drop cloths and then put your gloves and goggles/sunglasses back on, as well as a hat and suntan lotion if it’s a very sunny and hot day. 

Give your stain a good stir before decanting it into a Resene paint pot to make it easier to handle, then start staining from the top down. That way if you do end up dripping a little, you don’t wreck an area you’ve already finished. 

Jay is applying Resene Woodsman Wood Oil Stain CoolColour in Resene Dark Oak.

4

Final coat

Let the first coat dry overnight so it’s got plenty of time to penetrate into the timber. The next morning, if any area is still a little bit wet, leave it to dry for another day. 

Once your timber is dry, go ahead and apply your second and final coat. When that’s finished, your house will be looking as good as new! 

Jay’s home is stained with Resene Woodsman Wood Oil Stain CoolColour in Resene Dark Oak.

Before
After
As with most exterior cladding, cedar experiences natural wear and tear. Jay refreshes his home every couple of years using Resene Woodsman Wood Oil Stain CoolColour in Resene Dark Oak.

Jay’s top tips for staining cedar weatherboards

  • You really need to ascertain the type of stain previously used on the property. Some stains aren’t compatible with other products. If possible, take a sample of the stained timber into your local Resene ColorShop and speak to one of the team. Another way is to apply a Resene Waterborne Woodsman testpot in an inconspicuous area and leave it for 48 hours to see if it penetrates and dries.
  • Check the weather and work to the conditions. Avoid working in direct sunlight as the product can dry before it fully penetrates into the timber – you can always start earlier in the summer or set up a gazebo to give you some shade. You also want to give the stain plenty of time to dry before it gets wet so watch out for rain. If staining a deck, give the stain time to dry before walking on it or replacing any furniture.
  • The better you clean the surface with Resene Timber and Deck Wash, the better your stain will look. Take your time on this step to get the best results. 
  • When choosing a paintbrush, make sure you opt for one you’re comfortable with. This is a big job, so a 75mm paintbrush is a great choice. Other options are 50mm or 100mm, but remember that as you’re staining, your brush is going to feel heavy as the day goes on. 
  • If you’re using a darker coloured exterior stain (or paint), opt for the Resene CoolColour version. These are made with special pigment technology that reflects more of the sun’s heat and keeps the timber and your stain or paint cooler. This looks like the normal colour but won’t get as hot in the summer months.
Decanting your stain into a paint pot makes it easier to carry around as you work. Jay is using Resene Woodsman Wood Oil Stain CoolColour in Resene Dark Oak.
Jay keeps his cedar home in good condition with regular maintenance, re-staining with Resene Woodsman Wood Oil Stain every couple of years.
  • Jay has used Resene Woodsman Wood Oil Stain on his house because that is the stain that was originally used on it. If your home has new weatherboards or you have previously used Resene Waterborne Woodsman penetrating oil stain, that can be used instead. These products are designed to let the natural grain of the timber shine through and enhance them with a warm hue. 
  • Avoid using clear finishes direct onto exterior timber.  They don’t provide any UV protection against UV light so your timber will age faster.
  • It’s also best to avoid film forming stains on timber.  These tend to fail by flaking off, which leads to a huge preparation job to remove all the stain before you can re-stain.  Instead choose stains like Resene Waterborne Woodsman or Resene Woodsman Wood Oil Stain which penetrate into the surface and will slow erode.  This makes them easy to recoat with a quick mould treatment and clean and then you can start staining.
  • When staining, try to work on one or two weatherboards at a time. That way you don’t create lap marks or end up with stop-start marks through the middle of the boards.  If you end up with too much stain in one place, wipe off the excess before continuing.
  • Resene stains are the perfect choice for cedar weatherboards. This is because the grain of the timber runs along the lengths of the boards and isn’t smooth – it’s got peaks and troughs going through it – and Resene stains penetrate into the timber so are really good at hiding all those little imperfections.
  • Due to the nature of stain, going over the same spot multiple times with multiple coats will make that spot darker. It will be very visible when you step back and look at your finished job and is difficult to remedy or remove. Try to stay consistent with your brushstrokes to avoid this.

About MasterStroke by Resene
MasterStroke by Resene is here to help you master your paint and decorating DIY projects. Brush up on your skills with advice, tips and ideas from our trusted experts.

Check out the latest how-to videos on our YouTube channel.