How to

How to use Resene Walk-on flooring and paving paint

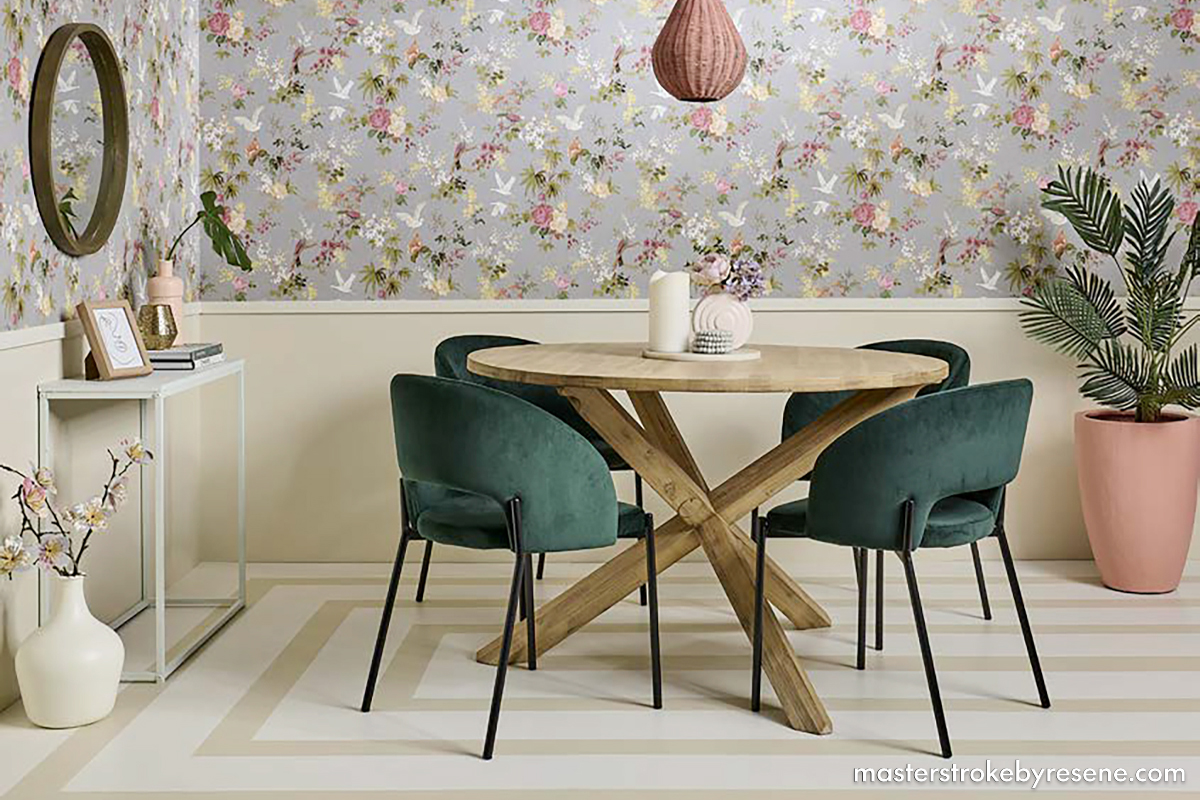
The floor is often referred to as the ‘fifth wall’ or the ‘sixth wall’ and should never be discounted when you’re planning an interior scheme, attempting to pull a cohesive look together or just freshening up your surfaces. 

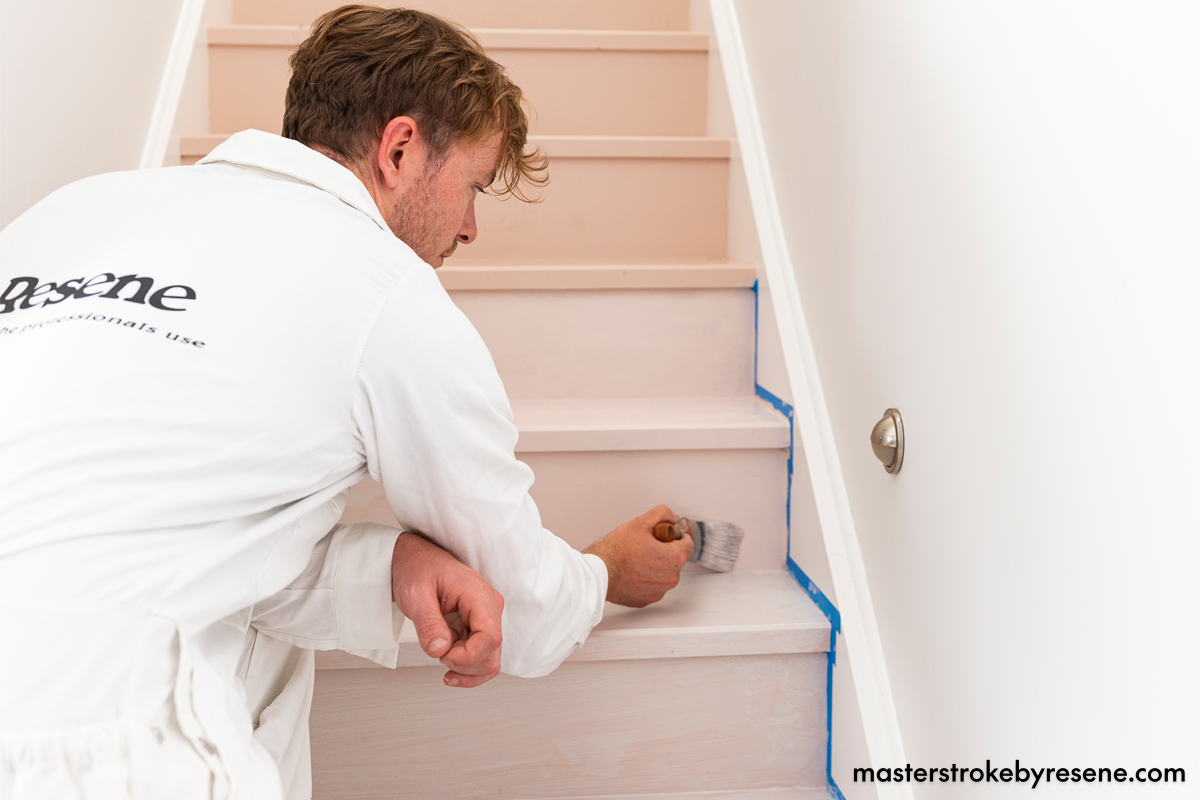
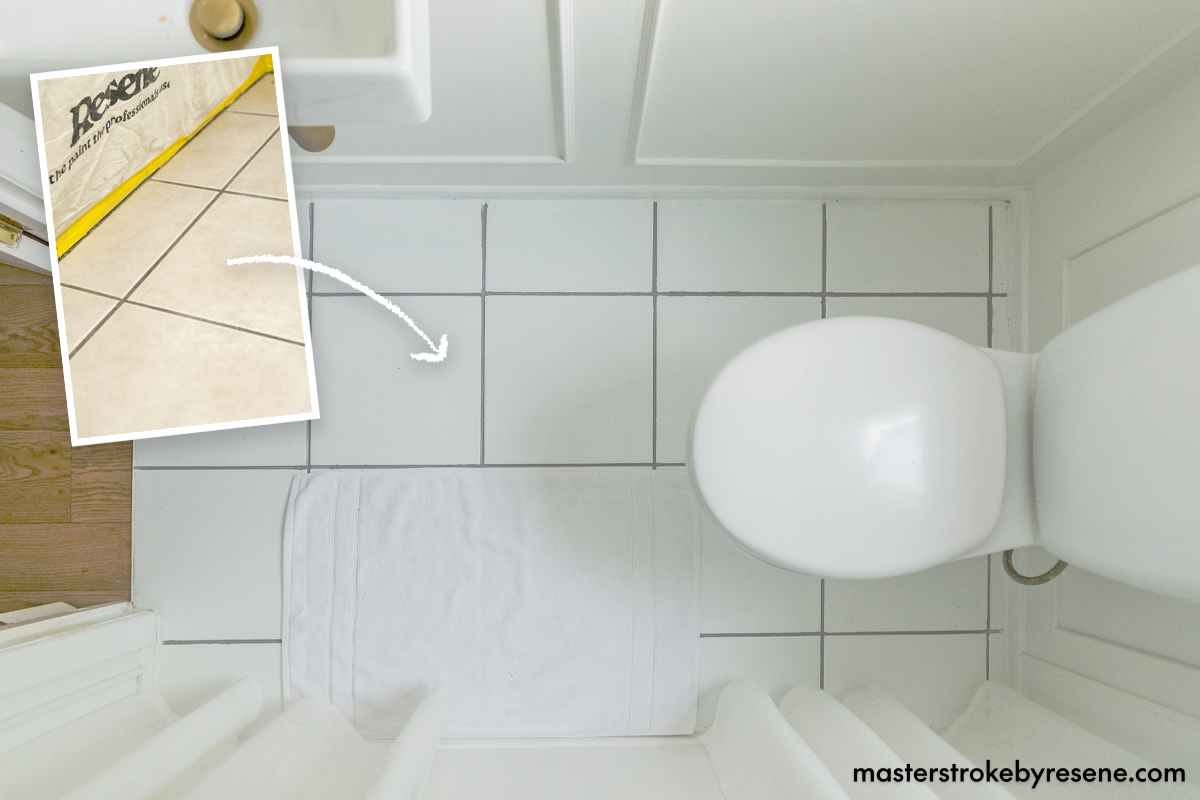
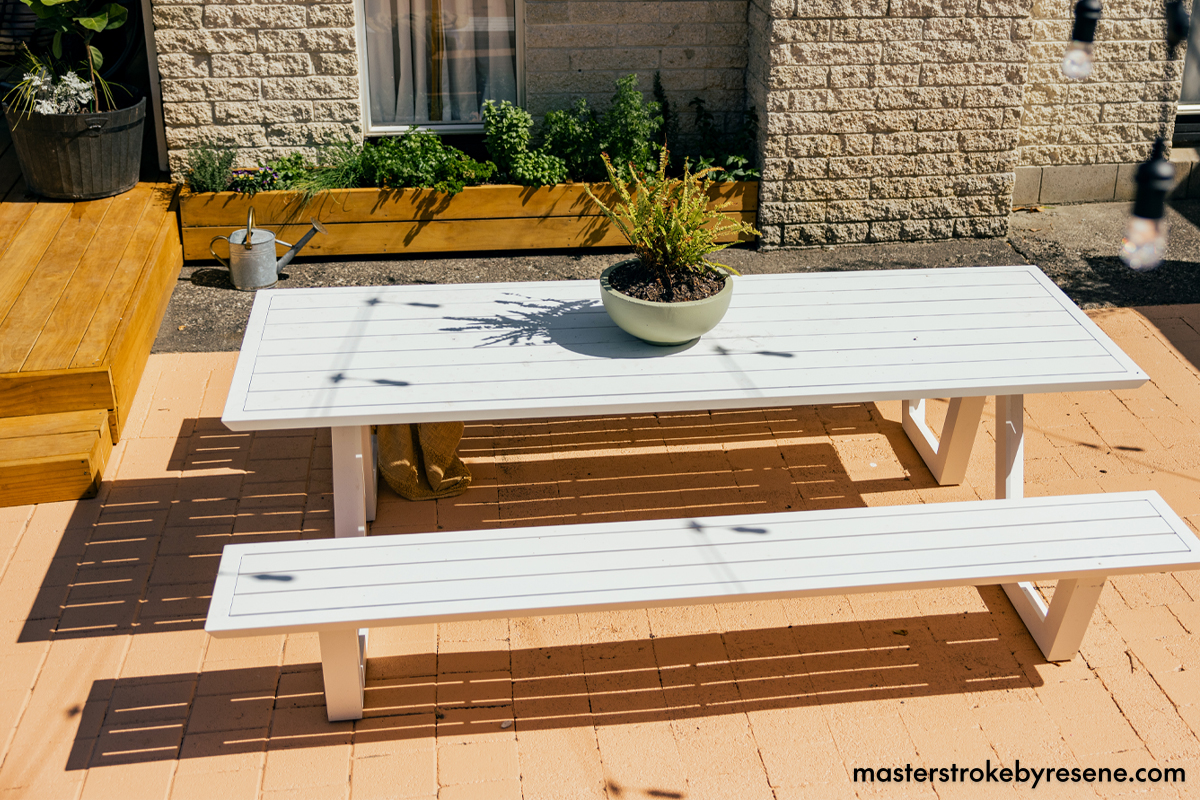
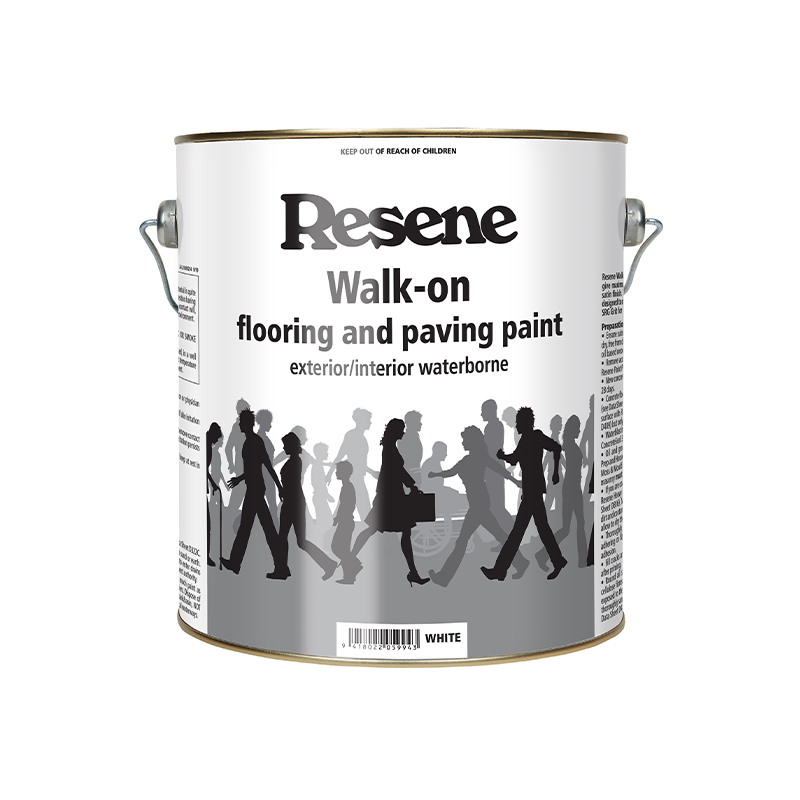
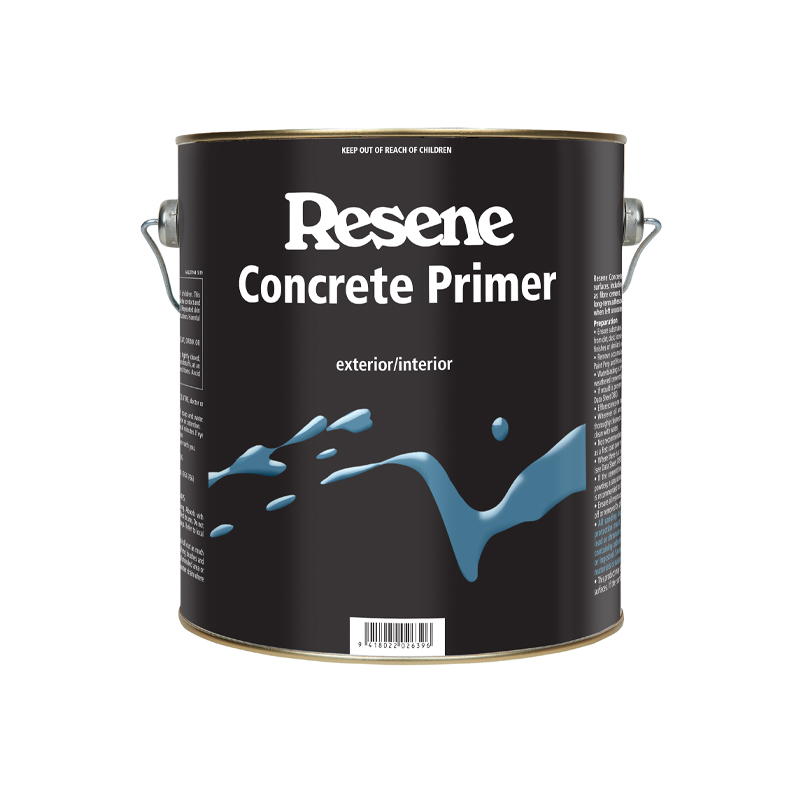
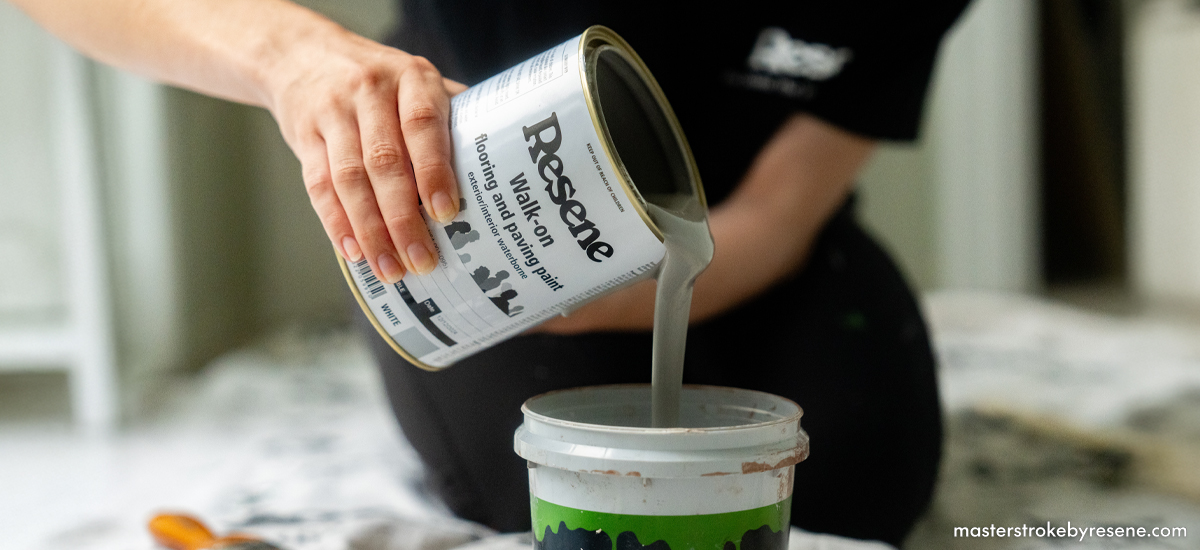
When painting your flooring, both inside and out, you’ll want to use Resene Walk-on flooring and paving paint. It’s a general purpose flooring paint with an attractive satin finish based on tough acrylic resins for durability and abrasion resistance. It can be used for both solid colour coverage and – depending how adventurous you’re feeling – even patterned designs on floors, steps, decking, concrete, porches, primed timber and composite boards. 

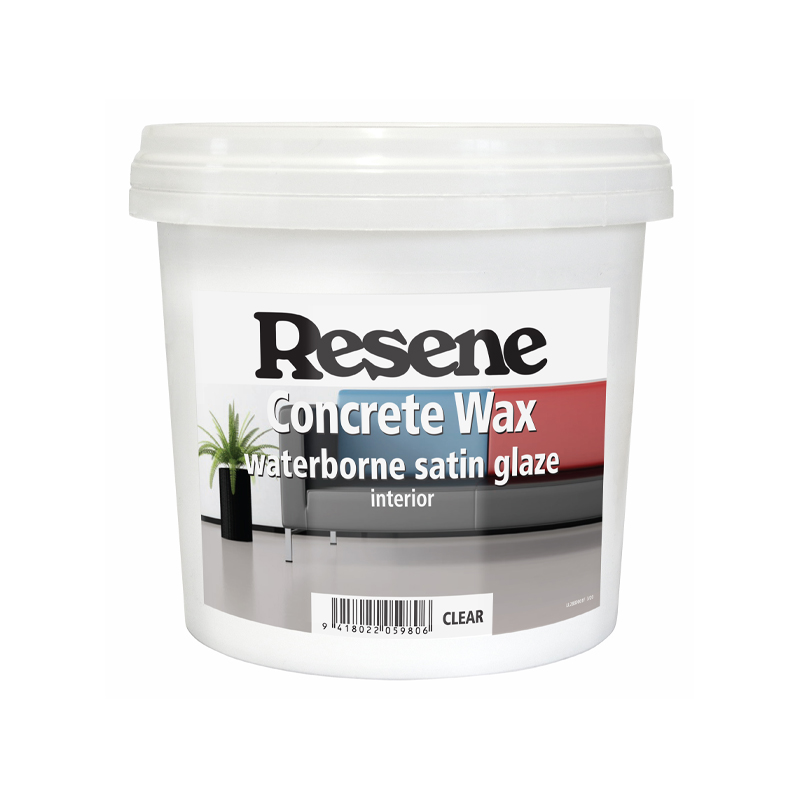
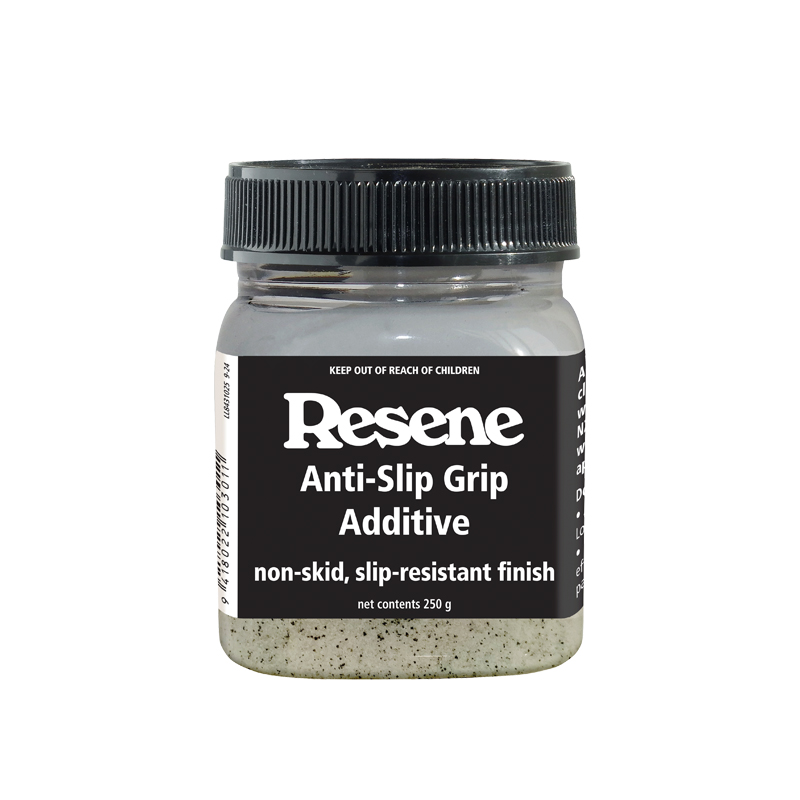
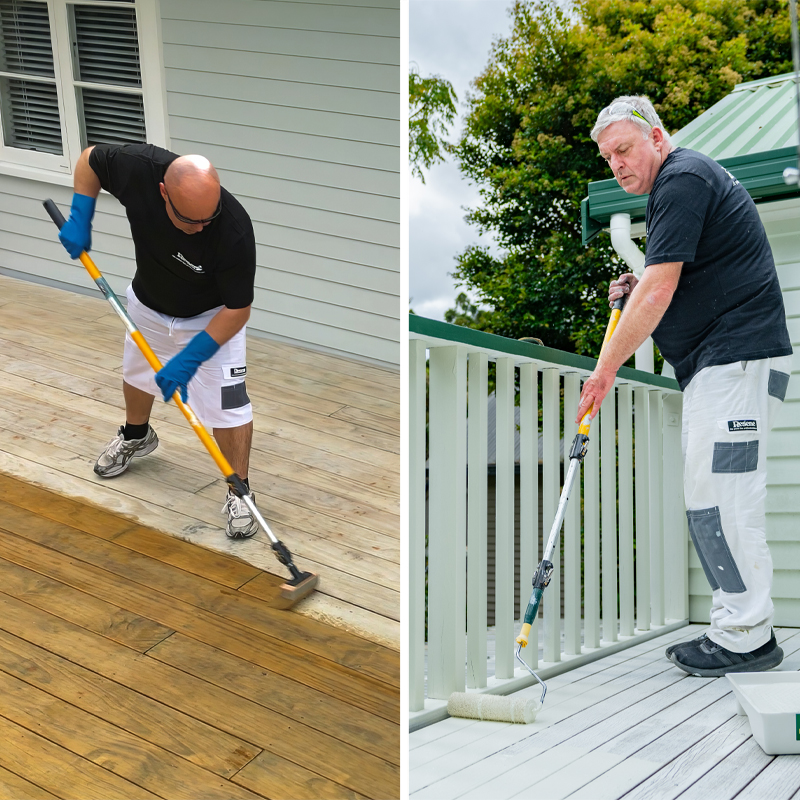
To rejuvenate a previously painted floor, simply wash down the existing coating, remove any loose flaking material, prime or seal if needed and recoat using two coats of Resene Walk-on, then finish with Resene Concrete Wax. For exterior projects, simply clean, prep, prime or seal, then topcoat with Resene Walk-on. If you need extra slip protection, mix in Resene Anti-Slip Grip Additive to the first coat of your Resene Walk-on.

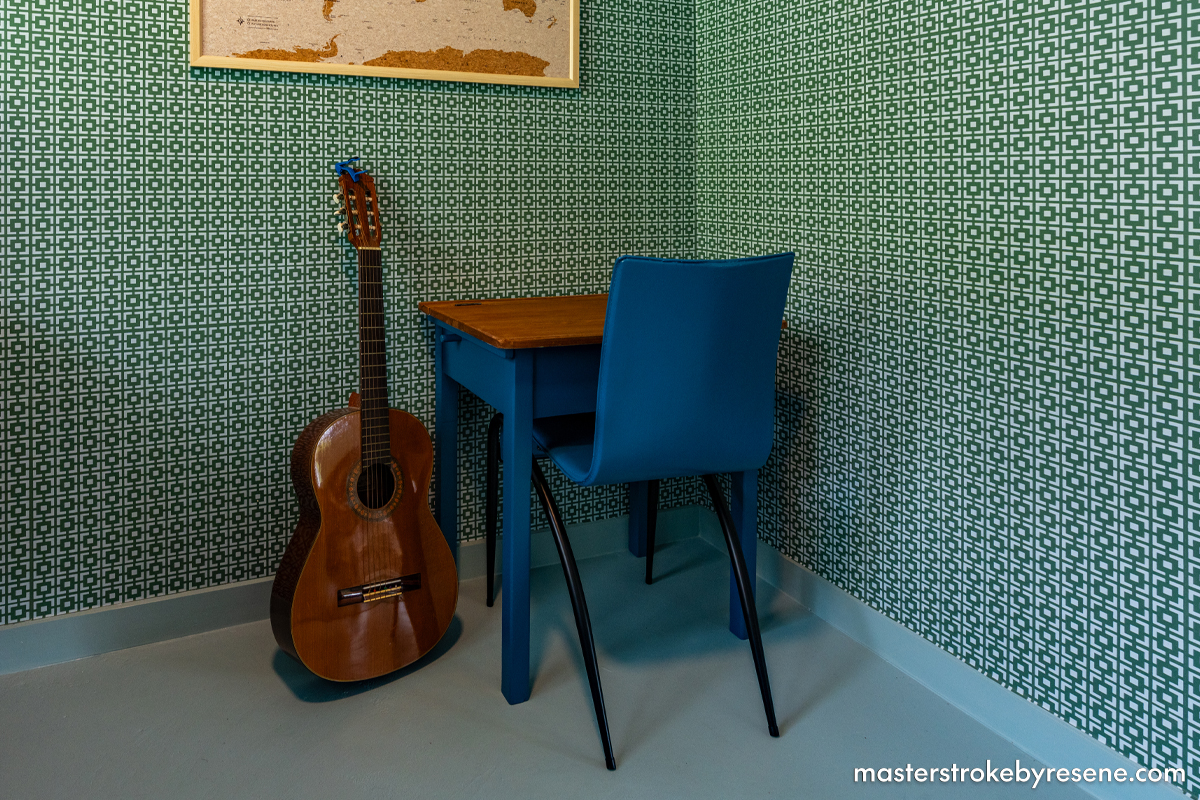
Check out these great projects that harness the power of Resene Walk-on.

Wooden floors

Painting a wooden floor is a practical and cost-effective way to inject new life into a tired space. It’s a great option for a DIY project, because painting a floor is no harder or more time-consuming than painting walls. Updating your floor with paint is an easy way to help it blend in with a new colour scheme, or it can be the ideal stopgap while you save for a new floor. You can use any colour, but keep in mind that white or very light or dark colours tend to show dust more.

Resene Paint Expert Craig Hilliar says most wooden floors can be painted, but the condition of the existing floorboards will determine how much prep work is required. If the boards have a very hard solventborne finish or are in very poor condition, they may need sanding and a coat of primer or sealer before they can be painted.

Check out our step-by-step instructions on how to refresh your floor with paint.

These stairs are being painted in Resene Walk-on in Resene Blanched Pink.

Tiles and grout

Instead of ripping them out and starting again, you can breathe new life into old flooring tiles and discoloured grout by painting them. A fresh new Resene hue will completely revive dated tiles and is a straightforward job that can be done over a weekend. 

After thoroughly cleaning, lightly sanding and wiping away all dust, apply one coat of Resene Waterborne Sureseal and leave to dry. Follow with two coats of Resene Walk-on on the tiles and grout, allowing to dry between coats. Once dry, mask off the grout and use an artist’s brush to paint the grout lines with Resene Walk-on in a contrasting colour. To finish and protect your floor, seal with Resene Concrete Wax waterborne satin glaze, a tough, durable added layer of protection that is very easy to maintain.

Watch our video and read the full instructions to refresh your tiles and grout.

Tiles painted in Resene Walk-on in Resene Alabaster and Resene Jumbo and coated in Resene Concrete Wax, walls and trims painted in Resene Lustacryl in Resene White.

Concrete floors

Inject personality and warmth into a concrete floor by painting it in an on-trend Resene colour. As always, a coating of Resene Concrete Wax provides an added layer of protection which is key for high traffic areas, like this child’s bedroom.

Walls in Resene Mason Cydon Wallpaper in Resene Gecko and Resene Half Halcyon, trims and concrete floor in Resene Destiny and desk and chair in Resene Wanaka.

Paved courtyard

Tired old pavers can make an outdoor area feel unsightly and unusable. However, your space can be instantly and affordably transformed with a new colour scheme. Before you start, make sure you remove any moss and mould first with Resene Moss & Mould Killer and clean the surface. Then prime with Resene Concrete Primer and apply two coats of Resene Walk-on in your chosen colour.

Pavers painted in Resene Walk-on in Resene Kalgoorie Sands, plant pot in Resene Lumbersider Low Sheen in Resene Flax and deck and planter boxes finished with Resene Furniture and Decking Oil.

A note on stencilling

If you’re feeling creative, Resene Walk-on can also be used to create unique and distinctive patterns using stencils. This is also a cost-effective alternative to tiling. 

After you’ve decided on your pattern – straight lines are a good place to start for novices – paint your entire floor with two coats of Resene Walk-on flooring paint in your chosen base colour. While your base is drying, you can practice using your stencil on a scrap panel or larger sheet of cardboard. 

If you’re doing straight lines, mask out your chosen areas, or if you’ve made a stencil, use low-tack masking tape to keep your stencil in place. Pour your second Resene Walk-on paint colour into a shallow tray and use a slightly damp sponge or paintbrush to dab paint through the cut holes in your stencil. Take care not to overload your brush or sponge with paint during the process, as adding too much paint to your applicator could result in paint bleeding underneath your stencil or tape. Keep a clean rag nearby to dab off any excess paint as needed, then carefully lift the stencil off and reapply it in the next position.

Top tip: For best results when creating a stencilled design, measure your surface and decide your pattern repeat first, then scale your stencil appropriately. Be sure to measure all four walls, as you may discover that your floor isn’t completely square, which could affect your choice of stencil. Rounder or curvier designs can be a great option for uneven spaces as they will hide the flaw better than a geometric design.

Upper walls in Resene Fiore Wallpaper Collection 220482, lower walls painted in Resene Double Spanish White, dado rail in Resene Quarter Spanish White, floor in Resene Quarter Spanish White and Resene Double Spanish White, console table in Resene Half Duck Egg Blue, mirror in Resene Rewilding, plant pot in Resene New York Pink, pendant lamp in Resene Cest La Vie and vases in Resene Spanish White, Resene Wax Flower and Resene Soothe. Dining table and velvet chairs from Danske Møbler.

How much paint will you need?

If you change data entered into the fields below, ensure you press the calculate button again to re-run the equations and get the new answers.
Calculated result: 0 Litres in total
To find the spreading rate of your Resene product, click here.
NB: Porous surfaces and shapes (ie corrugated iron) will require more paint.

About MasterStroke by Resene
MasterStroke by Resene is here to help you master your paint and decorating DIY projects. Brush up on your skills with advice, tips and ideas from our trusted experts.

Check out the latest how-to videos on our YouTube channel.