DIY projects

How to paint wooden floors

Update wooden floors or stairs with a fresh coat of paint. These stairs are being painted in the colour Resene Blanched Pink.

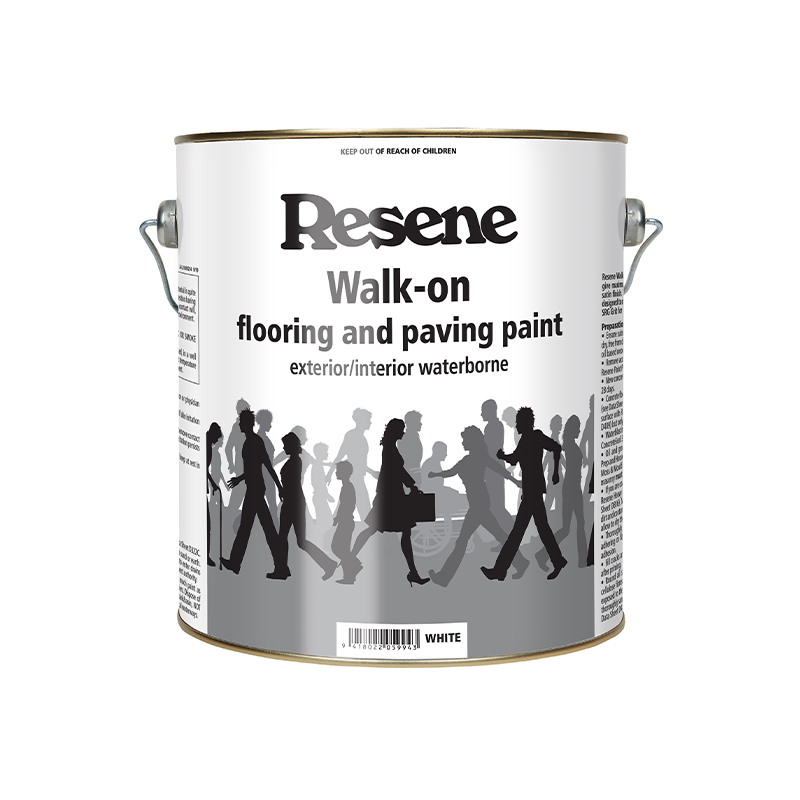
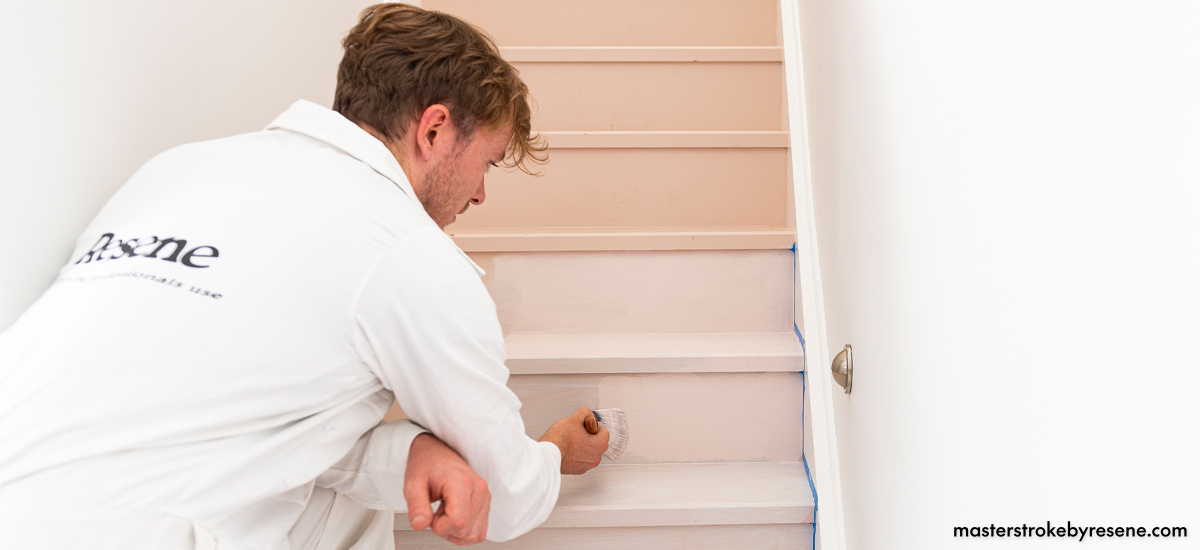
Painting a wooden floor is a practical and cost-effective way to inject new life into a tired space. It’s a great option for a DIY project, because painting a floor is no harder or more time-consuming than painting walls. Updating your floor with paint is an easy way to help it blend in with a new colour scheme, or it can be the ideal stopgap while you save for a new floor. You can use any colour, but keep in mind that white or very light or dark colours tend to show dust more.

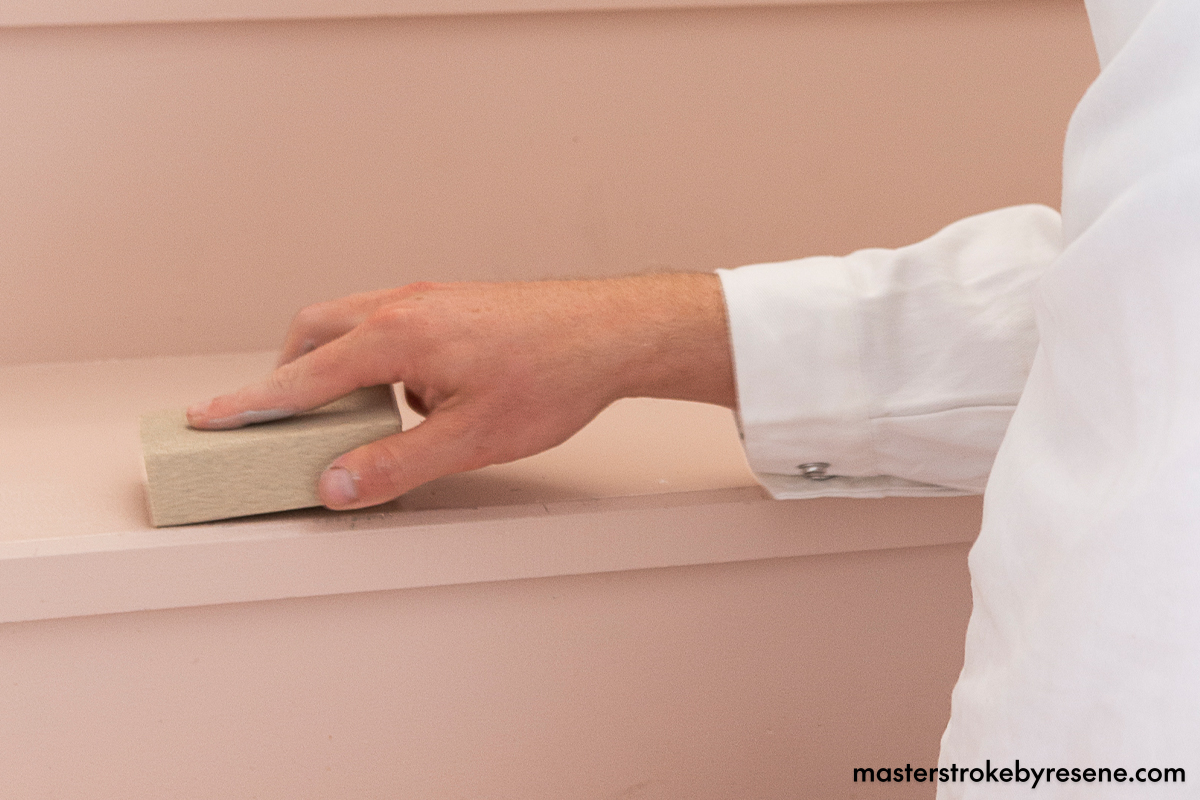
Resene paint expert Craig Hilliar says most wooden floors can be painted, but the condition of the existing floorboards will determine how much prep work is required. If the boards have a very hard solventborne finish or are in very poor condition, they may need sanding and a coat of primer or sealer before they can be painted.

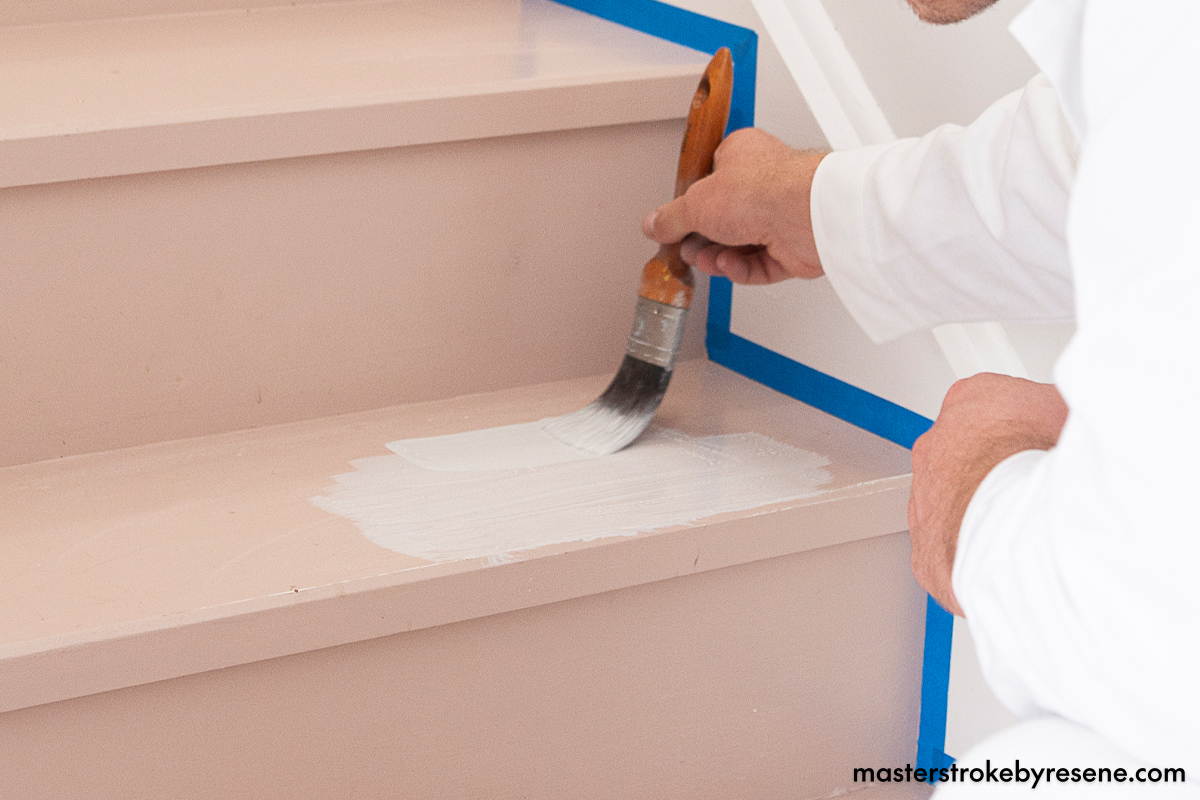
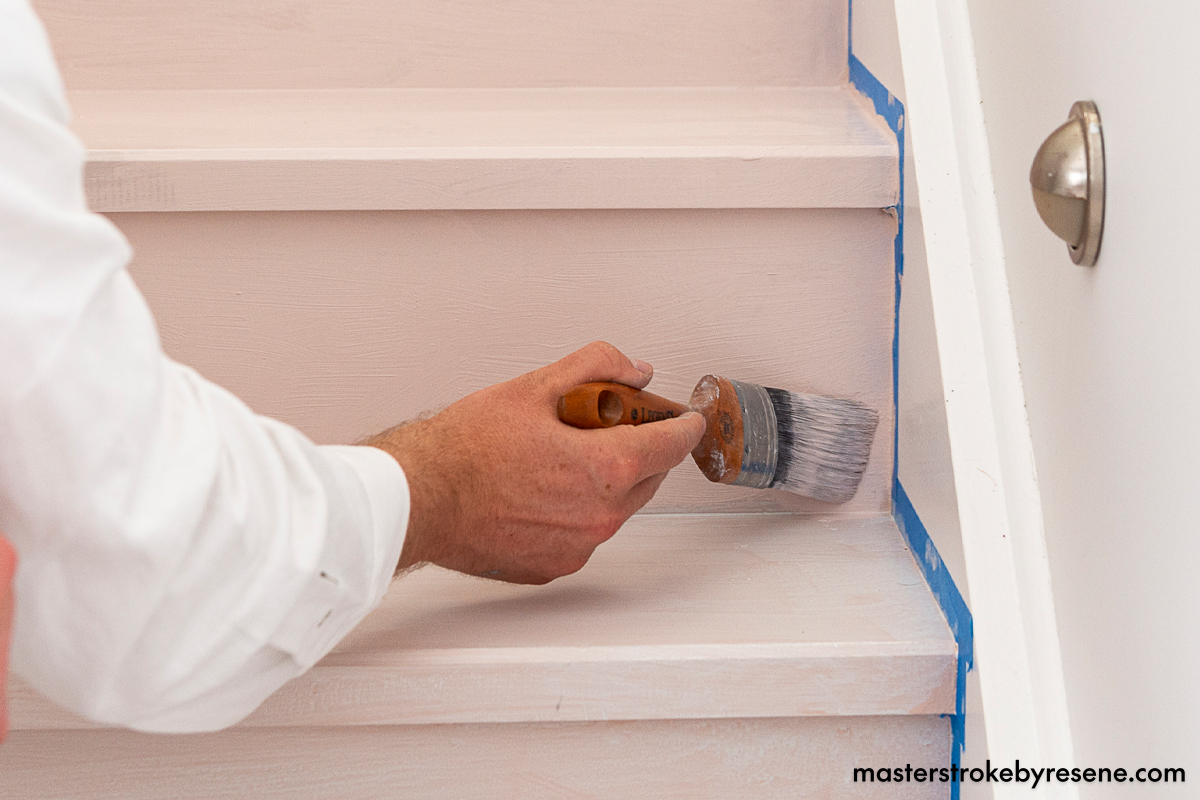
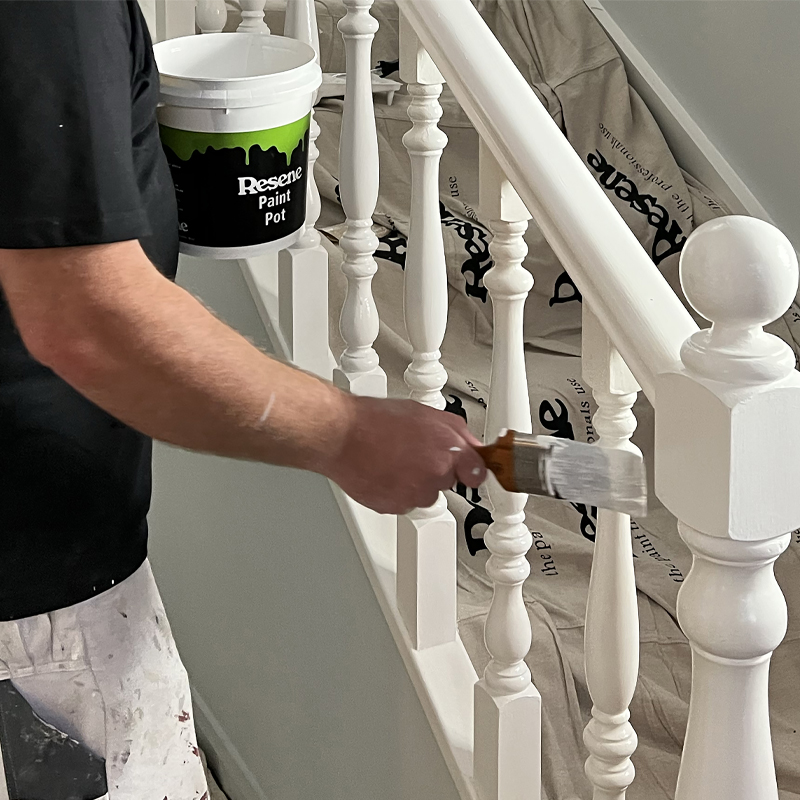
“What you’re looking for is a sound surface that the paint can stick to,” says Craig. He highly recommends investing in good quality brushes and roller sleeves. “This will ensure you get plenty of paint pick-up as well as a good quality finish.” Resene ColorShops have friendly, well-trained staff who can advise on the best accessories to use.

Follow our Masterstroke by Resene guide to painting your timber floor. If your floor is in perfect condition and requires no major prep work, go straight to step five.

  • broom, brush and dustpan
  • paint scraper
  • hammer
  • nail punch
  • floor sanding equipment if your floors require it (consult your local hire centre)
  • vacuum cleaner
  • paint stirrer

1

Clear the room and prepare for sanding

Remove furniture and sweep the floor clean of any dust. A fine layer of dust will settle everywhere so close off other rooms.

Use the scraper to carefully remove any loose carpet glue residue, scraping along the grain.

Punch any protruding nail-heads with the hammer and nail punch.

2

Sand to smooth

Using appropriate floor sanding equipment and wearing recommended protective clothing, carefully sand the edges of the floor, sanding in the direction of the grain. Once this is done, sand the remainder of the floor.

Vacuum clean and wipe over with a slightly damp cloth. Ensure that the floor is dry before going on to the next step.

We repainted wooden stairs, so hand sanding was adequate for this small area.

3

Apply undercoat

Use masking tape to mask the edge of the skirting board that meets the floor

If the timber floor is bare or has been sanded back to bare and has no polyurethane coating on it, then you will need to apply one coat of Resene Quick Dry primer undercoat.

Or: If you’re painting directly onto a good-condition wooden floor with polyurethane on it, apply a coat of Resene Waterborne Sureseal.

Allow to dry completely before the next step.

4

Time to paint!

Give your Resene Walk-on paint a good stir. If you’re using the roller for the first time, wash it with fresh clean water, as this removes any loose fibres which may be on the sleeve.

Cut in around the edges using a brush, then use your roller to paint the whole floor. Apply two coats and always allow drying time between each coat. Consult the can to check drying times. If the colour change is strong, more coats may be required.

We used Resene Blanched Pink from the Resene Karen Walker range.

Top tip: You can also repaint other flooring, such as concrete and tile, using Resene Walk-on as your topcoat. Check with Resene ColorShop staff, or fill in the Resene Ask a Paint Expert form for free advice about the right products for your floor.

5

Extra protection

Once the final coat of Resene Walk-on is dry, apply Resene Concrete Wax with a roller. Leave for 48 hours before allowing foot traffic on the floor.

How much paint will you need?

If you change data entered into the fields below, ensure you press the calculate button again to re-run the equations and get the new answers.
Calculated result: 0 Litres in total
To find the spreading rate of your Resene product, click here.
NB: Porous surfaces and shapes (ie corrugated iron) will require more paint.

About MasterStroke by Resene
MasterStroke by Resene is here to help you master your paint and decorating DIY projects. Brush up on your skills with advice, tips and ideas from our trusted experts.

Check out the latest how-to videos on our YouTube channel.