How to

How to paint tiles

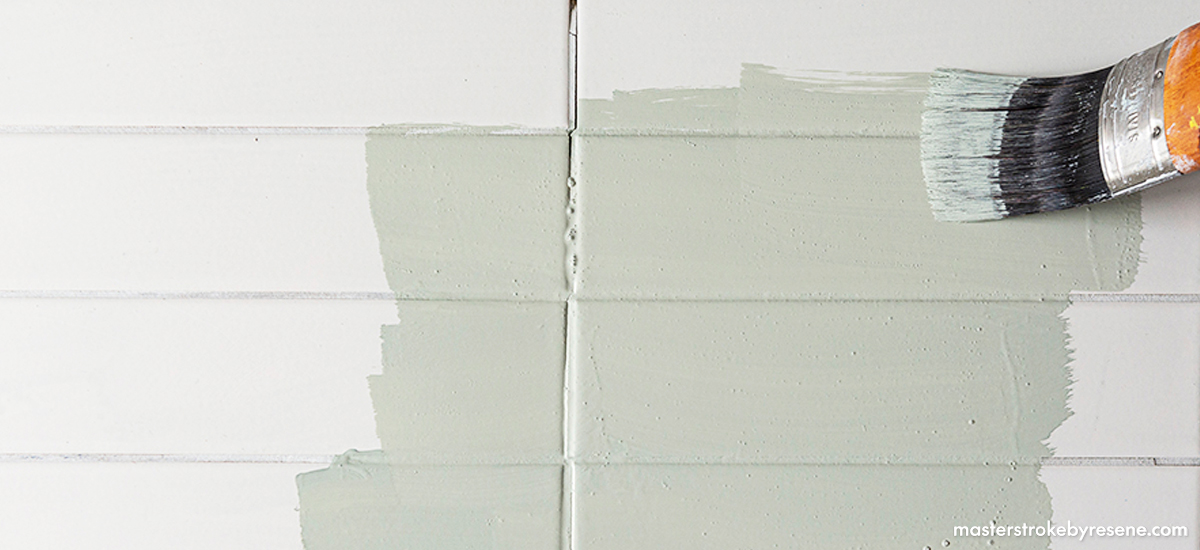
Replacing bathroom tiles can be a costly and time-consuming undertaking, but did you know tiles can be painted? Giving old tile floors and walls a new lease of life with paint will transform your space, bringing a clean, fresh look to your bathroom. The key to painting wet areas like bathrooms and tiles is preparation, says Resene paint expert Craig Hilliar.

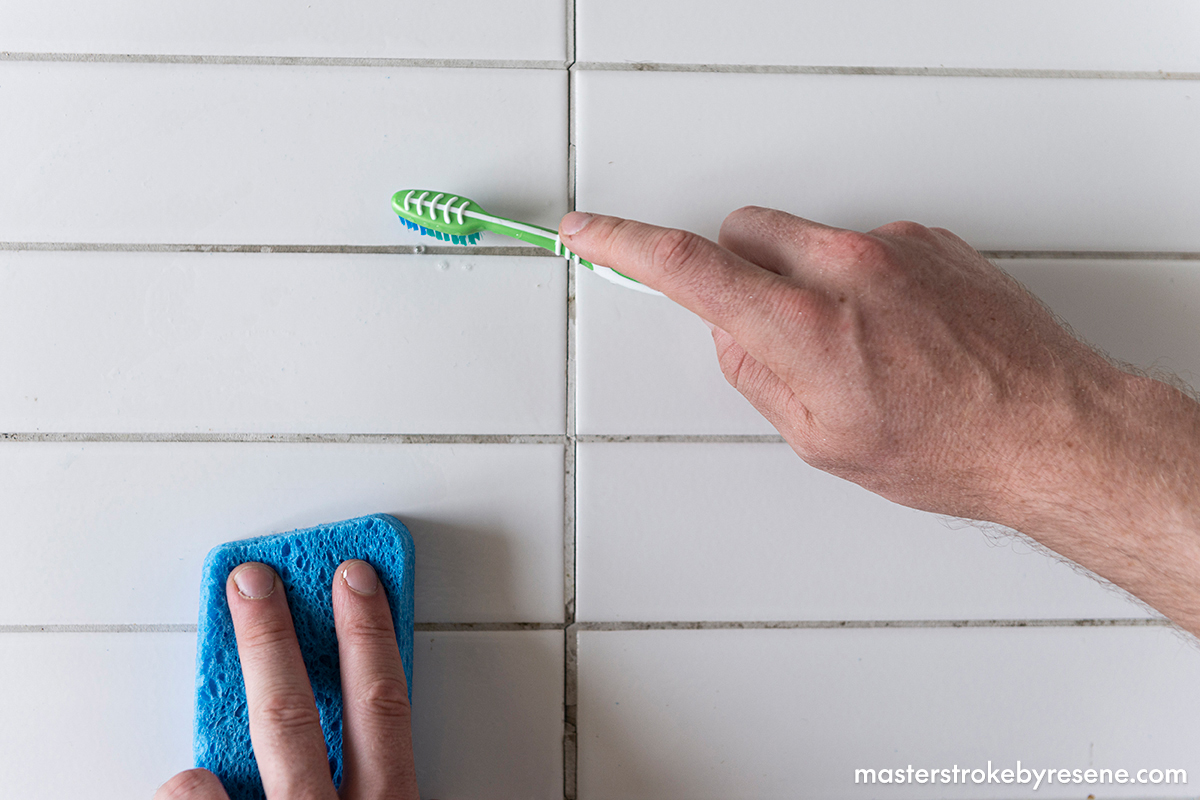
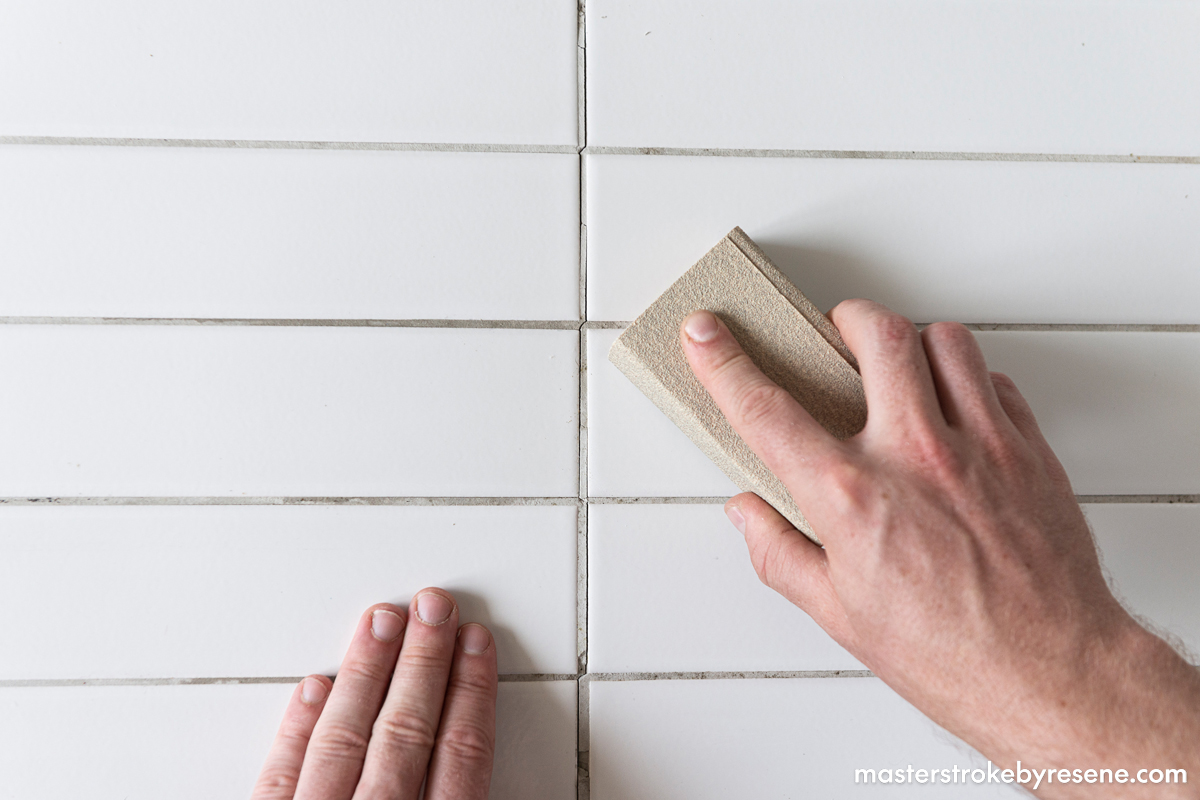
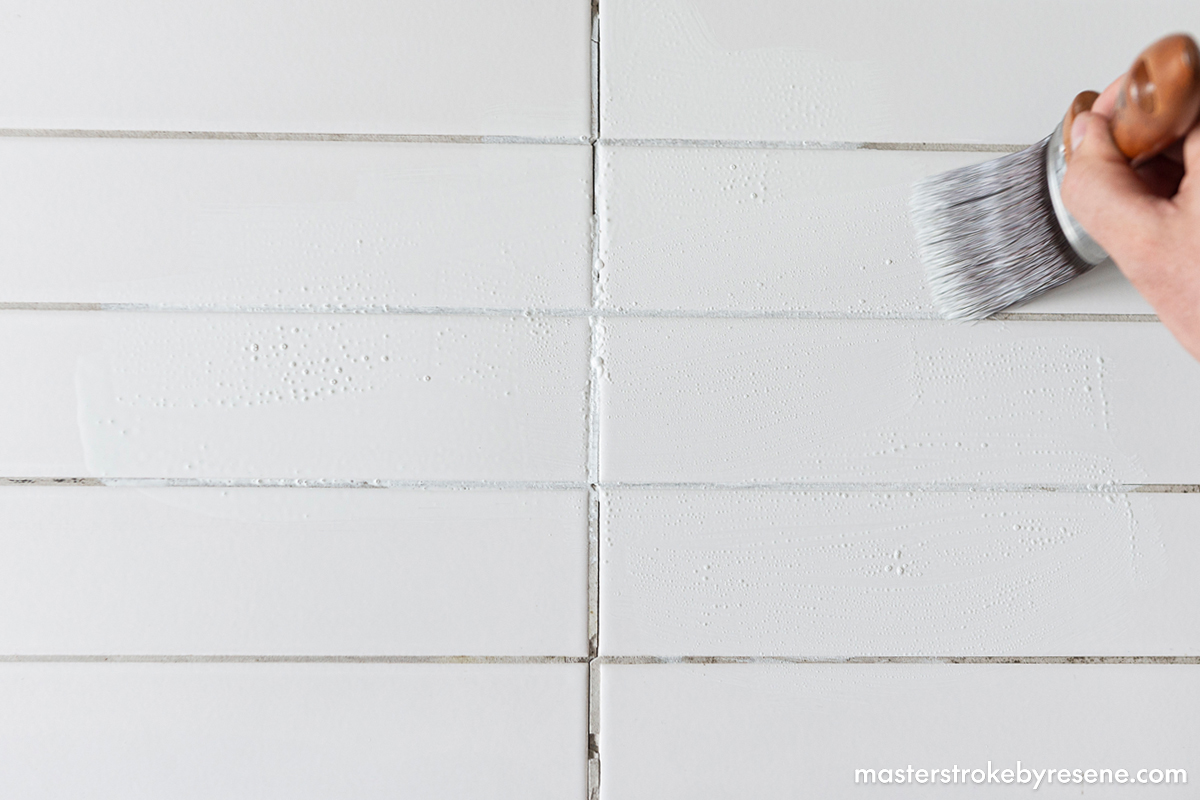
“Painting bathroom tiles is a really affordable way of updating your space, but it’s essential the correct preparation is done. Putting in the prep work will ensure your fresh paint job adheres to your tiles. Many tiles have a glossy surface so it’s essential to use the correct adhesion primer.”

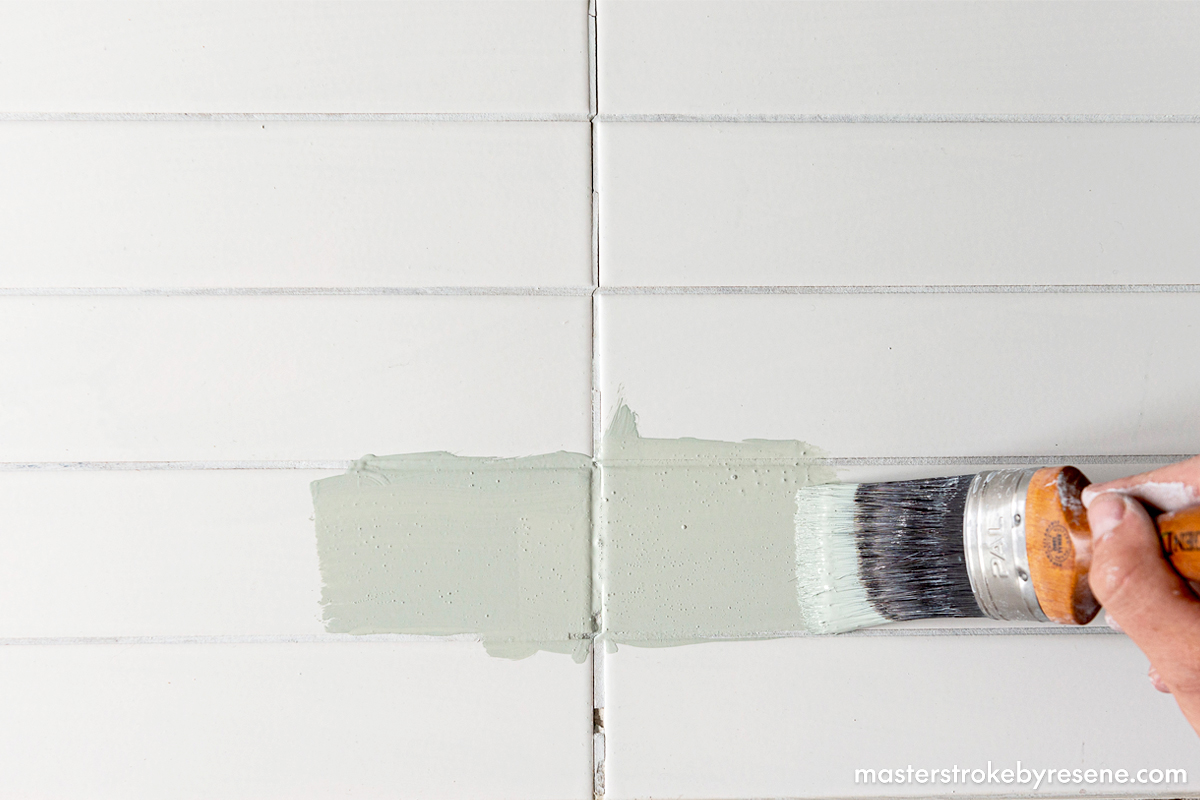
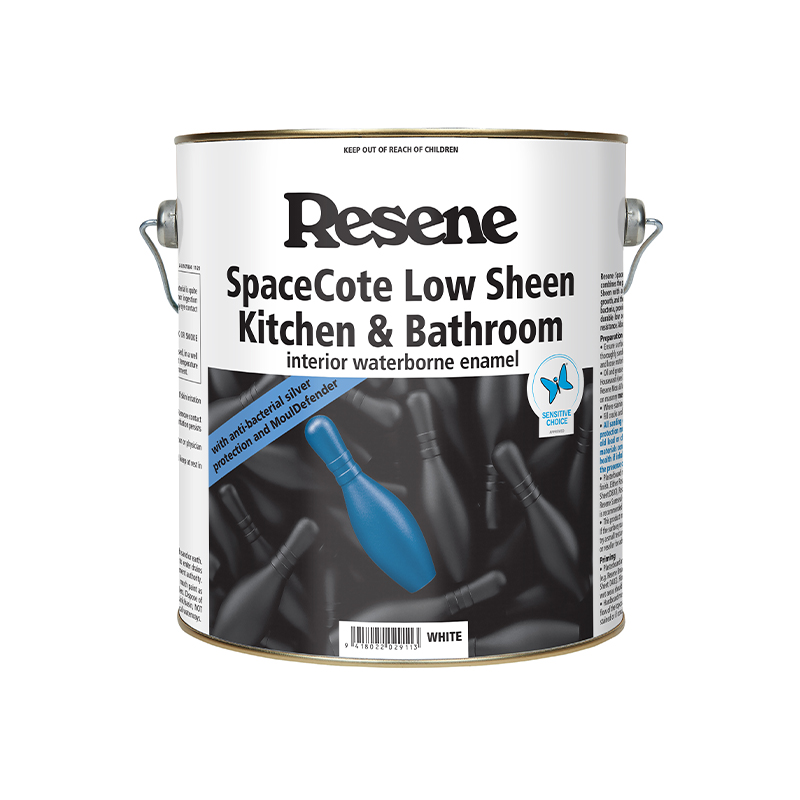
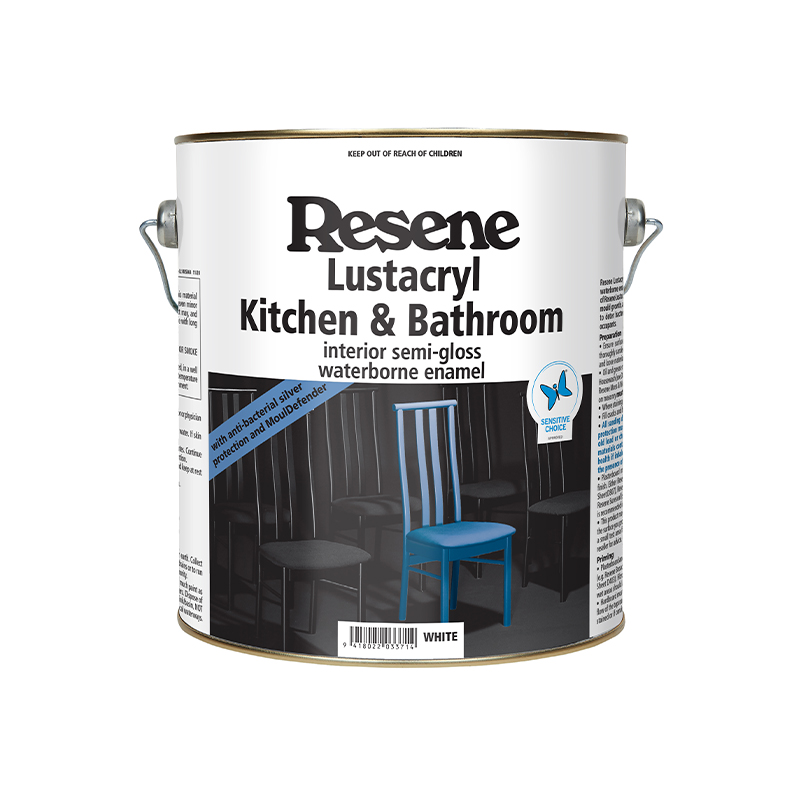
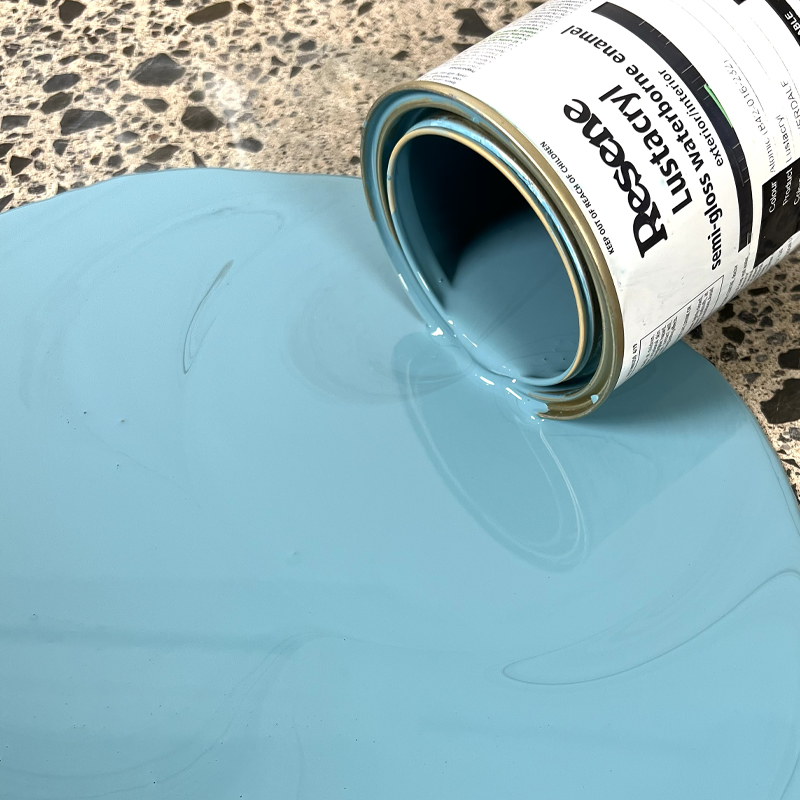
Craig recommends using Resene Waterborne Sureseal before applying paint. The best paint option for walls in damp areas like bathrooms and kitchens is Resene SpaceCote Low Sheen Kitchen & Bathroom, which is a waterborne enamel for a hard wearing and washable finish, or choose Resene Lustacryl Kitchen & Bathroom if you’d like a semi-gloss finish. “These also have a mould inhibitor, which reduces the risk of mould growth.”

Follow our handy Resene guide to painting over bathroom tiles.

1

Clean

Perhaps the most important step of all is cleaning the tiles before you start.

Use Resene Moss & Mould Killer to treat any moss or mould. Leave for 28 hours to achieve full kill.

Fill a bucket with a solution of detergent and water and use a scrubber to thoroughly clean the area. Now wash these areas with fresh clean water. This is vital as detergent can leave a residue which paint does not adhere to well.

Once you have got rid of grime, use an old toothbrush to scrub your grout lines. Don’t be afraid of doing the whole process again for good measure, especially in bathrooms and on flooring in wet areas.

2

Sand, rinse and mask

Some tiles can be sanded lightly to create a rough matt surface. This will help the paint adhere better to the tiles. If your tiles are too hard to sand, just make sure they are well cleaned.

Wash and rinse off the tiles using a wet sponge and clean water, then leave to dry completely.

Use masking tape to protect any areas you don’t want your paint to go, such as the walls at the floor and ceiling and any other edges. Press firmly on the edge of the tape along the area to be painted to give a clean finish.

3

Prime

Before painting, tiles must be primed with Resene Waterborne Sureseal. This will help your topcoats to grip onto the surface. Leave to dry.

4

Paint

Now it’s time to apply your topcoats. Leave to dry for the recommended time before applying a second coat. We used the colour Resene Edward.

Always make sure you have plenty of ventilation when painting, by keeping windows and doors open and using a fan where needed. This is especially important in small rooms or wet areas that may have poorer ventilaton.

Voila, enjoy your updated bathroom!

Easy update

While painted tiles will not have the same performance as the original tiles, it’s a budget-friendly option when you want to change your colour scheme, or if the tiles are stained and you don’t have the time, money or energy to replace them. It’s also a handy option if you are saving for a full renovation and just want a quick paint makeover in the meantime.

How much paint will you need?

If you change data entered into the fields below, ensure you press the calculate button again to re-run the equations and get the new answers.
Calculated result: 0 Litres in total
To find the spreading rate of your Resene product, click here.
NB: Porous surfaces and shapes (ie corrugated iron) will require more paint.

About MasterStroke by Resene
MasterStroke by Resene is here to help you master your paint and decorating DIY projects. Brush up on your skills with advice, tips and ideas from our trusted experts.

Check out the latest how-to videos on our YouTube channel.