How to

How to paint balustrades

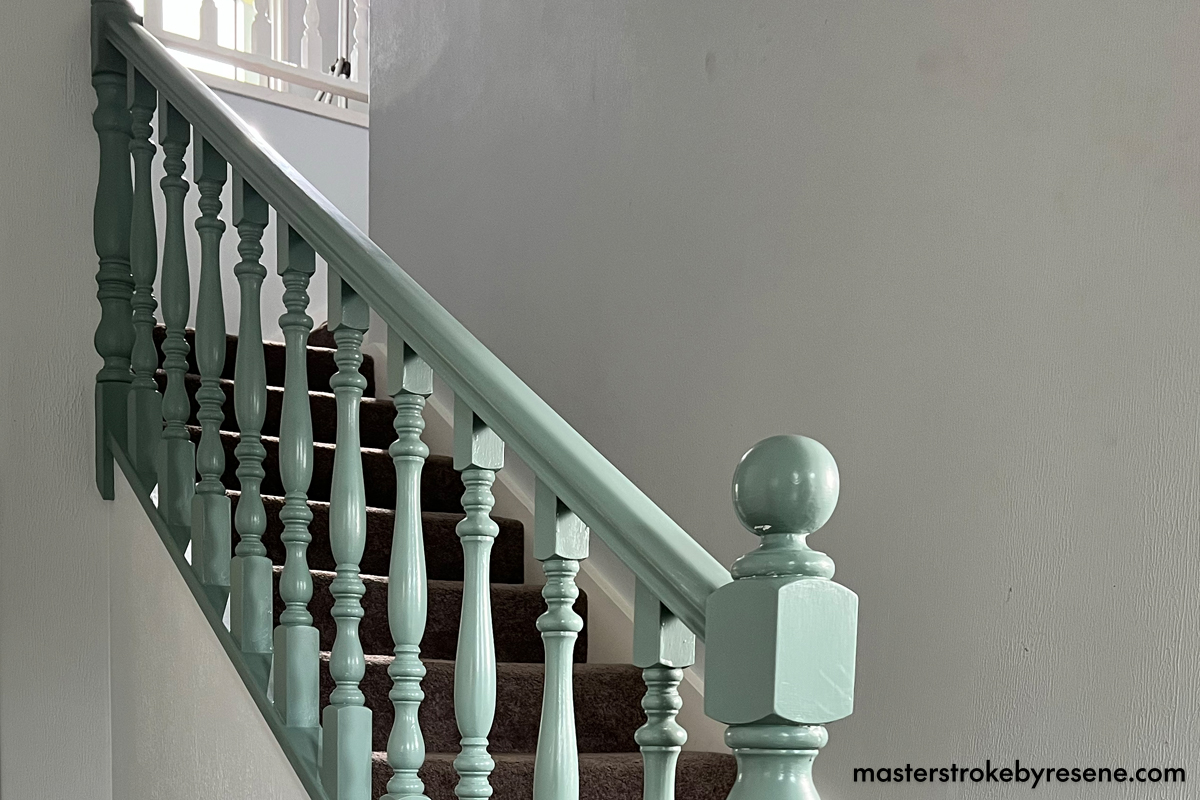
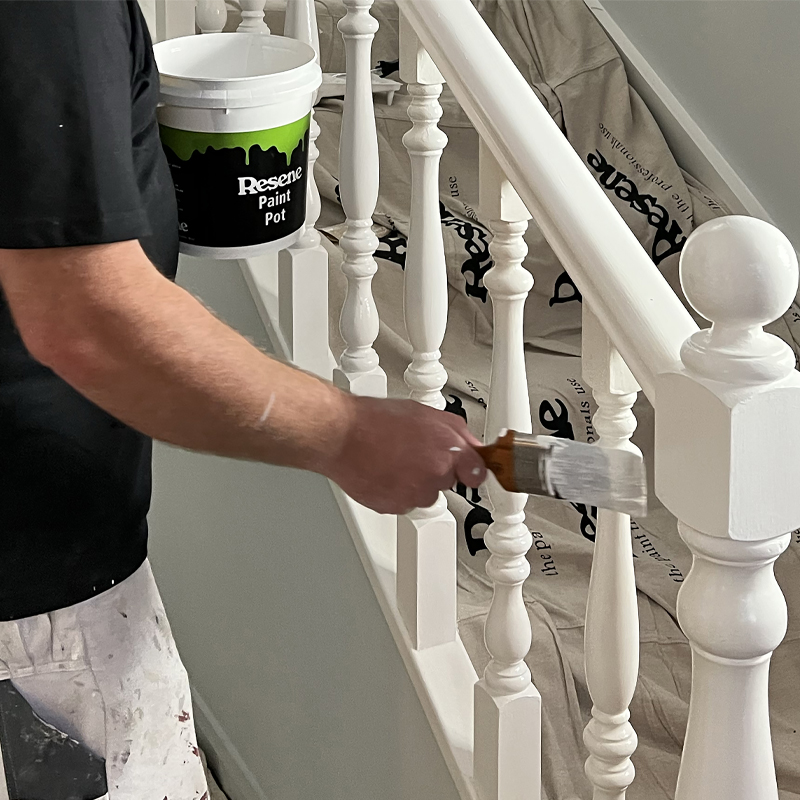
Refreshing interior balustrades can instantly modernise and reinvigorate your stairwell, while still retaining their classic character and allowing it to shine through. Plus, painting not only transforms the look and feel of the area, it also provides good protection, as balustrades are one of the most touched surfaces in your home and are subjected to lots of daily wear and tear. 

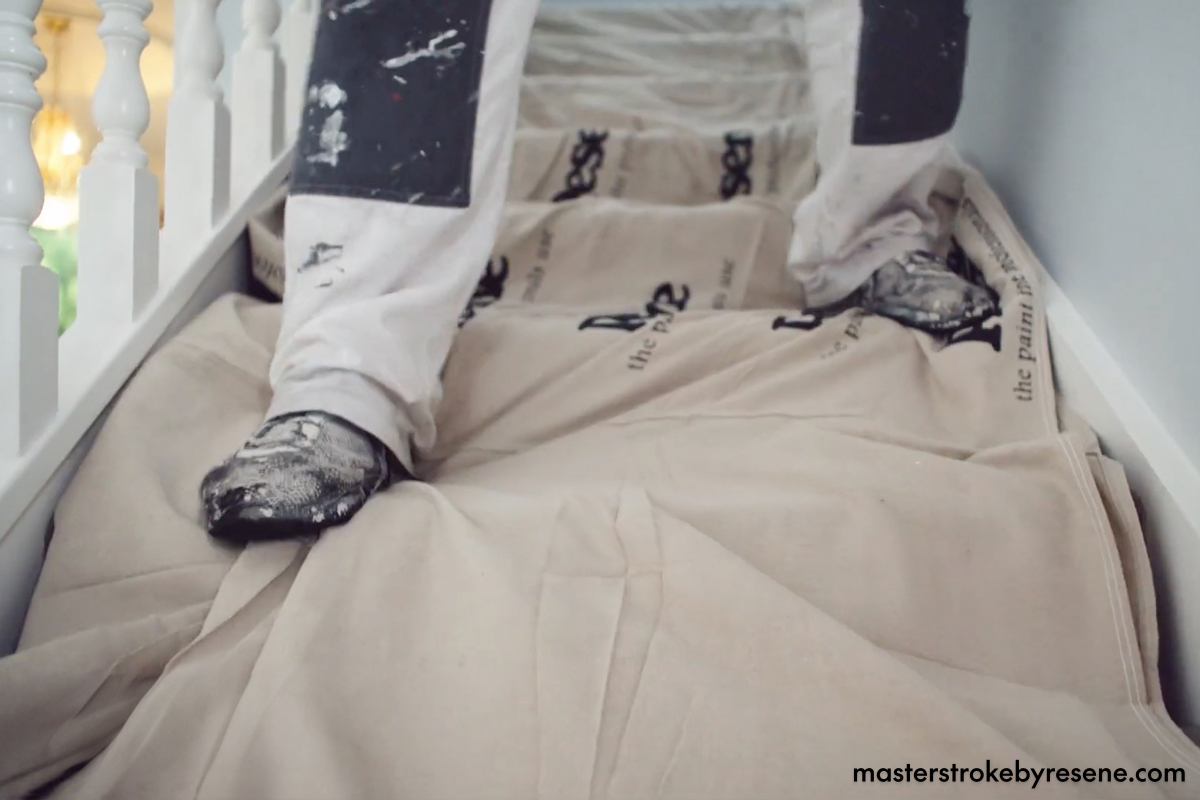
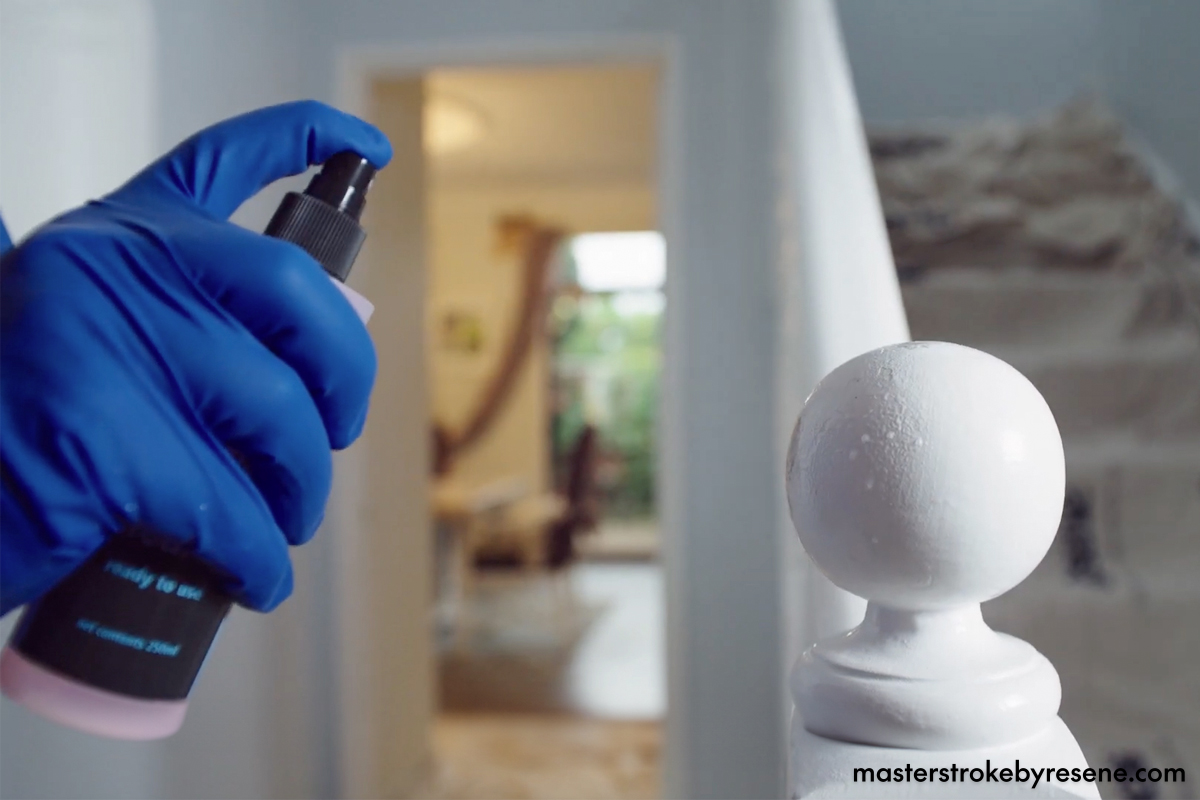
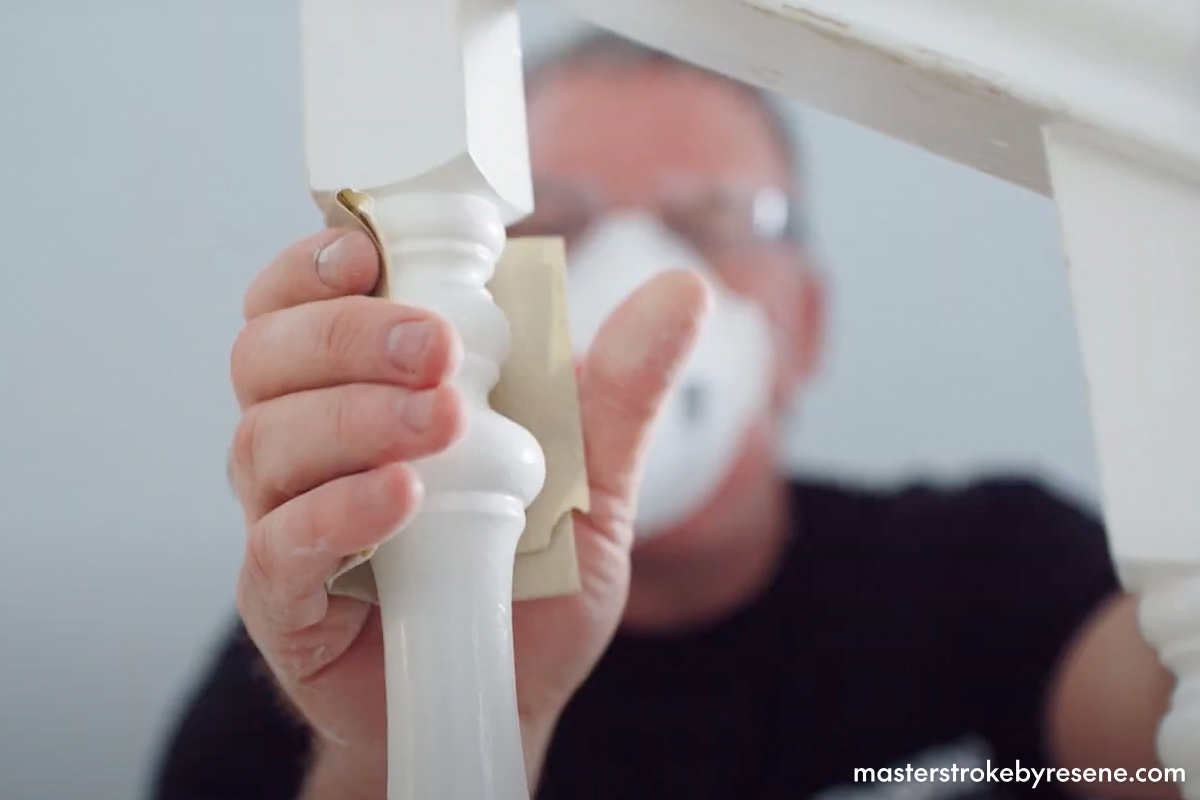
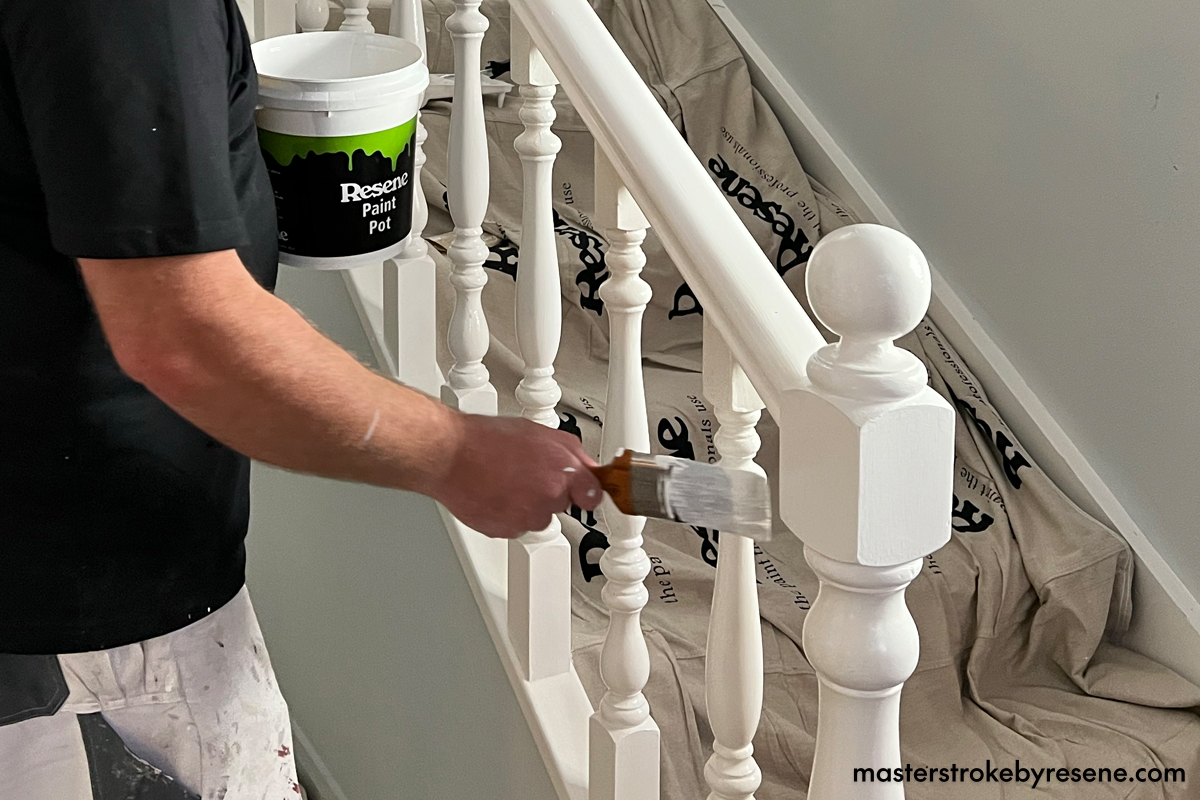
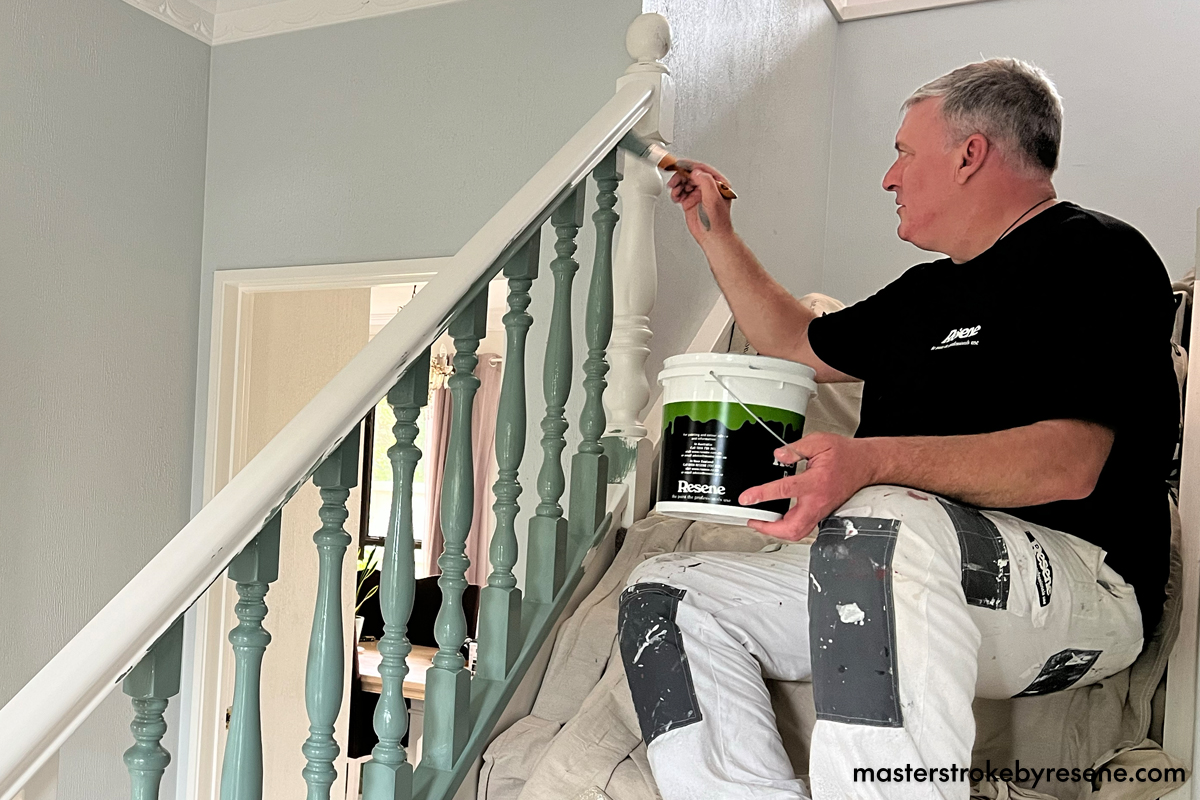
In this video, Resene paint expert Murdo Shaw shares a step-by-step demonstration on how to get the best results, as well as showing you the key tools, tips and techniques required. The secret to a smooth, professional-looking finish that goes the distance is in the preparation, so be sure to complete all the steps prior to picking up your paintbrush.

While professionals would generally spray balustrades (all those curves and angles can be fiddly!), this is a relatively straightforward and very satisfying DIY job that shouldn’t take too long. It’s also a good task to tick off during winter, and you’ll definitely save money by doing it yourself. 

Do keep the temperature in mind if you choose to paint during the colder months, however. It’s advisable to run a heat pump or heater for a while before painting to get your home to an even, comfortable temperature of around 15-16°C. Keep doors and windows open for ventilation and airflow while the paint is drying, and if you have access to a dehumidifier, get that going as well to help the drying process. 

Once you’re all done, don’t let the half-used tins take up space in your garage or have them end up in landfill. Unwanted paint and paint containers can be dropped off to your local Resene ColorShop and returned to the Resene PaintWise paint and paint packaging recovery programme. These are either donated to community groups, sent to solvent recovery, used to cover graffiti, or else recycled and disposed of responsibly. 

1

Place the drop sheet

Protect your carpet or wooden floor by standing at the top of the stairs and throwing down the drop cloth all the way to the bottom. Walk down and tuck each corner in with your foot to make sure the flooring is adequately covered. 

Resene drop sheets are made from lightweight canvas so absorb splatters effectively, while also being washable, reusable and easy to store.

2

Clean up

The first essential preparation step is to make sure all the balustrades are cleaned thoroughly, as this will help the primer and paint adhere effectively. 

Using the spray version of Resene Interior Paintwork Cleaner makes life very easy – simply spritz and wipe with a clean damp cloth to work in the product. Be sure to get into every crevice.

3

Sand and fill (if needed)

Wearing a dust mask and safety glasses, sand the balustrades well with a sheet of 100 grit sandpaper.  

“This is a step you don’t want to miss,’ says Murdo. “A well sanded and deglossed surface will give you the best results when you come to paint.” 

Sweep away any residual dust with a large paintbrush. If you leave sanding dust on the surface, the new paint will stick to the dust, not the surface you are painting. This will make it difficult for your paint to adhere properly and could lead to flaking paint later.

If you have any holes in your balustrade, Murdo recommends using Resene EzyFill Quick with a putty knife to fix these and smooth over the hole so you get an even finish.

This product is ready-mixed so just has to be applied where you need it – plus it dries in 30 minutes so you won’t have to wait around for ages waiting to paint.

4

Prime time

Now you’re ready to prime using Resene Quick Dry waterborne primer undercoat. For easy access, decant the primer into a paint tray or Resene paint pot. When choosing a brush, Murdo says, “I use a paintbrush that’s not too big and is comfortable to use. I start painting on one side for the first few balustrades, then move to the other side to finish them off.”

Once the primer has dried, it’s time to sand again. Give the entire surface of the balustrade a good going over with a sheet of 180 grit sandpaper. This slightly finer grit is better for the second sanding and smooths the surface adequately for the paint application. Make sure to wear your mask and dust off with your wide bristle brush.

5

Paint

Now you’re ready for two coats of the Resene paint of your choice, making sure to wait at least two hours between each coat. 

Murdo is using Resene Lustacryl semi-gloss waterborne enamel, which is perfect for these timber balustrades. Murdo has chosen the colour Resene Dark Slate, which works beautifully with the character of this home.

When you’re choosing colours, you can look to make a statement like Murdo to make your balustrades a feature or opt for a colour that ties in with your other trim and joinery for seamless colour from surface to surface.

6

That’s it!

You’ve taken your stairwell to a whole new level with just a lick of paint.

Top tips:

  • If you’re having trouble deciding which colour to paint your balustrade, Resene ColorShops have many tools available to help you make your decisions, like Resene testpots and a colour library of A4 paint swatches to help minimise the chance of making a mistake before you buy. Plus, there are plenty of helpful in-store colour experts who are happy to help with your decision making.  Or use the free Resene Ask a Colour Expert service online.
  • To get the best out of your Resene paintbrush before you begin, work it back and forth across your open fingers to remove any dust, dirt, loose bristles or unwanted particles.
  • Hold your paintbrush like you would a pencil, near the base of the bristles, for a comfortable, controlled grip. Dip one-third to one-half the length of the bristles into the paint container, then tap (not wipe) the paintbrush against the side of the paint container. Paint with the tips of your paintbrush, not the sides, and hold it at about a 45-degree angle to the surface. Work mostly with your wrist rather than your arms and shoulders.
  • Add Resene Brushing Additive to Resene Lustacryl or Resene Enamacryl to help you get a smooth even finish when brushing.
  • If you’re planning to paint all parts of your stairs and stair well, start from the top and work your way down – ceiling first, then walls and balustrade and then the stairs themselves.  This helps to prevent paint drips landing on already finished areas.

About MasterStroke by Resene
MasterStroke by Resene is here to help you master your paint and decorating DIY projects. Brush up on your skills with advice, tips and ideas from our trusted experts.

Check out the latest how-to videos on our YouTube channel.