How to

How to create a limewash effect

Wall painted in a basecoat of Resene SpaceCote Low Sheen in Resene White and a limewash topcoat in a mixture of Resene FX Paint Effects Medium and Resene Lumbersider Low Sheen in Resene Quarter Crisp Green.

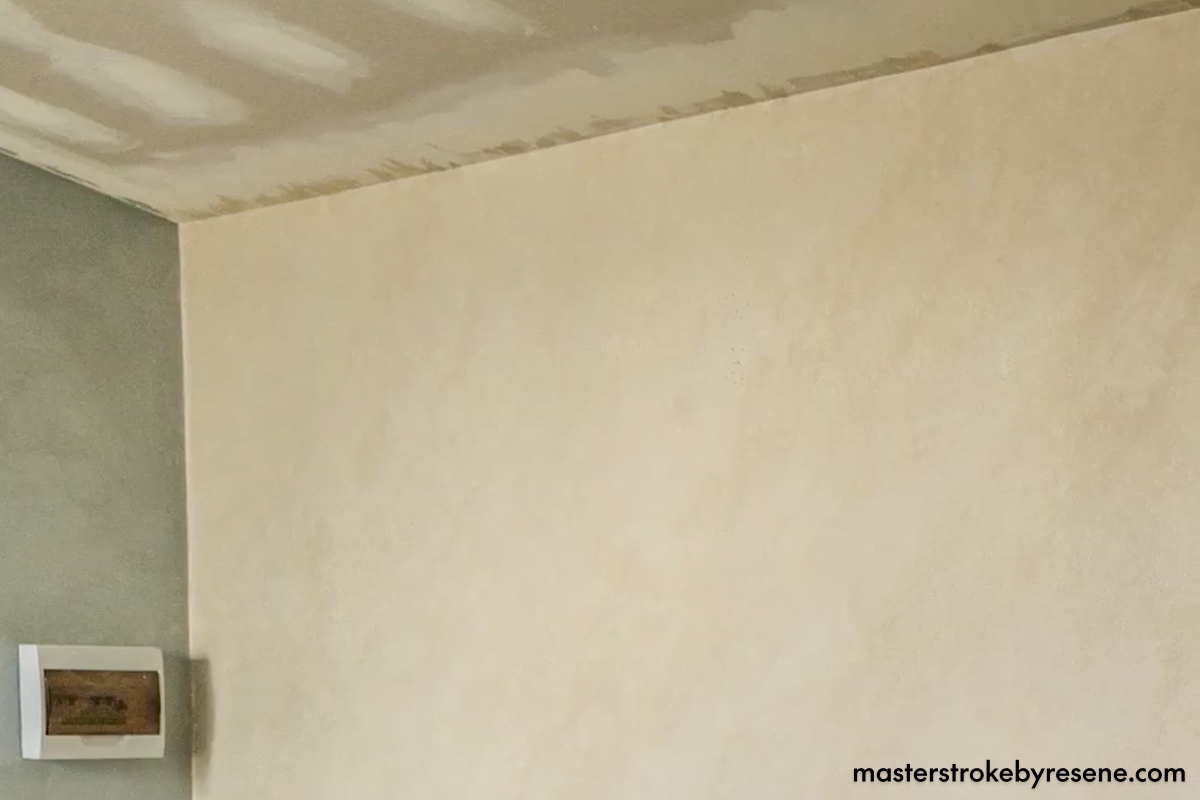
If you’re looking to bring some texture, depth and general wow factor to a space in your home, limewashing is a clever option with high impact. Limewashing creates a timeless and weathered look that’s reminiscent of Mediterranean style. 

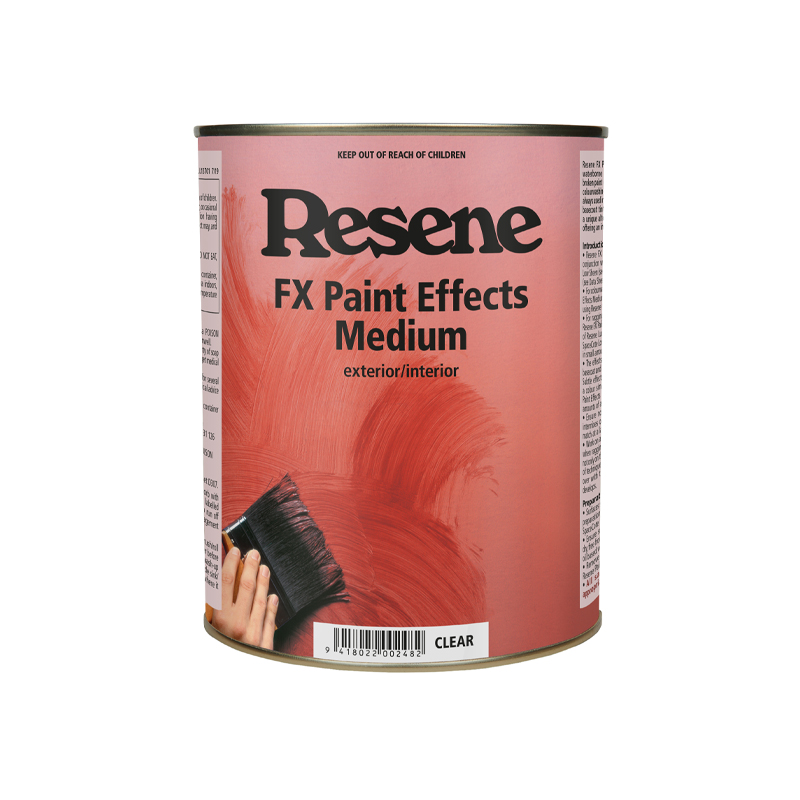
It’s a two-step process where you can get creative as you apply the effect by hand and can change the look just by adjusting your technique. Limewashing can be used both inside and out for a traditional or aged finish. It’s similar to colourwashing, with the primary difference being the colour selection. Limewashing generally uses a lighter basecoat and a darker wash colour of a related colour (e.g. a light cream basecoat with a deeper sandy neutral), while colourwashing effects are usually created using a darker basecoat with a lighter wash.

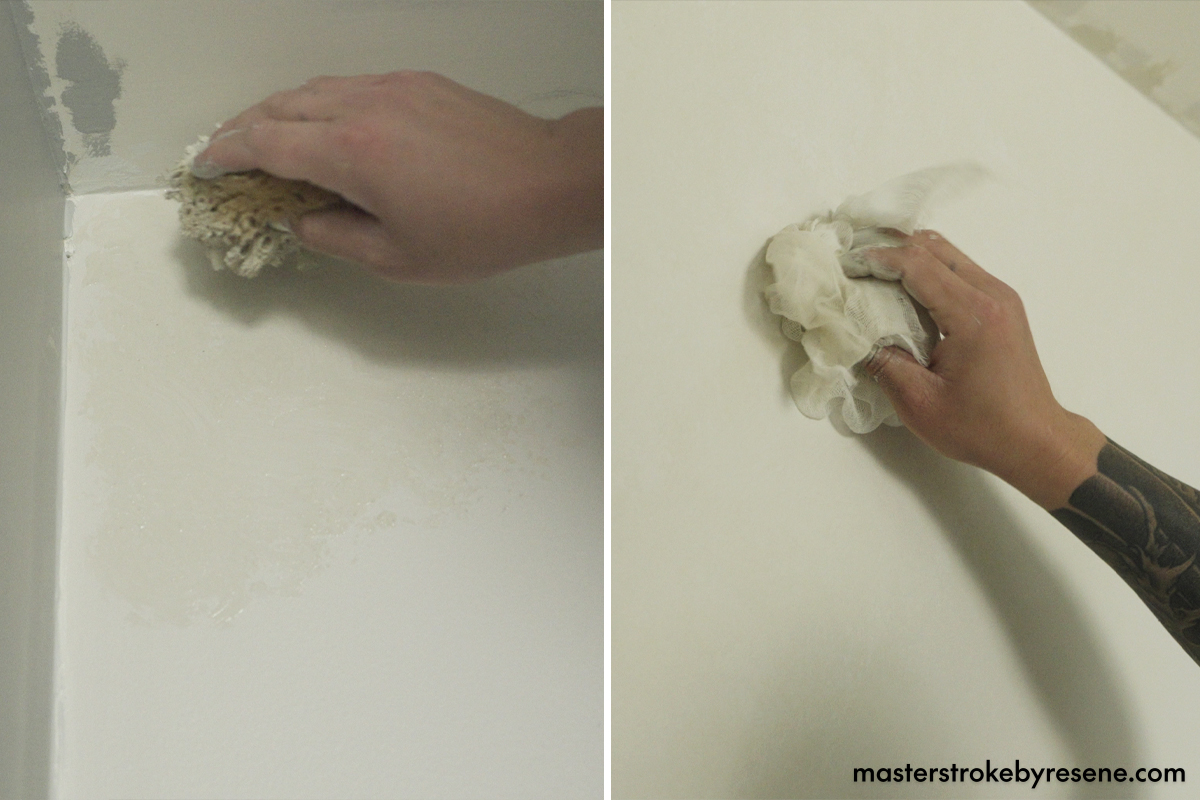
The most important thing to remember when applying a limewash effect is to be patient. Creating paint effects can be tiring and more detailed than a simple paint job, so be realistic when starting your project. It may be better to start off with one small project or feature area first rather than tackling an entire room. The effect, however, is always worth the effort!

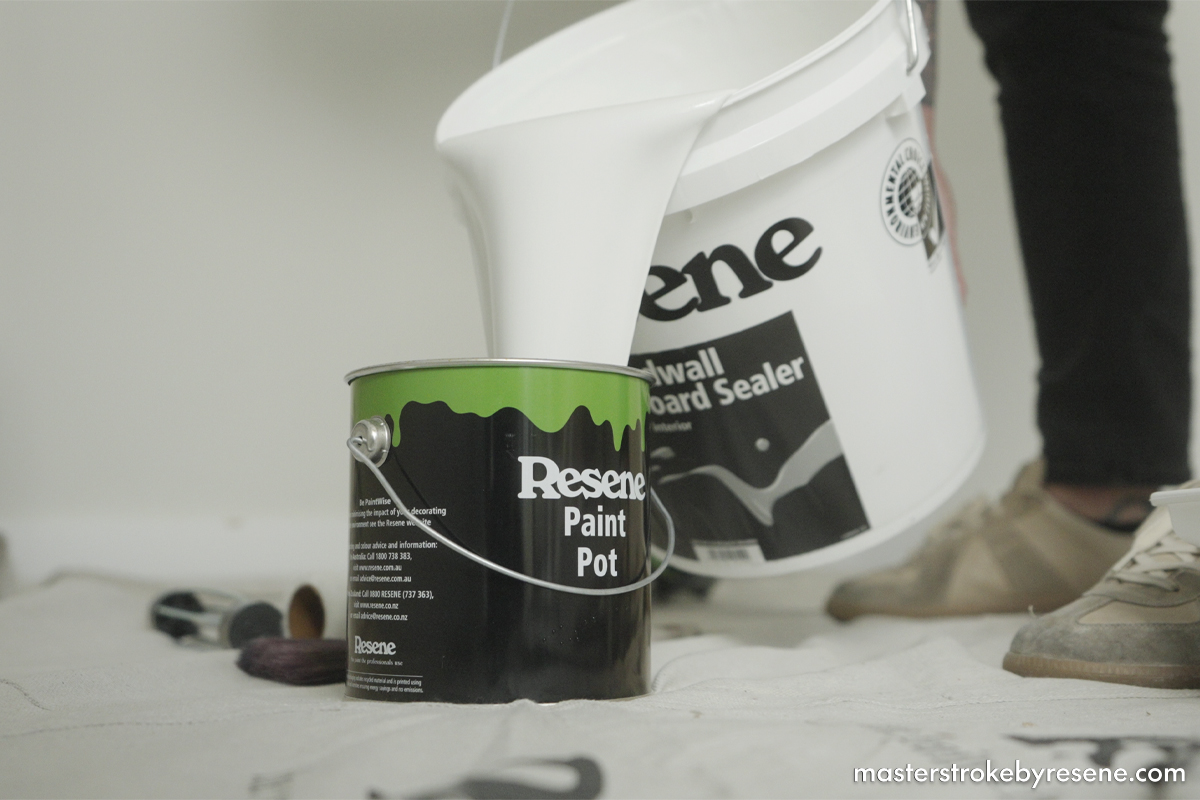
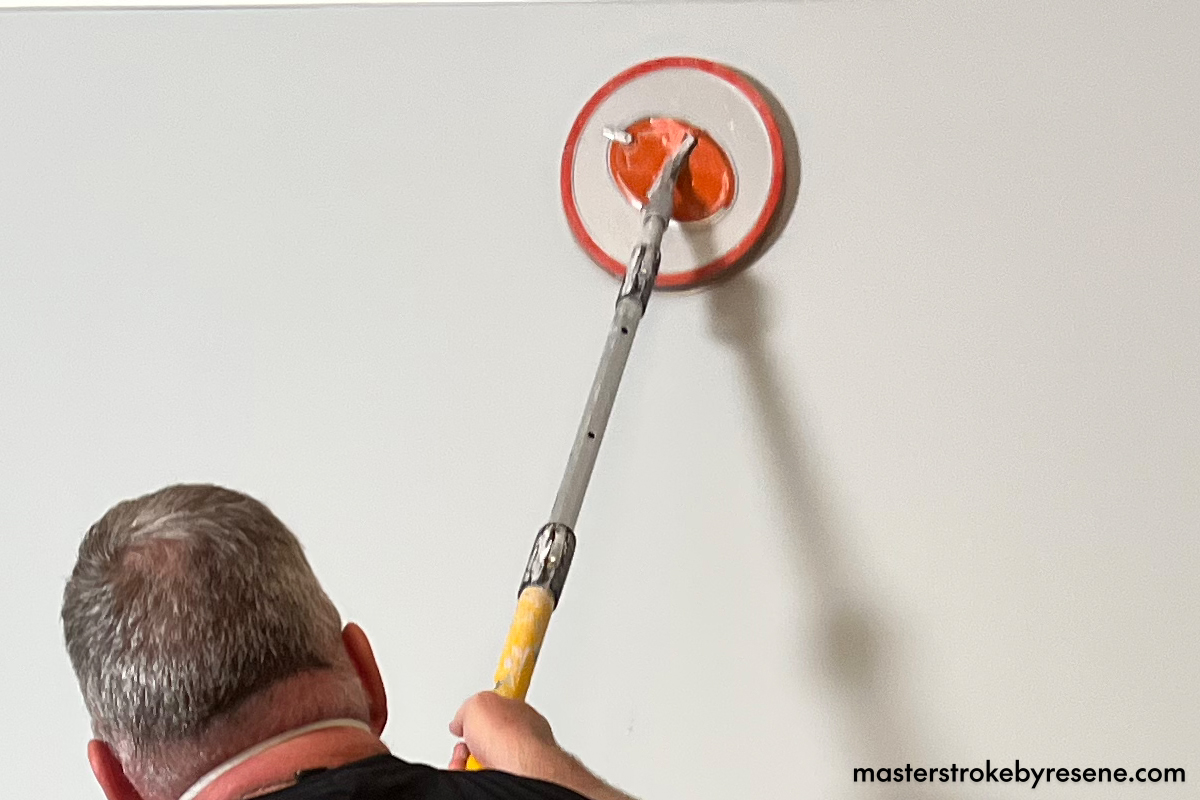
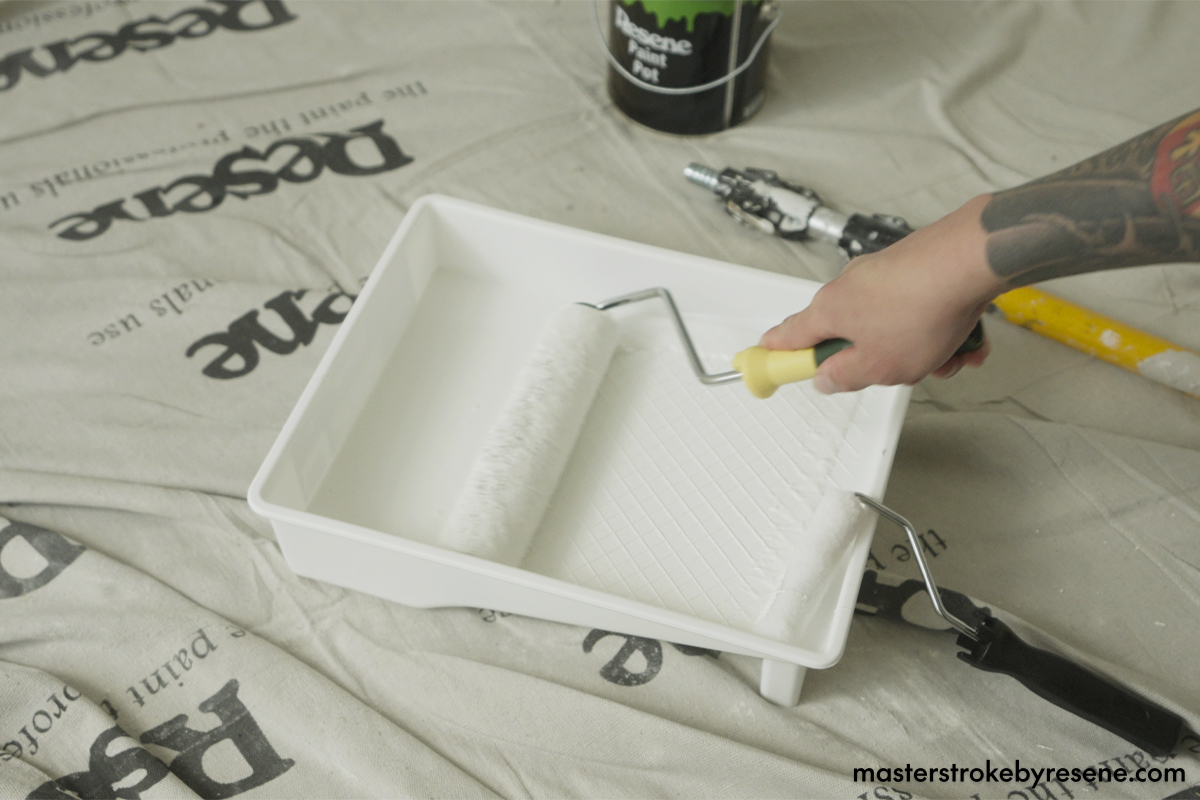
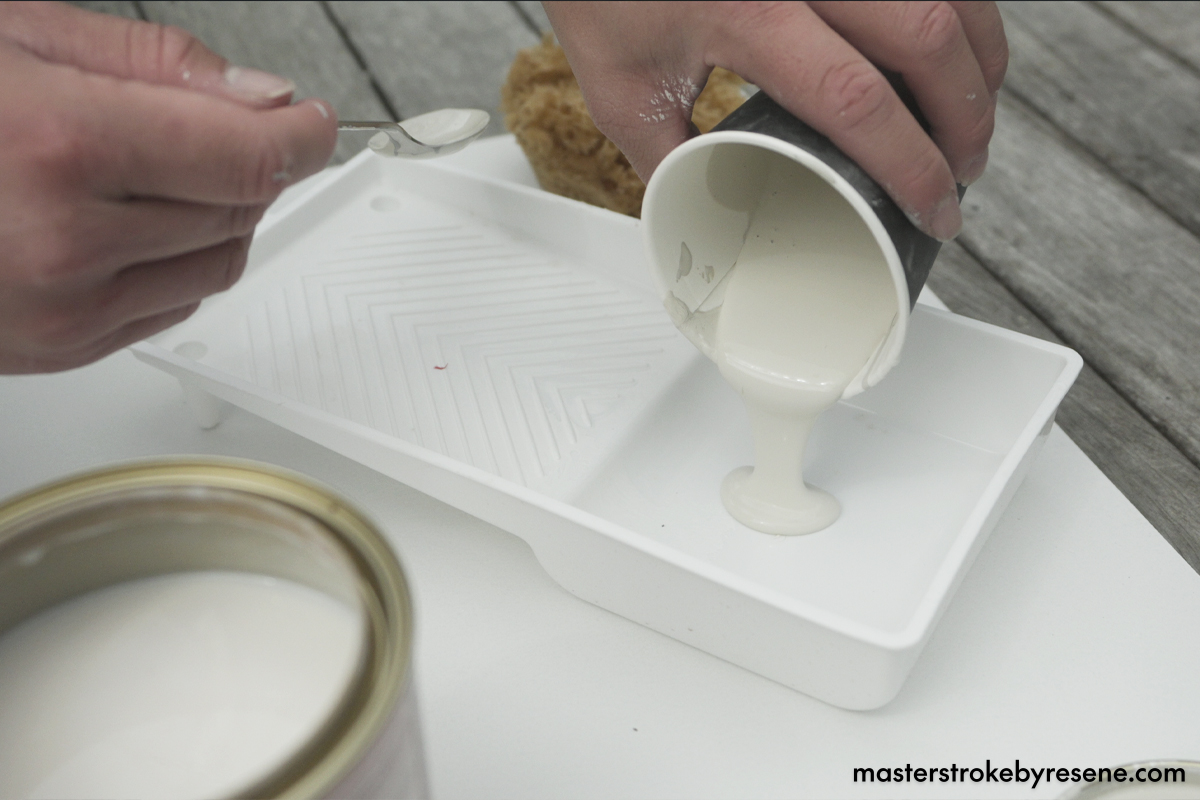
Here’s how you can create your own one-of-a-kind limewash feature: 

1

Seal the wall

Place down your drop cloth and then pour Resene Broadwall Waterborne Wallboard Sealer into a paint pot or roller tray. Use a paintbrush or roller pole to apply onto your wall.

2

Sand

Once dry, use a pole sander to lightly sand the whole wall then use a large dusting brush to thoroughly brush away any sanding dust that might still be sitting on the surface.

3

Basecoat

Now it’s time to apply the base colour to your wall – we have used Resene Zylone Sheen in Resene Eighth Bison Hide. Pour it into a paint tray and use a roller on an extension pole to apply two coats, leaving the right dry time between them.

4

Mix your topcoat

Now comes the fun part. Use a paper cup and mix six parts of the Resene FX Paint Effects Medium with one part Resene Zylone Sheen in Resene Craigieburn. Pour the mixture into a paint tray. 

For a darker effect, mix in more of the paint colour; for a lighter effect use less. You can also use a Resene testpot to add the colour.

5

Apply your limewash

Remember there are absolutely no rules here and you can experiment as much as you like. Using a sponge, start from the top left corner and work your way down, dabbing the sponge. Think about creating imaginary billows of smoke on your wall, then use a tack cloth to push the paint out. 

6

Done

There are no perfect lines when using paint effects – it’s all about using your own creativity and flair. The end result is a natural texture with subtle changes in colour and a real sense of depth. 

Great tips for limewashing

  • Work on a sample area first. It’s best to do this on a separate panel and use it as a reference for the whole project to make sure you keep the look on track.
  • Remember that first (amateur) efforts can be hidden by repainting with the basecoat and then restarting the effect as your expertise develops. 
  • Keep notes of your recipes when creating intermixes or dilutions, so you can easily reproduce the colour later. 
  • Mask off wall sockets, skirting boards and doors to allow the effect to be carried right to the edge. 
  • Regularly stand back from the wall to check how your effect is looking and make adjustments to your technique if needed. 
  • Allow drying time between coats of Resene FX Paint Effects Medium. 
  • Adding up to 10% of Resene Hot Weather Additive will slow the drying of Resene FX Paint Effects Medium and give you more time to work with the paint. This is particularly useful when working on a large area. 
  • Add up to 5% clean water to thin and improve the flow of the Resene FX Paint Effects Medium. 
  • Always work from one edge of the surface to the other. Make large areas more manageable by breaking them into smaller strips. Keep a wet edge as you work across. 
  • To check on your progress, regularly stand well back from the painted area and check that the effect looks even. 
  • If you need to take a break, stop at a natural break in the area you are working on, such as in a corner. Put your brush, rag, roller and/or application tool into a plastic bag or wrap with cling film to keep the paint moist. 
  • You can combine multiple effects finishes to get your look. For example you could combine limewashing with distressing to create a timeless weathered finish.

More about the Resene FX range:

Resene FX Faux Rust Effect
Achieve a weathered steel-style finish for a fraction of the cost on a wide range of surfaces. This waterborne coating is designed to create a rust effect on exterior and interior surfaces.  Once applied, the rust look will continue to develop as the coating ages. Leave it as is for a living rust effect or protect it with a clear finish of diluted Resene Waterborne Aquapel.

Resene FX Magnetic Magic
Loaded with iron oxides for maximum magnetic effect, this is a great way to display posters and brochures without damaging the walls. Resene FX Magnetic Magic is applied as a basecoat so you can apply whatever colour topcoats you like on top.

Resene FX Metallic
Filled with aluminium flakes, this product will transform and add extra dimension to a wide range of surfaces, from exterior concrete and steelwork through to interior feature walls, doors, joinery and furniture. It’s a great way to help reflect light around a room and to add a little extra glamour to spaces.

Resene FX Blackboard Paint / Resene FX Chalkboard Paint
Turn your wall into a chalkboard! For areas where space is limited this can be applied over the top of the Resene FX Magnetic Magic to create a magnetic chalkboard. Resene FX Chalkboard Paint can be tinted to a range of Resene colours or for a classic blackboard, use Resene FX Blackboard Paint.

Resene FX Pearl Shimmer
A waterborne pearlescent glaze, this product is ideal for creating shimmering walls and sparkling features, adding visual interest and diversity to any colour scheme. You can apply it over an already painted wall.  It’s best to test your colour combinations first.

Resene FX Write-on Wall Paint
This can be applied over your existing paint job to turn your wall into a handy coloured whiteboard. Its glossy finish is what makes it easy to remove any whiteboard marker. It works best on a smooth surface so it does not show any imperfections – or it can be masked and used on the back of a door. It’s usually best to use this over a light or off-white as most whiteboard markers are designed for use over white backgrounds and may not be easy to see over a dark background.

There are other fun Resene FX finishes you can try too. Click here for more ideas.

About MasterStroke by Resene
MasterStroke by Resene is here to help you master your paint and decorating DIY projects. Brush up on your skills with advice, tips and ideas from our trusted experts.

Check out the latest how-to videos on our YouTube channel.