Get inspired

That 70s Reno: Courtyard refresh

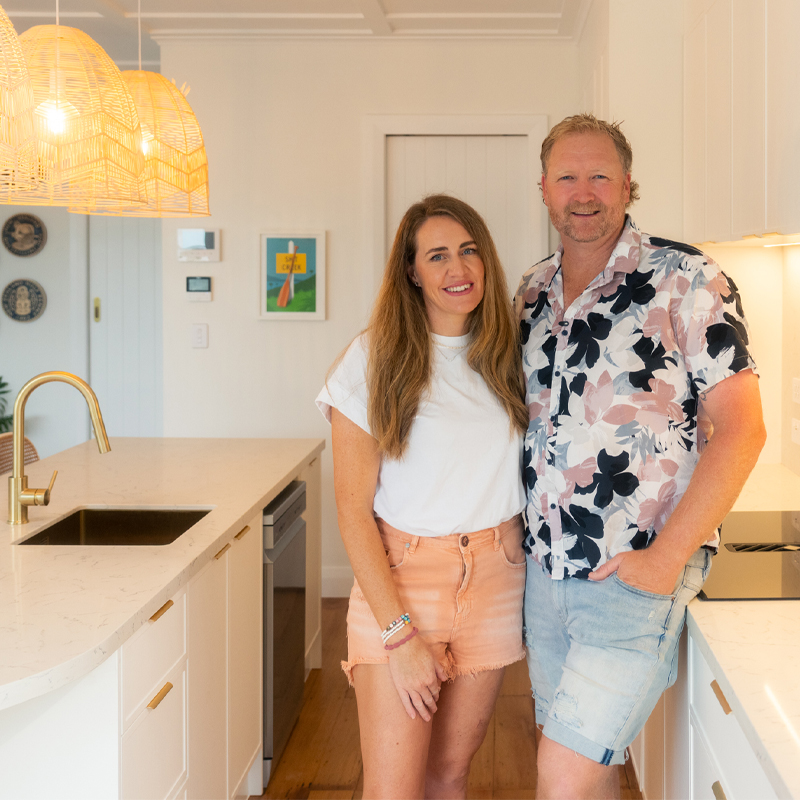
The transformation continues for Alice and Caleb Pearson, who are transforming their forever family home on the Hibiscus Coast in north Auckland. There’s no denying the Pearsons are bonafide DIY experts. Over the past 13 years they’ve renovated 11 of their own properties, as well as houses on The Block NZ in 2013 and The Ultimate Reno in 2018. As a nod to this property’s origins they’ve dubbed the project ‘That 70s Reno’, and because they’re planning a large-scale renovation down the track, they are simply using the transformative power of paint and their own creative flair to make the house their own.

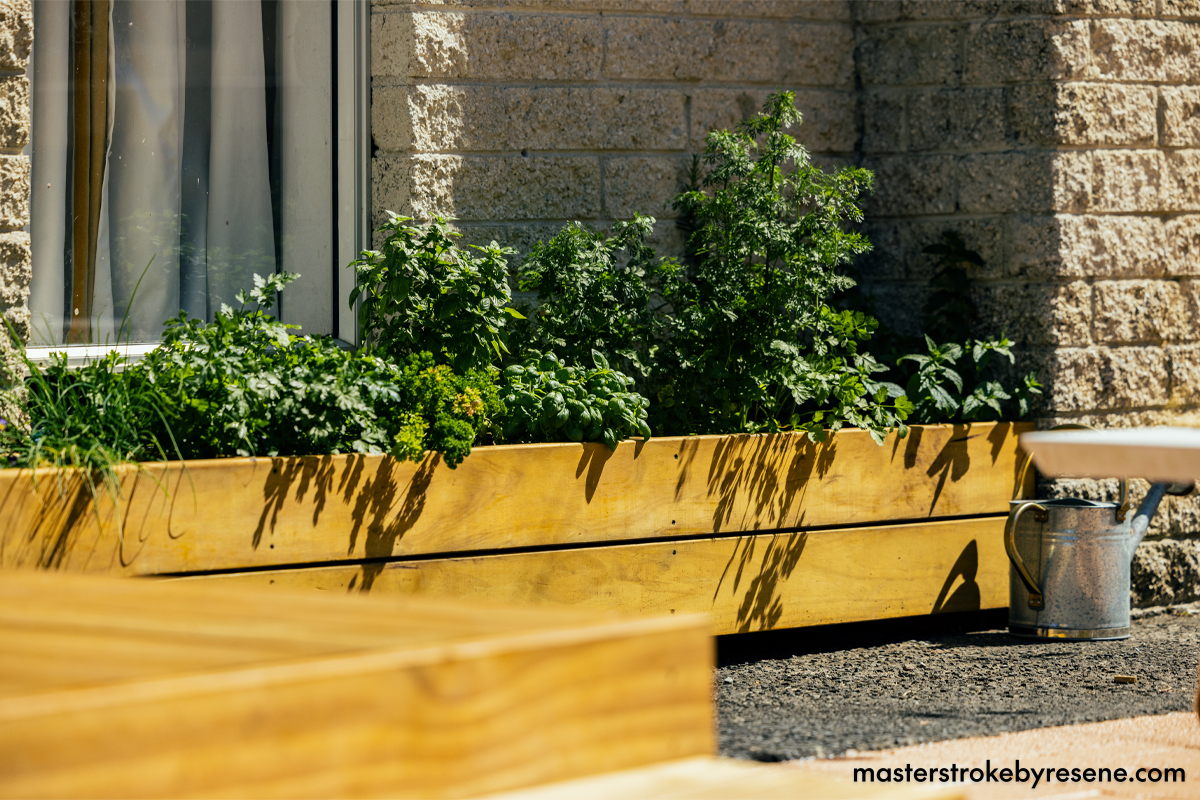
While they’ve made great progress indoors, with their inspired kitchen transformation and cool kids’ bedroom makeovers, it was time to tackle the outdoor area and refresh the dated courtyard – and the couple had their work cut out for them. 

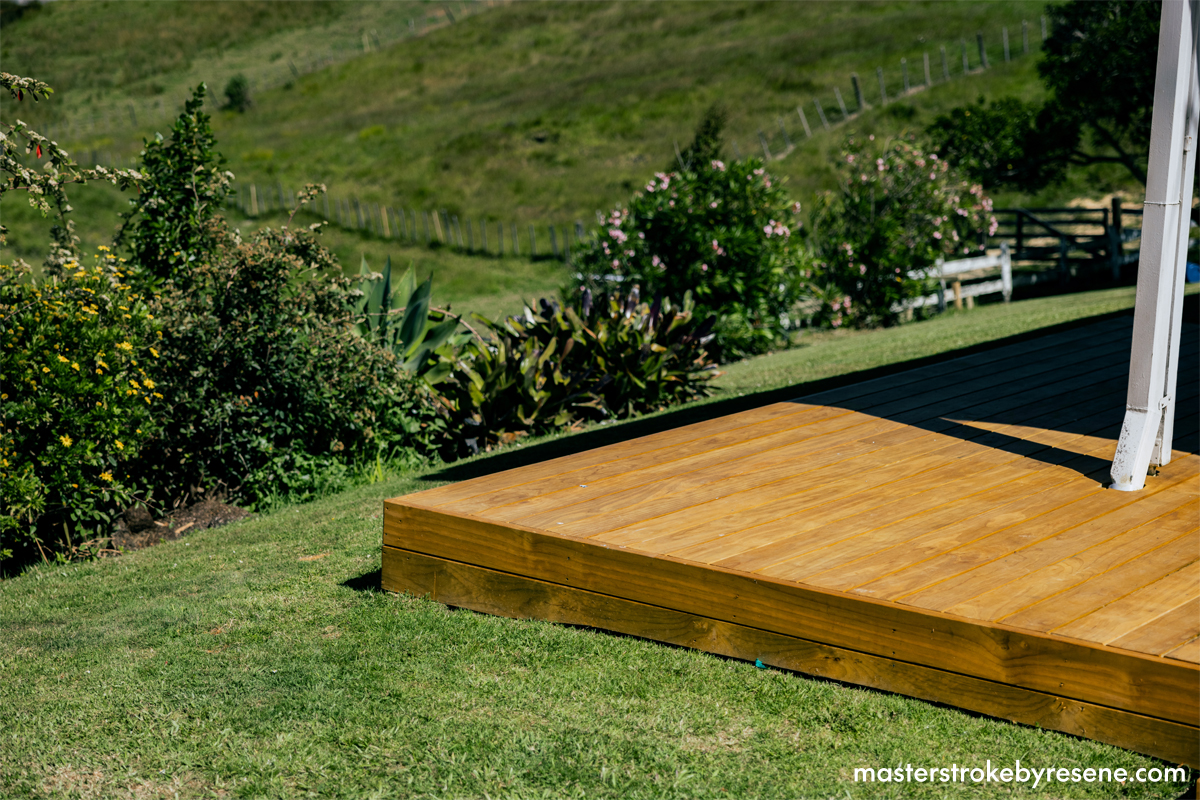
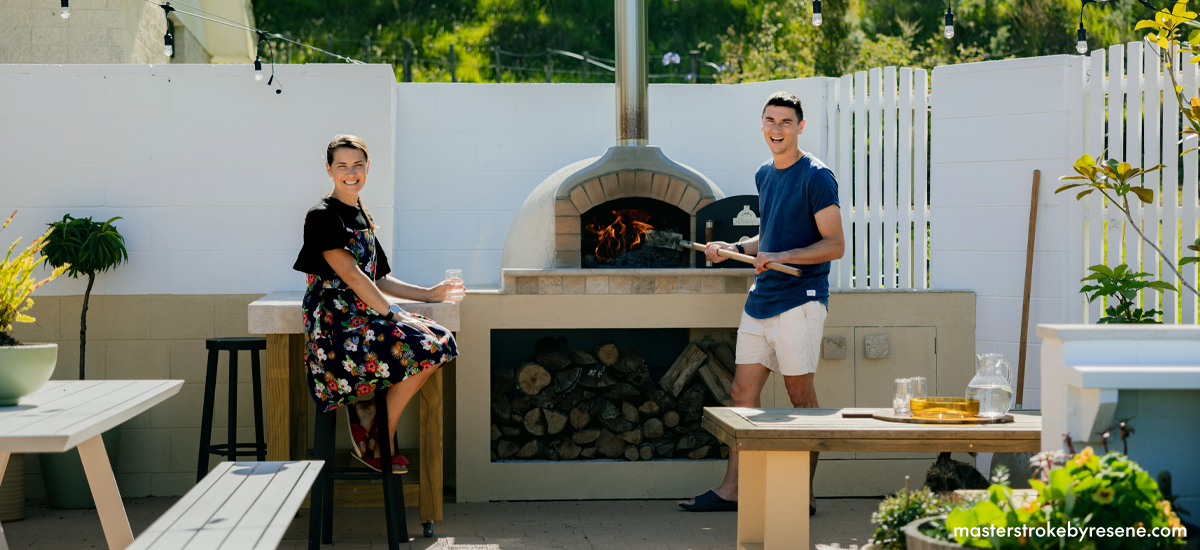
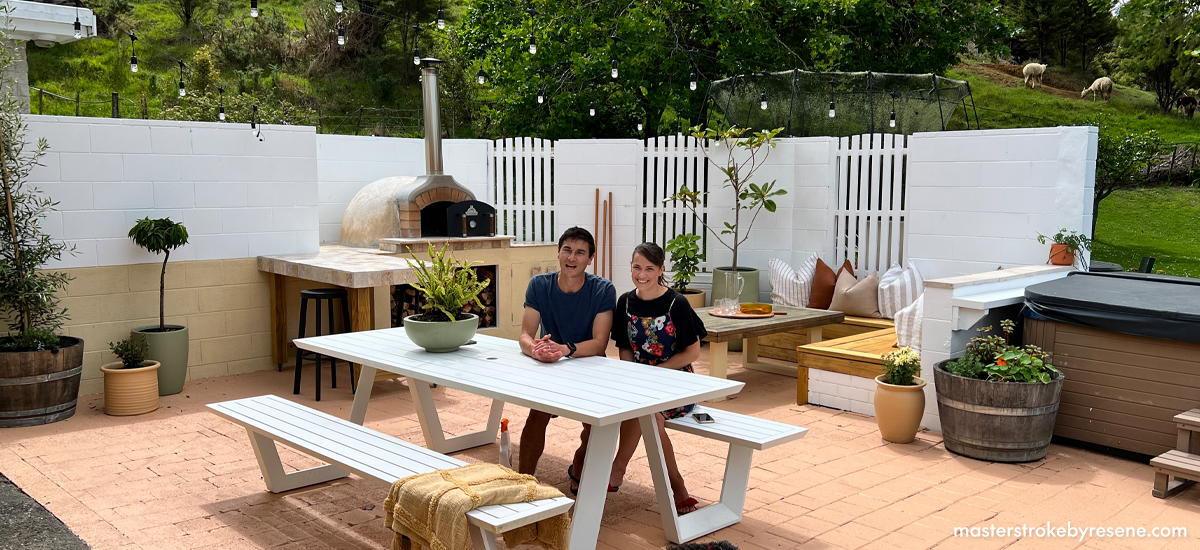
“The space was so underutilised and almost forgotten,” says Alice. “Our objective was to make it a place to entertain – we love spending time outdoors and we didn’t have a space to enjoy and eat in. It was old brickwork and pavers that we assumed the previous owners created for wind shelter, but it felt cold and lifeless.” 

While Alice and Caleb knew that major changes would be required, deciding on a layout was a struggle. 

“It took weeks of standing in the space and discussing options. Honestly, we went around in circles with the design,” laughs Alice. “About halfway through the renovation we hosted a group of friends in the courtyard and observed how it was used. It was then that we decided to build the deck, remove the wall and put the pizza oven on the back wall.”

Caleb heads to his local Resene ColorShop where Issac advises him to use Resene Moss & Mould Killer as the first step when cleaning the courtyard before painting.
Resene Colour Expert Brenda helps Caleb pick complementary colours for the courtyard makeover.

First things first

As always, the couple consulted the team at their local Resene ColorShop before picking up their paintbrushes. “When you’re working outdoors, getting the right products is extremely important. The team talked us through each surface in the space, how it should be prepared, primed and then painted. I really don’t select any product without checking with the Resene team.” 

On Caleb’s visit, Resene ColorShop Paint Expert Isaac advised him on exactly what was required to get rid of all the dirt that had built up outside over time. Isaac recommended Resene Moss & Mould Killer, which blitzes off all the mould and spores, plus removes all the grime so that the paint will adhere efficiently.  Resene Colour Expert Brenda then recommended some complementary Resene colours to enhance the Resene Alabaster the couple have chosen to use on the main block wall. 

After some demolition and the addition of new pavers underfoot, the blockwork was primed with Resene Concrete Primer, then painted with Resene Lumbersider Low Sheen in Resene Alabaster for a crisp, bright effect. Caleb also built a new deck, new bench seat and planter box, all of which the couple sealed and protected using Resene Furniture and Decking Oil for a natural look timber finish. 

The concrete slab off the porch was a major hazard, as well as an eyesore, so Caleb built a new deck and finished it with Resene Furniture and Decking Oil.
Caleb used timber to create new planter boxes, which were also finished with Resene Furniture and Decking Oil.

Alice solved the problem of the look of the mismatched pavers by priming them with Resene Concrete Primer, then topcoating with Resene Walk-on flooring and paving paint in the colour Resene Kalgoorie Sands. To complement this palette and to add a touch of greenery, the couple repurposed some old plant pots and painted them in Resene Flax and Resene Gold Coast. When you’re painting terracotta pots, seal them inside and out first with Resene Aquapel & Terracotta Sealer before you paint them.  This will help prevent the water coming through the pot and blistering off your paint.

Top tip: If you have an outdoor area that tends to get slippery, use Resene Non-Skid Deck and Path instead of Resene Walk-on. Both contain non-slip materials but the gritty finish of Resene Non-Skid Deck and Path will provide extra protection on sloped or slippery areas.

Serving up success

Of the whole project, it was building the pizza oven that brought the couple the most satisfaction. 

“It was a new skill and we really pushed ourselves to make the most of the feature,” says Alice. “I love the tiles we found for the benchtop, the base we created with storage and the feature colour and texture on the front. It’s the showstopper of the courtyard and worth all the hours of DIY!” 

After Caleb tiled the top, Alice primed the base with Resene Concrete Primer and painted it with Resene Resitex Standard in the colour Resene Smooth Operator to give it a lovely textured finish, 

The couple love their new pizza oven, which has become the showstopper of the courtyard. Block wall primed with Resene Concrete Primer and painted in Resene Lumbersider Low Sheen in Resene Alabaster, pizza oven base painted in Resene Resitex Standard in Resene Smooth Operator, timber bench finished in Resene Furniture and Decking Oil, pavers primed with Resene Concrete Primer and topcoated in Resene Walk-on in Resene Kalgoorie Sands and plant pots painted in Resene Lumbersider Low Sheen in Resene Flax and Resene Gold Coast.

They also absolutely love the new layout of the area. “We’ve created little spaces within the courtyard, and every space serves a purpose for living and enjoying the outdoors. Finding the right layout was our greatest challenge, but it caused us to be intentional about our decisions and helped us refine the best flow for the space.” 

Alice and Caleb say there is a huge amount of potential and value to be added when you take on an outdoor project, and that you can theoretically add another space to your property. “Really consider your existing area, and don’t rush the process of design,” says Alice. “While there are so many options – and that can be overwhelming – taking the time to find solutions for your unique space will add so much function to your outdoors.”

Before
After
The old space was cold, lifeless and seriously underutilised. The reimagined courtyard is as functional as it is beautiful, with many spaces to relax and entertain under the sun and stars. Block wall primed with Resene Concrete Primer and painted in Resene Lumbersider Low Sheen in Resene Alabaster, pizza oven base painted in Resene Resitex Standard in Resene Smooth Operator, timber bench finished in Resene Furniture and Decking Oil, pavers primed with Resene Concrete Primer and topcoated in Resene Walk-on in Resene Kalgoorie Sands and plant pots painted in Resene Lumbersider Low Sheen in Resene Flax and Resene Gold Coast.

About MasterStroke by Resene
MasterStroke by Resene is here to help you master your paint and decorating DIY projects. Brush up on your skills with advice, tips and ideas from our trusted experts.

Check out the latest how-to videos on our YouTube channel.