Keen to spruce up your bathroom without ripping out all the fittings and starting again? Paint is one of the best ways to update your bathroom with a clean, new look.
Choose your colour
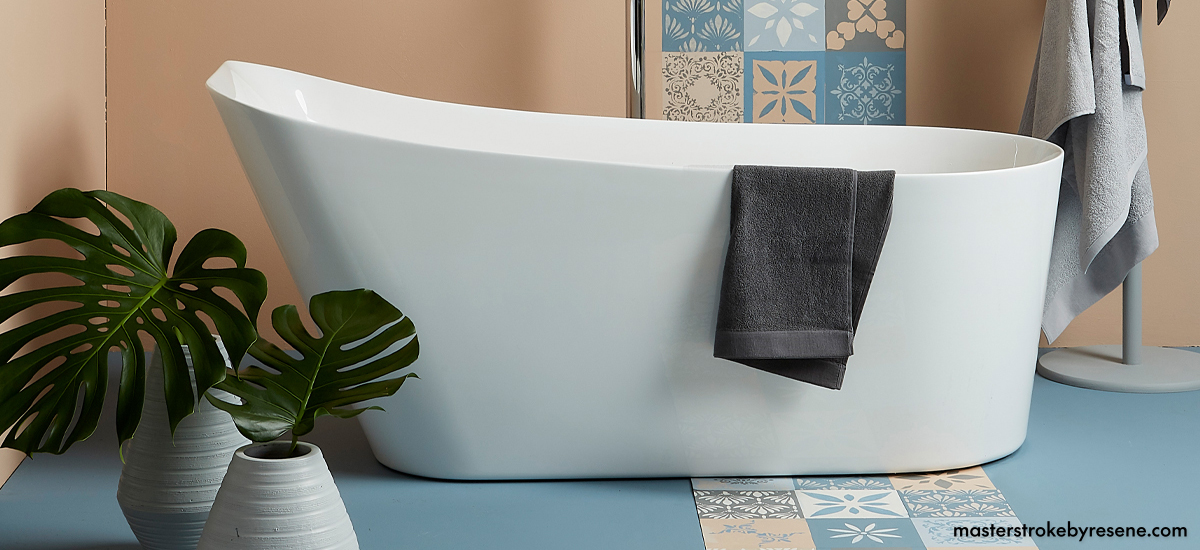
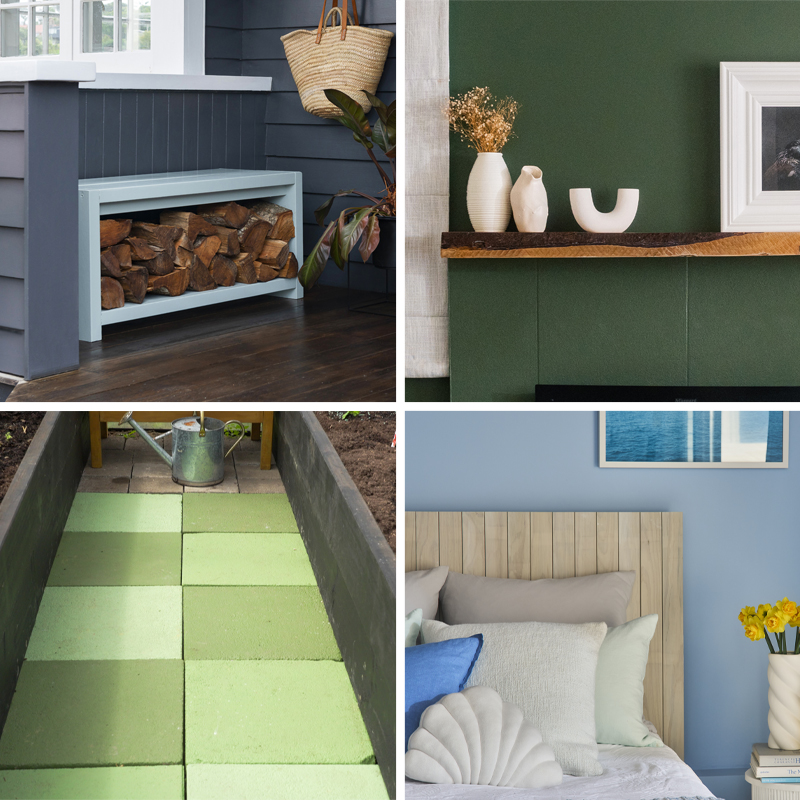
Is your bathroom project a family bathroom or an en suite? If the bathroom you’re tackling is used by family members and visitors, then you’ll need to take a democratic approach to picking a colour and opt for something that everyone feels comfortable in. Blues and greens are perennial favourites for bathrooms – given they’re the colour of water and are relaxing to look at. An ensuite is a personal space, so it’s a good place to be a bit bolder with colour if you want to. And if your colour experiment doesn’t work, just paint it again.
If you’re doing a complete bathroom overhaul, choose your tiles and fittings first. It’s easier to colour-match paint to tiles than it is to find tiles to match your choice of paint colour.
Light or dark?
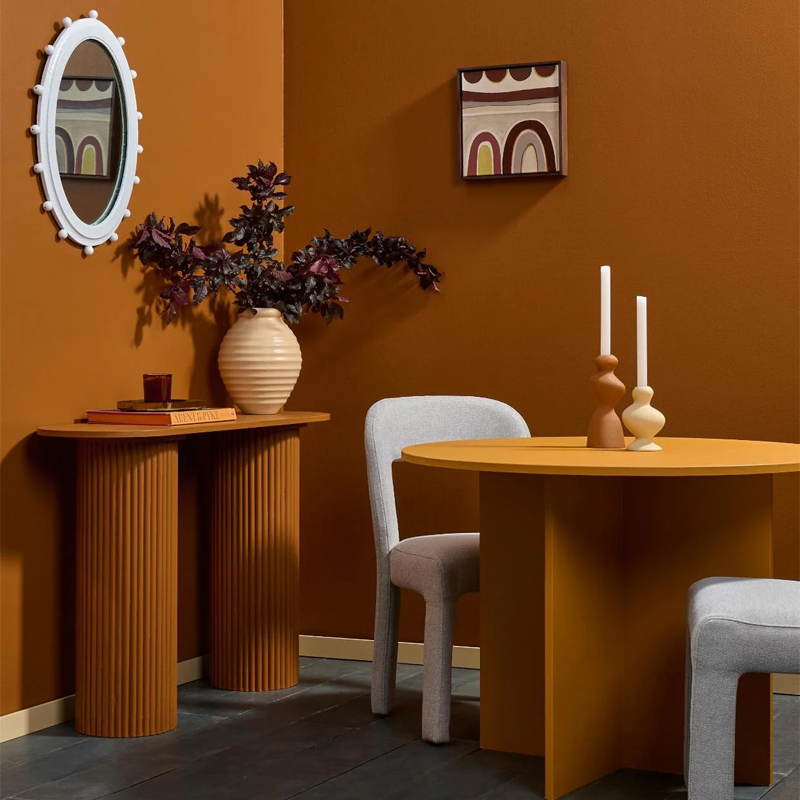
If you have a large bathroom you might like to go for a dramatic dark colour but be aware that dark hues will make a space appear smaller, so be careful using them in small bathrooms otherwise it may feel claustrophobic. Think about function, too. If the room is too dark, shaving and putting on makeup might be hard to do without adequate lighting.
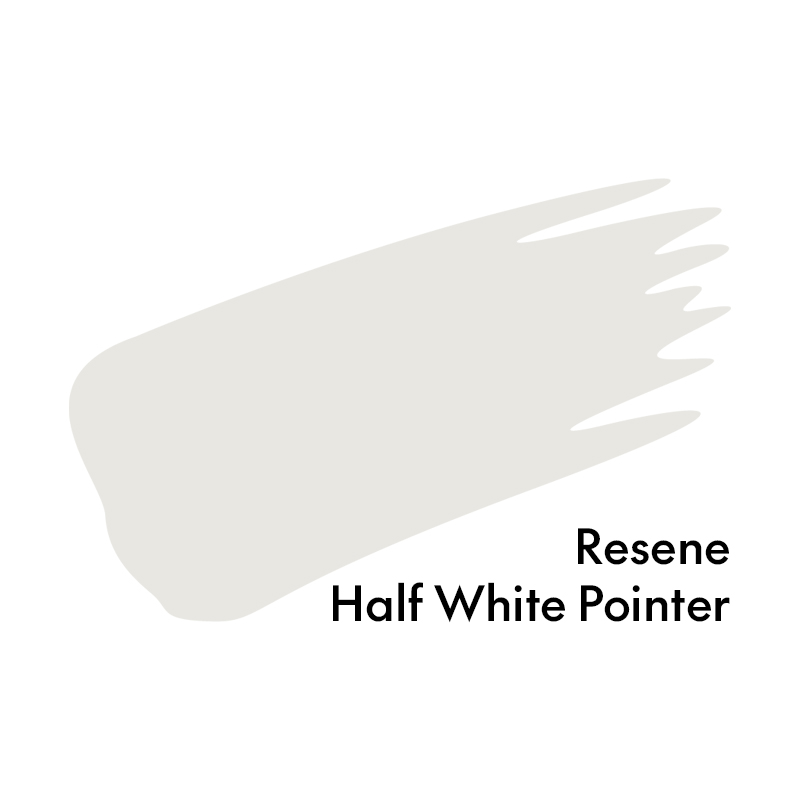
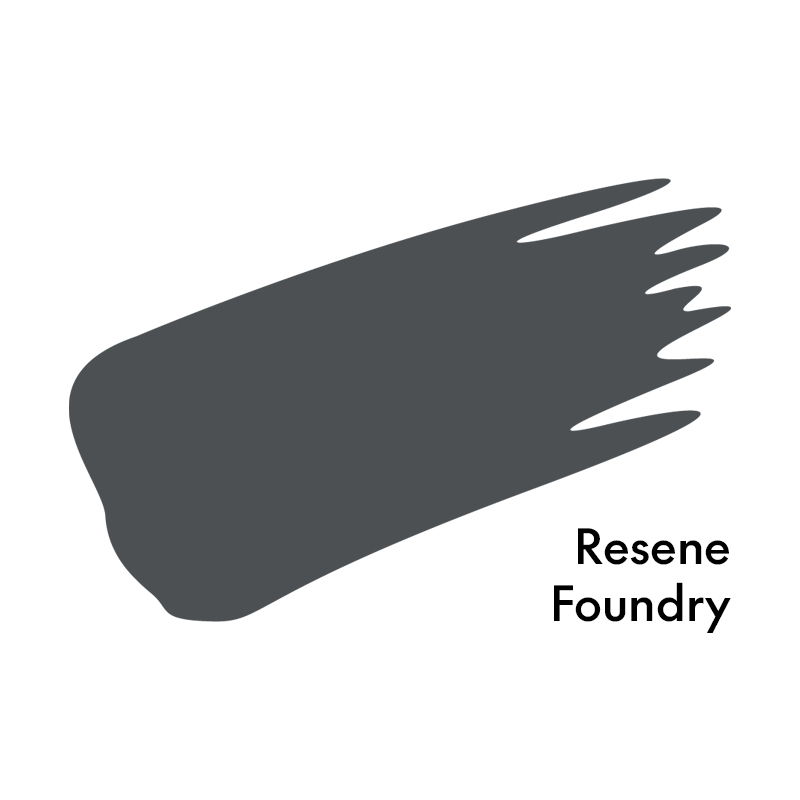
An alternative is to paint one wall in a dark colour. Jay Sharples, senior trade sales representative at Resene, has Resene Half White Pointer as a main colour throughout his home, including the bathroom. His family recently painted Resene Foundry on a feature wall in the bathroom.
Think about mould
Like all wet areas at home, bathrooms are at risk from mould, especially if there’s not adequate ventilation. Mould isn’t just unsightly, if it’s left unchecked it can shorten the life of your paint job by penetrating the surface. If it gets established it can grow through subsequent coats of paint, affecting adhesion and ruining the look of all your hard work.
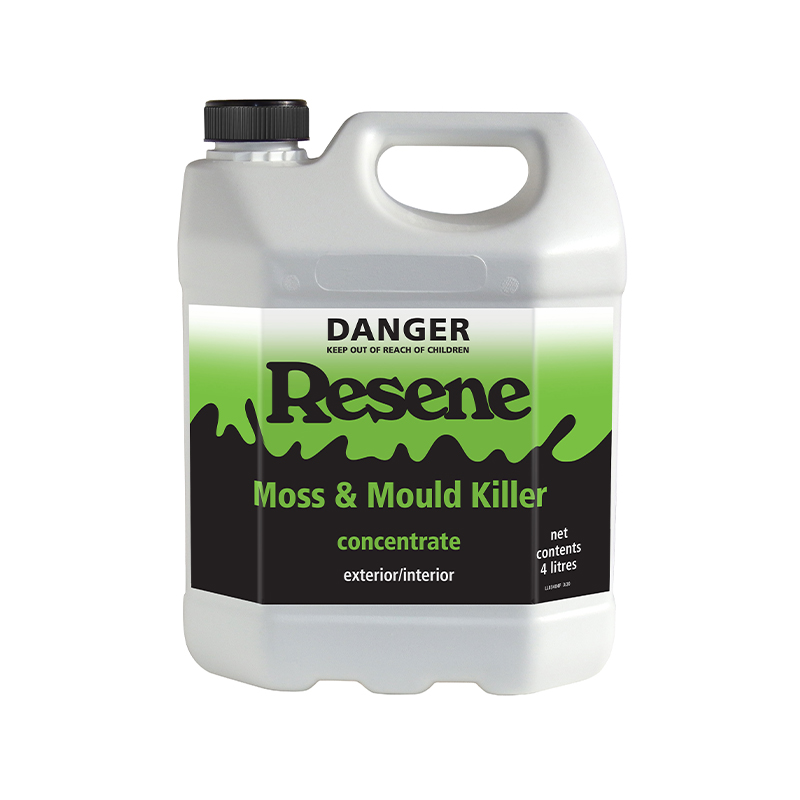
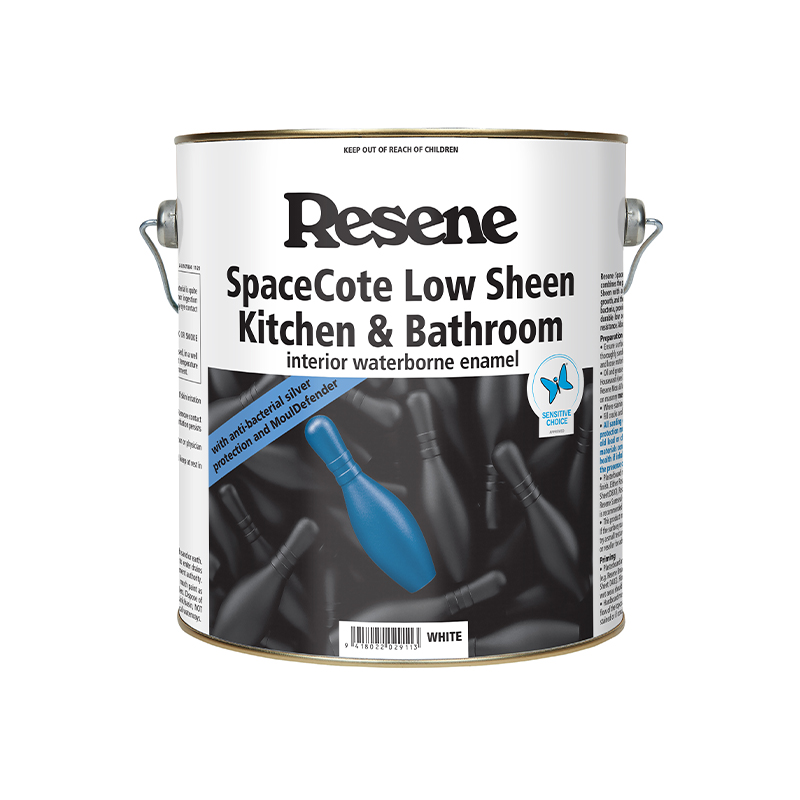
Use Resene Moss & Mould Killer to kill mould and sterilise surfaces and then paint with Resene SpaceCote Low Sheen Kitchen & Bathroom paint with anti-bacterial silver and MoulDefender, or ask to get your Resene waterborne paint dosed with Resene MoulDefender to put the brakes on future mould growth. Make sure you check and adjust your ventilation too.
Prep work is key
Like all good painting jobs, success largely depends on good prep work. “Everyone knows preparation is key, but everyone wants to get on and get the job done,” says Jay. “Generally, a fresh coat of paint looks amazing, but if you skip the prep then it’s not going to look amazing for very long.”
The first step is to clean your bathroom thoroughly. If you haven’t kept up with regular cleaning, you’ll need to really get stuck into it. Treat and scrub mould as much as possible. It can look a bit like general grime, but mould will become slimy when wet. Clean minor scuffs and marks such as fly droppings with a microfibre cloth.
Then it’s time to sand. Dealing with existing paint in older homes will need a bit of elbow grease. Jay says traditional oil-based enamel paint typically used in bathrooms can become brittle over time. “If you don’t sand it well – you really need to see the scuff marks – then you’ve got a chance that the new topcoat is not going to stick,” he advises.
“Without proper sanding, you can do an exceptional job painting, and it can look brilliant, but chances are the paint’s just going to scratch off or peel off as soon as you have a shower,” he adds.
If you’re painting over waterborne paint, you can usually skip the sanding step, unless it is a very hard finish.
“The painting’s the easy bit and almost the fun bit, so everyone tries to skip the prep or limit the amount of cleaning before they chuck the paint on and if you do that, you’ll end up with a higher chance of issues.”
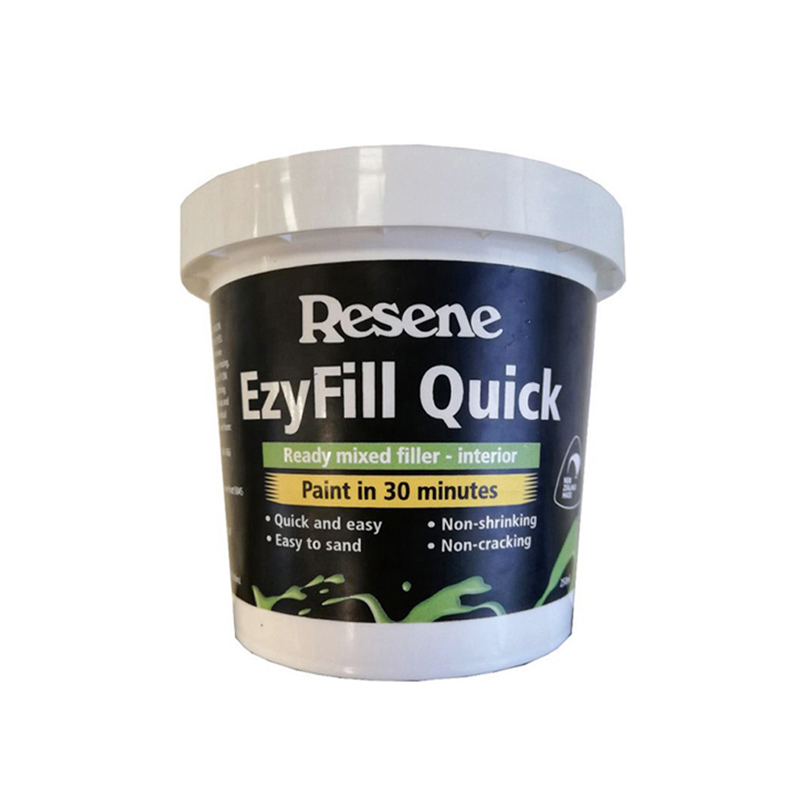
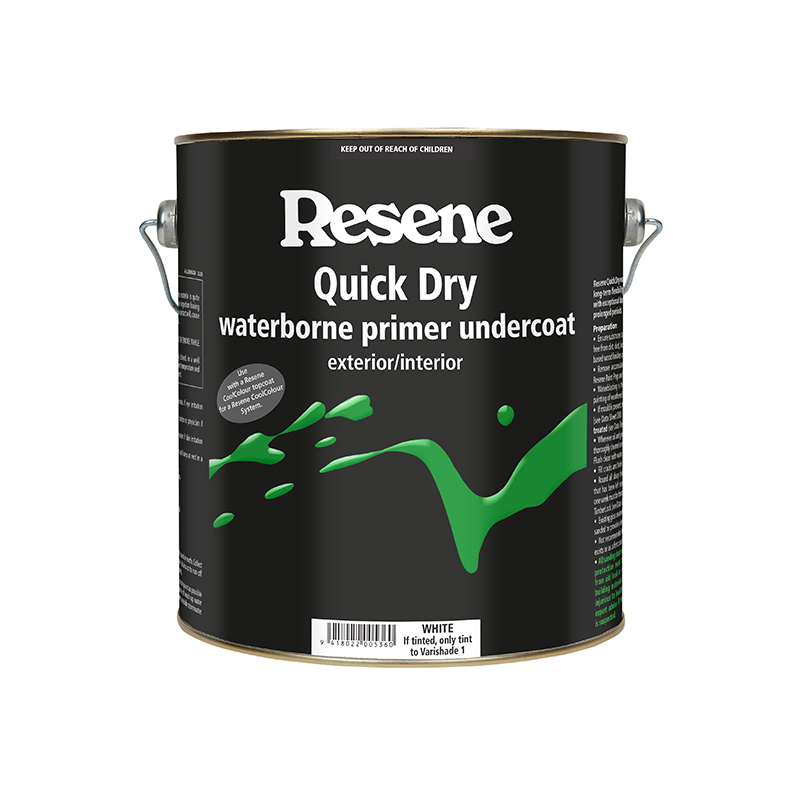
After sanding, fill any dings or marks with Resene EzyFill Quick, a contact filler to get surfaces nice and smooth. Prime surfaces with Resene Quick Dry undercoat and follow with two coats of topcoat. Your choice of topcoat depends on the finish you’re after. “A lot of the time it will be Resene SpaceCote Low Sheen Kitchen & Bathroom,” Jay says.
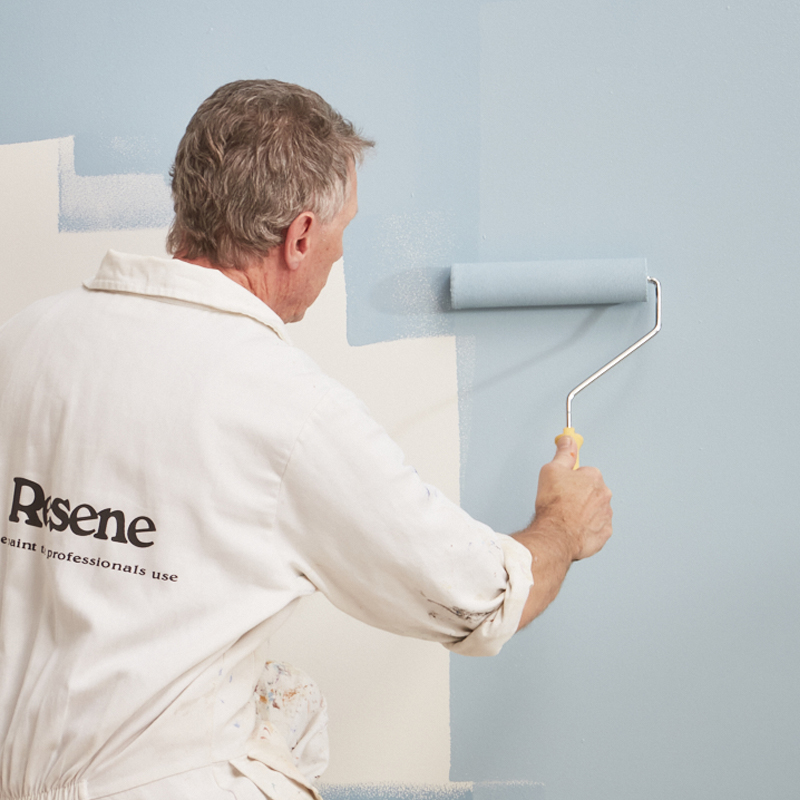
Start by adding a coat to the ceiling, then a coat on trims (doors, windows, and skirting) then back to add a topcoat on the ceiling, followed by a topcoat on trims. Once everything is dry, tape to protect the trims and ceiling you have already finished and finish with two coats on walls.
After painting
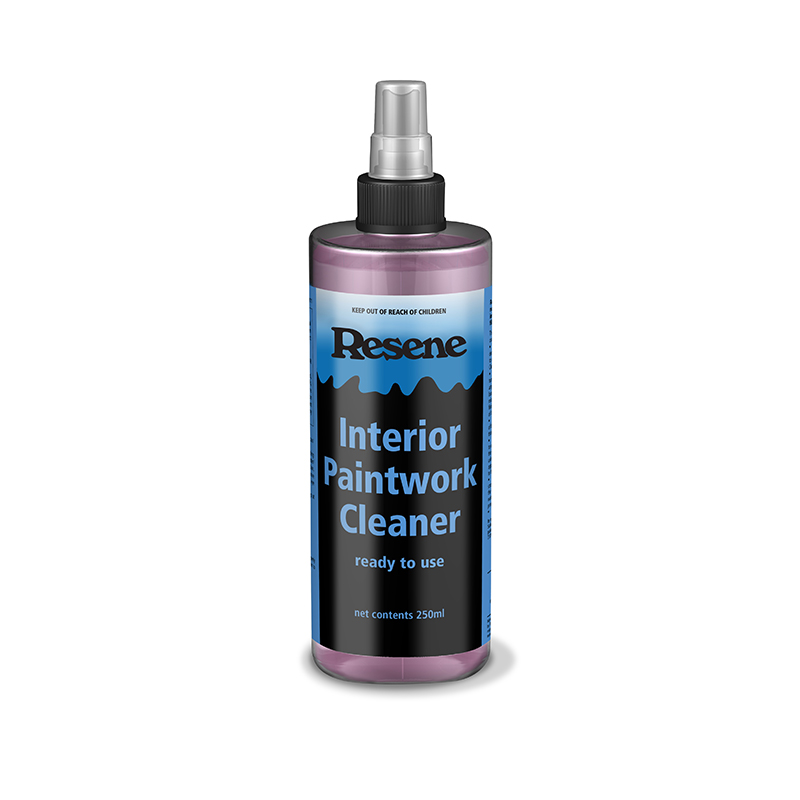
After you’ve finished painting your bathroom with waterborne enamels, it’s best to wait at least seven days before you have any hot, steamy showers. “If you can, wipe down the walls after your first showers, so the moisture is not left on the surface and after that, keep up with regular cleaning,” advises Jay. “Use Resene Interior Paintwork Cleaner for regular cleaning to ensure paint coatings last that much longer.”
And there is such a thing as too much cleaning. “If you’re just doing everyday cleaning, just use a lint-free cloth and be gentle, especially on ceilings,” Jay says. If you over-rub it the flat paint on most ceilings will burnish and go shiny in those spots. “If you’re over-scrubbing certain areas, as soon as you walk in, you’ll see a big shiny patch in the middle where someone’s cleaned it.”
Tiles
Resene does have systems for painting tiles, which is a cost-effective way of changing the look of tiles without replacing them, however it won’t replicate the finish of the original tile. Jay says, “The tile is a hard surface and the paint itself is quite soft, so if you knock or scuff it, the paint will come off second best.” Wall tiles can be painted up well and are less prone to damage than floor tiles.
The type of tile you have in your bathroom will affect which painting system can be used. If you have questions, take photos of your tiles and show them to a Resene ColorShop team member or send pictures via the Resene Ask a Paint Expert service.
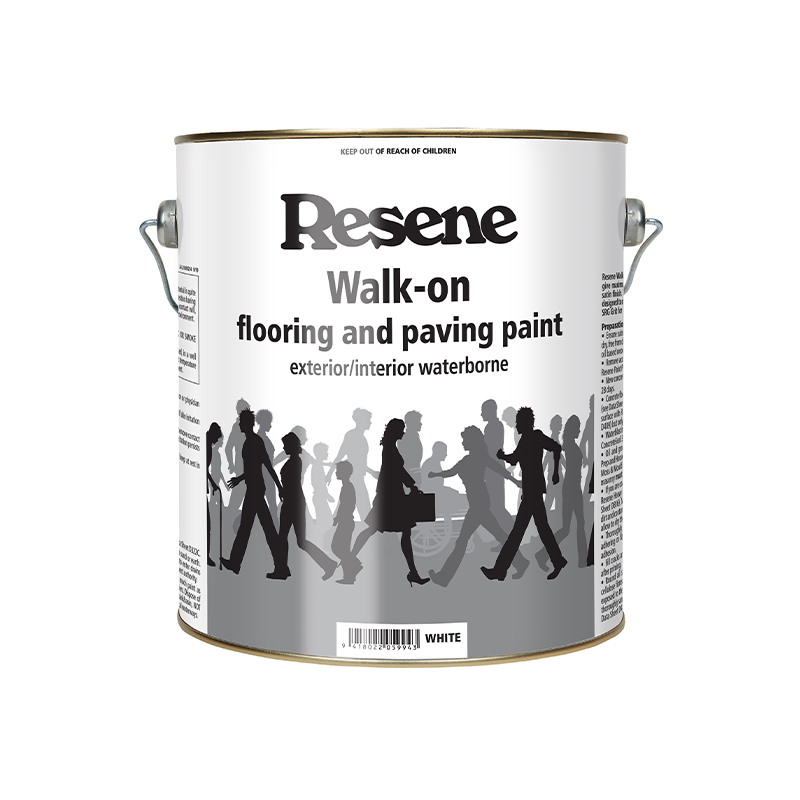
If the grout between your tiles is looking shabby, you’ll probably find cleaning it doesn’t make it look much better. You can easily paint over it with a Resene testpot or Resene Walk-on flooring and paving paint using a small paintbrush and a piece of cardboard to help you get a straight edge. Make sure you rub off any paint that gets on the tiles while the paint is still wet.

