DIY projects

Make your own birdhouse with this family-friendly project

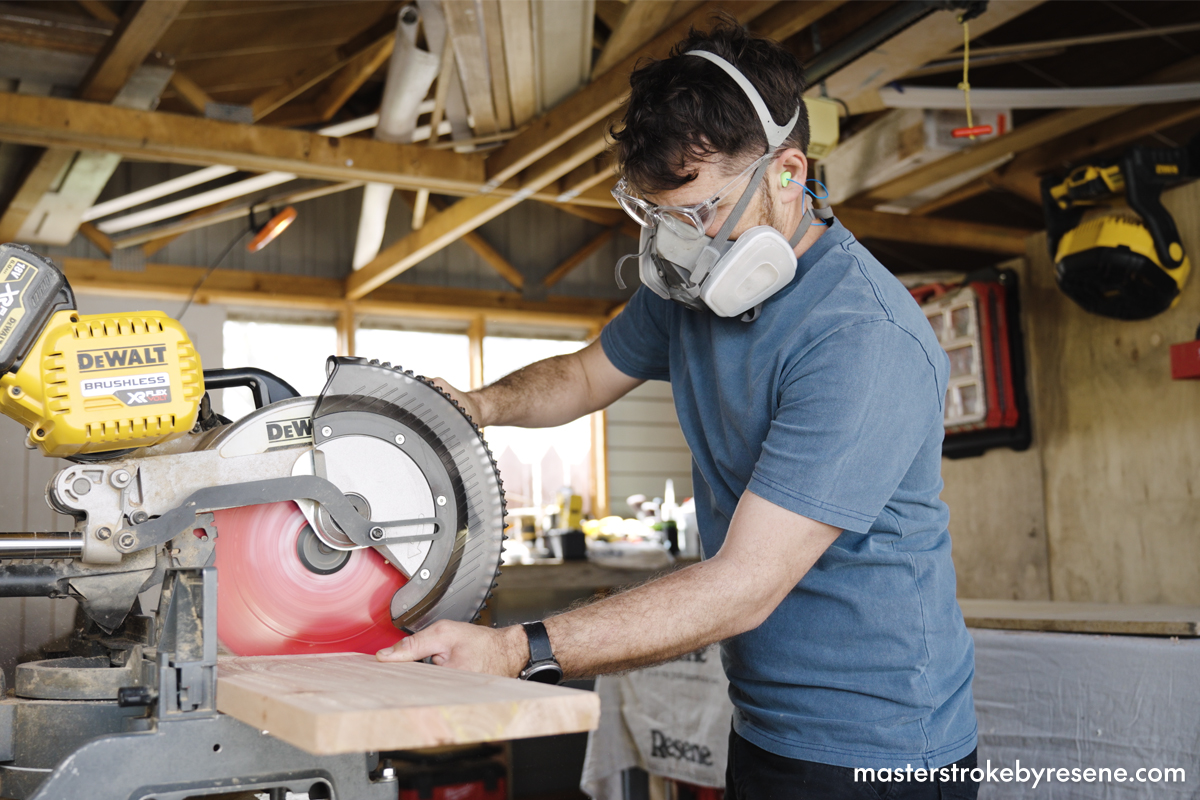
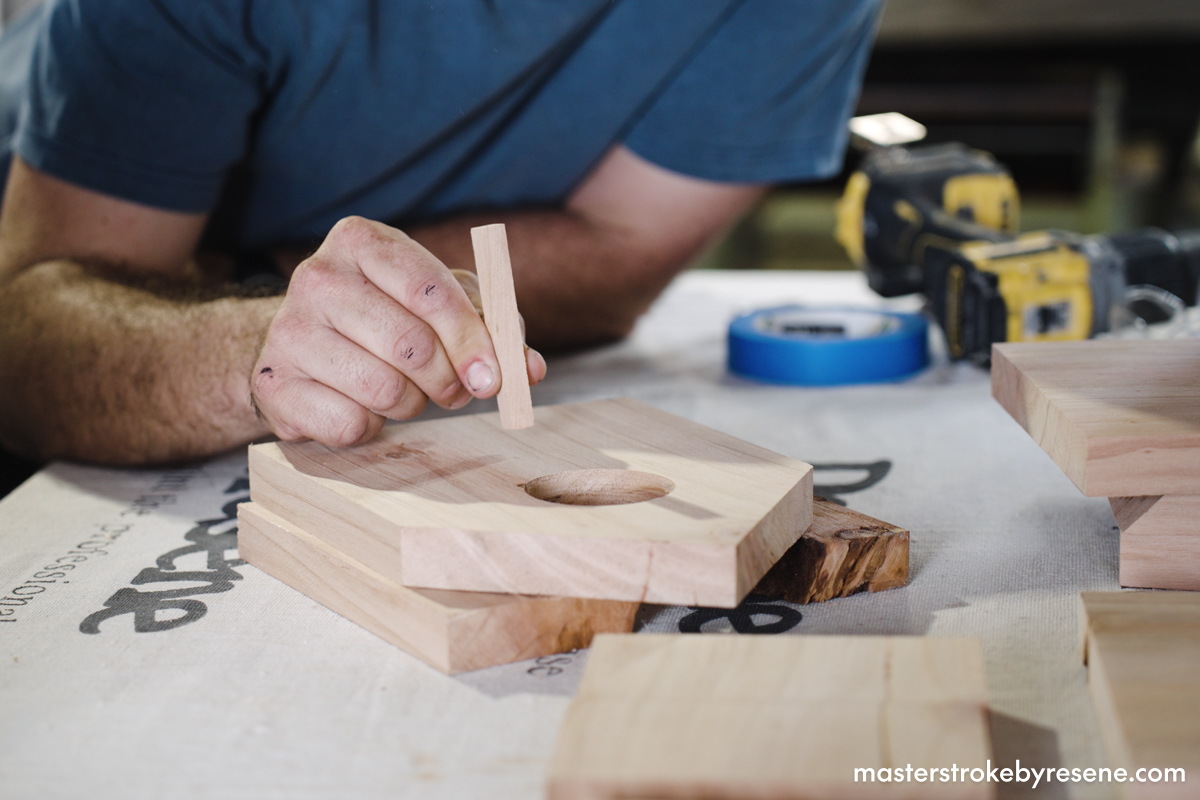
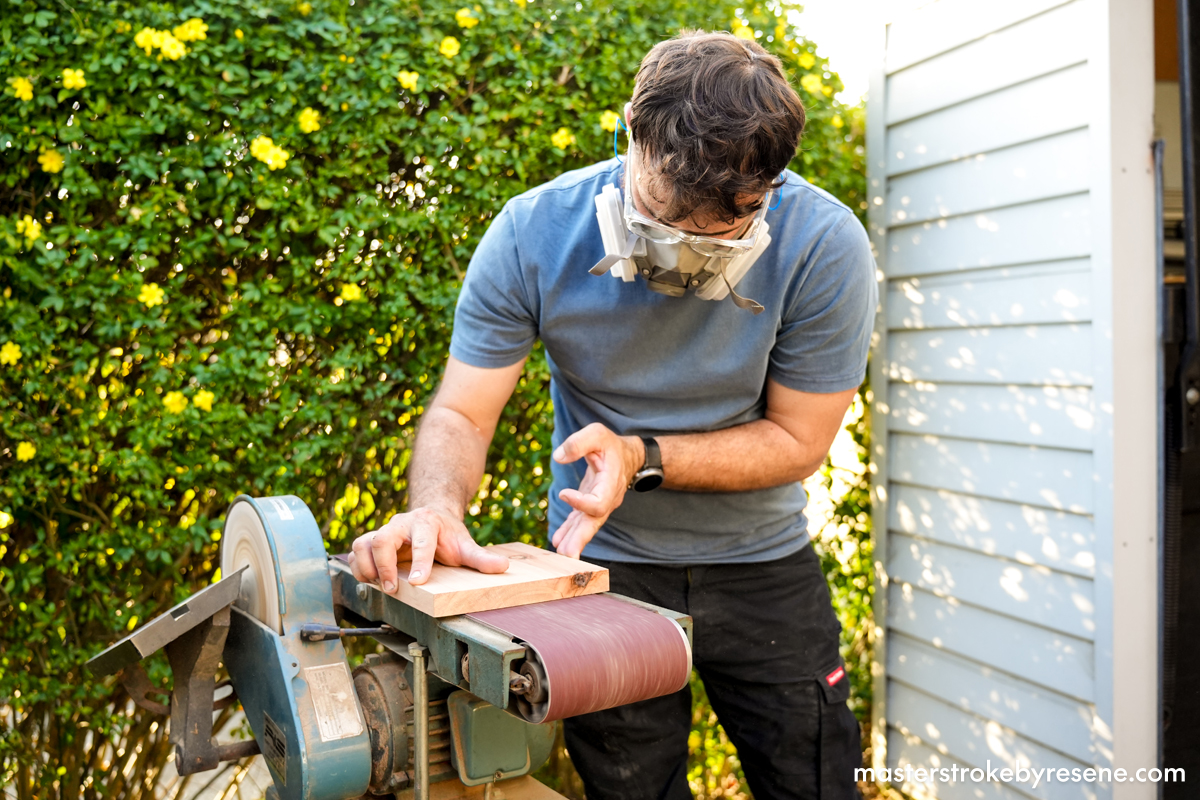
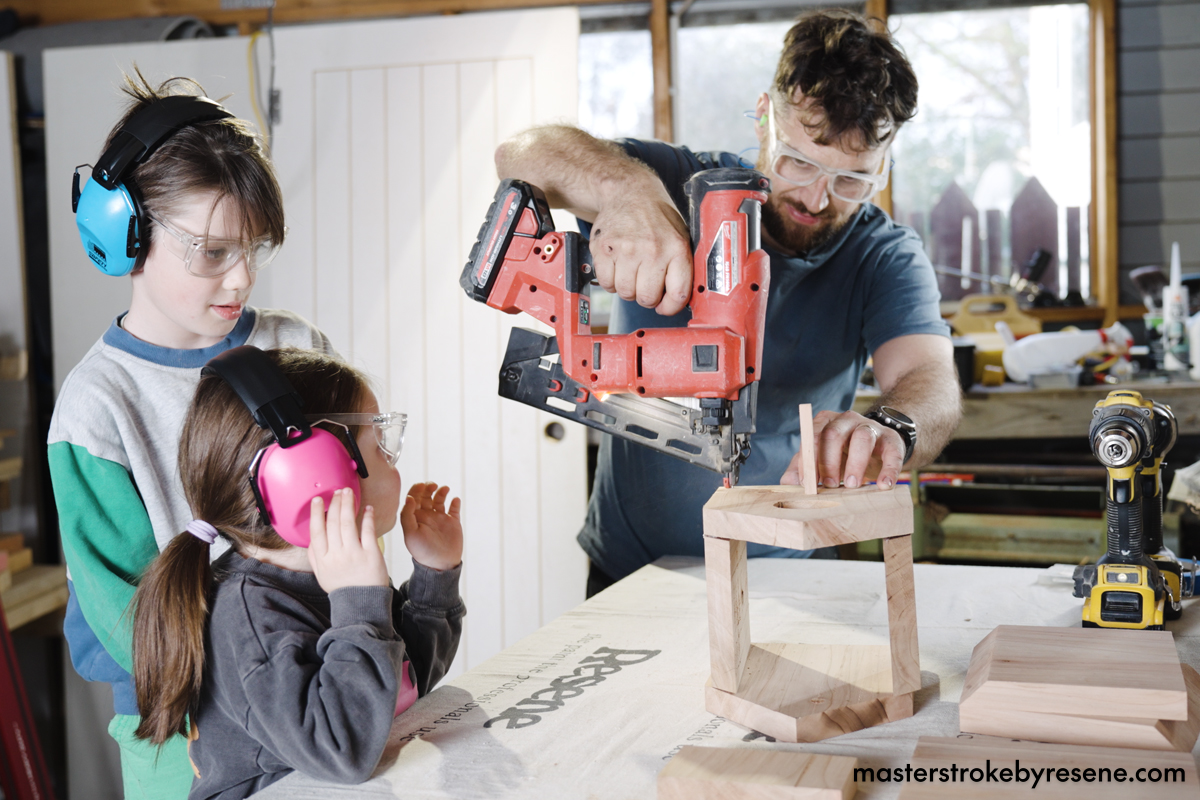
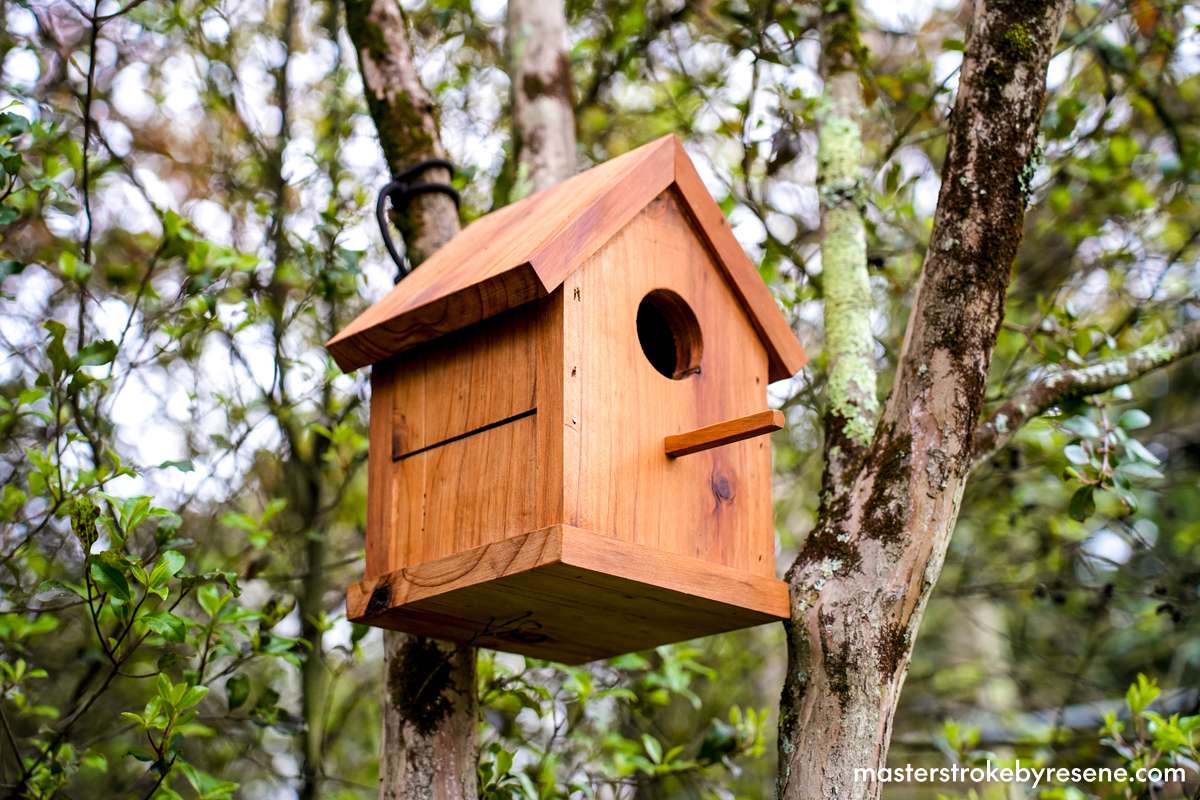
In this episode of My DIY Dad, builder Chris Donnelly and his kids Griffin and Romi make a cool wooden birdhouse for their garden. This simple project can be undertaken in a weekend and is ideal to get the kids involved in, as there are several steps that are easy and safe enough for them to help you with. Plus, you may have many of the materials and equipment required for the project already on hand. 

Inviting kids to join in with your DIY is a great way for them to gain practical knowledge and get to know their way around tools. It’s also a lovely way to bond and get them outside and off those screens! Be sure to be vigilant with your safety procedures and precautions to get them into good habits, as well as cleaning up as you go and after the work is done.

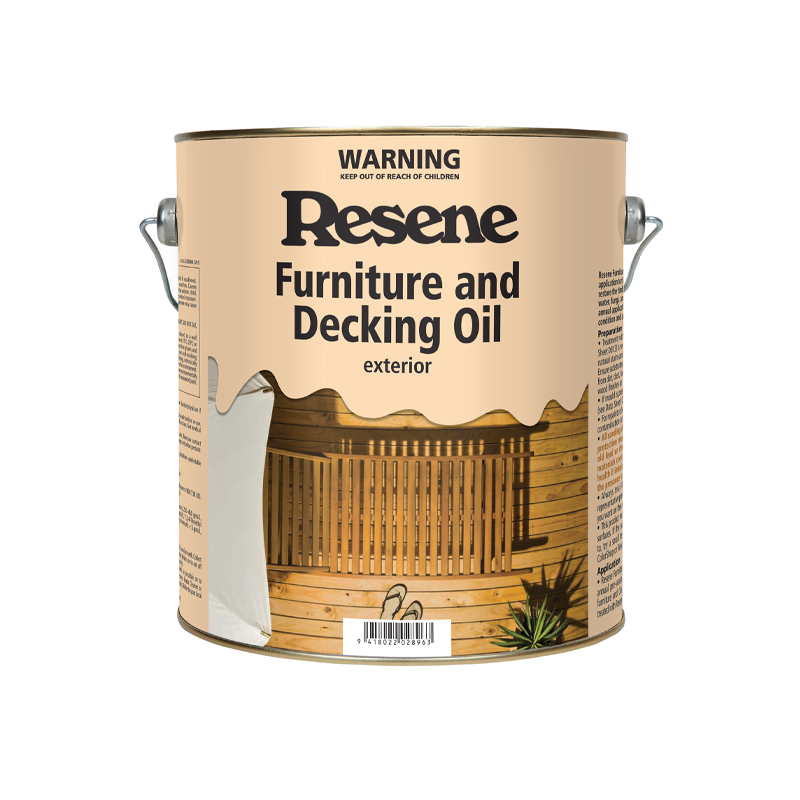
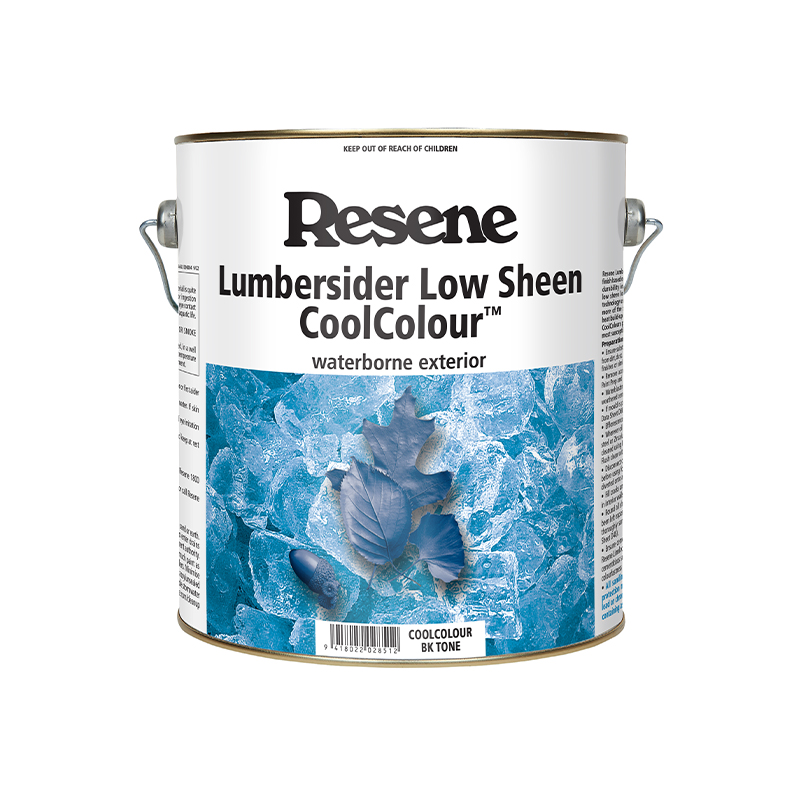
Chris is a builder so has plenty of offcuts and wood in his shed, but you can buy your timber dressed if you don’t have any to use up. Chris has chosen redwood, which is dense and durable, making it the perfect option for this outdoor structure, and has given it a professional looking finish with a coating of Resene Furniture and Decking Oil. This gives a natural look to the timber. If your timber’s colour is a little tired, you could use Resene Waterborne Woodsman instead in your chosen colour to enhance the timber. If you decide to choose a darker colour use the Resene CoolColour option where you can to help reflect more heat. You can also paint your birdhouse in your, or your kids’ favourite colours.  It’s generally best to opt for mid to dark colours as very light colours can end up glary outside and show more marks.

In terms of where to place the birdhouse in your garden, try putting it somewhere facing east to avoid strong sunlight and prevailing winds, as well as high enough off the ground so that predators can’t reach it. In your own backyard choose a sheltered area away from any areas where the wind tunnels through.

Follow these easy step-by-step instructions to make your very own birdhouse.

  • Table saw (optional)
  • Measuring tape
  • Power drill
  • 65mm hole saw bit
  • Hammer
  • Nail gun

  • Front and Back: 250mm x 180mm 
  • Roof: 180mm x 140mm (x2)
  • Sides: 180mm x 140mm (x2)
  • Base: 200mm x 200mm

1

Prepare the pieces

Cut your timber to size according to the cut list. If you don’t have a table saw, get your timber pre-cut in-store.

Do a bevelled edge on the roof pieces and side pieces.

Make sure you and the kids are wearing appropriate safety gear at all times.

2

Doorway and perch

Drill a doorway in the front piece with a power drill, using a 65mm hole saw bit. This size hole will be ideal for sparrows and starlings.

You’ll also need a little piece to stick out that the birds will perch on.

3

Sanding time

Sand all the pieces so they are smooth and free of rough edges, then wipe away sanding dust with a damp cloth.

4

Assemble the birdhouse

Use a mixture of wood glue and nails to join the pieces together. 

Chris has a handy trick for gluing bevelled edges together: lay the boards flat and apply strips of masking tape on the outside, then flip it over and glue each of the inner edges before gently pushing them together.

Allow the glue to dry fully before oiling.

5

Oil the timber

Give your Resene Furniture and Decking Oil a good stir and decant a small amount into a container for each of your little helpers. Make sure they’re wearing gloves and goggles and apply the oil using quality paintbrushes.

6

Hang out

Once the oil is dry, it’s time to place the birdhouse into your chosen spot. 

Chris and the kids have used black rope to tightly secure theirs into a tree in their garden.

Job done! Now it’s time to enjoy watching the birds come and explore and enjoy their flash new digs!

About MasterStroke by Resene
MasterStroke by Resene is here to help you master your paint and decorating DIY projects. Brush up on your skills with advice, tips and ideas from our trusted experts.

Check out the latest how-to videos on our YouTube channel.