DIY projects

How to build a planter box

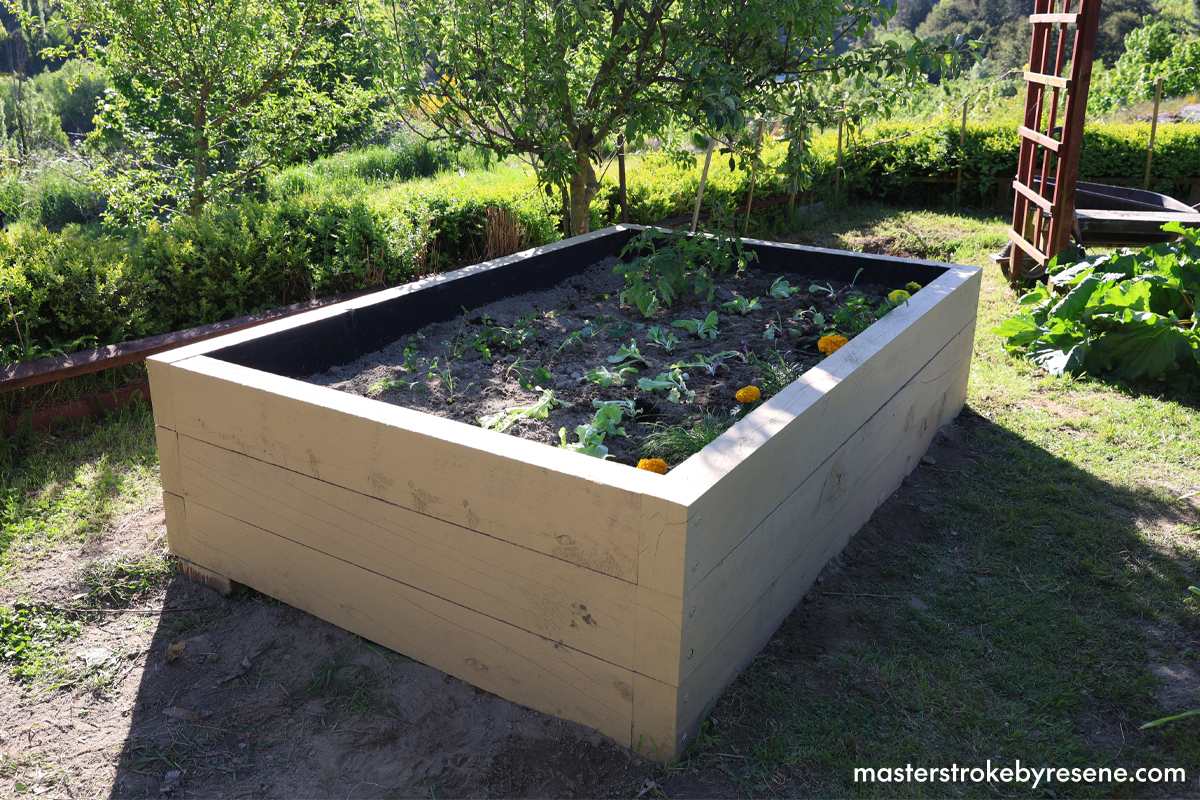
Building a planter box in your backyard is the DIY project that keeps on giving. With the cost of groceries at an all-time high, get outdoors and keep busy by growing your own fruit, vegetables and flowers. This is the perfect project to undertake over a weekend – nothing tastes quite as good as something you’ve grown yourself! 

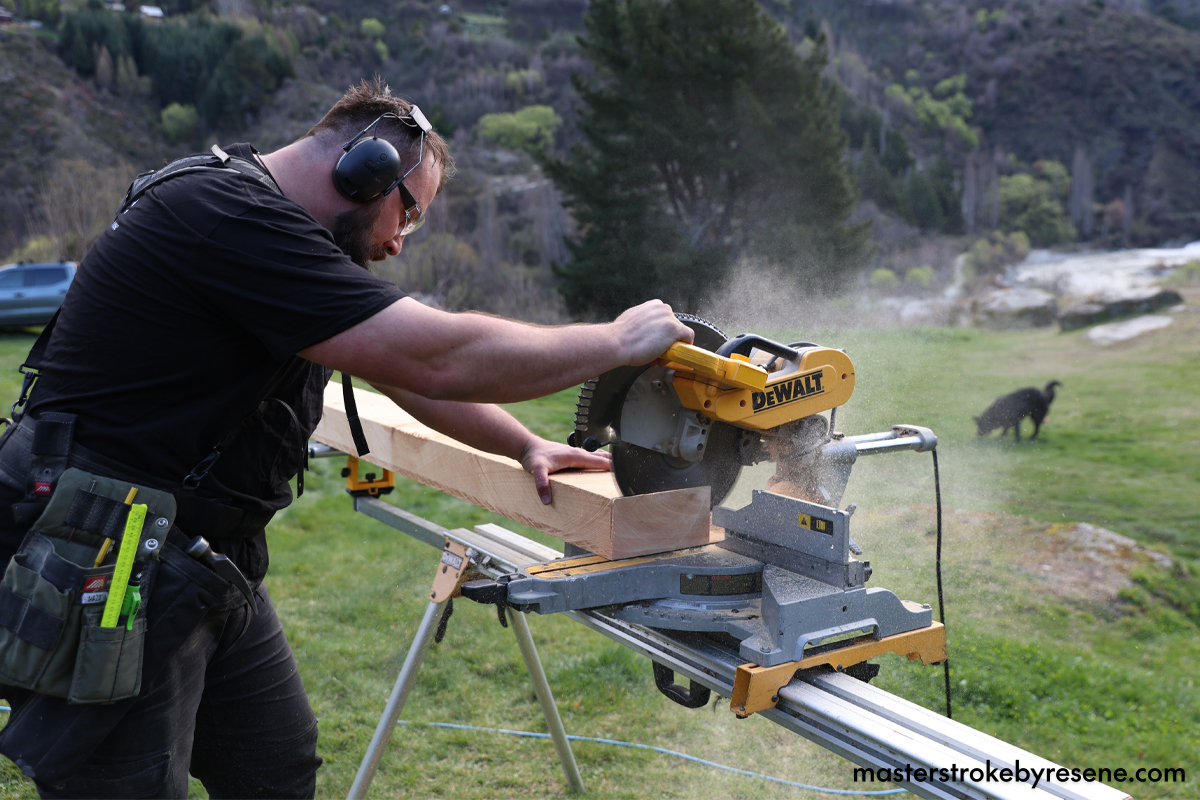
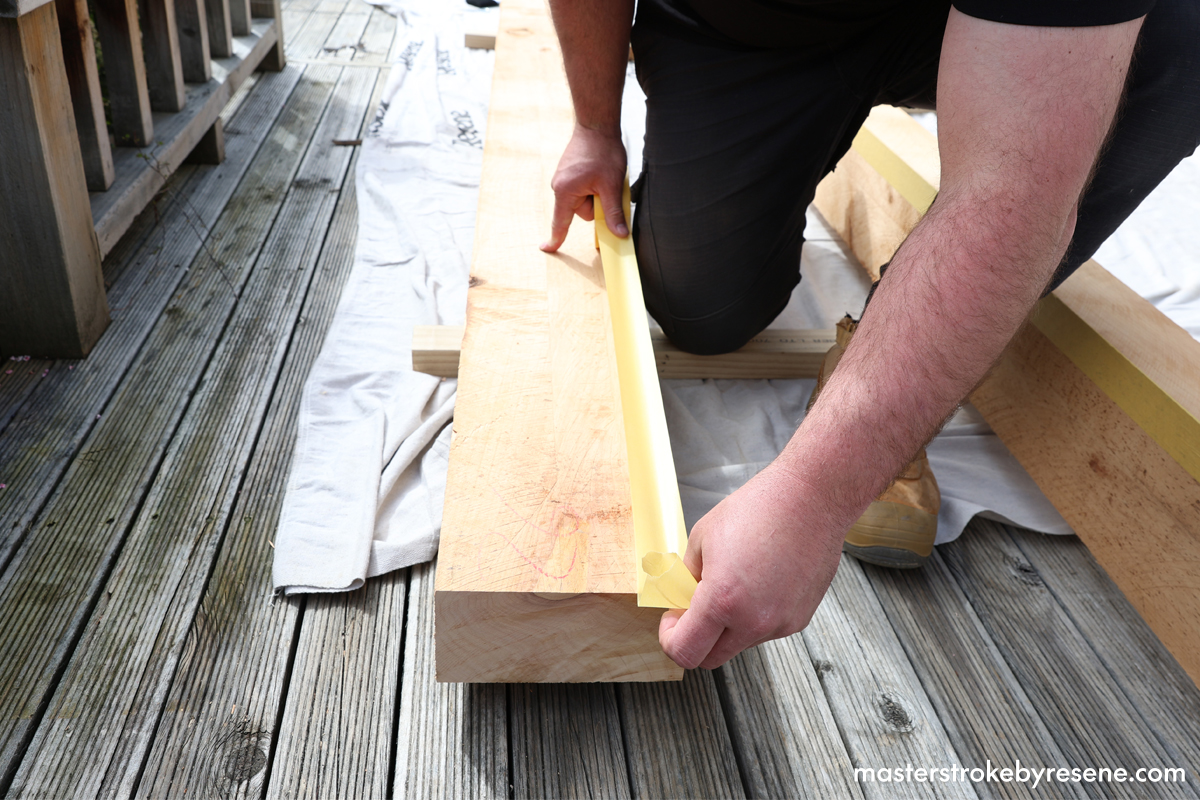
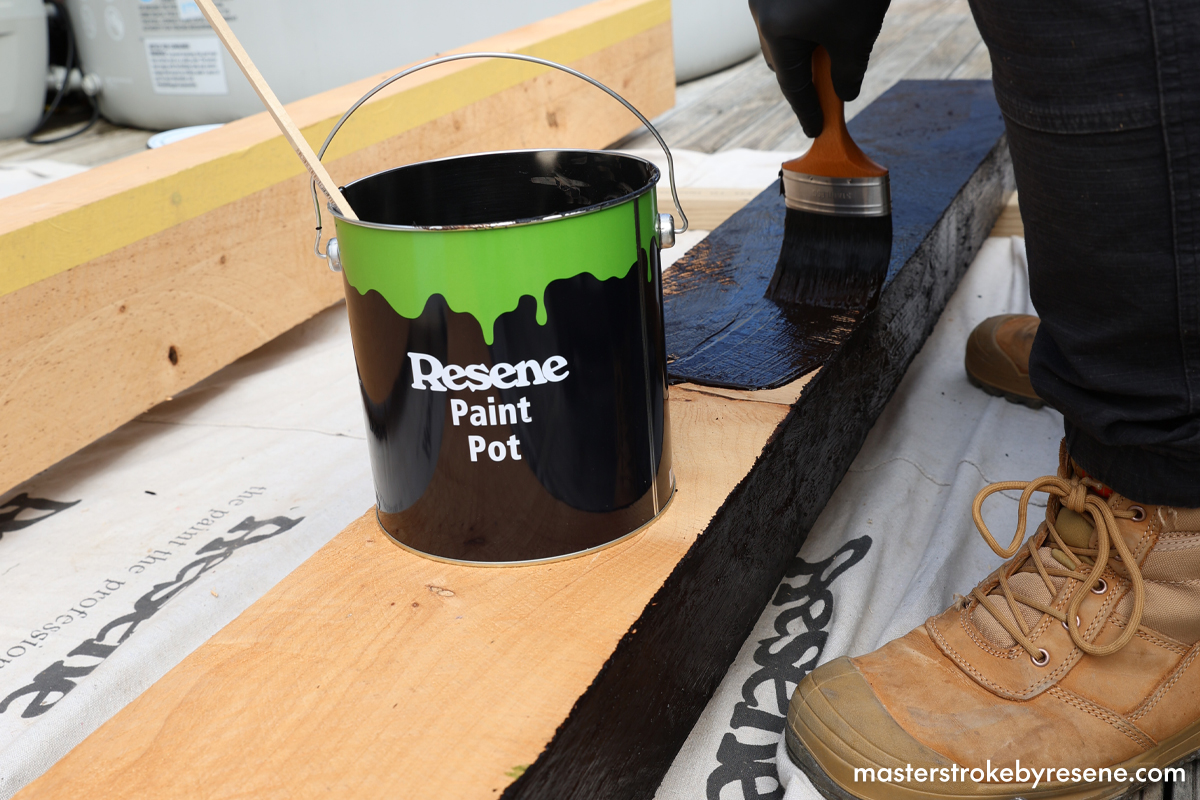
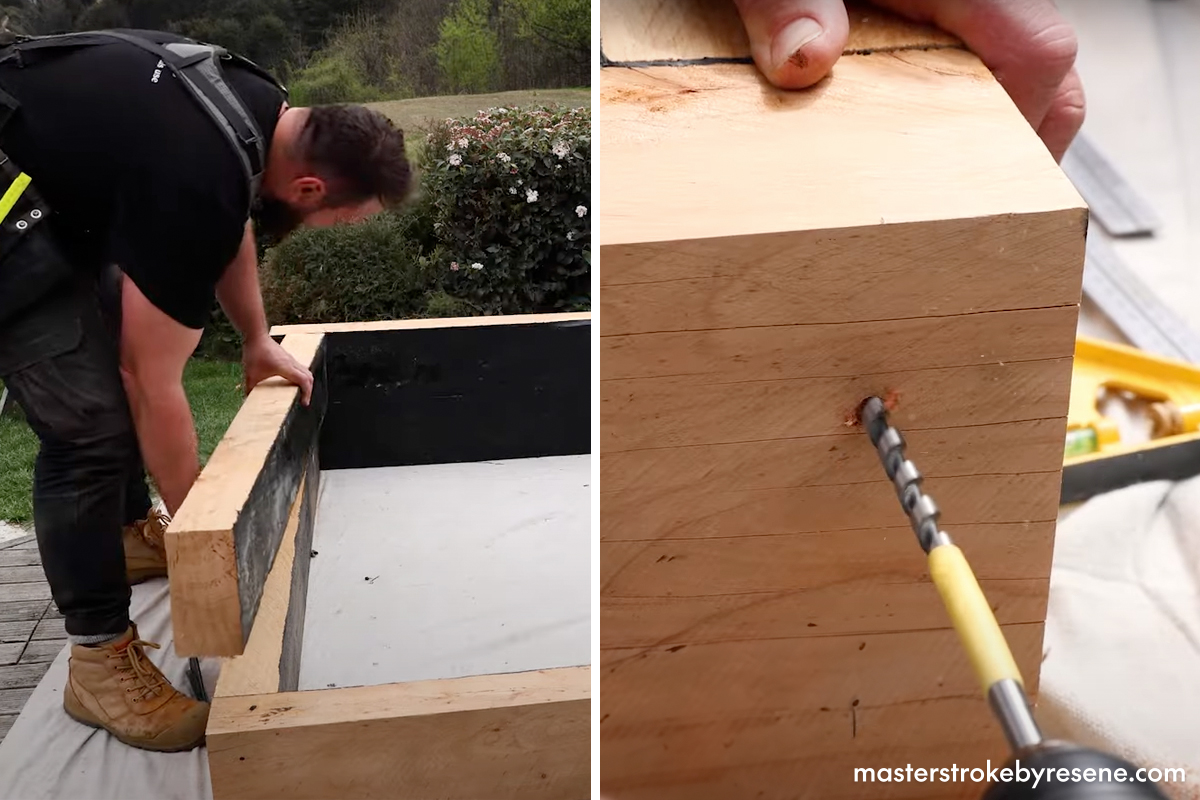
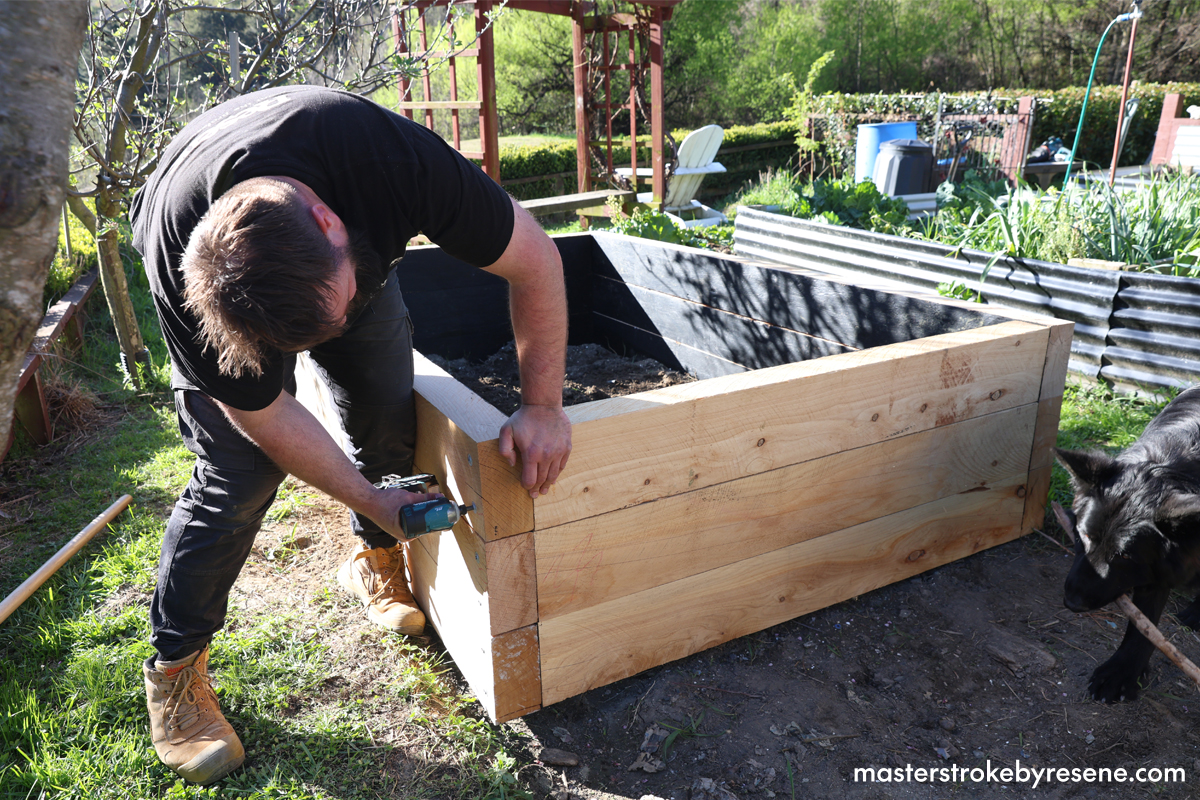
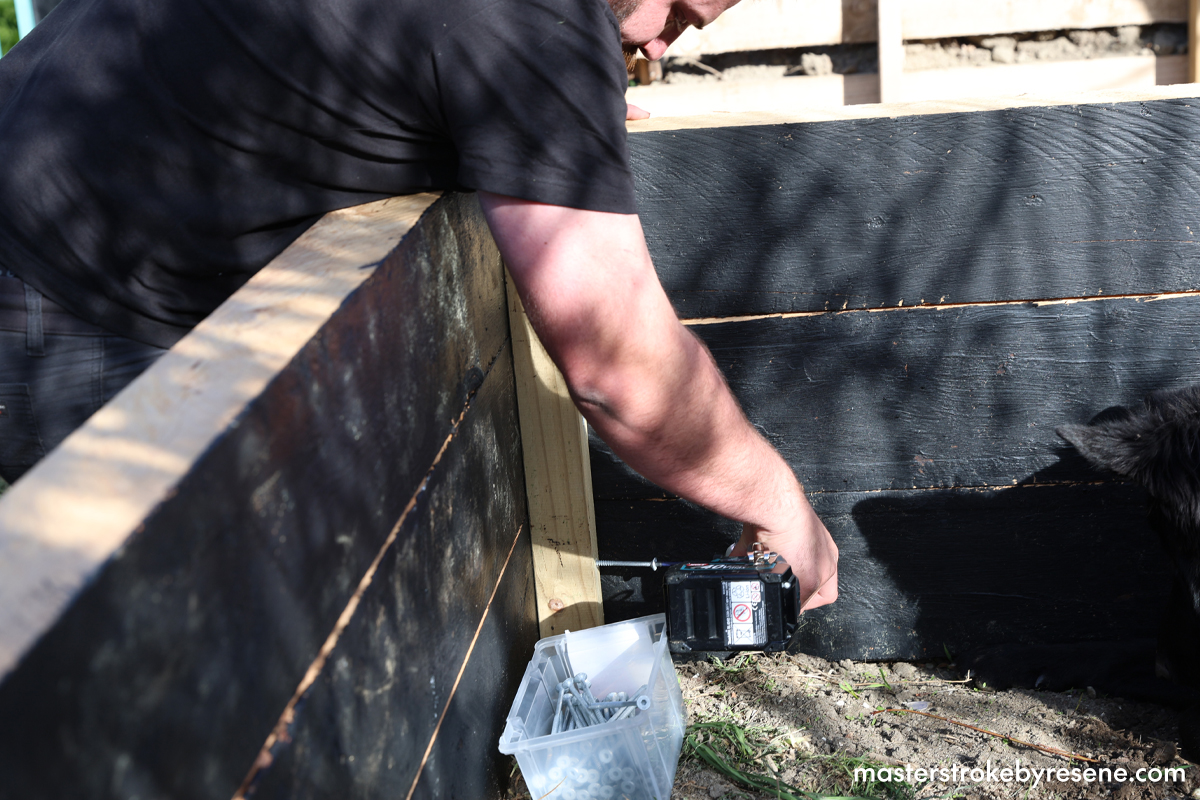
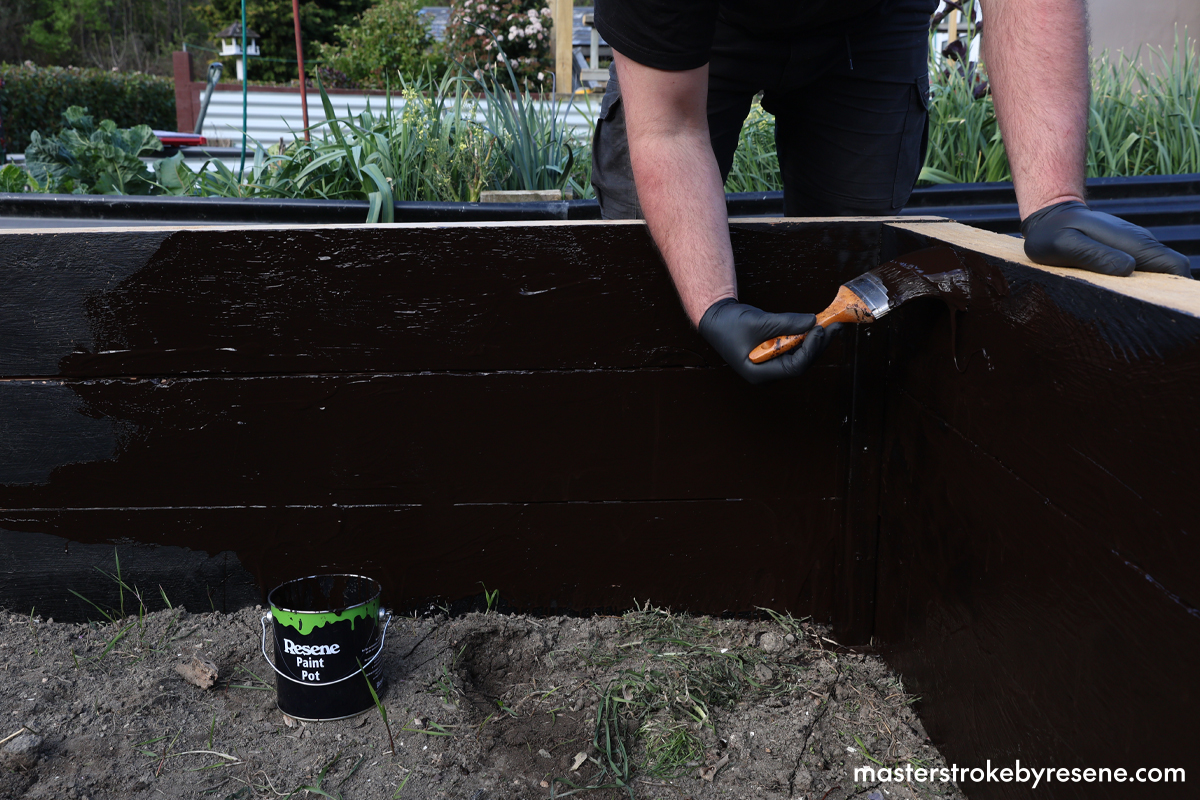
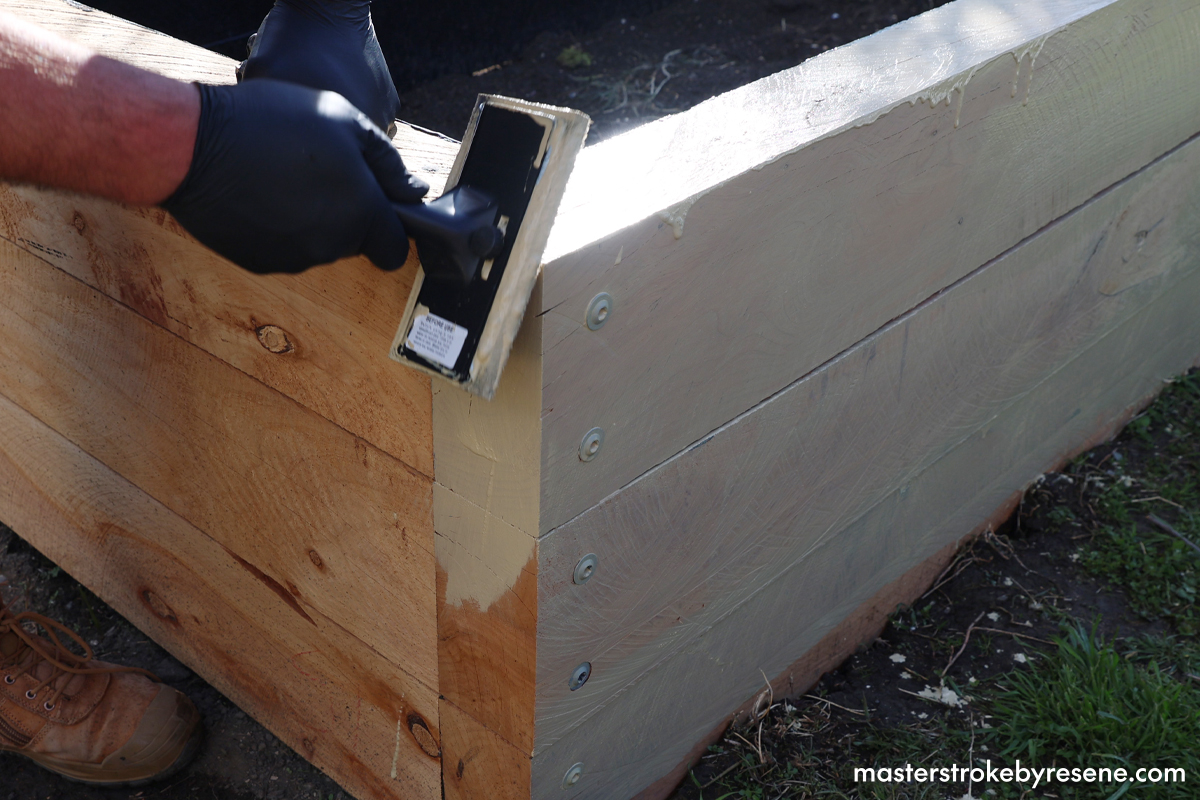
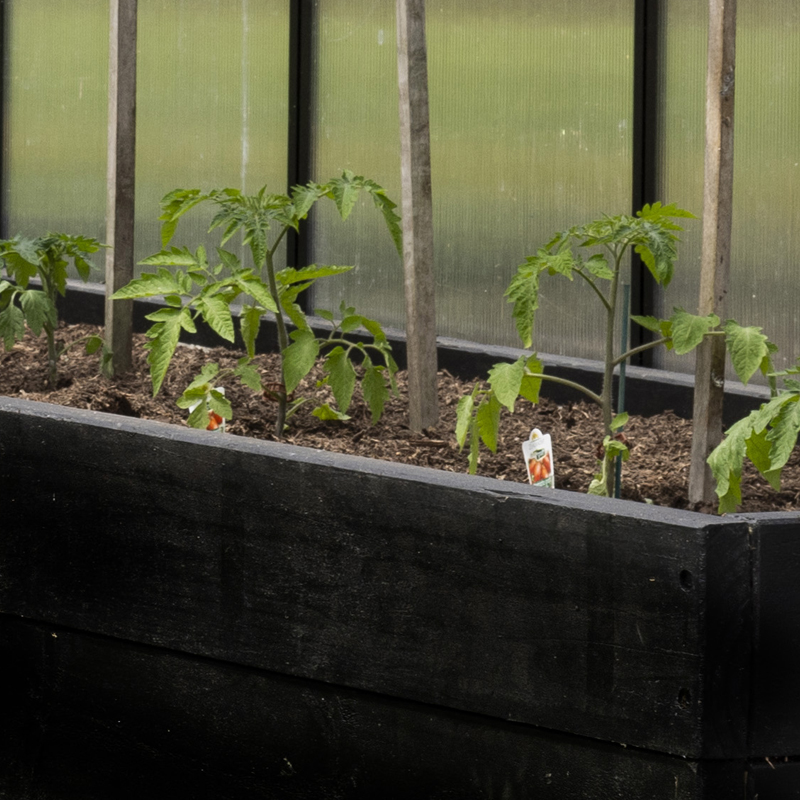
In this Odd Jobs video, Queenstown-based builder Josh Lysaght shares the step-by-step process on how to create your very own planter box. The key is to use Resene Water Lockout watertight membrane on the inside of the timber. Applied in multiple thick coats, it acts much like a plug to block water seepage.

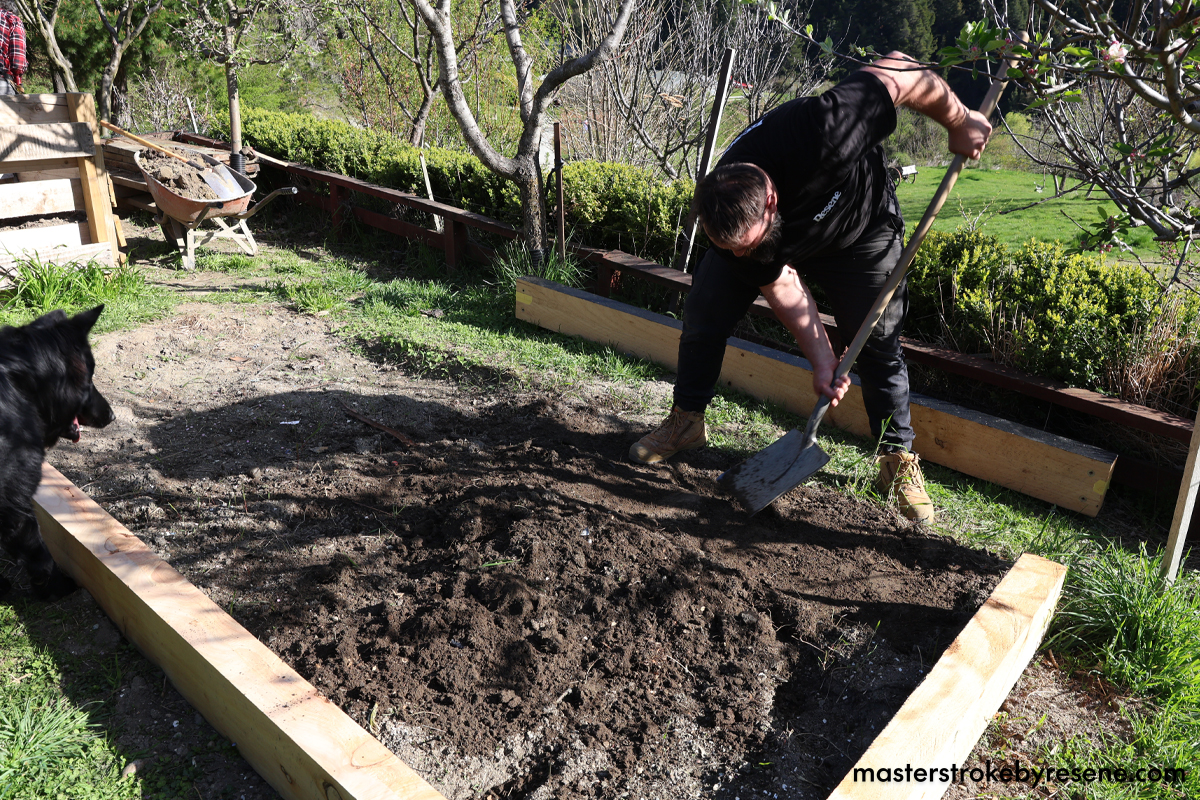
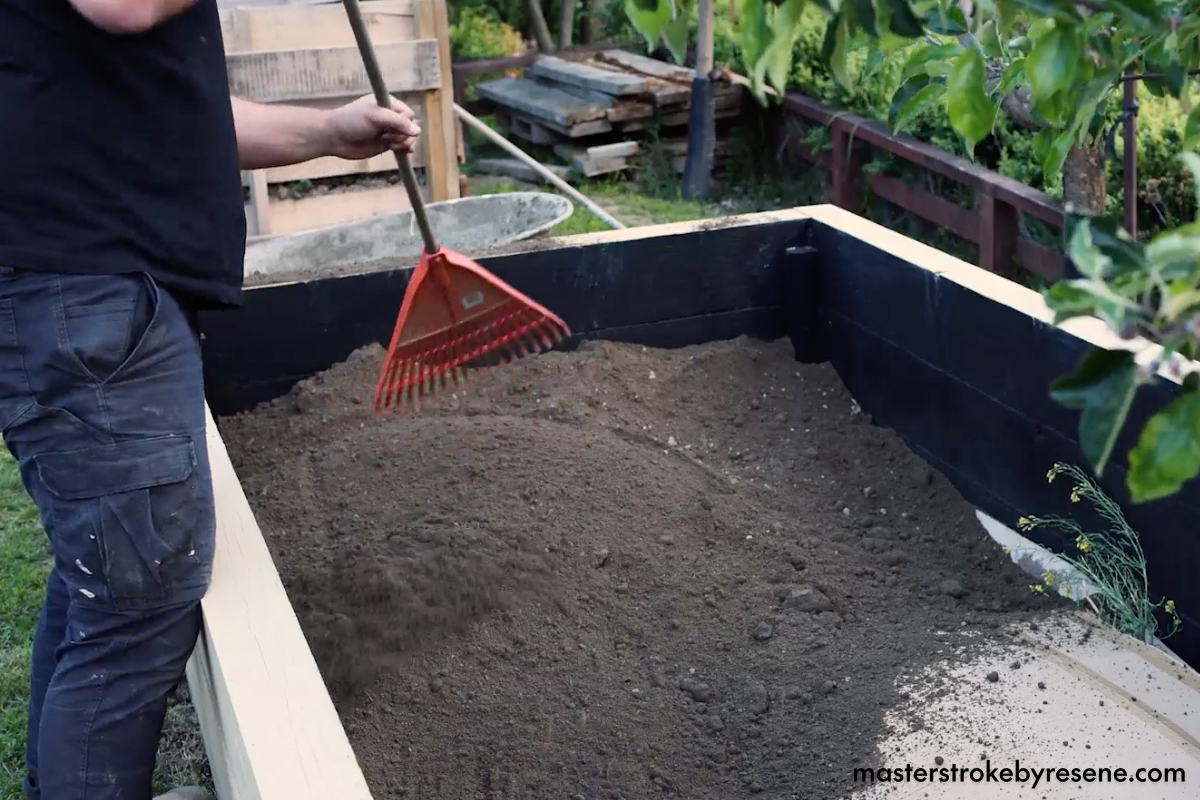
Raised garden beds like this make gardening easy and are a fantastic starting point for your green-fingered journey. You’re able to grow a wide range of plants, including deep rooting ones, and they’re an ideal option for when the soil in your backyard isn’t great. As you don’t stand on the soil when you’re tending the plants, it means it will stay aerated – excellent for growing and drainage. 

When it comes to selecting the best spot in the garden, choose somewhere that is sunny (usually north-facing), sheltered from the wind and most of all easy-to-access. Having it close to the kitchen will be helpful if you’re growing veges and herbs. 

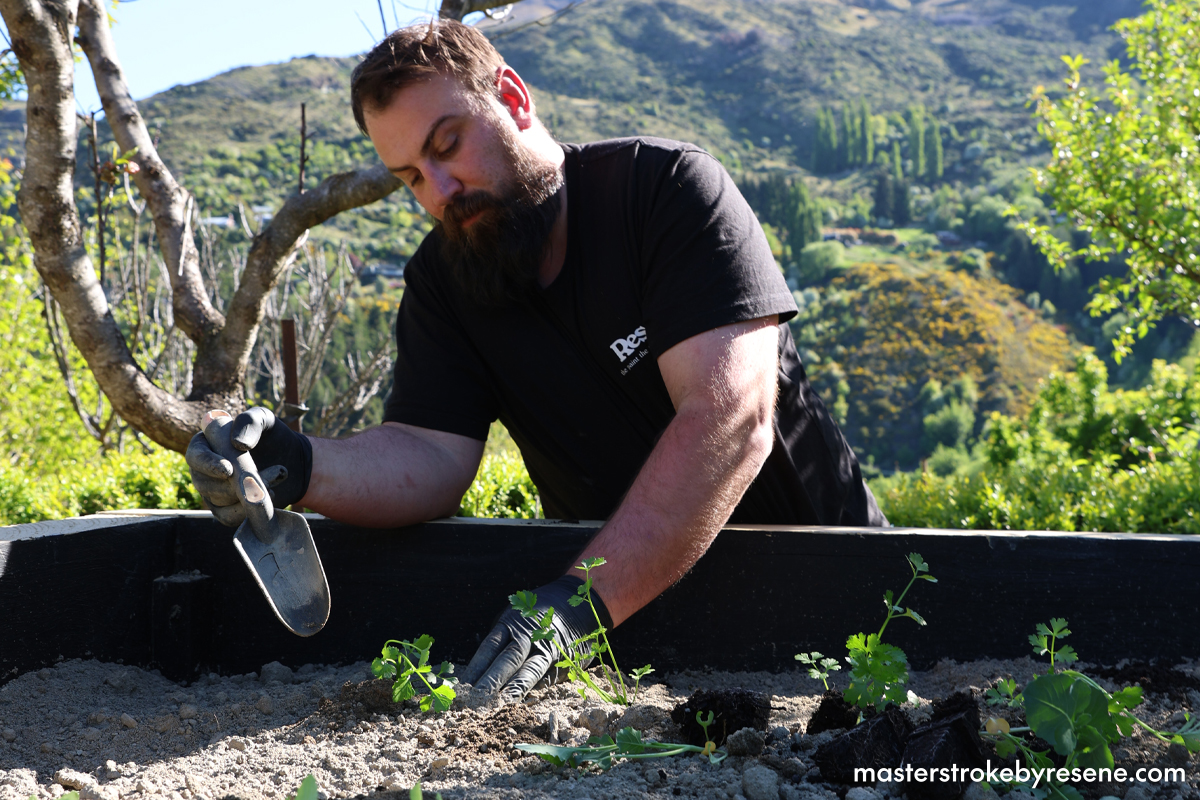
Follow along with Josh and start living more sustainably at home.

  • 200mm x 100mm sleepers 
    • 6x 2700mm 
    • 6x 1500mm
    • Or vary the size to suit your space
  • Painter’s tape 
  • Resene Water Lockout watertight membrane 
  • Paint can opener
  • Resene paint pot 
  • Paint stirrers
  • Wide paintbrush
  • 10mm x 180mm construction screws
  • 2000mm x 75mm x 50mm H3.2 radiata pine 
  • 14G x 150mm bugle head screws 
  • Resene Waterborne Woodsman penetrating oil stain 
  • Speedbrush and tray 
  • Soil
  • Assorted plants

  • Drop saw 
  • Earmuffs
  • Measuring tape 
  • Pencil
  • Adjustable square 
  • Masks 

1

Cut your timber

To form the shape of your planter box, cut your timber to size using your drop saw. Cut six at 2700mm for the length of the planter box, and six at 1500mm for the width.

2

Mask

Use painter’s tape to mask the front edge of your timber.

3

Apply watertight membrane

Use your paint can opener to lift the lid on the Resene Water Lockout watertight membrane. It’s very thick, so be sure to give it a very good mix with your paint stirrer before decanting it into a Resene paint pot, then stir again. 

Apply Resene Water Lockout to one side of your boards (plus the bottom edge for the base boards) using a wide paintbrush, then wait for it to dry. Once dry, apply a second coat. Be sure to wear gloves during this step.

Remove the painter’s tape then allow to dry completely.

4

Get into shape

Put down a drop cloth and assemble your wood into a rectangle shape. Pre-drill two points 50mm from the end edge, 150mm and 50mm down from the top. Repeat this step for all corners of all three layers of timber.

5

Prep the ground

Once you’ve decided on the perfect place for your planter box, prepare the ground underneath it. Clear a space and turn the soil

6

Assemble the frame

Reassemble your planter box rectangle in situ and screw together using sturdy 180mm construction screws.

7

Brace the corners

To stabilise your planter box, install 75mm x 50mm braces in each corner, 100mm from the top. Secure with bugle head screws.

8

Lock out that water!

Apply another coat of Resene Water Lockout to the inside, making sure to paint over the corner braces. Once again, remember to wear your gloves.

9

Stain

Give your Resene Waterborne Woodsman a good mix with your paint stirrer and decant it into a paint tray. Use a speedbrush to apply the stain to the top and outer surfaces of your planter box. Using a speedbrush will save time and ensure an excellent finish. Josh has used the colour Resene Uluru, a lovely blonde brown. 

Resene Waterborne Woodsman is an exterior wood stain designed to colour timber, while still allowing the natural grain of the timber to show through. It’s the perfect way to add colour to new or previously stained timber without losing its natural beauty.

If you prefer, you could paint your planter instead using Resene Lumbersider Low Sheen.

10

Fill the planter box

Once your stain is dry, it’s time to get gardening! 

Line the bottom of your planter box with cardboard, then fill three quarters of the way full with topsoil. Remember the better the soil, the better your plants will grow.

Rake it smooth then add a layer of compost, followed by a final layer of topsoil.

11

Get planting!

Plant your chosen fruit, veges, herbs and flowers in your new planter box.

12

It's easy being green

Enjoy the fruits – and veges – of your labour!

About MasterStroke by Resene
MasterStroke by Resene is here to help you master your paint and decorating DIY projects. Brush up on your skills with advice, tips and ideas from our trusted experts.

Check out the latest how-to videos on our YouTube channel.