DIY projects

How to transform vintage frames with Resene testpots

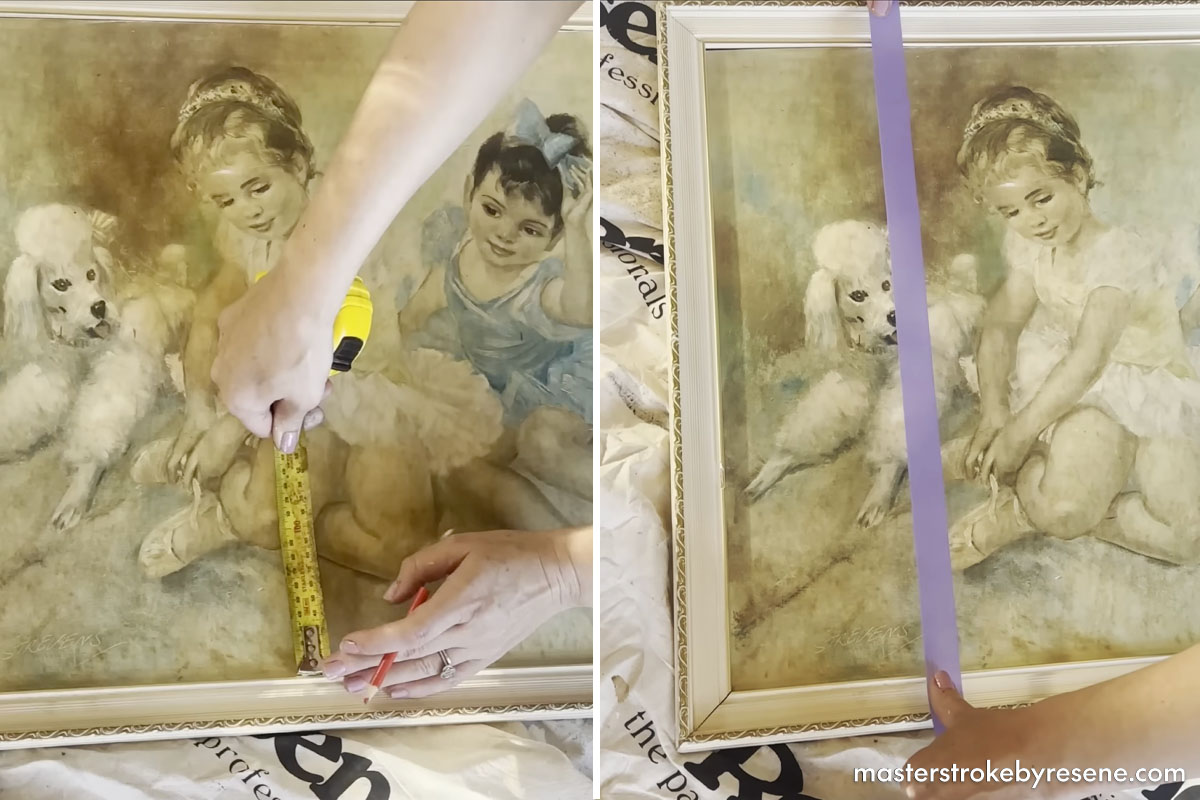
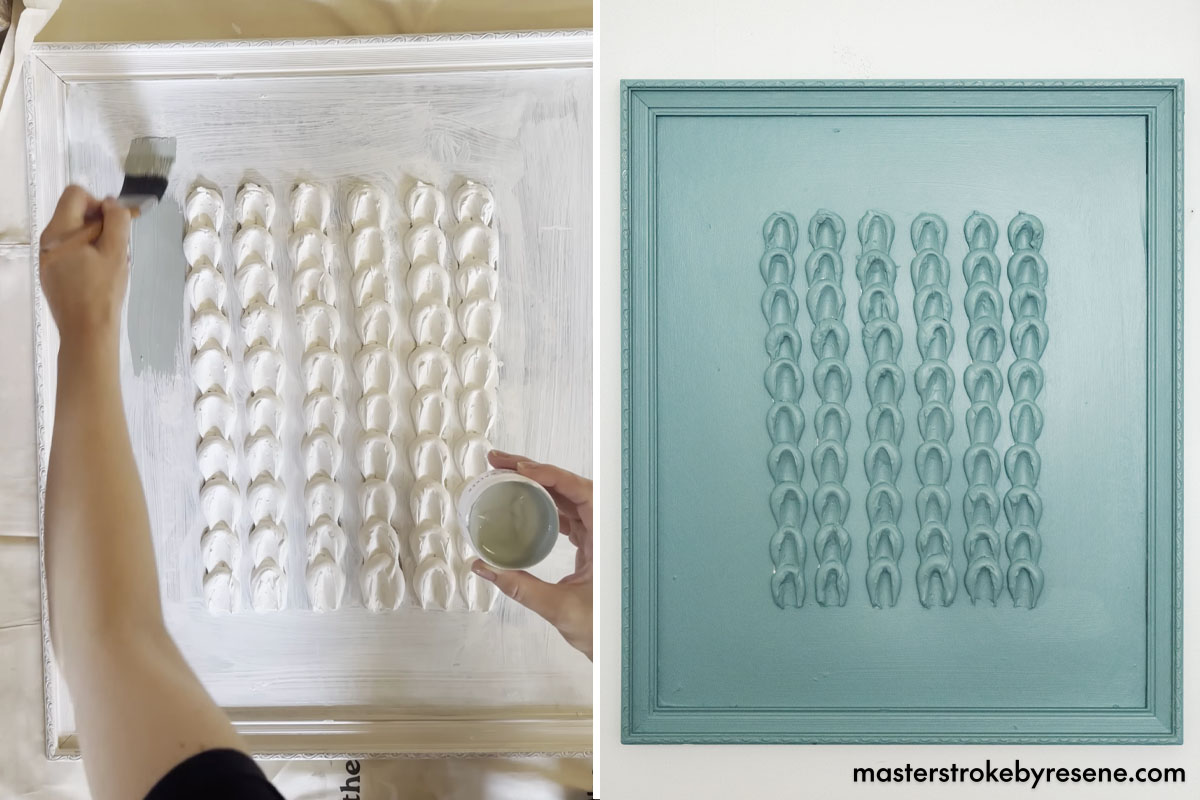
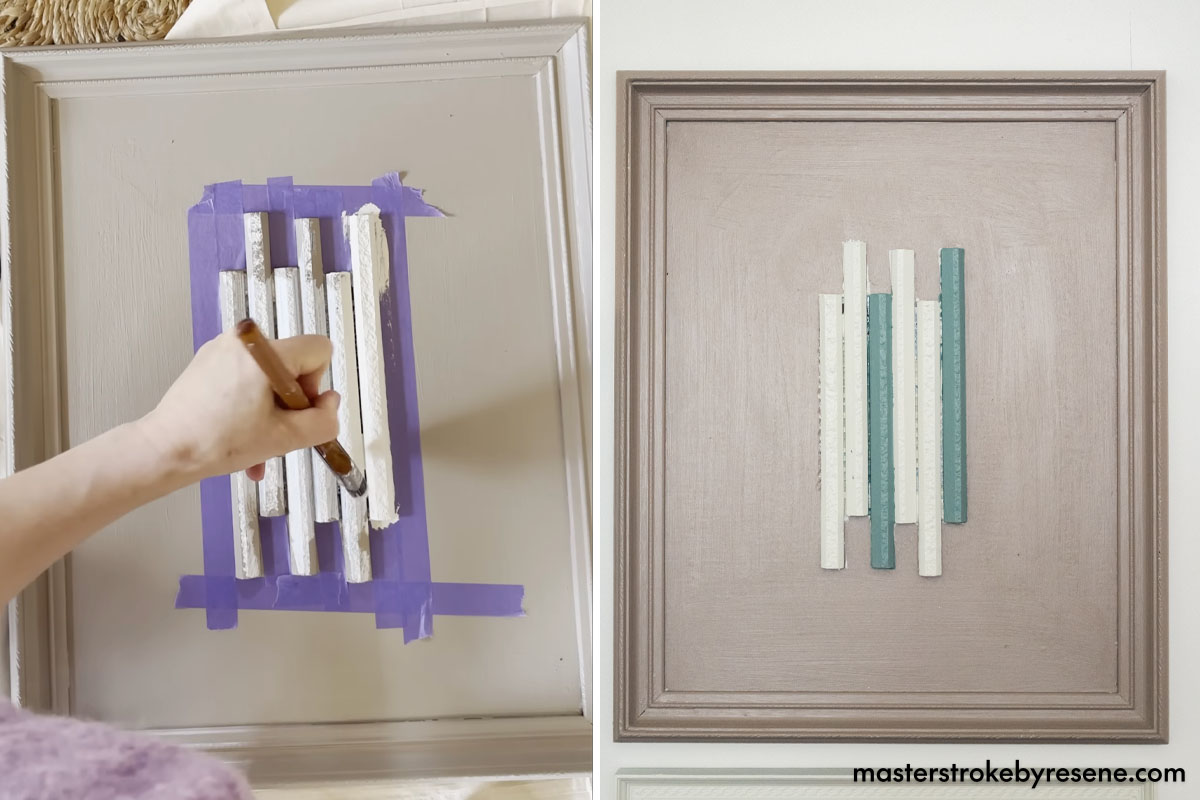
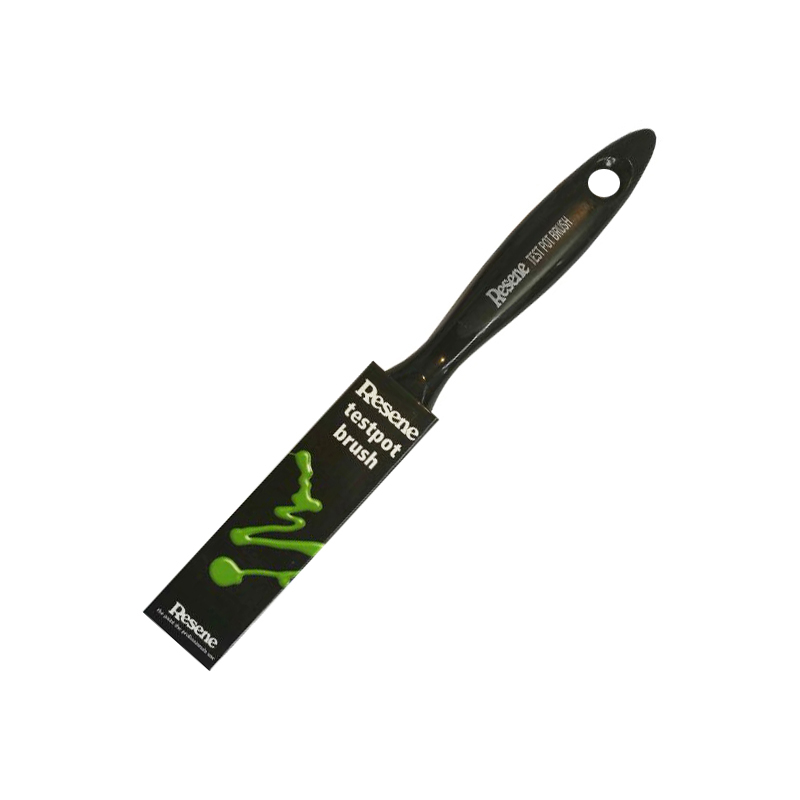
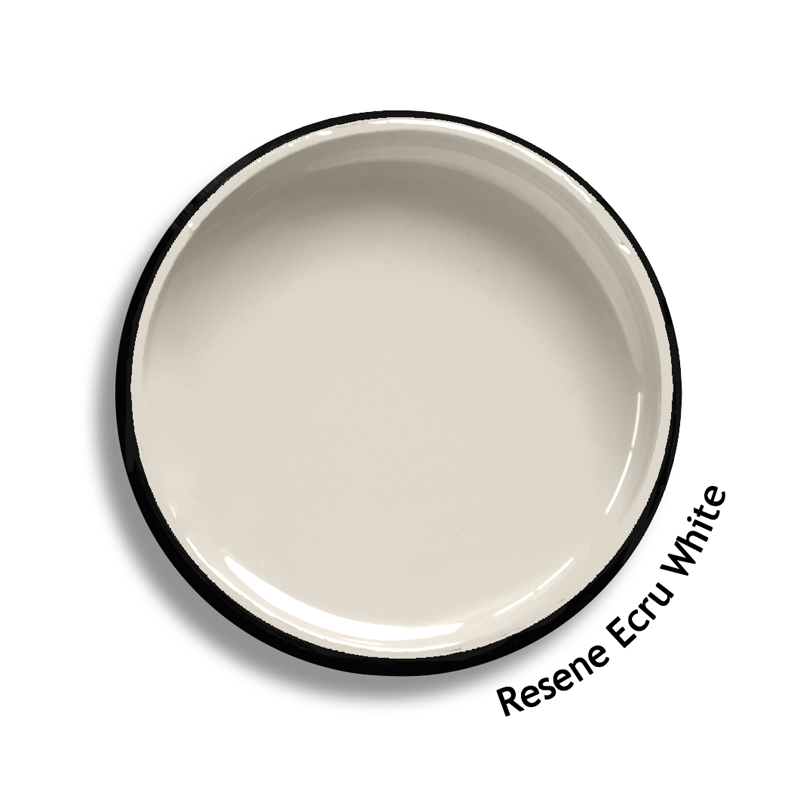
Looking for a budget-friendly way to update your space? Transform some old framed artworks into modern masterpieces using the power of Resene paint. Keen DIYer and thrift flipper Gretchen Lowe has reworked these op shop finds with a muted and on-trend colour palette using testpots from the Resene Karen Walker paint range. She wanted her designs to be bold, so painted the vintage frames as well as the old art for maximum impact. 

If you’re looking to refresh your space but aren’t ready for a major makeover (or a brand-new original piece of art), this is the perfect solution. It’s also another great project to involve the kids in – they can create an artwork for their own room while getting to know their way around a paintbrush and Resene testpots. 

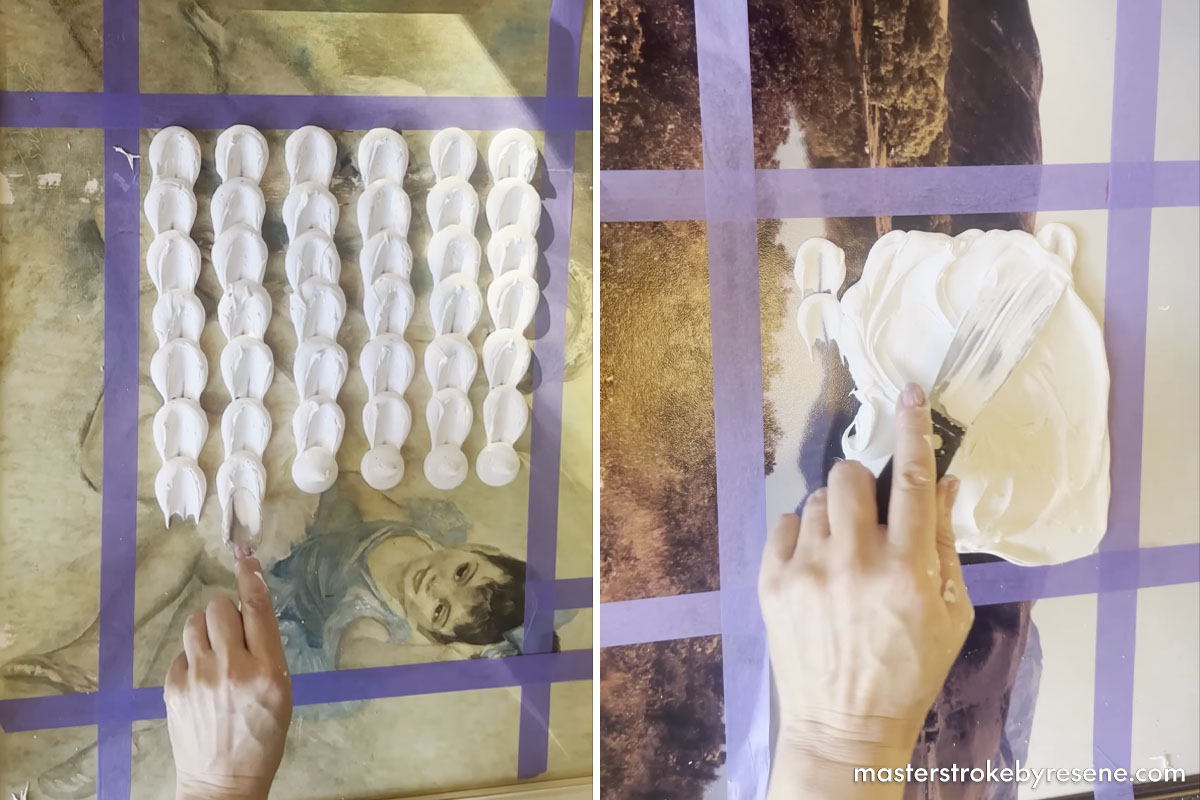
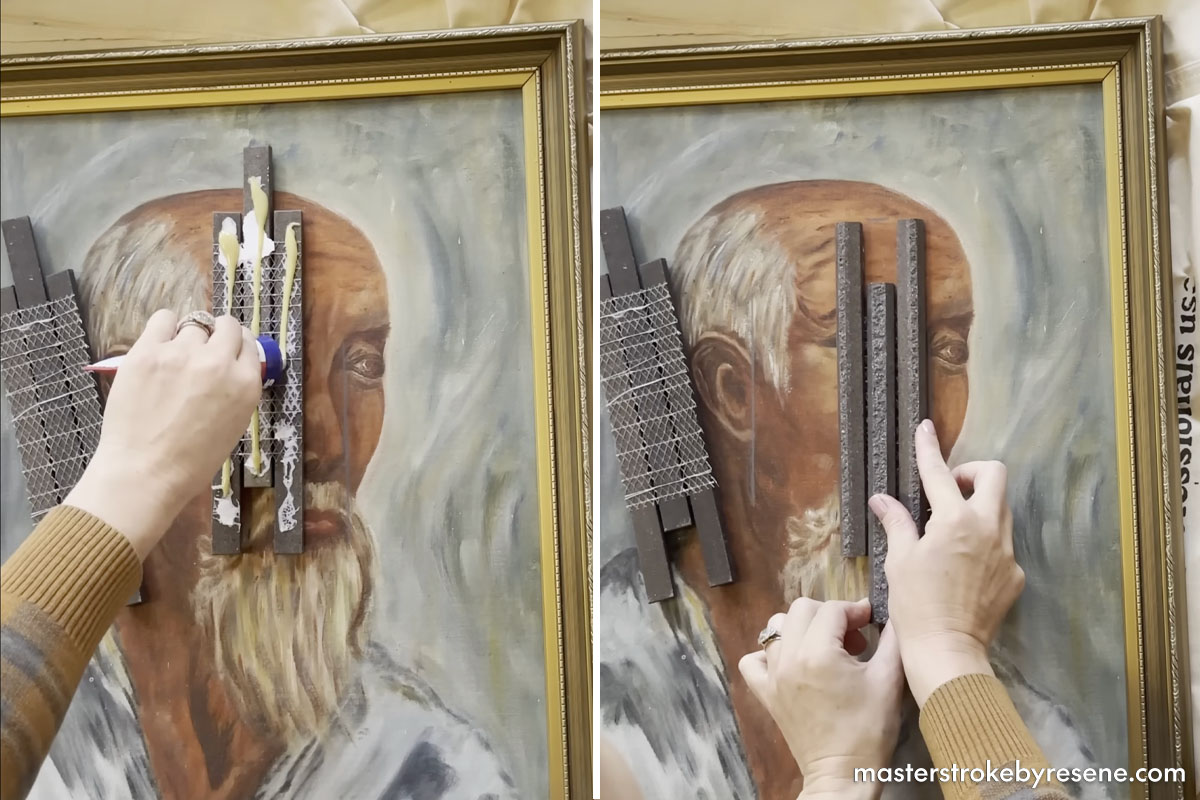
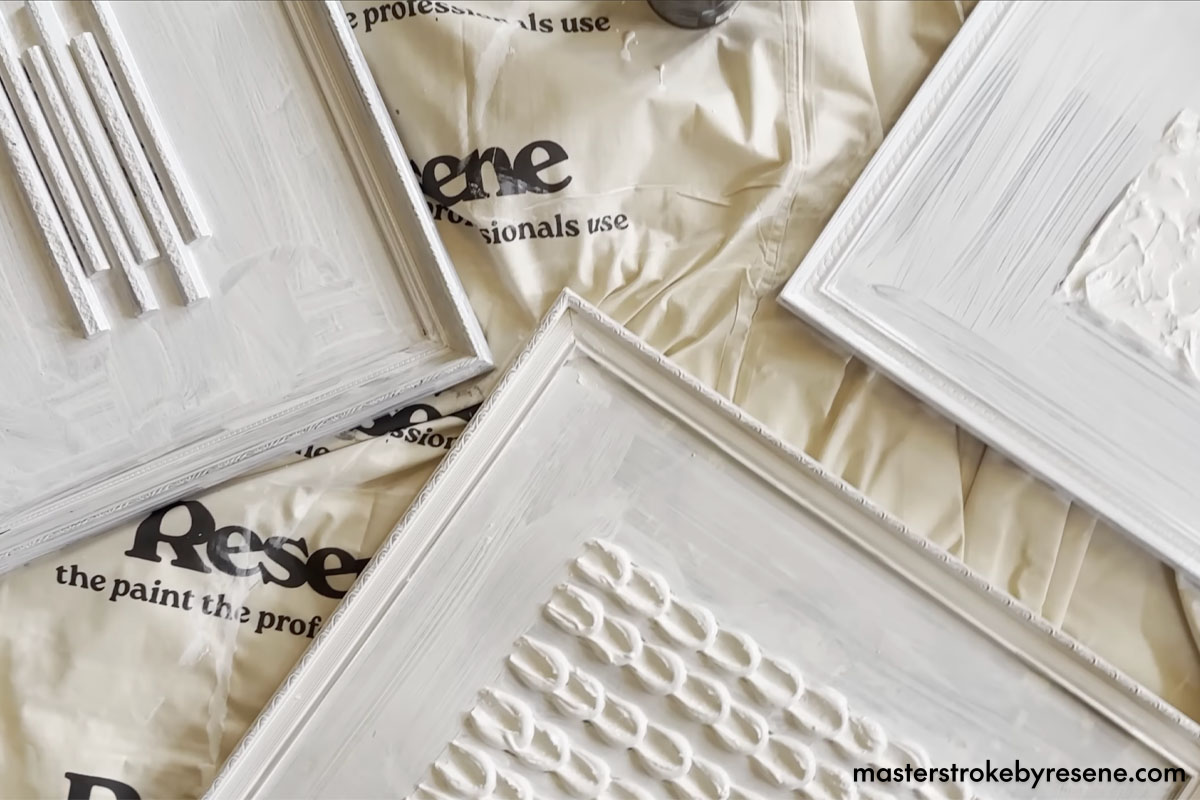
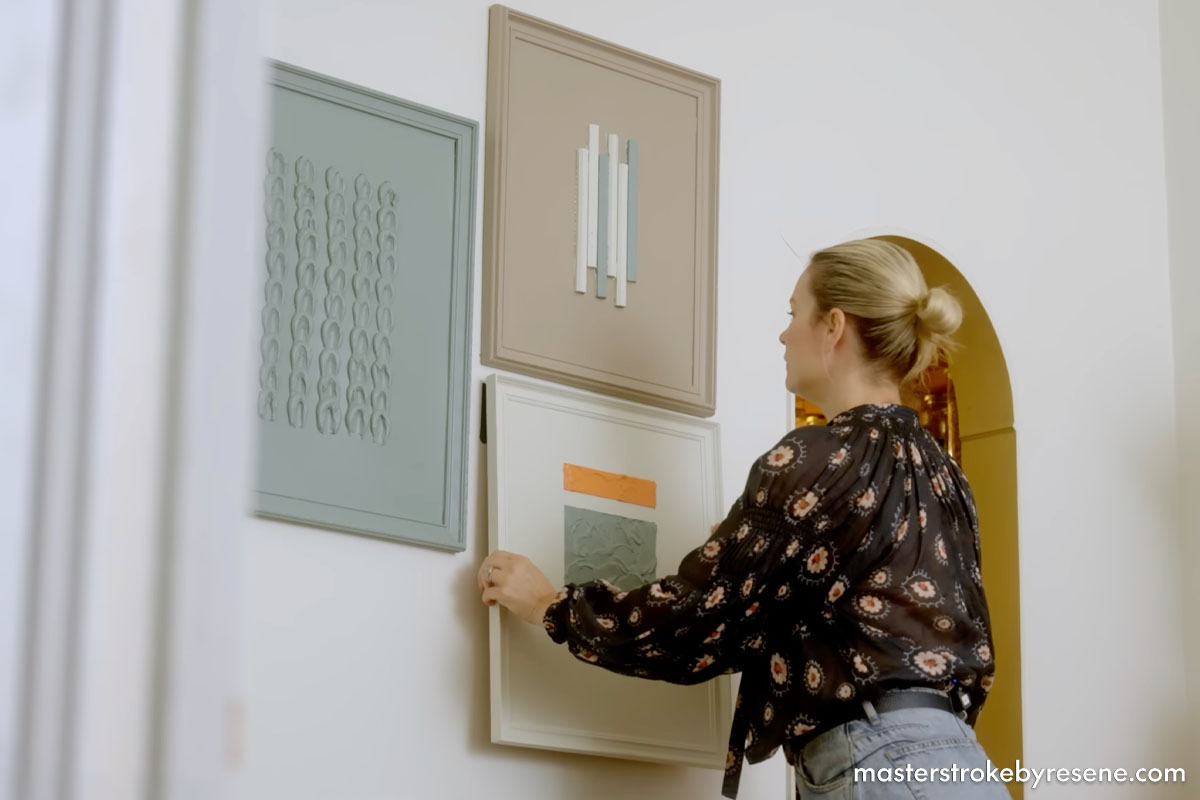
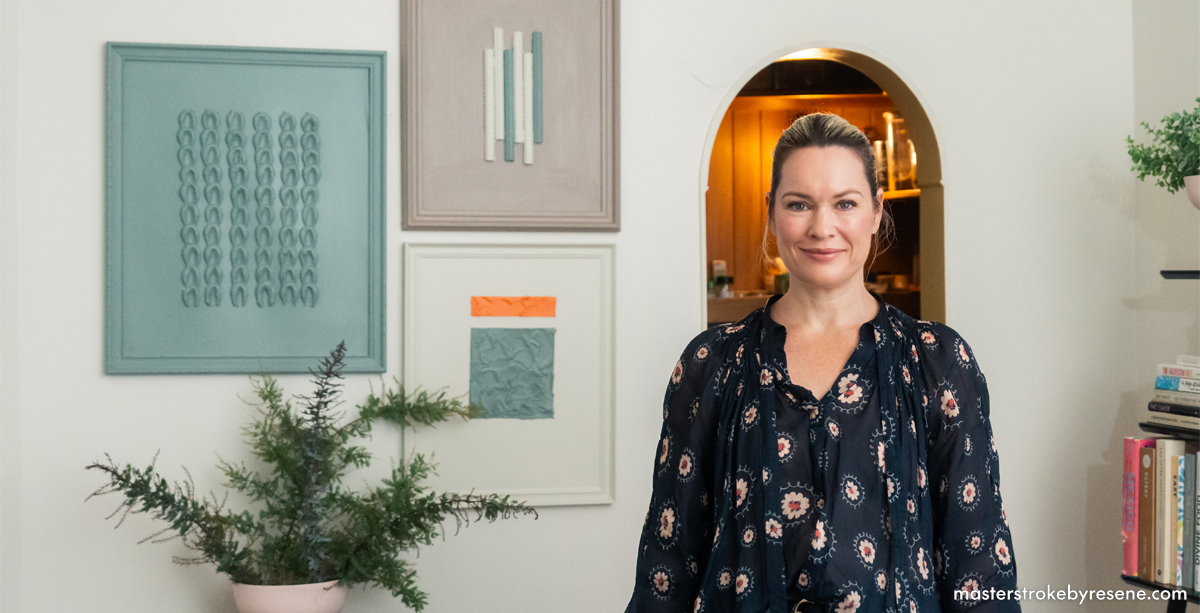
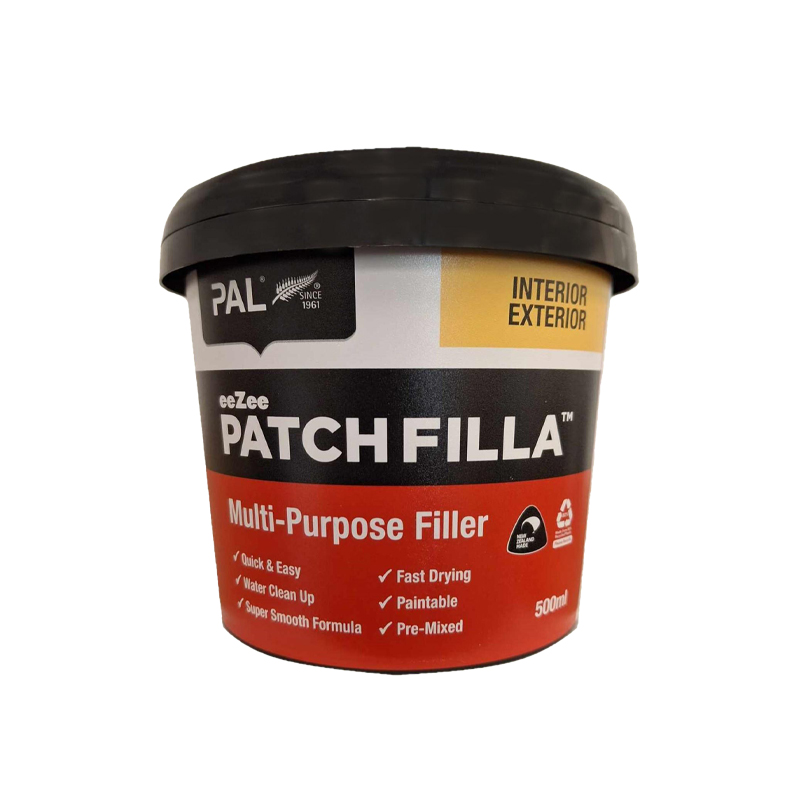
Gretchen has created some variations in texture by using PAL PatchFilla and some small tiles, and as usual she used Resene Waterborne Sureseal as a primer as it negates the need for any sanding or filling. The complementary colour palette means the artwork looks great displayed together at different heights and instantly lifts and reinvigorates the room. 

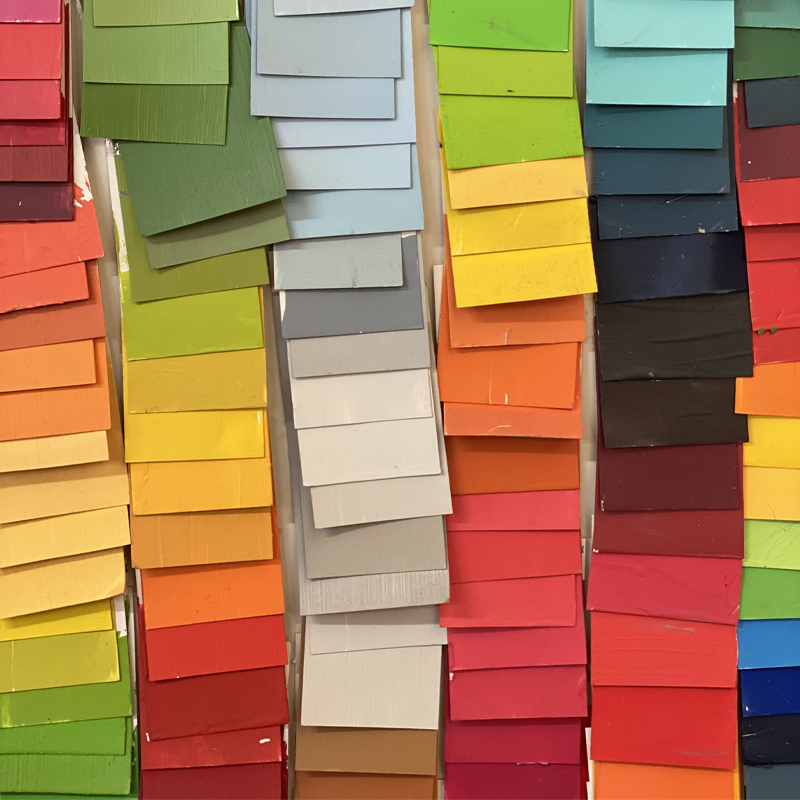
If you’re not quite sure about what complementary colours to choose for your own artworks and home environment, head into your local Resene Colorshop to get some handy advice from the staff, or use the handy online Resene Ask a Colour Expert form.

1

Measure and mark

Place down a drop cloth and lay out your old frames. Use painter’s tape to mark out areas for adding texture.

2

Add texture

Use PAL Patch Filla and putty knives to create different texture effects – Gretchen has done one with daubs of filler and one with a thick smear of filler.

3

Another way to add texture is to use small decorative tiles. Gretchen chose long, thin bevelled tiles and glued them to one of the artworks in a staggered design.

4

Base coat

After the tile glue and PAL Patch Filla are fully dry, prime each frame and artwork with Resene Waterborne Sureseal. This provided a smooth and uniform base for your Resene paint.

5

Add colour

Once the Resene Waterborne Sureseal is completely dry, it’s time to apply some colour. For the daubed filler piece, Gretchen painted the entire thing with Smoky Green.

6

Gretchen painted the two-sectioned smeared filler piece in Ecru White, then taped off the textured sections and painted the smaller in Clementine Orange and the larger in Smoky Green.

7

The tiled piece was painted in Jetsam Brown, then four of the six tiles were painted in Resene Ecru White and the final two in Smoky Green.

8

Create a gallery wall

When your paint is fully dry, arrange and hang your new custom artworks in your space.

Using creativity and Resene tespots, Gretchenn transformed thrifted art into colourful custom pieces for her home. Framed art painted in Resene Ecru White, Jetsam Brown, Clementine Orange and Smoky Green.

More from Gretchen

You’ll recognise Gretchen from The Do Up, in which she and her husband Blair transformed their Kingsland bungalow, as well as her other chic and colourful thrift flips – check out her birdbath side table, record holder bookshelf, drinks trolley, console table made from terracotta pots, bar cabinet, coffee table and Bentwood chairs. Gretchen loves colour and is not afraid to use it, and she gets a real kick out of breathing new life into much-loved pieces. 

How to use Resene testpots

While Resene testpots are great for creating custom artworks and painting pieces of furniture, their primary purpose is to help you choose the perfect colour for your paint project. Once you’ve chosen the colours you want to try, here’s how to get the most out of your testpots.

Don’t paint directly onto your wall, as the existing colour will affect the appearance of the new colour. Use your Resene testpots to create your own swatches instead. To create a test swatch, take a piece of A3-sized white card and apply two coats of your chosen Resene colour using a Resene testpot brush, leaving an unpainted border around the edge. 

Allow the card to dry and use Blu-Tack to attach the card to the wall so it’s nice and flat. Observe the swatch at different times of the day and night to see how the colour changes with different amounts of daylight and under artificial light. Move the swatch onto other walls or rooms to make the same observations. A colour will look quite different in a north-facing room with lots of light compared to a darker south-facing room.

About MasterStroke by Resene
MasterStroke by Resene is here to help you master your paint and decorating DIY projects. Brush up on your skills with advice, tips and ideas from our trusted experts.

Check out the latest how-to videos on our YouTube channel.