DIY projects

How to paint wooden deck chairs

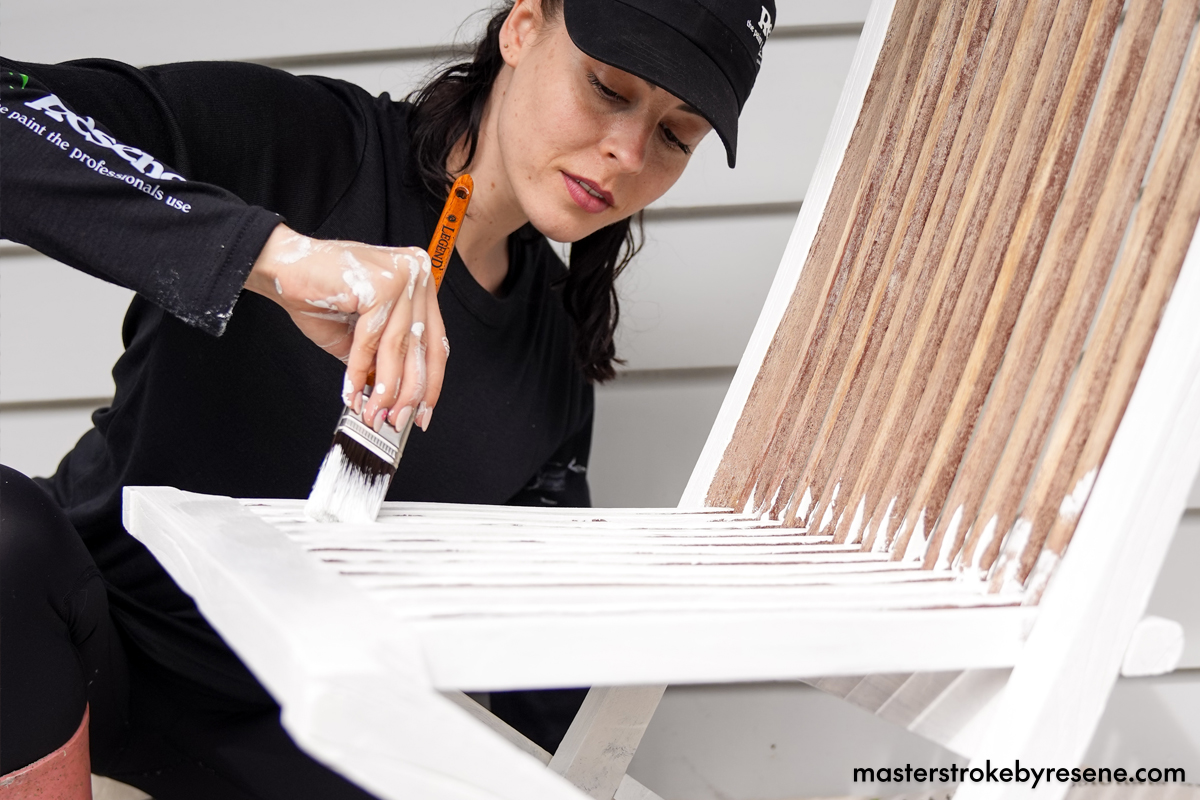
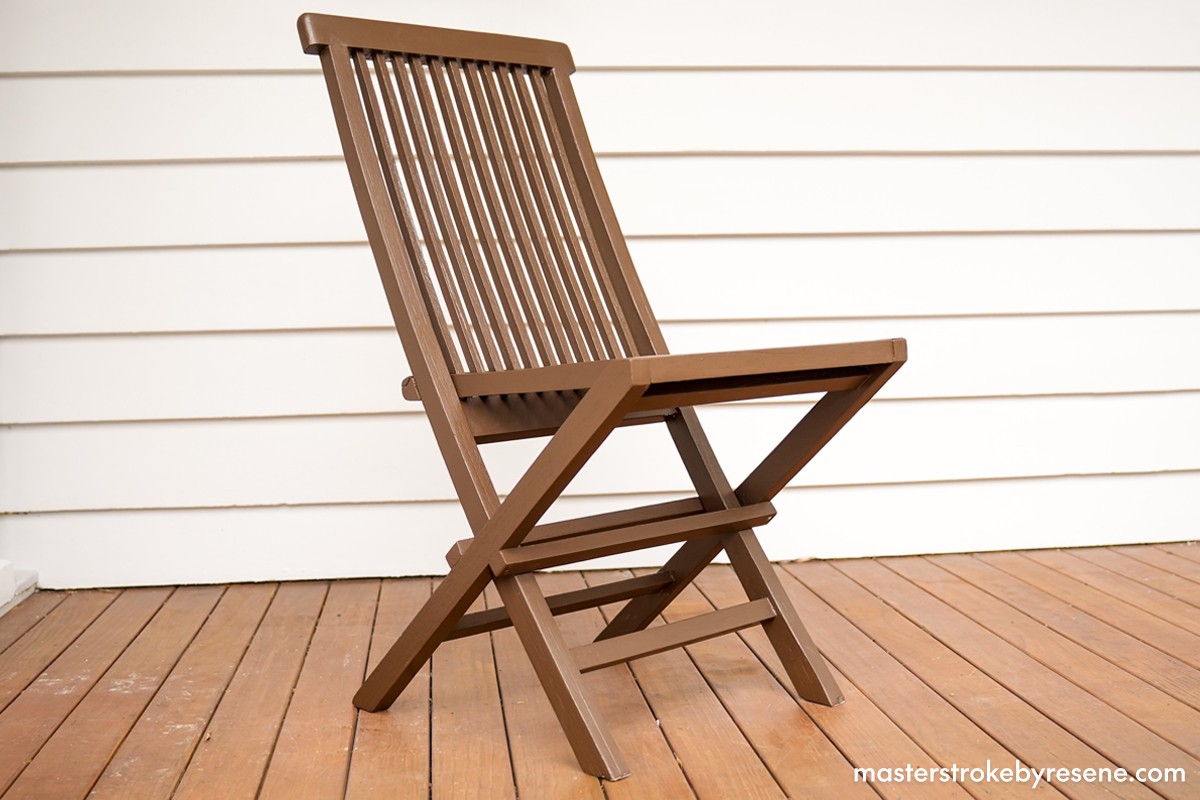
Are your old deck chairs looking a little worse for wear? Don’t take them to the tip just yet. With a little TLC, the right Resene treatment products and a lick of Resene paint, you’ll have them looking good as new in no time. This will not only refresh their appearance, it’ll actually protect the deck chairs from the elements in years to come. 

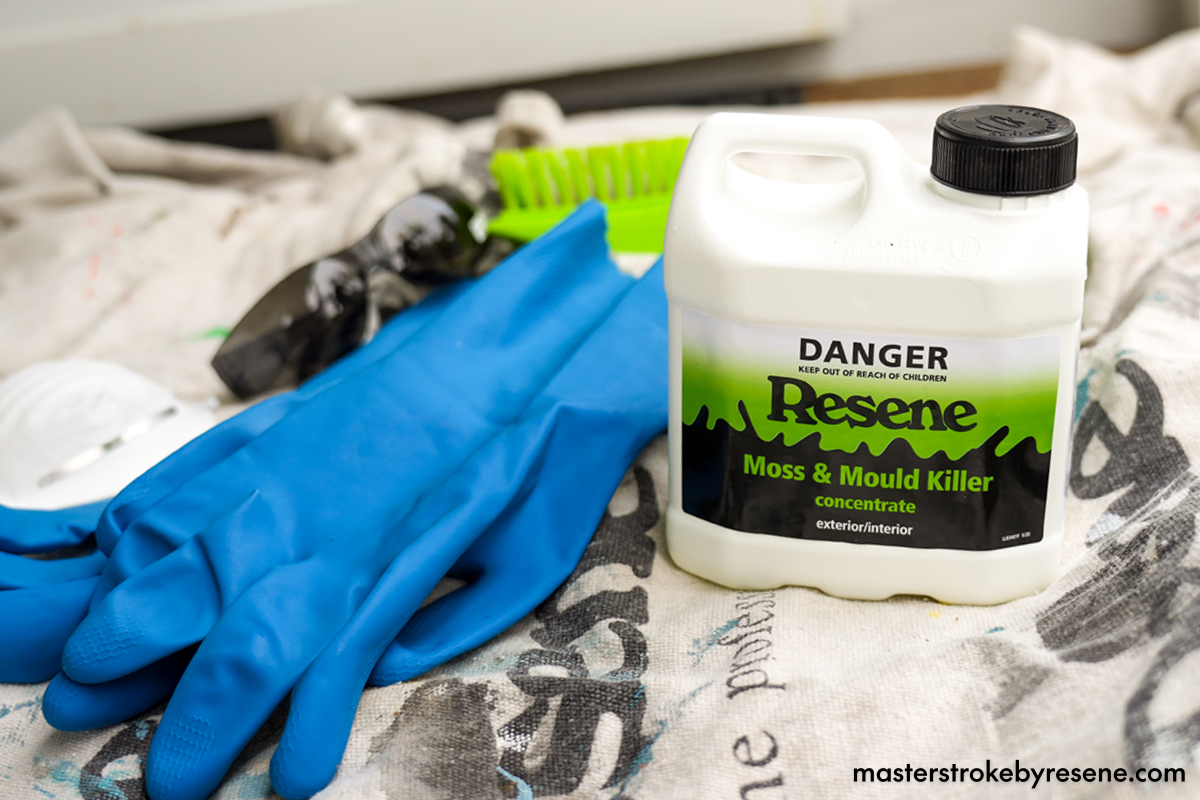
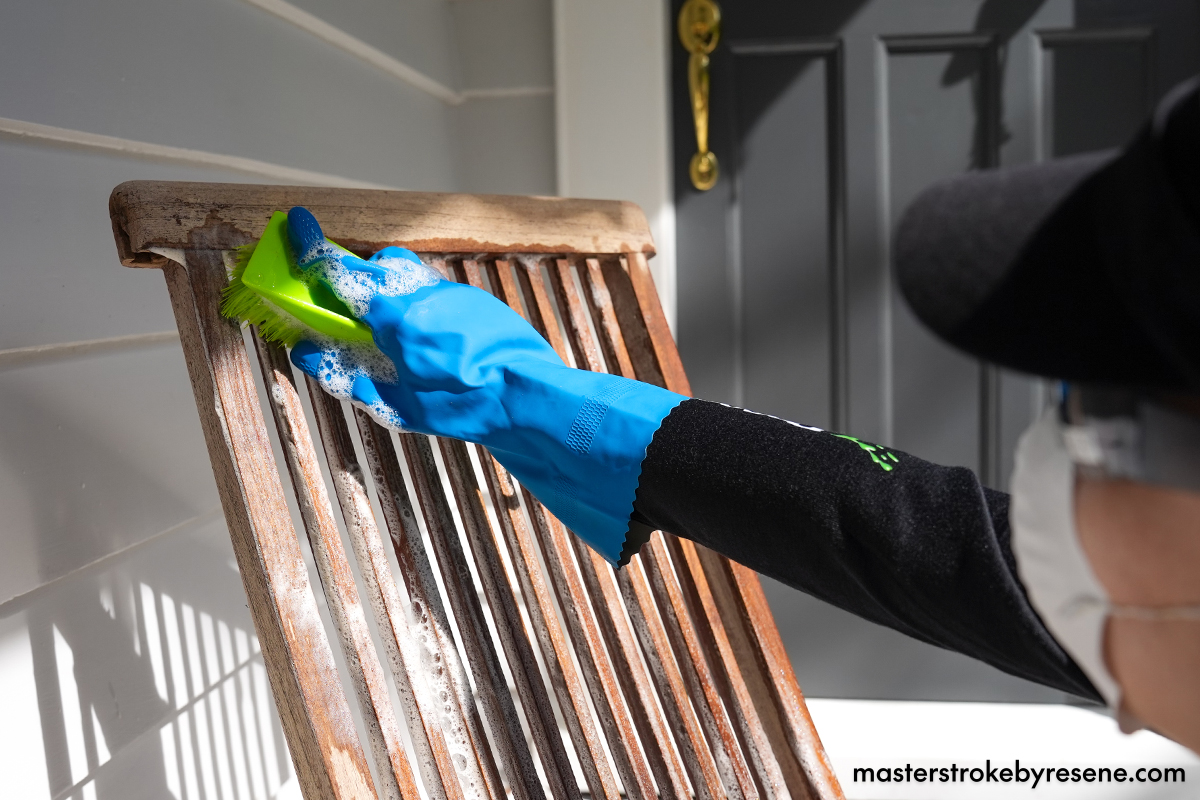
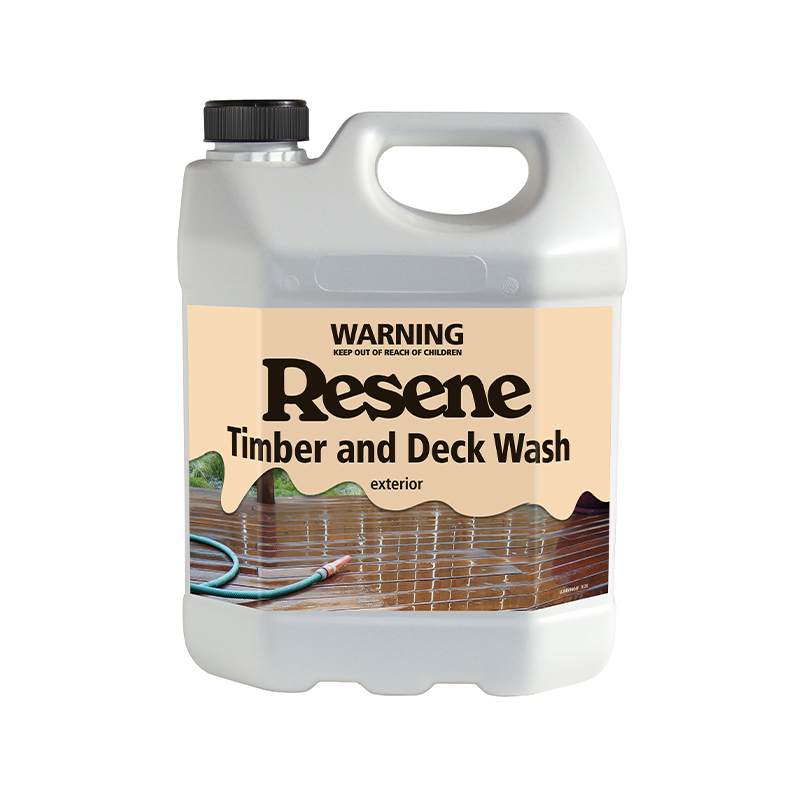
After a long, wet winter, your wooden outdoor furniture may look like it’s seen better days, as rain and ongoing dampness can wreak havoc on the wood. So, before you paint, your deck chairs need to be treated for moss and mould and then washed with the right cleaning products. 

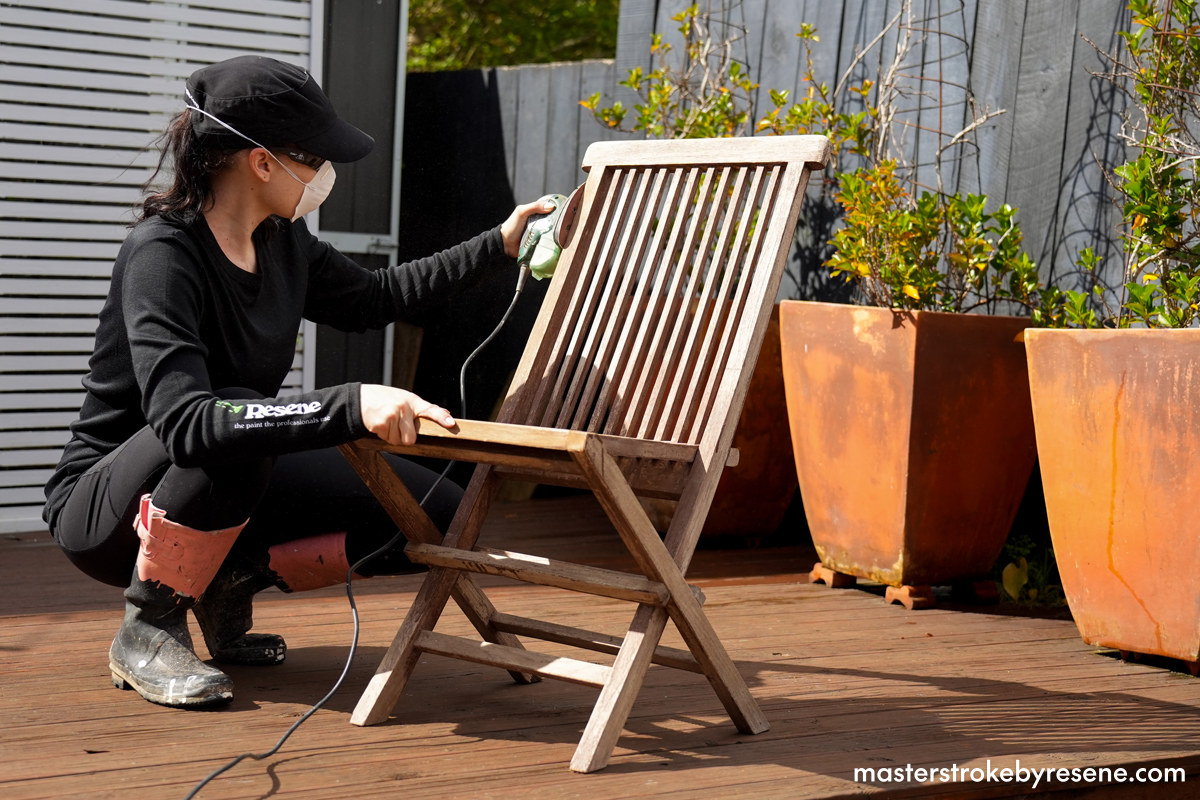
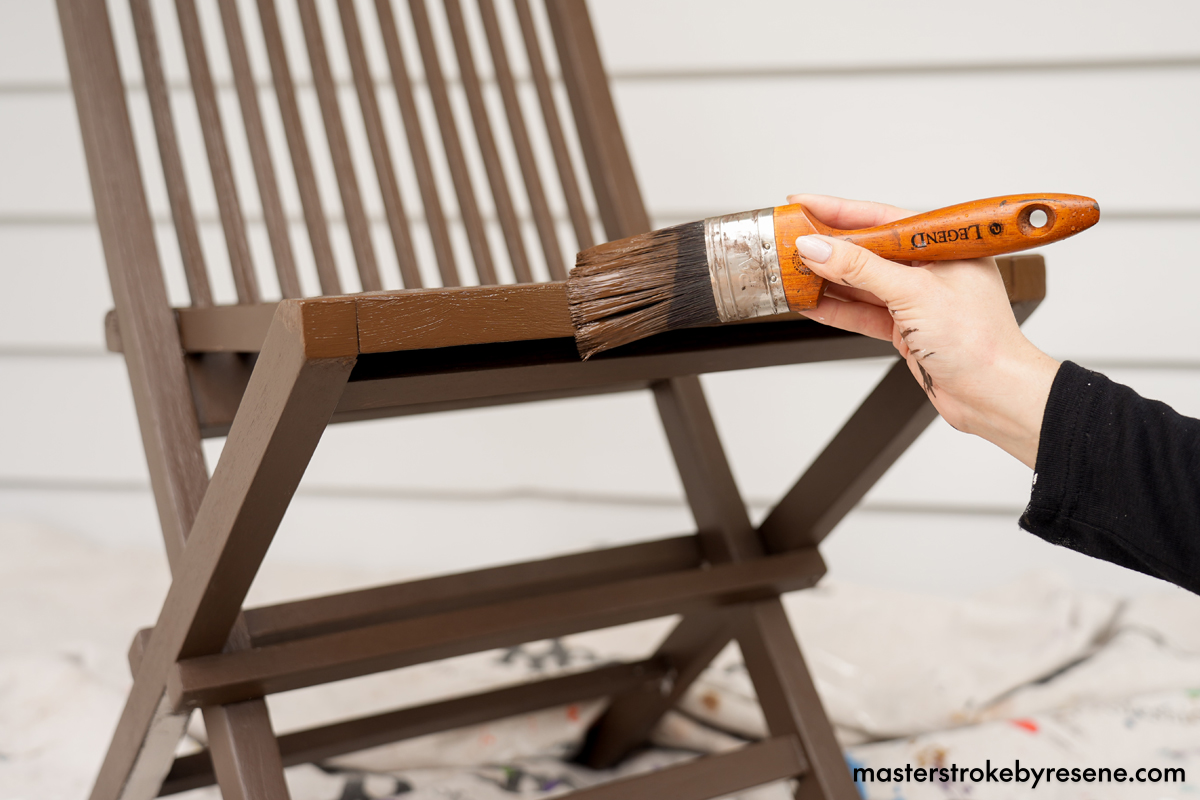
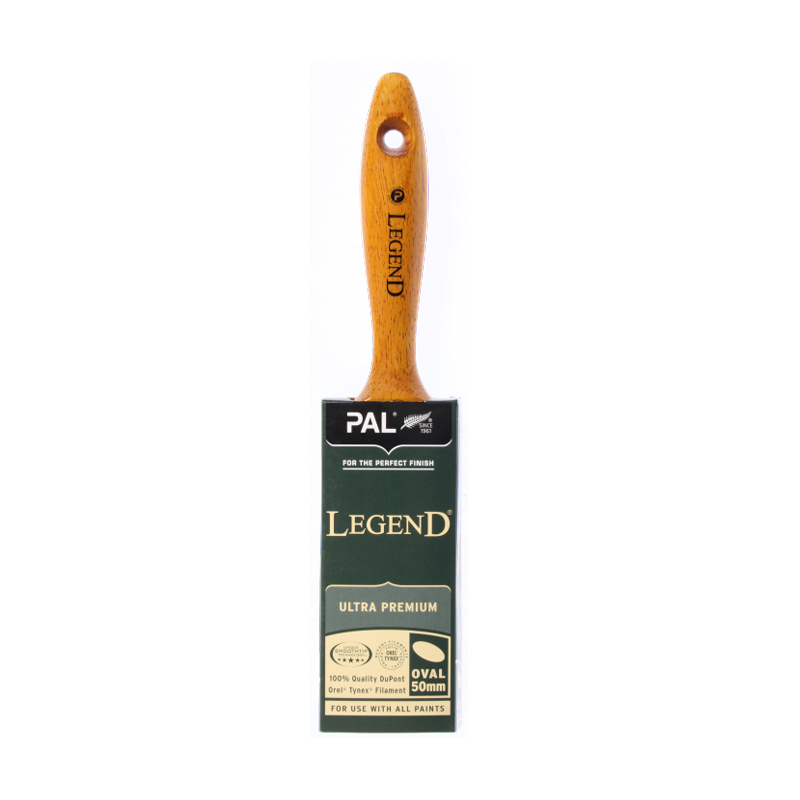
Refurbishing furniture saves it from the landfill and is an easy weekend job. In this Odd Jobs video, Melissa shows you an easy step-by-step process for painting deck chairs. Before you begin, assemble all your equipment so you have it on hand and ready to go.

.

1

Minimise moss and mould

If your deck chairs have been kept outside during winter, it’s highly likely they’ll have developed moss, mould and algae. Resene Moss & Mould Killer has been specifically designed to remove this from surfaces. Follow the dilution instructions on the pack and mix the Resene Moss & Mould Killer with water in a large bucket. 

Put on your protective gear – gloves, glasses and mask – and apply the solution directly onto all areas with mould. To get into the small areas, decant it into the cap and use a small paintbrush to spot touch each patch. Then use a scrubbing brush to scrub all wooden surfaces thoroughly, making sure you get into every nook and cranny. Leave it for 48 hours outside to penetrate.

2

Wash the timber

Don your protective gear once again and follow the dilution instructions on the pack of Resene Timber and Deck Wash, mixing it with water in a large bucket. Apply it over all of your chair and make sure it stays wet for 15 minutes, then use the scrubbing brush to give all the surfaces another good going over and rinse with the hose when you’re done. 

Resene Timber and Deck Wash provides an immediately cleaner surface, which will help your stain or paint stick better so it lasts longer.

Note: Don’t think about using a water blaster here, as it’ll most likely damage the fibres of the timber. 

3

Sand and smooth

After washing, the timber may have some areas of fur and there may be some small patches of stain left. Sand to remove these and smooth out the surface for painting. 

Always wear a mask and gloves when sanding. Use 180 grit sandpaper to sand all surfaces – an orbital sander will make short work of the larger areas, while using sandpaper by hand is your best bet to get to any tighter spots. Brush away the dust thoroughly or use a damp cloth.

4

Prime time

Give your Resene Quick Dry waterborne primer undercoat a good stir, then decant it into a paint pot. Doing this will ensure any dust or dirt on your paintbrush won’t contaminate your entire can. 

Set down your Resene drop cloth and place the furniture you are painting on top. Then use a paintbrush to apply – Melissa used a PAL Legend Oval brush. Wait 30 minutes for it to dry.

5

Get painting

Decant your Resene Lumbersider Low Sheen into a paint pot. This product is the perfect choice for outdoor furniture as it’s durable, easy to apply and comes in a huge range of colours. Melissa has chosen the colour Resene Sambuca – a dark brown mix of coffee beans and aniseed. 

If you prefer a higher sheen finish, you could use Resene Lustacryl semi-gloss waterborne enamel or Resene Enamacryl gloss waterborne enamel instead.  The lower the gloss the more any imperfections will be hidden. The higher the gloss the easier the chairs will be to wipe clean.

Apply the first coat and then use a smaller paintbrush for the tighter areas. Allow this to dry before applying a second coat. 

If you’re planning a dark colour, consider using the Resene CoolColour version of your colour to help reflect more heat and keep your chair cooler.

6

Finito! You’re done.

Your deck chairs will be looking as good as new and are primed and protected to endure future weather conditions.

Top tip

If you’d prefer a stained finish rather than a painted one, you have a few options to choose from:

About MasterStroke by Resene
MasterStroke by Resene is here to help you master your paint and decorating DIY projects. Brush up on your skills with advice, tips and ideas from our trusted experts.

Check out the latest how-to videos on our YouTube channel.