DIY projects

Make your front entrance porch perfect with these simple steps

Give your porch area a pre-winter deep clean by staining the deck, painting the front door and adding painted accessories like coat hooks and a checkerboard doormat. House painted in Resene Grey Friars, trim in Resene Sea Fog. Door, wood stacker and doormat painted in Resene Edward, and hooks in Resene Milk White.

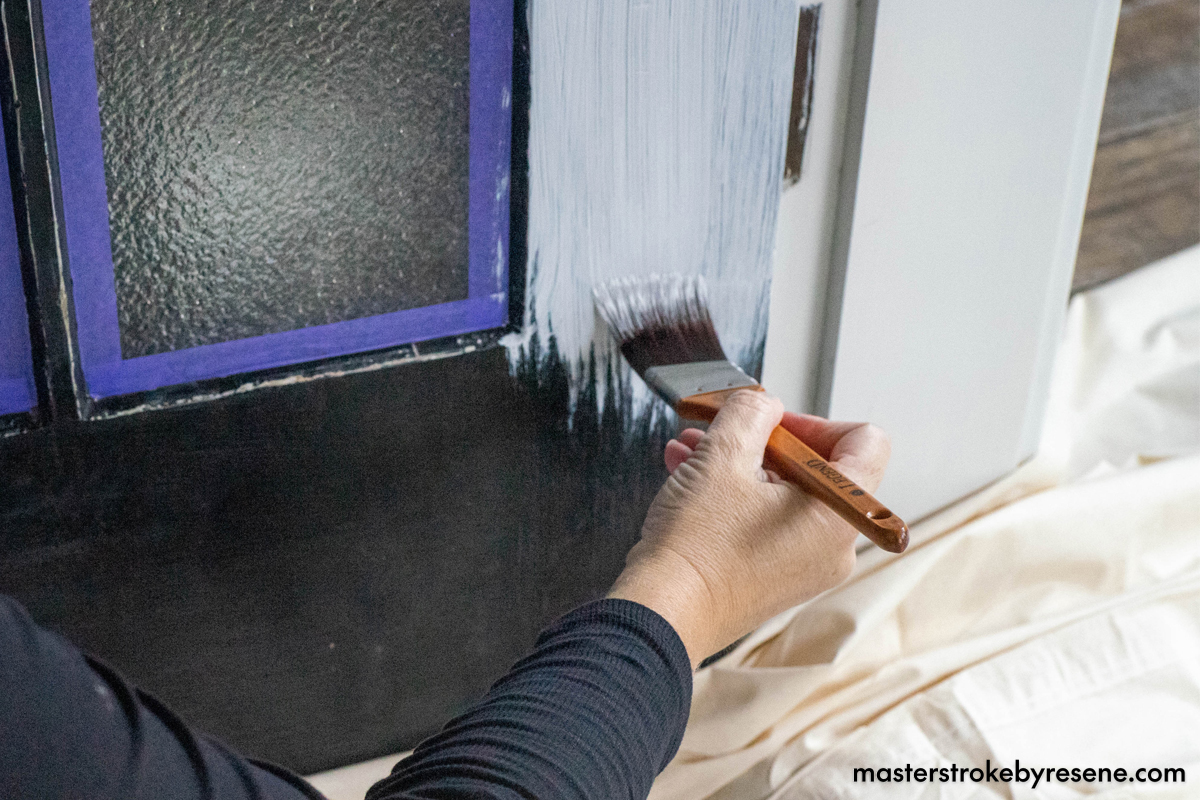
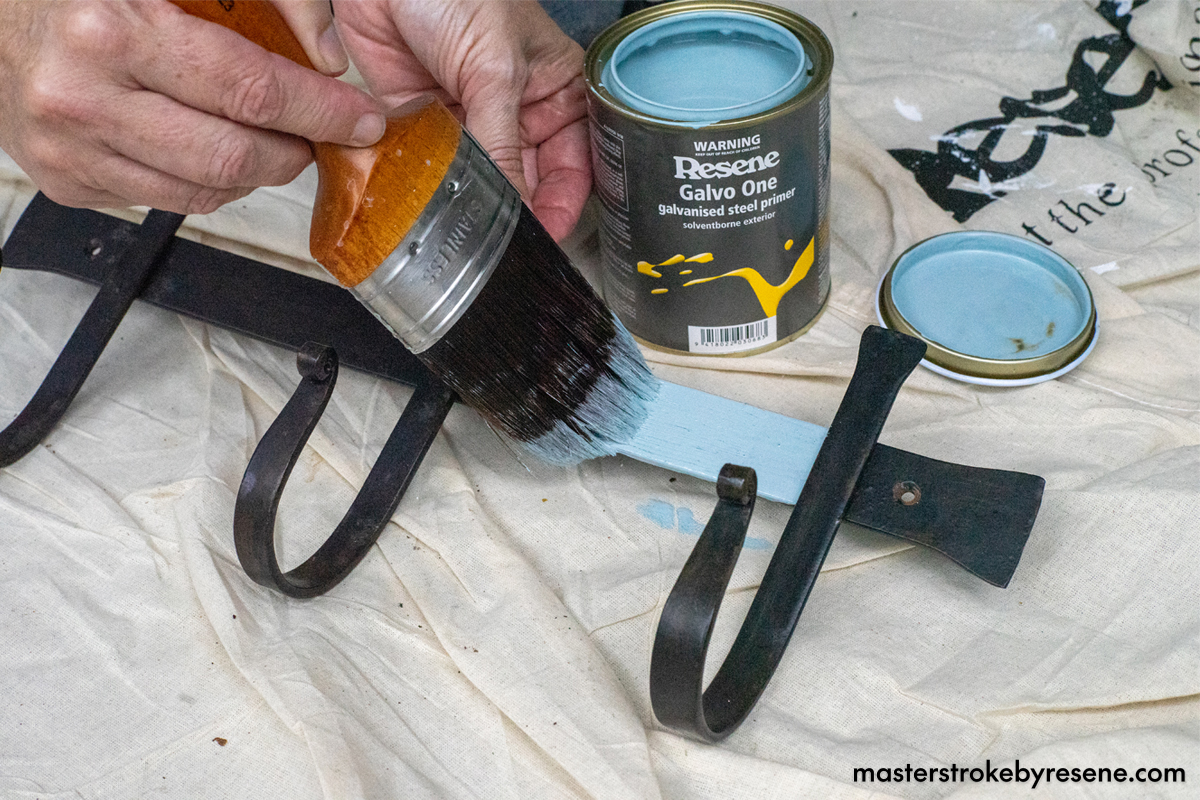
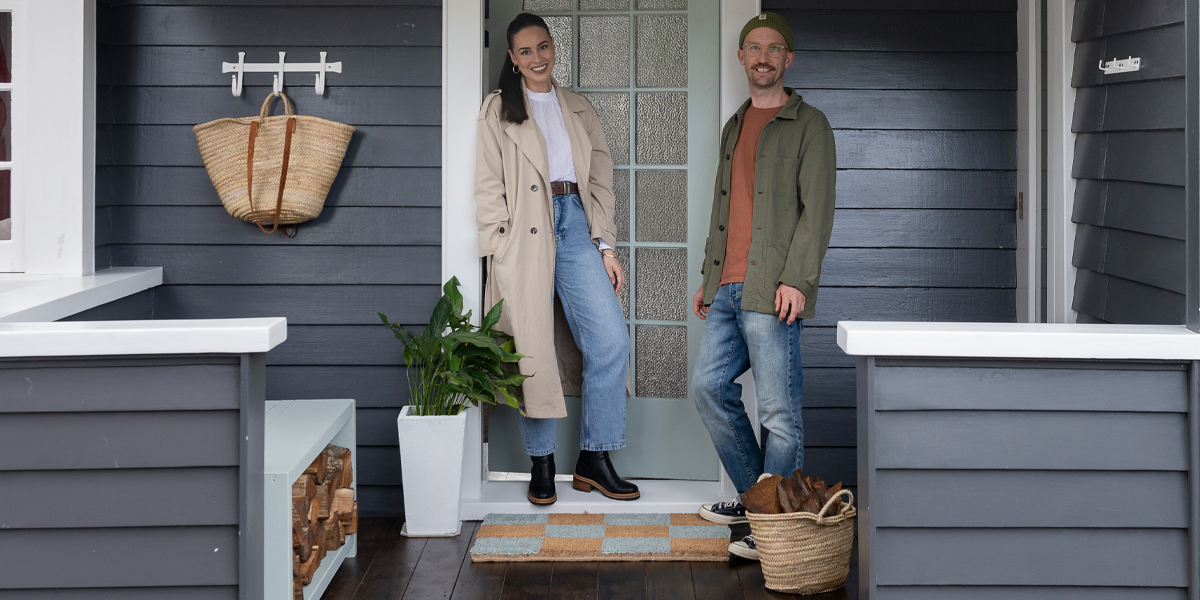
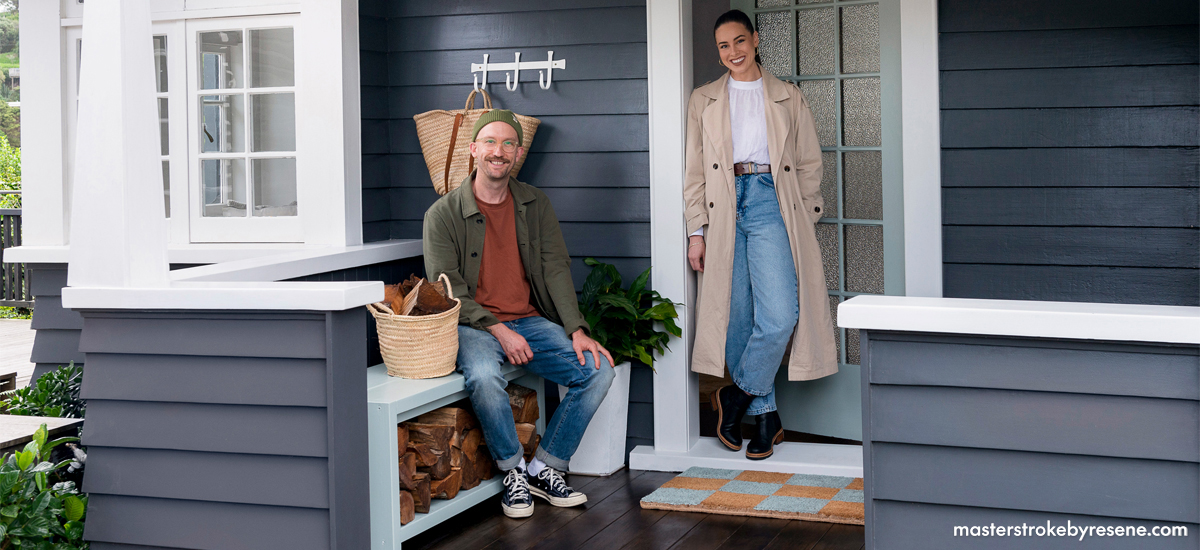
Cleaning and updating a covered porch as a winter DIY project can be a super satisfying way to spruce up your home’s front entrance. The best place to start is by painting the front door a vibrant hue as this will give your porch a splash of colour and add some individuality to your home. It’s always a good idea to choose a Resene paint colour that complements the exterior of your home but still makes the door pop. 

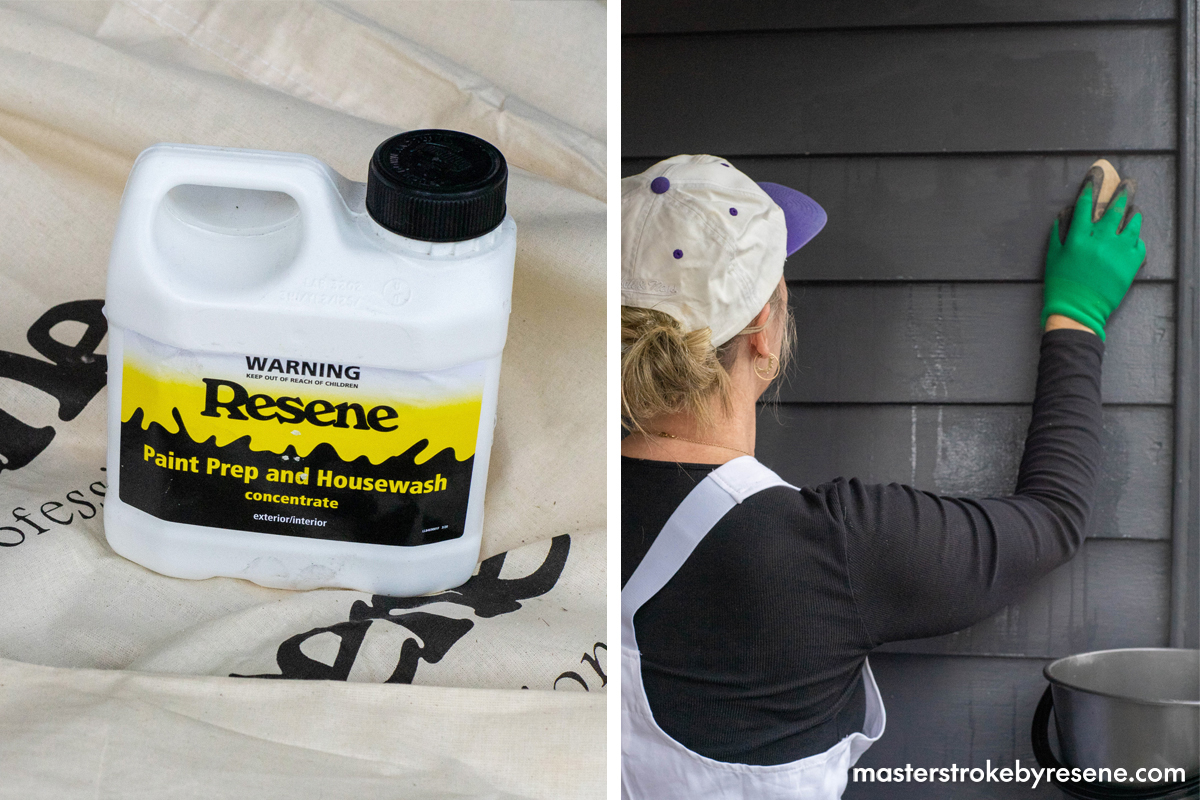
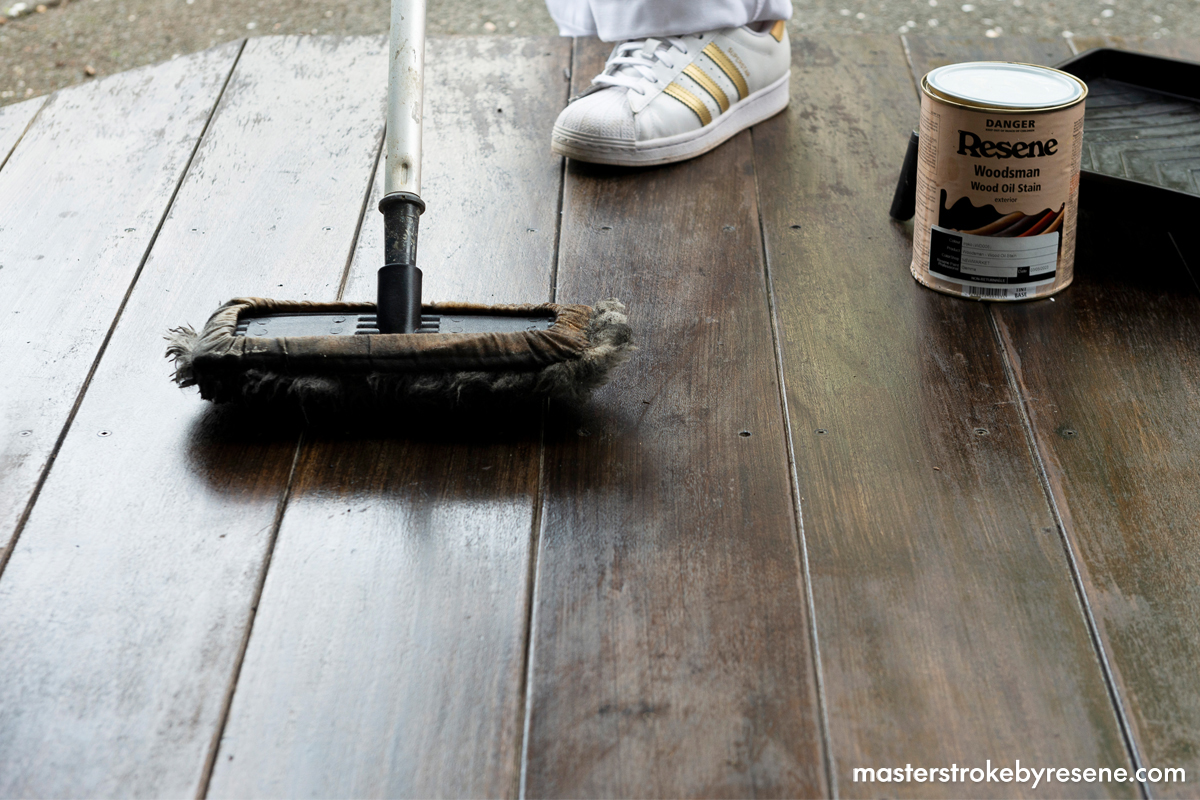
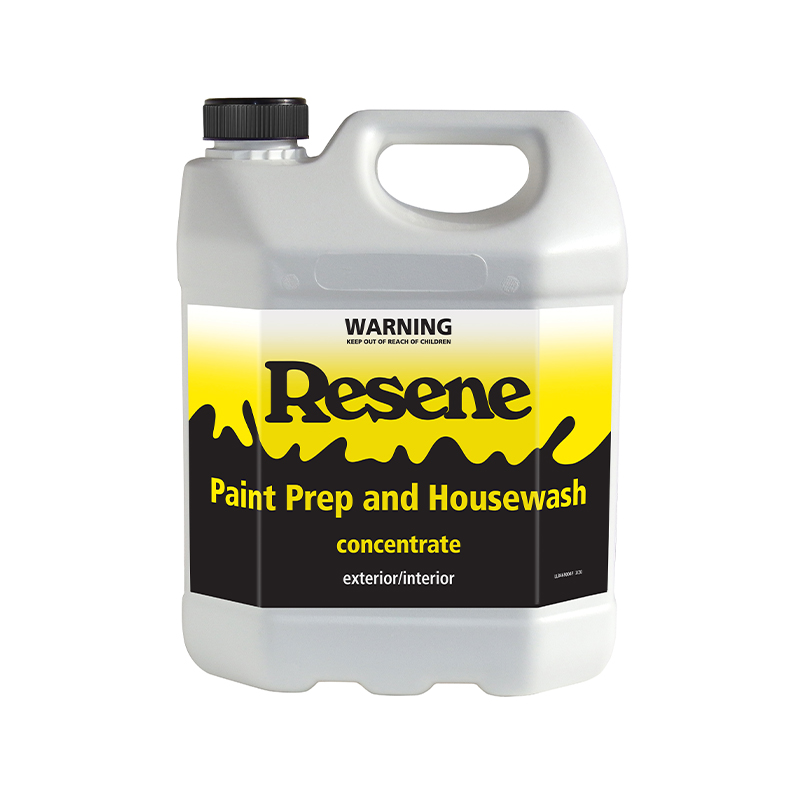
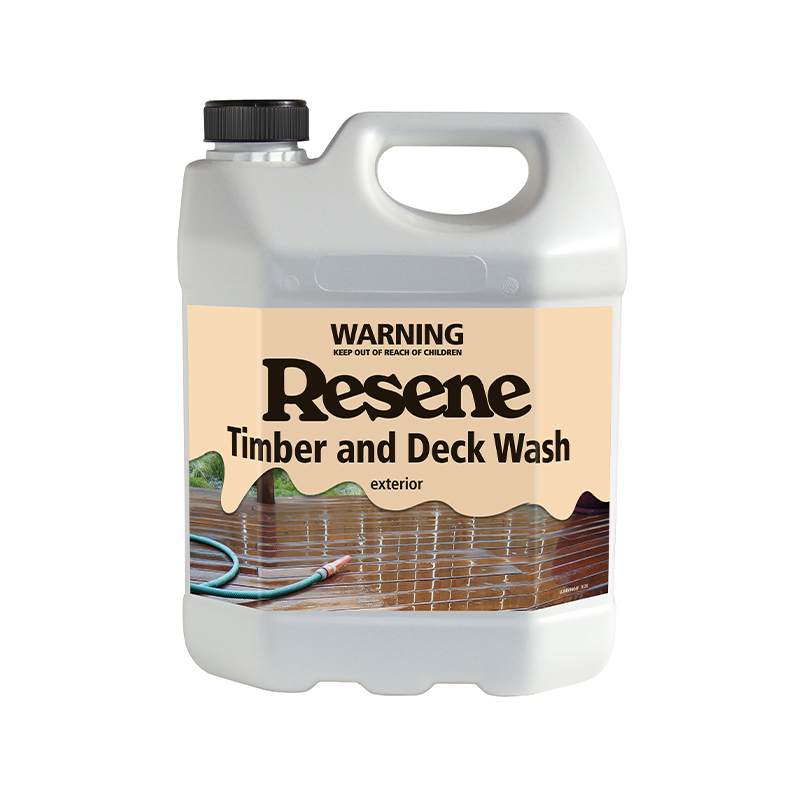
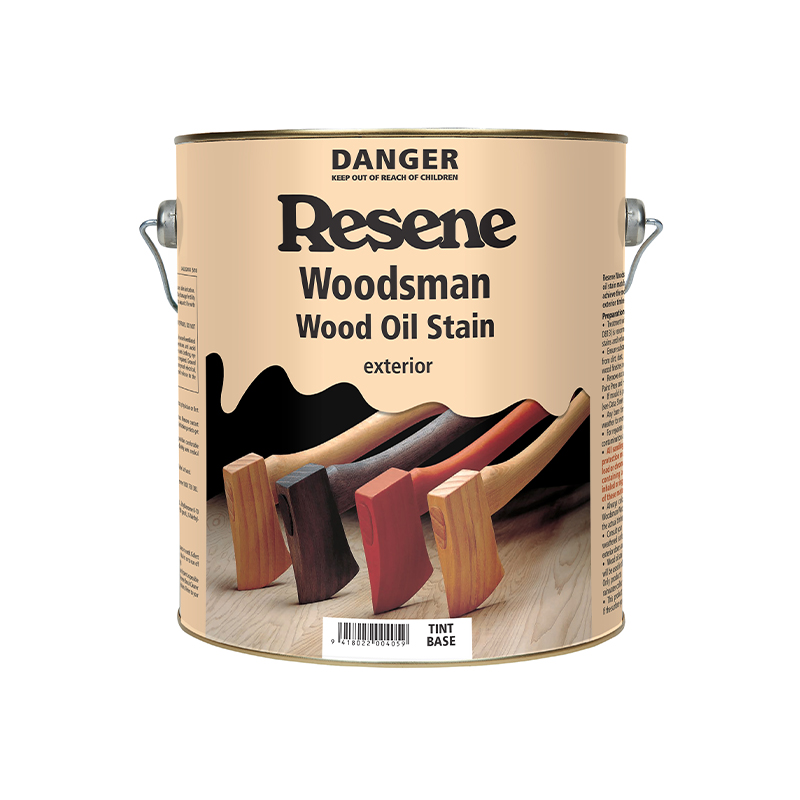
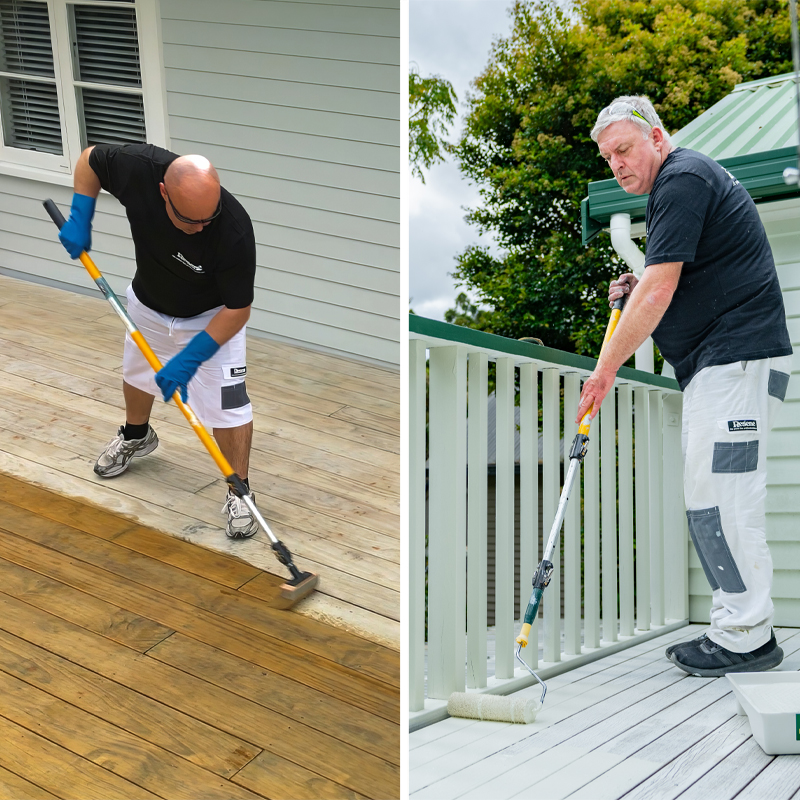
Next up, it’s time to stain your porch floor. Choosing a good Resene wood stain helps to protect the wood from the elements while also giving the porch a fresh, updated look. To begin, thoroughly clean your porch floor with Resene Timber and Deck Wash and allow it to dry completely. 

Once dry, stain the entire floor using a Swish lambswool floor applicator (we picked ours up from our local Resene ColorShop). Apply the stain in long strokes, similar to mopping the floor. The number of coats you apply will depend on the condition of your porch – for most projects you’ll need two coats. Take care not to apply too much as it needs to penetrate into the timber, not sit on top.  Allow plenty of dry time in between coats so your porch is nice and dry before anyone steps onto it. 

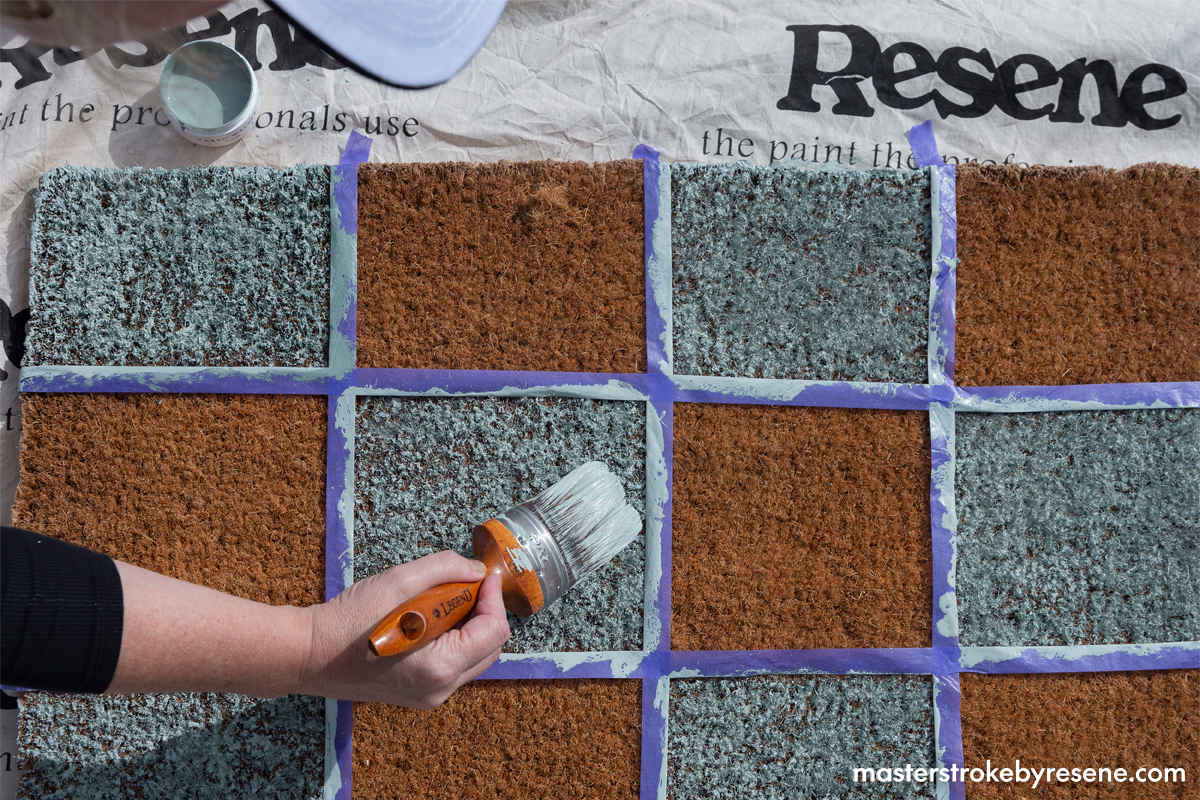
Painting your doormat is a great way to take advantage of the current trend for geometric patterns without doing anything too permanent to your floor. This creative project adds personality to your porch and makes it welcoming for visitors. Choose a plain doormat and use Resene testpots to paint the design, or paint your own welcome message or fun design. Be sure to allow the paint to dry completely before using.

Top tips:

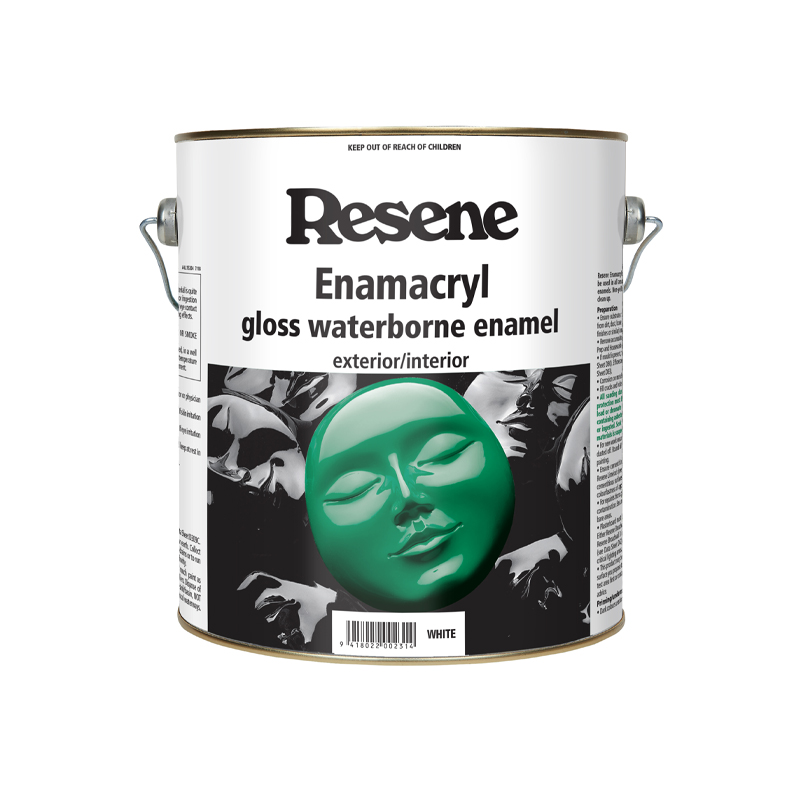
  • Use a gloss finish like Resene Enamacryl to make your front door colour stand out.
  • Stain your deck on an overcast or cloudy day so it doesn’t dry out too quickly. You want the stain to have time to soak into the timber before night falls, so start early enough in the day so the stain can penetrate into the wood rather than drying out on the surface.
  • If you’re choosing a dark colour, consider using a Resene CoolColour version. It’s designed to reflect more heat to help keep your paint and project cooler.

  • Scrubbing brush and bucket
  • Screwdriver
  • Resene drop cloth
  • Paintbrush
  • Paint pot
  • Floor applicator

1

Porch prep

Using a bucket, scrubbing brush and soft cloth, clean your front door, porch weatherboards and ceiling with Resene Paint Prep and Housewash, then allow time to dry.

2

The door

Remove the door hardware with a screwdriver, then lay a Resene drop cloth onto your porch. Give your front door a light sand using 180 grit sandpaper and wipe off dust, then tape around any window panes with painters masking tape.

Brush apply one coat of Resene Quick Dry primer and allow to dry. Follow with two coats of Resene Lustacryl in your chosen Resene colour, then remove the masking tape once touch dry. When fully dry, replace the door hardware.

3

The deck

Treat any areas of moss and mould on your porch floor with Resene Moss & Mould Killer. Next, wash the whole porch floor with Resene Timber and Deck Wash.

Once fully dry, apply two coats of Resene Woodsman stain using a Swish lambswool floor applicator, allowing dry time between coats. We used Resene Woodsman Wood Oil Stain in Resene English Walnut, applying it in long smooth strokes, following the timber’s wood grain and the orientation of the decking.

4

The planter

For a rustic patina on your planter, use Resene Sandtex Mediterranean effect in Resene White. Using a Resene drop cloth underneath, paint the planter with a criss-cross motion to layer up the texture and achieve a handmade look on the surface of the plant pot. Once dry, add potting mix and a plant, then place on your newly stained porch.

5

The hooks

Adding hooks creates handy storage space for raincoats and umbrellas. Simply prime metal hooks with Resene Galvo One and allow to dry. For the topcoat, we used two coats of Resene Enamacryl in Resene Milk White. Once dry, screw into the wall and touch up screws with an extra lick of Resene Enamacryl.

6

The doormat

For the checkerboard mat, take your plain coir mat and place it onto a drop cloth to protect the surface underneath, Decide on the size of the squares you want and use masking tape to mark them out. Make sure the lines are straight and evenly spaced. Next, apply the Resene testpot paint evenly to each square, making sure to stay within the lines. Remove the tape once the paint has dried.

Before
After
Small changes can make a huge difference! House painted in Resene Grey Friars, trim in Resene Sea Fog. Door, wood stacker and doormat painted in Resene Edward, and hooks in Resene Milk White. Deck stained in Resene English Walnut.

About MasterStroke by Resene
MasterStroke by Resene is here to help you master your paint and decorating DIY projects. Brush up on your skills with advice, tips and ideas from our trusted experts.

Check out the latest how-to videos on our YouTube channel.