DIY projects

How to build a custom shoe rack

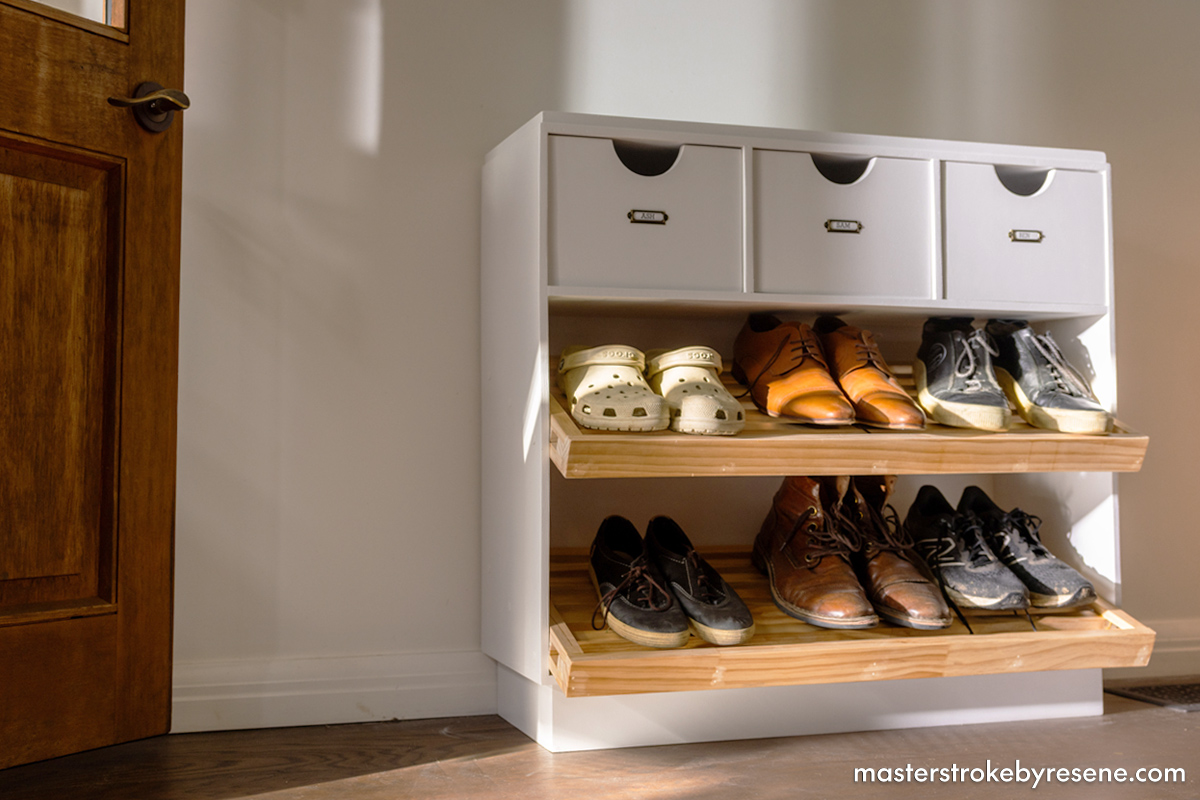
Artist and keen DIYer Jae Frew has perfectly blended form and function with this stylish and practical shoe rack for his rural home. 

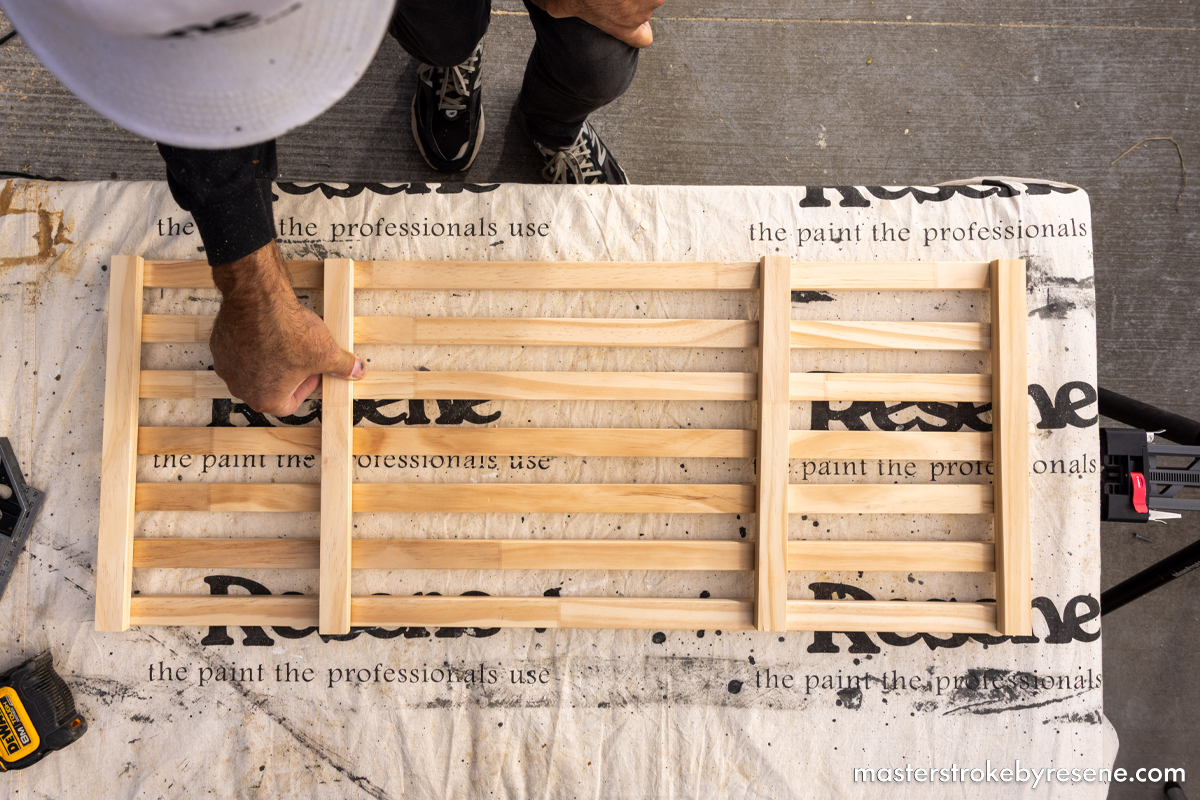
The clever design features individual drawers and slanted slatted racks, allowing family members to have their own space as well as easy access to the shoes on display. 

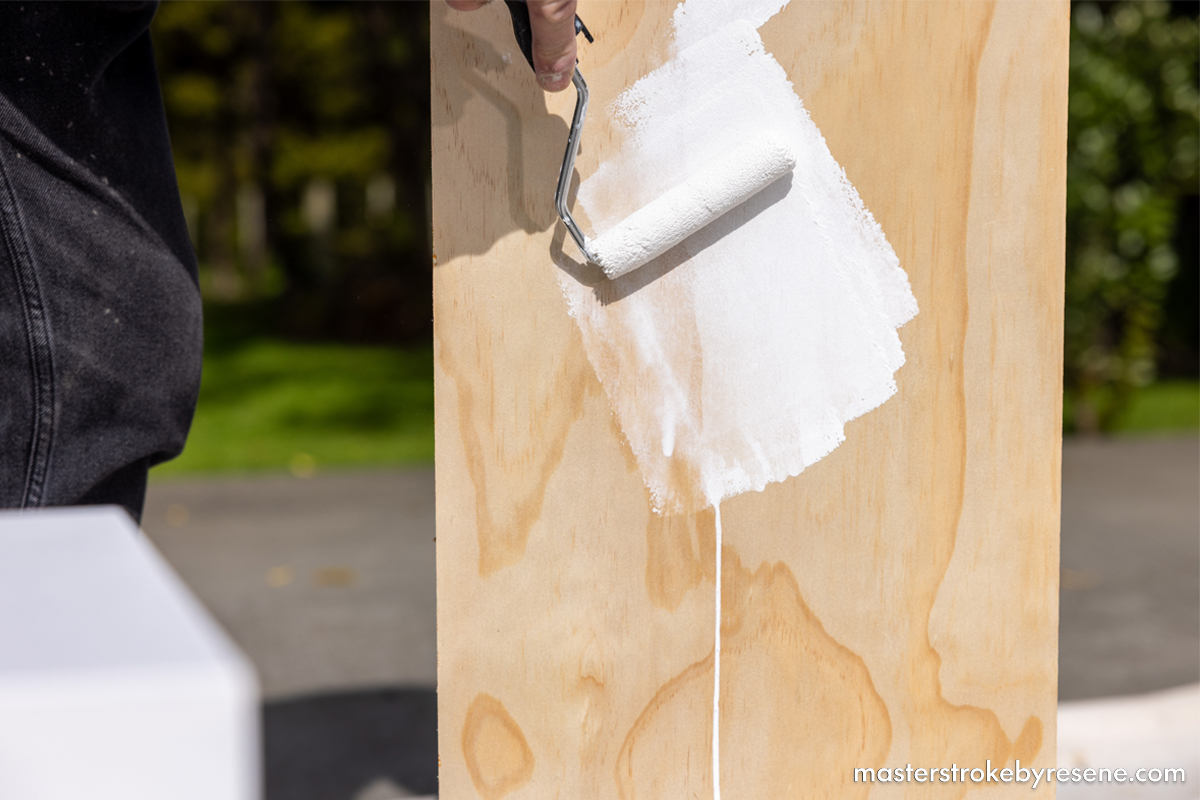
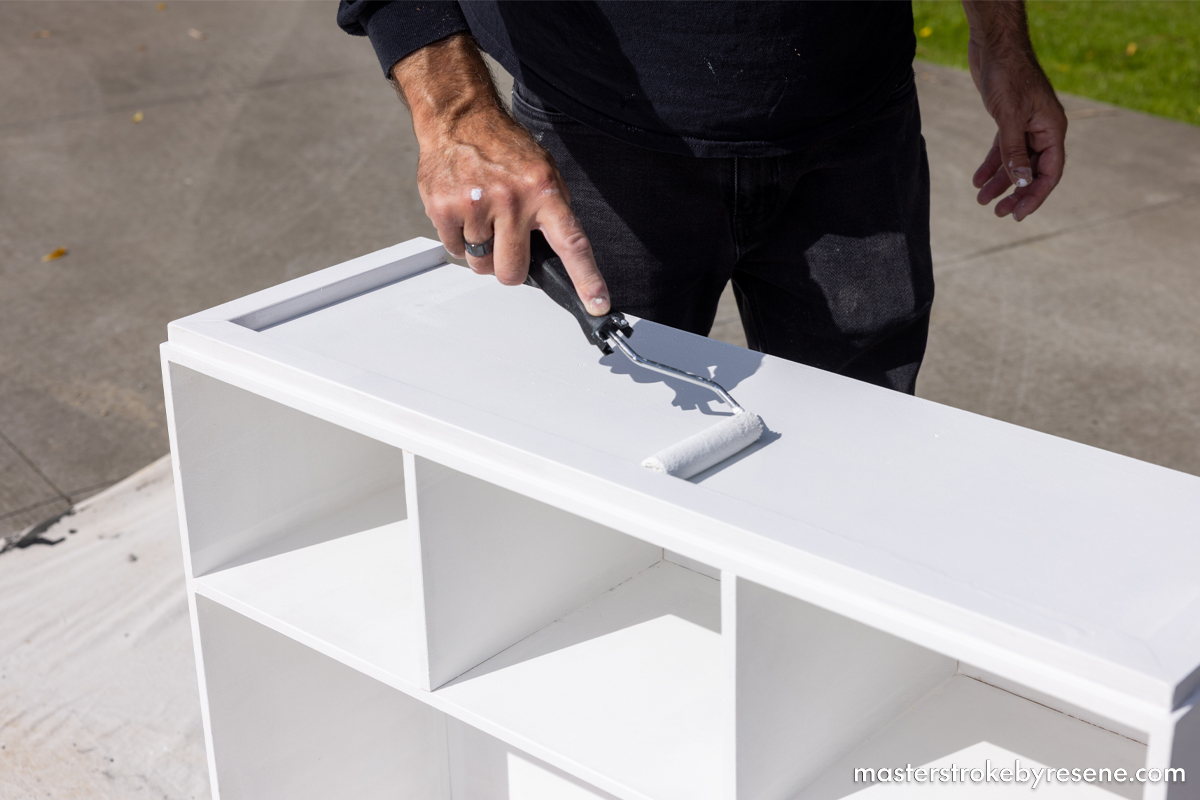
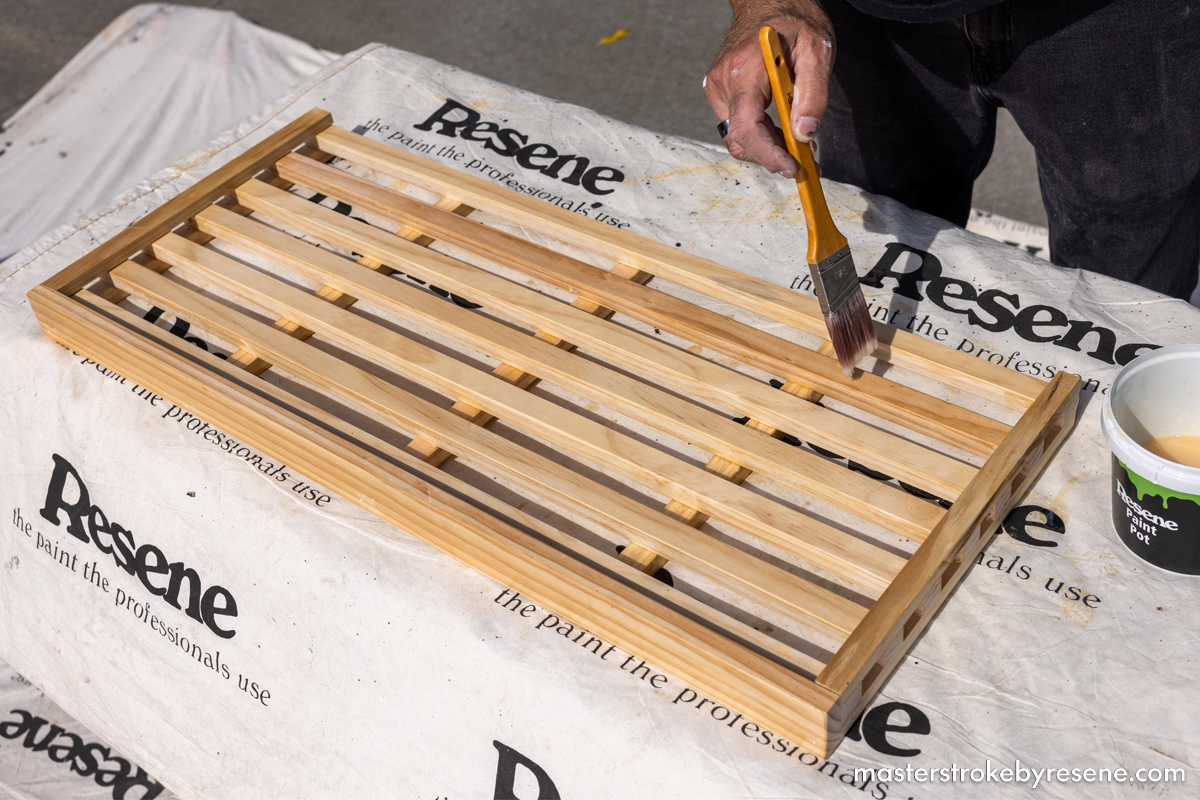
Jae coated the main structure in Resene Lustacryl semi-gloss waterborne enamel in Resene Black White, and brought out the beauty of the timber shelves with Resene Aquaclear waterborne urethane varnish. Of course you can customise yours to suit the aesthetic of your own home.

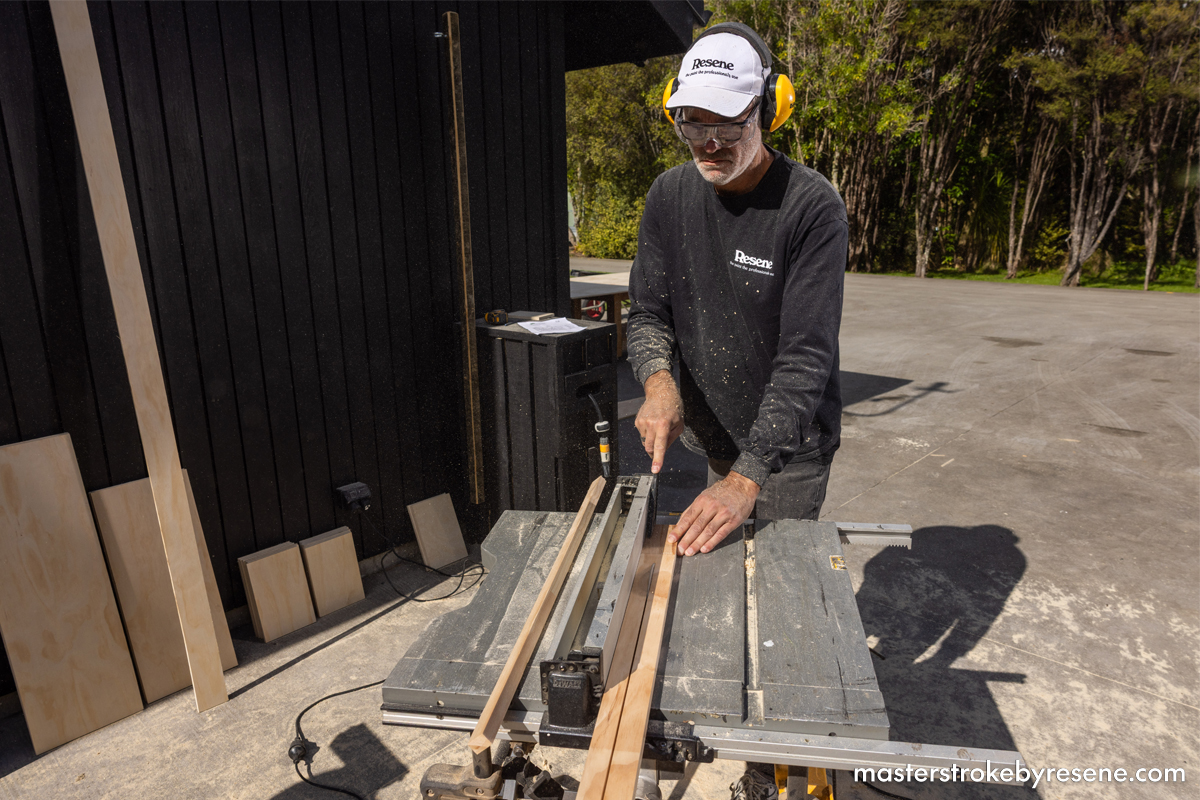
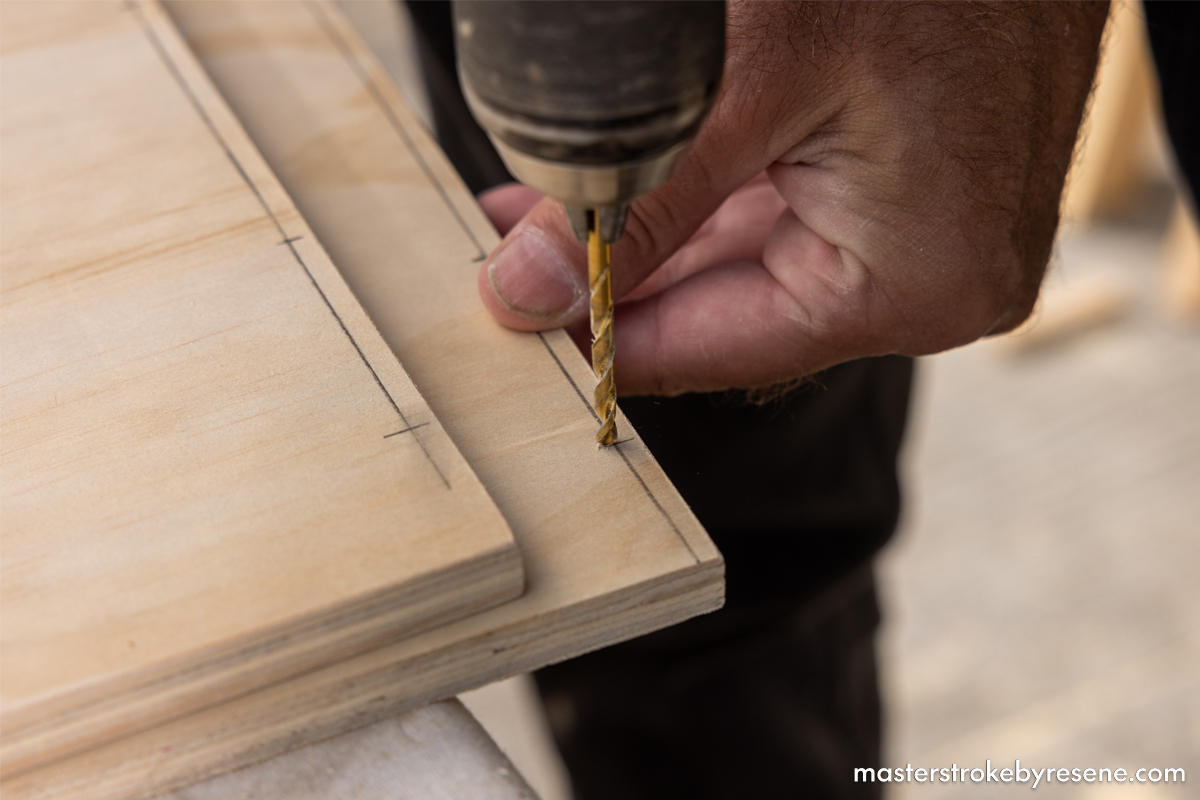
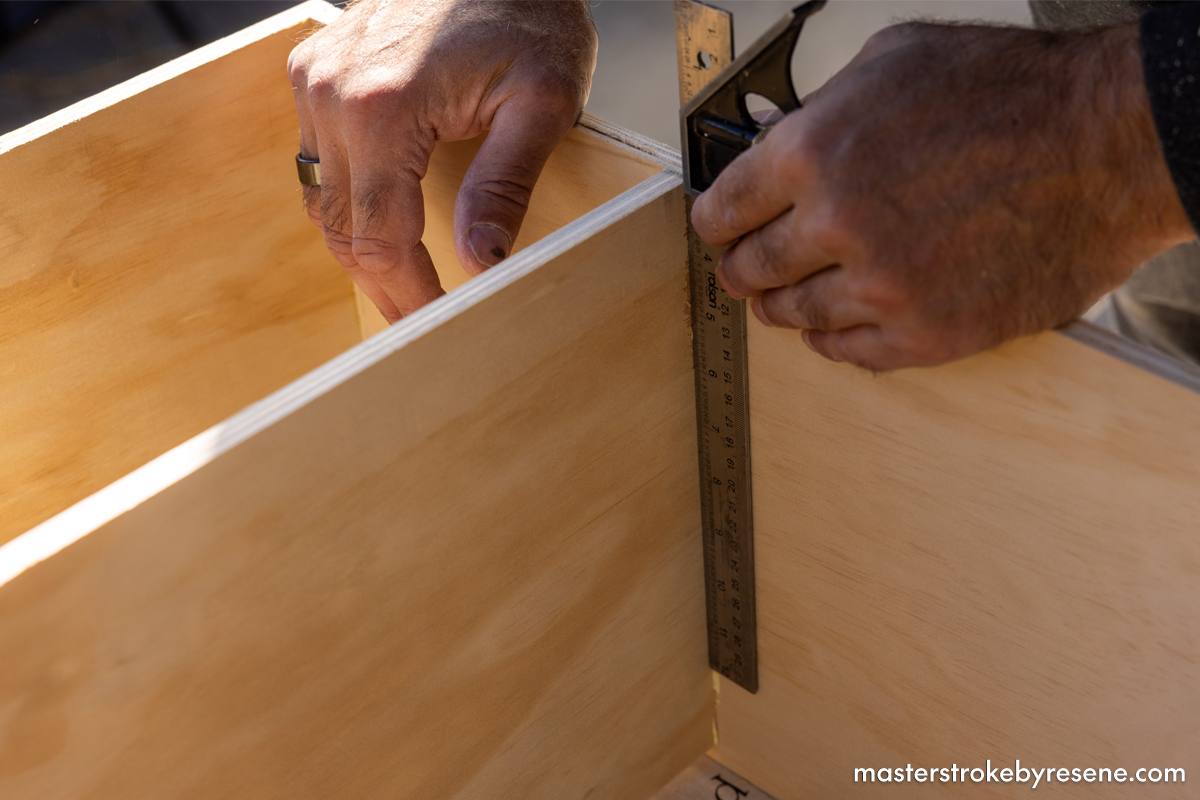
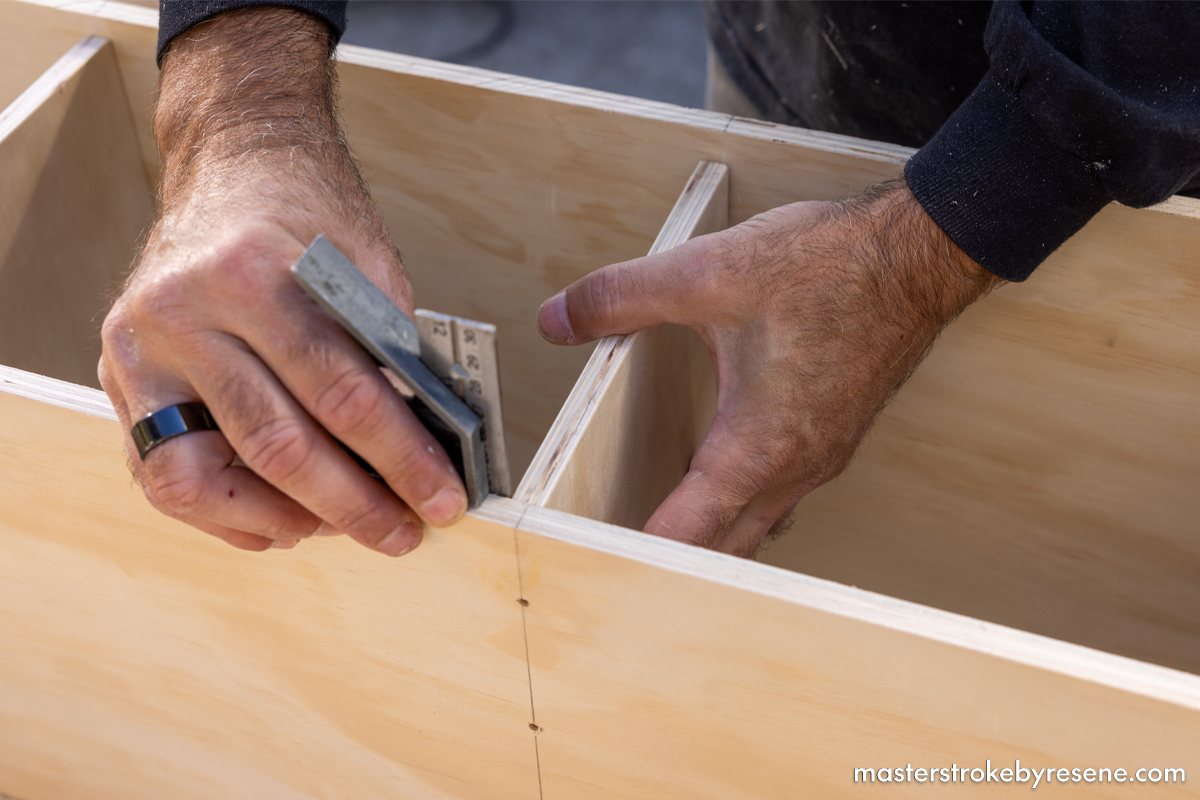
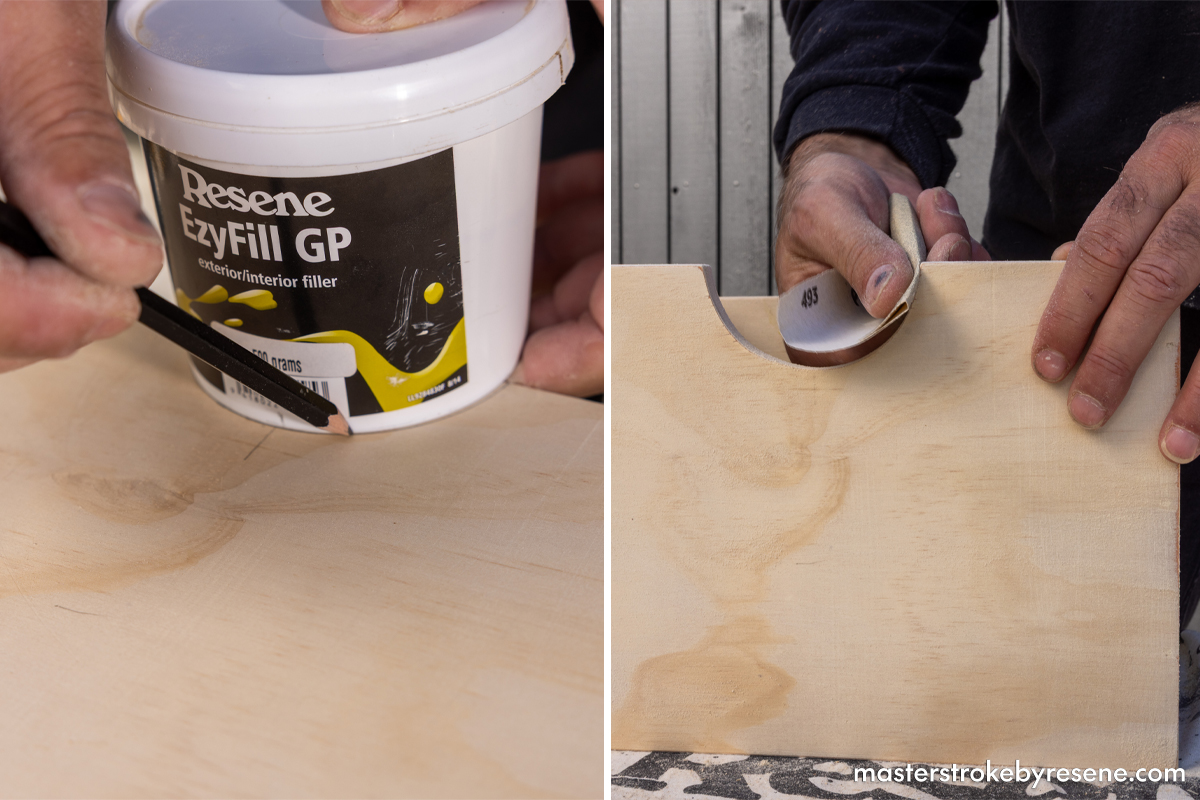
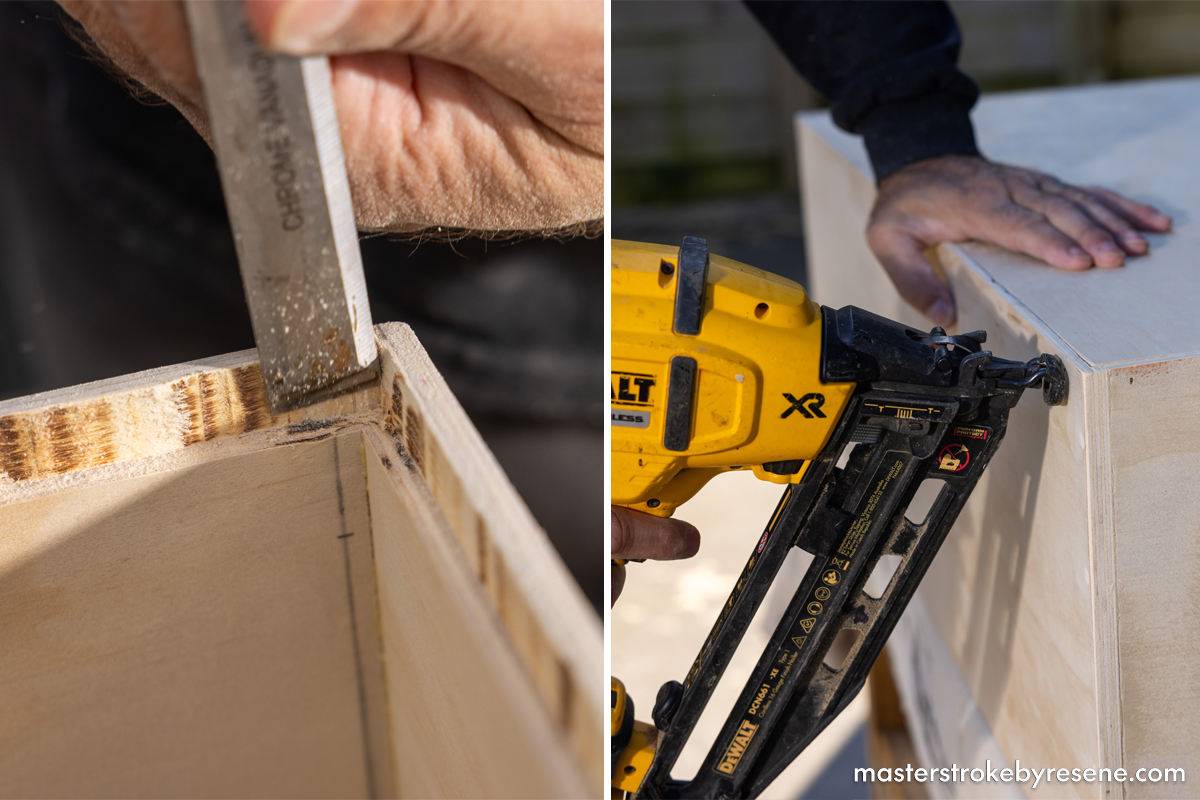
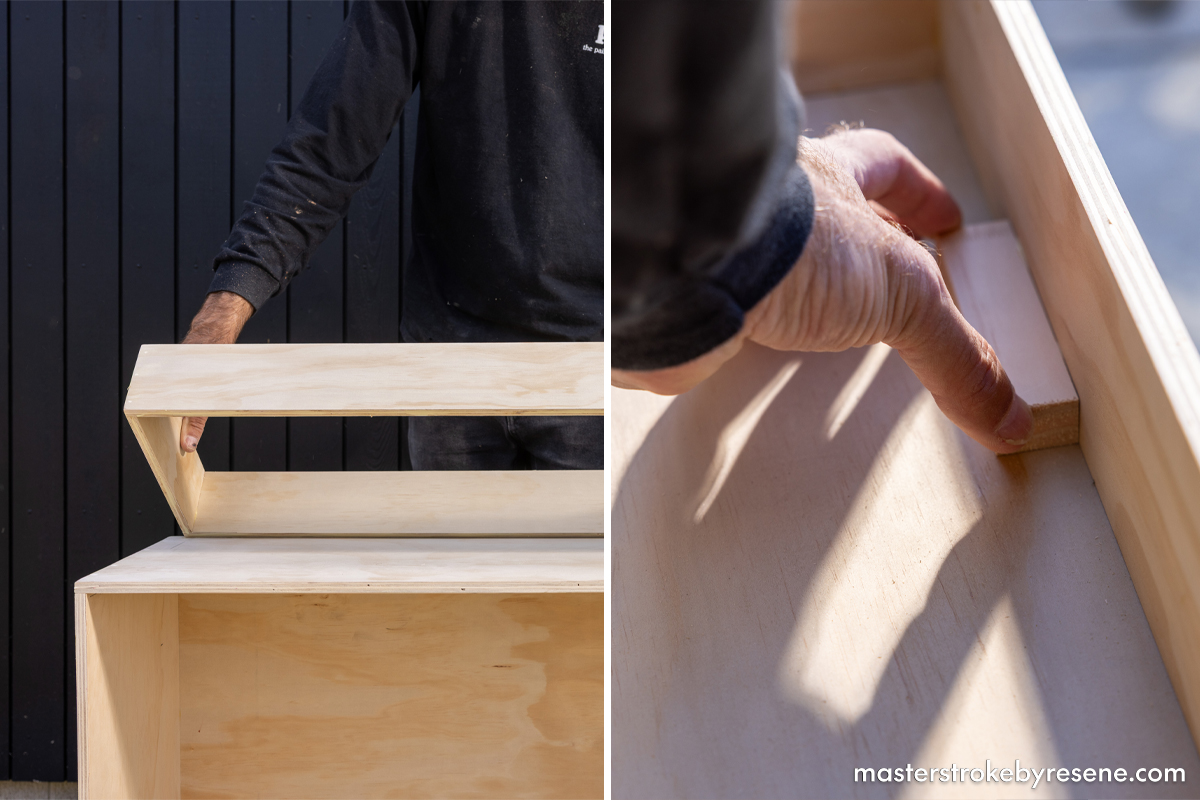
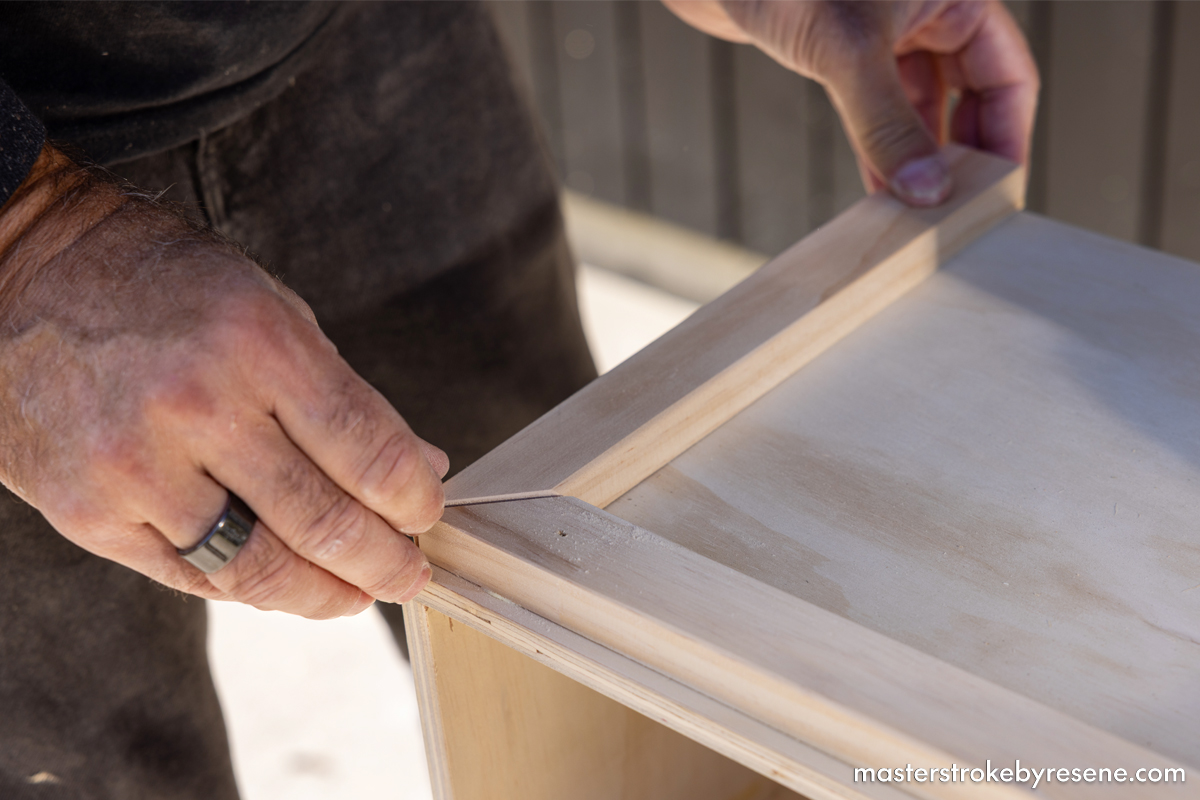
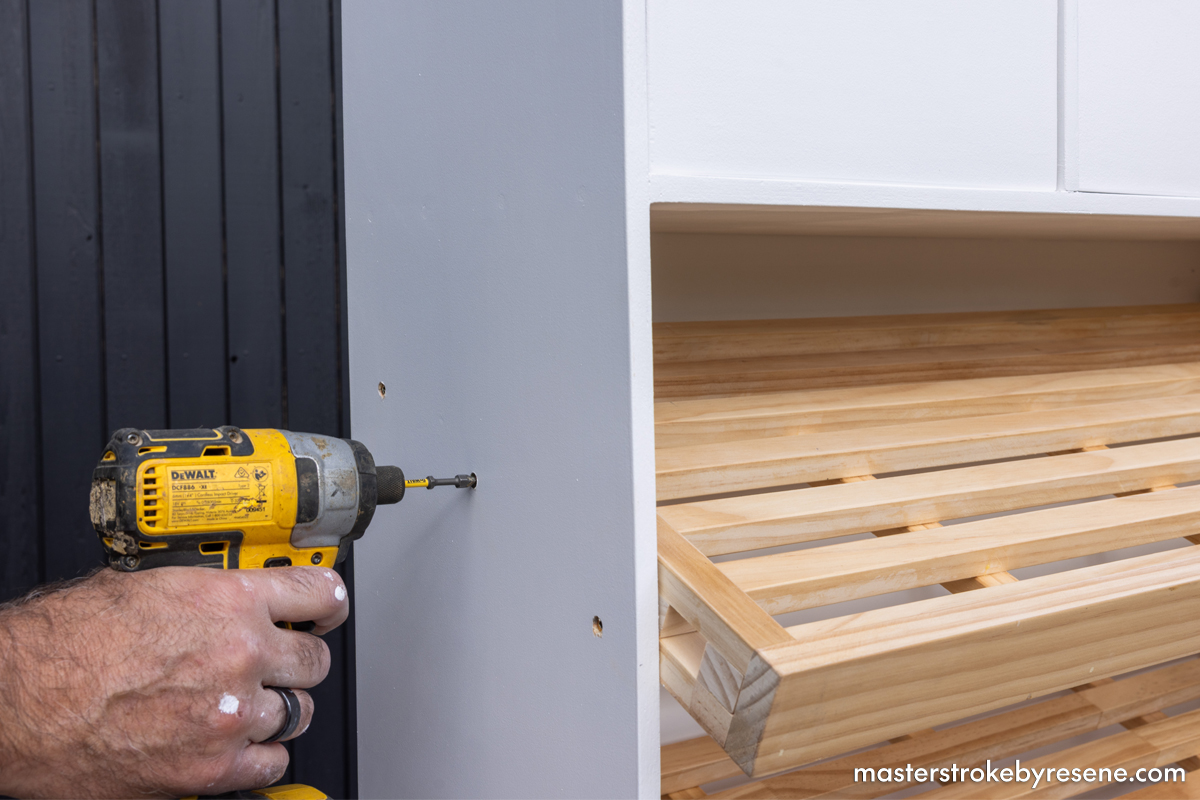
Making a custom piece of furniture is an immensely satisfying weekend project and means you don’t need to buy new. See Jae’s process below and get your entryway sorted in style.

  • Safety gear
  • Tape measure and pencil
  • Drop saw
  • Bench saw or skill saw
  • Drill driver with 3mm drill bit
  • Set square
  • Nail gun or hammer
  • Jigsaw
  • Router with rebate bit
  • Chisel
  • Putty knife
  • Drop cloth
  • Screwdriver

From the plywood, cut the following:

  • 2x 700mm x 290mm (sides)
  • 2x 890mm x 290mm (top and bottom)
  • 1x 875mm x 700mm (back)
  • 2x 250mm x 90mm (kick board sides)
  • 2x 850mm x 90mm (kick board front and back)
  • 1x 870mm x 280mm (shelf)
  • 2x 280mm x 200mm (drawer dividers)
  • 3x 280mm x 195mm (drawer fronts)
  • 3x 280mm x 180mm (drawer backs)
  • 6x 250mm x 180mm (drawer sides)
  • 3x255mm x 245mm (drawer bottoms) 

From the 35mm pine, cut the following:

  • 14x 870mm lengths (slats)
  • 14x 350mm lengths (rails)
  • 1x1500mm (trim)

From the 50mm pine, cut the following:

  • 2x 870mm lengths (front rails)
  • 8x 100mm x 25mm x 18mm (stabilising blocks for kick board)

1

Cut the wood

Measure and cut the plywood and pine according to the cut list. Sand all the rough edges with 120 grit sandpaper to ensure a professional looking finish.

2

Drill the panels

Mark the top and bottom panels for the screw placement and drill pilot holes using a 3mm drill bit. Then apply glue and attach them to the side panels using 30mm screws.

3

Create the shelf

Measure and mark the position for the shelf, then drill pilot holes. Apply glue and position the shelf, then secure with 30mm screws.

4

Add drawer dividers

Measure and mark the position for the drawer dividers then drill pilot holes in the shelf and top panel. Glue and screw drawer dividers into position.

5

Assemble the drawers

Assemble the drawers using wood glue and a nail gun (or a hammer and nails). 

6

Create the handles

Mark the centre of the drawer fronts then draw a half-round handle shape. Use a jigsaw to cut the handle shapes and sand the edges smooth. Fill nail holes with Resene EzyFill GP.

7

Insert the back panel

Using a rebate router bit, cut a 5mm rebate around the back inside edge. Clean up the corners with a chisel and sand all the filled holes smooth. Glue, position and secure the back panel.

8

Assemble the kick board

Construct and attach the kick board to the bottom panel, then glue and screw the stabilising blocks behind the kick board to keep it in place.

9

Top it off

Measure and cut trim details, then glue and secure trims in place on the top panel. 

10

Prime the timber

Prepare Resene Quick Dry by giving it a good stir and pouring into a roller tray or paint pot. Prime all cabinet and drawer surfaces using a brush and roller. Once dry, lightly sand with 240 grit sandpaper and wipe off sanding dust.

11

Paint the cabinet and drawers

Prepare Resene Lustacryl by giving it a good stir and pouring into a roller tray or paint pot. Apply two coats to all primed surfaces, leaving to dry between coats.

12

Assemble the racks

Lay the slats into position on a flat surface. Apply a small amount of glue to each slat, then measure and position the rails and secure them using a nail gun or hammer and nails. 

Then glue, position and secure the front rail and glue and clamp a top rail to conceal the nail holes. Fill other nail holes.

13

Stain the racks

Prepare Resene Aquaclear waterborne urethane varnish by giving it a good stir and pouring some into a paint pot. Use a brush to apply two coats to the racks, leaving to dry between coats.

14

Insert the racks

Measure and mark the rack positions inside the cabinet and drill pilot holes. Apply glue and position the racks on an angle. Secure with 30mm 6g screws and cover the screws with self-adhesive screw covers.

15

Finishing touches

Attach name plates to the drawer fronts and insert the drawers. Now you’re ready to store your shoes!

About MasterStroke by Resene
MasterStroke by Resene is here to help you master your paint and decorating DIY projects. Brush up on your skills with advice, tips and ideas from our trusted experts.

Check out the latest how-to videos on our YouTube channel.