DIY projects

Stack it up

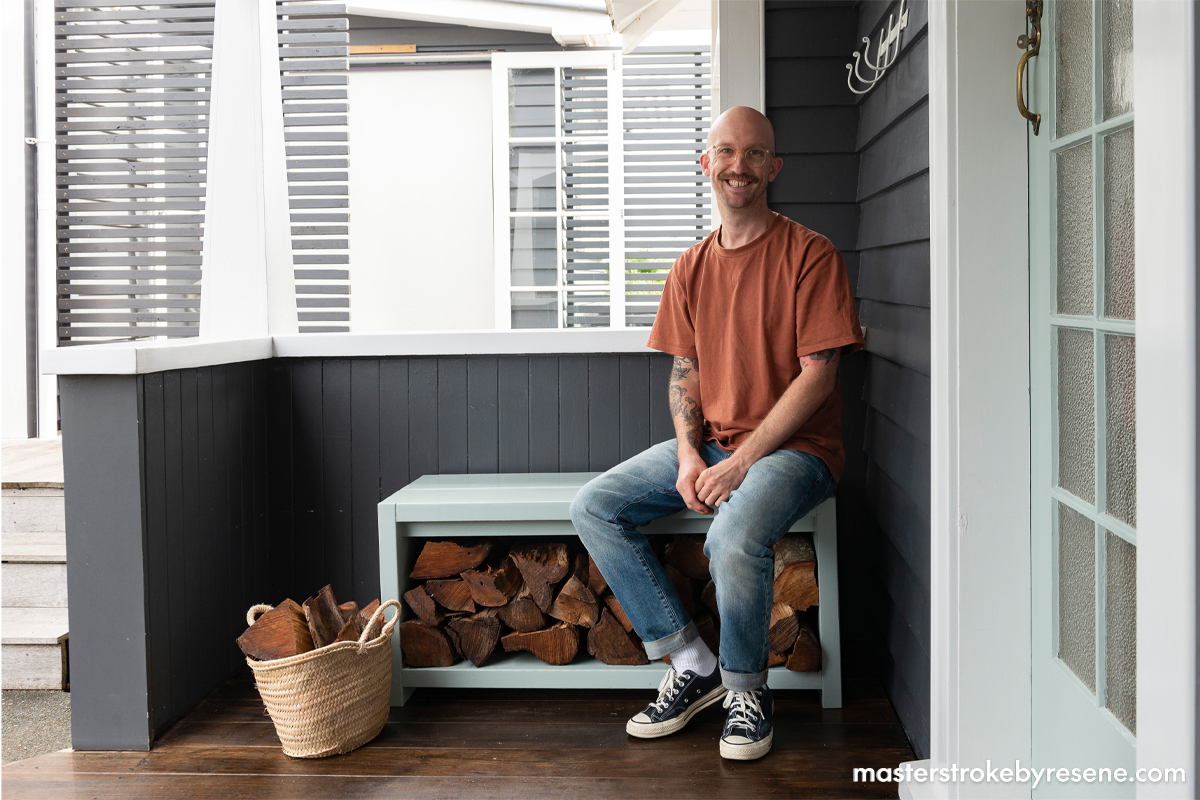
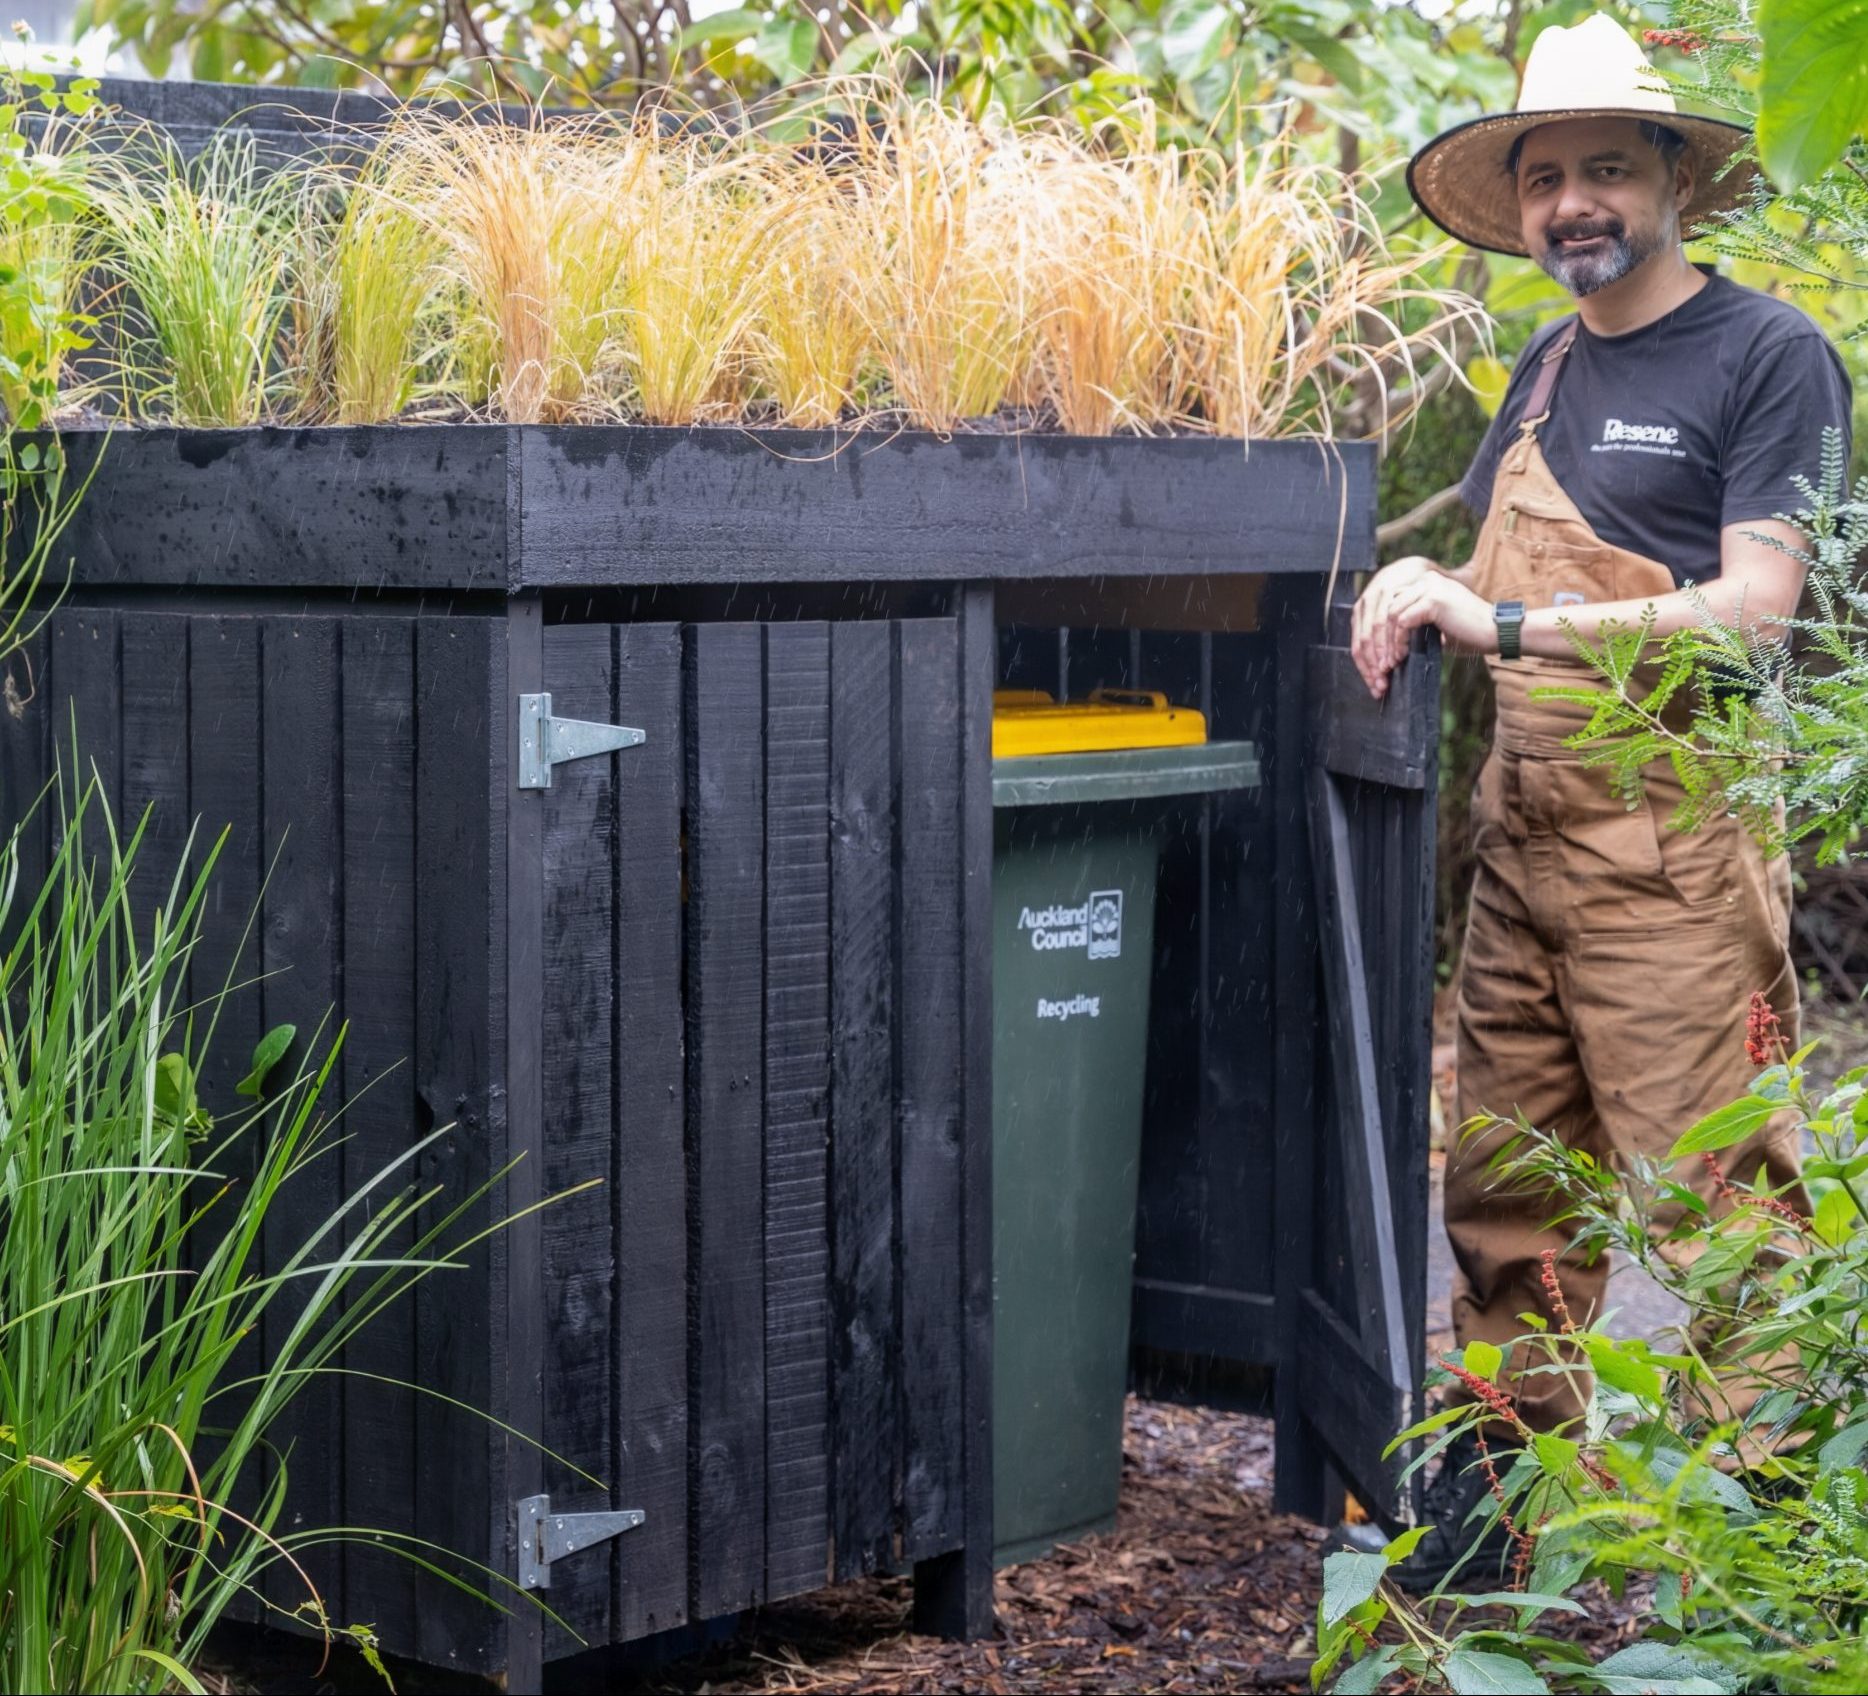
Winter is coming, and for those with a wood burner or fireplace, it’s time to start thinking about gathering a supply of firewood to keep your home warm and cosy. But where do you store all those messy logs? Enter the firewood stacker – a simple yet practical solution for keeping your firewood neatly stacked and out of the way.

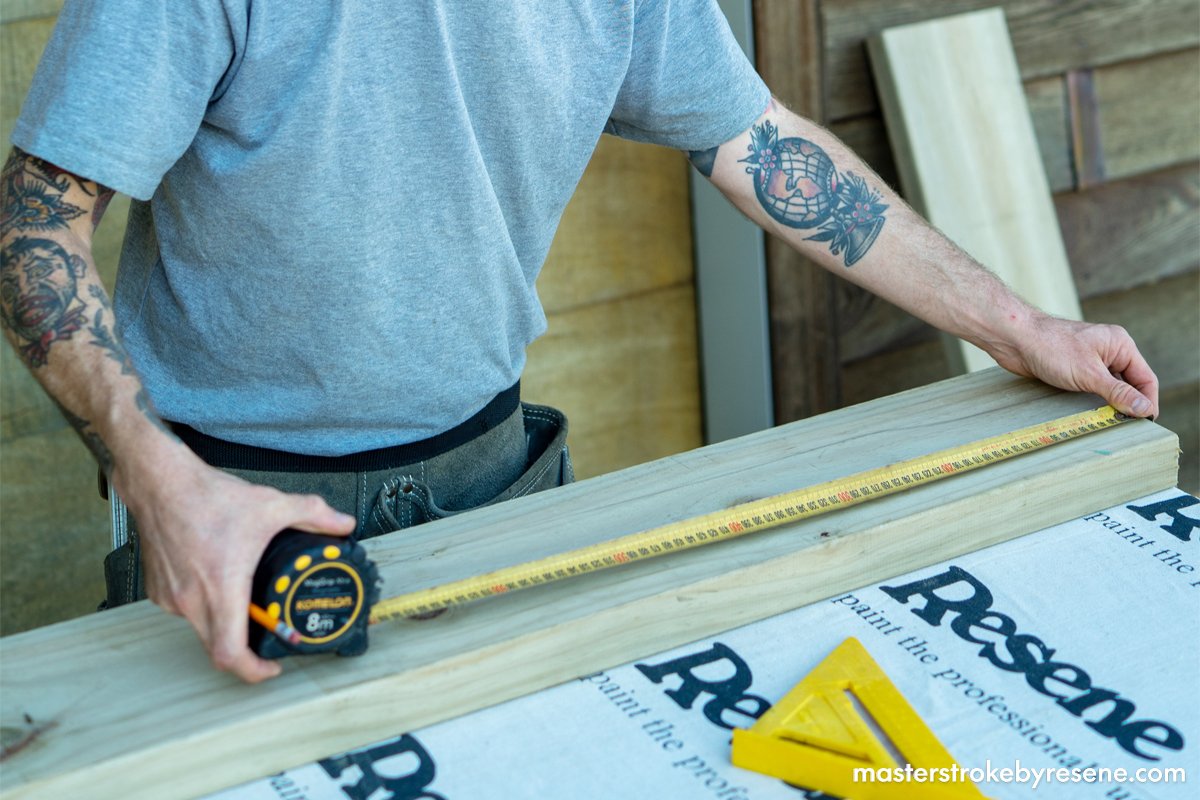
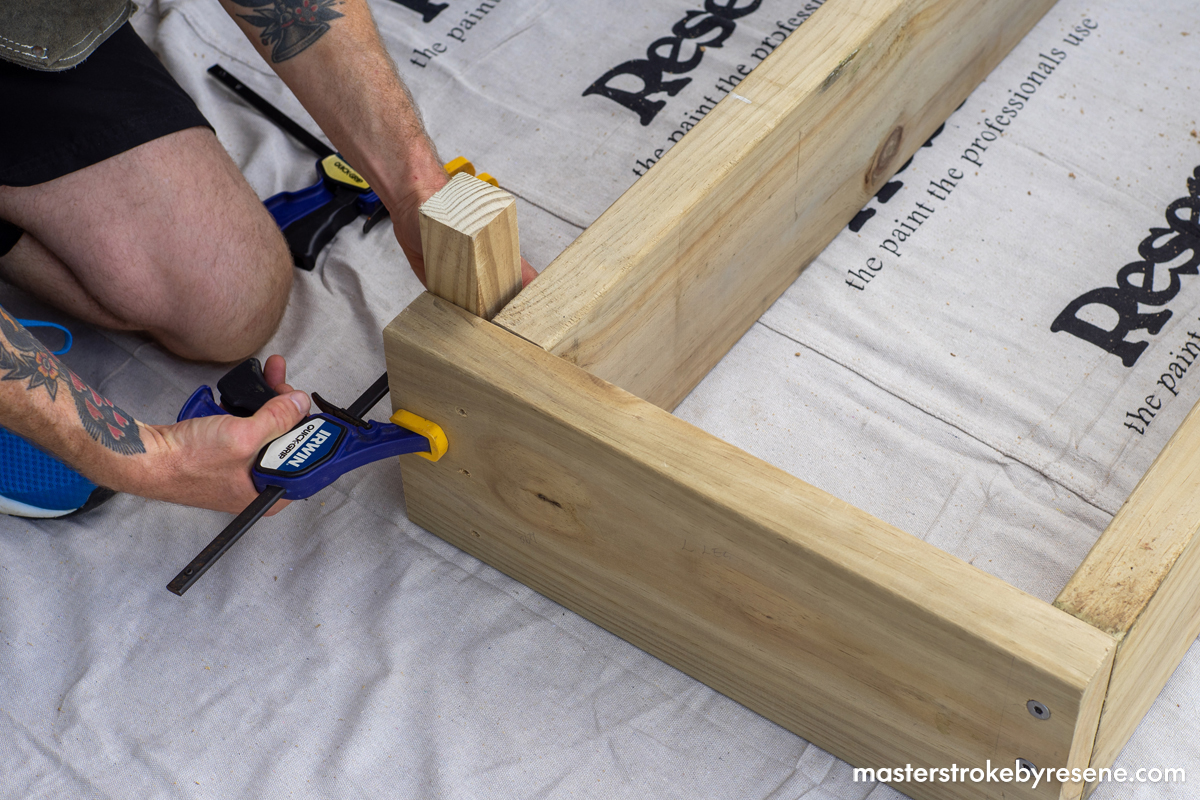
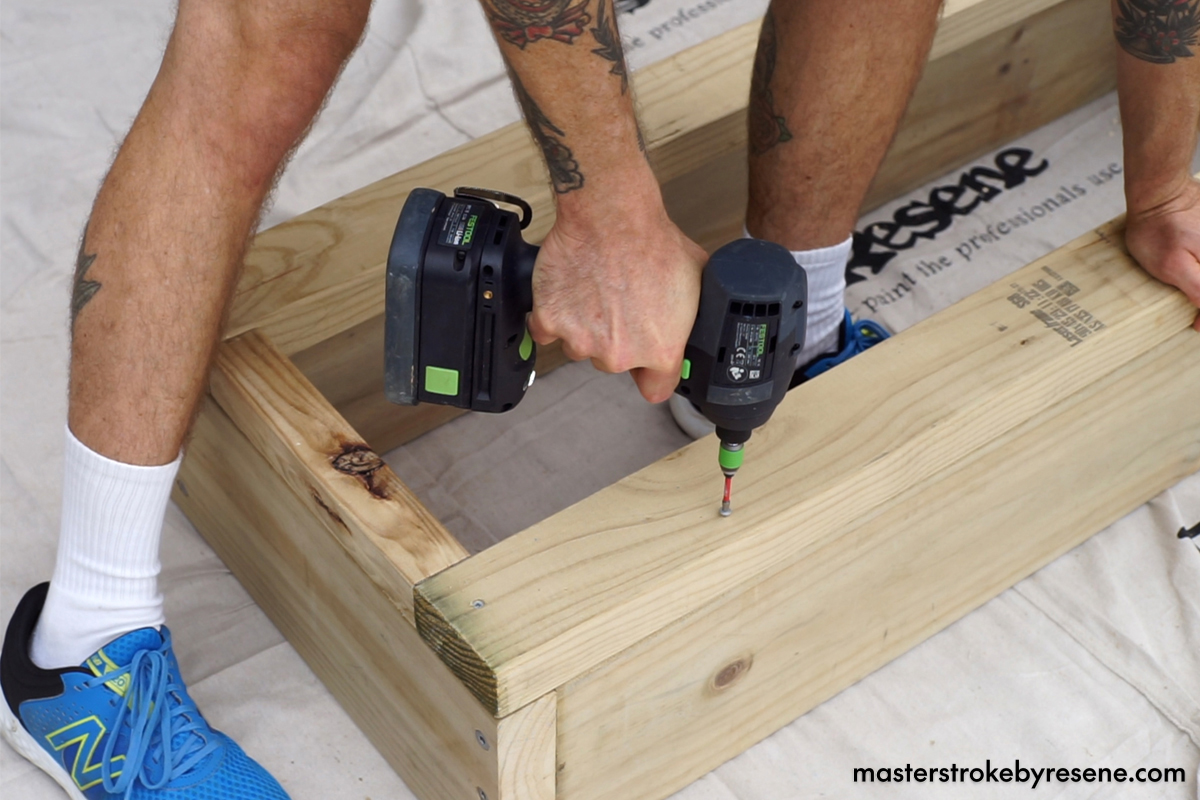
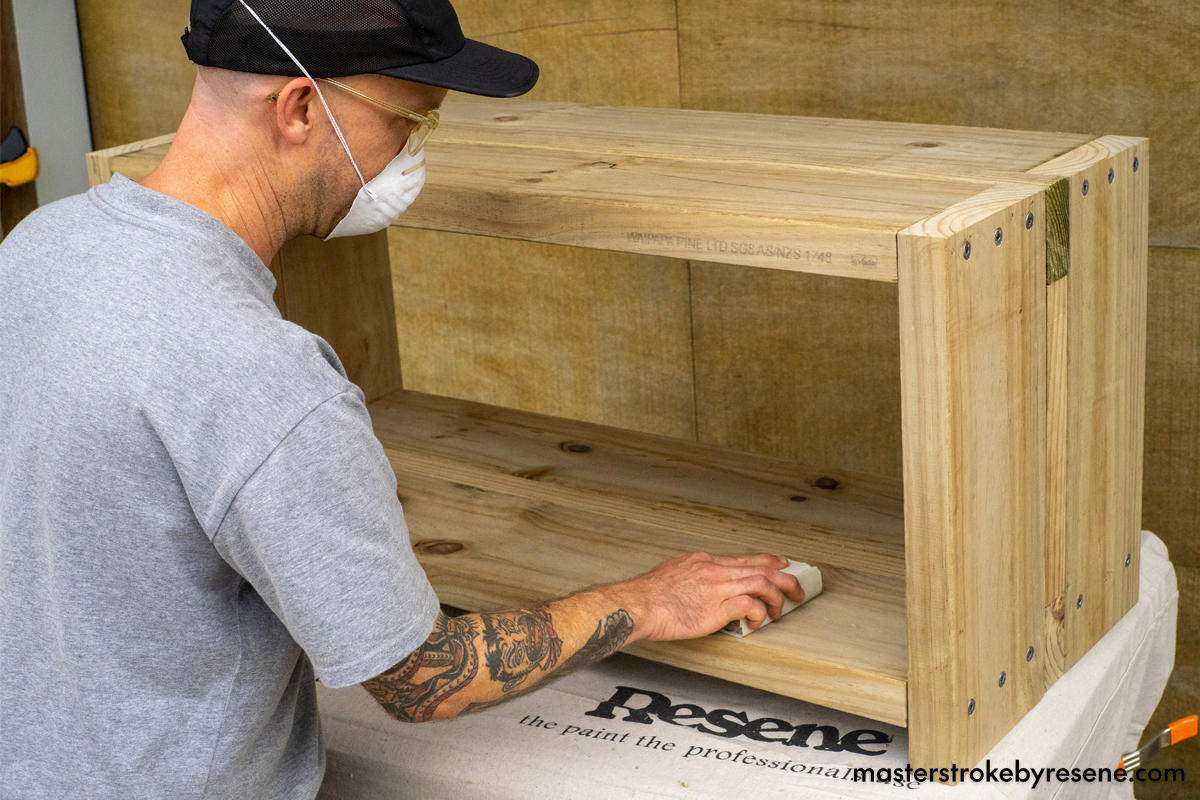
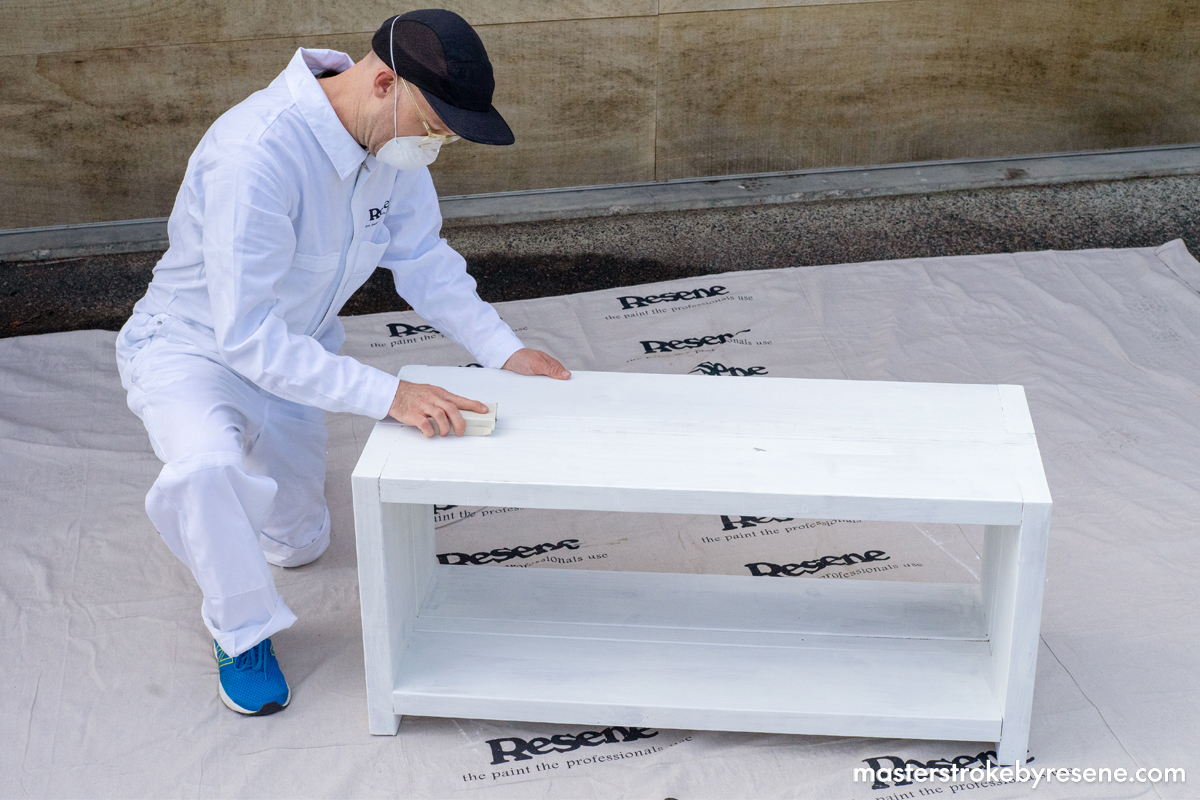
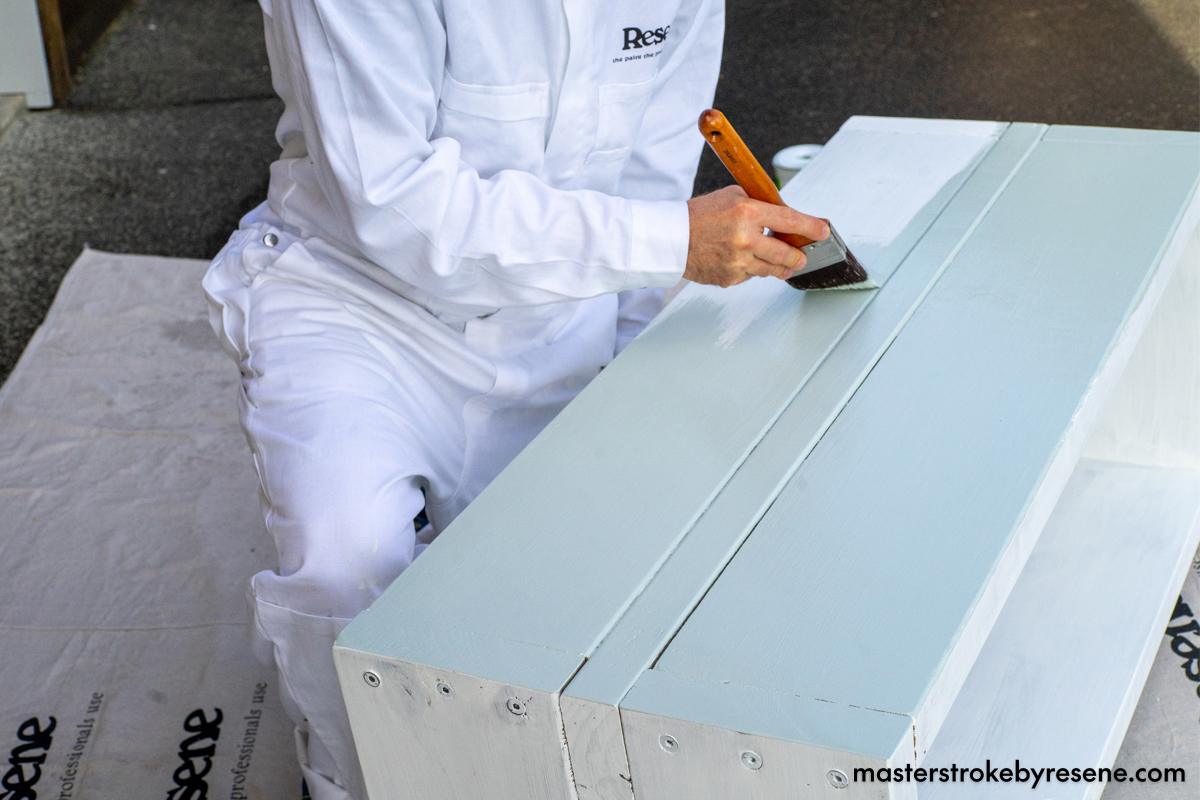
Building your own can be a fun and easy DIY project that can be completed over a weekend. All you need is some basic woodworking skills, a few tools and some timber. The design can be customised to fit your space, then finished with paint or stain. We used Resene Lumbersider Low Sheen tinted to Resene Edward to match the colour of our newly painted door.

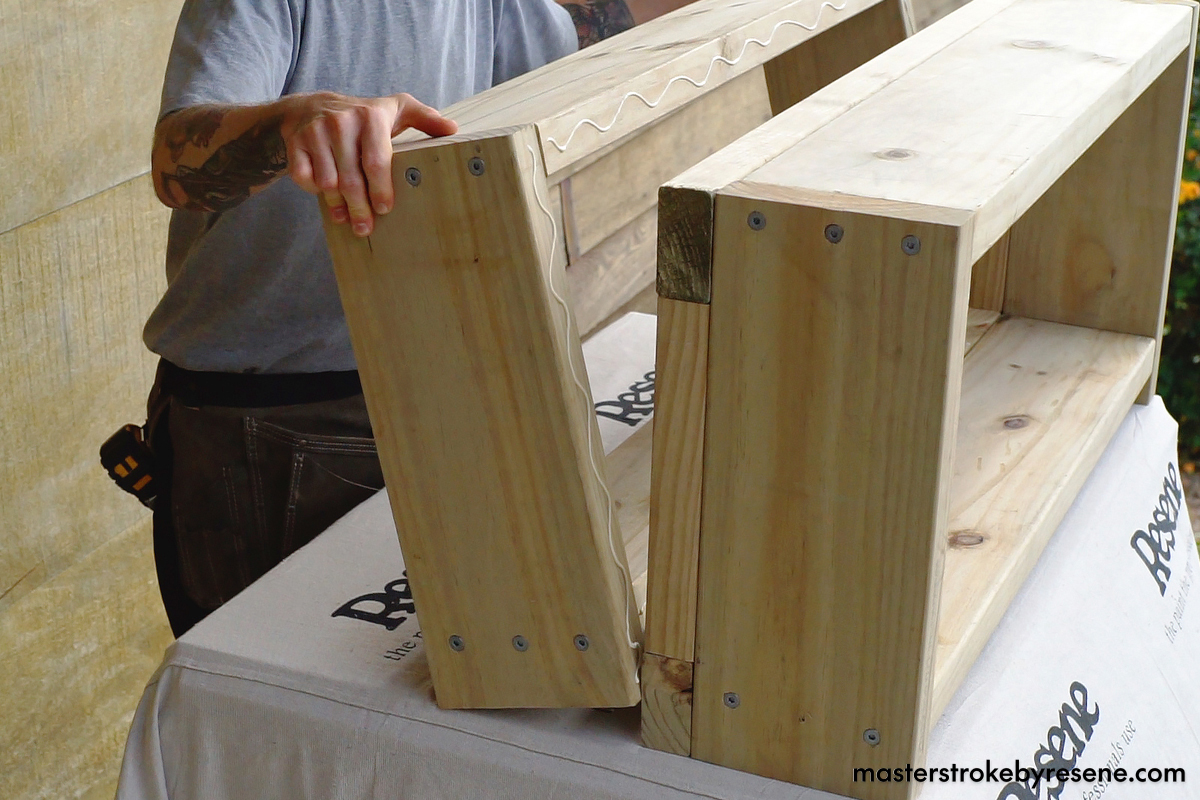
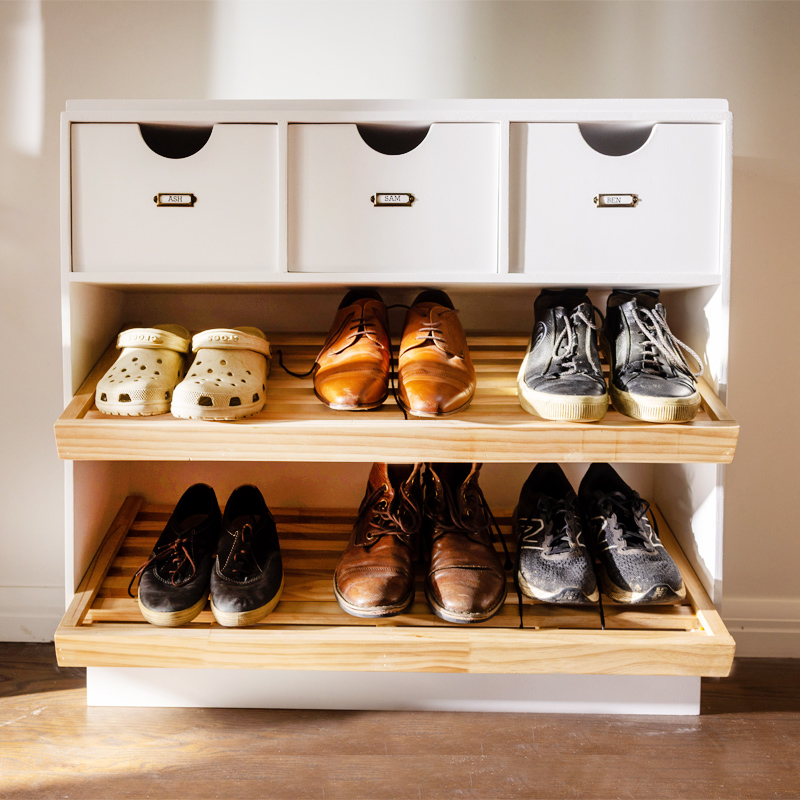
By adding an outdoor cushion, the stacker can double as a bench seat, and in the summer months you can easily use it for shoe storage or a handy spot to keep gardening tools or beach gear.

  • 1x 6000mm x 200mm x 50mm treated pine
  • 1x 4000mm x 100mm x 50mm treated pine
  • 1x 1000mm x 50mm x 50mm treated pine
  • 12x bugle batten screws (14g x 100mm galvanised)
  • Wood glue
  • 100mm timber screws
  • 180 grit sandpaper
  • Resene Quick Dry waterborne undercoat primer
  • Resene Lumbersider Low Sheen

  • Tape measure
  • Pencil
    Square
  • Drop saw or hand saw
  • Drill
  • Speed clamps
  • Large clamp
  • Impact driver
  • Sanding block

200mm x 50mm treated pine:

  • 4x 1000mm lengths (seat and shelf)
  • 4x 500mm lengths (legs)

100mm x 50mm treated pine

  • 2x 1000mm lengths (top and bottom supports)

50mm x 50mm treated pine

  • 2x 350mm lengths (left and right centre supports)
  • 1x 1000mm length (support piece under seat

1

Measure

Measure and mark all of your timber. It’s best to make all markings before cutting anything to ensure you are getting the most economical cuts and not wasting any timber.

It’s also a good opportunity to make any size adjustments if you have a specific space in mind for your bench/stacker.

2

Make the cut

With all of your timber marked, it’s time to start cutting using a drop saw or a hand saw.

Make sure you’re wearing the appropriate safety gear.

3

Legs

On the leg pieces, drill three evenly spaced pilot holes at the top and three at the bottom.

4

Assembly time

Assemble one top piece, one bottom piece and two leg pieces, and clamp to keep in place. Clamp a 50mm off-cut at the bottom of the bench to keep your wood shelf at the correct height.

With your clamps secure, drill your bugle batten screws into the pilot holes you made in the previous step.

Repeat this step again so you have two separate box frames.

5

Supports

Glue and drill the top, bottom and centre supports in place on one of the box frames.

Attach the 1000mm seat support piece under the seat of the box frame.

6

Two become one

Now it’s time to glue and clamp the two box frames together. Drill pilot holes then attach screws at an angle at the top and bottom to fix the benches together.

7

Prep for painting

With the bench/wood stacker now fully assembled, it’s time to give it a light sand with 180 grit sandpaper to prepare for painting and to remove any marks or imperfections. It’s also a good idea to round off any sharp corners or edges. Wipe off sanding dust.

8

Prime

Apply a coat of Resene Quick Dry primer to the entire bench/wood stacker. Once the primer is dry, lightly sand again with 180 grit sandpaper and wipe off sanding dust.

9

Time for colour

Apply your first coat of Resene Lumbersider Low Sheen in the Resene colour of your choice. We used Resene Edward. Once dry, apply a final coat, then allow to dry fully before using.

Top tip: If you’re planning a dark colour, choose a Resene CoolColour version to help reflect more of the sun’s heat and keep your paint and bench cooler.

10

Get stacking!

Fill your new storage bench with firewood, or if you don’t have a fireplace or wood burner, you can use it to store gumboots, gardening tools or other outdoor gear.

About MasterStroke by Resene
MasterStroke by Resene is here to help you master your paint and decorating DIY projects. Brush up on your skills with advice, tips and ideas from our trusted experts.

Check out the latest how-to videos on our YouTube channel.