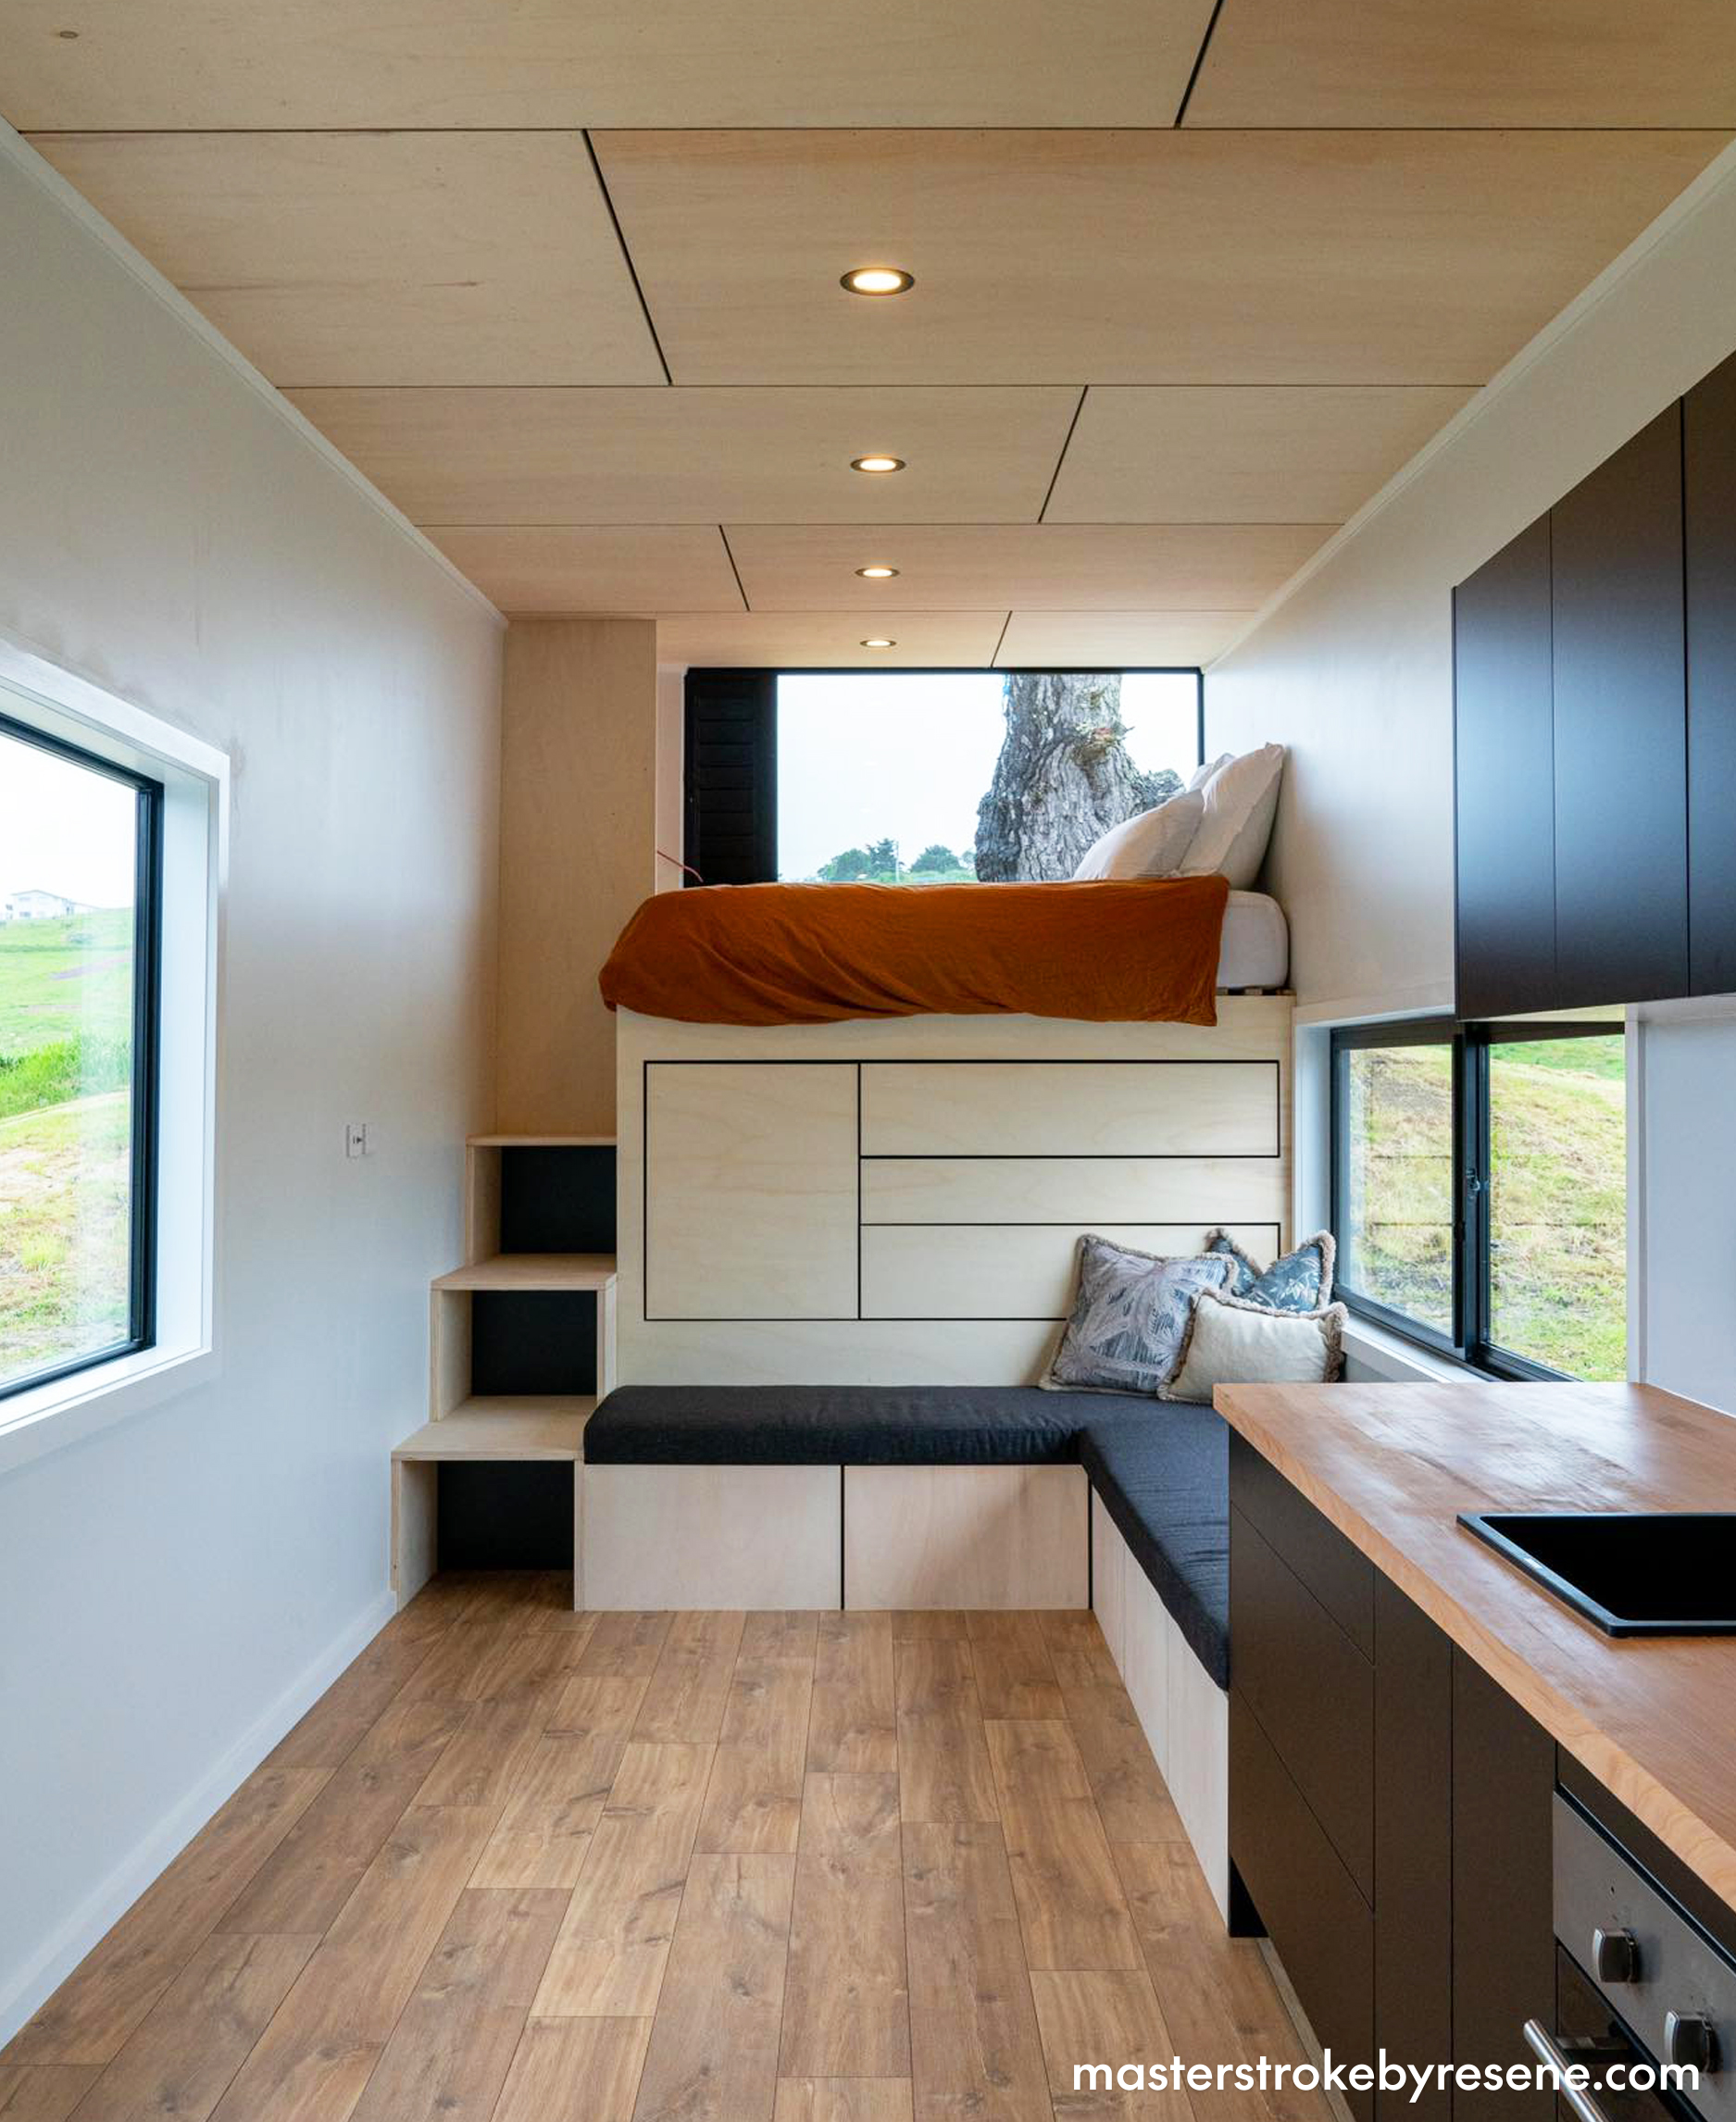
Sealing plywood not only protects it from water and wear and tear, but also allows the natural beauty of the timber to shine through. Queenstown-based builder Josh Lysaght talks us through how he did it in his tiny home. Josh built this tiny home himself – with help from friends along the way – but the process wasn’t without its learning curves.
“Building on a trailer has a lot of considerations that don’t come with building in or on the ground, but it was pretty cool to design some things as you go,” Josh shares.
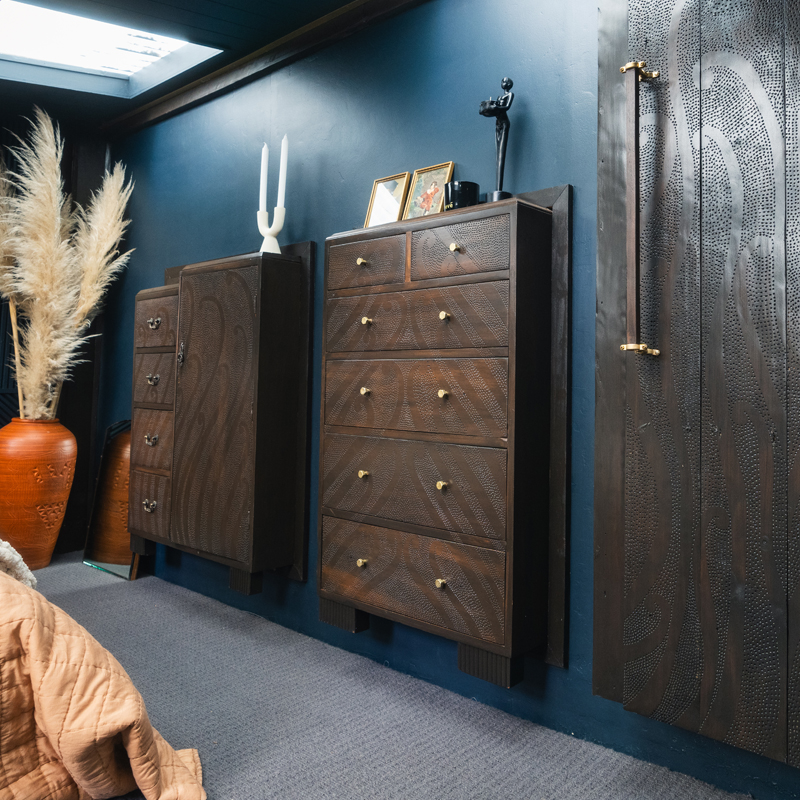
The warmth and practicality of plywood was the perfect choice for the ceiling, drawers and steps in the small but perfectly formed interior. It contrasts beautifully with the smart black of the kitchen cabinetry and joinery, with the clever negative detailing with white walls adding a modern touch. He also chose a particular Euro Poplar Ply as “it’s very light and great for bracing and strength”.
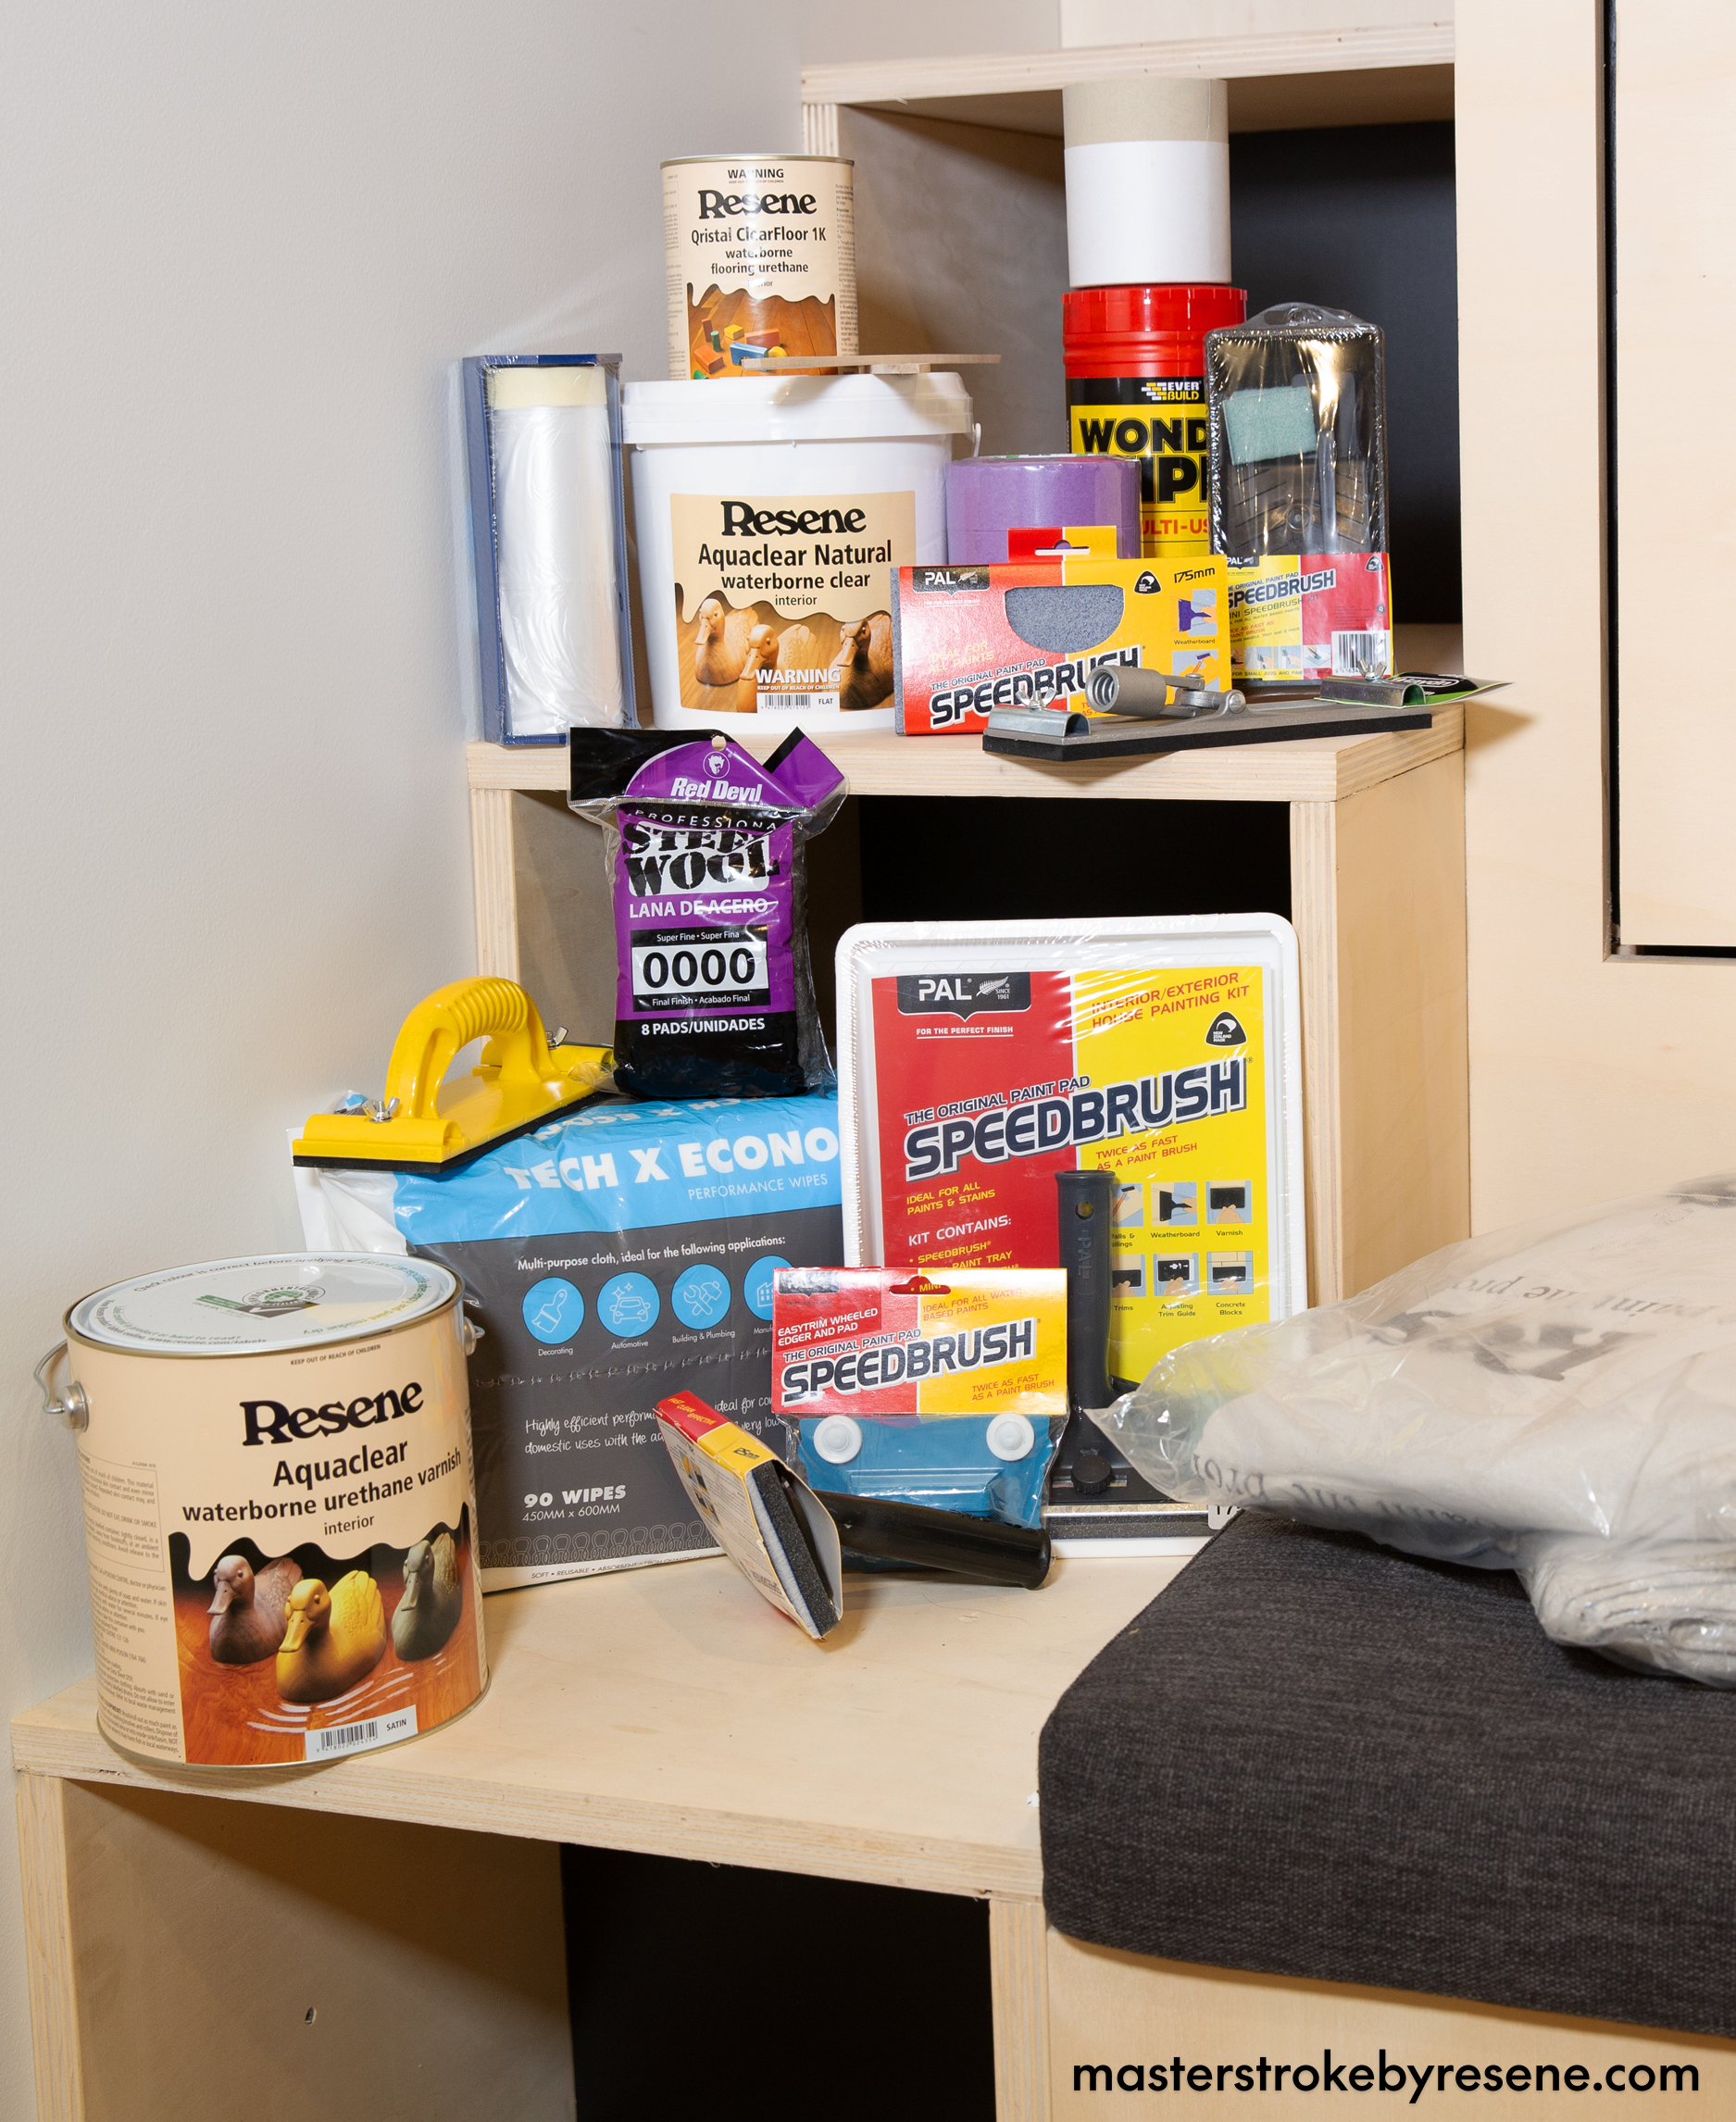
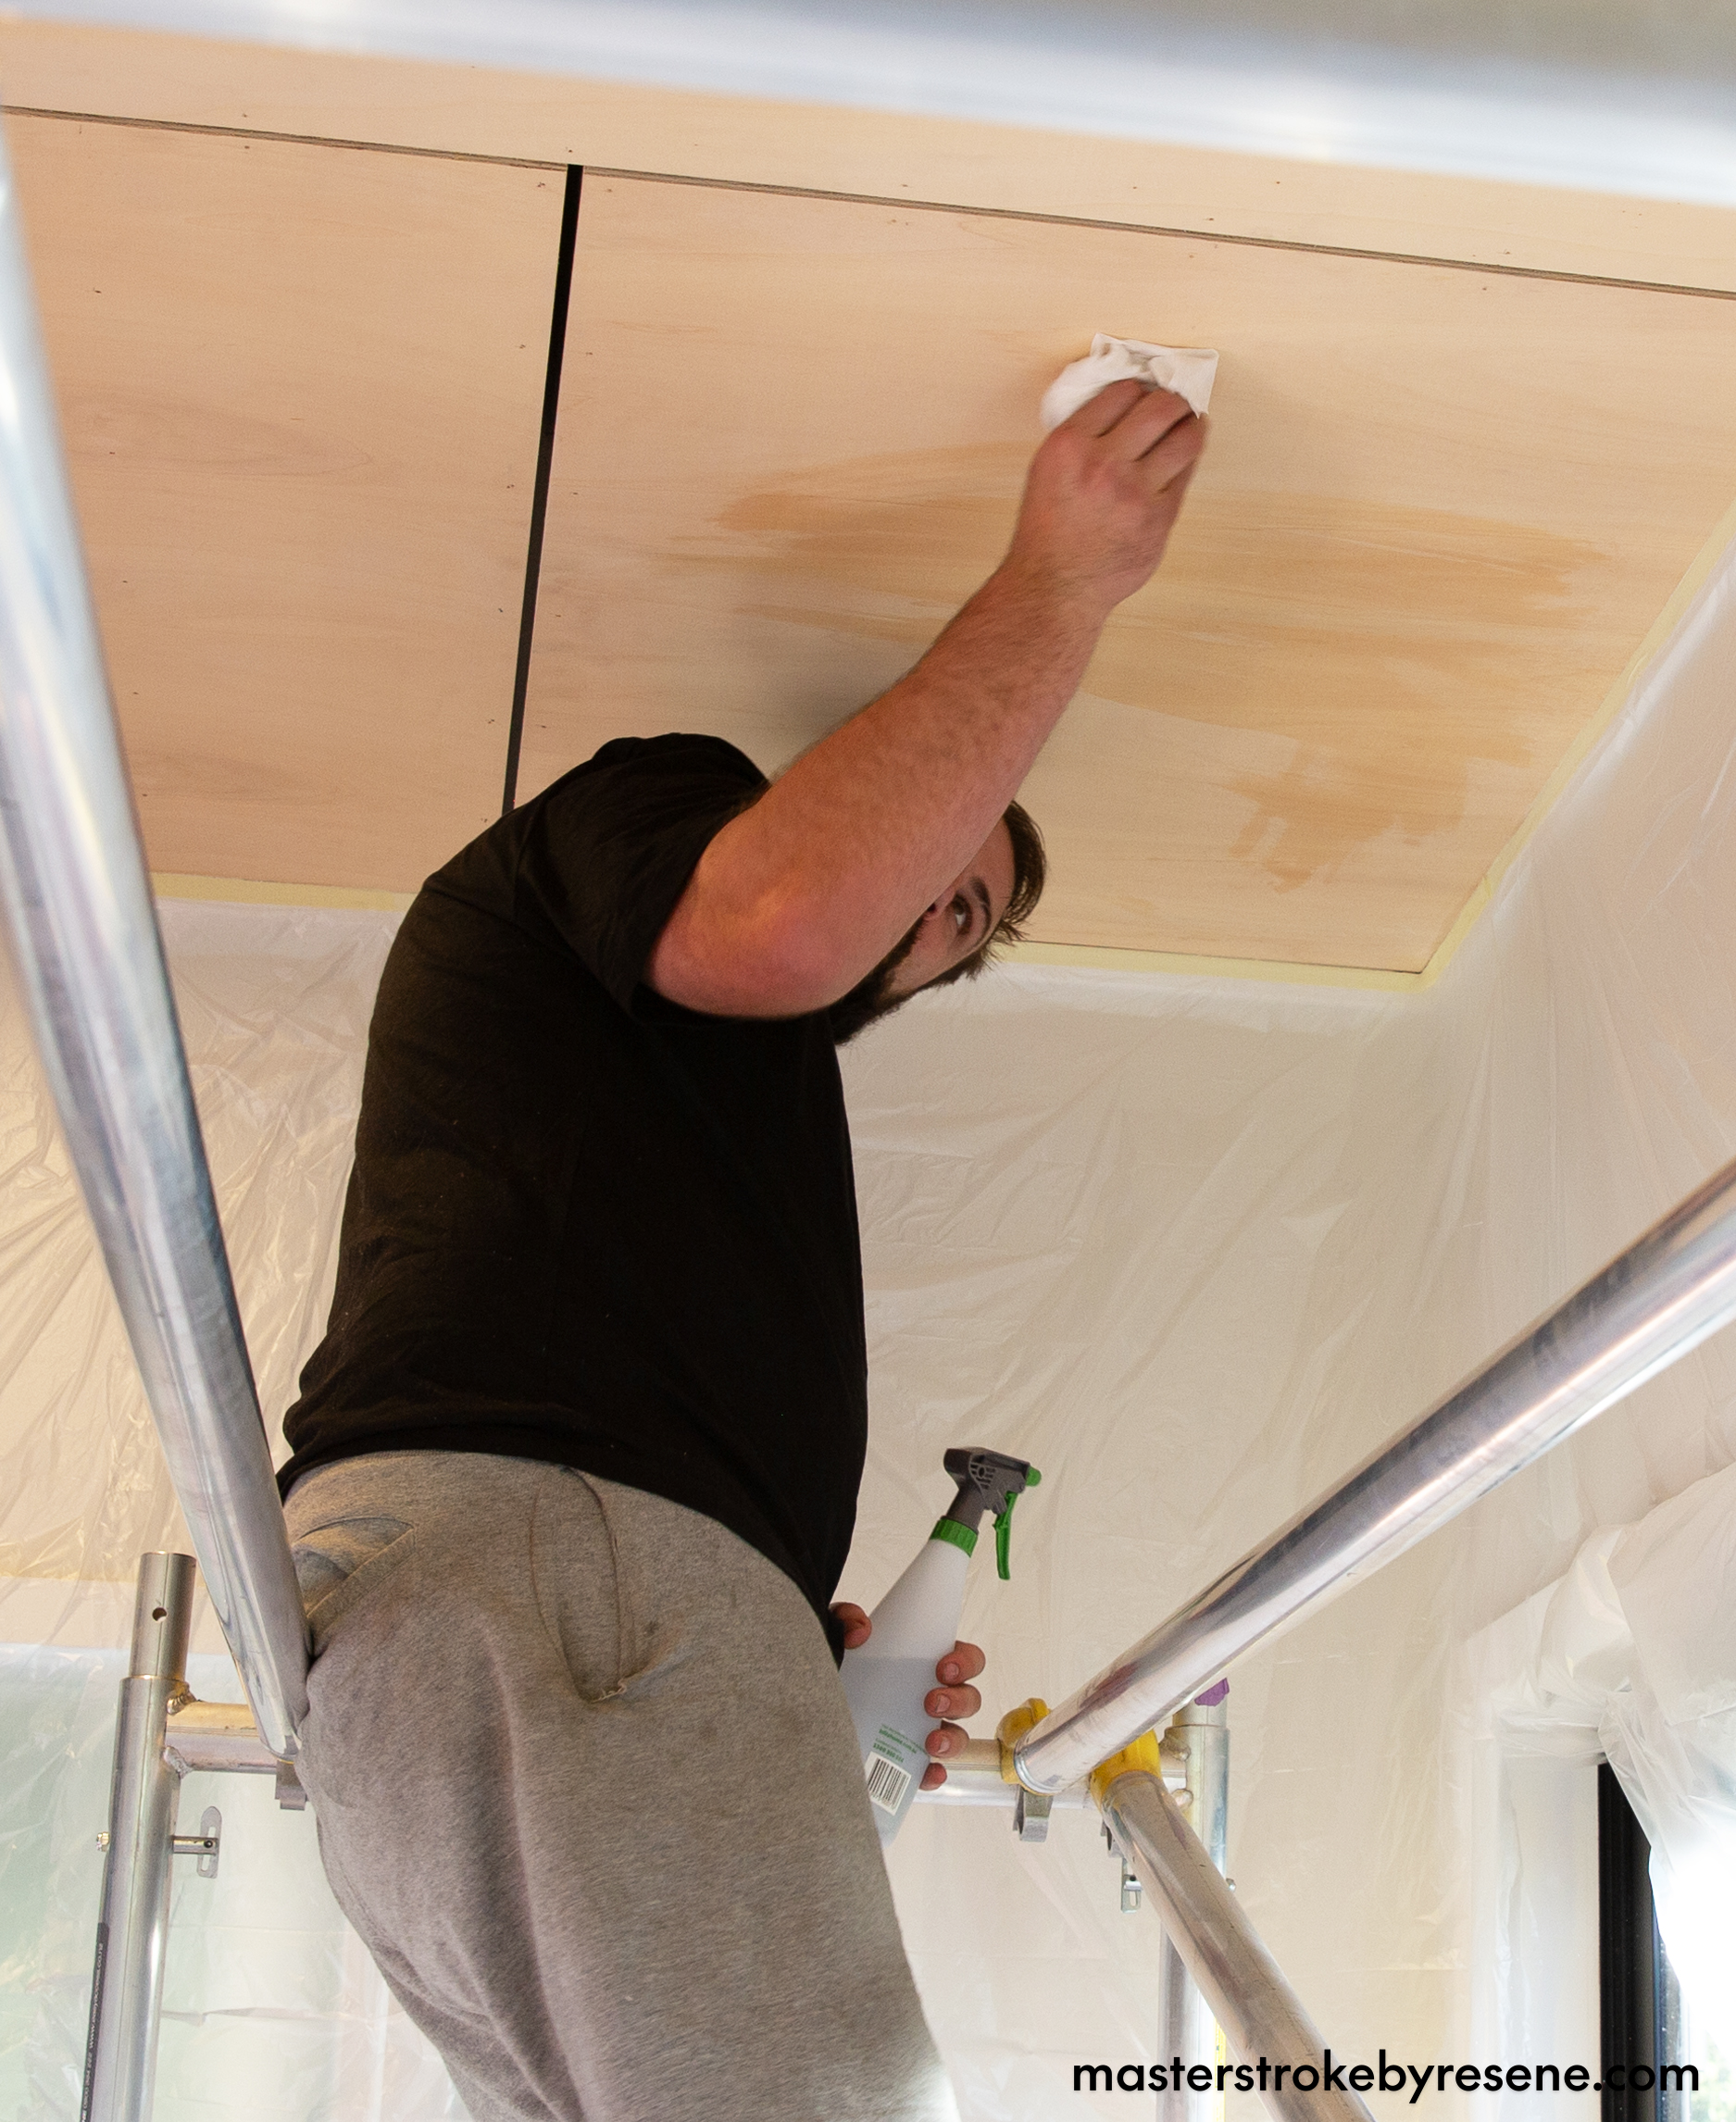
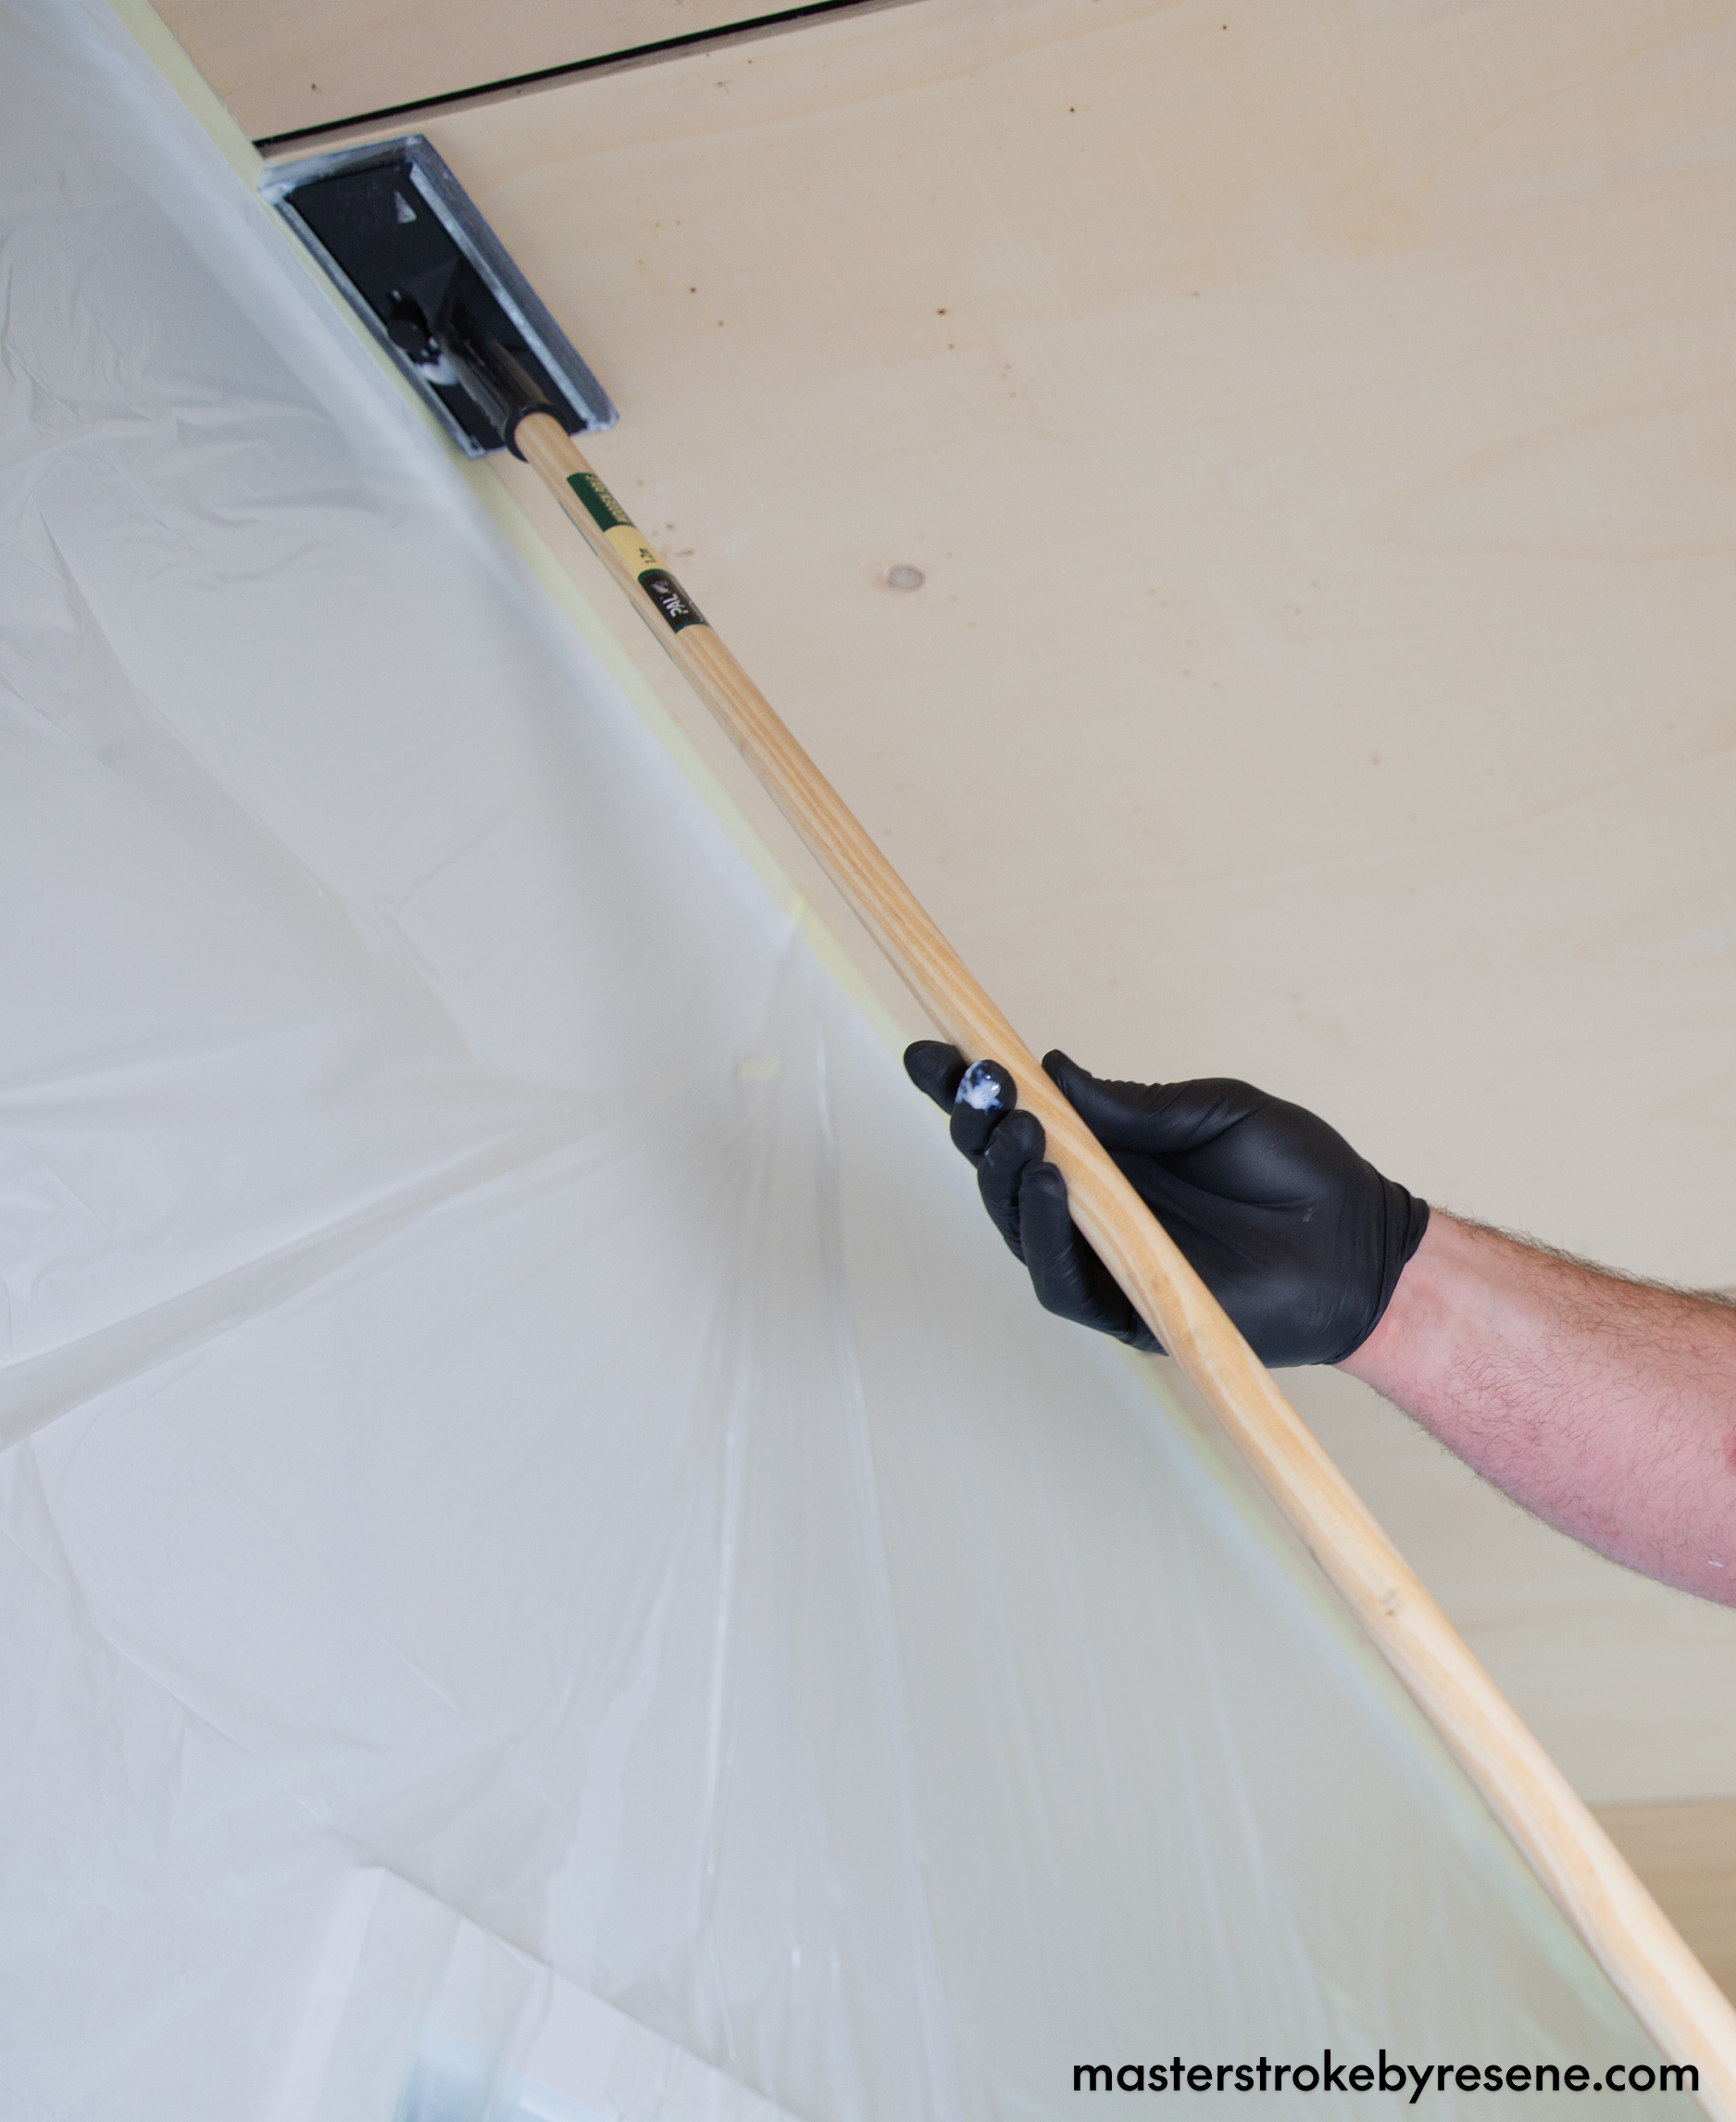
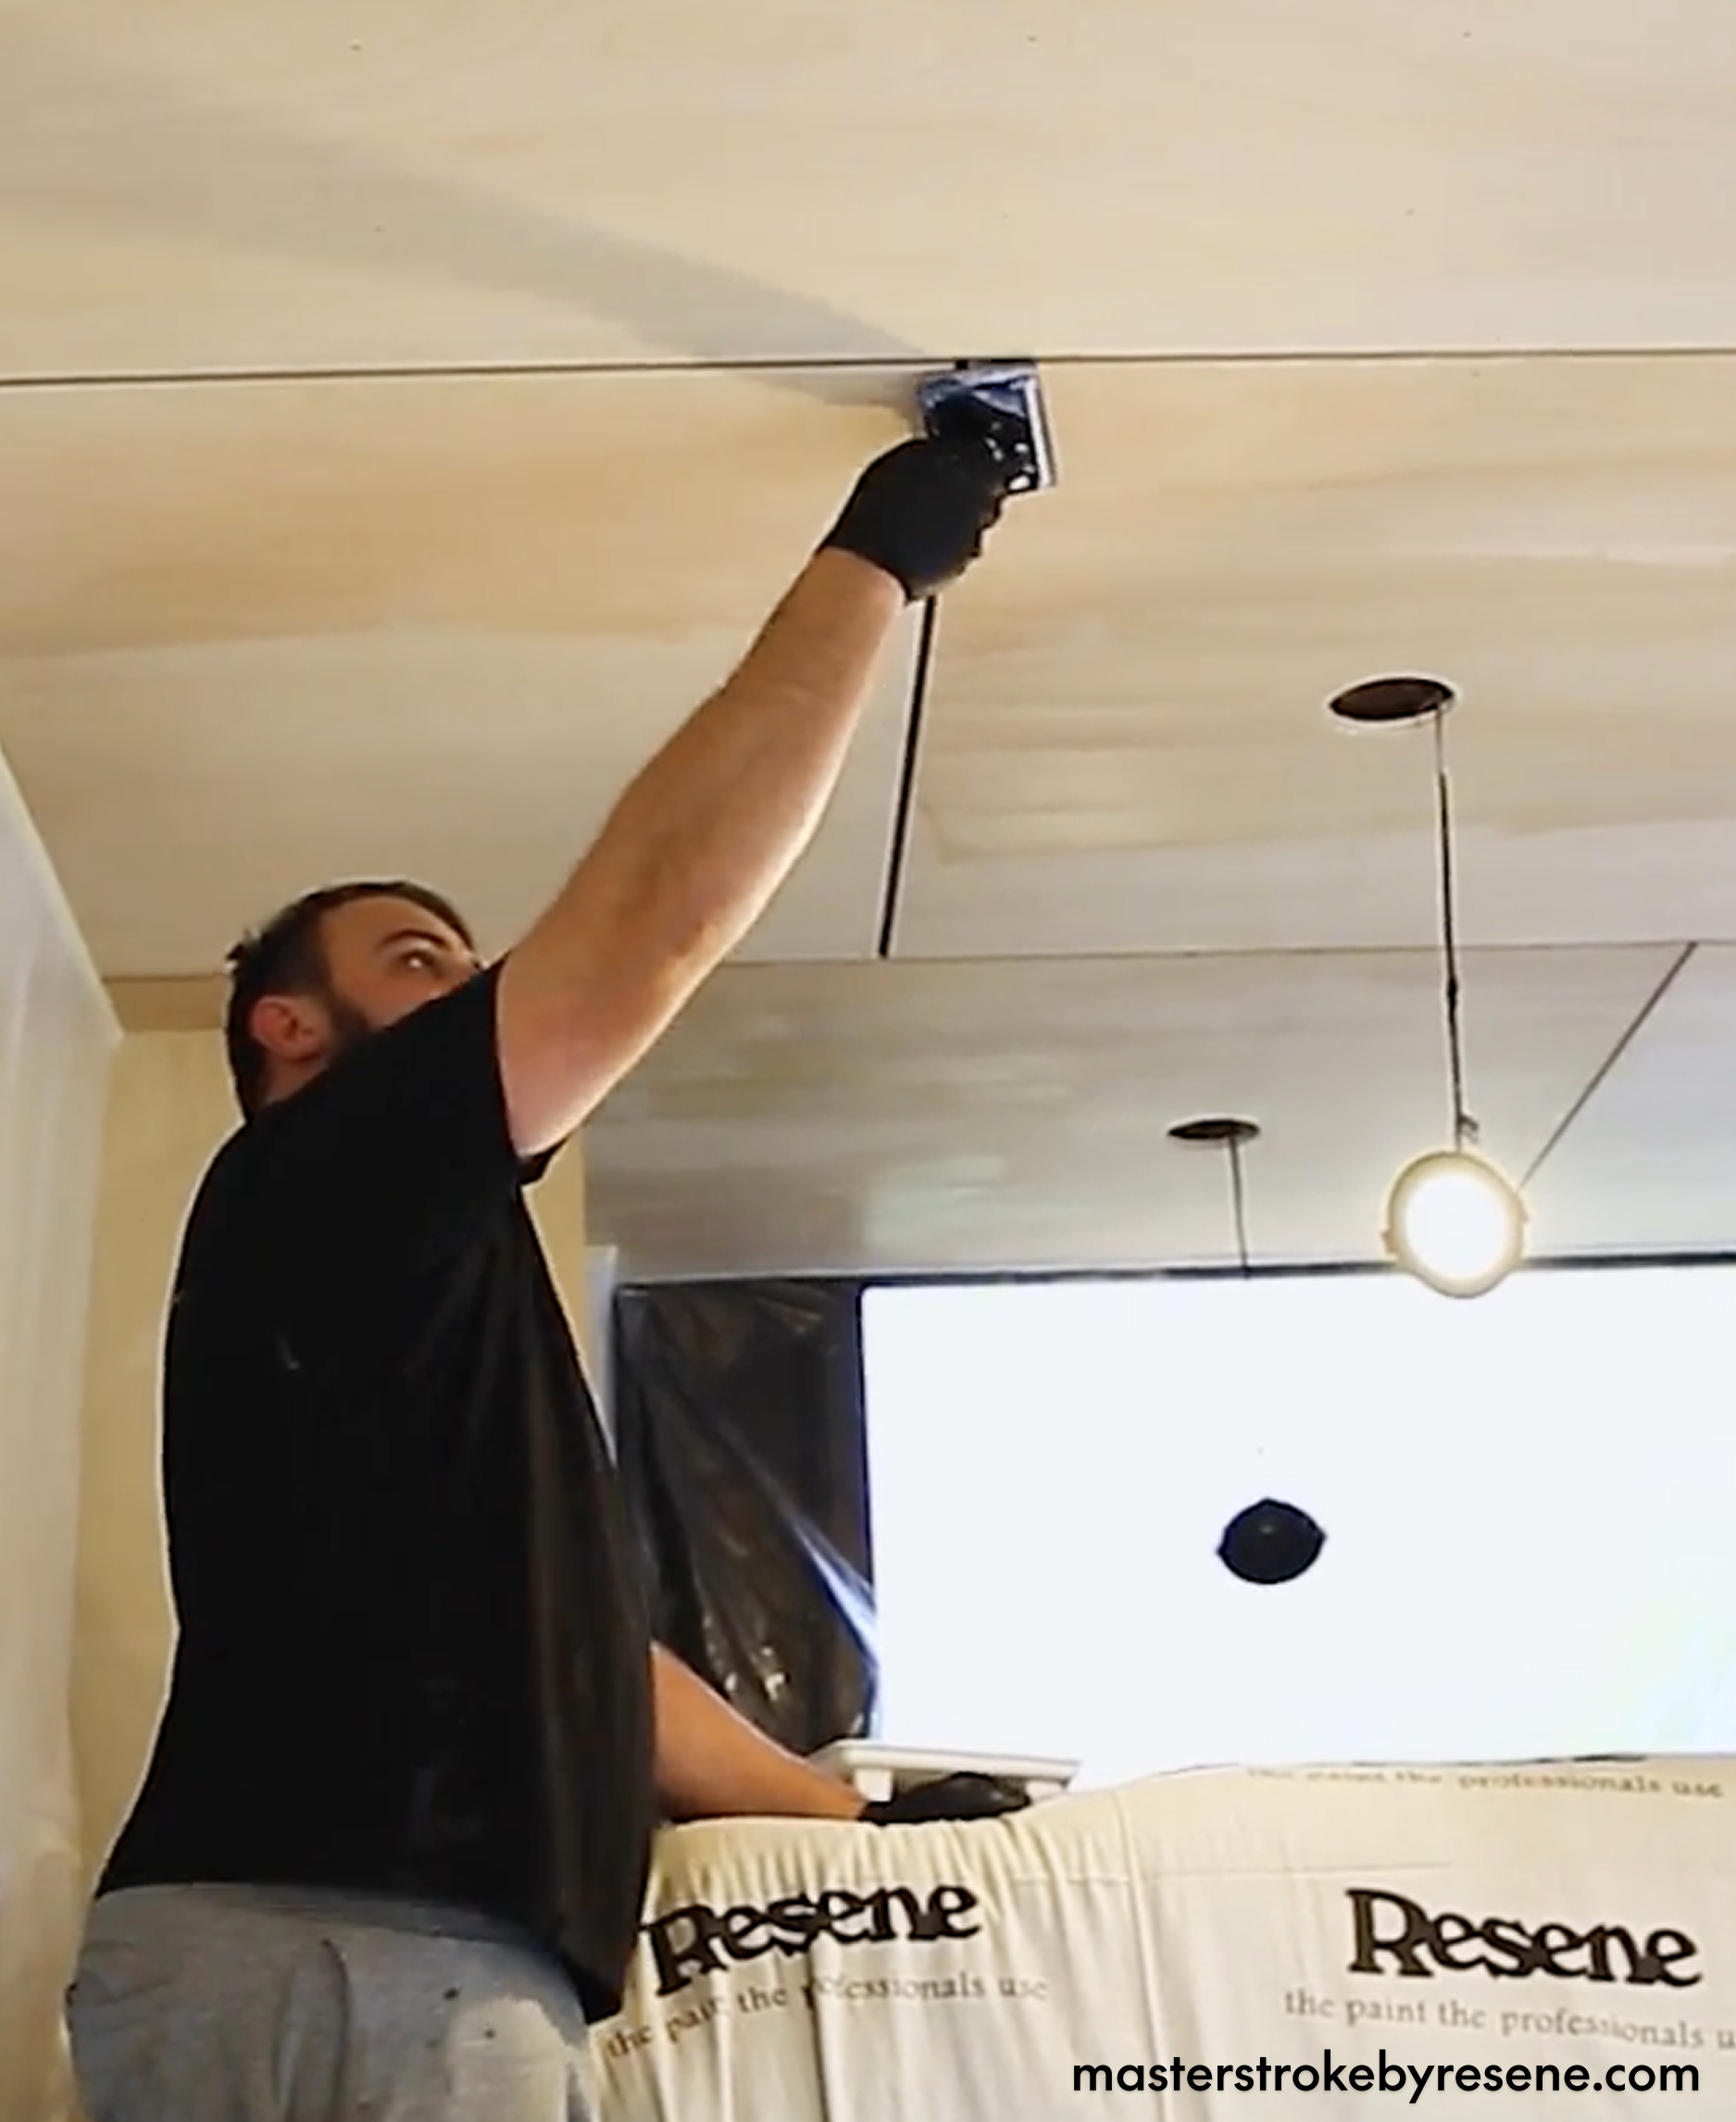
He says that sealing the plywood was incredibly important “because certain timbers can be very porous, allowing even dirty fingers to mar this lovely light coloured ply”. It also makes it super easy to dust and wipe clean.
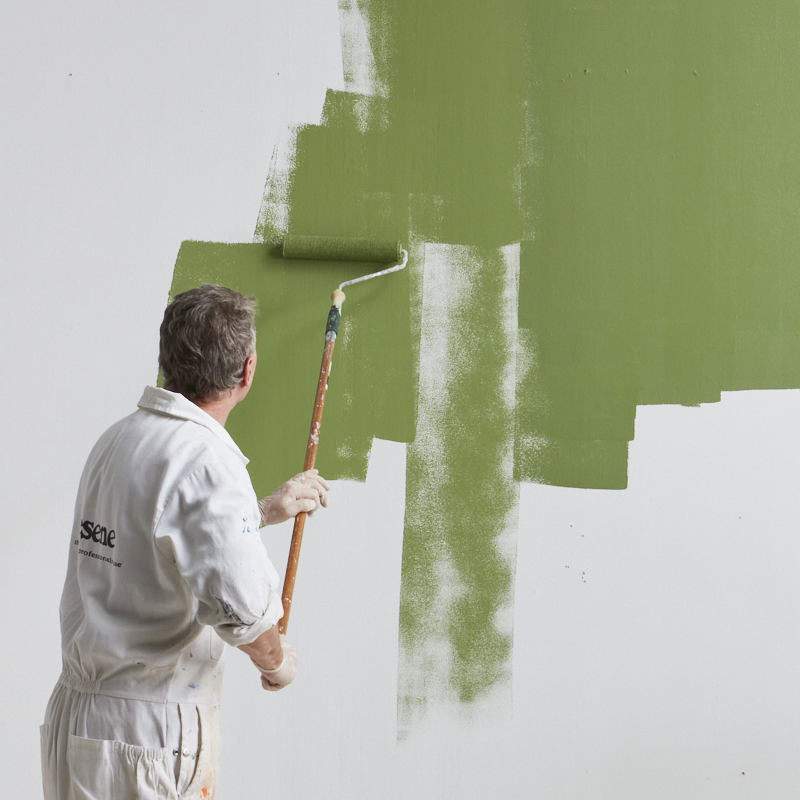
The same products and techniques can be used when you’re sealing plywood in your own home and it will complement the surrounding Resene paint colours you’ve chosen for other areas. Having the right gear and undertaking each step properly will mean you get the best result every time.
“At the end of a project like this, everyone wants to be able to sit back and enjoy what they’ve made and it’s important to know that what you’ve made is durable, hardwearing and is going to stand the test of time,” says Josh.