How to

How to prep and paint window frames

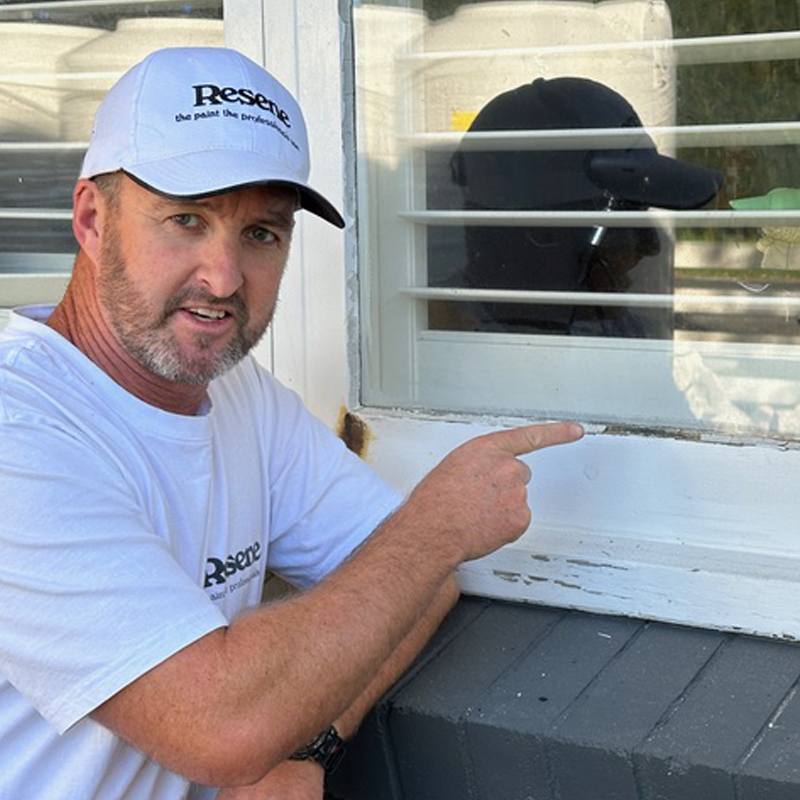
Window frames have a hard life. Not only are they up against the elements, facing wind, rain and UV light, but they’re also subjected to a lot of wear and tear from being regularly opened and closed. Give your window frames some love and protect them with Resene paint so they last for years to come.

Start with prep

If you’re dealing with a previously painted surface, start by treating it with Resene Moss & Mould Killer. Because of the condensation that forms around glass, window joinery is particularly vulnerable to mould – if left untreated it can damage timber and paint, and black mould is also a health hazard. 

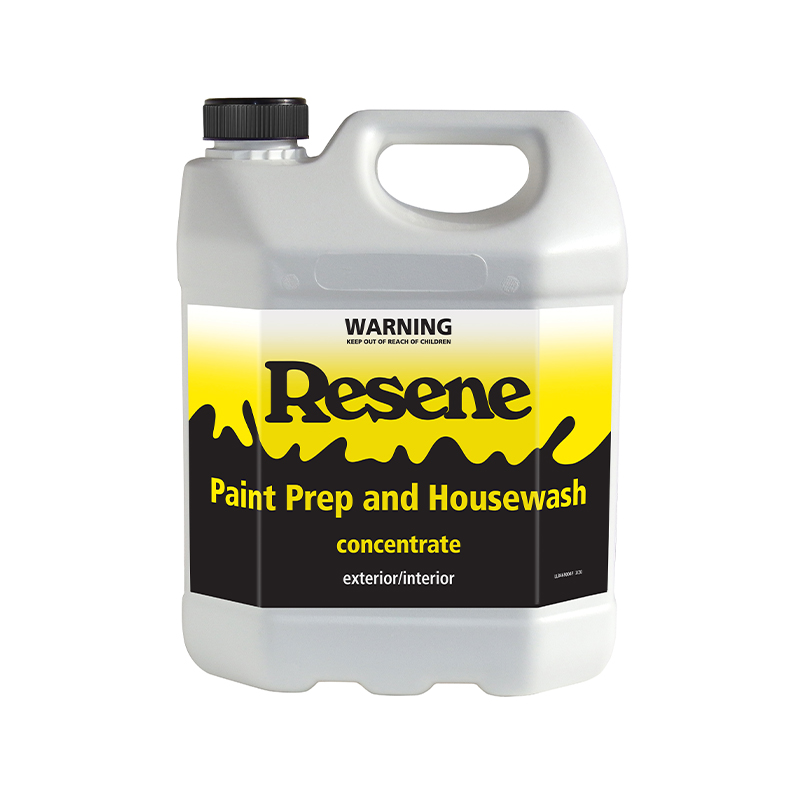
Resene Moss & Mould Killer can be used both indoors and out, and should be left to soak in for 48 hours to allow the product to work effectively. Follow by washing and scrubbing the window joinery with Resene Paint Prep and Housewash to remove any chalk residue, dirt and spider webs. Make sure you rinse this well off all surfaces.

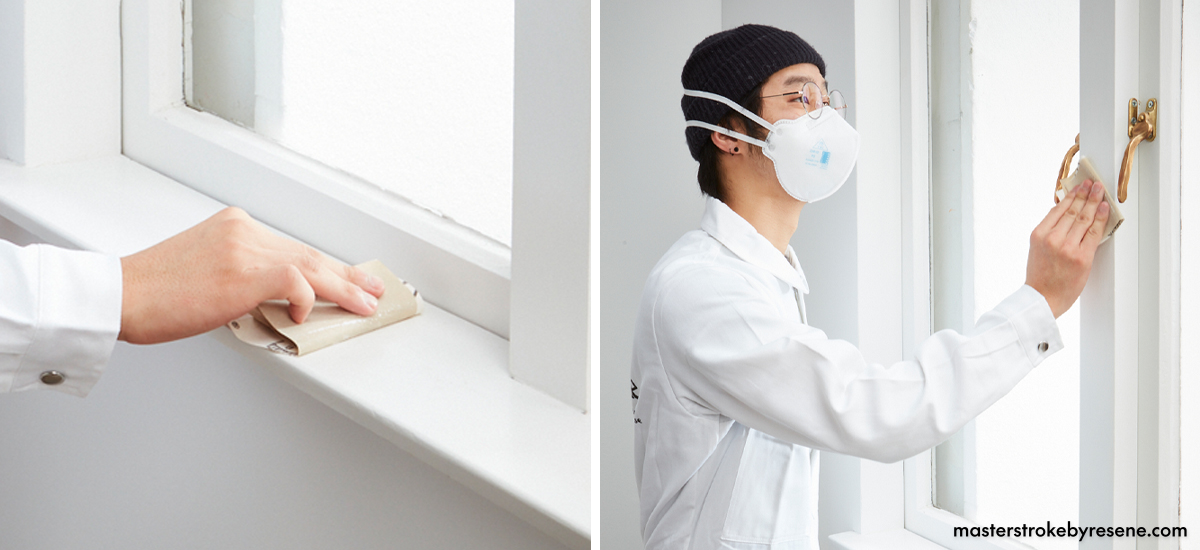
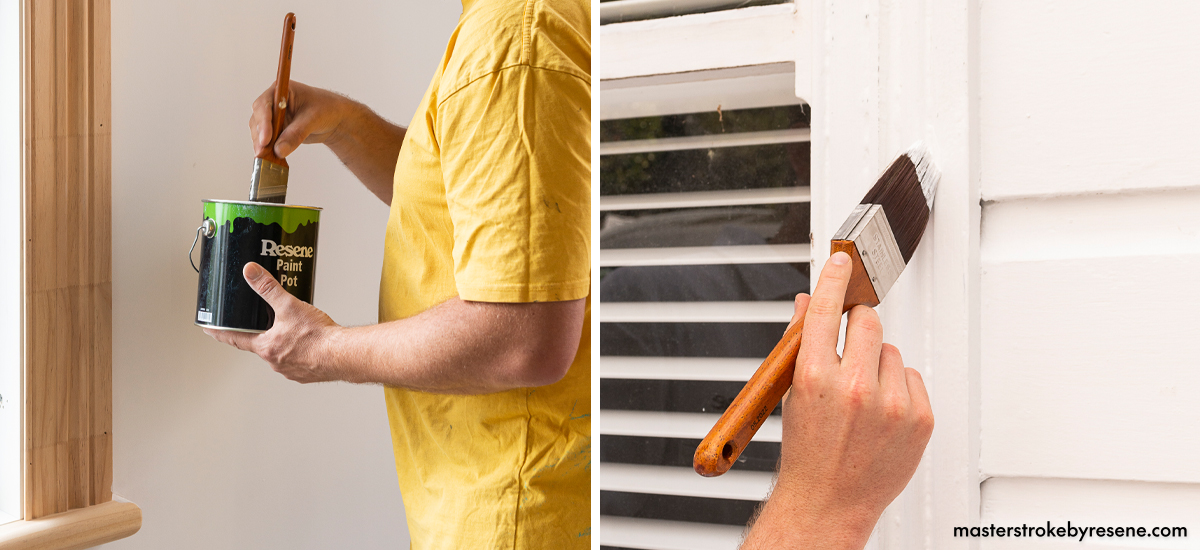
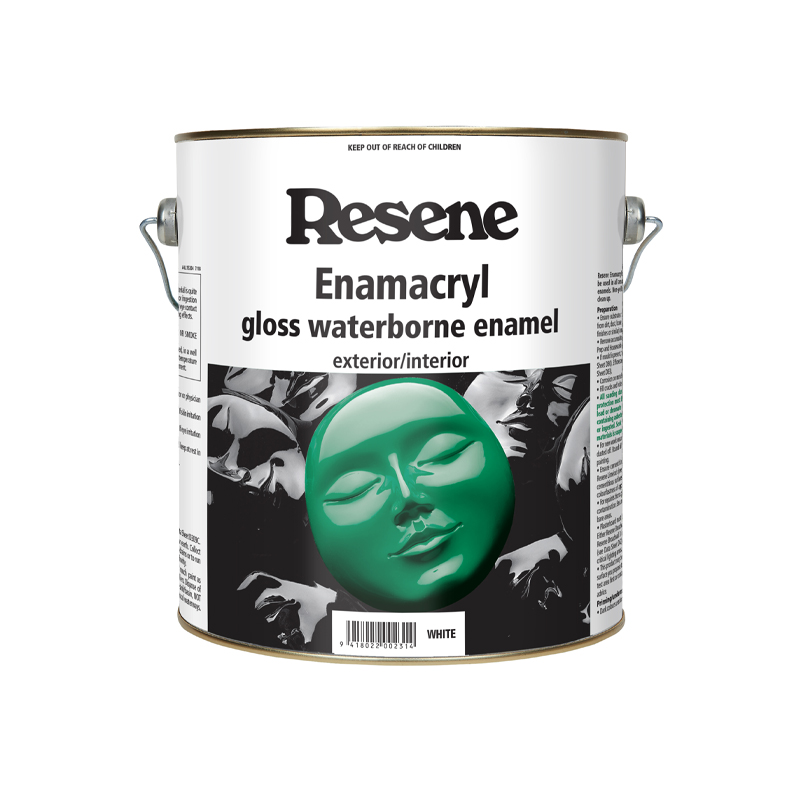
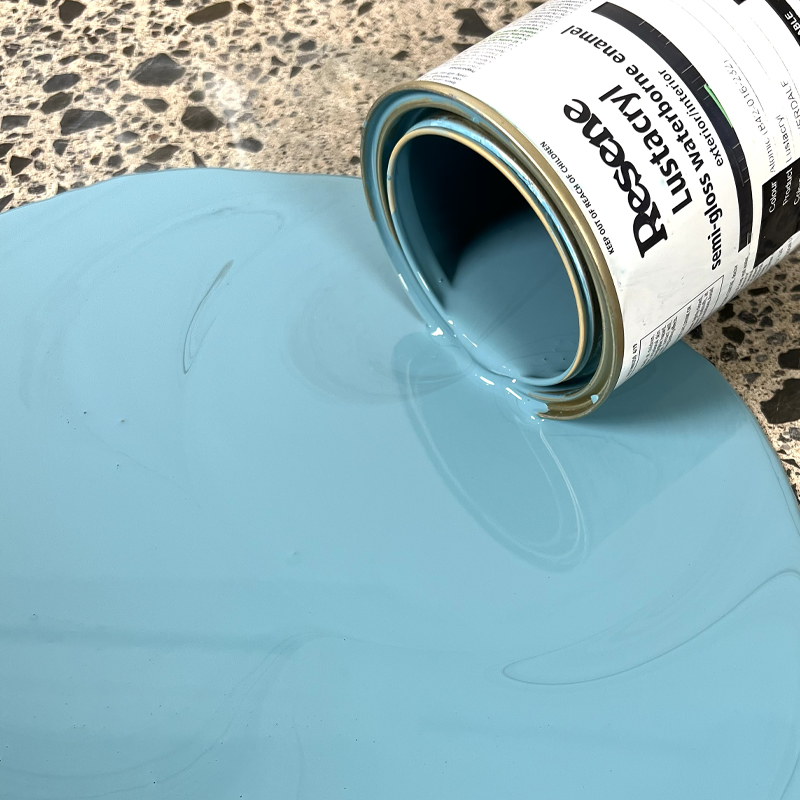
Sand off any flaking paint using 100-200 grit sandpaper, or use a paint scraper. Give the rest of the joinery a sand to ‘key’ the surface. Using a cutting-in brush, prime or spot prime with Resene Quick Dry waterborne primer undercoat. Resene Lustacryl and Resene Enamacryl can be applied directly over previously painted surfaces without the need for primer.

Previously painted joinery will still need to be lightly sanded to ‘key’ the area in preparation for painting.

Which paint to use on windows?

Resene Lustacryl semi-gloss waterborne enamel and Resene Enamacryl gloss waterborne enamel are recommended for both the interior and exterior of window frames. These waterborne paints are designed with the same durability of traditional enamel paints, but the low-VOC formula makes them much more pleasant to use and better for the environment.

How to paint window frames

A good result often comes down to planning. Painting window frames requires a lot of cutting in, so make sure to invest in a good quality cutting-in brush.

  1. Before you start, give your paint a good stir and pour it into a paint pot. If you tend to overwork the paint a little, add Resene Brushing Additive to your paint to help smooth out your brushstrokes for a more even finish. Or, if you’re painting in hot weather, add Resene Hot Weather Additive to your paint. Hot weather means water based paints dry faster, so this additive will extend the paint dry time and give you more time to get a good finish.  If you’re not a confident painter, masking the edges of the window with painter’s tape will prevent paint getting on the glass. Remember to remove the masking tape before the paint dries.
    .
  2. Open the windows and start by painting the inner parts of the window frame – the bits you don’t see when the windows are closed, such as the casement and the rails. Using a Legend 35-50mm brush, start with the top edge and move down to the hinged side of the window jamb. Apply the paint in long smooth strokes, holding the paintbrush at a 45-degree angle and using the tip of the paintbrush. Cutting-in brushes have angled bristles which makes them easier to control.
    .
  3. Next up are the edges of the window itself. Start at the top and work down the sides before painting the hinges and the underside of the window.After the internal parts of the window are painted and dry, move onto the main parts of the window. Start at the top sash and carefully brush, ensuring the paint also covers the glass putty. Work your way carefully down the side sashes, followed by the mullion rail (centre rail).
    .
  4. With heritage homes like villas and bungalows, the frame and sill are usually painted in a contrasting colour to the window. If you’re planning on using another colour on the sill and frame, wait until the window is completely dry and can be closed before starting. The scribers (the side part of the window nearest the weatherboards) are usually painted the same colour as the main frame
    .
  5. Always make sure the paint has fully dried before you shut your window.

Painting a window frame requires careful cutting in, so make sure to invest in a good quality brush and always use a paint pot when applying your paint. Always hold your brush at a 40-degree angle and apply the paint in long smooth strokes.

Additional useful info: 

If painting over linseed oil-based window putty, allow the putty to cure and develop a skin before priming with Resene Enamel Undercoat. Allow this to dry for 24 hours before priming with Resene Quick Dry. Make sure to paint over the top of the window putty. If left unpainted for a length of time, paint may not adhere in the future.

You can refresh old aluminium joinery too. If painting over old aluminium joinery, treat with Resene Moss & Mould Killer before cleaning thoroughly with Resene Roof and Metal Wash to remove any corrosive residue or chalky build-up. Rinse off well. Wet sand to avoid any corrosion, and then prime with Resene Galvo-Prime and finish with two coats of Resene Lustacryl semi-gloss or Resene Enamacryl gloss. Avoid painting any rubber seals.

Top tips: 

  1. Resene Lustacryl semi-gloss and Resene Enamacryl gloss are Eco Choice-approved products that are non-yellowing and fast-drying with easy water clean-up. They are ideal for painting window frames, doors, architraves and skirting boards.
    .
  2. If you’re planning to use a dark colour, use the Resene CoolColour version of your colour to help reflect more heat and keep your window joinery cooler.

About MasterStroke by Resene
MasterStroke by Resene is here to help you master your paint and decorating DIY projects. Brush up on your skills with advice, tips and ideas from our trusted experts.

Check out the latest how-to videos on our YouTube channel.