How to

Michelle Flynn steps outside her DIY comfort zone

While Michelle Flynn considers herself a fairly keen DIYer, her projects usually involve hanging wallpaper, not painting weatherboards. But she recently went into full-blown tradie mode when she decided to paint the exterior of her stunning Mount Maunganui home. 

Five years ago, Michelle bought the “worst house on the best street”, as she describes it. She was taken with the charm and exciting potential of the quaint bach, as well as the incredible location. 

My home is a three-minute walk from the beach and only a 10-minute walk from Mauao/Mount Maunganui. I love to go to the beach and also walk up the Mount,” Michelle says. “The house itself was a small bach – a really sunny, warm house with a lot of character, which also attracted me to it.”

Michelle enlisted the help of her sister – who just so happens to be an architect – to draw up plans for the reimagined home. The inspired and well-considered design transformed the single level cottage into a stylish, contemporary three-bedroom home that made great use of the site’s space. “I never expected it to look this good, to be honest!’ laughed Michelle. 

“The brief to my sister was to make two extra bedrooms so my family can come to stay and to add a garage. Also, a lot more storage! I wanted it to be Hamptons-style and to fit in with the character of the original house,” says Michelle. “She has achieved all of this and also made the new renovation look like it belongs to the old part of the house, which is great.”

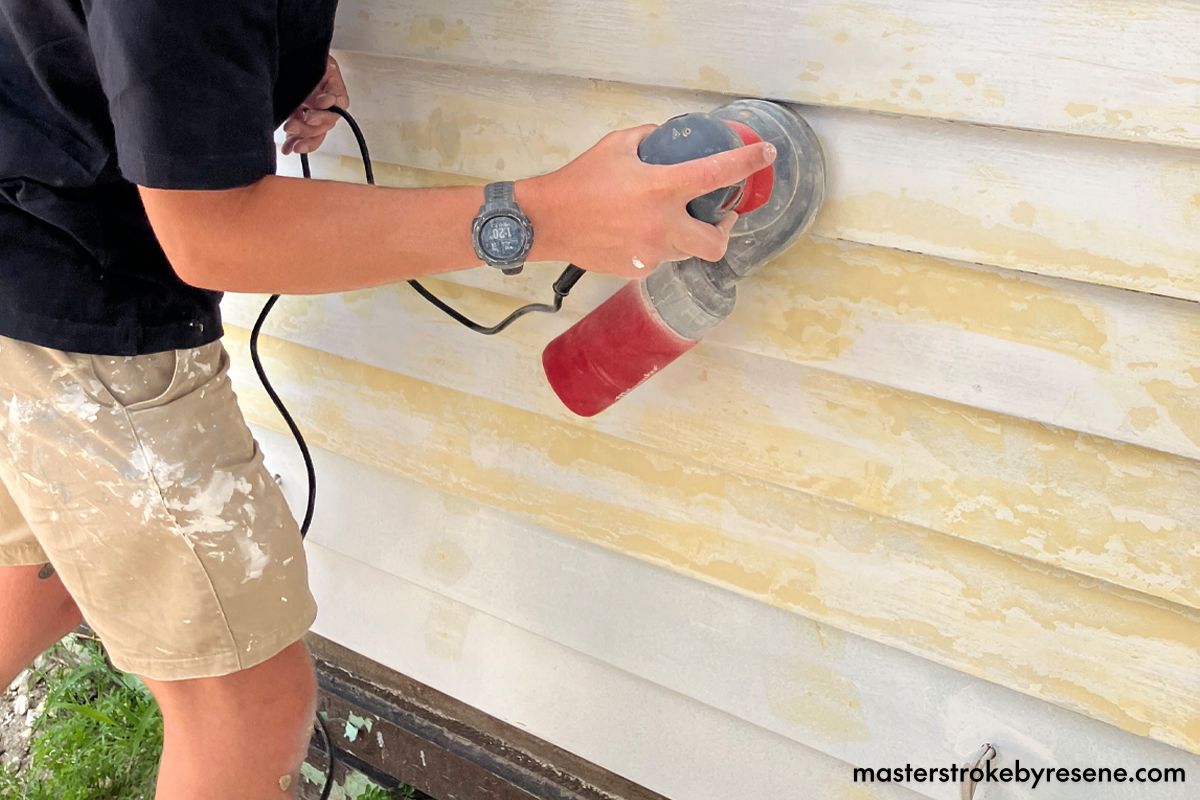
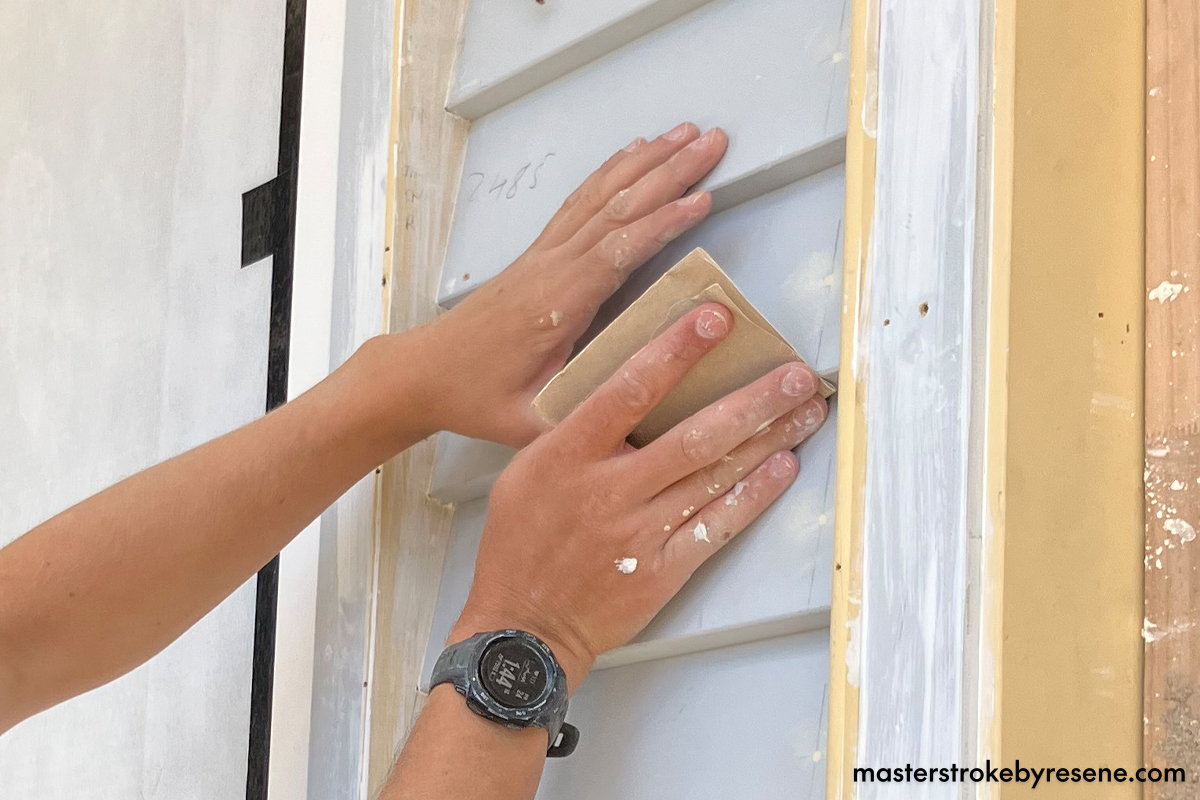
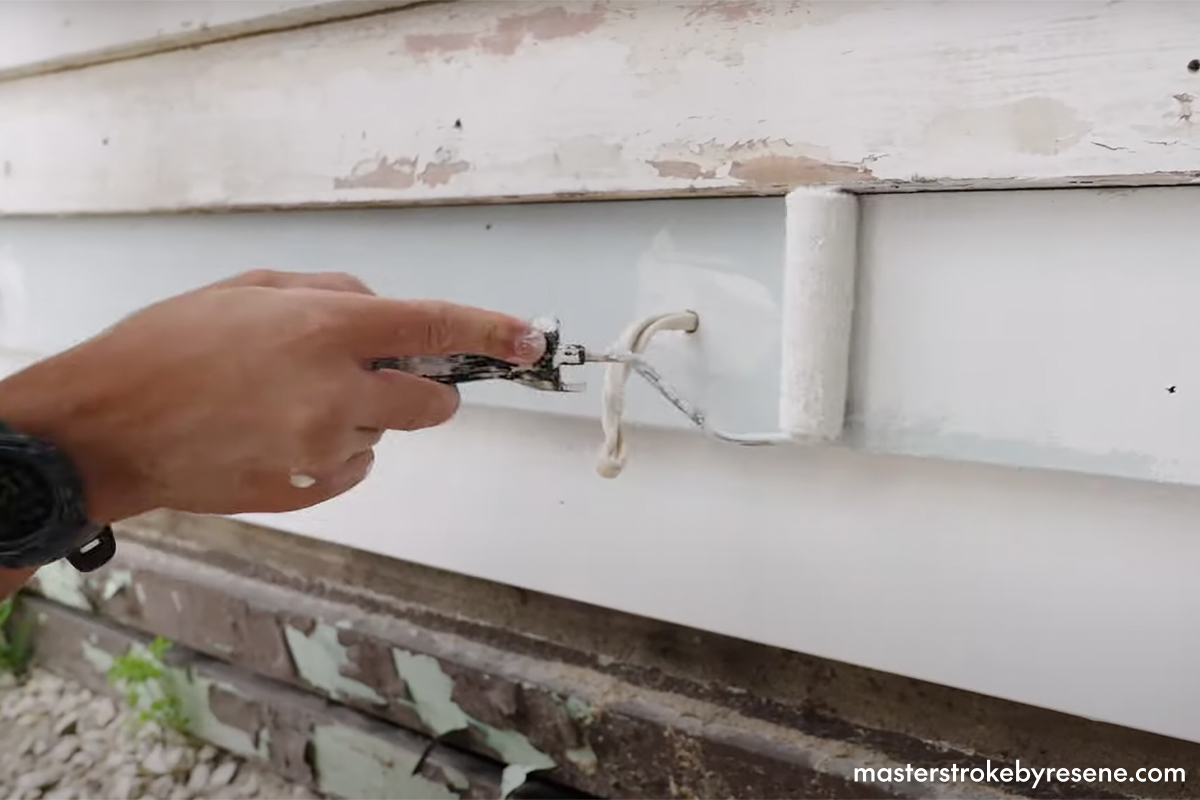
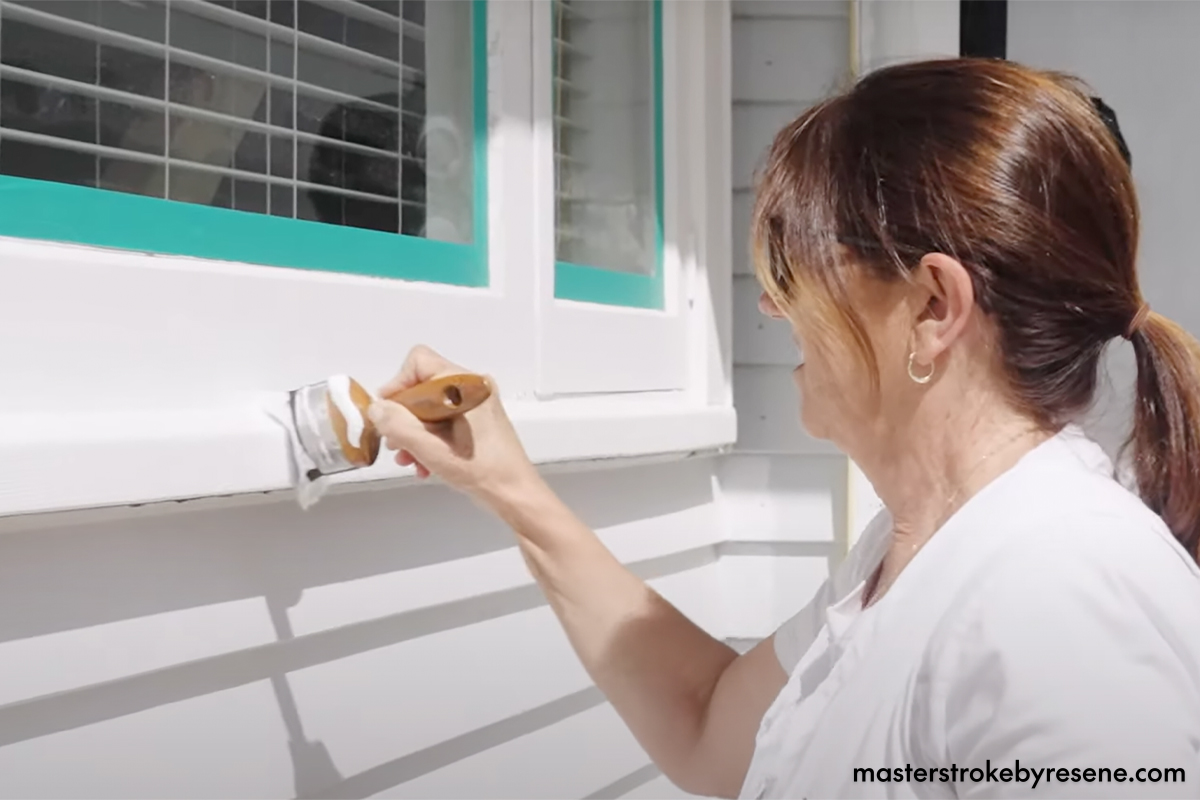
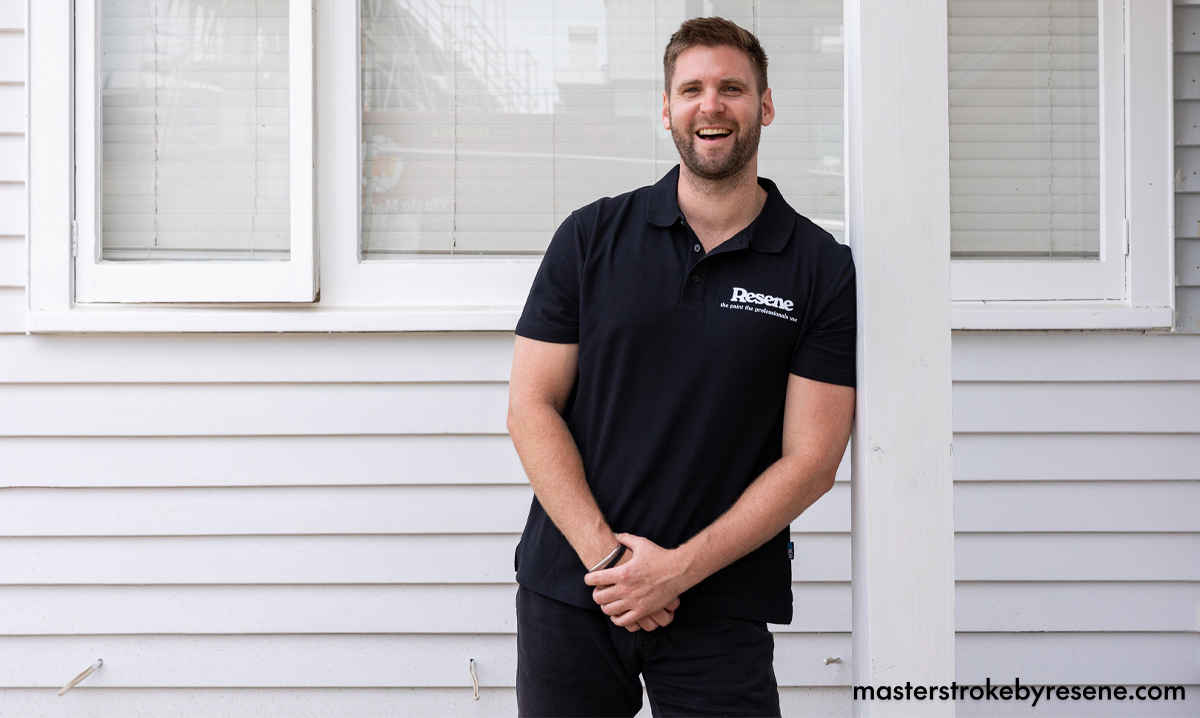
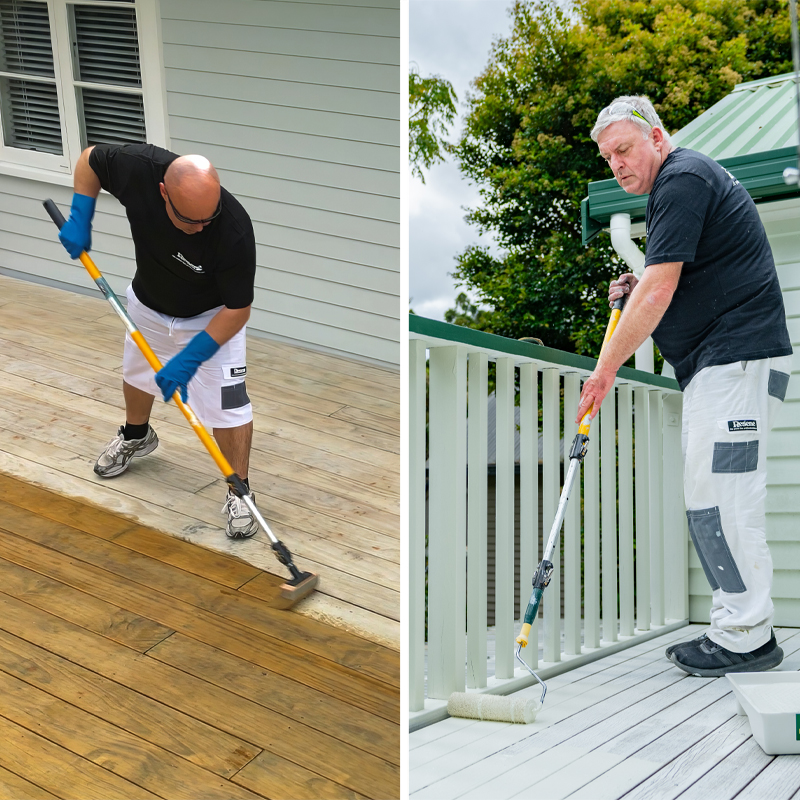
Once the structural work was complete, the exterior was ready to be painted and Michelle felt confident she could help with this part of the renovation herself. However, she did get some help from Resene Eco.Decorator Matt, who provided valuable advice on how to do the job right. 

One of the key aspects of the paint project was to bring together the old and new parts of the home seamlessly, which meant, because of its age, the older timber had to be treated a little differently beforehand. Once that was all done, both areas were able to be primed and painted in the exact same Resene products.  

The old weatherboards needed to have flaking paint removed to get them ready for the rest of the prep and painting.
The new weatherboards on the house extension only required a light sand before priming.

Getting up to scratch

The first port of call on the old weatherboards was to remove the old paint that was lifting and flaking and then treat the whole area with Resene Moss & Mould Killer followed by Resene Paint Prep and Housewash. While this is a highly efficient way to get surfaces ready for painting, these two products can also be used each year to give homes and other buildings a refresh. 

The old weatherboards were then sanded down and the sanding dust brushed off with a large paintbrush. As the newer boards already had a pre-primer on, all that was required was a light scuff before brushing off the sanding dust

Prime time

The next step was decanting Resene Quick Dry waterborne primer undercoat into a paint tray and using a roller to apply it to all the weatherboards, both old and new. Resene Quick Dry is recommended due to the fact that it’s water-based, which drastically minimises dry time and makes cleaning all the paint gear much easier. 

Part of the priming process also involves filling in any holes with PAL Contract Filler and then filling the gaps in the new extension weatherboards – that’s really the only preparation that’s needed with these. 

Sweet surrender

All that was left to do was to apply the first coat of paint. 

Michelle chose Resene Lumbersider Low Sheen in the colour Resene Quarter Surrender for her exterior, which is a cool silver neutral, with more grey tones than blue. “I wanted a nice clean-looking colour that had a light grey hue to contrast with the white windows,” she says. “This colour fits in the style of the house, I think.”

The first coat was applied with a roller to all the boards and when the first coat had dried, it was Michelle’s turn to paint the windows, for which she chose the complementary shade Resene Quarter Alabaster. Michelle was shown the best technique for ‘laying off,’ which is the technique of applying your paint then using long sweeping strokes to create a seamless, streamlined look.

Once the sanding dust was brushed off, the old and new weatherboards were primed with a coat of Resene Quick Dry.
Michelle was shown the correct technique for laying off to get a smooth finish. Weatherboards painted in Resene Quarter Surrender and window joinery in Resene Quarter Alabaster.

Then the final coat of Resene Quarter Surrender was applied. You can sand between the first and second topcoat if you wish to, making sure you wipe off the sanding dust, but most decorators are happy applying the second topcoat without sanding. 

Michelle couldn’t have been more thrilled with the final result. “The finish of the paint is outstanding. It looks so flawless and has a shine and perfection that I am so happy with.”

“The older part of the house blends in perfectly with the new renovation, and I love the view of the Mount from the top floor windows. I also absolutely love the Resene Quarter Surrender on the outside, it looks so fresh without being completely white.”  

Her advice to budding painters? “Get an expert to help you, especially with the preparation, and use quality paint like Resene to give the job a perfect finish.”

Resene Eco.Decorators

Curious about Matt’s title? The Resene Eco.Decorator programme has been designed to recognise a nationwide network of environmentally responsible, quality focused painting contractors. By choosing the services of a Resene Eco.Decorator, you have the confidence that the contractor is committed to sustainable principles in their work processes. Sustainable decorating is more than just choosing a Resene Eco Choice-approved paint – it’s also making sure that it is applied in an environmentally responsible manner following sustainable principles, including recycling any leftover paint and cans and washing paint equipment with care.

Resene Eco.Decorator Matt provided invaluable advice and assistance along the way. Weatherboards painted in Resene Quarter Surrender and window joinery in Resene Quarter Alabaster.

More tips for painting weatherboards

  • Before starting, load the brush with paint. Tap the excess paint off into the paint pot.
  • Start from one side and paint from the top of the wall downwards – working towards and around logical breaks, such as windows, doorways and downpipes.
  • Paint the underside of each weatherboard first then apply the paint to the face of the weatherboard.
  • For the first coat, a crosshatch technique may be needed to get sufficient paint on the boards before laying-off with the brush.
  • The key to a professional finish is to maintain the wet edge of the paint as you progress along the weatherboards and down the wall. Always look to complete the length of each weatherboard and avoid stopping and starting part way through a board.  If you are applying the paint in hot weather and the paint is drying too fast, add Resene Hot Weather Additive to your paint to slow down the drying and give you longer to get a quality finish.
  • Paint one or two weatherboards at a time and always paint in the same direction.
  • Once dry – usually after a few hours – apply a second coat. While the application is the same, the second coat of paint will generally apply more easily.
  • Try not to paint too late in the day to avoid dew settling on and marking the paint.
  • Window scribers can be painted or touched up after the weatherboards.
  • Resene CoolColour technology is available in many exterior Resene finishes, including Resene Hi-Glo, Resene Sonyx 101, Resene Lumbersider Low Sheen and Resene Lumbersider Matt in a wide range of colours. Formulated with special pigment technology, a Resene CoolColour is designed to reflect more heat than the standard colour, reducing the stress on the coating, substrate and building, keeping them cooler.

About MasterStroke by Resene
MasterStroke by Resene is here to help you master your paint and decorating DIY projects. Brush up on your skills with advice, tips and ideas from our trusted experts.

Check out the latest how-to videos on our YouTube channel.